Home>Home Maintenance>How To Empty A Portable Air Conditioner

Home Maintenance
How To Empty A Portable Air Conditioner
Modified: March 7, 2024
Learn how to properly empty a portable air conditioner with this comprehensive guide. Follow these simple home-maintenance steps to keep your portable AC unit functioning efficiently.
(Many of the links in this article redirect to a specific reviewed product. Your purchase of these products through affiliate links helps to generate commission for Storables.com, at no extra cost. Learn more)
Introduction
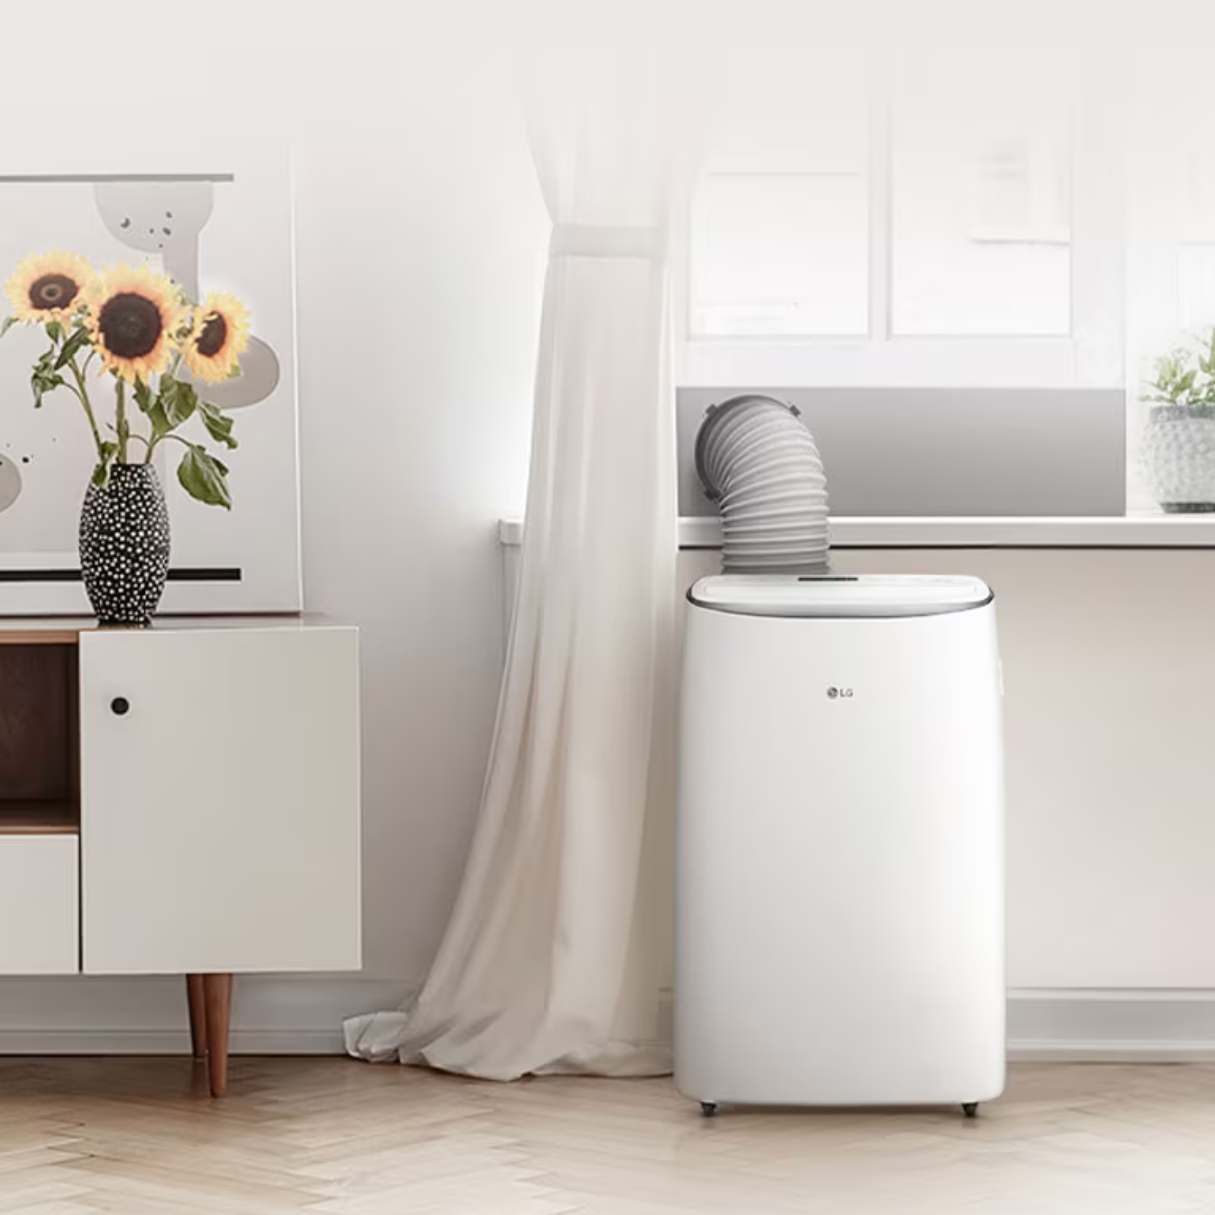
Welcome to our guide on how to empty a portable air conditioner. As the summer heat intensifies, many people turn to portable air conditioners to keep their homes cool and comfortable. These convenient appliances work by extracting moisture from the air, which accumulates in a water tank or a collection tray. Regularly emptying and maintaining your portable air conditioner is essential to ensure it functions optimally and efficiently.
In this article, we will provide you with step-by-step instructions on how to properly empty a portable air conditioner. We will also share important safety precautions to keep in mind during the process. By following these guidelines, you can prevent water leakage, improve air quality, and extend the lifespan of your air conditioner.
Whether you are a first-time portable air conditioner owner or simply need a refresher on maintenance procedures, this guide is designed to assist you. So, let’s dive in and learn how to empty a portable air conditioner effectively!
Key Takeaways:
- Regularly emptying and maintaining your portable air conditioner is essential for optimal performance, preventing water leakage, and ensuring a cool and comfortable home environment during the summer.
- Prioritize safety by turning off the power, wearing protective gear, and providing proper ventilation when emptying your portable air conditioner to ensure a safe and hassle-free maintenance routine.
Read more: How To Make A Portable Air Conditioner
Safety Precautions
Before you start emptying your portable air conditioner, it’s important to prioritize safety. Here are some essential precautions to ensure a safe and hassle-free process:
- Turn off the power: Before performing any maintenance or cleaning tasks, make sure to switch off the power supply to your portable air conditioner. This will prevent any electrical mishaps or accidental starts during the process.
- Wear protective gear: It’s always a good idea to protect yourself while handling any appliances or working with water. Wear gloves to prevent any contact with potentially dirty water, and use safety goggles to shield your eyes from splashes or debris.
- Provide proper ventilation: When emptying the water tank or draining the condensation, ensure that the room has adequate ventilation. This will help minimize moisture buildup and prevent the growth of mold or mildew.
- Place towels or a bucket: To avoid any water spills or leaks, place towels or a bucket underneath the portable air conditioner. This will catch any drips and protect your floor or furniture from damage.
- Avoid overfilling the water tank: Follow the manufacturer’s instructions regarding the maximum water capacity of your portable air conditioner. Overfilling the tank can lead to water overflow or damage the appliance.
- Be cautious with sharp objects: When removing the exhaust hose or cleaning the air filters, be mindful of any sharp edges or protruding parts. Use appropriate tools and handle them with care to prevent any injuries.
- Do not use excessive force: If you encounter any resistance while removing parts or components, do not force them. Refer to the user manual or seek professional assistance to avoid causing damage to your portable air conditioner.
By following these safety precautions, you can ensure a smooth and accident-free experience while emptying your portable air conditioner. Now that we’ve covered the essential safety measures, let’s move on to the step-by-step process.
Step 1: Turn off the Portable Air Conditioner
The first step in emptying a portable air conditioner is to turn off the unit. This is an important safety precaution to prevent any electrical accidents or damage during the process. Follow these simple steps to turn off your portable air conditioner:
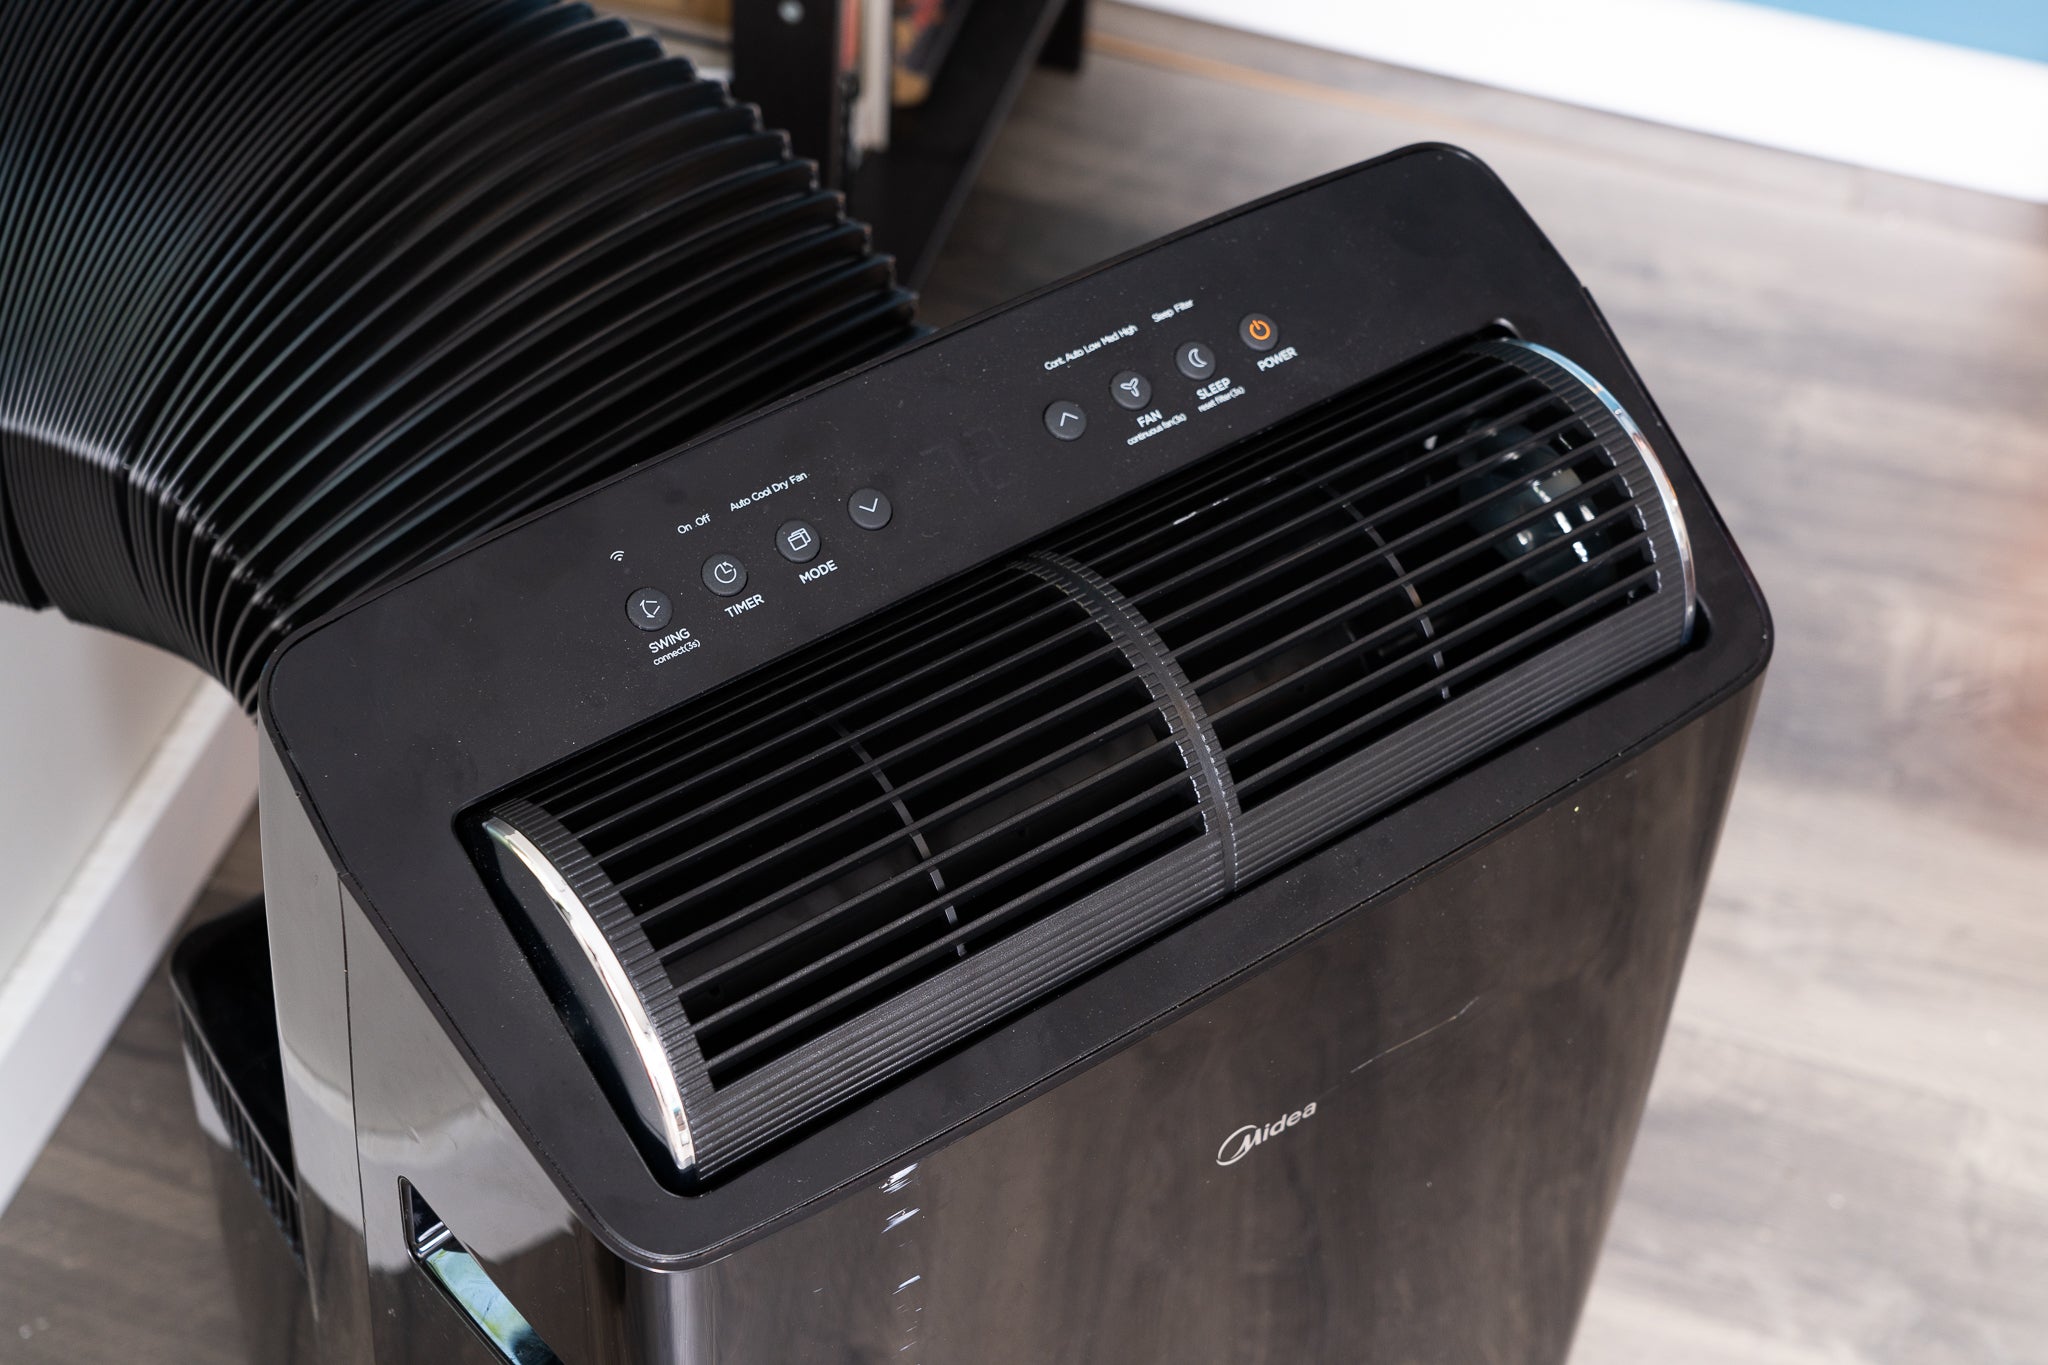
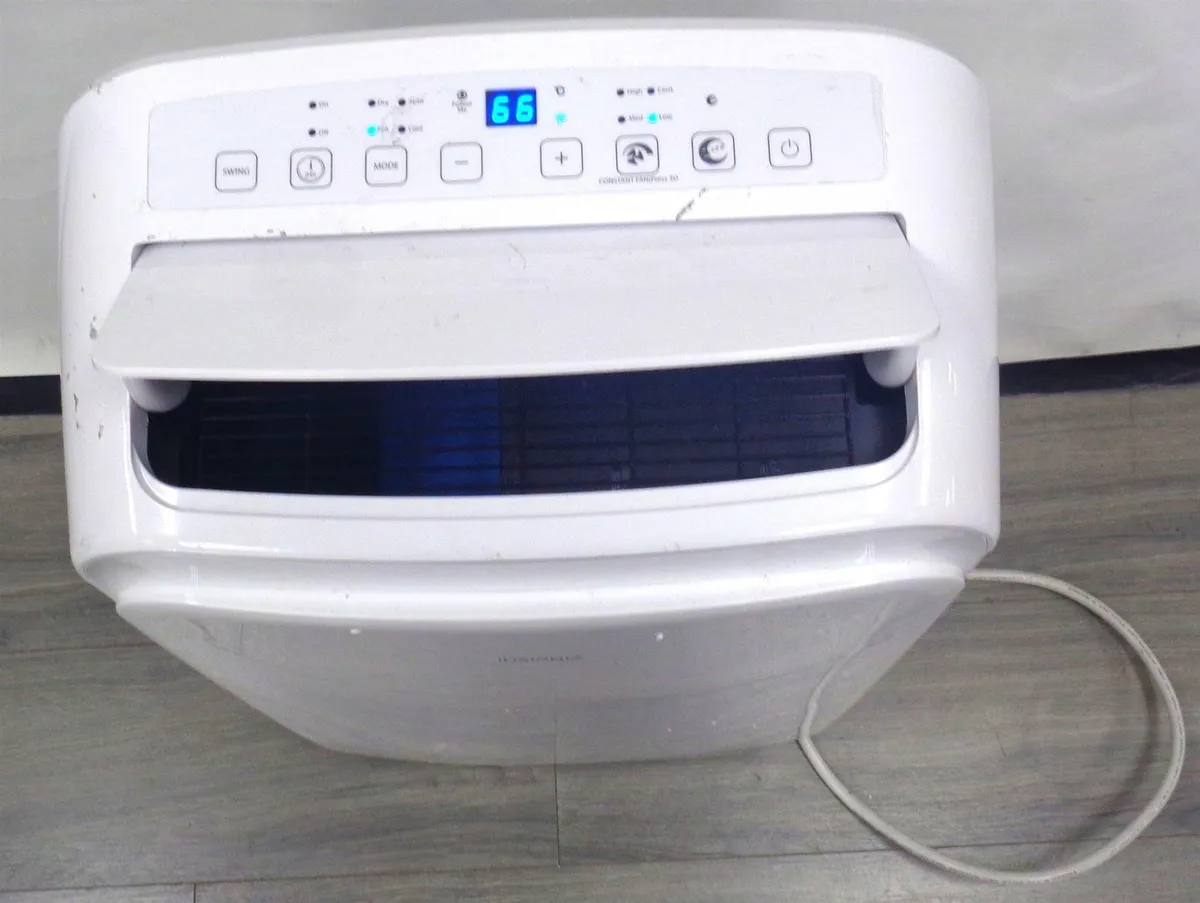
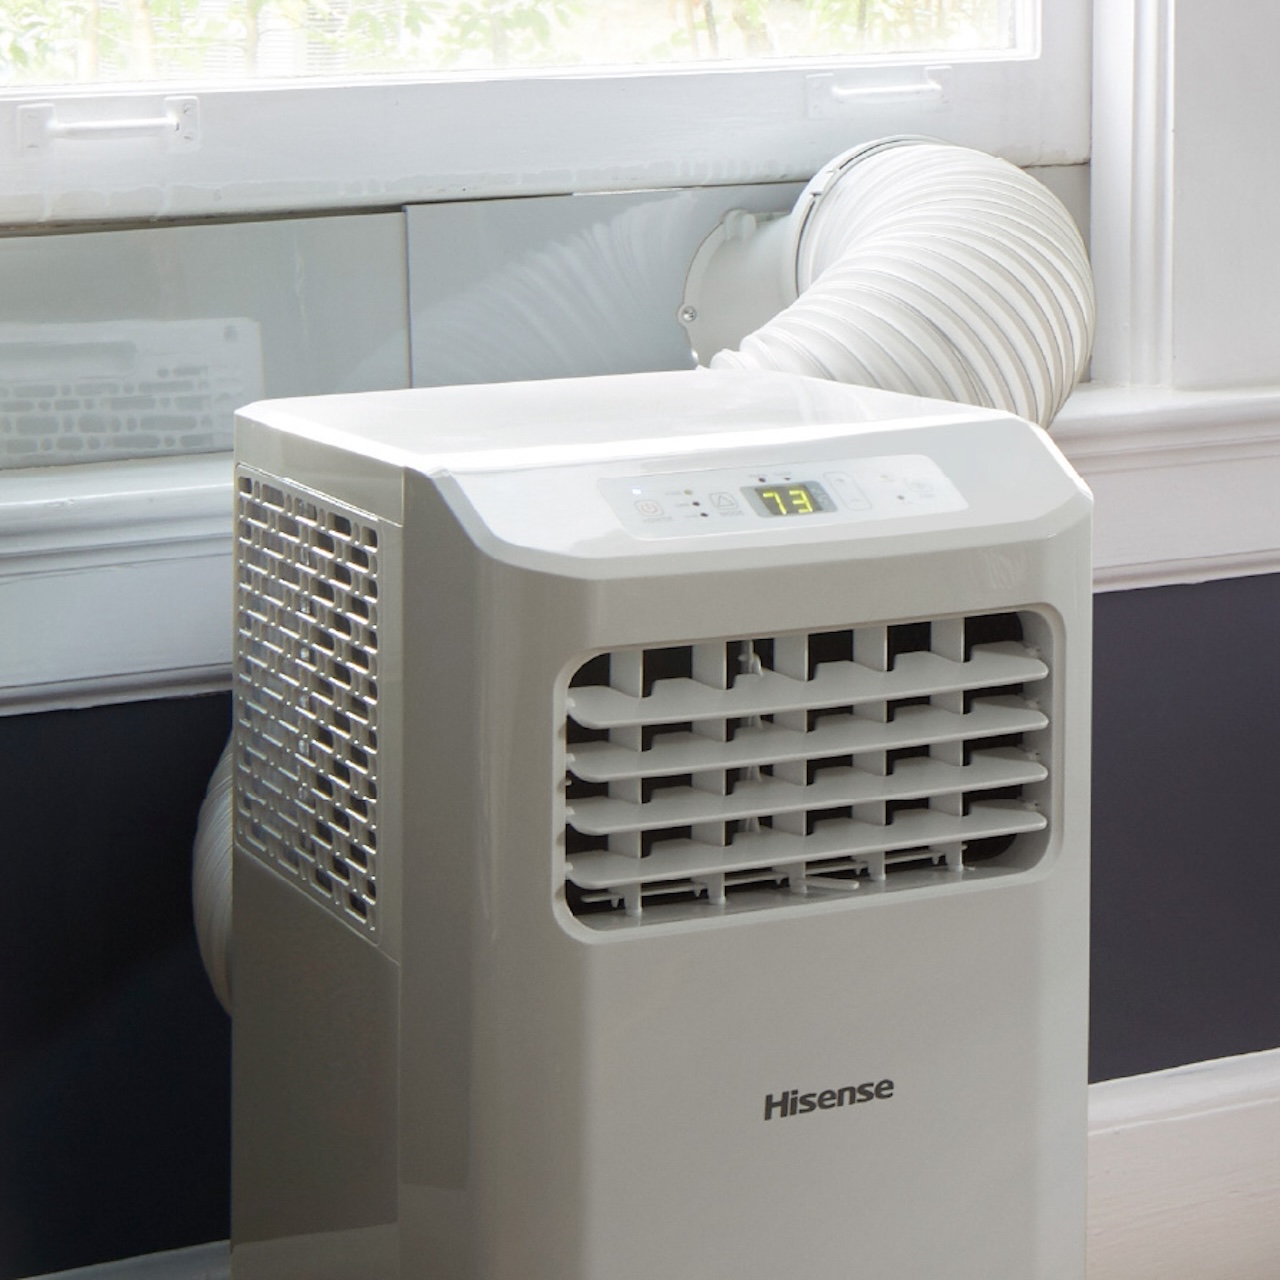
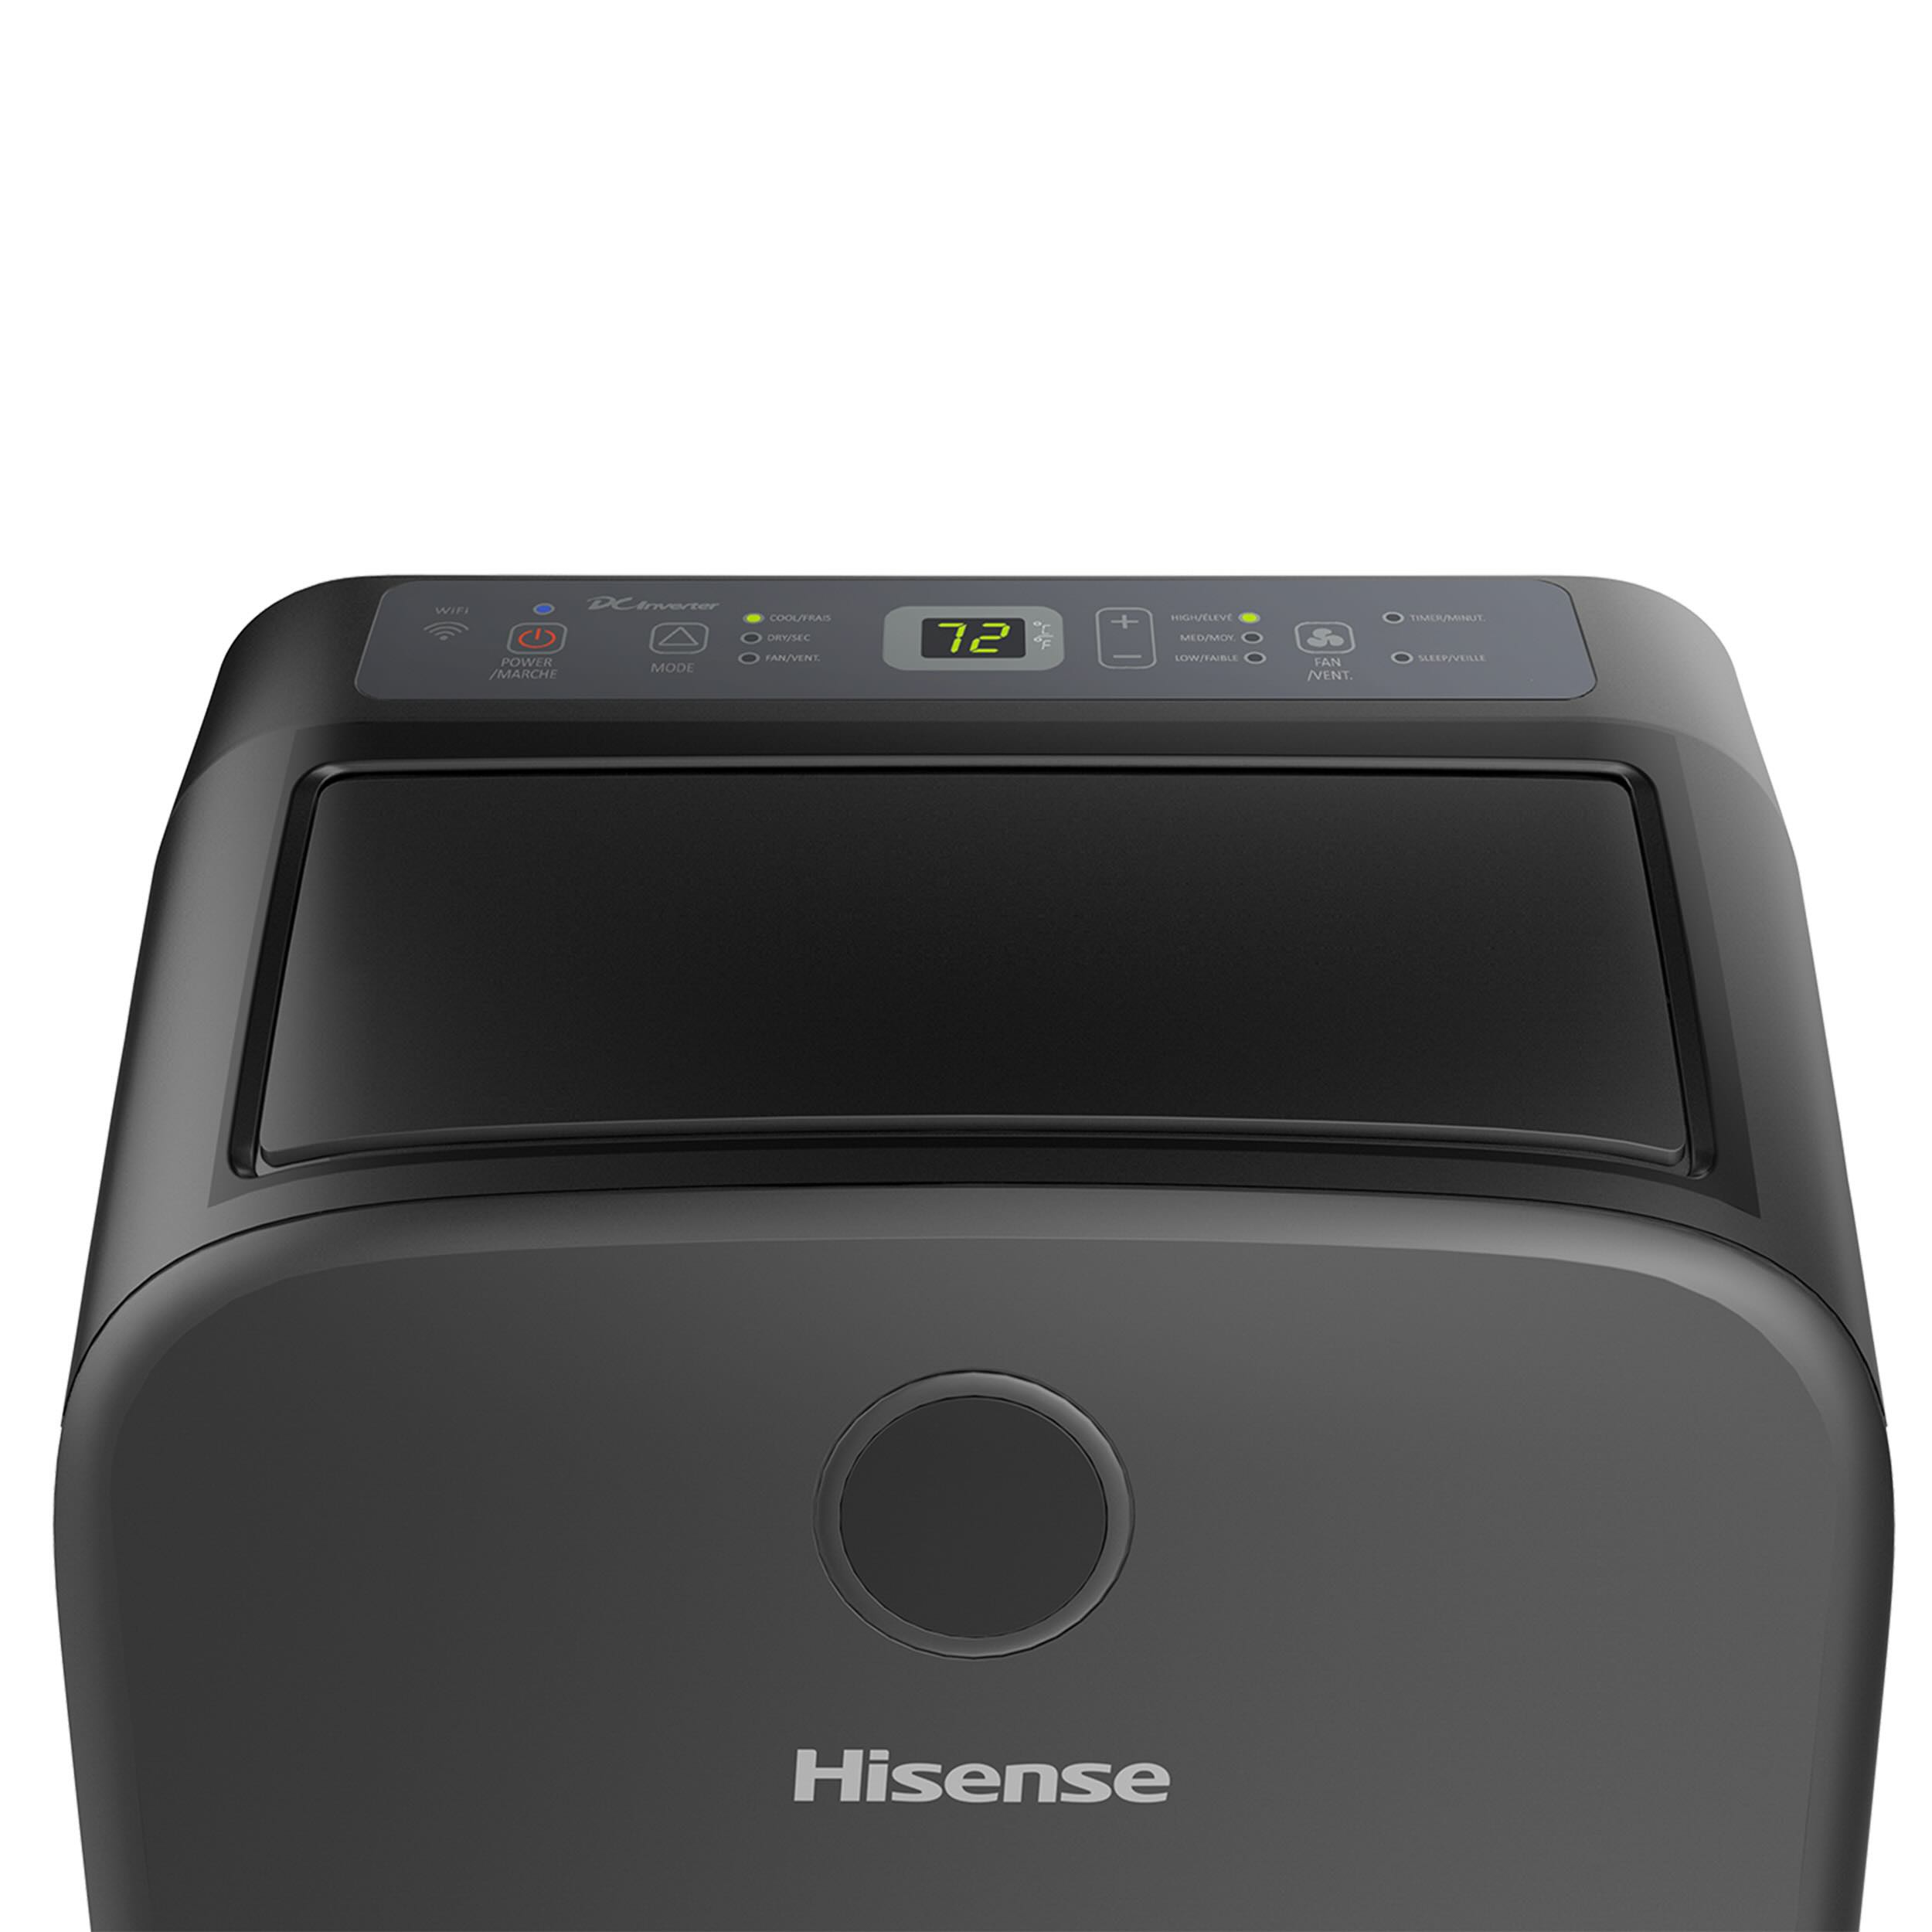
- Locate the power button or control panel on your portable air conditioner. It is typically located on the front or top of the unit.
- Press the power button or switch to turn off the air conditioner. Wait for a few seconds to ensure the unit completely shuts down.
- Check the display or indicator lights to ensure that the unit is no longer operational.
Once you have successfully turned off your portable air conditioner, you can proceed to the next step of the process. It is essential to make sure the unit is powered off to avoid any potential accidents or malfunctions while emptying the water tank or performing maintenance tasks.
Now that the portable air conditioner is safely turned off, let’s move on to the next step – unplugging the unit.
Step 2: Unplug the Portable Air Conditioner
After turning off the portable air conditioner, the next step is to unplug it from the power source. This ensures complete safety during the emptying process and prevents any electrical hazards. Follow these steps to unplug your portable air conditioner:
- Locate the power cord at the back of the unit.
- Gently grasp the plug and carefully pull it out of the electrical outlet.
- Ensure that the plug is completely disconnected from the power source.
By unplugging the portable air conditioner, you eliminate the risk of accidental power supply and make it safe to handle and maneuver while emptying the water tank or performing other maintenance tasks.
Once the unit is unplugged, we can move on to the next step – removing the exhaust hose.
Step 3: Remove the Exhaust Hose
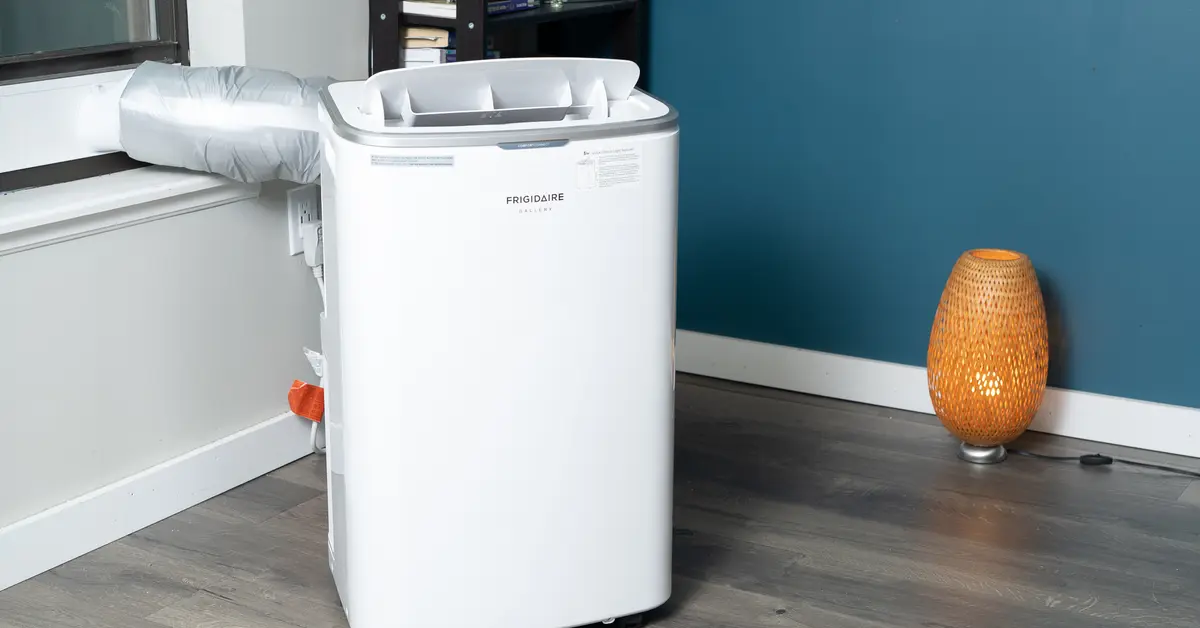
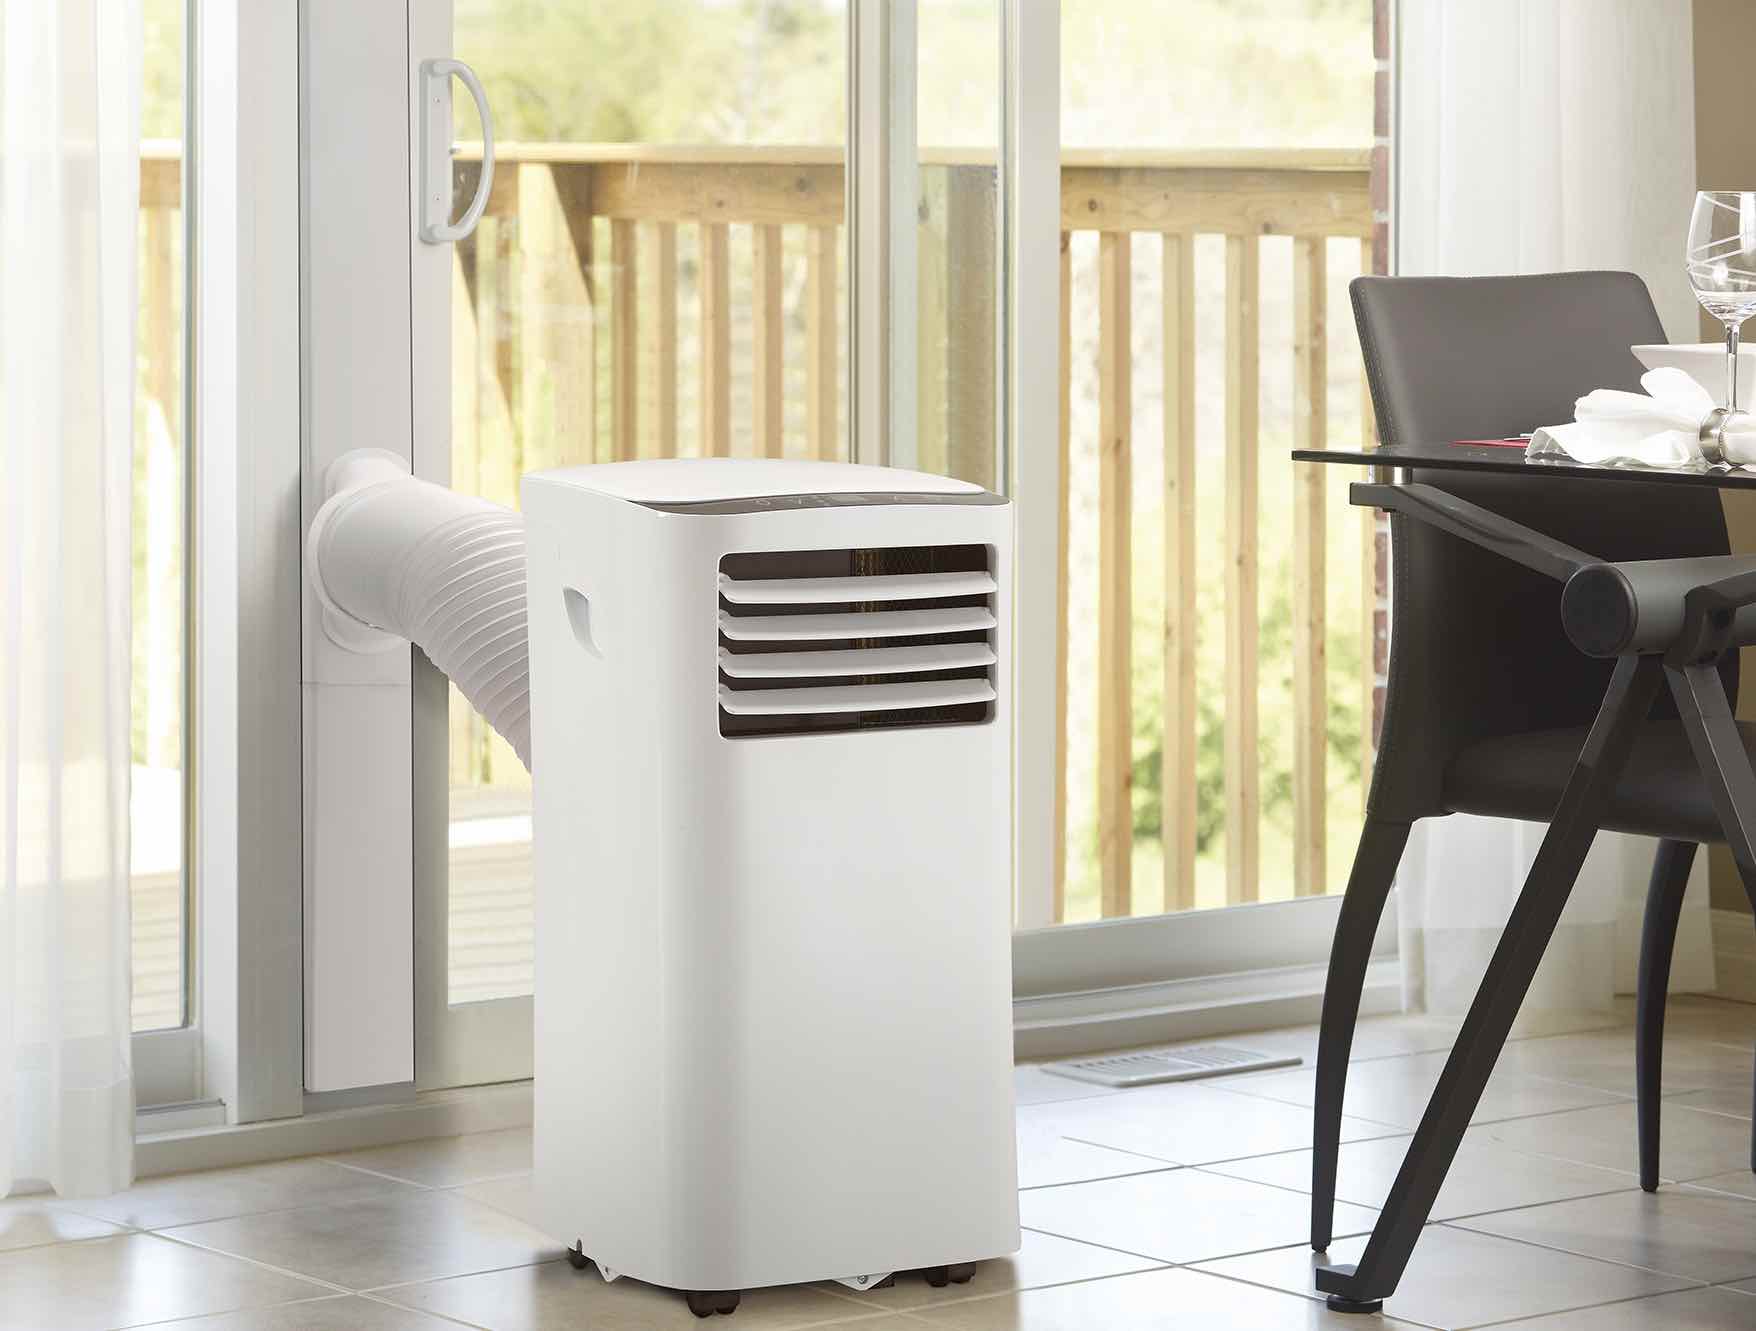
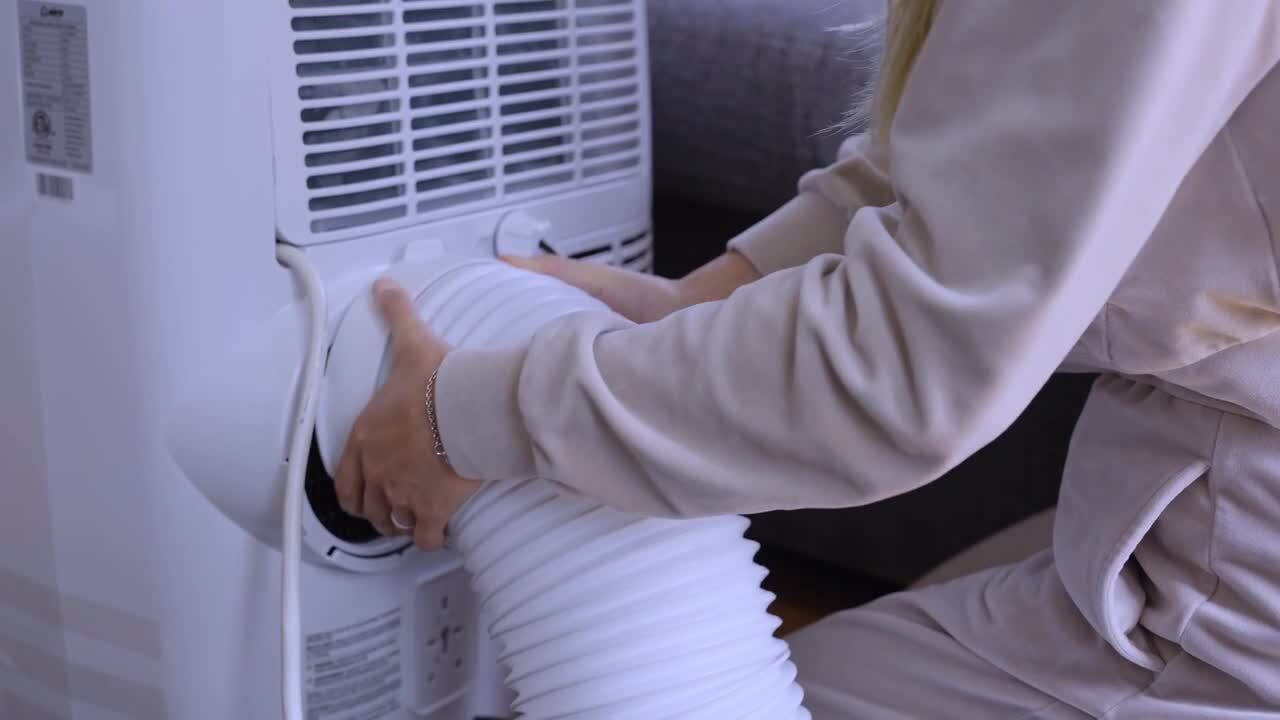
Removing the exhaust hose is an important step in emptying a portable air conditioner. The exhaust hose is responsible for venting hot air out of the room, and it needs to be detached to access the water tank. Follow these steps to remove the exhaust hose:
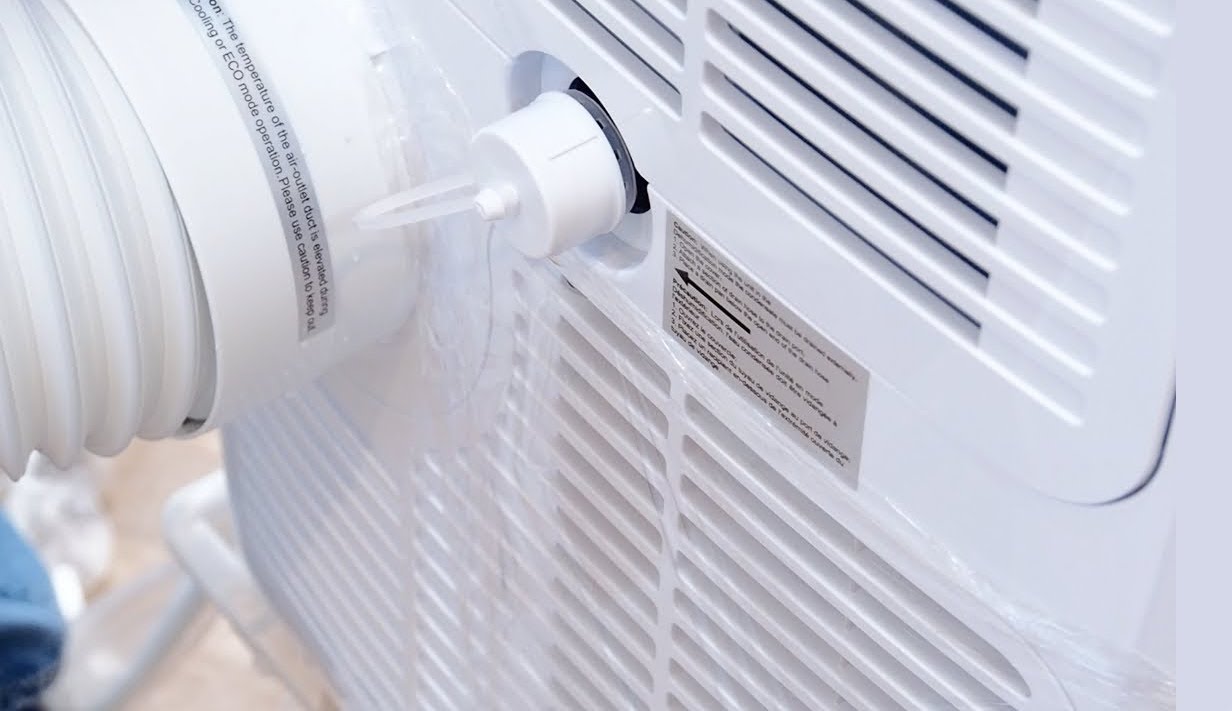
- Locate the end of the exhaust hose where it connects to the back of the portable air conditioner.
- Gently twist and pull the hose to detach it from the unit.
- If the hose is secured with a clamp, loosen the clamp using a screwdriver or pliers, and then slide the hose off.
- Once the hose is detached from the portable air conditioner, carefully set it aside. You may need to remove any excess dust or debris from the hose before reattaching it.
By removing the exhaust hose, you create an opening to access the water tank and effectively empty the accumulated condensation. Make sure to handle the hose with care to avoid any damage or bending.
Now that the exhaust hose is removed, let’s move on to the next step – draining the condensation from the portable air conditioner.
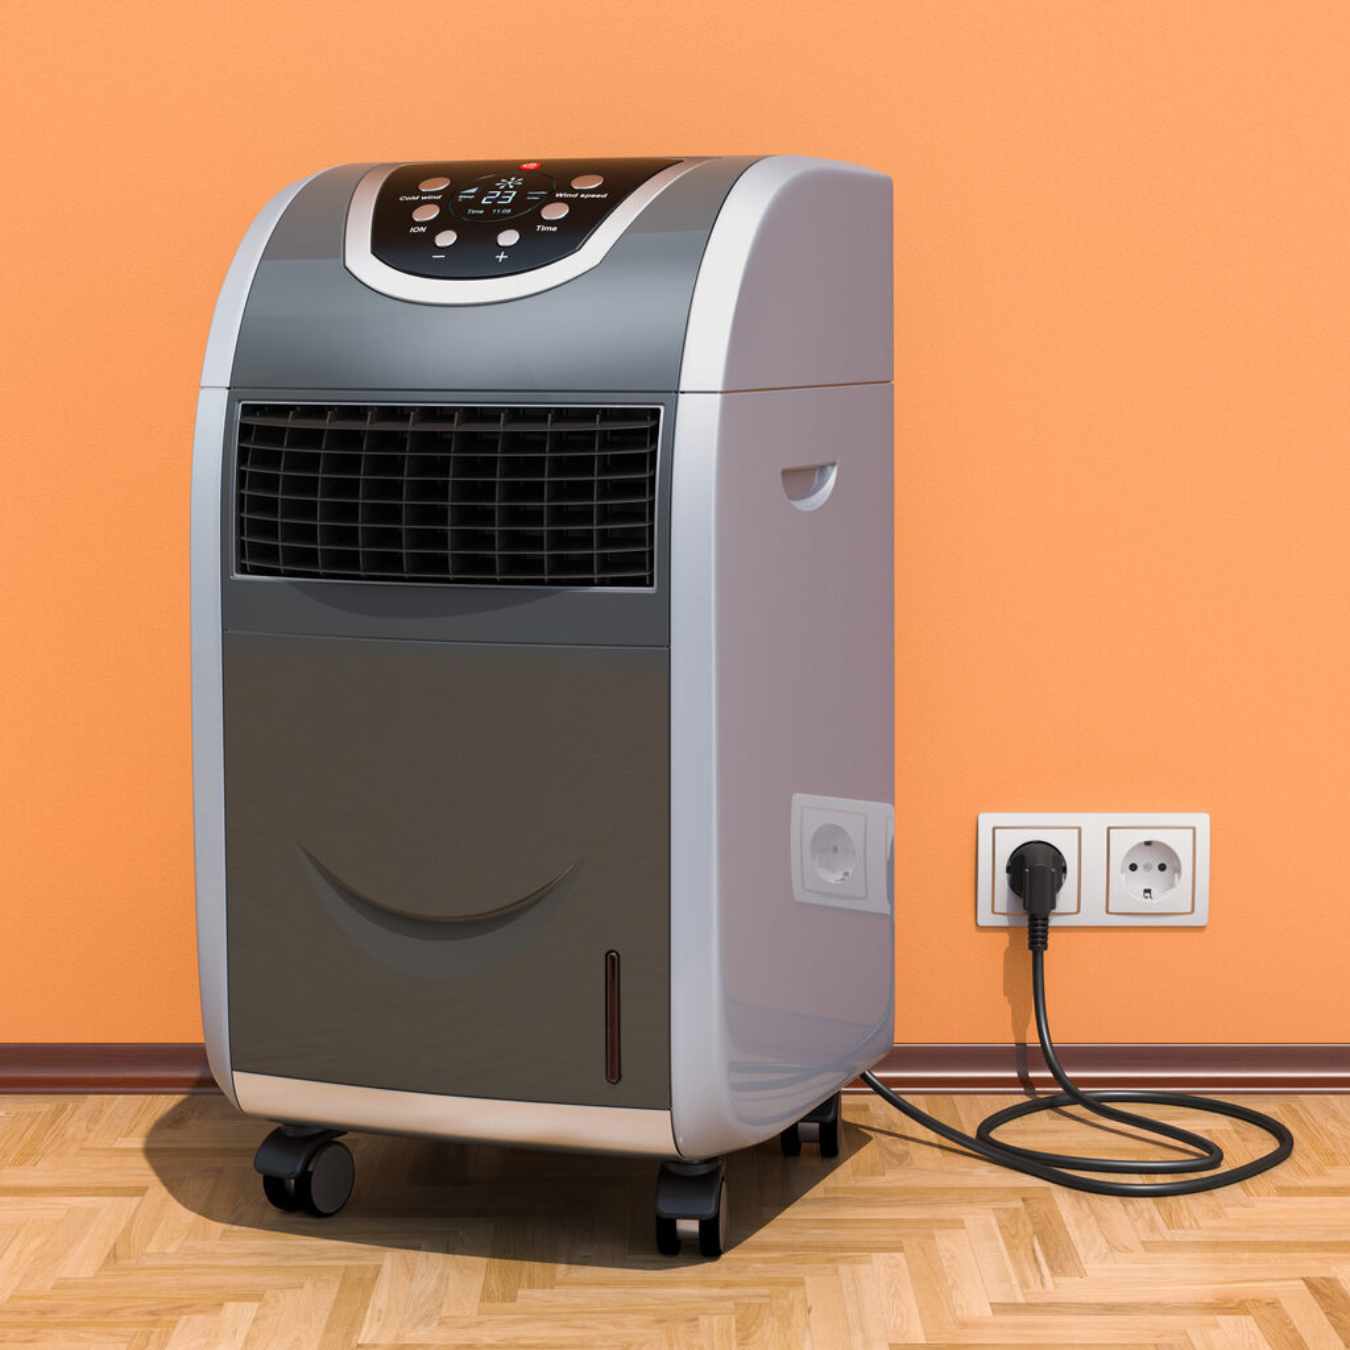
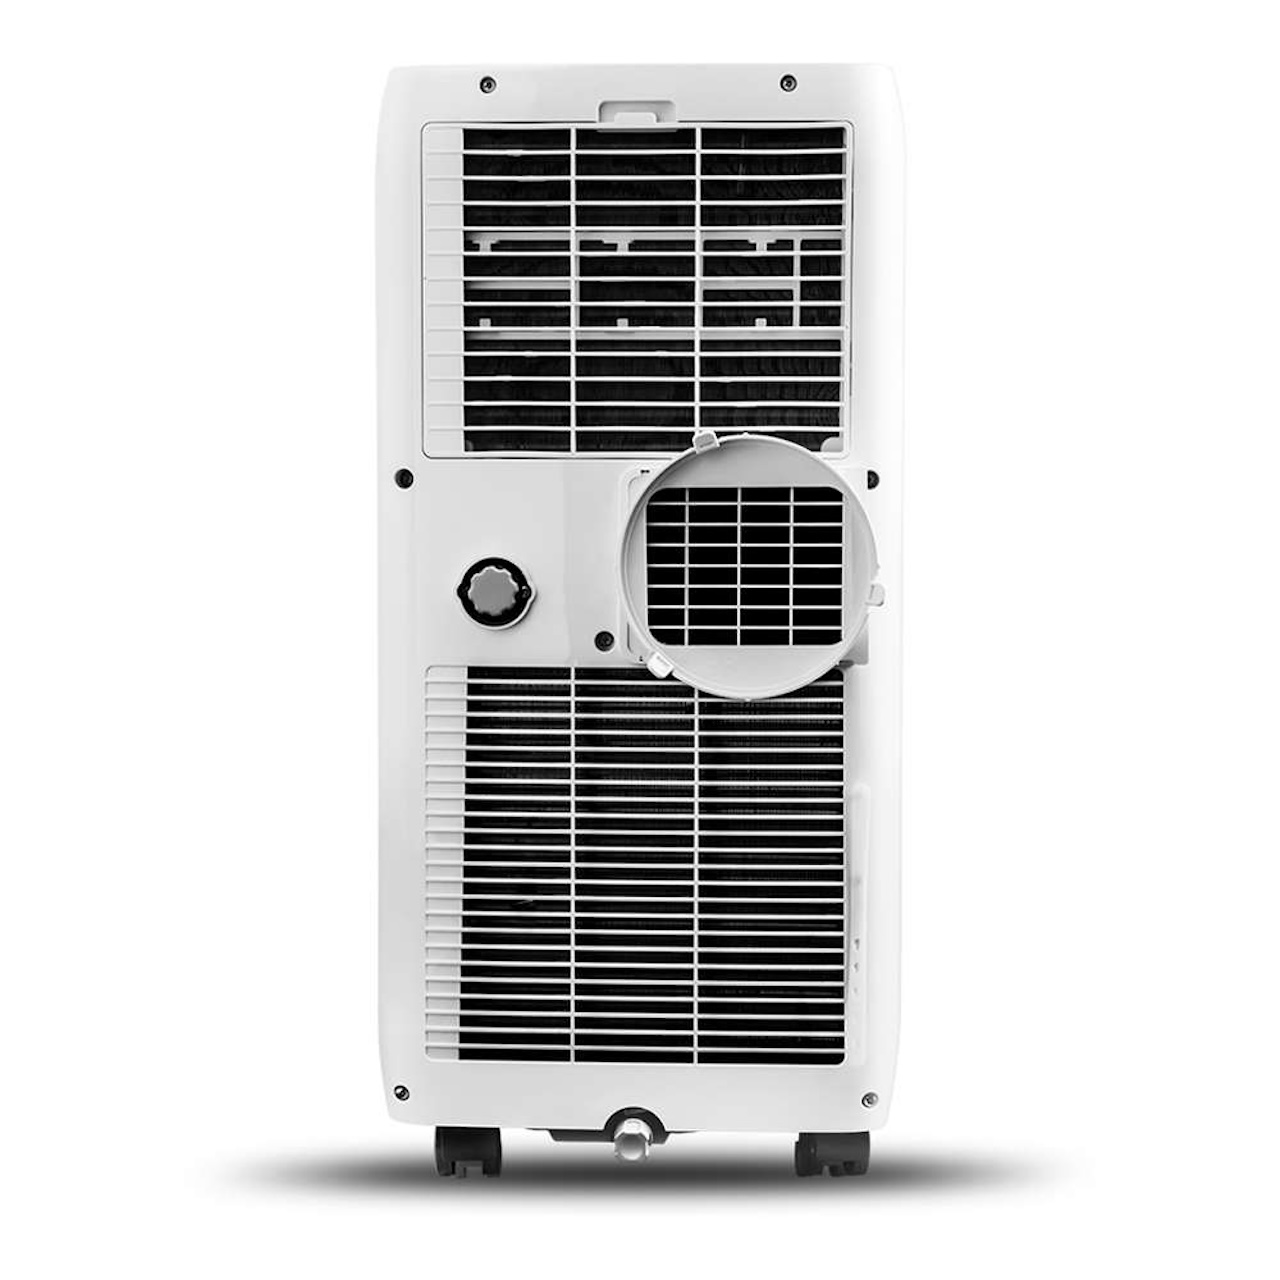
To empty a portable air conditioner, locate the drainage port at the bottom of the unit. Place a shallow pan or bucket underneath and carefully unscrew the plug to release the water. Be sure to empty it regularly to prevent overflow.
Read more: How To Install A Portable Air Conditioner
Step 4: Drain the Condensation
Draining the condensation is a crucial step in emptying a portable air conditioner. The condensation accumulates as a result of the cooling process, and it needs to be safely drained to prevent any water leakage or damage to the unit. Follow these steps to drain the condensation from your portable air conditioner:
- Locate the condensation drain plug or valve on the back or bottom of the portable air conditioner. It is usually labeled and easily identifiable.
- Place a shallow container or tray beneath the drain plug to catch the water.
- Carefully remove the drain plug or open the valve, allowing the condensation to flow into the container.
- Monitor the water flow and ensure it is draining properly without any leaks or spills.
- Once the condensation has completely drained, close the drain plug or valve securely.
It is advisable to inspect the drain plug or valve for any debris or blockages and clean it if necessary. A clogged drain can lead to water backup and damage the air conditioner.
By draining the condensation, you prevent any potential water-related issues and ensure the efficient operation of your portable air conditioner. Now, let’s move on to the next step – emptying the water tank.
Step 5: Empty the Water Tank
Emptying the water tank is a crucial maintenance task for a portable air conditioner. The water tank collects the condensation from the cooling process, and it needs to be emptied regularly to prevent overflow and potential damage to the unit. Follow these steps to effectively empty the water tank:
- Locate the water tank compartment on your portable air conditioner. It is typically located on the side or back of the unit.
- Remove the cover or panel to access the water tank.
- Using caution, pull out the water tank from its compartment.
- Empty the contents of the water tank into a sink or drain. Take care not to spill any water during this process.
- Inspect the water tank for any dirt, debris, or mineral buildup. If necessary, clean the water tank using mild soap and water, and rinse it thoroughly.
- Allow the water tank to dry completely before reinserting it back into the portable air conditioner.
- Ensure the water tank is securely placed in its compartment before moving on to the next step.
Regularly emptying the water tank prevents any potential leaks and ensures the proper functioning of your portable air conditioner. It is recommended to check the water tank frequently, especially during periods of high humidity or extended use, and empty it as needed.
With the water tank emptied, let’s move on to the next step – cleaning the air filters.
Step 6: Clean the Air Filters
Cleaning the air filters is an essential maintenance task to keep your portable air conditioner running efficiently. Over time, dust, dirt, and debris can accumulate on the filters, reducing airflow and hindering the cooling performance. Follow these steps to effectively clean the air filters:
- Locate the air filter compartment on your portable air conditioner. It is typically situated on the front, side, or back of the unit.
- Open the compartment to access the air filters.
- Remove the filters from the compartment. Some portable air conditioners have multiple filters, so make sure to remove them all.
- Inspect the filters for visible dirt or debris. If heavily soiled, it is recommended to replace the filters with new ones.
- If the filters are reusable, gently tap them or use a soft brush to remove loose dirt and debris. Alternatively, you can vacuum the filters with a brush attachment to clean them thoroughly.
- For more stubborn dirt or residue, soak the filters in warm water mixed with mild soap for a few minutes. Gently scrub the filters with a soft brush or sponge, then rinse them with clean water.
- Allow the filters to air dry completely before reinserting them back into the air conditioner. Make sure they are in the correct position and securely placed in the compartment.
Regularly cleaning the air filters not only improves the air quality but also helps to maintain the efficiency and longevity of your portable air conditioner. It is advisable to clean the filters every few weeks during peak usage or as recommended by the manufacturer.
Now that the air filters are clean, we can move on to the final step – reassembling the portable air conditioner and starting it again.
Step 7: Reassemble and Start the Portable Air Conditioner
After completing the necessary maintenance tasks, it’s time to reassemble your portable air conditioner and get it up and running again. Follow these steps to effectively reassemble and start your air conditioner:
- If you had removed the exhaust hose, reattach it to the back of the portable air conditioner. Secure it tightly with a clamp if necessary.
- Ensure that the condensation drain plug or valve is securely closed to prevent any water leakage.
- Carefully insert the clean and dry air filters back into their respective compartments. Make sure they are properly aligned and securely fitted.
- If you had removed the water tank, reinsert it into its compartment. Ensure it is positioned correctly and securely in place.
- Double-check that all panels, covers, and compartments are closed securely.
- Plug the power cord back into a functioning electrical outlet.
- Switch on the power to your portable air conditioner using the control panel or power button.
- Set the desired temperature and fan speed according to your preference.
- Monitor the air conditioner for a few minutes to ensure it is cooling effectively and operating smoothly.
By following these steps, you have successfully reassembled your portable air conditioner and it’s now ready to provide you with cool and comfortable air.
Remember to regularly check and maintain your portable air conditioner to ensure its long-term performance. This includes emptying the water tank, cleaning the filters, and conducting any other recommended maintenance tasks as specified in the user manual.
With proper care and maintenance, you can enjoy the benefits of a well-functioning portable air conditioner for years to come.
That concludes our guide on how to empty a portable air conditioner. We hope you found this information helpful, and we wish you a cool and enjoyable summer!
Read more: How To Hide A Portable Air Conditioner
Conclusion
Congratulations! You’ve reached the end of our comprehensive guide on how to empty a portable air conditioner. We have covered the necessary steps and safety precautions to ensure a smooth and efficient emptying process. By following these guidelines, you can maintain the performance and extend the lifespan of your portable air conditioner.
From turning off and unplugging the unit to draining the condensation, emptying the water tank, cleaning the air filters, and reassembling the air conditioner, each step plays a crucial role in keeping your portable air conditioner in optimal condition. Regular maintenance is key to preventing water leakage, improving air quality, and maximizing the cooling efficiency of your appliance.
Remember to prioritize safety throughout the entire process by turning off the power, wearing protective gear, providing proper ventilation, and being cautious with any sharp objects. Following these safety precautions will ensure a safe and hassle-free maintenance routine.
We hope that this guide has provided you with the necessary knowledge and confidence to properly empty and maintain your portable air conditioner. By incorporating these practices into your regular cleaning and maintenance routine, you can enjoy a cool and comfortable home environment throughout the hot summer months.
If you have any other questions or require further assistance, always refer to the manufacturer’s instructions or consult with a professional. Take care of your portable air conditioner, and it will continue to take care of you.
Thank you for reading, and stay cool!
Frequently Asked Questions about How To Empty A Portable Air Conditioner
Was this page helpful?
At Storables.com, we guarantee accurate and reliable information. Our content, validated by Expert Board Contributors, is crafted following stringent Editorial Policies. We're committed to providing you with well-researched, expert-backed insights for all your informational needs.
