Articles
How To Store Empty Mason Jars
Modified: October 18, 2024
Learn the best way to store empty mason jars and keep them organized with these helpful articles. Find tips and tricks for maximizing space and preventing breakage.
(Many of the links in this article redirect to a specific reviewed product. Your purchase of these products through affiliate links helps to generate commission for Storables.com, at no extra cost. Learn more)
Introduction
Mason jars have become increasingly popular for storage and organization due to their durability, versatility, and aesthetic appeal. Whether you’re an avid home canner or simply enjoy using mason jars for various DIY projects, you may find yourself accumulating empty jars over time. Storing these jars properly is essential to maintain their quality and prevent any damage.
In this article, we will discuss the importance of storing empty mason jars, and provide you with practical tips on how to store them effectively. From finding the right storage space to properly cleaning and organizing the jars, we will guide you through the process step by step.
By following these guidelines, you can ensure that your empty mason jars are well-maintained and ready for future use. So, let’s delve into the world of mason jar storage and discover the best practices for keeping your collection in top-notch condition.
Key Takeaways:
- Properly storing empty mason jars is crucial for maintaining their reusability, preventing breakage, and preserving their aesthetic appeal. From finding the right storage space to removing labels and residue, these comprehensive tips ensure your jars remain in optimal condition.
- Whether you choose to stack or hang your mason jars, handle them with care to avoid breakage and damage. Proper cleaning, drying, and long-term storage practices will extend the longevity of your collection, ensuring your jars are ready for future use.
Read more: How To Store Mason Jars
Why Store Empty Mason Jars?
You may be wondering why it is necessary to store empty mason jars when they are not in use. Well, there are several compelling reasons why storing these jars properly is important:
1. Reusability: Mason jars are known for their durability and long lifespan. By storing empty jars properly, you can ensure that they remain in good condition for multiple uses. Whether you plan to use them for canning, preserving, or organizing household items, having a collection of ready-to-use mason jars can save you time and money in the long run.
2. Preventing Breakage: Mason jars are made of glass, which makes them susceptible to breaking if not handled with care. Storing empty jars in a safe and organized manner can help prevent accidental breakage and extend their lifespan. This is particularly important if you have limited storage space or if the jars need to be stacked or stored in a tight area.
3. Aesthetic Appeal: Mason jars are not only functional but also visually appealing. Many people use them as decorative items, creating beautiful displays or using them as vases for flowers. By storing empty jars properly, you can ensure that they remain clean, free from dust, and ready to be used for any creative or decorative purposes.
4. Saving Space: Empty mason jars can take up a significant amount of space if not stored properly. By organizing them efficiently, you can maximize the use of your storage areas and create a clutter-free environment. This is especially beneficial if you have a large collection of mason jars and limited storage options.
5. Avoiding Dust and Contamination: When empty jars are left uncovered or exposed, they can collect dust and become susceptible to contamination. Storing the jars in a clean and protected environment helps maintain their hygienic condition, ensuring that they are ready for immediate use when needed.
Now that we understand the importance of storing empty mason jars, let’s dive into the practical steps on how to store them effectively and keep them in optimal condition.
Finding the Right Storage Space
When it comes to storing empty mason jars, selecting the right storage space is crucial for their preservation and accessibility. Here are some factors to consider when finding the ideal storage space:
1. Size and Quantity: Assess the size and quantity of your empty mason jar collection to determine how much space you will need. If you have a large collection, you may need a designated area or shelving unit specifically for storing the jars. If you have a smaller collection, a cabinet or pantry shelf might suffice.
2. Accessibility: Choose a storage space that provides easy access to the jars. Storing them in a convenient location will save you time and effort when you need to retrieve or organize the jars. Consider areas like cabinets, closets, or pantries that are easily accessible.
3. Protection from Sunlight: Direct sunlight can cause the jars to fade or become discolored over time. To preserve the quality and appearance of your mason jars, store them in a location away from direct sunlight. Opt for a cool, dark area to protect them from UV rays.
4. Temperature and Humidity: Extreme temperatures and high humidity can have a negative impact on the jars. Avoid storing them in areas where temperatures fluctuate significantly or where there is excessive moisture. Aim for a storage space with stable temperature and humidity levels.
5. Shelving or Containers: Depending on your storage space, you may need to invest in shelving units or containers to effectively organize and store the mason jars. Open shelves or clear plastic bins can provide easy visibility and access to the jars while keeping them neatly organized.
6. Weight-bearing Capacity: If you plan on stacking the mason jars, ensure that the storage space can withstand the weight. Position the jars in a way that evenly distributes the weight to avoid any potential damage or accidents.
By considering these factors, you can find the perfect storage space for your empty mason jars. Remember, the goal is to protect the jars from breakage, dust, and environmental factors while ensuring easy access and efficient organization.
Cleaning the Mason Jars
Before storing your empty mason jars, it is essential to clean them thoroughly to remove any residue, odors, or potential contaminants. Here are the steps to effectively clean your mason jars:
1. Preparing the Jars: Remove any remaining contents from the jars, such as food, labels, or decorative elements. Discard any damaged or cracked jars as they may not be suitable for long-term storage.
2. Hot Water Soak: Fill a sink or basin with hot water and submerge the mason jars. Allow them to soak for 15-20 minutes to loosen any stubborn residue or sticky substances. The hot water will help soften the debris, making it easier to remove.
3. Scrubbing: After the soak, use a non-abrasive sponge or brush to scrub the inside and outside of the jars. Pay close attention to the rim and base where residue may be more stubborn. For hard-to-reach areas, you can use a toothbrush or bottle brush to ensure thorough cleaning.
4. Dish Soap or Vinegar Solution: To enhance the cleaning power, use a mixture of dish soap and warm water or a vinegar solution. Apply a small amount to your sponge or brush and scrub the jars in a circular motion. The soap or vinegar helps to break down grease, stains, and lingering odors.
5. Removing Mineral Deposits: If your mason jars have mineral deposits or hard water stains, soak them in a mixture of equal parts white vinegar and water for an hour. Then, scrub the jars again to remove the deposits. Rinse thoroughly to ensure all traces of vinegar are removed.
6. Final Rinse: After scrubbing, rinse the jars under warm running water to remove any remaining soap, vinegar, or debris. Inspect the jars to ensure they are clean and free from residue before proceeding to the next step.
7. Drying: Properly dry the jars to prevent moisture buildup and potential mold growth during storage. You can air dry them by placing them upside down on a clean dish rack or towel, allowing any excess water to drain out. Alternatively, you can use a soft, lint-free cloth to carefully dry the jars inside and out.
By following these steps, you can ensure that your mason jars are clean, free from contaminants, and ready for storage. Cleaning the jars thoroughly will help preserve their quality and ensure that they are in optimal condition for future use.
Removing Labels and Residue
When repurposing or storing empty mason jars, it’s common to encounter stubborn labels and sticky residue that can be difficult to remove. Here are some effective methods to help you remove labels and residue from your mason jars:
1. Soaking in Warm Water: Fill a sink or basin with warm water and submerge the jars. Let them soak for about 10-15 minutes to help loosen the adhesive of the labels.
2. Scrubbing with a Sponge or Scraper: After soaking, use a sponge or plastic scraper to gently scrape off the labels. Start at one corner and work your way along the edge, applying gentle pressure to avoid scratching the glass. If there’s stubborn residue left behind, move on to the next step.
3. Removing Residue with Oil: Apply a small amount of cooking oil, such as vegetable or olive oil, to a cloth or paper towel. Rub the cloth against the label residue, allowing the oil to penetrate and break down the adhesive. Then, use the cloth to gently scrub away the residue. Repeat as necessary until the residue is completely removed.
4. Using Commercial Adhesive Removers: If the above methods don’t work, you can try using commercial adhesive removers. These products are specially formulated to dissolve adhesive residue effectively. Follow the instructions on the product and apply it to the label or residue, allowing it to sit for a few minutes. Then, use a cloth or sponge to wipe away the residue.
5. Scrubbing with Baking Soda Paste: Create a paste by mixing baking soda with water until it forms a thick consistency. Apply the paste to the label or residue and let it sit for a few minutes. Then, use a sponge or scrub brush to scrub away the residue. Rinse the jar thoroughly to remove any remaining paste.
6. Removing Residue with Rubbing Alcohol: Dampen a cloth or paper towel with rubbing alcohol and rub it on the label or residue. The alcohol will help dissolve the adhesive, making it easier to remove. Scrub gently until the residue is gone, then rinse the jar with water to remove any alcohol residue.
7. Cleaning with Dish Soap: Once the labels and residue are removed, wash the jars with warm, soapy water to remove any leftover oil, baking soda, or residue from the cleaning process. Rinse the jars thoroughly and dry them before storing.
By following these methods, you can effectively remove labels and sticky residue from your mason jars. This will leave them clean, free from any adhesive, and ready for storage or repurposing.
Read more: How To Store Blueberries In Mason Jars
Properly Drying the Mason Jars
Ensuring that your mason jars are properly dried before storing them is essential to prevent moisture buildup and the growth of mold or bacteria. Here are some steps to help you effectively dry your mason jars:
1. Air Drying: One of the easiest methods to dry mason jars is by air drying. After cleaning the jars, place them upside down on a clean dish rack, towel, or a drying mat. This allows any excess water to drain out of the jars naturally. Ensure that the jars are placed in a well-ventilated area to facilitate the drying process.
2. Towel Drying: If you prefer a quicker drying method, you can use a soft, lint-free kitchen towel or microfiber cloth to dry the jars manually. Gently wipe the inside and outside of each jar until all moisture is absorbed. Pay close attention to the rims and crevices to ensure thorough drying.
3. Oven Drying: For those who want to expedite the drying process, you can use your oven to dry the mason jars. Preheat the oven to a low temperature, such as 150°F (65°C). Place the clean, empty jars on a baking sheet and put them in the oven for about 10-15 minutes. Make sure to monitor the jars closely to prevent overheating or any potential damage. Once the jars are dry, carefully remove them from the oven using oven mitts or tongs.
4. Using a Hairdryer: Another option to dry the mason jars quickly is by using a hairdryer on a low heat setting. Hold the hairdryer a few inches away from the jars and move it in a back-and-forth motion to distribute the heat evenly. Be cautious not to overheat the jars or hold the hairdryer too close to prevent any breakage.
5. Ensuring Complete Dryness: Whatever method you choose, it is crucial to ensure that the jars are completely dry before storing them. Inspect each jar carefully, paying attention to crevices, lids, and edges, to make sure there is no residual moisture. Any moisture left behind could lead to mold growth or the development of unpleasant odors.
By following these drying methods, you can ensure that your mason jars are thoroughly dry and ready for storage. Properly dried jars will help maintain their quality and prevent any potential damage or bacterial growth during storage.
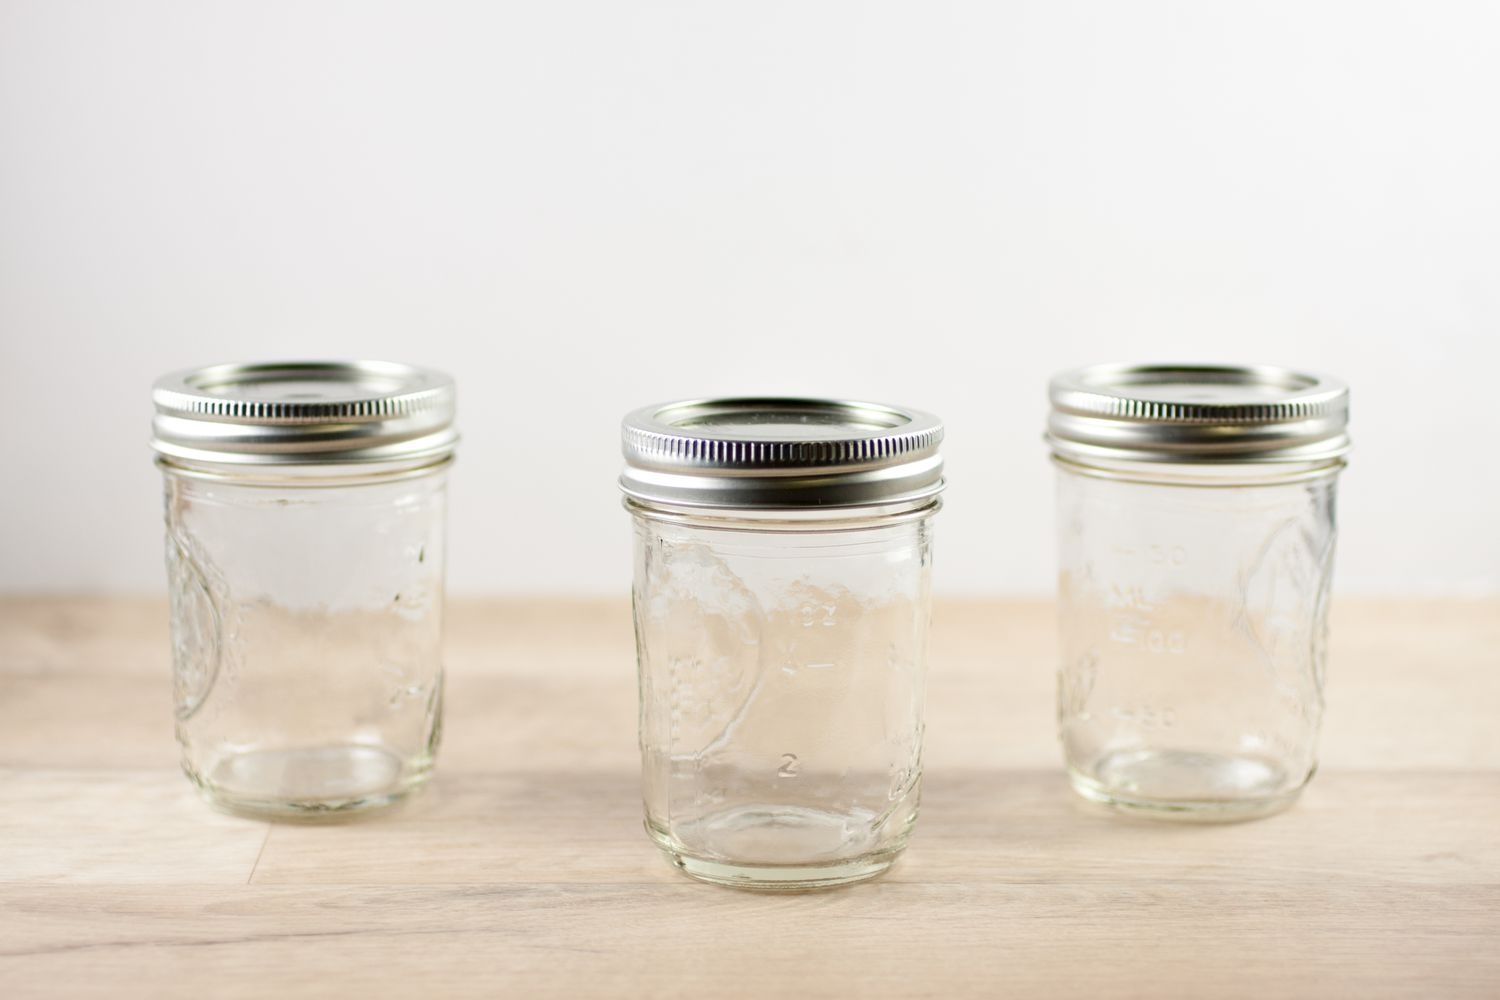
To store empty mason jars, remove the lids and wash the jars thoroughly. Allow them to air dry completely before stacking them to prevent mold and mildew. Store them in a cool, dry place to prevent any damage.
Organizing the Empty Mason Jars
Once your mason jars are cleaned, dried, and ready for storage, it’s important to organize them in a way that maximizes space and allows for easy access. Here are some tips for organizing your empty mason jars:
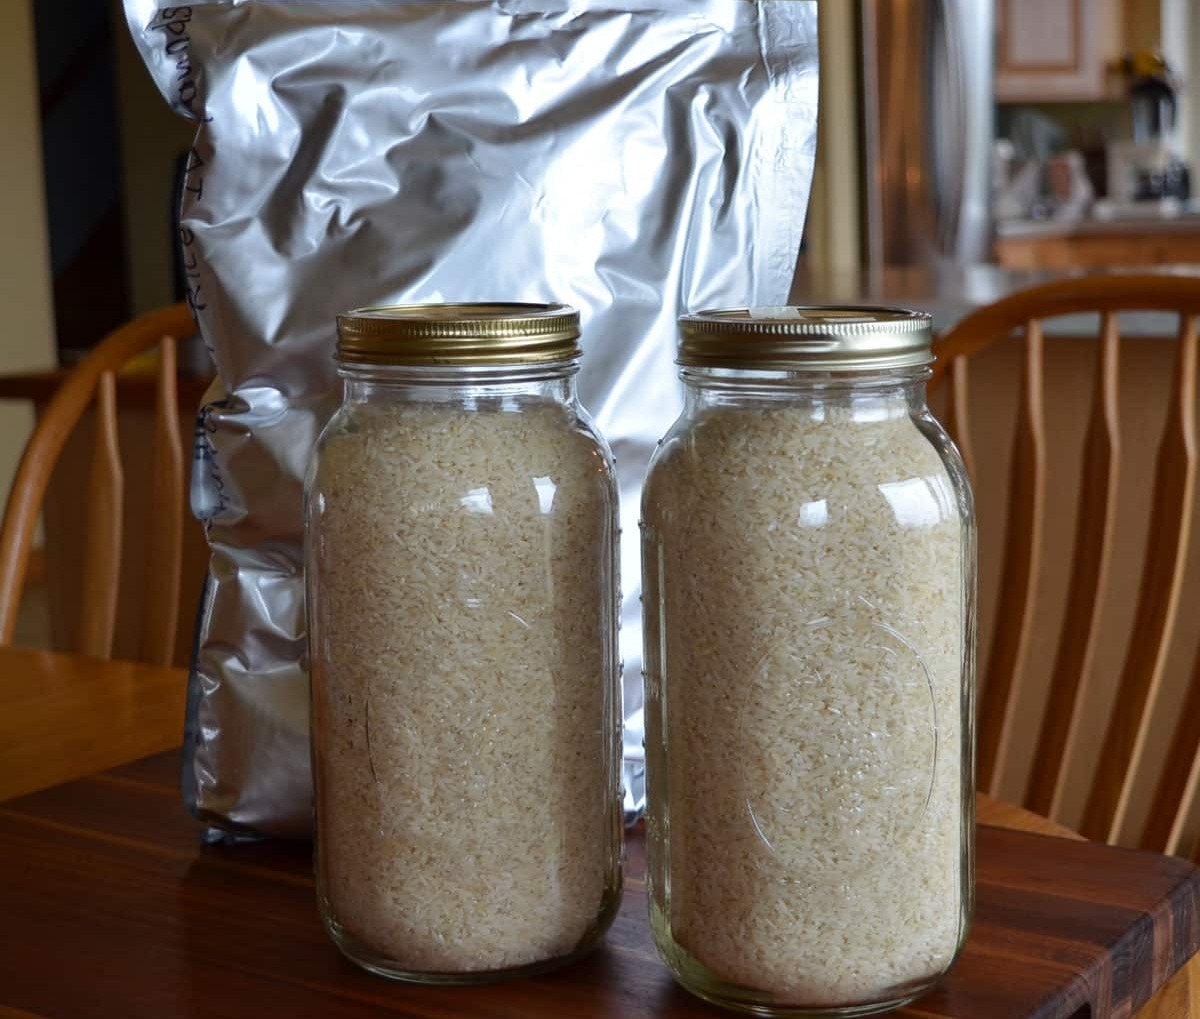
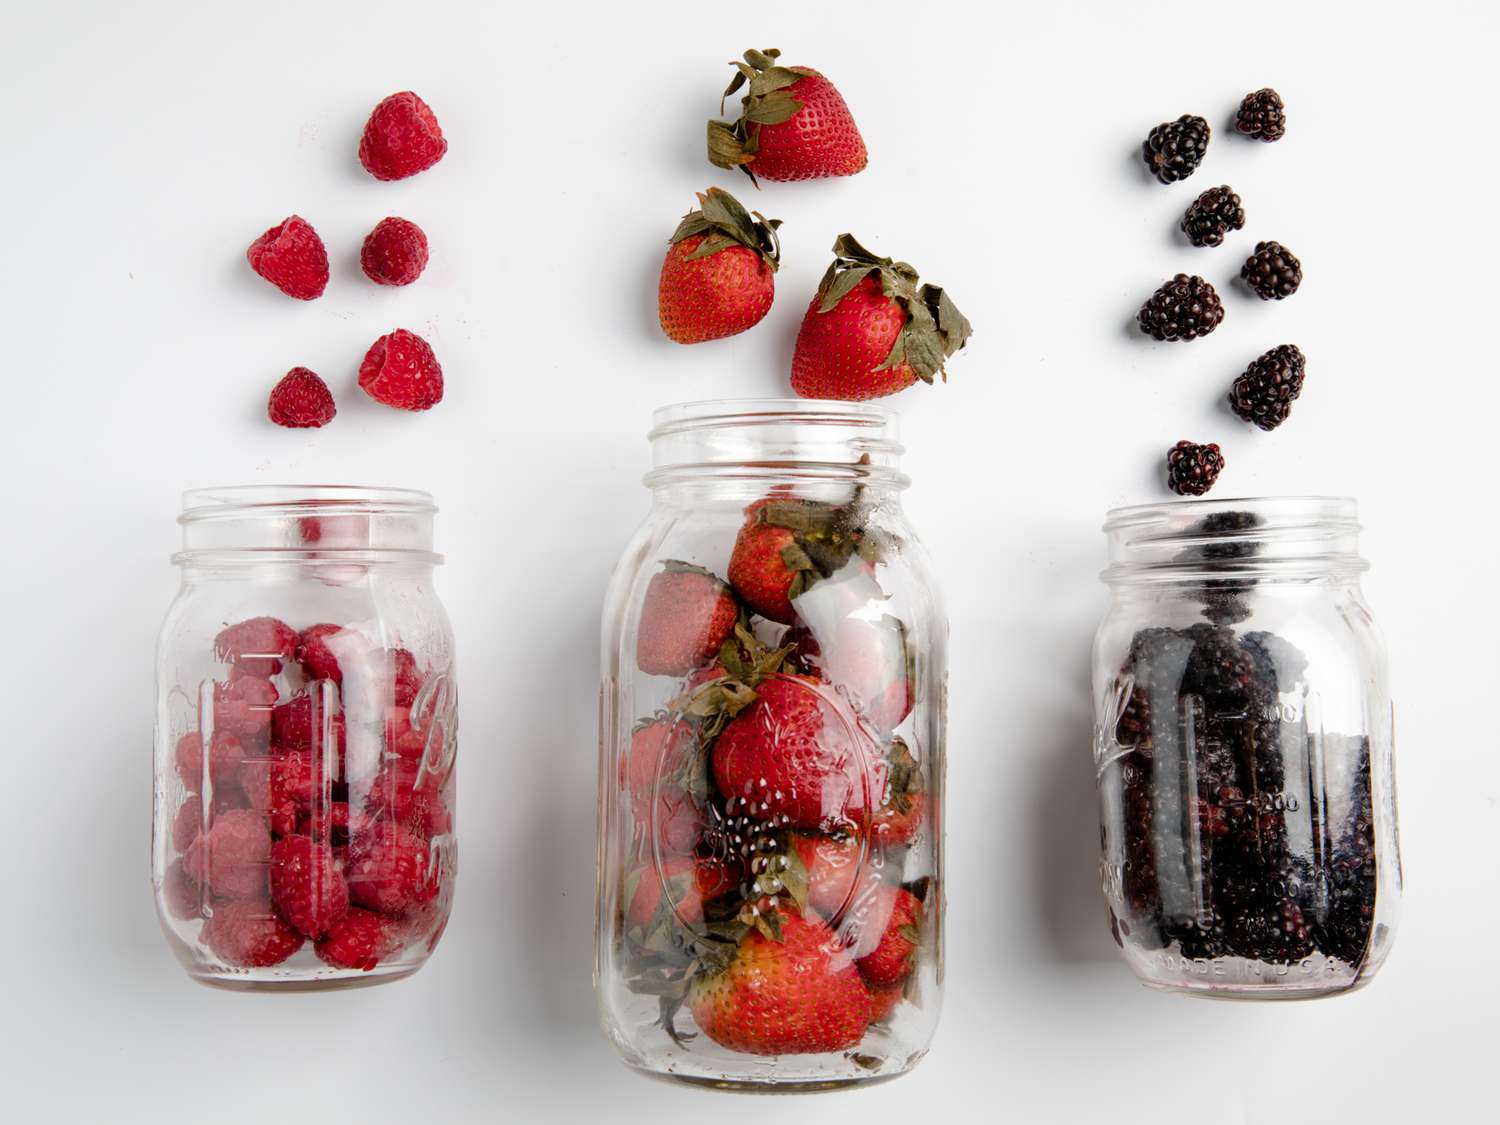
1. Grouping by Size: Sort your mason jars by size to make them easier to manage. Grouping them together will help you quickly find the right jar when you need it. Consider storing quart-sized jars with quart-sized jars and pint-sized jars with pint-sized jars for a more organized arrangement.
2. Using Dividers or Bins: If you have a large collection of mason jars, consider using dividers or bins to keep them separated and prevent them from rolling or clanking together. Clear plastic containers or storage bins with partitions can provide an organized and easily accessible storage solution.
3. Labeling: To further enhance organization, label the jars or containers with their contents or designated use. Use adhesive labels or write directly on the container with a marker. This will help you quickly identify the contents of each jar, saving you time when you need to find a specific item.
4. Stacking vs. Shelving: Depending on the space available and the number of jars in your collection, you can choose to stack the jars or store them on shelves. If you stack them, ensure that the area is stable and that the weight is evenly distributed to avoid any accidents or damage. If you decide to use shelves, use sturdy shelving units that can support the weight of the jars.
5. Accessibility: Consider the frequency of use when organizing your mason jars. Store jars that are used more frequently within easy reach, while those used less often can be stored in higher or less accessible areas. This will help optimize space and ensure a more convenient storage arrangement.
6. Displaying Decorative Jars: If you have mason jars that are purely decorative, consider displaying them instead of storing them away. Use open shelving or wall-mounted jars for a visually appealing display. This not only saves storage space but also adds a charming touch to your home decor.
7. Maintenance: Regularly check and organize your mason jars to maintain their organization and cleanliness. As you use or replenish your collection, take the time to rearrange and tidy up the storage area to ensure everything remains in order.
By implementing these organizing tips, you can create a neat and efficient system for storing your empty mason jars. Whether you have a small collection or an extensive assortment, having an organized storage solution will make it easier to find and use your jars when needed.
Stacking vs. Hanging Mason Jars
When it comes to storing your empty mason jars, you have the option to stack them or hang them, depending on your space and personal preference. Both methods have their advantages and considerations. Let’s explore the pros and cons of stacking and hanging mason jars:
Stacking Mason Jars:
- Space Efficiency: Stacking mason jars allows you to maximize vertical space, making it ideal if you have limited storage area. It helps conserve shelf or cabinet space and allows you to store more jars in a smaller area.
- Stability: If stacked properly, mason jars can remain stable and secure. Ensure that the base of each jar is placed evenly on the jar below to distribute the weight and avoid any tilting or potential accidents.
- Accessibility: Stacked jars can be easily accessible as long as they are stacked in a stable manner. You can easily see and grab the jar you need without having to move other jars around.
- Considerations: Remember that stacking jars too high can increase the risk of breakage or accidents. Take into account the weight of the stacked jars and whether the storage area can support them safely.
Hanging Mason Jars:
- Saves Space: Hanging mason jars is an excellent space-saving solution, particularly if you have wall space or overhead space available. It allows you to utilize vertical storage instead of using valuable shelf or cabinet space.
- Visual Display: Hanging mason jars can create a visually appealing display, especially if you have decorative jars or if you use them for organizing small items. They can serve as functional and decorative elements in your kitchen or other areas of your home.
- Easier Organization: With hanging mason jars, you can easily see what’s inside each jar and access them without having to move other jars around. This makes organizing and finding specific items more convenient.
- Installation and Stability: Hanging mason jars require proper installation, such as using hooks, racks, or hanging systems. Ensure that the hanging mechanism is secure and can support the weight of the jars. Additionally, keep in mind that jars hanging too low may be prone to accidental bumps or damage.
Ultimately, whether you choose to stack or hang your mason jars depends on your available space, storage needs, and personal preference. You can even incorporate a combination of both methods to suit your specific requirements. Consider factors such as the number of jars you have, the available storage area, accessibility, and the overall aesthetic you wish to achieve.
Remember, regardless of the storage method you choose, always handle your mason jars with care to prevent breakage and ensure the longevity of your collection.
Avoiding Breakage and Damage
Protecting your mason jars from breakage and damage is crucial to maintain their functionality and extend their lifespan. Here are some tips to help you avoid breakage and keep your jars in pristine condition:
1. Handle with Care: Always handle mason jars with care, especially when cleaning, storing, or moving them. Hold the jars by their base or body, avoiding excessive pressure on the rims or necks, as these areas are more fragile.
2. Inspect for Damage: Before storing or using your mason jars, inspect them for any cracks, chips, or damage. Damaged jars should be discarded, as they are more prone to breakage during use or storage.
3. Use Proper Packing Materials: When storing mason jars, choose appropriate packing materials to provide cushioning and reduce the risk of breakage. Wrap individual jars in bubble wrap, foam, or packing paper to add an extra layer of protection.
4. Avoid Extreme Temperatures: Sudden temperature changes can cause glass to expand or contract rapidly, increasing the likelihood of breakage. Avoid subjecting mason jars to extreme temperature variations, such as placing hot jars in a cold environment or vice versa.
5. Use Storage Containers with Dividers: If stacking your mason jars, consider using storage containers with built-in dividers to prevent jars from knocking into each other. This helps distribute weight evenly and reduces the risk of jars toppling over.
6. Securely Fasten Lids: When storing mason jars with their lids on, ensure that the lids are securely fastened. This prevents any accidental spills or leaks that could damage or compromise the contents of the jars.
7. Store in a Stable Environment: Choose a storage space that is stable and free from excessive vibrations or movements. Avoid storing jars in high-traffic areas or locations where they may be at risk of being knocked over or bumped into.
8. Stack Jars Carefully: If you choose to stack your mason jars, make sure to stack them evenly, placing the base of each jar directly on the jar below. Avoid stacking too high, as it can increase the risk of toppling over or causing unnecessary strain on the jars.
9. Keep Away from Children and Pets: Ensure that mason jars, especially those containing potentially hazardous substances, are stored out of reach of children and pets. This prevents accidents and reduces the risk of jars being dropped or mishandled.
By following these tips, you can minimize the risk of breakage and damage to your mason jars. Taking the necessary precautions and handling them with care will help ensure the longevity of your collection and preserve their functionality for future uses.
Read more: How To Store Cucumbers In Mason Jars
Tips for Long-Term Storage
If you plan to store your mason jars for an extended period, whether it’s for seasonal use or long-term preservation, here are some tips to help ensure their condition and usability when you need them:
1. Clean and Dry Thoroughly: Before storing your mason jars, ensure that they are thoroughly cleaned and properly dried. Any residue or moisture left inside the jars can lead to mold growth or deterioration over time.
2. Remove Metal Lids: If your mason jars have metal lids, remove them before storing. Metal can corrode and potentially affect the integrity of the jar’s seal. Instead, use plastic lids or cover the jars with plastic wrap secured by a rubber band.
3. Use Airtight Containers or Bags: To protect your mason jars from dust, pests, and moisture, consider using airtight containers or bags for storage. This additional layer of protection helps maintain the jars’ cleanliness and prevents any unwanted contaminants.
4. Label and Date: If you’re storing different types of jars or using them for specific purposes, label each jar with its contents and date of storage. This allows for easy identification when you need to retrieve a particular jar and helps you keep track of their age.
5. Store in a Cool, Dark Place: Choose a storage area away from direct sunlight and extreme temperature fluctuations. Mason jars are made of glass, and exposure to heat or sunlight can degrade their quality and compromise the contents inside.
6. Check for Pest Infestation: Regularly inspect your storage area for any signs of pests or insects. Mason jars can be attractive to certain pests. If you notice any infestation, take immediate action to eradicate the pests and ensure the jars remain protected.
7. Rotate Stored Jars: If you have multiple storage containers or areas, periodically rotate and shuffle the jars to prevent any prolonged pressure on specific jars at the bottom. This helps distribute weight and minimizes the risk of breakage.
8. Keep a List or Inventory: Maintain a list or inventory of the jars you have in storage. This record can help you keep track of the contents, quantities, and expiration dates if applicable. It also allows you to plan and utilize your collection more effectively.
9. Regularly Inspect and Maintain: Periodically check your stored mason jars for any signs of damage, leaks, or deterioration. If you notice any issues, address them promptly to prevent further damage and ensure the jars remain in good condition.
By following these tips, you can ensure that your mason jars remain in excellent condition during long-term storage. Proper care and maintenance will extend their longevity and ensure their usability when you need them.
Conclusion
Properly storing empty mason jars is essential to maintain their quality, functionality, and aesthetic appeal. By following the guidelines outlined in this article, you can effectively store and organize your jars, preventing breakage, damage, and contamination.
Ensure that you find the right storage space, considering factors like size, accessibility, and protection from sunlight and extreme temperatures. Cleaning the mason jars thoroughly, removing labels and residue, and properly drying them are crucial steps in preparing them for storage. Organizing the jars by size, utilizing dividers or bins, and labeling them will help you easily locate and identify specific jars.
Deciding whether to stack or hang your mason jars depends on your available space and preference. Stacking maximizes vertical storage, while hanging creates a visually appealing display. Lastly, implementing practices to avoid breakage and damage, such as handling the jars with care, selecting appropriate packing materials, and storing in stable environments, will ensure the longevity of your collection.
When storing mason jars for the long-term, remember to clean and dry them thoroughly, remove metal lids, use airtight containers or bags, and store them in a cool, dark place. Regularly inspect and maintain the jars to address any issues promptly and keep track of their contents and expiration dates.
By following these comprehensive tips, you can enjoy the benefits of your mason jars for years to come. Whether you use them for canning, preserving, organizing, or displays, proper storage practices will keep your jars in optimal condition and ready for any future projects or needs.
Frequently Asked Questions about How To Store Empty Mason Jars
Was this page helpful?
At Storables.com, we guarantee accurate and reliable information. Our content, validated by Expert Board Contributors, is crafted following stringent Editorial Policies. We're committed to providing you with well-researched, expert-backed insights for all your informational needs.


0 thoughts on “How To Store Empty Mason Jars”