
Articles
How To Store Finished Puzzles
Modified: March 2, 2024
Learn how to store finished puzzles with these helpful articles. Keep your puzzles intact and organized for future enjoyment.
(Many of the links in this article redirect to a specific reviewed product. Your purchase of these products through affiliate links helps to generate commission for Storables.com, at no extra cost. Learn more)
Introduction
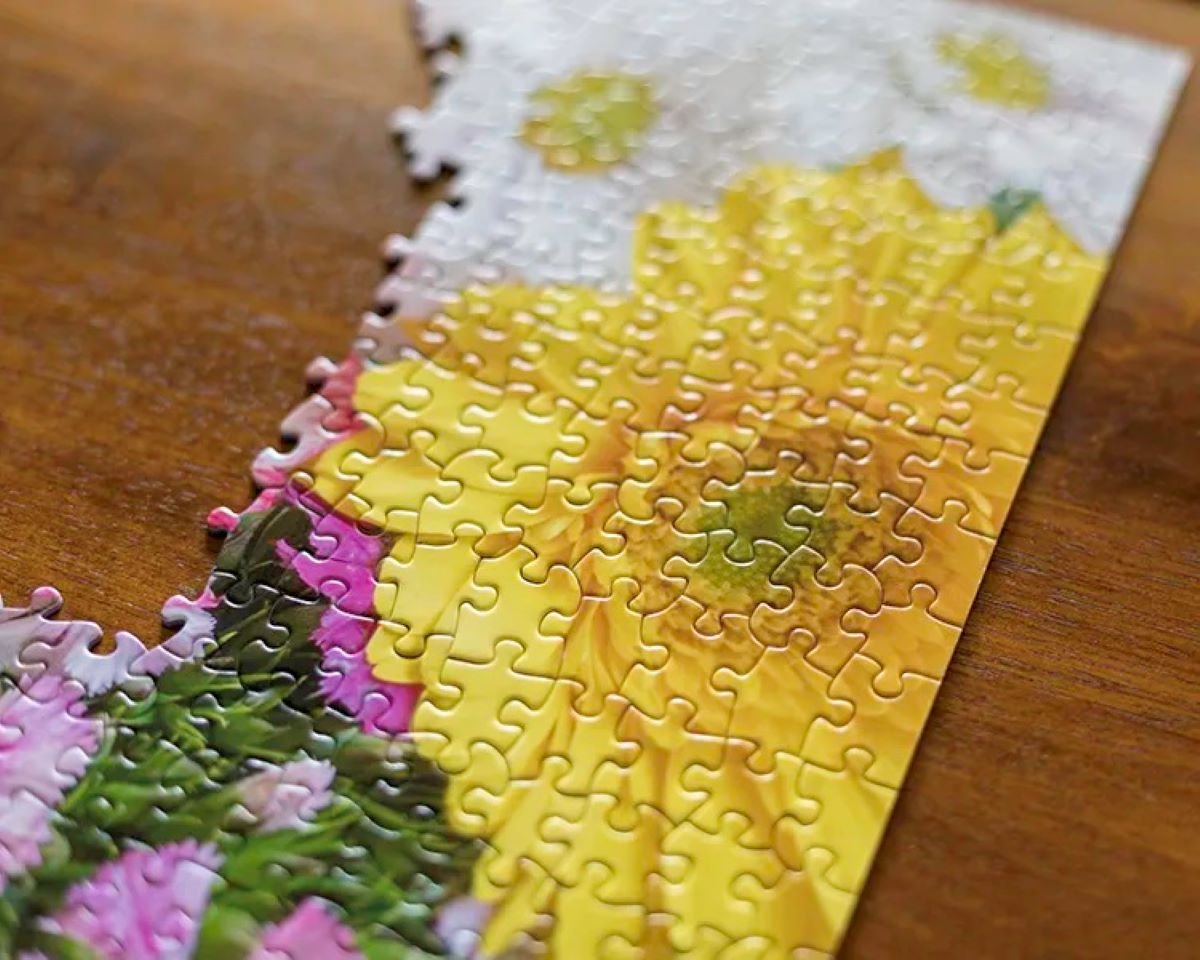
Have you ever spent hours putting together a challenging puzzle, only to have to take it apart and put it back in the box once you’re done? It can be disheartening to see all your hard work dismantled, especially if you want to showcase your masterpiece or keep it as a cherished memory. But fear not! In this article, we will guide you through the process of storing finished puzzles so that you can preserve them for future enjoyment.
Storing puzzles requires a few simple steps, from preparing the puzzle for storage to finding the perfect display option. Whether you want to keep your completed puzzles intact for personal enjoyment or show them off to others, we’ve got you covered. So let’s get started on how to store your finished puzzles!
Key Takeaways:
- Preserve your completed puzzles by gathering the right materials, gluing, and flattening them for storage or display. Show off your hard work as stunning artwork with the right framing or mounting options.
- Store your finished puzzles in a cool, dry location, away from direct sunlight and extreme temperatures. Handle them with care and choose the right storage option to keep them in pristine condition for years to come.
Read more: How To Store Completed Puzzles
Step 1: Gather Materials
Before you begin storing your finished puzzle, it’s important to gather the necessary materials. Here’s a list of items you’ll need:
- Puzzle glue or adhesive sheets
- A soft cloth or brayer
- A puzzle mat or assembly surface
- A flat board or foam core
- A frame or puzzle storage system
Puzzle glue or adhesive sheets are essential for sealing and preserving the puzzle. Look for glue specifically designed for puzzles, as it provides a strong bond without damaging the pieces.
A soft cloth or brayer will help ensure an even application of glue, without causing any damage or smudging to the puzzle surface.
An assembly surface or puzzle mat provides a stable and portable work area. It allows you to move or store your puzzle easily without disturbing the pieces. You can find puzzle mats of various sizes and materials at local craft stores or online.
A flat board or foam core is needed for drying and flattening the puzzle. This provides a sturdy base to prevent the puzzle from warping or bending during the drying process.
Finally, consider a frame or puzzle storage system to protect and display your finished puzzle. Frames come in different sizes and styles, allowing you to showcase your completed puzzle like a work of art. Alternatively, puzzle storage systems provide a convenient and organized way to store multiple puzzles.
Once you have gathered all the necessary materials, you’re ready to move on to the next step: preparing the puzzle for storage.
Step 2: Assembly Surface
Before you can store your finished puzzle, you’ll need to prepare an assembly surface where you can work on the puzzle. This surface will not only provide a stable base for assembling the puzzle but also serve as a temporary storage area during the process. Let’s dive into the details of setting up an assembly surface:
1. Choose the Right Space: Find a well-lit and spacious area in your home where you can comfortably work on the puzzle. Avoid placing it near a window or in an area prone to distractions or foot traffic.
2. Protect the Surface: Lay a large piece of cardboard or a puzzle mat on the table or countertop to protect it from scratches or damage. This will also prevent puzzle pieces from sliding around.
3. Sort and Organize: Before starting the assembly, take some time to sort and organize the puzzle pieces. You can use sorting trays or small containers to categorize the pieces by color, pattern, or edge type. This will make it easier to locate specific pieces as you assemble the puzzle.
4. Start Assembling: Begin placing the puzzle pieces on the assembly surface, following the picture on the puzzle box or using any reference image you have. Start with the border pieces and work your way inward, fitting the pieces together based on their shapes and colors. Take breaks if needed, but try to keep the puzzle intact as much as possible.
An assembly surface provides a dedicated space for working on your puzzle, making it easier to concentrate and minimize the risk of losing or misplacing pieces. Once you’ve finished assembling the puzzle, it’s time to move on to the next step: sorting and organizing the pieces.
Step 3: Sorting and Organizing Pieces
After you’ve completed assembling the puzzle on your assembly surface, it’s time to sort and organize the pieces. This step is crucial for ensuring that your puzzle remains intact during the storage process and makes it easier to reassemble if desired. Here’s how you can go about sorting and organizing your puzzle pieces:
1. Separate Edge Pieces: Start by identifying and separating the edge pieces from the rest of the puzzle. These pieces have straight edges and will form the border of your puzzle. Place them in a separate pile or container.
2. Categorize by Color or Pattern: Sort the remaining puzzle pieces based on their color or pattern. This will make it easier to locate specific pieces and assemble the puzzle later on. You can use sorting trays or small containers to keep the different categories separate.
3. Consolidate Loose Pieces: Double-check the puzzle to ensure there are no loose or disconnected pieces. If you find any, gently press them back into place or remove them temporarily and set them aside for reattachment later.
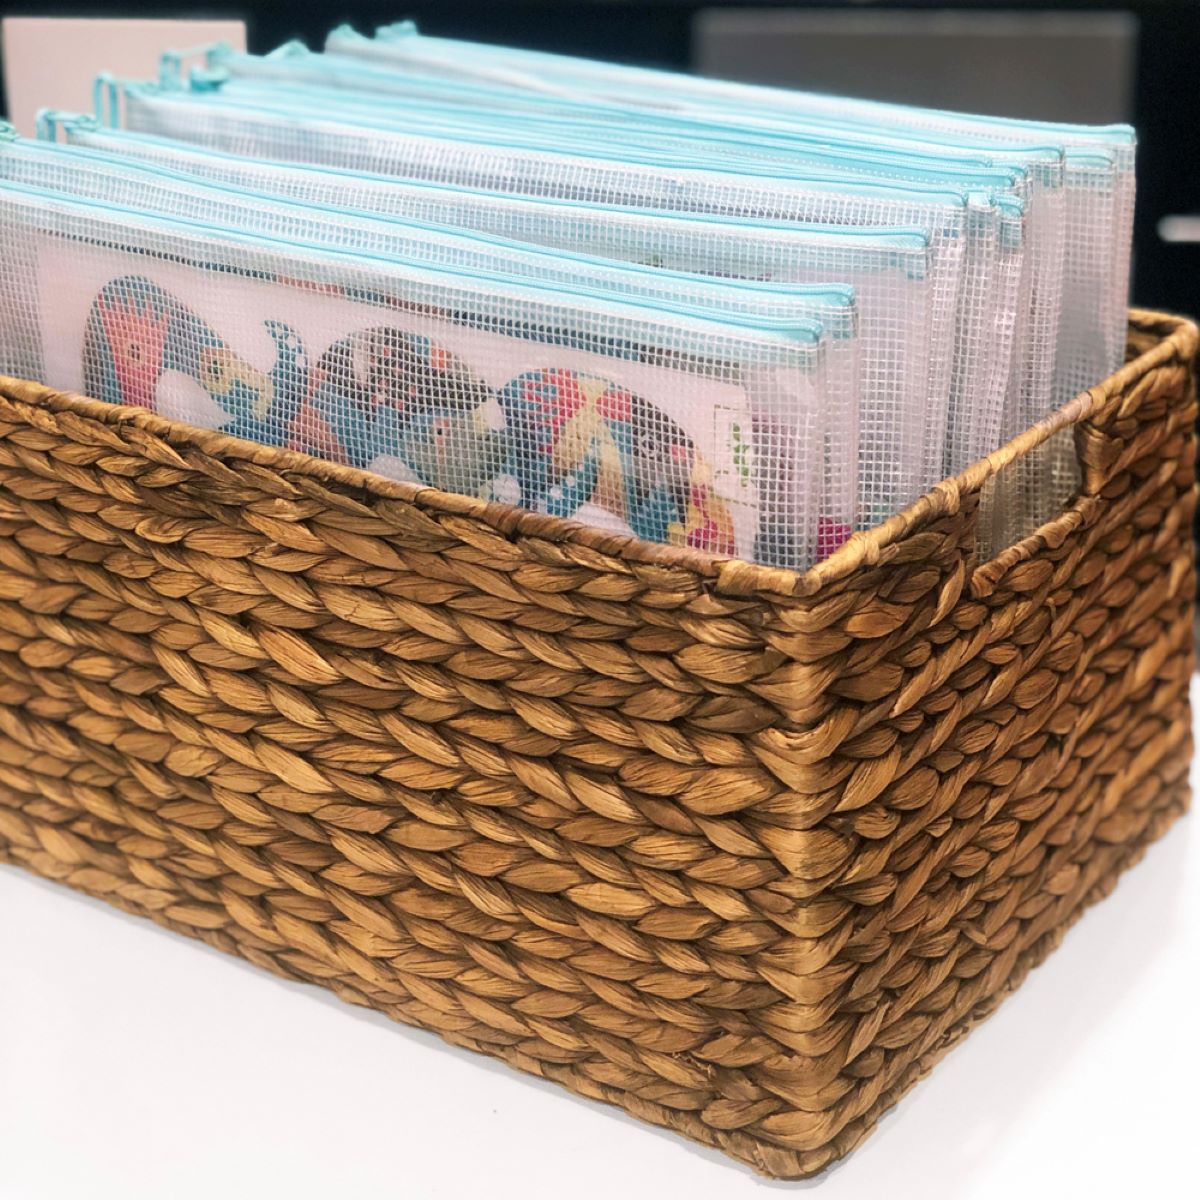
4. Secure the Pieces: Consider using puzzle preservation sheets or storage bags to keep the sorted pieces organized. These sheets or bags will help prevent any movement or damage to the puzzle pieces while in storage.
By sorting and organizing your puzzle pieces, you’ll be able to keep them secure and easily accessible. This step will come in handy when it’s time to store or reassemble the puzzle. Now that you have your puzzle pieces sorted, let’s move on to the next step: gluing the puzzle.
Step 4: Gluing the Puzzle
To ensure that your finished puzzle stays intact and doesn’t fall apart during storage or display, gluing the puzzle is an essential step. Gluing the puzzle not only holds the pieces together but also adds durability and prevents any shifting or loose connections. Here’s how you can glue your puzzle:
1. Prepare the Puzzle Surface: Before applying the glue, ensure that the puzzle surface is clean and free of any dust or debris. Use a soft cloth or brayer to gently remove any particles that may have accumulated on the puzzle.
2. Flip the Puzzle: Carefully flip the puzzle over onto a smooth and clean surface, such as a large sheet of cardboard or your assembly surface. This will allow you to apply the glue on the backside of the puzzle.
3. Apply the Glue: Using puzzle glue or adhesive sheets, apply a thin and even layer of glue across the entire backside of the puzzle. Ensure that the glue fully covers each piece, paying attention to the edges and corners.
4. Spread the Glue: Use a soft cloth or brayer to spread the glue evenly, ensuring that it fills any gaps between the puzzle pieces. This step will help create a secure bond and prevent any visible lines or bubbles in the finished puzzle.
5. Let it Dry: Allow the glued puzzle to dry completely. Follow the manufacturer’s instructions on the glue bottle or adhesive sheets for the recommended drying time. It’s important not to rush this step to ensure that the puzzle sets properly.
By gluing your puzzle, you’re adding structural integrity and securing the pieces together. This will make it easier to handle and store the finished puzzle. Once the glue has dried, it’s time to move on to the next step: drying and flattening the puzzle.
To store finished puzzles, use a large piece of cardboard or foam board to carefully slide the puzzle onto. Then, wrap the entire board in plastic wrap to keep the pieces in place. This will make it easier to move and store the completed puzzle without losing any pieces.
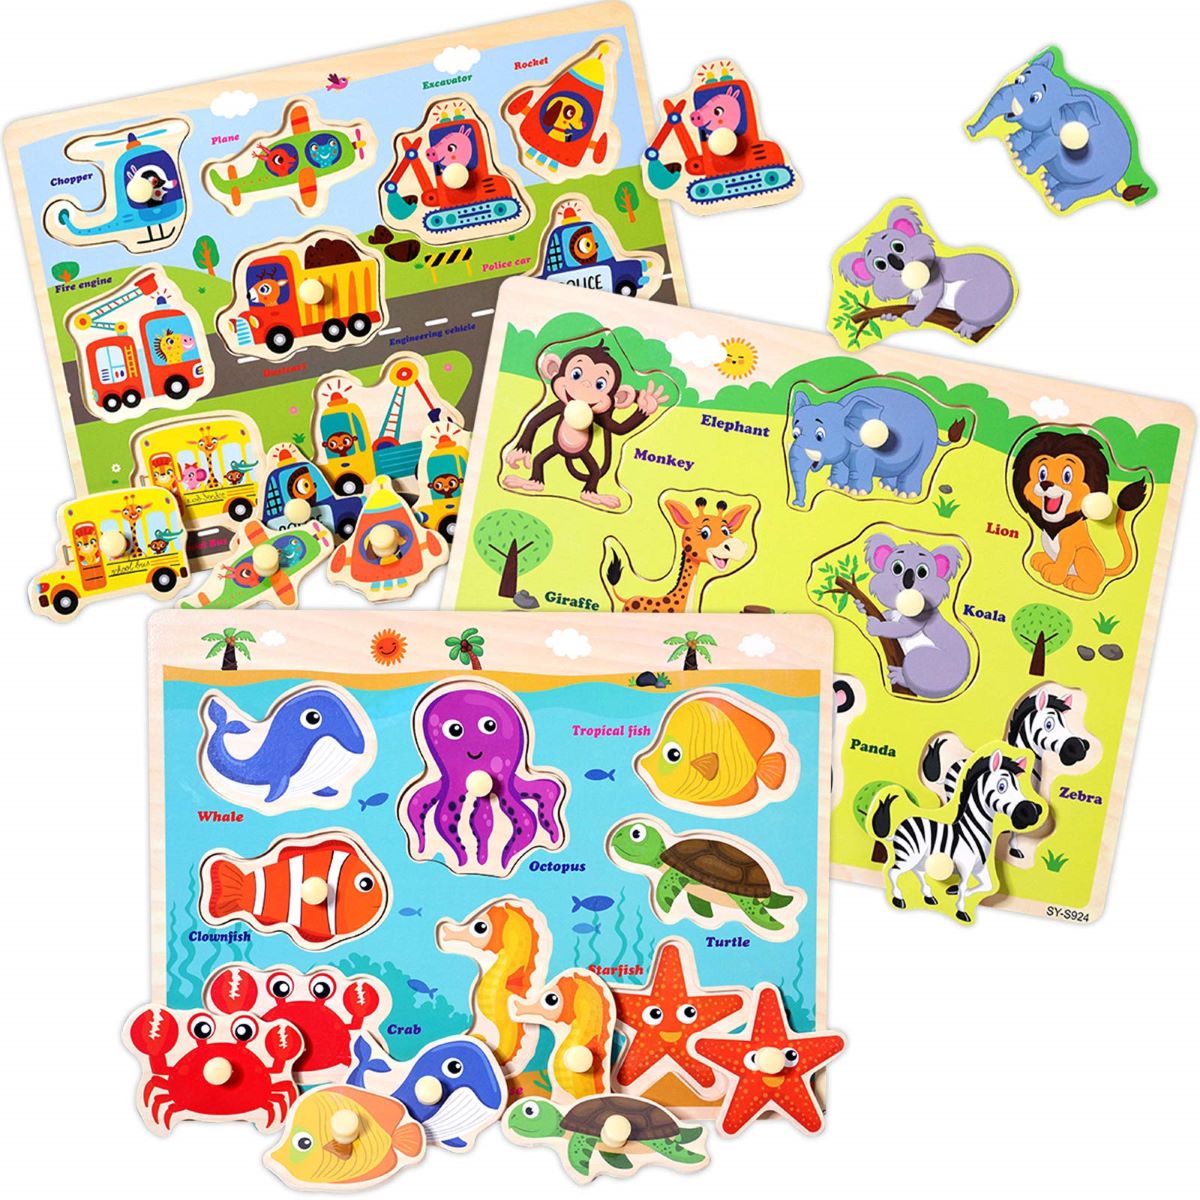
Read more: How To Store Wooden Puzzles
Step 5: Drying and Flattening the Puzzle
After gluing your puzzle, it’s important to allow it to dry properly and ensure that it remains flat. Drying and flattening the puzzle will prevent any warping or bending of the pieces, making it easier to store or display. Here’s how you can dry and flatten your puzzle:
1. Transfer to a Flat Surface: Gently transfer the glued puzzle from the assembly surface to a flat board or foam core. This will provide a sturdy and even surface to prevent any distortion or uneven drying.
2. Apply Pressure: Place a few heavy objects, such as books or weights, on top of the puzzle to apply gentle pressure. This will help flatten the puzzle and keep the pieces in place as they dry. Make sure not to apply too much pressure, as it may damage the puzzle.
3. Wait for the Puzzle to Dry: Allow the puzzle to dry completely. This can take anywhere from a few hours to a day or longer, depending on the type of glue used and the humidity level. It’s crucial to exercise patience and not disturb the puzzle during this process.
4. Check for Dryness: Once you believe the puzzle is dry, carefully lift one corner to check if the pieces are sticking together. If the puzzle holds its shape and the pieces remain intact, it’s likely dry and ready for the next step. If it shows any signs of moisture, allow it more time to dry.
By drying and flattening your puzzle, you’re ensuring that it retains its original shape and stays in good condition for storage or display. Once the puzzle is dry and flat, it’s time to move on to the next step: mounting or framing the puzzle.
Step 6: Mounting or Framing the Puzzle
After your puzzle has dried and flattened, you have the option to mount it or frame it to showcase your finished masterpiece. Mounting or framing the puzzle not only protects it from dust and damage but also allows you to display it as a work of art. Here’s how you can mount or frame your puzzle:
1. Mounting:
- Measure and cut a foam board or cardboard slightly larger than the size of your puzzle.
- Apply a thin layer of clear adhesive to the backside of the puzzle.
- Carefully place the puzzle on top of the foam board or cardboard, aligning the edges.
- Press down gently to ensure that the puzzle adheres to the mounting surface.
2. Framing:
- Choose a frame that fits the size of your puzzle. Make sure the frame has a glass or acrylic front to protect the puzzle.
- Remove the back of the frame and any inserts.
- Place the puzzle on a clean surface and carefully slide it into the frame, ensuring that it aligns properly.
- Replace the frame’s back and any inserts to secure the puzzle in place.
By mounting or framing your puzzle, you transform it into a beautiful piece of artwork. It’s important to select the option that best suits your preferences and the style of your puzzle. Once you’ve mounted or framed the puzzle, it’s time to move on to the final step: storing the finished puzzle.
Step 7: Storing the Finished Puzzle
Now that your puzzle is mounted or framed, it’s time to store it and keep it safe for future enjoyment. Proper storage will protect your puzzle from dust, moisture, and any potential damage. Here’s how you can store your finished puzzle:
1. Select a Storage Option:
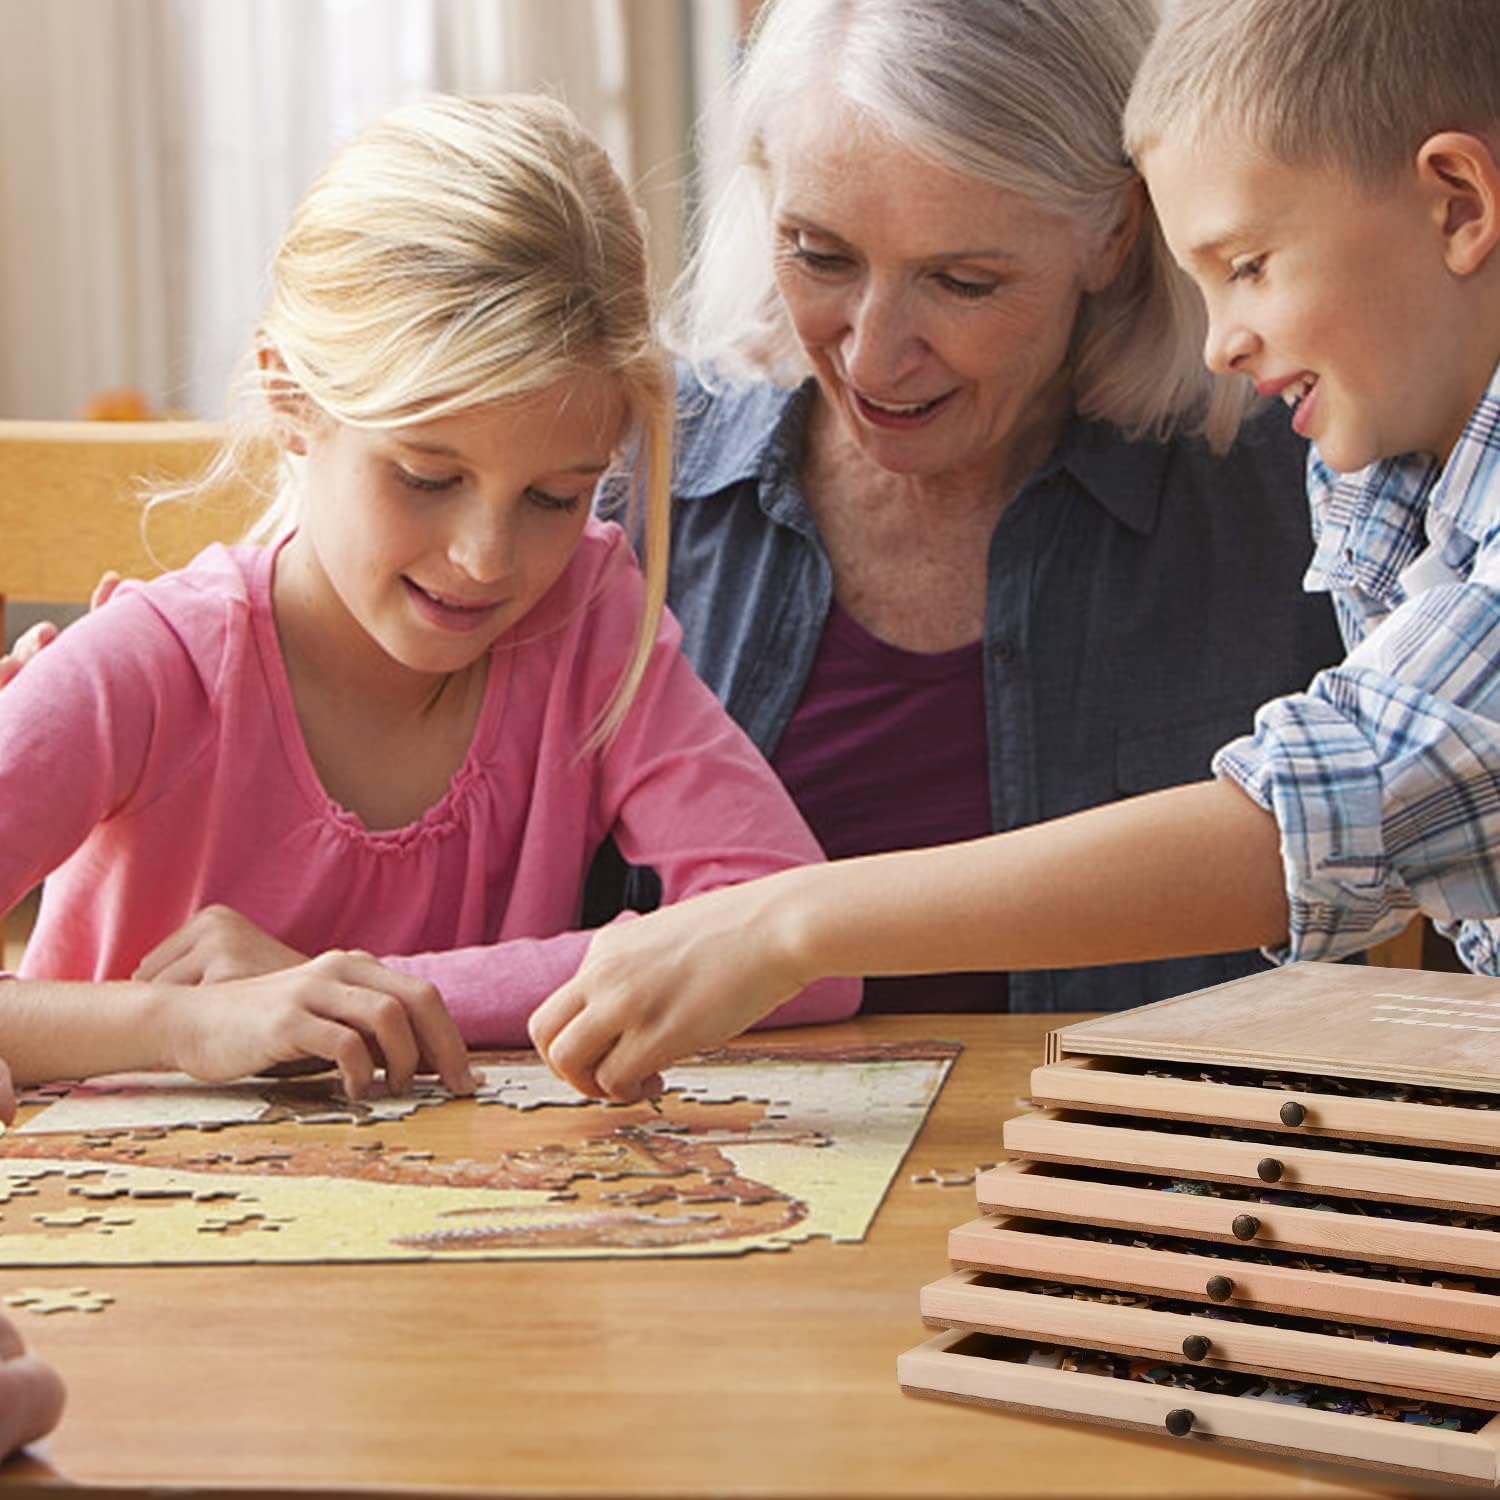
- For mounted puzzles, consider using a puzzle storage system. These systems have specialized compartments or trays where you can safely store and organize your puzzles.
- If you’ve framed your puzzle, find a safe spot on a wall or a shelf where it can be displayed and protected from accidental damage.
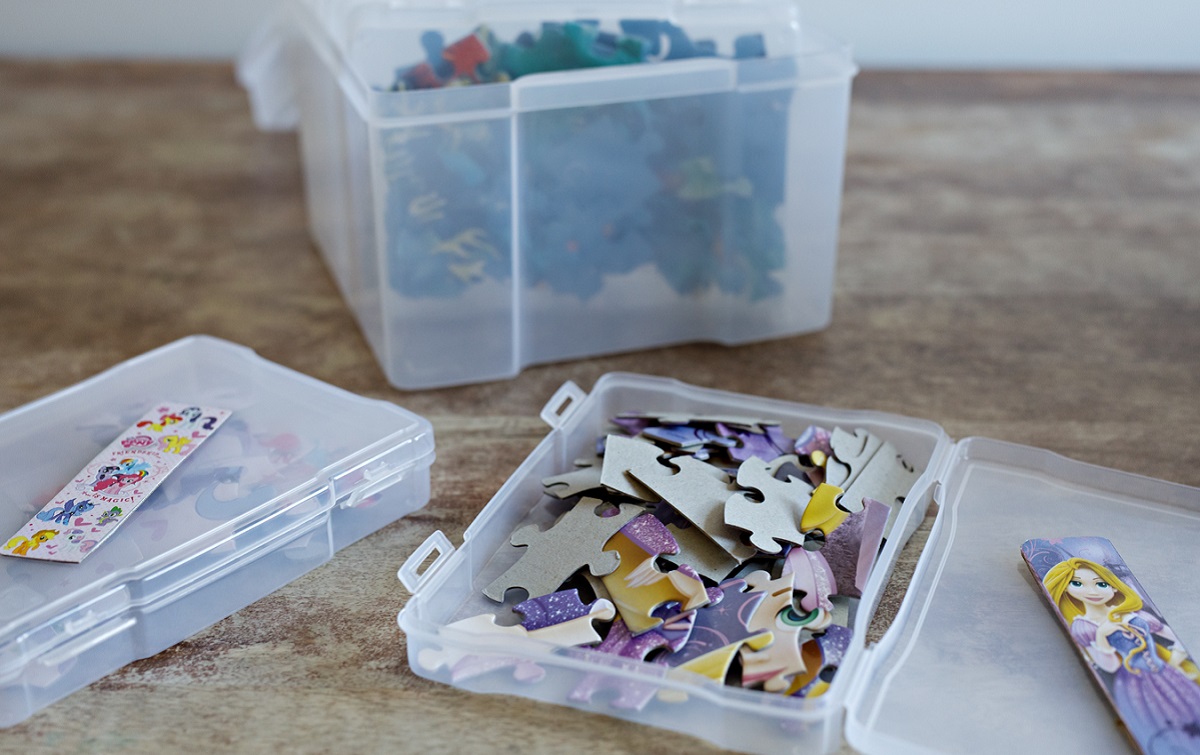
- If you don’t have a puzzle storage system or framed display, you can use a large ziplock bag or a plastic container to store the puzzle, ensuring it fits snugly without any bends or folds.
2. Choose a Cool and Dry Location:
- Avoid storing your puzzle in a humid or damp area, as moisture can damage the puzzle pieces and cause warping or mold growth.
- Keep your puzzle away from direct sunlight and extreme temperatures, as these can fade the colors or melt the adhesive.
3. Handle with Care:
- When moving or storing the puzzle, be sure to handle it with care to avoid any accidental damage or dislodging of pieces.
- If you’re using a puzzle storage system, follow the manufacturer’s instructions for safely placing the puzzle inside.
- If your puzzle is framed, ensure that it is securely hung or placed on a stable surface to prevent it from falling or getting knocked over.
By storing your finished puzzle properly, you can keep it in pristine condition and enjoy it for years to come. Take the time to find a suitable storage option and maintain the right environmental conditions. With these precautions in place, your puzzle will be well-preserved and ready for whenever you want to admire or revisit it.
Congratulations! You have successfully completed all the steps to store your finished puzzles. By following these guidelines, you can protect and proudly display your puzzles, preserving them as cherished memories or impressive works of art. Enjoy the satisfaction of stepping back and marveling at your completed puzzles whenever you want!
Conclusion
Storing your finished puzzles doesn’t have to be a daunting task. With the right materials and a step-by-step process, you can successfully preserve and showcase your completed puzzles for years to come. By following the seven steps outlined in this article, you can ensure that your hard work and creativity are protected and appreciated.
From gathering the necessary materials to selecting the ideal storage option, each step plays a vital role in maintaining the integrity of your puzzles. Providing a stable assembly surface, sorting and organizing the pieces, gluing and drying the puzzle, and finally, mounting or framing it are all crucial components of the puzzle storage process.
Remember to handle your finished puzzle with care and store it in a cool, dry location away from direct sunlight or extreme temperatures. Whether you choose a puzzle storage system or opt for a framed display, make sure the puzzle is securely placed to prevent any accidental damage.
Preserving your finished puzzles allows you to relish the sense of achievement that comes from completing them. It also gives you the opportunity to proudly show off your hard work to friends, family, or anyone who appreciates the artistry and effort that goes into solving puzzles.
So don’t let your completed puzzles go to waste in a dusty corner or have them come apart in their box. Follow these steps to store your finished puzzles, and transform them into stunning displays or cherished keepsakes. With proper storage, your puzzles will continue to bring joy and serve as a reminder of your patience and dedication.
Now that you’re equipped with the knowledge and guidance to store your finished puzzles, it’s time to put it into action. Gather your materials, set up your assembly surface, and start preserving and showcasing your completed puzzles for everyone to admire!
Frequently Asked Questions about How To Store Finished Puzzles
Was this page helpful?
At Storables.com, we guarantee accurate and reliable information. Our content, validated by Expert Board Contributors, is crafted following stringent Editorial Policies. We're committed to providing you with well-researched, expert-backed insights for all your informational needs.


0 thoughts on “How To Store Finished Puzzles”