Articles
How To Store Flour In 5 Gallon Buckets
Modified: May 6, 2024
Looking for articles on how to store flour? Check out our guide on storing flour in 5-gallon buckets for long-term freshness and convenience.
(Many of the links in this article redirect to a specific reviewed product. Your purchase of these products through affiliate links helps to generate commission for Storables.com, at no extra cost. Learn more)
Introduction
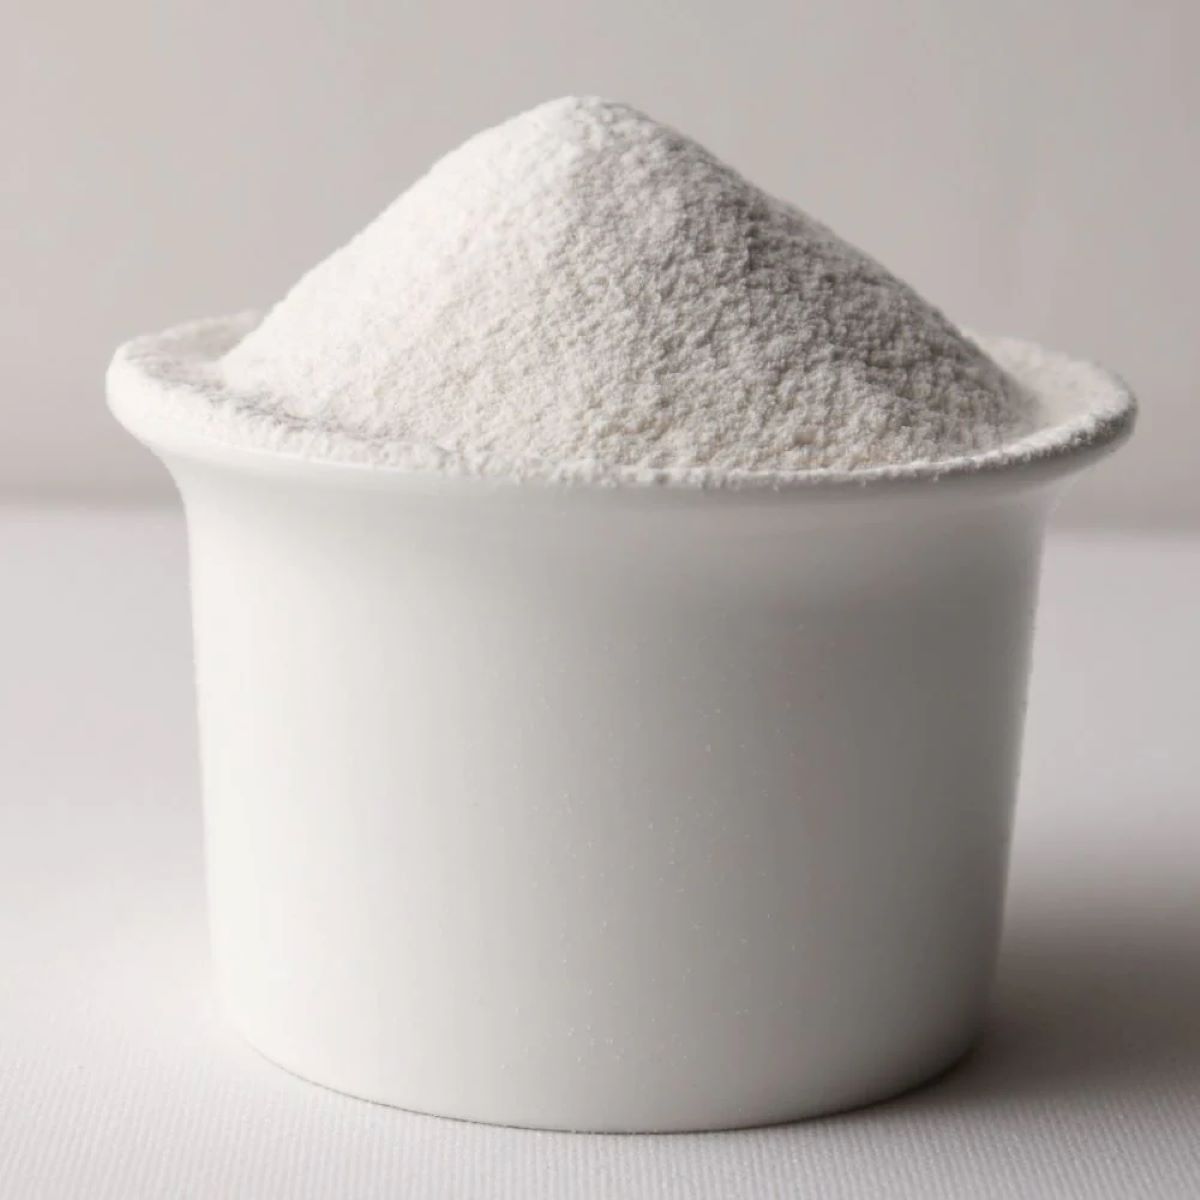
Storing flour properly is crucial to maintain its freshness and longevity. One effective method of storing flour is by using 5-gallon buckets. While this might seem like an unconventional way to store flour, it offers several benefits over traditional storage methods. In this article, we will explore the benefits of storing flour in 5-gallon buckets and provide you with a step-by-step guide on how to do it effectively.
When it comes to storing flour, the main objectives are to protect it from moisture, pests, and oxidation. Flour is prone to absorbing moisture from the environment, leading to clumping and spoilage. Additionally, exposure to air can cause oxidation, leading to a decrease in quality and flavor. By utilizing 5-gallon buckets, you can create a sealed environment that protects your flour from these elements.
One of the primary benefits of using 5-gallon buckets for flour storage is their durability. These buckets are made from sturdy materials such as food-grade plastic or metal, ensuring that they can withstand the weight of the flour and endure the test of time. Furthermore, they come with secure lids that create an airtight seal, preventing any moisture or pests from entering.
Another advantage of using 5-gallon buckets is their size. With a capacity of up to 25 pounds of flour, a single bucket can hold a significant amount, allowing you to store bulk quantities and reducing the need for frequent purchases. This is particularly useful for avid bakers or those who use flour regularly in their culinary endeavors.
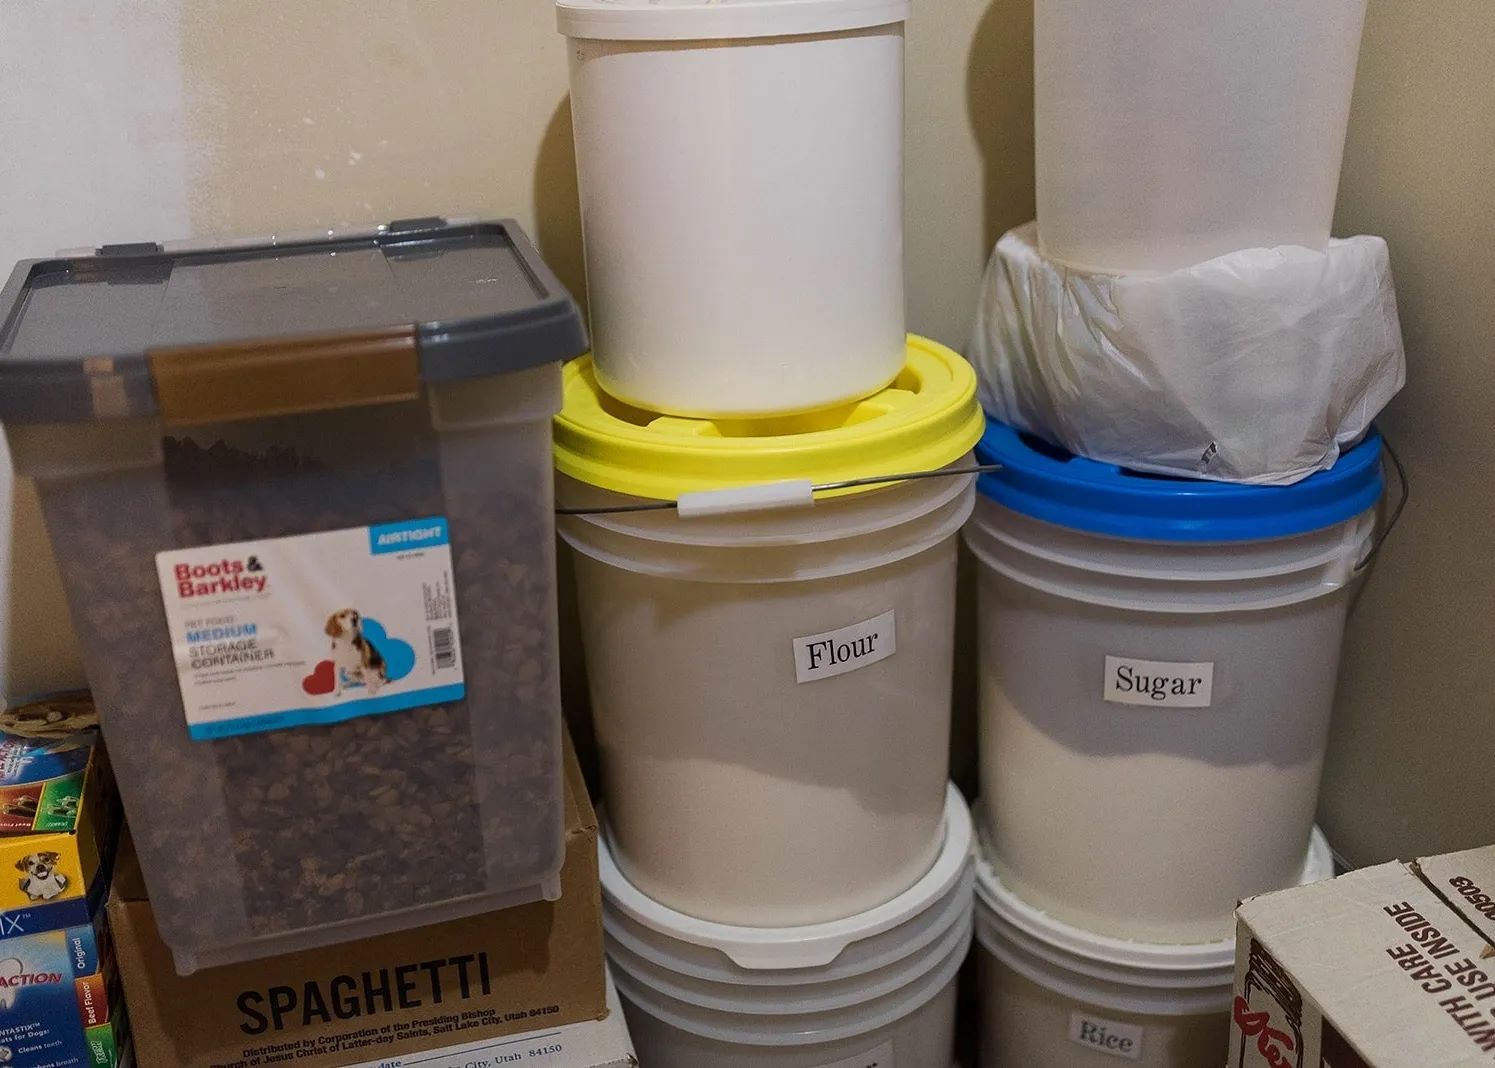
Moreover, storing flour in 5-gallon buckets offers convenience and organization. The buckets are stackable, saving valuable space in your pantry or storage area. They also provide a clear view of the flour quantity, making it easier to monitor your stock levels. With proper labeling on the buckets, you can quickly identify the type of flour and its expiration date, ensuring you always use fresh ingredients.
In the following sections, we will outline the steps to effectively store flour in 5-gallon buckets. From choosing the right buckets to ensuring proper sealing and storage conditions, we will guide you through the process to make sure your flour stays fresh for an extended period. Let’s dive in and discover how to store flour in 5-gallon buckets in the best possible way.
Key Takeaways:
- Storing flour in 5-gallon buckets offers protection from moisture, pests, and air, ensuring longer shelf life and cost-effective storage. It provides convenience, organization, and peace of mind for avid bakers and cooks.
- Choosing food-grade buckets, proper cleaning, incremental transfer, and sealing ensure effective flour storage. Selecting the right storage environment maintains freshness, making 5-gallon buckets a practical and efficient method for long-term flour preservation.
Read more: How To Store 5 Gallon Buckets
Benefits of Storing Flour in 5 Gallon Buckets
Storing flour in 5-gallon buckets provides several advantages that contribute to the longevity and quality of your flour. Here are some of the key benefits:
- Protection from Moisture: Moisture is one of the main enemies of flour. When exposed to humidity or water, flour can quickly become clumpy and prone to spoilage. 5-gallon buckets with secure lids create airtight seals, preventing moisture from seeping in and ensuring your flour remains dry and fresh.
- Pest Prevention: Flour attracts pests such as weevils and pantry moths. These insects can easily infest your flour if it’s stored in flimsy containers or bags. Using 5-gallon buckets with proper seals acts as a barrier against pests, effectively protecting your flour from infestation.
- Longer Shelf Life: By minimizing exposure to air, moisture, and pests, storing flour in 5-gallon buckets can significantly extend its shelf life. The airtight seal created by the buckets helps preserve the flour’s quality and flavor for an extended period, ensuring you have fresh flour on hand whenever you need it.
- Cost-Effective Storage: Buying flour in bulk quantities is often more cost-effective than purchasing smaller packages. 5-gallon buckets provide ample storage space for large amounts of flour, allowing you to take advantage of bulk discounts and avoid frequent trips to the store.
- Convenient and Organized: Storing flour in 5-gallon buckets offers convenience and organization. The stackable nature of the buckets saves space in your pantry or storage area, while clear labeling helps you easily identify the type of flour and its expiration date. This ensures better inventory management and helps you maintain a well-organized kitchen.
Overall, storing flour in 5-gallon buckets is a practical and efficient method that safeguards the quality, taste, and shelf life of your flour. It provides protection against moisture and pests, ensuring your flour stays dry and free from infestation. Additionally, the cost-effectiveness and convenience of using 5-gallon buckets make it an excellent choice for those who often use flour in their cooking and baking endeavors.
Things to Consider Before Storing Flour in 5 Gallon Buckets
Before you start storing flour in 5-gallon buckets, there are a few important factors to consider to ensure successful and effective storage. Here are some key points to keep in mind:
- Quality of the Flour: It’s essential to use high-quality flour for storage purposes. Be sure to purchase fresh flour from reputable brands or mills. Using expired or poor-quality flour may result in subpar taste and texture, even when stored in 5-gallon buckets.
- Cleanliness of the Buckets: Before transferring flour into the buckets, make sure they are clean and free from any contaminants. Wash the buckets thoroughly with hot, soapy water, and rinse them well to eliminate any residue or odors that could affect the quality of the flour.
- Choosing Food-Grade Buckets: When selecting 5-gallon buckets for flour storage, opt for food-grade containers that are specifically designed for storing food. These buckets are made from materials that are safe for contact with consumable items and will not leach harmful chemicals into your flour.
- Storing the Right Quantities: Consider the amount of flour you use regularly to determine how many 5-gallon buckets you will need. It’s important to find the right balance between having enough flour on hand and avoiding excessive quantities that might lead to waste or spoilage.
- Proper Sealing Techniques: Ensuring a proper seal on the buckets is crucial for effective flour storage. Use lids that fit tightly on the buckets and consider using additional sealing methods such as Mylar bags or oxygen absorbers to create a more secure barrier against moisture and air.
- Temperature and Storage Location: Flour is best stored in a cool, dry place away from direct sunlight and extreme temperature fluctuations. Find a suitable location in your kitchen or pantry that meets these criteria to maintain the quality and freshness of the flour.
By considering these factors before storing flour in 5-gallon buckets, you can set yourself up for successful long-term storage. Taking the time to choose high-quality flour, clean buckets, and the appropriate storage environment will help preserve the freshness, taste, and nutritional value of your flour for an extended period.
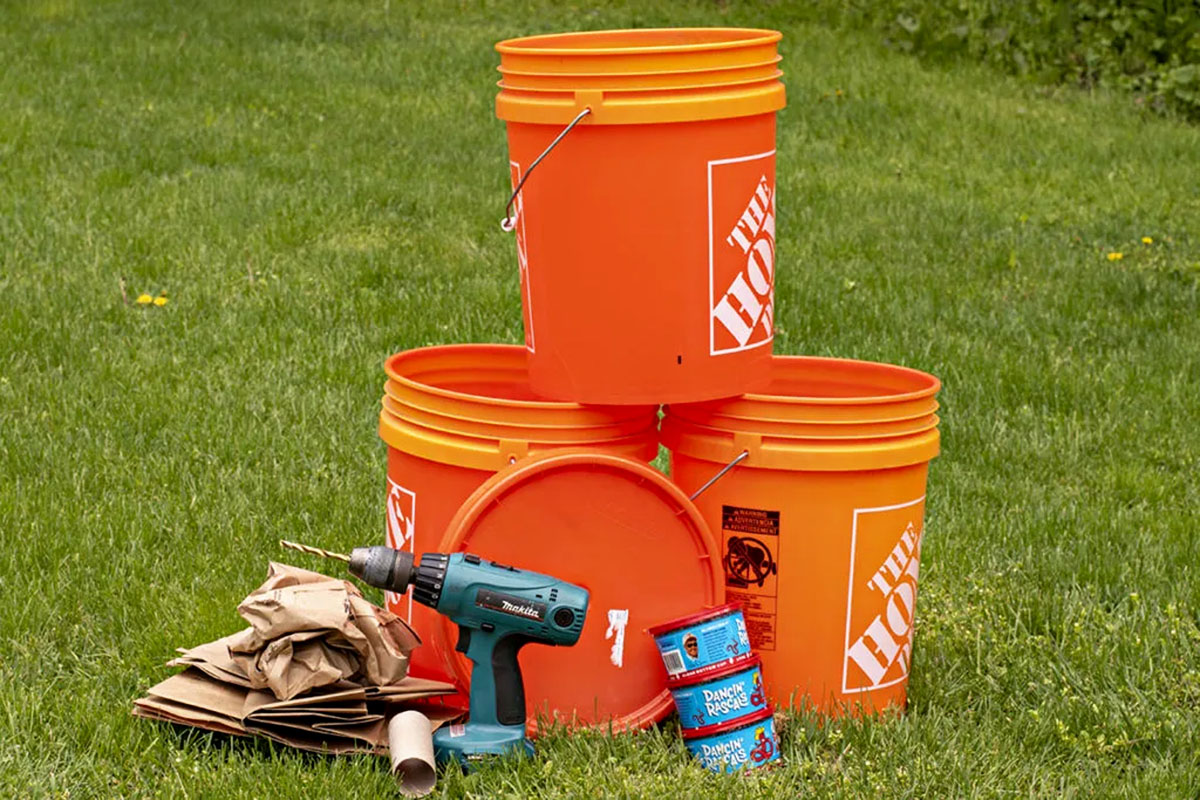
Step 1: Choosing the Right 5 Gallon Buckets
Choosing the right 5-gallon buckets is crucial for effective flour storage. Here are some factors to consider when selecting the buckets:
- Food-Grade Material: Opt for buckets made from food-grade materials such as high-density polyethylene (HDPE) plastic or stainless steel. These materials are safe for storing food and will not contaminate your flour with harmful chemicals.
- Durability: Look for buckets that are sturdy and durable enough to withstand the weight of the flour and any stacking that may be required. Ensure that the buckets are resistant to cracking, breaking, or deforming over time.
- Tight-Fitting Lids: Check if the buckets come with lids that provide a tight and secure seal. This is crucial for preventing moisture and pests from entering the buckets and compromising the quality of your flour.
- Transparency: Consider getting buckets that are transparent or have clear portions. This allows you to easily see the contents and monitor the quantity of flour without having to open the buckets.
- Handles: Look for buckets with sturdy handles that are comfortable to grip. This will make it easier to transport and maneuver the buckets, especially when they are filled with flour.
- Size and Capacity: Ensure that the buckets have a capacity of 5 gallons or approximately 25 pounds of flour. This size allows for efficient storage and makes it easier to estimate the quantity of flour you have on hand.
- Easy to Clean: Check if the buckets are easy to clean and sanitize. Removable lids and smooth surfaces without crevices or hard-to-reach corners will simplify the cleaning process, ensuring the buckets are ready for future use.
Consider purchasing the buckets from reputable suppliers or stores that specialize in food storage containers. This will help ensure you are getting high-quality, food-grade buckets that meet your storage needs.
Once you have selected the right 5-gallon buckets, you are ready to move on to the next step: preparing the buckets for flour storage.
Step 2: Preparing the Buckets for Flour Storage
Properly preparing the 5-gallon buckets before storing flour is essential to maintain the freshness and quality of your ingredients. Follow these steps to prepare the buckets:
- Clean the Buckets: Wash the buckets thoroughly with hot, soapy water to remove any dirt, residue, or odors. Pay attention to the inner and outer surfaces, as well as the lids. Rinse the buckets thoroughly to ensure no soap residue remains.
- Sanitize the Buckets: After cleaning, sanitize the buckets to eliminate any potential bacteria or contaminants. You can use a solution of bleach and water (1 tablespoon of bleach per gallon of water) to sanitize the buckets. Make sure to rinse them well after the sanitization process.
- Air Dry: Allow the buckets to air dry completely before moving on to the next step. Placing them upside down on a clean, dry surface will help ensure all moisture evaporates.
- Inspect the Buckets: Before filling the buckets with flour, inspect them for any signs of damage, cracks, or defects. Ensure that the lids fit properly and provide a tight seal. If any buckets are damaged, replace them with new ones to ensure the integrity of your flour storage.
By following these steps, you will ensure that your buckets are clean, sanitized, and in good condition, ready to securely store your flour for an extended period.
Once you have prepared the buckets, you are ready to move on to the next step: transferring the flour into the buckets.
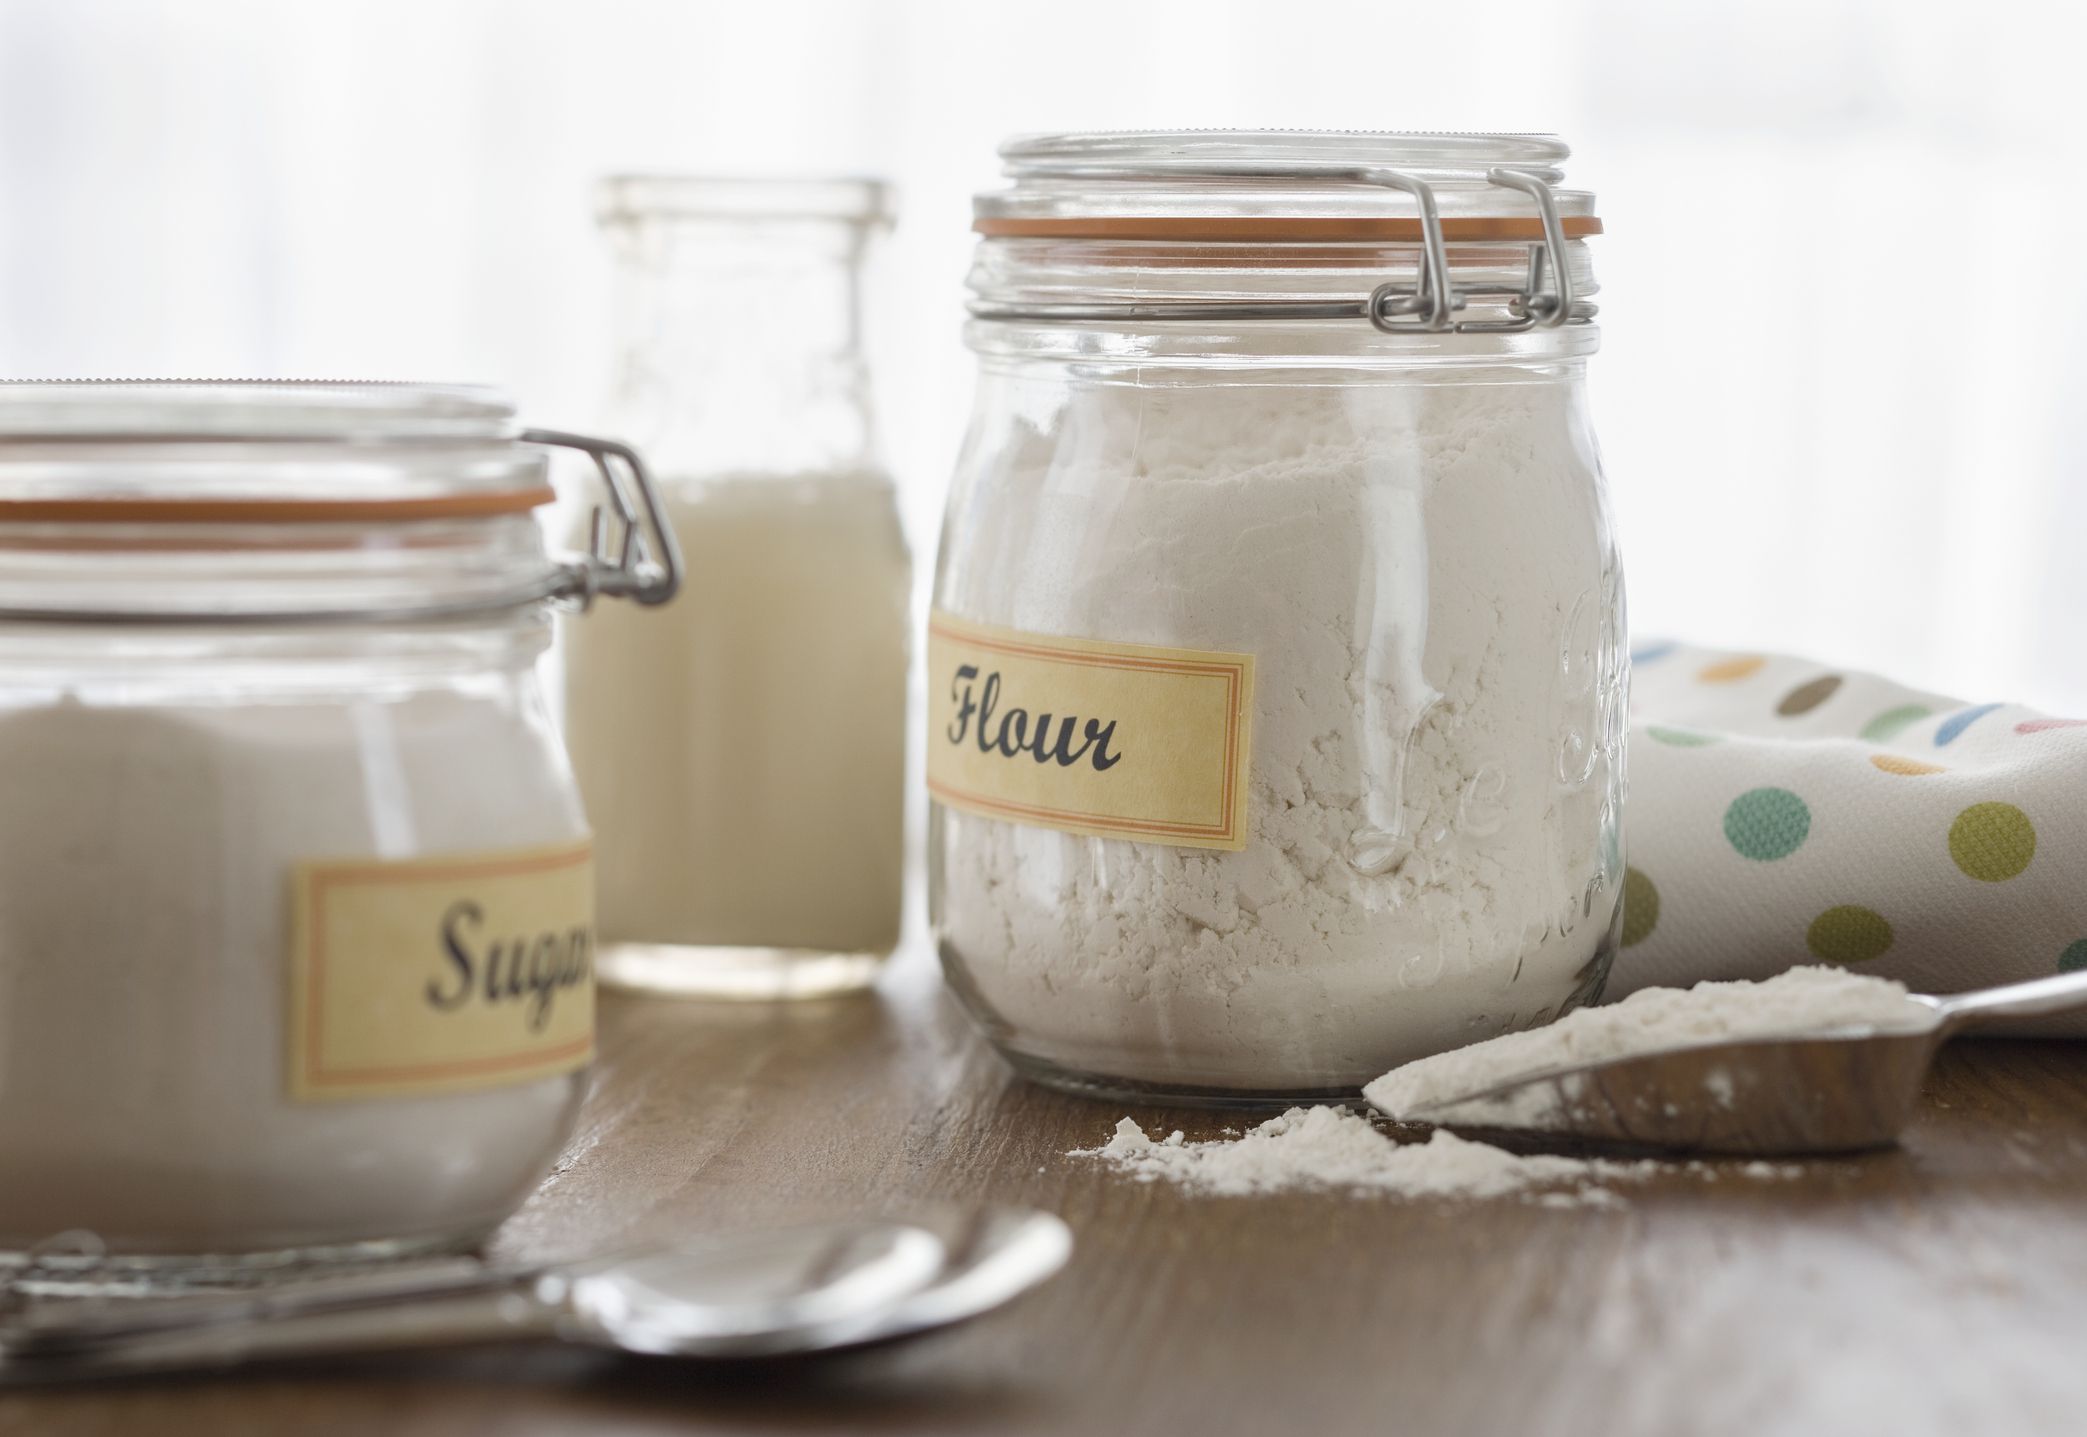
Store flour in 5-gallon buckets by first placing it in a food-grade plastic bag, then sealing the bag and placing it inside the bucket. This will help protect the flour from moisture and pests.
Read more: How To Store Food In 5 Gallon Buckets
Step 3: Transferring Flour into the Buckets
Transferring flour into the 5-gallon buckets is a crucial step in the storage process. Follow these steps to ensure a smooth and efficient transfer:
- Use a Clean Scoop or Funnel: To avoid contamination, use a clean scoop or funnel specifically designated for flour. This will prevent the transfer of any unwanted substances into the buckets.
- Fill the Buckets Incrementally: Scoop or pour the flour into the buckets gradually to prevent clumping. Fill the buckets about three-quarters full, allowing enough space for the flour to expand if needed.
- Level the Flour: Use the back of a clean scoop or a flat utensil to level the flour in the buckets. This ensures that the surface is even and helps maximize storage space.
- Avoid Overfilling: Resist the temptation to overfill the buckets. Leaving a small gap at the top provides room for sealing the buckets and prevents the flour from spilling over during handling.
- Avoid Prolonged Exposure to Air: Minimize the amount of time the flour is exposed to air during the transfer process. Keep the lids nearby and cover the buckets as soon as they are filled.
- Label the Buckets: It is crucial to label each bucket with the type of flour and the date of storage. This allows for easy identification and ensures that you use the oldest flour first.
Ensure that the area where you are transferring the flour is clean and free from contaminants. This will help maintain the integrity and cleanliness of your flour during the transfer process.
Once the flour has been successfully transferred into the buckets, you are ready to proceed to the next step: sealing the buckets properly to create an airtight environment.
Step 4: Sealing the Buckets Properly
Sealing the 5-gallon buckets properly is essential to create an airtight environment for your stored flour. Follow these steps to ensure a secure seal:
- Ensure Clean and Dry Lids: Ensure that the bucket lids are clean and dry before sealing. Any moisture or residue on the lids can compromise the effectiveness of the seal.
- Inspect the Rubber Gaskets: Check the rubber gaskets on the lids for any signs of damage or wear. If the gaskets are cracked or damaged, replace them with new ones to ensure a proper seal.
- Press the Lids Firmly: Place the lids on the buckets and press them firmly to ensure a tight fit. Ensure that the lids are properly aligned with the bucket edges to create a consistent seal.
- Use Locking Mechanisms (if available): Some bucket lids come with locking mechanisms. If your buckets have this feature, engage the locks to provide an extra layer of security and prevent the lids from accidentally coming off.
- Perform the “Bubble Test”: After sealing the buckets, perform a “bubble test” to check the effectiveness of the seal. Submerge each bucket, one at a time, in a tub or basin filled with water. If you see any bubbles escaping from the bucket, it indicates a faulty seal that needs to be addressed.
- Re-Seal if necessary: If the bubble test reveals any issues with the seal, re-seal the buckets by adjusting the lids or replacing the gaskets if needed. A proper seal is essential for preserving the freshness and quality of your stored flour.
Once you have sealed the buckets properly, your flour is now protected from moisture, pests, and air. This airtight environment will help maintain the quality and freshness of your flour for an extended period.
In the final step of the process, we will discuss how to store the sealed buckets in the right environment to ensure optimal conditions for your flour.
Step 5: Storing the Buckets in the Right Environment
Proper storage conditions are crucial to maintain the quality and freshness of your flour. Follow these steps to ensure the optimal environment for storing your 5-gallon buckets:
- Cool and Dry Location: Choose a cool and dry location for storing your flour buckets. Fluctuating temperatures and high humidity can cause the flour to spoil more quickly. Avoid areas near heat sources, direct sunlight, or places prone to moisture, such as the basement or near a dishwasher.
- Avoid Extreme Temperatures: Extreme temperatures, both hot and cold, can affect the quality of your flour. Aim for a storage area with a temperature range between 50°F to 70°F (10°C to 21°C). This helps maintain the freshness and nutritional value of the flour.
- Keep Away from Strong Odors: Flour has the tendency to absorb odors from its surroundings. Store your buckets away from strong-smelling substances such as cleaning chemicals, spices, or other pungent foods.
- Consider Stacking: If you have multiple buckets of flour, consider stacking them to save space. However, make sure not to stack the buckets too high, as this can make handling difficult and increase the risk of damaging the buckets or compromising the seals.
- Regularly Check and Rotate: Periodically check your stored flour to ensure the buckets remain properly sealed and there are no signs of moisture or pests. Additionally, implement a rotation system to use the oldest flour first, ensuring that your stock remains fresh.
- Keep Labels Visible: Ensure that the labels on the buckets are visible and legible. This will make it easier to identify the type of flour and the date of storage, allowing you to maintain proper inventory management.
By storing your 5-gallon buckets of flour in the right environment, you can extend the shelf life and maintain the quality of your flour for an extended period.
With these steps, you have successfully stored your flour in 5-gallon buckets, ensuring its freshness and quality. By protecting your flour from moisture, pests, and air, you can confidently rely on your stored flour for all your culinary needs.
So go ahead, enjoy baking and cooking with the peace of mind that comes from knowing your flour is stored properly and ready to be used whenever you need it!
Conclusion
Storing flour in 5-gallon buckets is a practical and effective method that offers numerous benefits. By using these sturdy containers with secure lids, you can protect your flour from moisture, pests, and air, ensuring its freshness and quality for an extended period.
Throughout this article, we discussed the benefits of storing flour in 5-gallon buckets, including protection from moisture, pest prevention, longer shelf life, cost-effectiveness, and convenience. We also provided a step-by-step guide on how to store your flour effectively using these buckets, covering the selection process, preparation, transfer, sealing, and proper storage.
Choosing the right buckets made from food-grade materials, preparing them through thorough cleaning and sanitization, transferring the flour incrementally while avoiding overfilling, and sealing the buckets properly are all crucial steps in this process. Additionally, selecting the right storage environment, including temperature and location considerations, further ensures the quality and freshness of your flour.
By following these steps, you can confidently store your flour in 5-gallon buckets, knowing that it will remain fresh, dry, and protected from external elements. This method allows for better organization, cost-effectiveness, and easy monitoring of your flour supply, whether you are an avid baker or just someone who wants to have flour on hand for cooking needs.
Now that you have the knowledge and guidance on how to store your flour effectively in 5-gallon buckets, it’s time to put it into action. Enjoy the convenience, peace of mind, and extended shelf life of your stored flour. Happy baking and cooking!
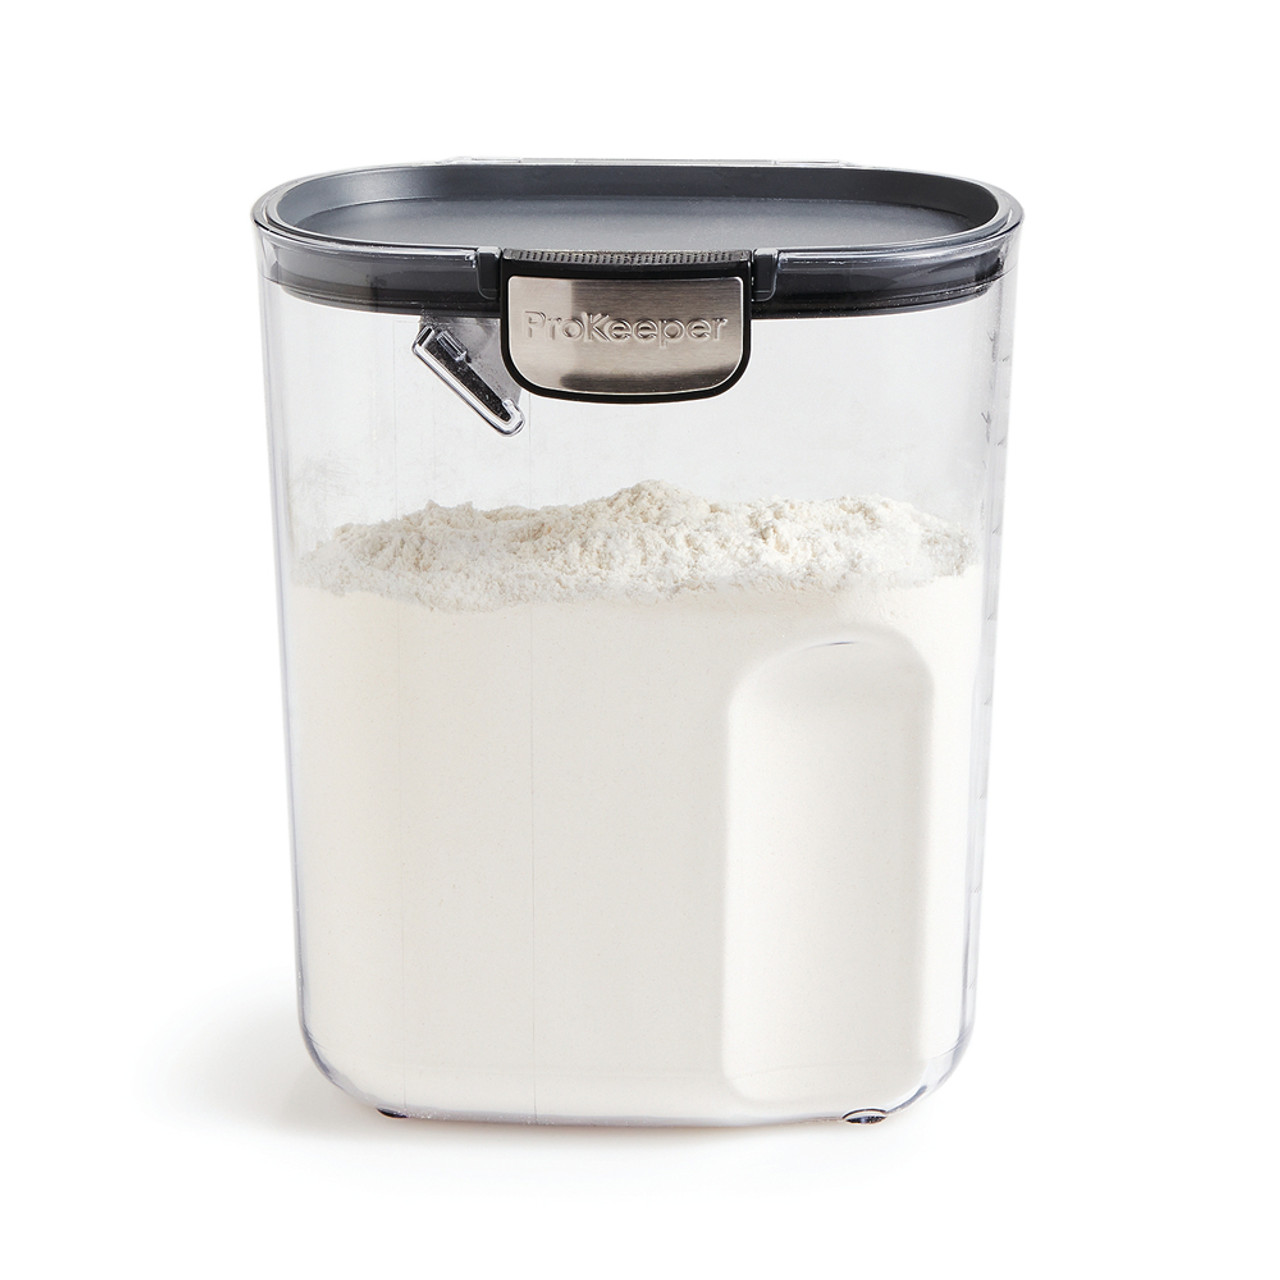
Now that you've mastered storing flour in buckets, why stop there? Elevate your readiness with our guide on best practices for food storage, perfect for keeping all essentials fresh and accessible. For those dealing with cramped spaces, our tips on streamlining your kitchen can transform your culinary area into a model of efficiency. And if you're focused solely on flour, our roundup of the optimal containers for flour storage will ensure your baking ingredients are always ready for action. Stay prepared and efficient with these insightful reads!
Frequently Asked Questions about How To Store Flour In 5 Gallon Buckets
Was this page helpful?
At Storables.com, we guarantee accurate and reliable information. Our content, validated by Expert Board Contributors, is crafted following stringent Editorial Policies. We're committed to providing you with well-researched, expert-backed insights for all your informational needs.

0 thoughts on “How To Store Flour In 5 Gallon Buckets”