Articles
How To Store Flour In Freezer
Modified: August 19, 2024
Learn the best way to store flour in the freezer to keep it fresh for longer. Find helpful articles and tips on proper storage methods.
(Many of the links in this article redirect to a specific reviewed product. Your purchase of these products through affiliate links helps to generate commission for Storables.com, at no extra cost. Learn more)
Introduction
Storing flour in the freezer is a simple yet effective way to prolong its shelf life and preserve its freshness. Flour, being a staple ingredient used in various baking and cooking recipes, can easily be affected by factors such as moisture, bugs, and rancidity. By storing it in the freezer, you can ensure that your flour stays fresh and ready to use whenever you need it.
In this article, we will explore the reasons why storing flour in the freezer is beneficial, along with the steps to prepare flour for freezing, choosing the right freezer containers, tips for proper storage, and the correct methods to thaw and use frozen flour. Additionally, we will discuss some common mistakes to avoid to ensure the best results.
So, if you are tired of finding your flour spoiled or clumped together due to inadequate storage, read on to discover the tips and tricks for storing flour in the freezer to keep it in its best condition for an extended period.
Key Takeaways:
- Freezing flour prolongs shelf life, preserves freshness, prevents clumping, protects nutritional value, and saves money. Proper preparation, storage, and thawing ensure quality flour for all your culinary needs.
- Avoid common mistakes when freezing flour, such as not removing air, using non-freezer safe containers, and not organizing or labeling. Follow proper techniques to maintain fresh, high-quality flour for your recipes.
Read more: How Long Will Flour Last In The Freezer
Why Store Flour in the Freezer
Storing flour in the freezer offers several benefits over traditional methods of storage. Here are some key reasons why you should consider freezing your flour:
- Prolongs Shelf Life: Flour has a limited shelf life due to its high oil content, which can lead to rancidity when exposed to air and moisture. Freezing flour slows down the oxidation process, extending its shelf life significantly.
- Preserves Freshness: Freezing flour helps retain its freshness by preventing the growth of bacteria, mold, and insects that can spoil the quality of the flour.
- Prevents Clumping: High humidity can cause flour to clump together, making it difficult to measure accurately. Freezing flour eliminates moisture, preventing clumping and ensuring easy handling and measurement.
- Protects Nutritional Value: Flour contains essential vitamins and minerals that can degrade over time. Freezing helps retain the nutritional value of flour, ensuring that it remains as nutritious as possible.
- Saves Money: By freezing flour, you can buy in bulk and take advantage of discounts, saving money in the long run. You can also avoid wastage by using only the required amount and storing the rest properly.
Overall, freezing flour is a practical and efficient way to maintain its quality and usability for an extended period. It is especially beneficial for those who frequently use flour in baking or cooking, ensuring that you always have fresh flour on hand.
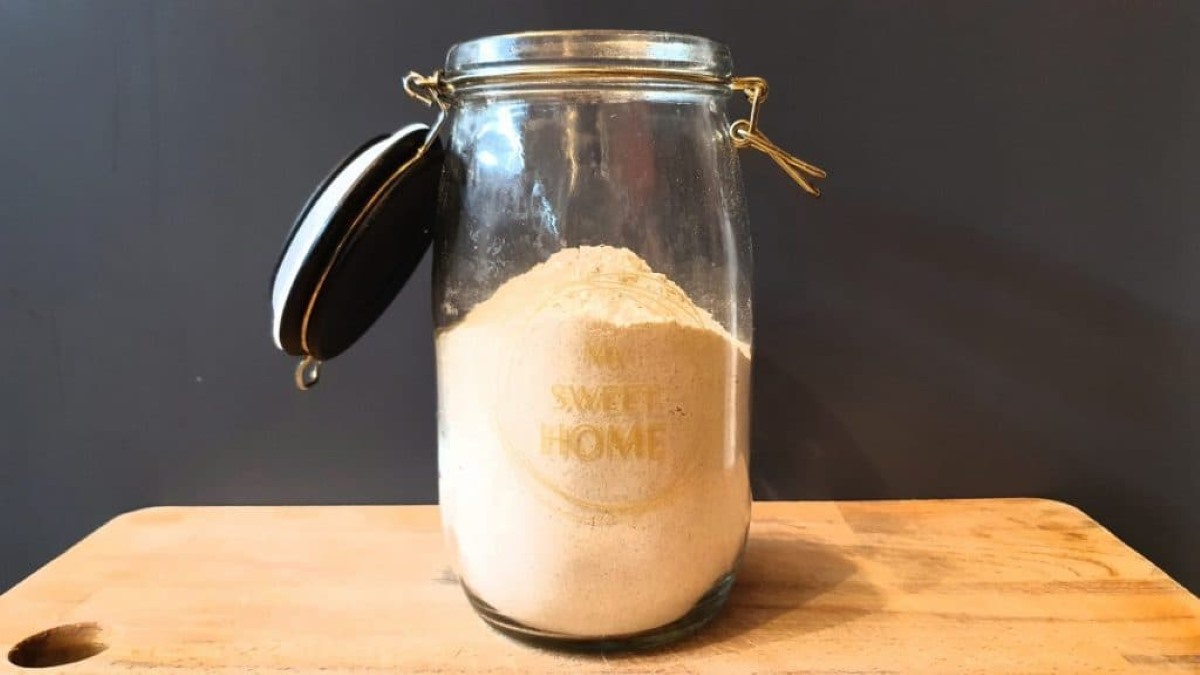
Preparing Flour for Freezing
Before you start freezing your flour, it’s essential to take a few steps to ensure that it is properly prepared for storage. Here is a simple process to follow:
- Check for Moisture: Make sure that the flour is completely dry before freezing. Moisture can lead to freezer burn and affect the quality of the flour. Spread the flour on a baking sheet and let it air dry for a few hours or use a dehydrator to remove any excess moisture.
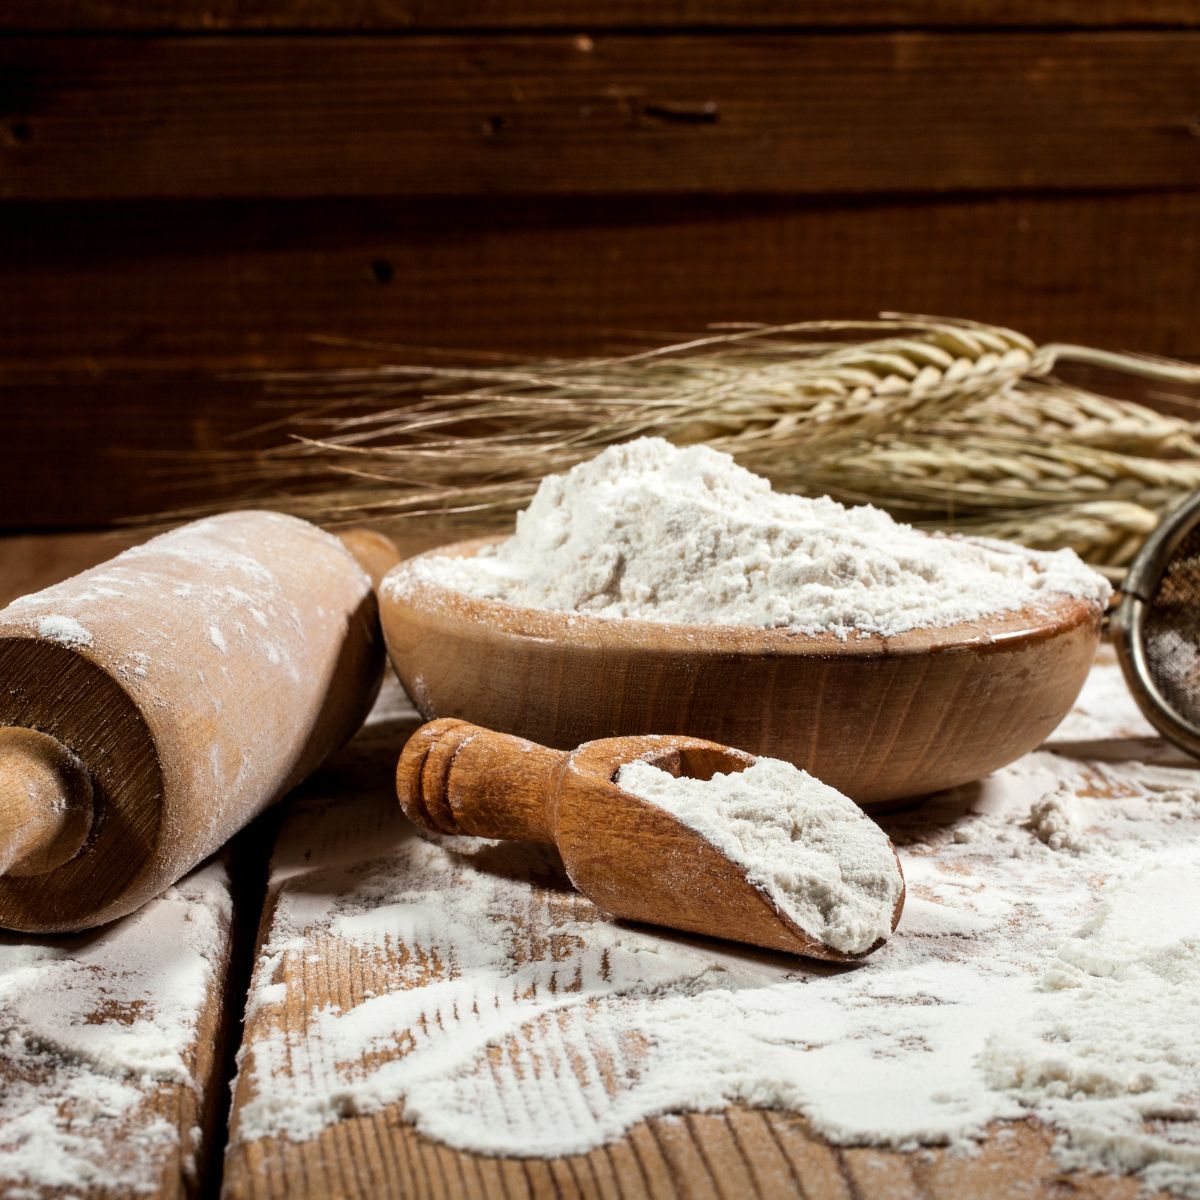
- Sift the Flour: Sifting the flour helps remove any lumps and ensures that it is smooth and consistent. Use a fine-mesh sieve or a flour sifter to sift the flour into a clean bowl.
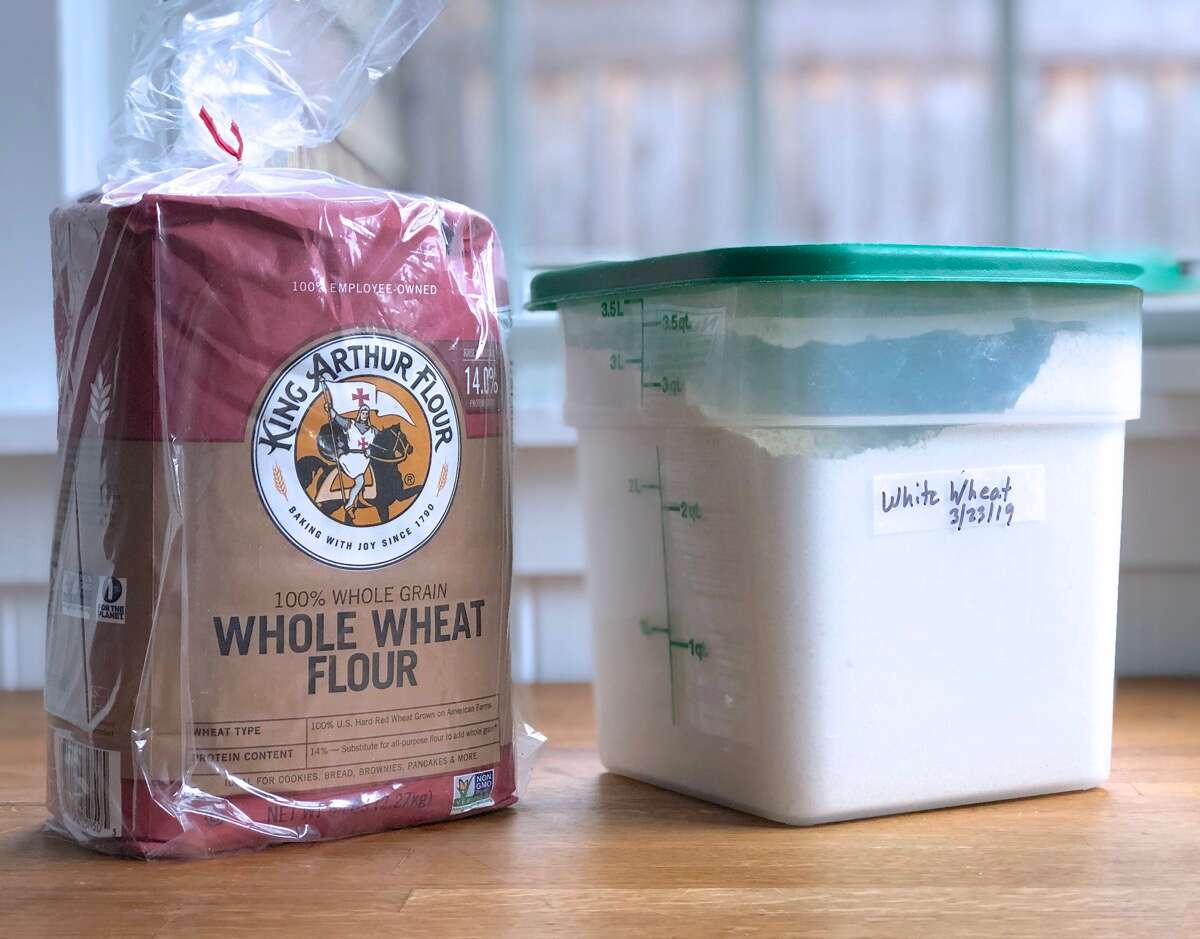
- Divide into Portions: Divide the flour into smaller portions based on your usage. It’s best to freeze flour in quantities that you typically use in recipes. This way, you can thaw only the required amount, minimizing waste.
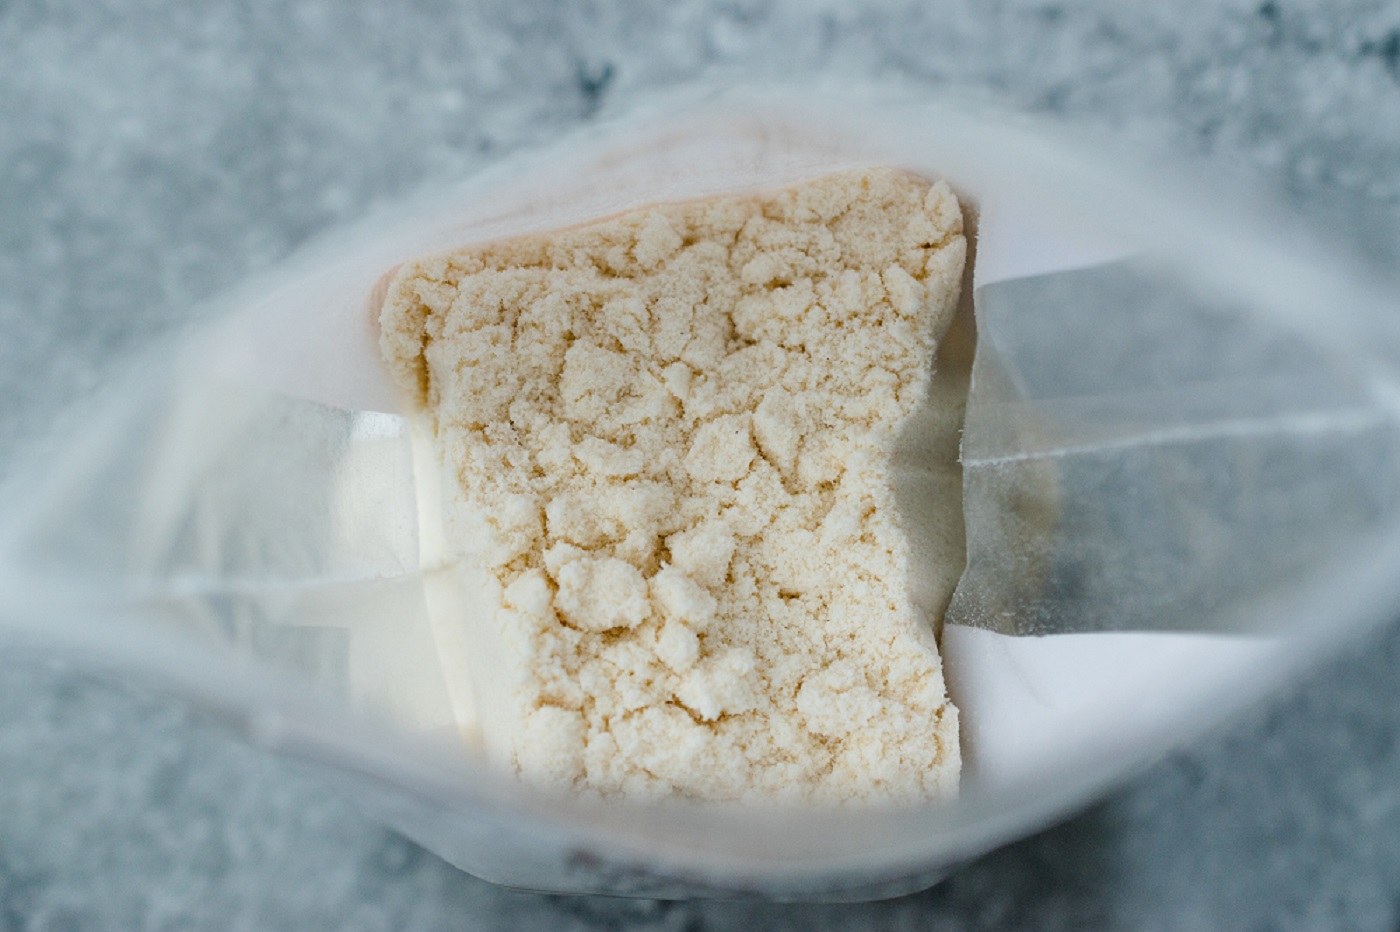
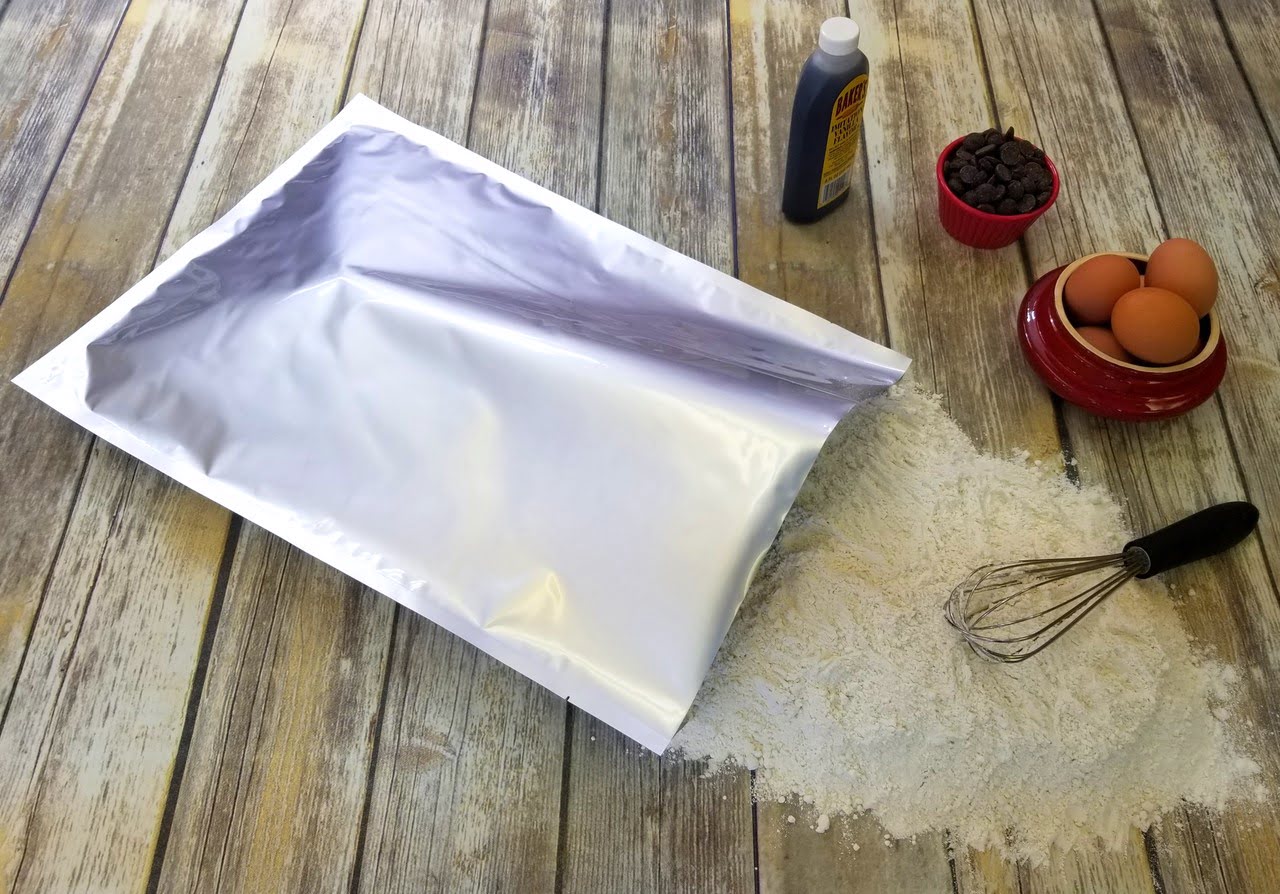
- Package and Label: Transfer each portion of flour into airtight freezer-safe containers or resealable bags. Label them with the date of freezing to keep track of their freshness.
By following these steps, you ensure that your flour is well-prepared for freezing, preserving its quality and making it easier to handle when you need to use it later.
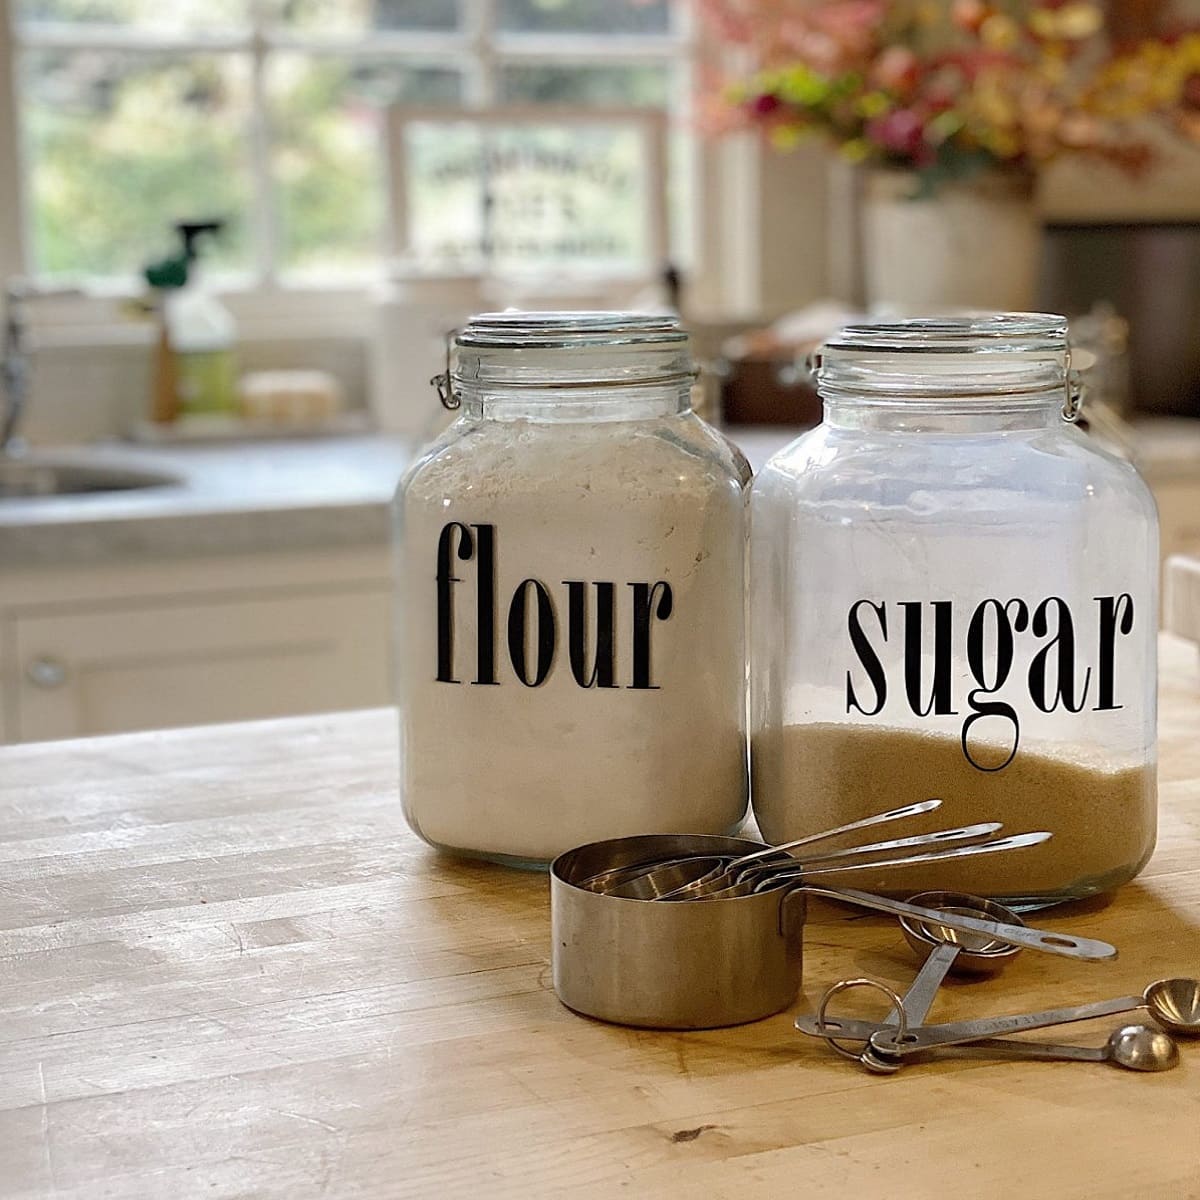
Choosing the Right Freezer Containers
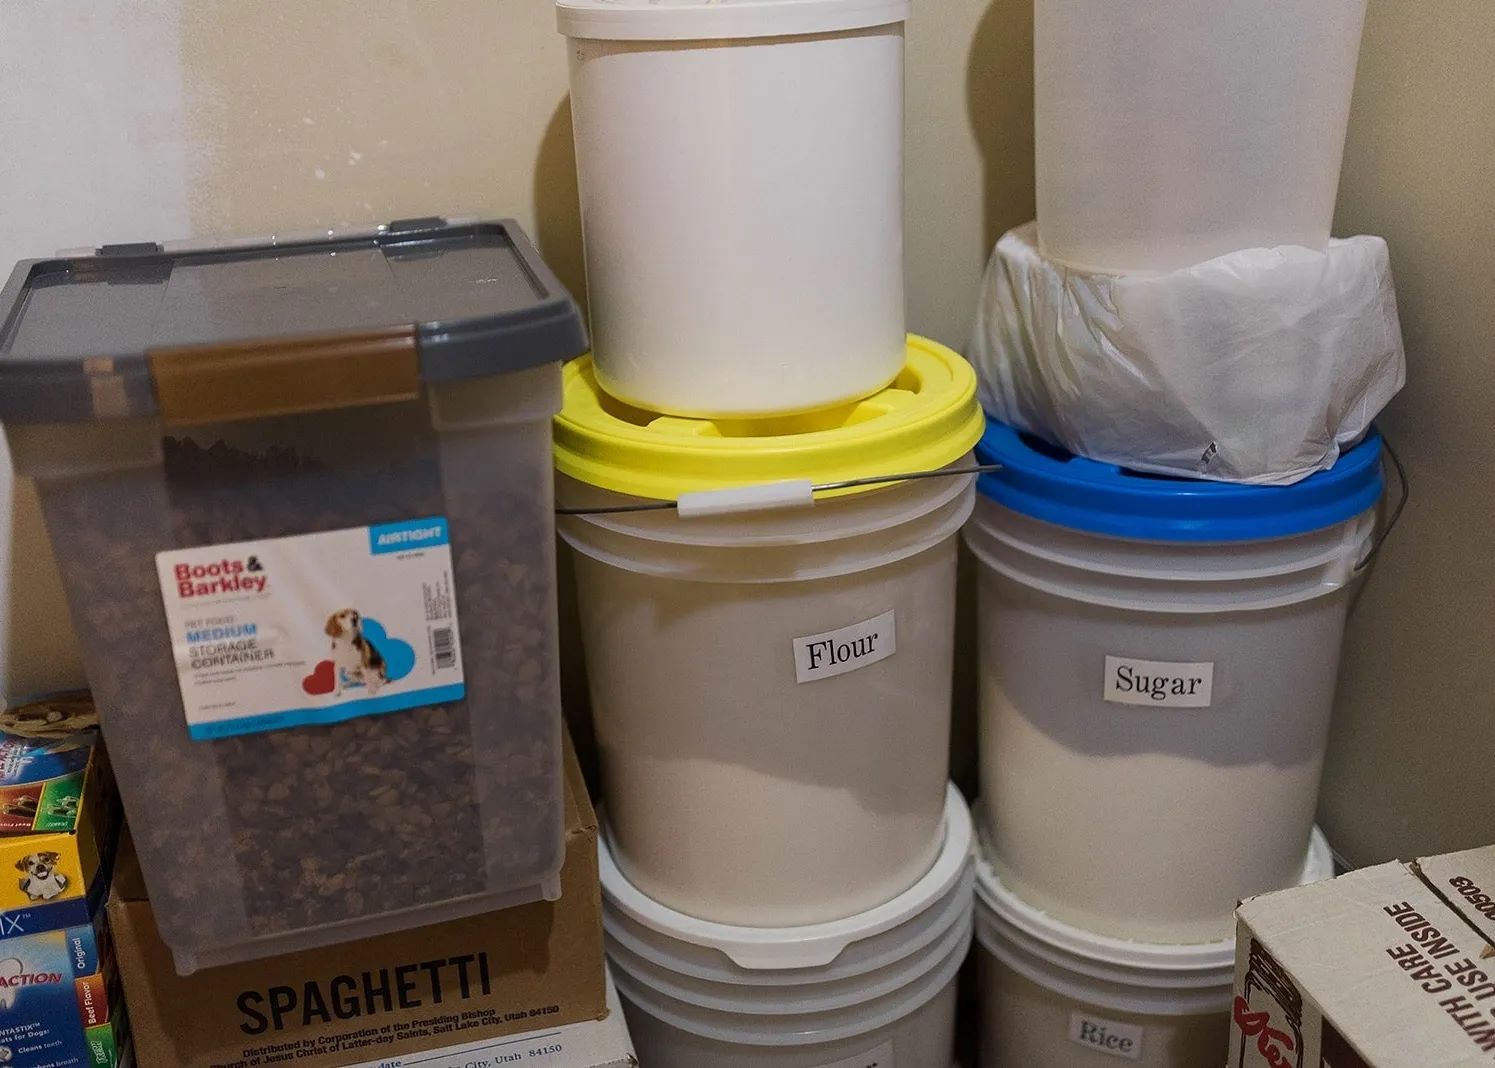
When it comes to storing flour in the freezer, selecting the right containers is crucial to maintain its quality and prevent any freezer-related issues. Here are some considerations for choosing the right freezer containers:
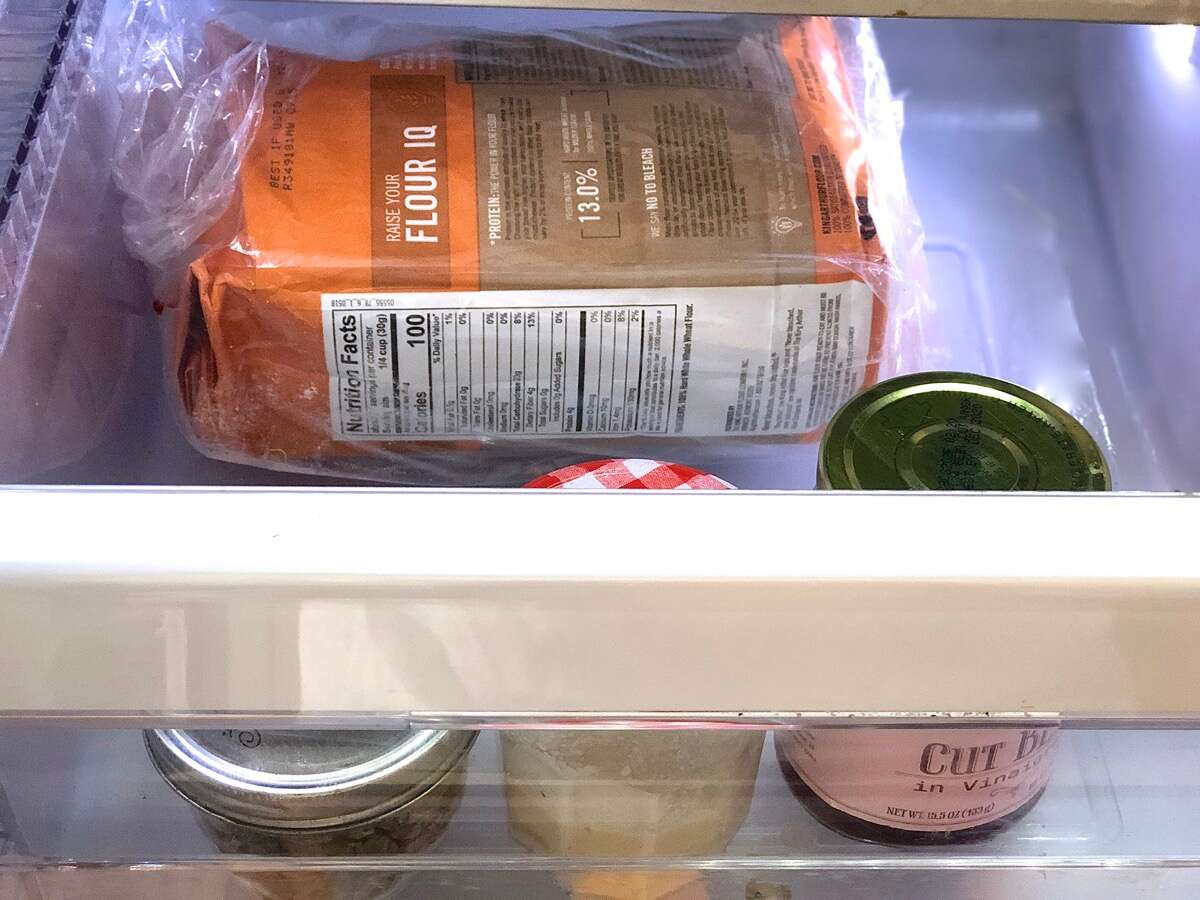
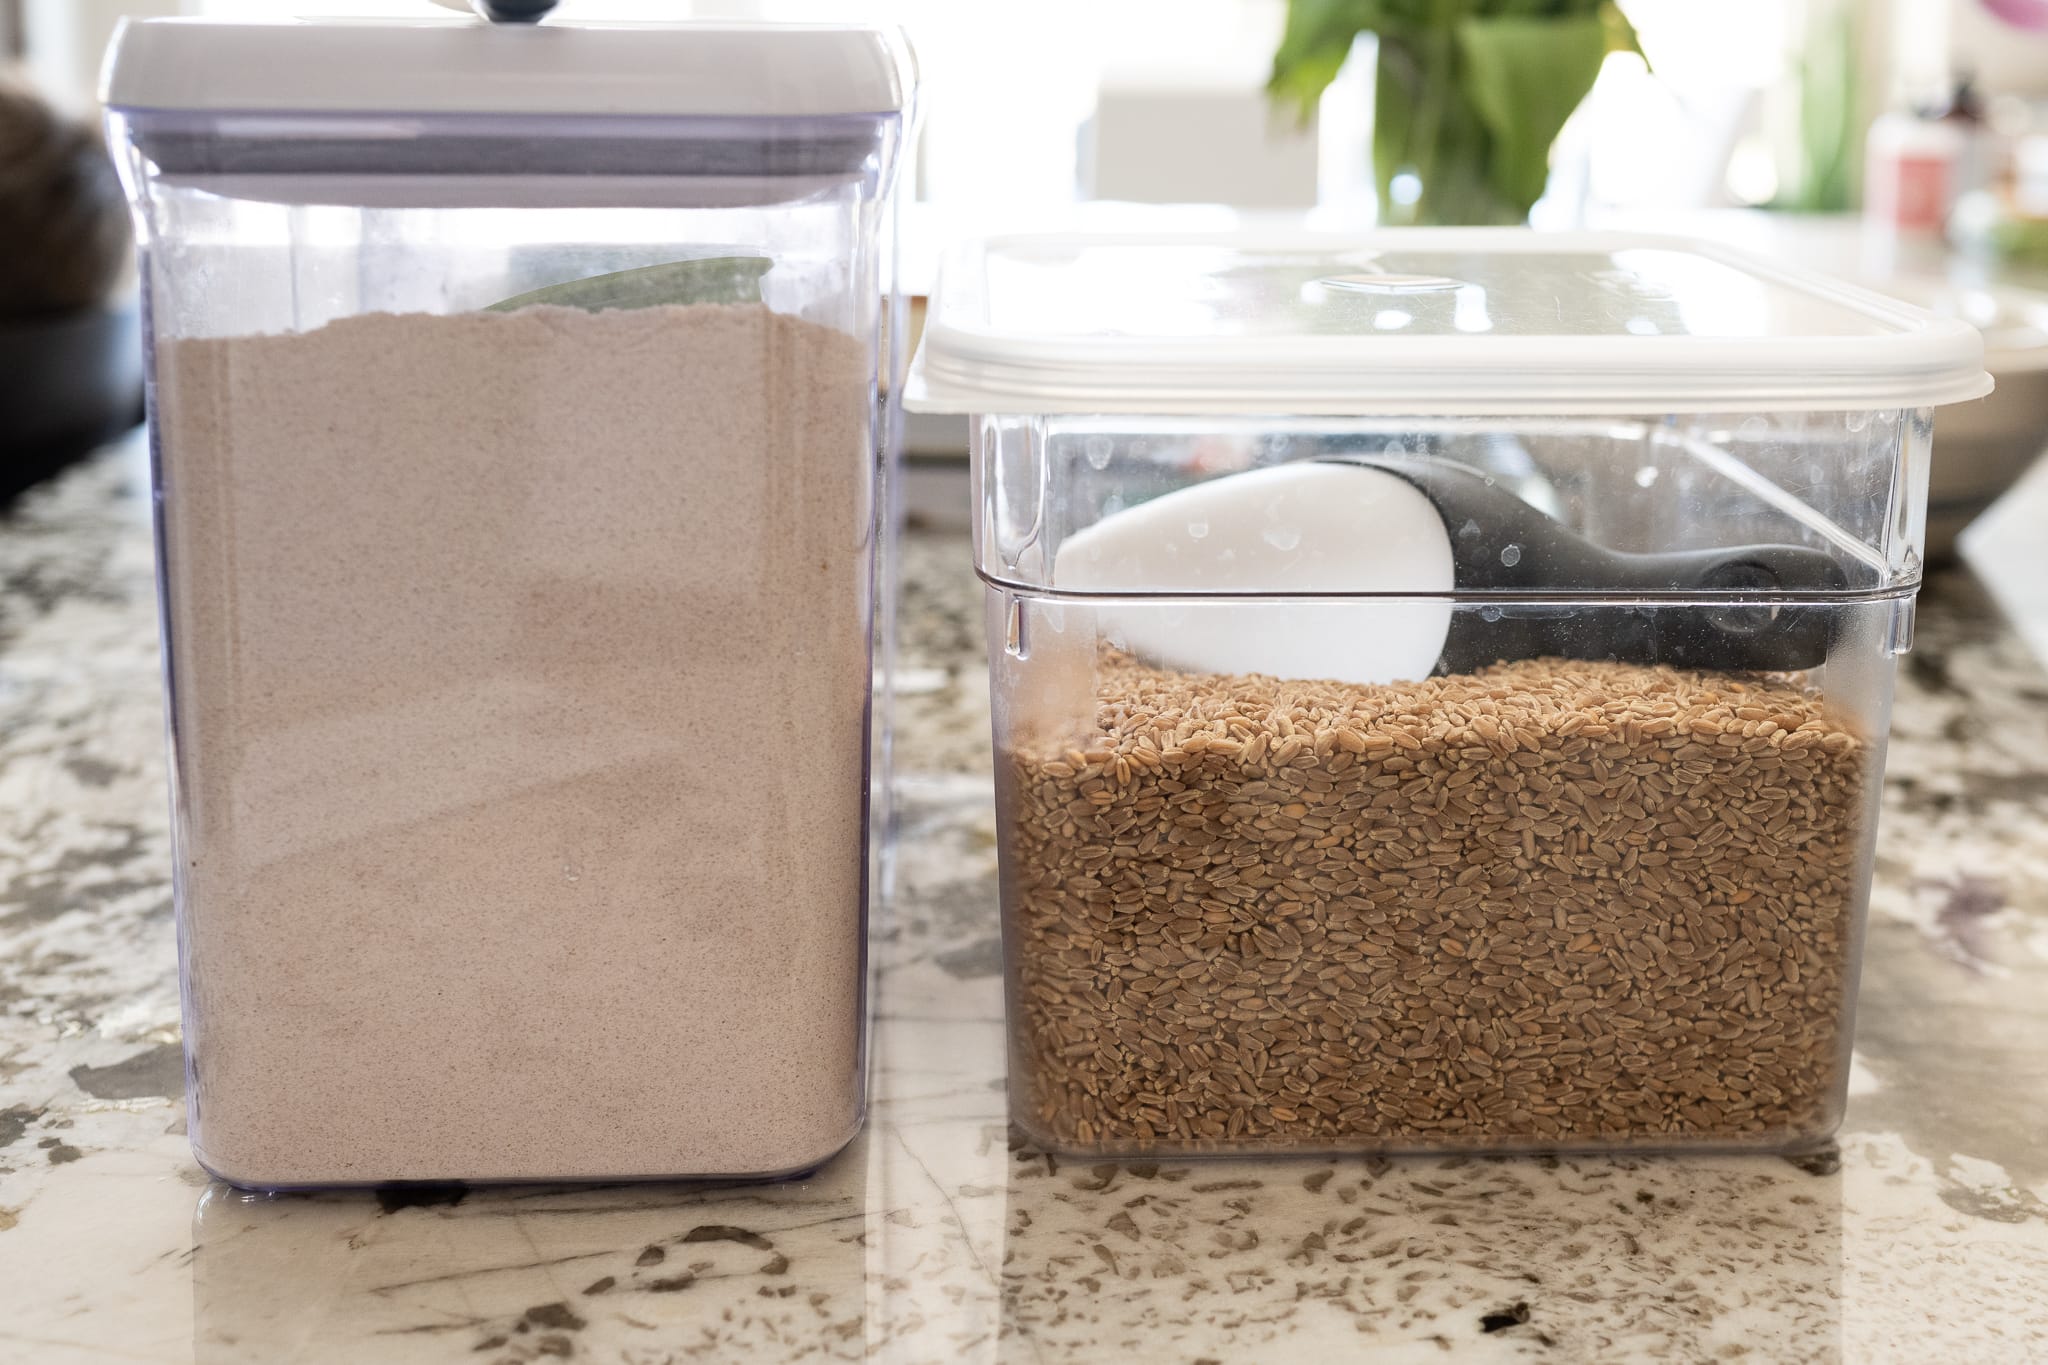
- Airtight and Freezer-Safe: Opt for containers that are specifically designed for freezer use. These containers are made of materials that can withstand low temperatures and prevent air and moisture from seeping in, keeping the flour fresh.
- Size and Shape: Choose containers that can accommodate the portion sizes you divided the flour into during the preparation stage. This allows for easier organization and prevents the need to thaw more flour than necessary.
- Stackable: To utilize freezer space efficiently, opt for containers that are stackable. This helps save space and keeps your freezer well-organized.
- Transparent: Select containers that are transparent or have a clear lid. This allows you to easily identify the contents without having to open the container, reducing the exposure to air and moisture.
- Labels: Use labels or sticky notes to indicate the type of flour, the date of freezing, and any additional information you find helpful. This ensures that you can easily locate and track the frozen flour in your freezer.
By choosing the right freezer containers, you can protect your flour from freezer burn, maintain its freshness, and conveniently access it when needed. Remember to invest in quality containers that are designed for freezer use to ensure the best results.
To store flour in the freezer, place it in an airtight container or resealable bag to prevent moisture and odors from affecting the flour. Label with the date and type of flour for easy identification.
Tips for Storing Flour in the Freezer
Proper storage is key when it comes to freezing flour. Follow these tips to ensure the best results and maintain the quality of your frozen flour:
- Use Quality Freezer Bags or Containers: Invest in high-quality freezer bags or containers that are designed to withstand freezing temperatures. This helps protect the flour from freezer burn and prevents any unwanted odors from seeping in.
- Remove Excess Air: When packaging the flour, remove as much air as possible from the bags or containers before sealing them. Air can cause moisture to accumulate and affect the quality of the flour.
- Organize and Label: Arrange the frozen flour containers in an organized manner, with labels facing outwards for easy identification. This helps you find the specific type of flour you need without having to search through everything.
- Store Away from Strong Odors: Keep your frozen flour away from strong-smelling foods such as onions or seafood. Flour has the tendency to absorb odors, which can affect the taste and aroma of your recipes.
- Rotate Stock: To maintain the freshness of your stored flour, practice a first-in, first-out approach. Use the oldest frozen flour first and replace it with fresh ones. This ensures that you always have the best quality flour on hand.
- Avoid Overfilling Containers: Leave some room at the top of the containers or bags to allow for expansion as the flour freezes. This prevents the containers from bursting and keeps the flour in good condition.
- Keep an Inventory: Maintain a list or inventory of the types and quantities of flour you have stored in the freezer. This helps you stay organized and avoid overstocking or running out of flour when you need it most.
By following these tips, you can ensure that your flour remains fresh, protected, and easily accessible in the freezer. Taking the time to store your flour properly will yield excellent results for your baking and cooking endeavors.
Read more: How To Store Almond Flour
Thawing and Using Frozen Flour
Thawing frozen flour correctly is essential to maintain its quality and make it ready for use. Here is a step-by-step guide on how to thaw and use frozen flour:
- Transfer to the Refrigerator: Place the frozen flour container or bag in the refrigerator. Allow it to thaw slowly and evenly over several hours or overnight. This gradual thawing helps preserve the texture and moisture content of the flour.
- Bring to Room Temperature: Once the flour is thawed, remove it from the refrigerator and let it reach room temperature naturally. This step ensures that the flour is evenly warmed and prevents any clumping or moisture issues.
- Sift the Flour: Sift the thawed flour to remove any lumps or compacted areas that may have formed during freezing. This process will ensure that the flour is light and airy, ready to be used in your recipes.
- Measure as Needed: Measure out the thawed flour according to your recipe’s requirements. Use the defrosted flour immediately, as it will absorb moisture from the air and may clump together if left exposed for too long.
When using thawed flour, it is important to note that its consistency may differ slightly from fresh flour. This can be due to the moisture content or changes in texture during the freezing process. However, the quality and performance of the flour should not be significantly affected.
If a recipe calls for sifted flour, it is best to sift the flour after thawing to ensure the best texture and consistency. Additionally, be sure to adjust your measurements if necessary, as the volume of flour may change slightly after freezing and thawing.
Remember, once you thaw the flour, it is not recommended to refreeze it. Use only the amount you need and return the rest to the freezer promptly to maintain its freshness and quality.
By following these steps, you can thaw your frozen flour properly and easily incorporate it into your recipes, ensuring excellent results in your baking and cooking endeavors.
Common Mistakes to Avoid
While storing flour in the freezer is a great way to extend its shelf life and maintain its freshness, there are some common mistakes that should be avoided to ensure the best results:
- Not Removing Air Before Freezing: Failing to remove excess air from the freezer bags or containers can lead to freezer burn and affect the quality of the flour. Be sure to squeeze out as much air as possible before sealing.
- Using Non-Freezer Safe Containers: Using containers that are not designed for freezer use can cause them to crack or break in low temperatures. Always use containers specifically labeled as freezer-safe to avoid any issues.
- Not Dividing into Portions: Freezing the entire bag or container of flour can make it challenging to thaw and use only the necessary amount. It’s important to divide the flour into portions beforehand to prevent unnecessary thawing and refreezing.
- Storing Near Strong Odors: Storing frozen flour near strong-smelling foods can cause it to absorb odors, which can affect the taste and aroma of your recipes. Keep your frozen flour away from foods with strong odors to maintain its quality.
- Not Labeling or Organizing: Neglecting to label your frozen flour or keep it organized in the freezer can lead to confusion and difficulty in finding the specific type or date of the flour. Labeling and organizing are key to efficient freezer storage.
- Thawing at Room Temperature: Thawing frozen flour at room temperature can lead to uneven defrosting and potential moisture issues. Always thaw the flour in the refrigerator to ensure even and controlled thawing.
- Refreezing Thawed Flour: Once you have thawed the flour, it is not recommended to refreeze it. Refreezing can lead to texture changes and moisture absorption, compromising the quality of the flour.
By avoiding these common mistakes, you can ensure that your frozen flour remains fresh, of high quality, and ready to use whenever you need it.
Conclusion
Storing flour in the freezer is a practical and effective way to extend its shelf life, preserve its freshness, and ensure that you always have quality flour on hand for your baking and cooking needs. By taking the necessary steps to prepare the flour for freezing, choosing the right freezer containers, and following proper storage techniques, you can maintain the integrity of the flour and avoid common pitfalls.
The benefits of freezing flour are numerous. It prolongs the shelf life of the flour, preserves its freshness, prevents clumping, protects its nutritional value, and can even save you money by allowing you to buy in bulk. Freezing flour also provides the convenience of having flour readily available whenever you need it, without the worry of it spoiling.
Proper thawing and usage of frozen flour is essential to maintain its quality. By thawing the frozen flour slowly in the refrigerator, allowing it to come to room temperature, sifting it, and using it as needed, you can ensure that the flour remains in excellent condition and performs well in your recipes.
Avoiding common mistakes such as not removing air before freezing, using non-freezer safe containers, and not organizing or labeling the frozen flour can help you maintain a well-organized freezer and prevent any quality issues.
In conclusion, storing flour in the freezer is a simple and effective way to preserve its freshness and extend its usability. By following the steps outlined in this article, you can ensure that your flour remains fresh, clump-free, and ready to use whenever you need it. Whether you use flour for baking cakes, making bread, or preparing other culinary delights, freezing it is a smart and practical solution to keep it in its best condition for a longer period of time.
So go ahead and make the most of your freezer space by stockpiling flour and keeping it fresh and available for all your culinary adventures!
Frequently Asked Questions about How To Store Flour In Freezer
Was this page helpful?
At Storables.com, we guarantee accurate and reliable information. Our content, validated by Expert Board Contributors, is crafted following stringent Editorial Policies. We're committed to providing you with well-researched, expert-backed insights for all your informational needs.


0 thoughts on “How To Store Flour In Freezer”