
Articles
How To Store 25 Lbs Of Flour
Modified: August 28, 2024
Learn the best methods and containers to store 25 lbs of flour in this comprehensive articles. Keep your flour fresh and ready for all your baking needs!
(Many of the links in this article redirect to a specific reviewed product. Your purchase of these products through affiliate links helps to generate commission for Storables.com, at no extra cost. Learn more)
Introduction
Storing flour properly is essential to maintain its freshness and prevent it from spoiling. Whether you are a baking enthusiast or simply someone who wants to ensure a long shelf life for their flour, understanding the right storage techniques is key. In this article, we will provide you with a comprehensive guide on how to store 25 lbs of flour effectively.
Flour, being a staple ingredient, is susceptible to moisture, heat, and pests. Improper storage can cause the flour to become rancid, clump together, or attract unwanted pests, rendering it unusable. To ensure that your flour remains fresh and safe for consumption, it is important to take certain considerations into account, choose the right storage container, and adopt proper storage practices.
By following the tips and guidelines presented in this article, you can extend the shelf life of your flour and enjoy the convenience of having it readily available whenever you need it. So, let’s delve into the details and discover the optimal ways to store your 25 lbs of flour!
Key Takeaways:
- Properly storing 25 lbs of flour involves choosing the right container, cleaning and preparing it, and finding the ideal storage location. Regular monitoring and maintenance are key to preserving the flour’s freshness and quality.
- When using stored flour, check for freshness, measure accurately, and get creative with recipes. Experiment with different types of flour and enjoy the convenience of having a well-stocked pantry for all your culinary endeavors.
Read more: How To Store 25 Lbs Of Rice
Considerations Before Storing Flour
Before you start storing your 25 lbs of flour, there are a few important considerations to keep in mind:
- Quality of the flour: Ensure that the flour you plan to store is of good quality and free from any signs of spoilage or infestation. Discard any flour that shows mold, strange odors, or insects.
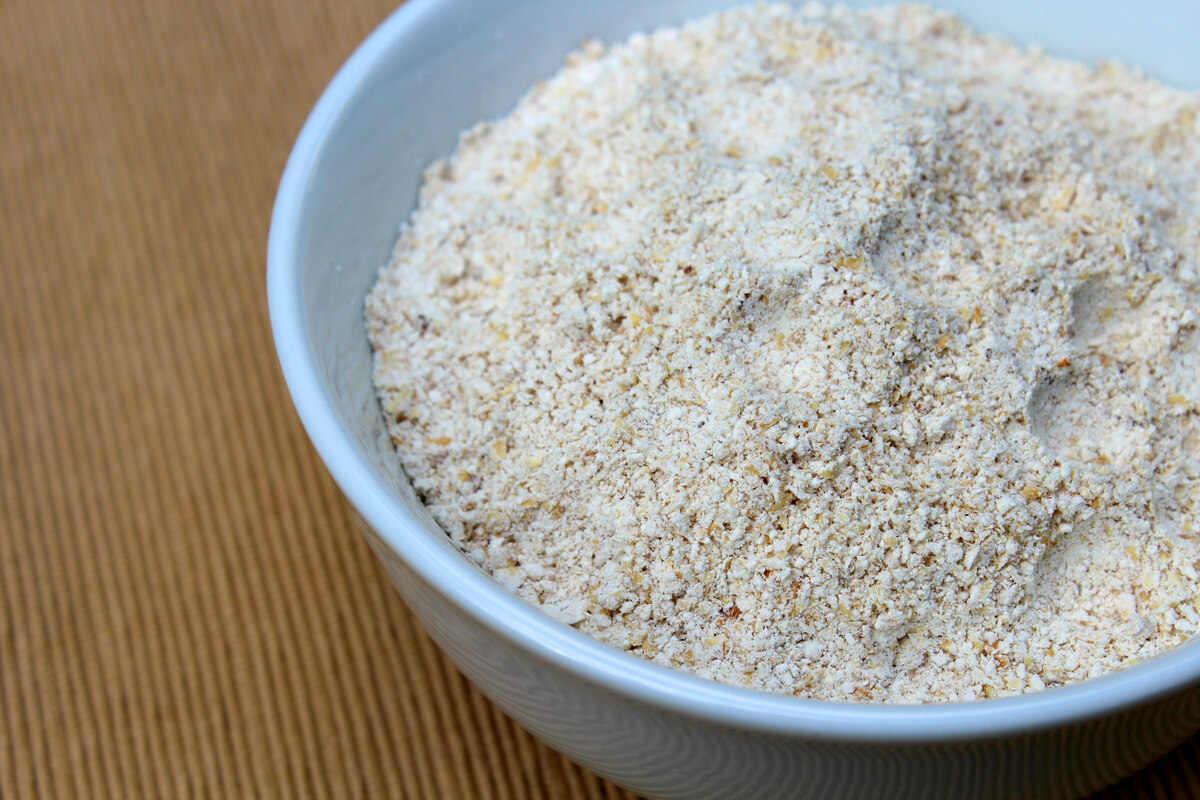
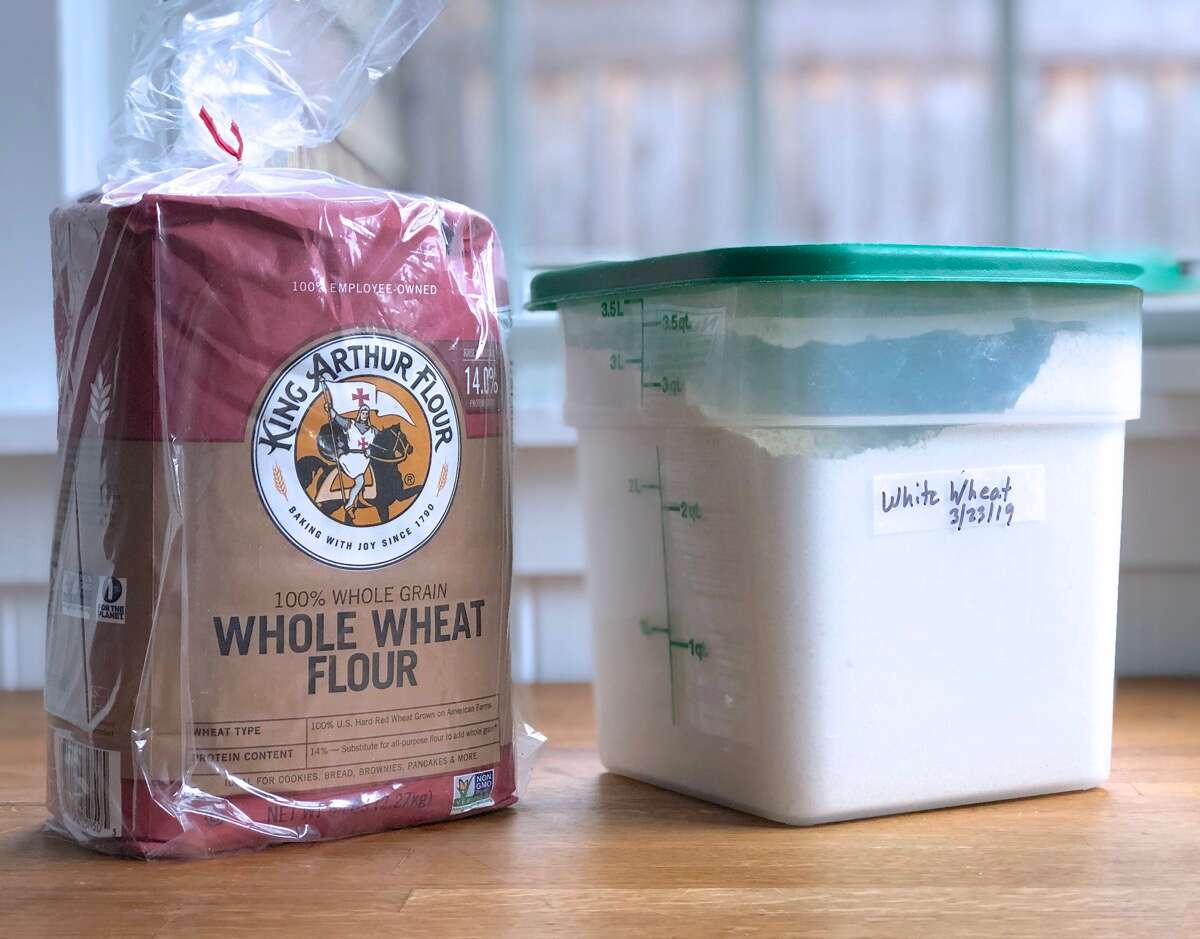
- Type of flour: Different types of flour have varying shelf lives. All-purpose flour, for example, can last for about 6 to 8 months when stored properly, while whole wheat flour has a shorter shelf life of around 4 to 6 months. Take note of the type of flour you have and its specific storage recommendations.
- Storage environment: Consider the environment in which you plan to store your flour. Ideally, the storage area should be cool, dry, and away from direct sunlight. Fluctuations in temperature and exposure to light can accelerate the degradation of flour.
- Quantity needed: Before storing a large amount of flour, assess your usage patterns. If you don’t bake frequently or only require small quantities, it may be more practical to store smaller portions of flour or buy it in smaller packages to ensure freshness.
- Rotation of stock: Take into account your usage habits and ensure that you rotate your stock regularly. Use older flour before newer purchases to prevent expiration and waste.
- Allergen concerns: If you or someone in your household has allergies or sensitivities to certain types of flour, be mindful of cross-contamination. Clean and sanitize storage containers properly to prevent any traces of allergenic flours from mixing with others.
By considering these factors before storing your flour, you can ensure that you have a fresh and reliable supply of flour for all your culinary endeavors. With these considerations in mind, let’s move on to choosing the right storage container for your 25 lbs of flour!
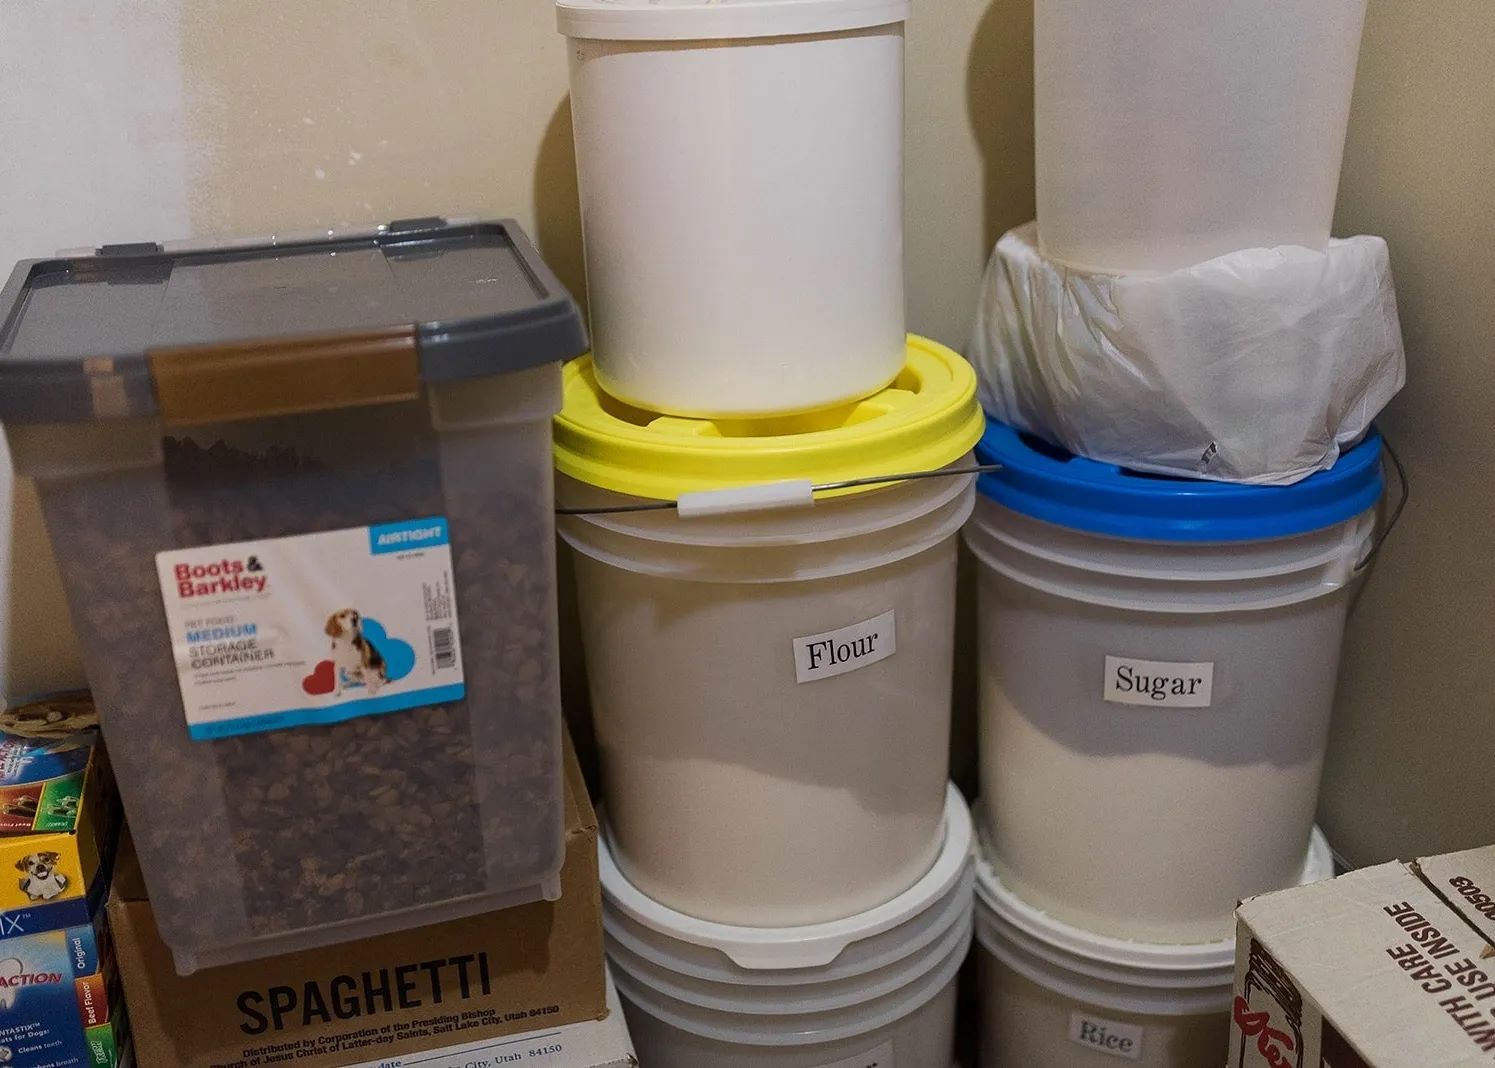
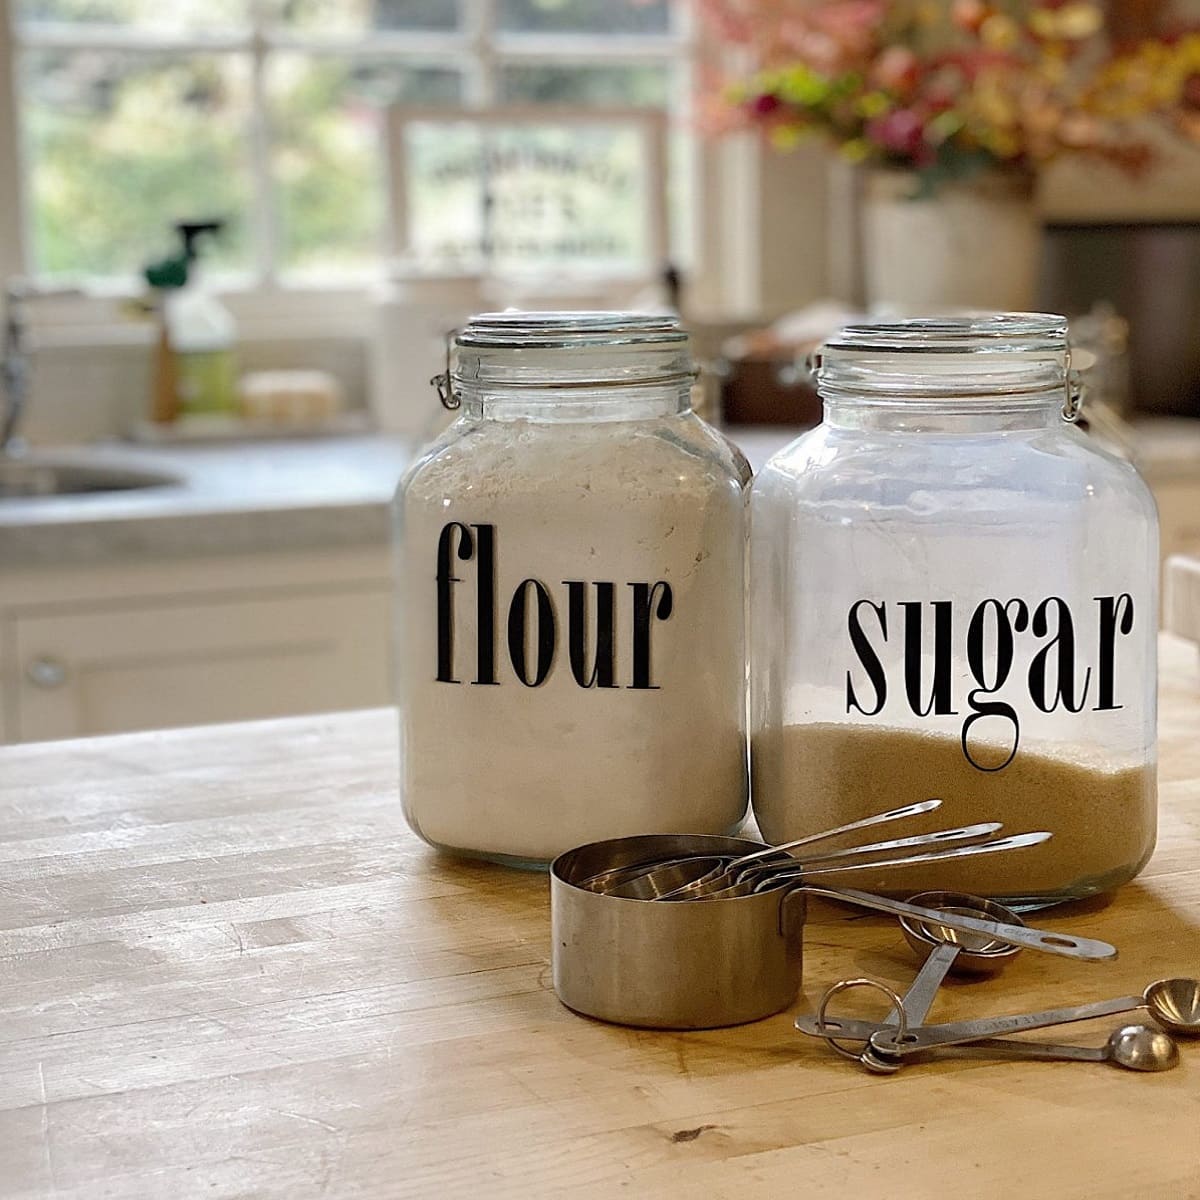
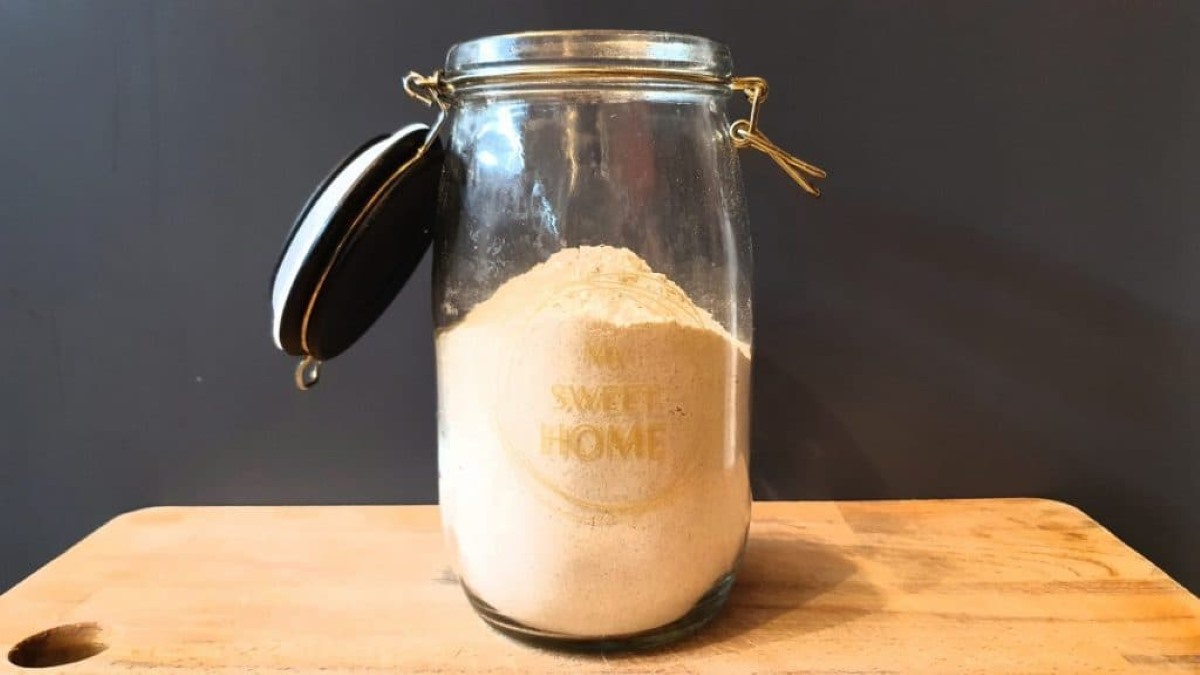
Choosing the Right Storage Container
When it comes to storing flour, selecting the right container is crucial for maintaining its quality and extending its shelf life. Here are some factors to consider when choosing a storage container for your 25 lbs of flour:
- Airtightness: Opt for a container that provides a tight seal to prevent moisture and air from entering. The presence of moisture can lead to mold growth or clumping of the flour, while exposure to air can cause it to become rancid.
- Material: Choose a container made of food-grade materials such as plastic, glass, or metal. These materials are safe for storing food and will not react with the flour, affecting its quality.
- Size: Consider the size of the container in relation to the amount of flour you plan to store. It should have enough capacity to accommodate your 25 lbs of flour without leaving too much empty space, as this can lead to increased air exposure.
- Visibility: Opt for a container that is transparent or has a clear window so you can easily see the contents without opening it. This helps you monitor the condition of the flour and determine when it needs replenishing.
- Stackability: If you have limited storage space, look for containers that are stackable, allowing you to maximize the available area and keep your storage organized. This feature is especially useful when storing a larger quantity of flour.
- Pest resistance: Consider containers with tight-fitting lids or additional mechanisms to deter pests like insects or rodents from accessing the flour. This will help safeguard the integrity of your stored flour.
While there are various container options available in the market, airtight plastic containers with secure locking lids are often a practical choice for storing flour. They are relatively lightweight, easily accessible, and provide excellent protection against moisture and pests.
Remember, it is important to thoroughly clean any container before use to ensure it is free from any contaminants that could compromise the quality of the flour. Now that you know what to look for when selecting a storage container, let’s move on to the next step: cleaning and preparing the container for flour storage.
Cleaning and Preparing the Container
Before you start storing your 25 lbs of flour, it is crucial to clean and prepare the storage container properly. This ensures that the container is free from any lingering odors, contaminants, or residue that might affect the quality of the flour. Follow these steps to clean and prepare your chosen container:
- Inspect the container: Before cleaning, carefully inspect the container for any cracks, chips, or signs of damage. If you notice any, it is best to choose a different container to ensure the integrity of the storage.
- Empty and discard any contents: If the container previously held any other food items, make sure to empty it completely and dispose of any remaining food or packaging properly. This helps prevent cross-contamination and preserves the quality of the flour.
- Clean with soap and water: Wash the container with warm, soapy water to remove any dirt, residue, or odors. Use a sponge or brush to scrub all surfaces, including the lid. Rinse thoroughly to remove any soap residue.
- Dry completely: After washing, allow the container to air dry completely before using it. Moisture can compromise the quality of the flour, so ensure that the container is completely dry inside and out.
- Optional: Sanitize the container: If desired, you can sanitize the container by using a solution of 1 part vinegar to 3 parts water or a food-safe sanitizing solution. Apply the solution to all surfaces of the container, including the lid, and let it sit for a few minutes before rinsing thoroughly and allowing it to dry.
By following these cleaning and preparation steps, you can ensure that the container is in optimal condition to store your 25 lbs of flour. Remember to avoid using containers that have previously held non-food items, as they may contain residues or odors that can affect the quality of the flour. Now that your container is clean and ready, let’s move on to properly packaging the flour for storage.
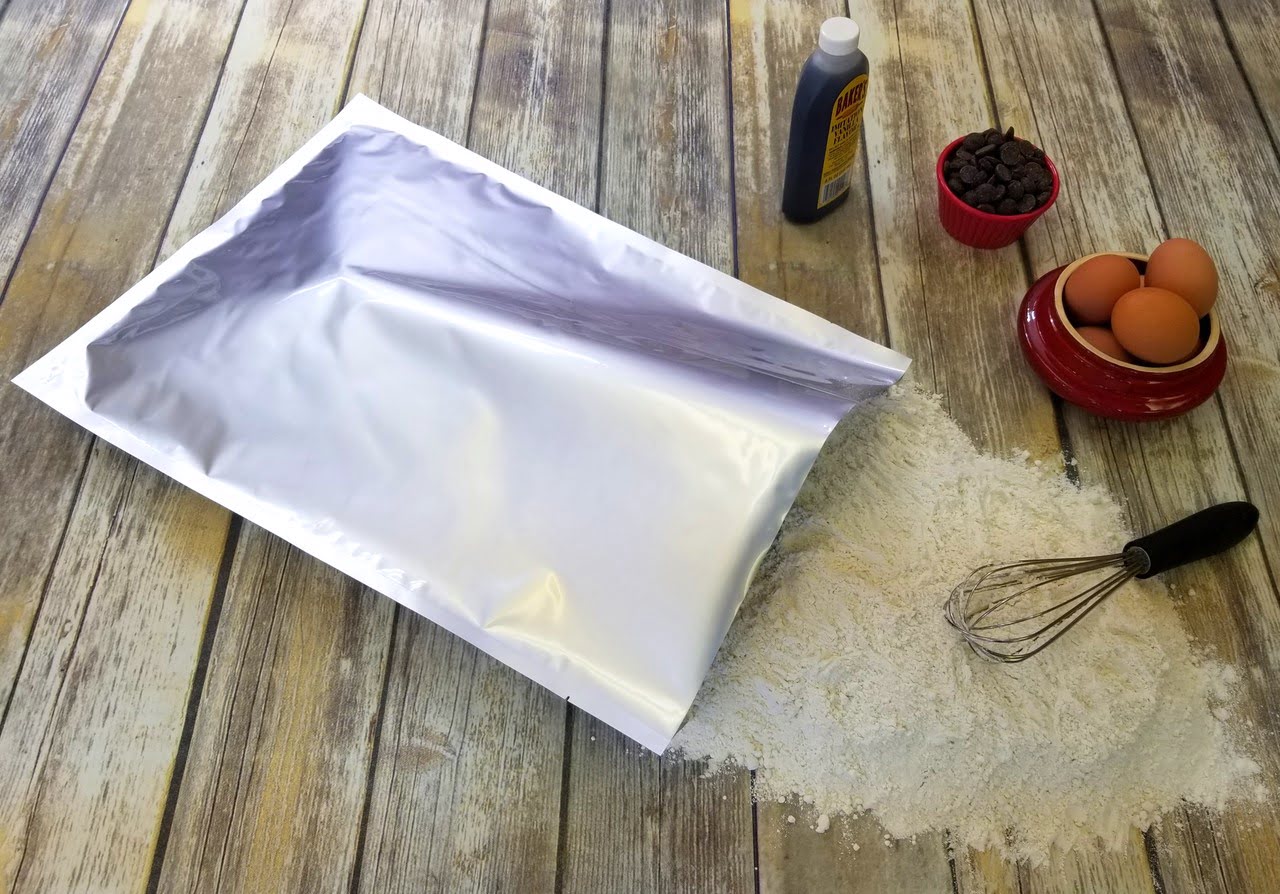
Properly Packaging the Flour
When it comes to storing flour, proper packaging is essential to maintain its freshness and protect it from outside elements. Follow these steps to ensure that your 25 lbs of flour is packaged correctly:
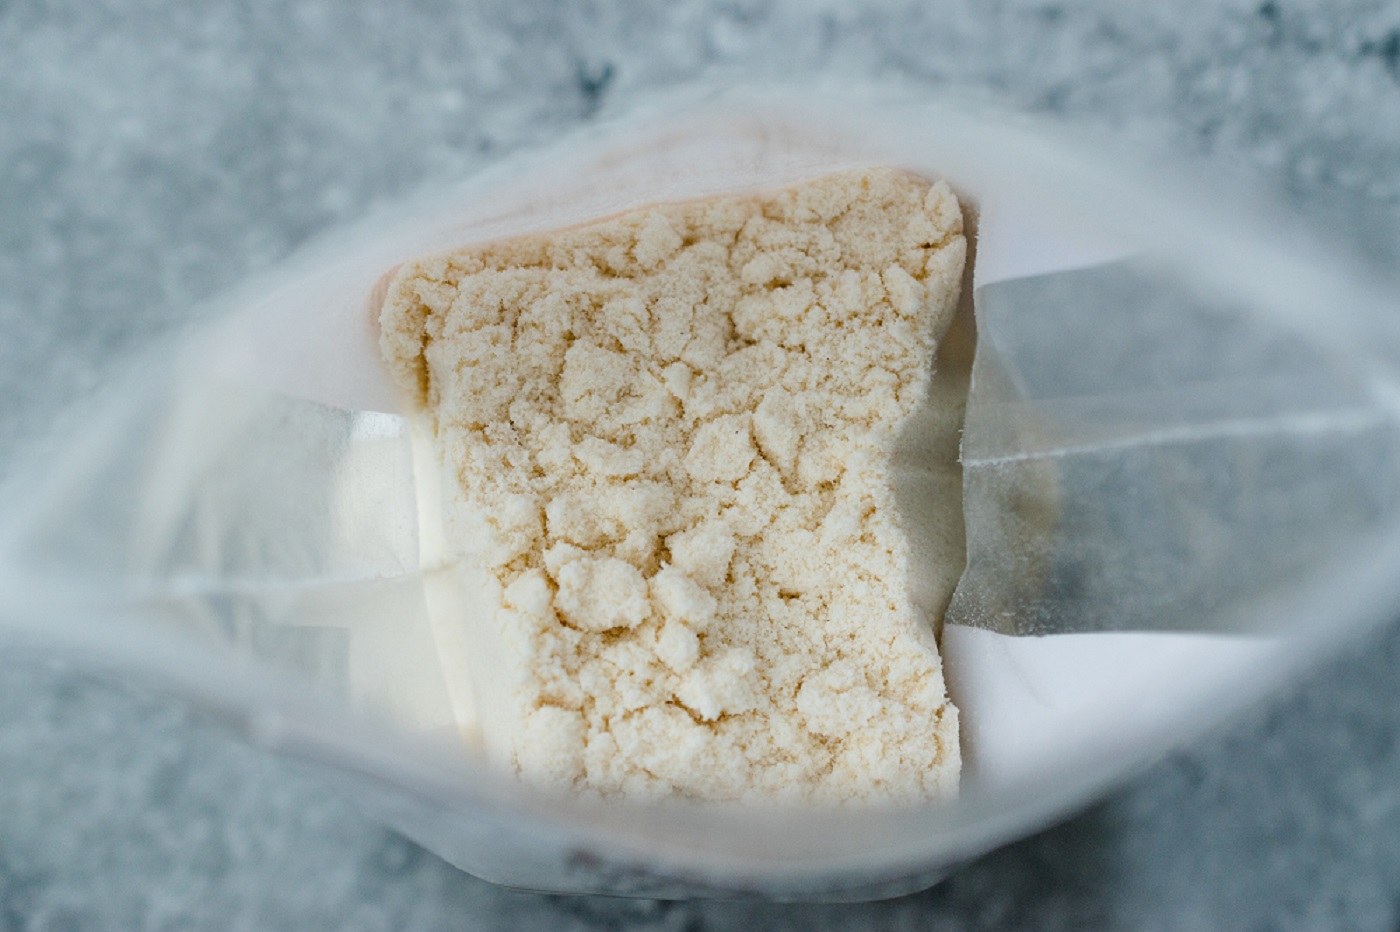
- Use food-grade bags or liners: If you prefer to store your flour directly in the storage container, consider using food-grade plastic bags or liners to create a barrier between the flour and the container. This can help prevent any potential transfer of odors or contaminants.
- Consider using vacuum-sealed bags: Vacuum-sealing the flour removes air, helping to prevent the flour from getting stale or rancid. If you have a vacuum sealer, use it to remove as much air as possible before sealing the bag.
- Consider using Mylar bags: Mylar bags are another effective option for long-term flour storage. These bags are made of a durable, food-grade material that provides a barrier against moisture, pests, and odors. Ensure that the bags are properly sealed to maintain the quality of the flour.
- Label the packages: To easily identify and track the contents, label each package with the type of flour and the date it was packaged. This helps with rotation and ensures that you use the oldest flour first.
- Avoid overpacking: When packaging the flour, avoid overpacking the containers or bags. Leave some room for the flour to expand or breathe, especially if using vacuum-sealed bags. Overpacking can lead to increased pressure and potential bursting of the packaging.
Properly packaging the flour helps to maintain its quality and extends its shelf life. By creating a barrier against moisture, air, and pests, you can ensure that your flour remains fresh and ready to use whenever you need it. Labeling the packages allows for easy organization and tracking of your stored flour. Now that your flour is properly packaged, let’s move on to the next step: labeling the storage container itself.
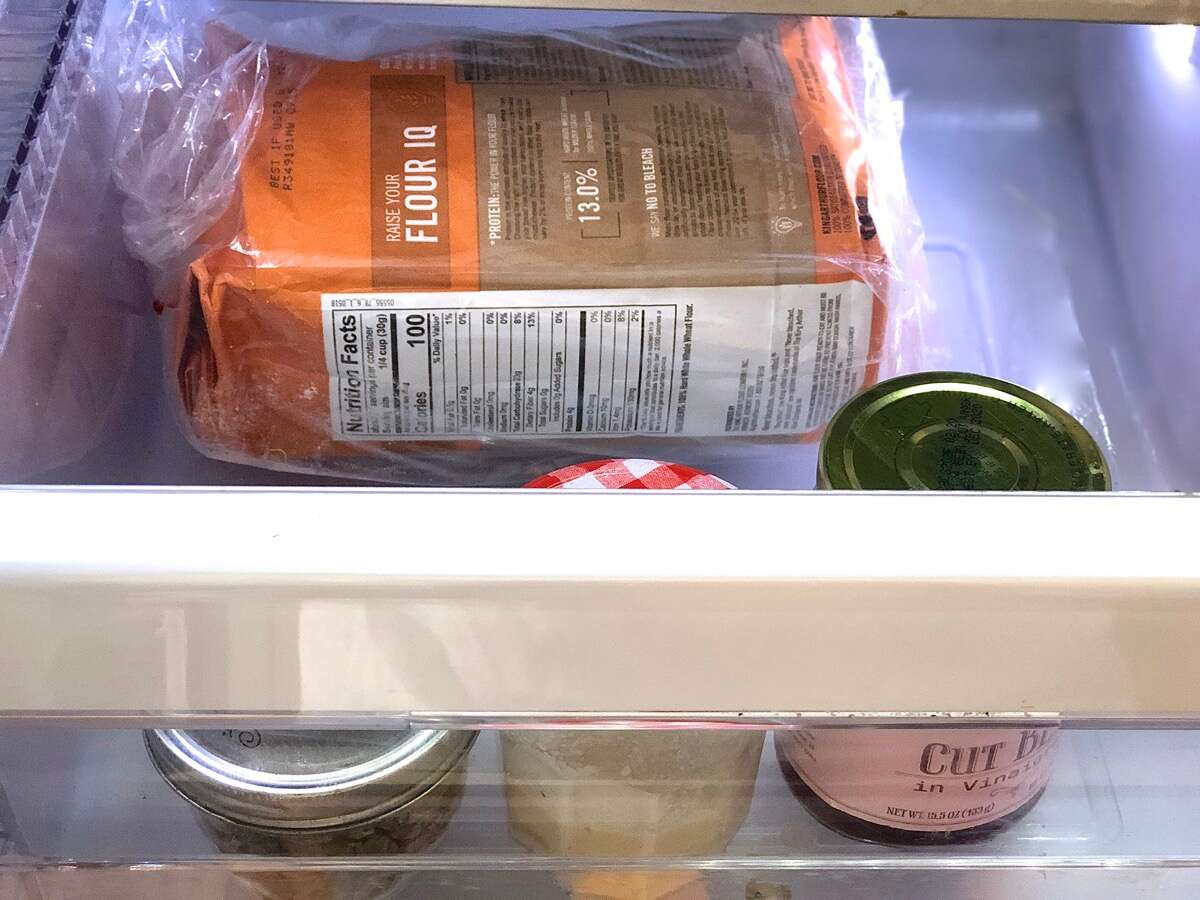
Store flour in a cool, dry place in an airtight container to prevent moisture and pests. Label with purchase date for freshness.
Read more: How To Store Almond Flour
Labeling the Storage Container
Labeling the storage container for your 25 lbs of flour is important for easy identification and organization. By clearly labeling the container, you can quickly locate the flour you need and keep track of its freshness. Follow these tips to effectively label your storage container:
- Use a permanent marker: Use a waterproof and fade-resistant permanent marker to label the container. This ensures that the label remains legible even in humid or wet conditions.
- Write the contents: Clearly write the type of flour on the label, such as “all-purpose flour” or “whole wheat flour.” This helps in quickly identifying the desired flour and prevents confusion.
- Note the date: Include the date when the flour was stored or packaged. This allows you to keep track of its freshness and ensures that you use the oldest flour first for optimal rotation.
- Additional information: If desired, you can add any special instructions or notes to the label, such as expiration dates or specific usage recommendations. This helps provide additional information for future reference.
- Apply the label to a visible area: Stick the label to a visible spot on the container, such as the front or top, so that it is easily noticeable and identifiable among other storage containers.
By labeling the storage container, you create a system that allows for easy organization and identification of your 25 lbs of flour. This saves you time and effort when searching for the desired flour and helps you maintain a well-organized storage area. With the container appropriately labeled, let’s move on to finding the right storage location for your flour.
Finding the Right Storage Location
Where you store your 25 lbs of flour can greatly impact its longevity and quality. Finding the right storage location is important to ensure that the flour remains fresh and free from exposure to detrimental elements. Follow these guidelines to determine the ideal storage location for your flour:
- Keep it cool: Choose a storage location that is cool, preferably between 50°F and 70°F (10°C to 21°C). Avoid areas that are prone to extreme temperature fluctuations or excessive heat, such as near ovens or heating vents. Higher temperatures can cause the flour to spoil more quickly.
- Avoid humidity: Select a place that is dry and has low humidity levels. Moisture can lead to mold growth and cause the flour to clump together. Keep the flour away from areas with high humidity, such as the kitchen sink, dishwasher, or areas prone to water leaks.
- Shield from light: Store the container in a dark or dimly lit area. Exposure to light, especially sunlight, can cause the flour to deteriorate and spoil faster. Consider using opaque or tinted containers to further protect the flour from light exposure.
- Protect from pests: Ensure that the storage location is free from pests like insects and rodents. Close any cracks or openings in the walls or cabinets to prevent pests from accessing the flour. Additionally, consider using pest-repellent measures, such as placing bay leaves or sachets of herbs known to repel insects near the storage area.
- Accessibility: Choose a location that is easily accessible, allowing you to retrieve the flour without difficulty. This will make it more convenient to use the flour in your baking and cooking endeavors.
- Away from strong odors: Avoid storing the flour near strong-smelling substances or chemicals as it can absorb odors. Keep it separate from items like onions, garlic, spices, cleaning products, or anything with a potent scent to maintain the original flavor and quality of the flour.
By locating the ideal storage spot for your flour, you can ensure that it remains fresh, dry, and free from any potential damaging influences. Remember to periodically check the storage area for any signs of moisture, pests, or odors. With the right storage location in mind, let’s move on to the next step: monitoring and maintaining the stored flour.
Monitoring and Maintaining Stored Flour
Proper monitoring and maintenance are crucial to ensure that your stored 25 lbs of flour remains fresh and usable. By regularly checking and implementing a few simple practices, you can extend the shelf life and maintain the quality of the flour. Here are some tips for monitoring and maintaining stored flour:
- Regularly inspect the container: Periodically check the storage container for any signs of damage, pests, or moisture. If you notice any issues, take immediate action to address them and ensure the integrity of the stored flour.
- Check for signs of spoilage: Assess the flour for any visible signs of spoilage, such as mold growth, strange odors, or discoloration. If you detect any of these signs, discard the affected portion of the flour to prevent it from contaminating the rest.
- Rotate your stock: To maintain freshness, rotate your stock by using older flour first and replenishing it with fresh flour. This helps prevent any flour from expiring or becoming stale.
- Keep the container tightly sealed: After each use, ensure that the storage container is tightly sealed to prevent air and moisture from entering. Airtight containers help preserve the quality and freshness of the flour over time.
- Store in smaller portions: If you don’t plan to use a large amount of flour at once, consider dividing it into smaller portions and storing them separately. This minimizes repeated exposure to air and helps maintain the quality of the unused flour.
- Use food-safe desiccants: Consider adding food-safe desiccant packs or silica gel packets to the storage container. These help absorb any excess moisture and maintain the dryness of the flour.
- Monitor temperature and humidity: Regularly assess the storage area for temperature and humidity levels. Ensure that the environment remains cool and dry, as fluctuating temperatures and high humidity can accelerate flour spoilage.
- Rotate and mix the flour periodically: To prevent the development of moisture pockets or clumping, gently rotate and mix the stored flour every few months. This helps distribute the moisture evenly and maintain the consistency of the flour.
By implementing these monitoring and maintenance practices, you can prolong the shelf life and preserve the quality of your stored flour. Regularly inspecting the container, checking for spoilage, and ensuring proper sealing are key steps to maintaining freshness. Remember to rotate your stock and be mindful of the storage environment. With these tips in mind, you are ready to utilize the flour you’ve stored. Let’s explore some tips for using stored flour in our next section.
Tips for Using Stored Flour
When it comes to using the stored flour, there are a few tips and considerations that can help ensure optimal results. Whether you’re baking bread, making pastries, or cooking up a delicious meal, these tips will help you make the most of your stored 25 lbs of flour:
- Check for freshness: Before using the flour, give it a quick visual and olfactory check. Look for any signs of spoilage, such as mold or an off smell. If the flour appears or smells off, it’s best to discard it and use fresh flour.
- Sift the flour: Over time, stored flour may develop clumps or become compacted. Before using it in your recipes, sift it to remove any lumps and ensure a smooth texture. Sifting also helps aerate the flour, resulting in better measurement accuracy.
- Measure accurately: When using stored flour, it’s crucial to measure it accurately. Using too much or too little flour can negatively impact the texture and consistency of your baked goods. Use a kitchen scale or measuring cups specifically designed for dry ingredients to ensure precise measurements.
- Consider adjusting hydration: Depending on the type of flour and its moisture content, you may need to adjust the hydration levels in your recipes. Whole wheat flour, for example, absorbs more liquid compared to all-purpose flour. Familiarize yourself with the specific characteristics of the stored flour and make the necessary adjustments for optimal results.
- Use it creatively: Stored flour can be used for more than just baking. Get creative and experiment with different recipes that incorporate flour, such as homemade pasta, pancakes, or even as a coating for fried foods. Explore new culinary possibilities to make the most of your stored flour.
- Combine with other flours: If you have a variety of flours in your pantry, consider combining them for unique flavor profiles and texture. Mixing stored flour with other types, such as whole wheat or rye flour, can add depth and complexity to your recipes.
- Store unused flour properly: If you have any flour left after using a portion, seal it tightly in its original packaging or transfer it to airtight containers. Ensure that the storage location remains cool, dry, and away from direct sunlight to maintain its quality for future use.
- Experiment and have fun: Don’t be afraid to experiment with different recipes and techniques when using your stored flour. Cooking and baking should be enjoyable, so embrace the opportunity to try new things, adapt recipes, and discover your own unique culinary creations.
By following these tips, you can make the most of your stored flour and create delicious culinary delights. Always prioritize freshness and accuracy in your measurements while exploring new culinary horizons. With these tips in mind, your stored flour is ready to be transformed into mouthwatering creations!
Read more: How To Store Flour To Prevent Bugs
Conclusion
Properly storing 25 lbs of flour is essential for maintaining its freshness, quality, and usability. By considering various factors before storing, choosing the right storage container, cleaning and preparing it, properly packaging the flour, and labeling the storage container, you set a solid foundation for maintaining the integrity of the flour. Additionally, finding the right storage location, monitoring and maintaining the stored flour, and following tips for using it ensure that you can make the most of your stored flour for a longer period of time.
Remember to assess the quality of the flour before storing, choose a container that is airtight and appropriate for food storage, clean and prepare the container thoroughly, and package the flour properly to create a barrier against moisture and pests. Labeling the storage container helps with organization and easy identification of your flour supply.
When it comes to storing the flour, find a cool, dry, and dark location, away from strong odors and pests. Regularly monitor the storage container for any signs of spoilage, rotate the stock to use older flour first, and keep the container tightly sealed to maintain freshness. When using the stored flour, remember to check for freshness, sift it if needed, measure accurately, and adjust hydration as necessary. Get creative with your recipes and take advantage of the stored flour to experiment and enjoy a variety of culinary creations.
By following these guidelines and tips, you can ensure that your stored flour remains fresh, delicious, and ready to be transformed into delightful dishes. So, make the most of your 25 lbs of flour and enjoy the convenience and satisfaction of having a well-stocked pantry for all your baking and cooking needs!
Frequently Asked Questions about How To Store 25 Lbs Of Flour
Was this page helpful?
At Storables.com, we guarantee accurate and reliable information. Our content, validated by Expert Board Contributors, is crafted following stringent Editorial Policies. We're committed to providing you with well-researched, expert-backed insights for all your informational needs.


0 thoughts on “How To Store 25 Lbs Of Flour”