Articles
How To Store Flour For Years
Modified: February 23, 2024
Learn the best methods and tips on how to store flour for years in this comprehensive guide. Read articles now!
(Many of the links in this article redirect to a specific reviewed product. Your purchase of these products through affiliate links helps to generate commission for Storables.com, at no extra cost. Learn more)
Introduction
Flour is a staple ingredient in many kitchens around the world. It is used in baking, cooking, and as a thickening agent in various recipes. However, storing flour for extended periods can be a challenge, as it is susceptible to spoiling and insect infestation. Proper storage techniques are crucial to ensure that your flour remains fresh and usable for years.
In this article, we will explore the factors that affect the shelf life of flour and discuss various methods for storing it long-term. From choosing the right container to freezing and vacuum sealing techniques, we will provide you with valuable tips to keep your flour fresh and flavorful. So, let’s dive in and learn how to store flour for years!
Key Takeaways:
- Properly storing flour involves choosing the right container, preparing it for storage, and keeping it in a cool, dark place to maintain its quality and extend its shelf life.
- Regularly checking and rotating stored flour, freezing it, vacuum sealing, and labeling containers are essential techniques for effective long-term flour storage.
Read more: How To Store Flour
Factors That Affect Flour Shelf Life
Before we delve into the best practices for storing flour, it is important to understand the factors that can impact its shelf life. By being aware of these factors, you can make informed decisions about how to store your flour effectively.
1. Moisture: Flour should be stored in a dry environment. Moisture can cause the flour to clump, promote mold growth, and invite insect infestation. It is essential to keep your flour in a moisture-free environment to maintain its quality.
2. Temperature: The temperature at which flour is stored plays a significant role in its shelf life. Flour should be kept in a cool place with a stable temperature. Heat can accelerate the degradation process and affect the flour’s quality.
3. Light: Exposure to sunlight or direct light can cause the flour to deteriorate more quickly. UV rays can break down the nutrients in the flour and affect its flavor. Therefore, it is crucial to store flour away from any light source.
4. Air: Flour is prone to absorbing odors and flavors from its surroundings. Exposure to air can lead to oxidation, making the flour rancid and giving it an off taste. Properly storing flour in airtight containers or bags can prevent the infiltration of air.
5. Pests: Insects are attracted to flour due to its high nutritional value. Common pests such as flour beetles and weevils can infest your flour and render it unusable. Taking preventive measures by using pest-proof containers can help protect your flour from these unwanted guests.
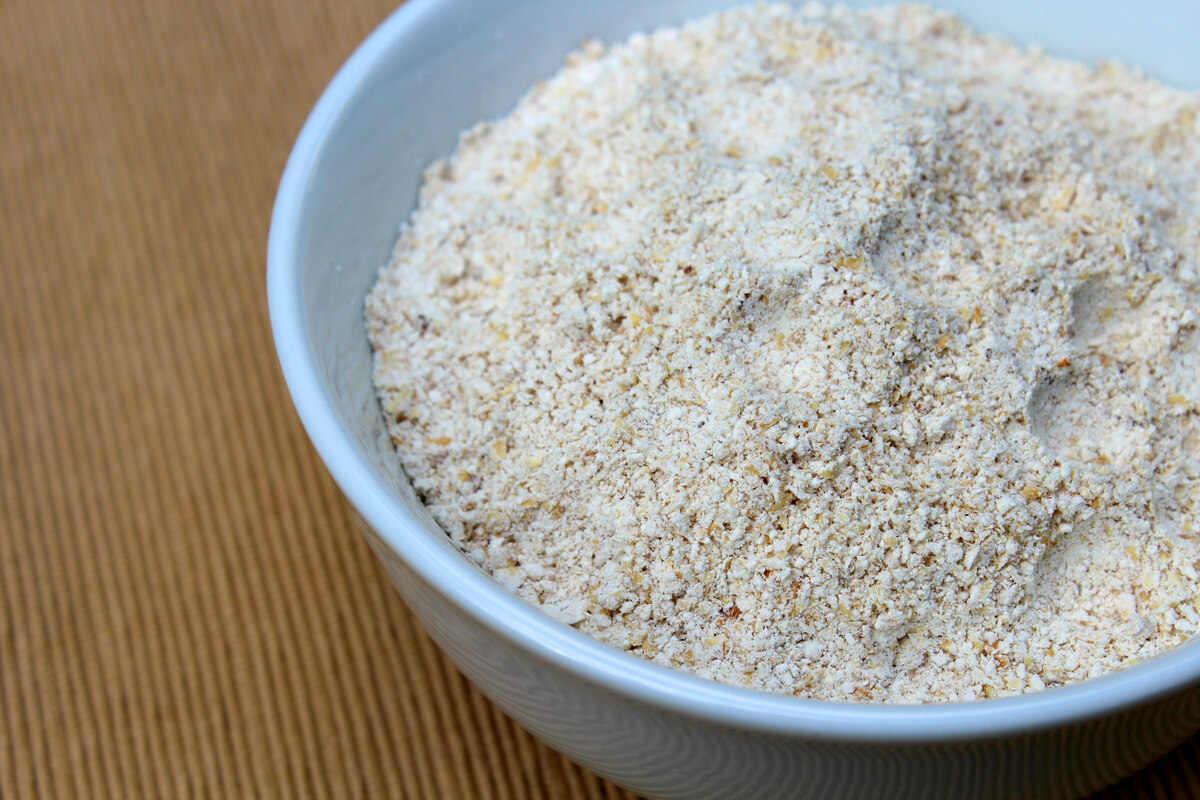
6. Quality of the flour: It is important to note that the quality of the flour itself can impact its shelf life. Different types of flour have varying levels of stability. Whole wheat flour, for example, has a shorter shelf life compared to all-purpose flour. Always check the expiration date and purchase flour from reputable sources.
By considering these factors, you can take the necessary precautions to extend the shelf life of your flour and ensure that it remains fresh and useable for years to come. Next, we will explore the different containers you can use to store your flour and protect it from these factors.
Choosing the Right Container
When it comes to storing flour for long periods, choosing the right container is crucial. The container you use should provide a protective barrier against moisture, light, air, and pests. Here are some options to consider:
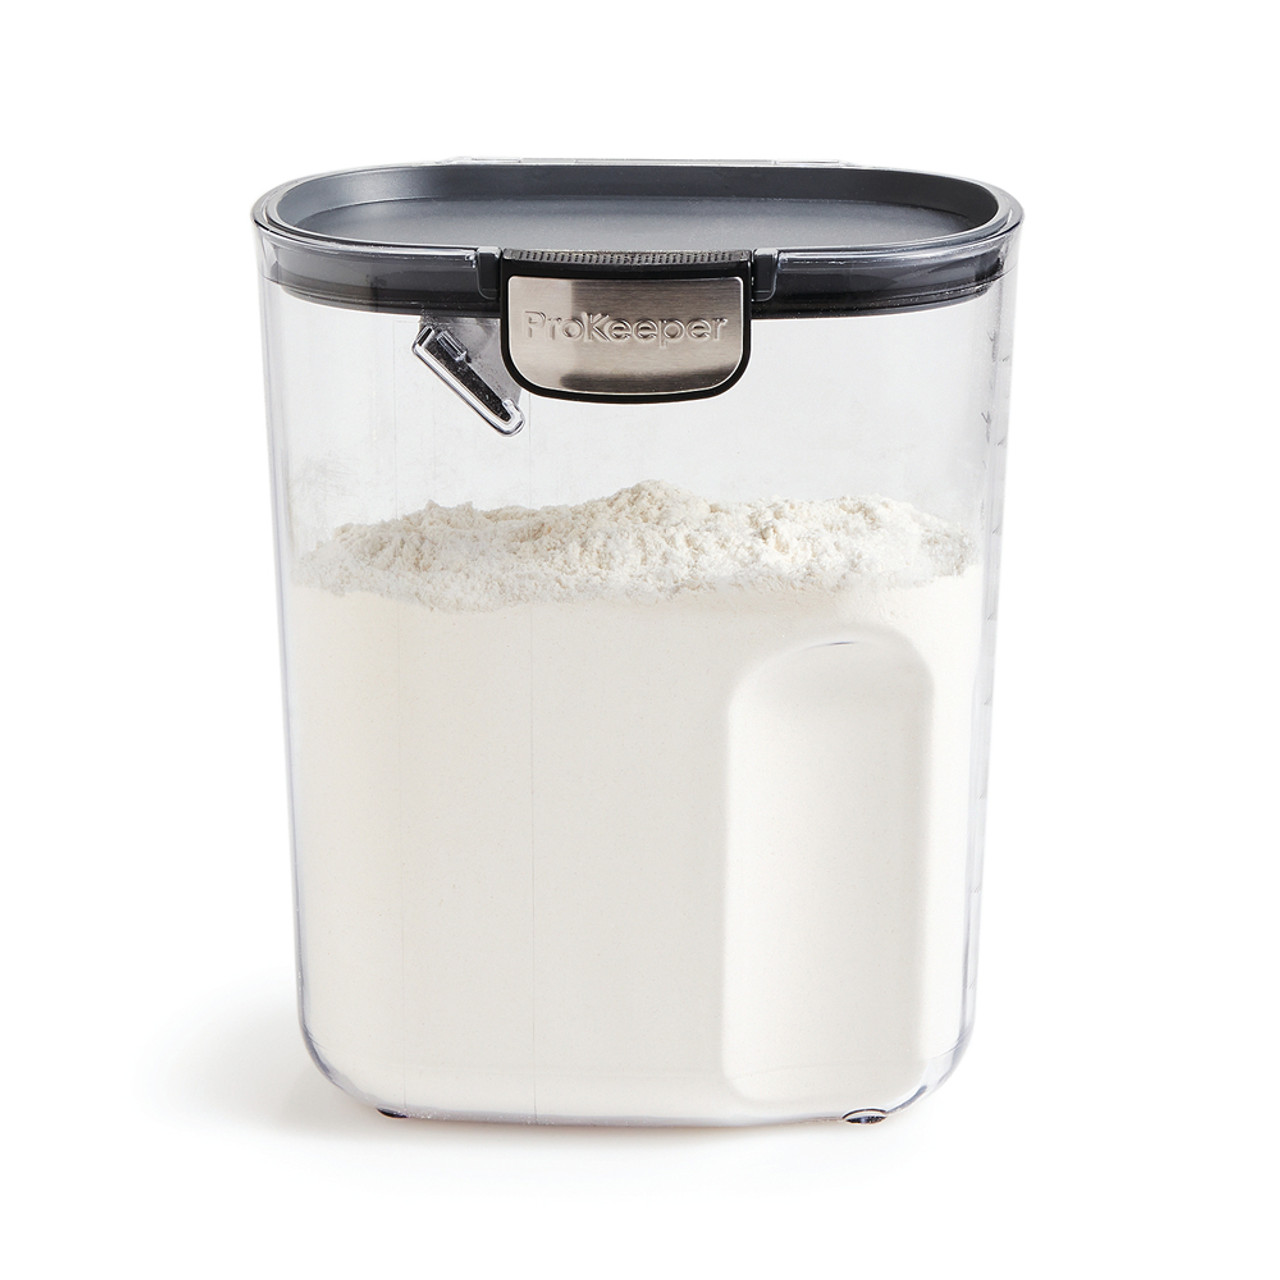
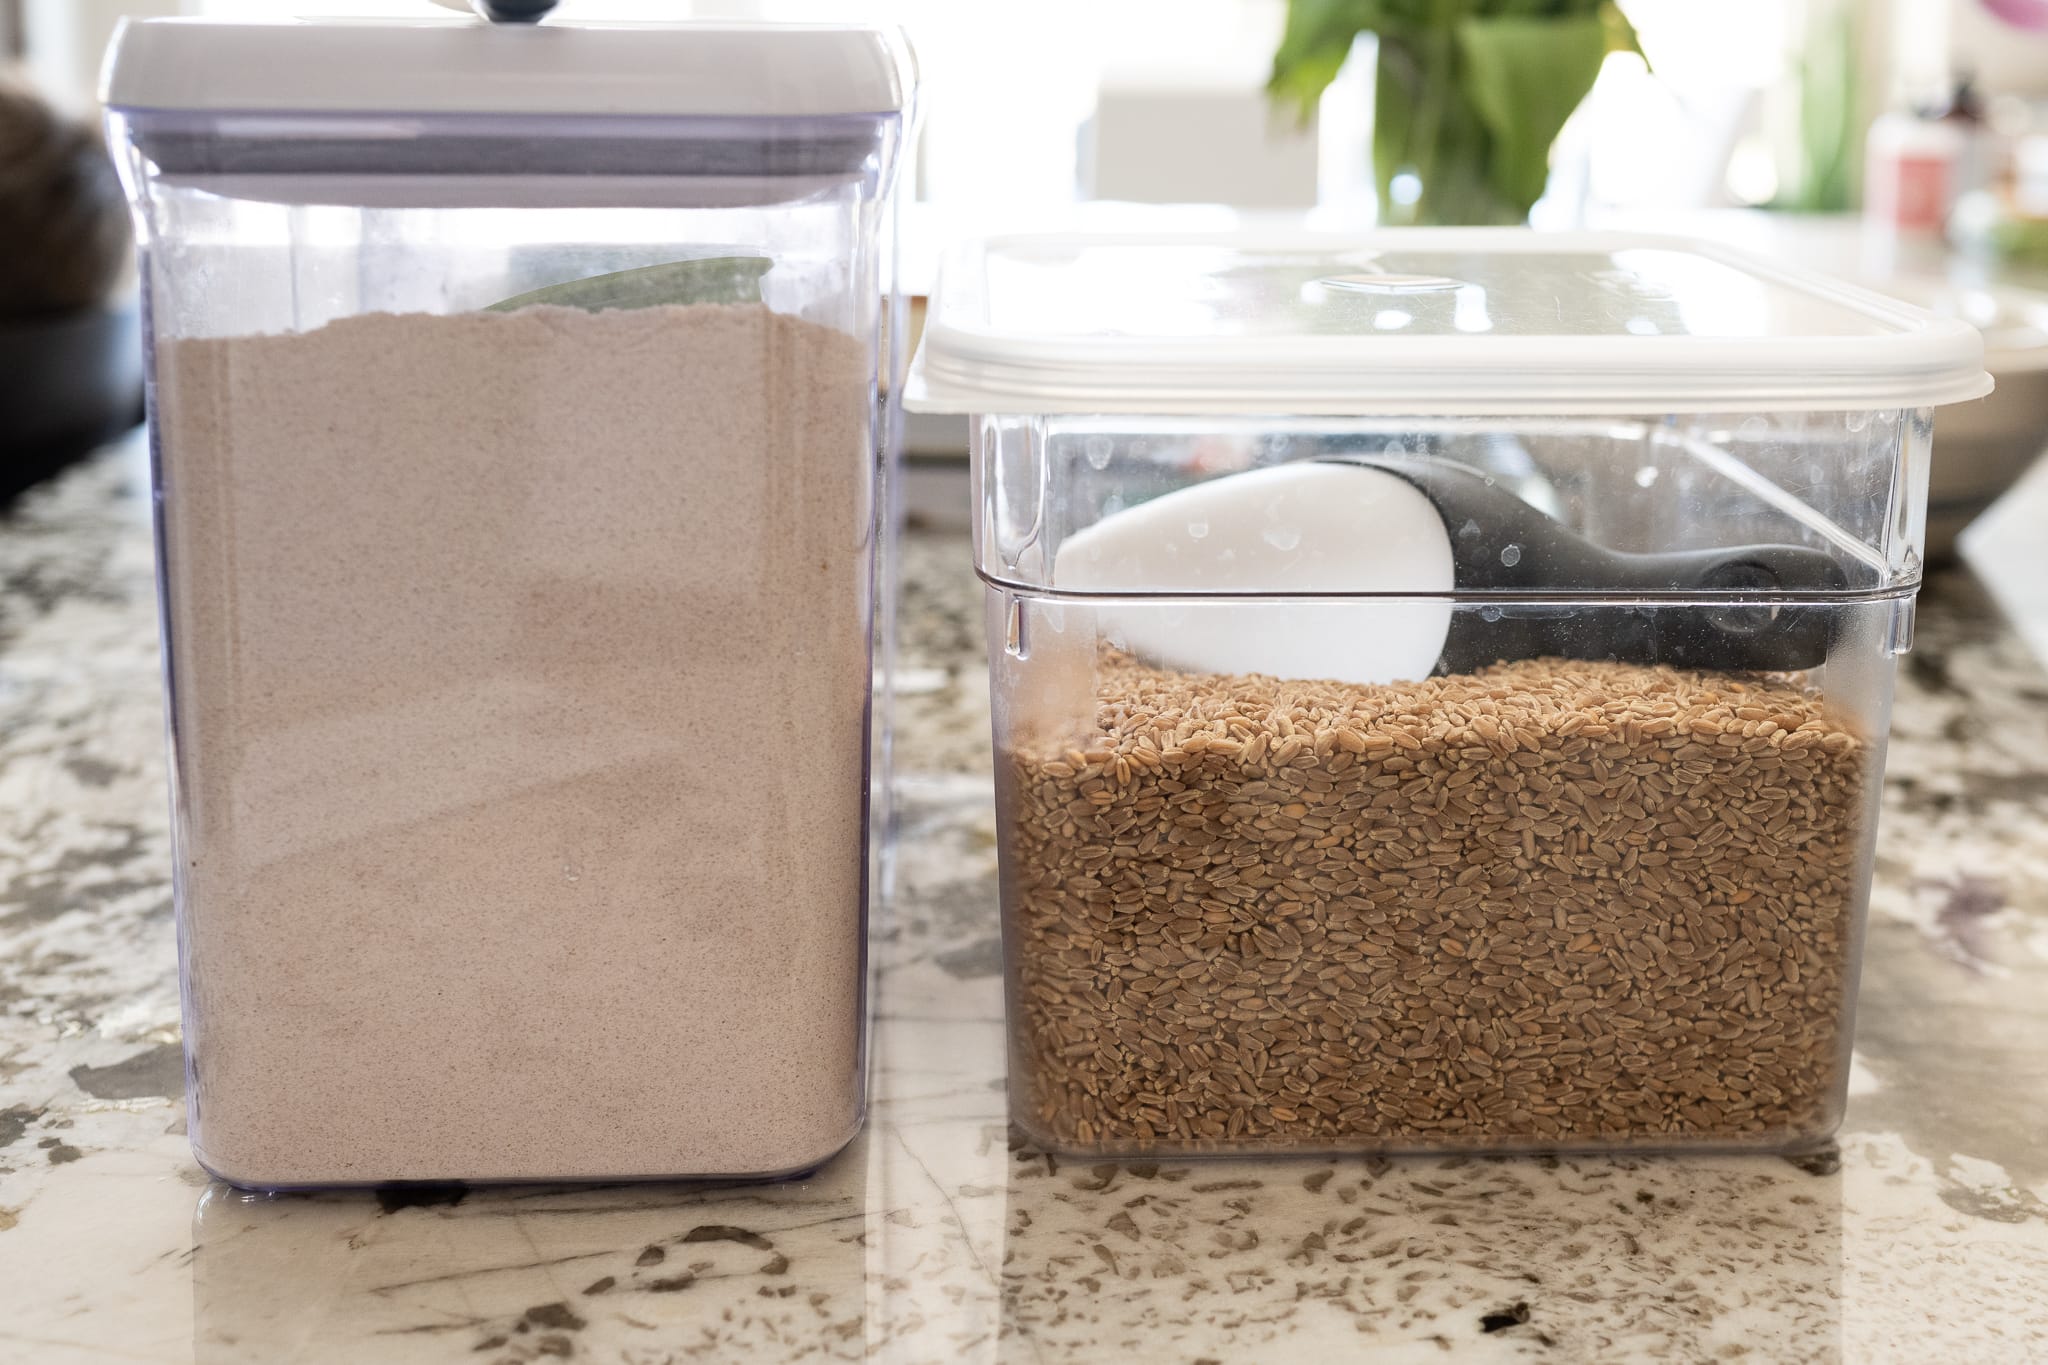
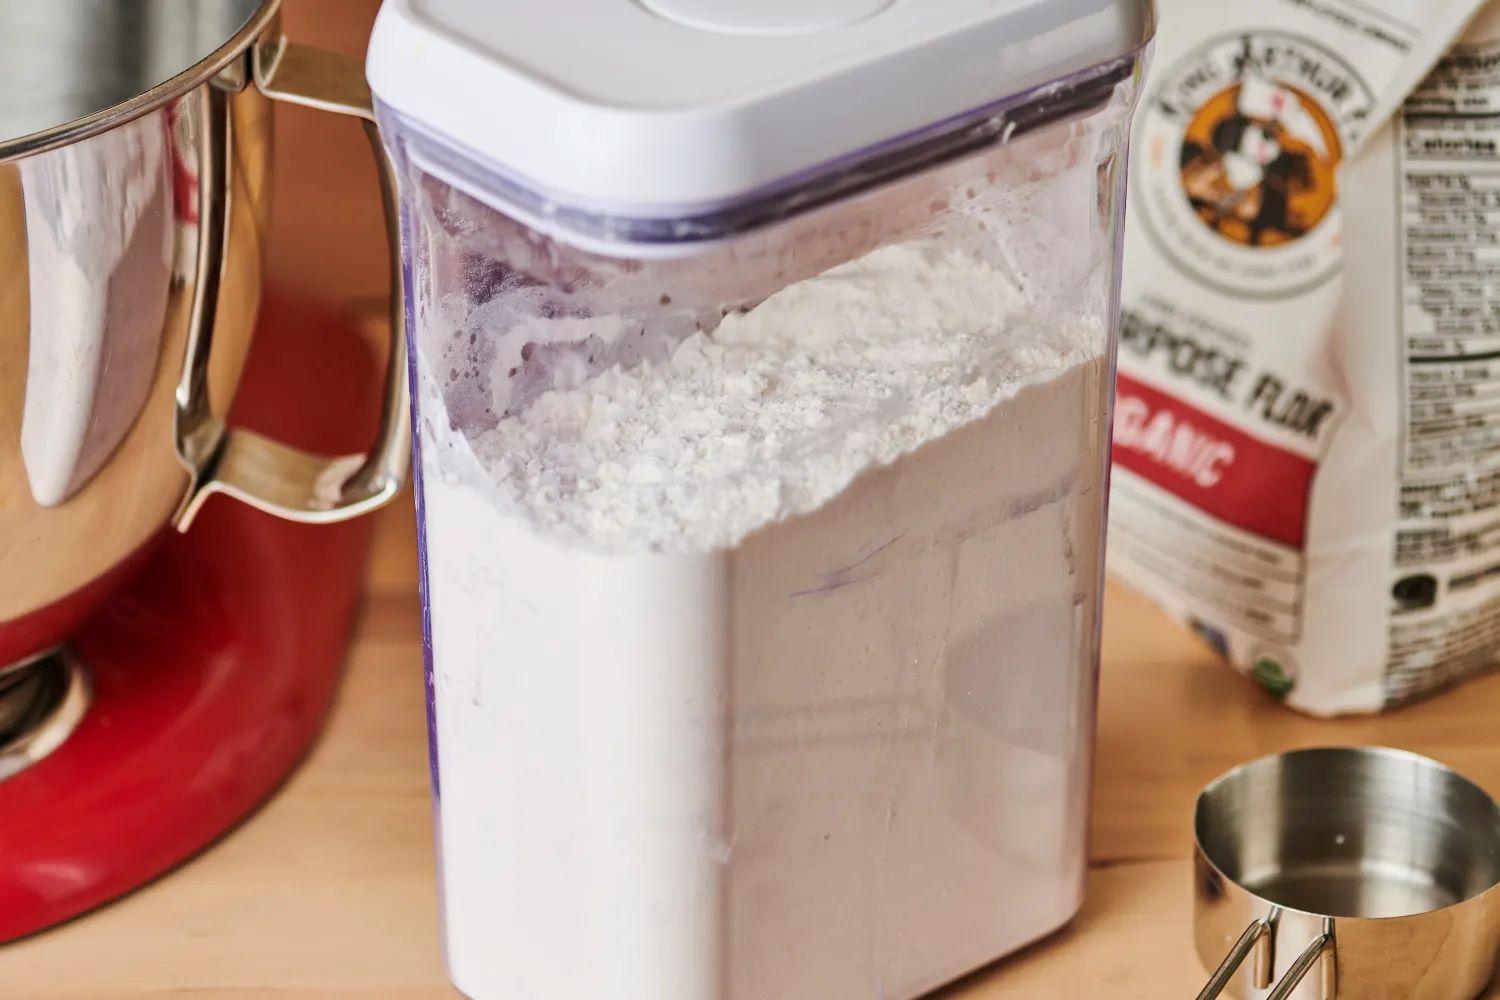
- Airtight Plastic Containers: Look for food-grade plastic containers with tight-fitting lids. These containers provide a secure seal, keeping out air and moisture. Make sure the container is clean and dry before transferring the flour.
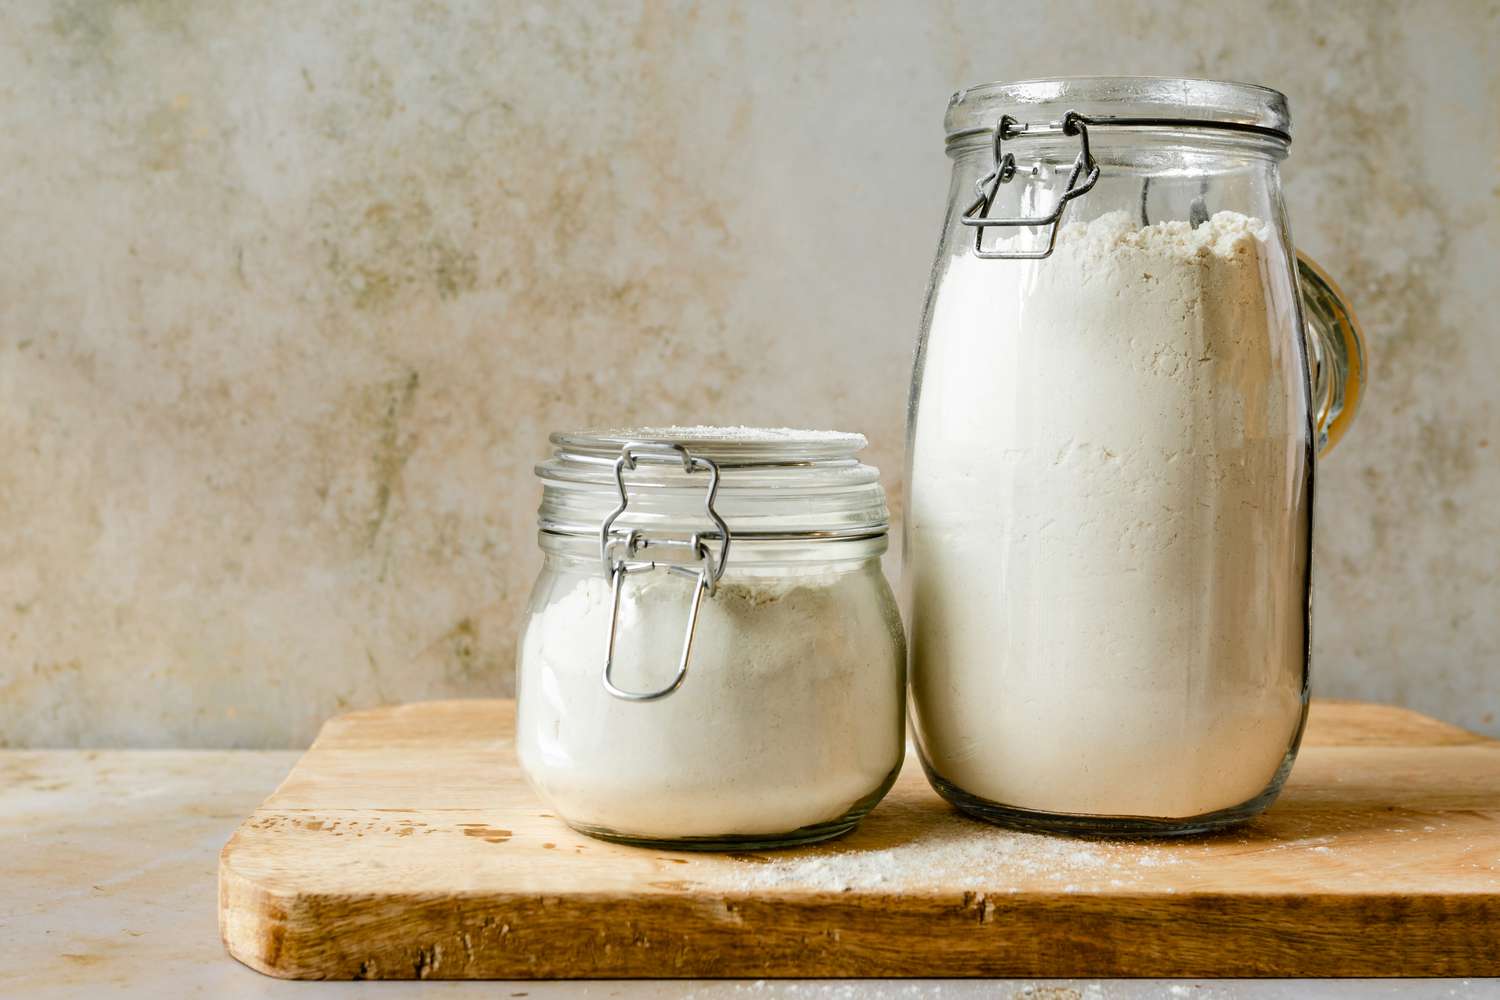
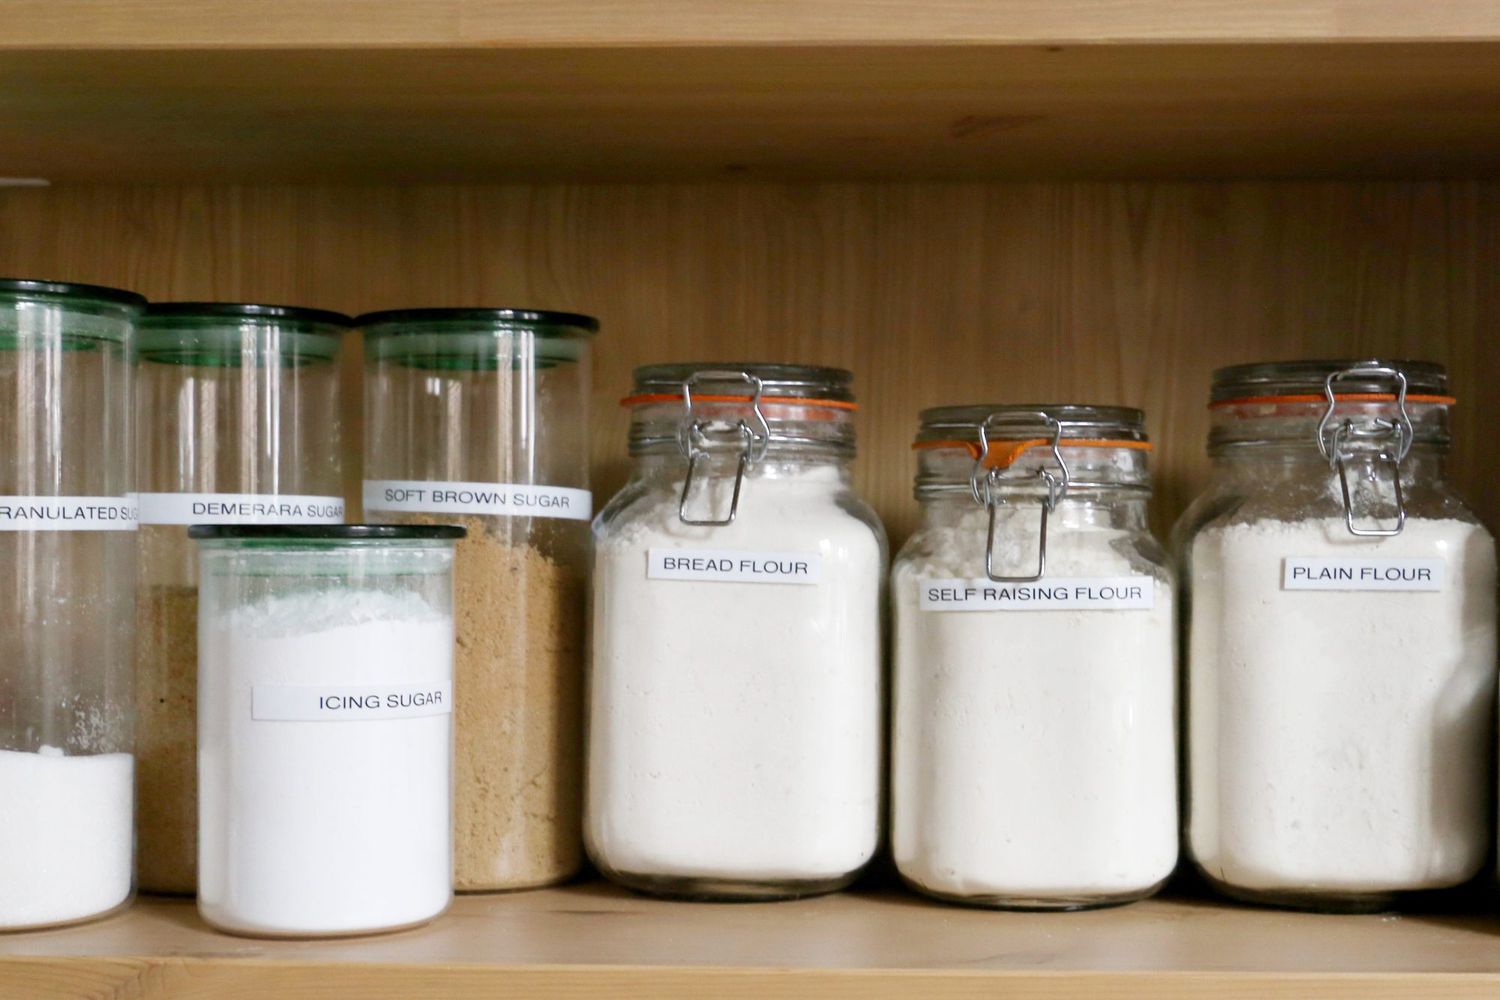
- Glass Jars: Glass jars with rubber gaskets and latch lids are ideal for storing flour. They are not only airtight but also offer protection against light. Clear glass jars allow you to easily see the contents inside.
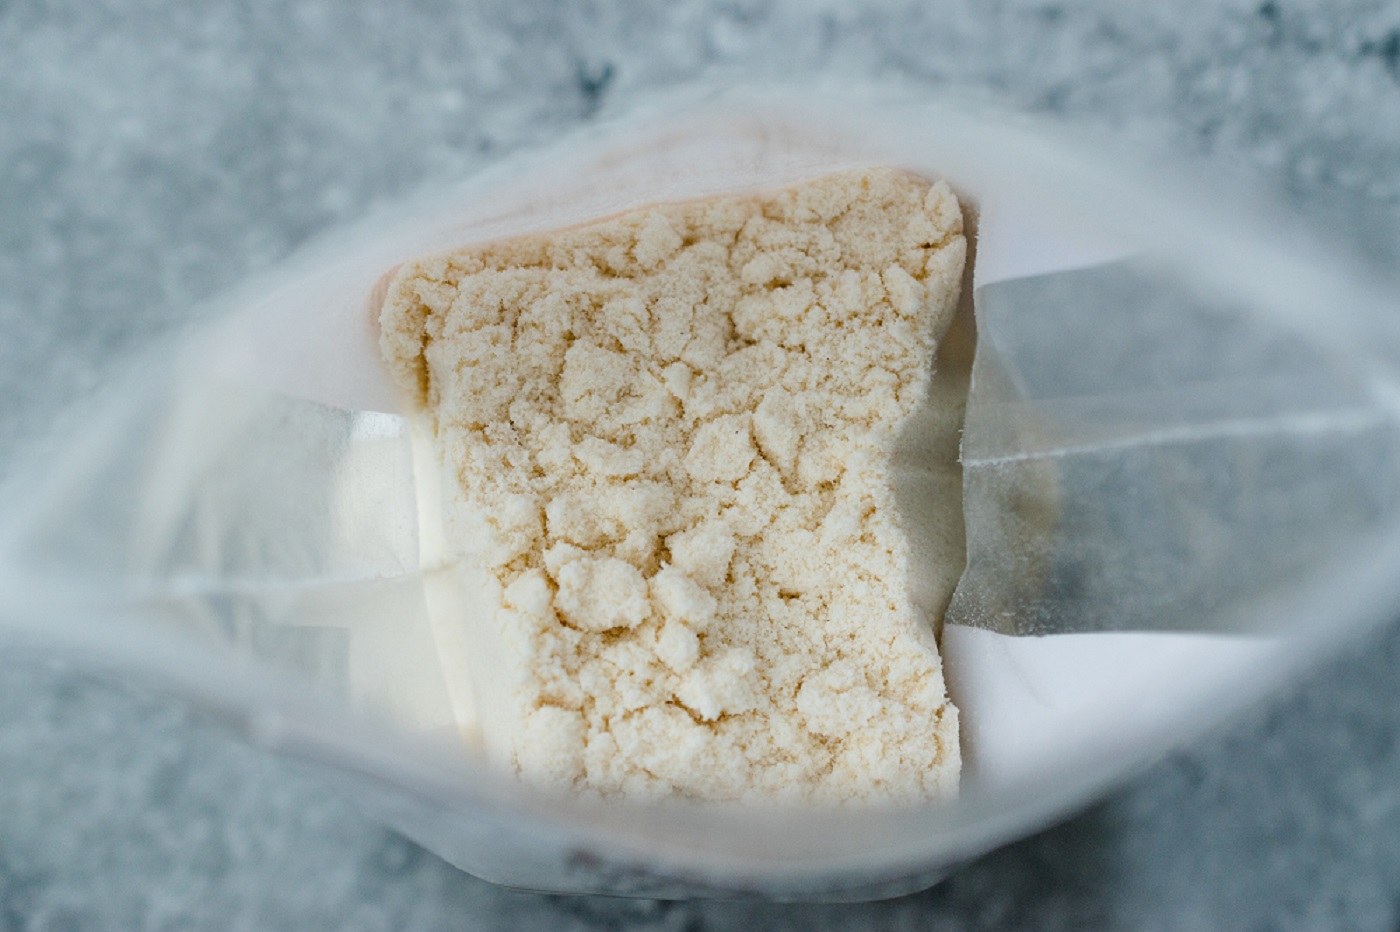
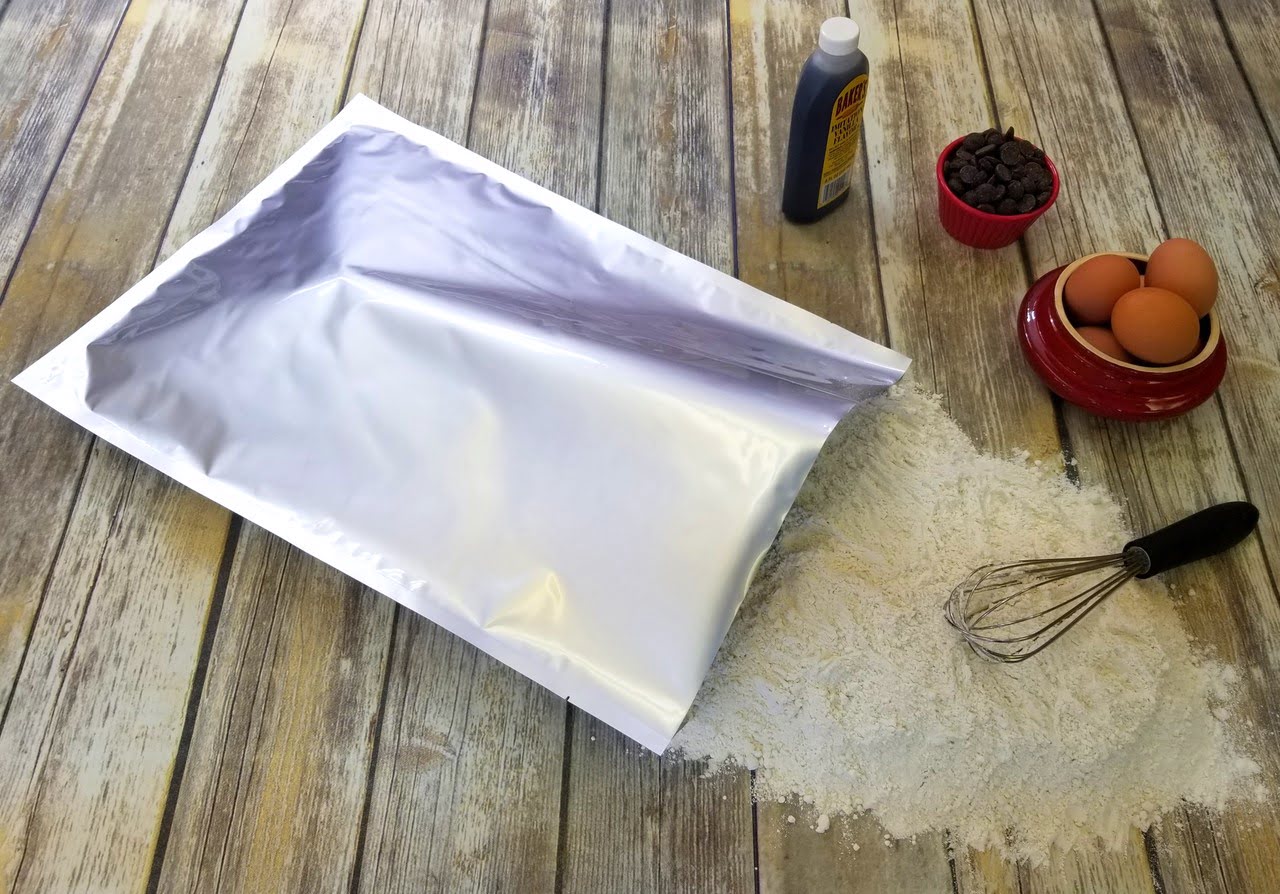
- Food-Grade Bags: Heavy-duty, resealable food-grade bags are another option for storing flour. Opt for bags made from materials like mylar or polyethylene, as they provide an excellent barrier against moisture and pests.
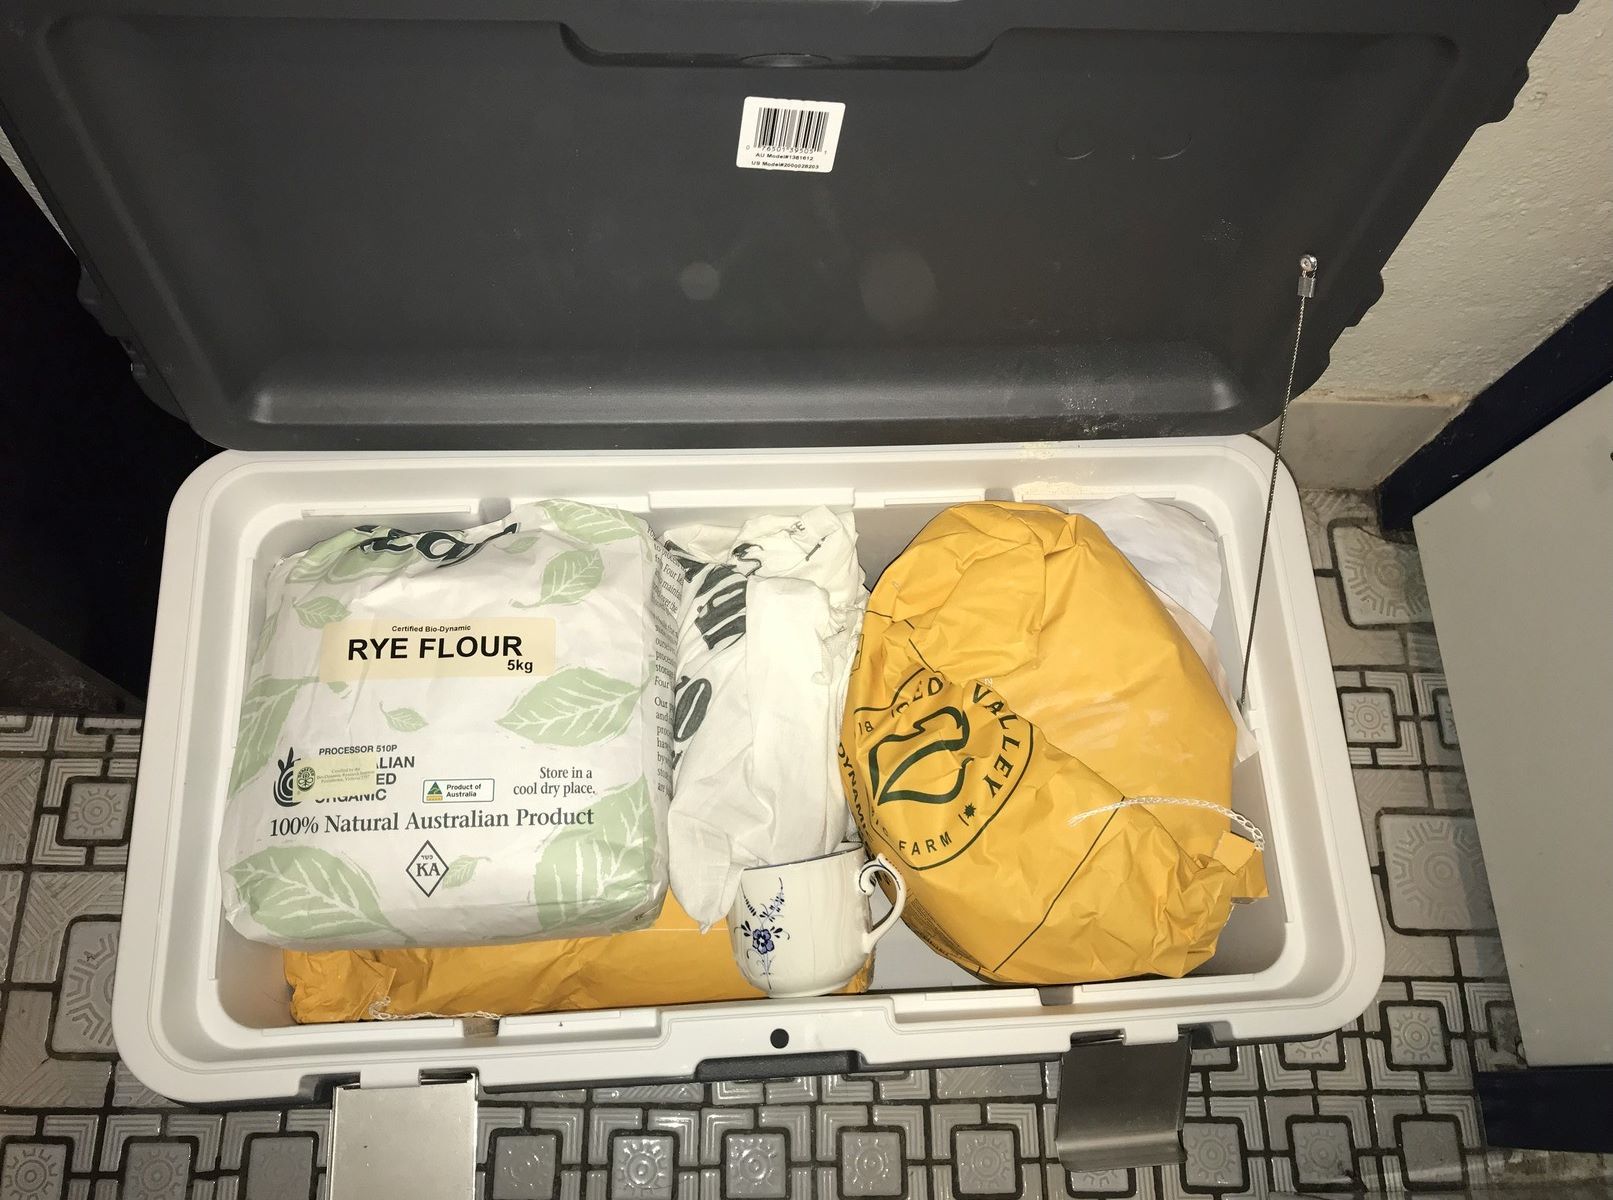
- Metal Containers: Metal canisters or tins with tight-fitting lids can also be used to store flour. They offer protection against light and can be quite sturdy. However, ensure that the container is food-safe and doesn’t react with the flour.
Regardless of the container you choose, it is essential to clean it thoroughly and make sure it is completely dry before transferring the flour. Any moisture left in the container can lead to clumping or spoilage of the flour.
Remember to label the container with the type of flour and the date of storage. This will help you keep track of the freshness of the flour and ensure that you rotate it properly. Additionally, store the containers in a cool, dry, and dark place away from direct sunlight and heat sources.
Now that you have selected the right container, let’s move on to the next step: preparing the flour for storage.
Preparing the Flour for Storage
Before transferring your flour to the chosen storage container, it is important to prepare it properly to ensure its longevity. Here are some steps to follow:
- Sift the Flour: Sifting the flour helps remove any clumps or debris and aerates it. This step ensures that the flour is uniform and free from impurities before storage.
- Check for Pests: Inspect the flour for any signs of pests, such as beetles or weevils. If you come across any, discard the affected flour and clean the surrounding area thoroughly to prevent infestation.
- Consider Oxygen Absorbers: To further extend the shelf life of the flour, you may consider using oxygen absorbers. These packets are designed to remove oxygen from the container, reducing the risk of oxidation and spoilage. Follow the instructions provided with the oxygen absorbers for proper usage.
- Consider Desiccant Packs: Desiccant packs can help absorb excess moisture and maintain the dryness of the flour. They are especially useful in humid environments. Place one or two desiccant packs inside the storage container to keep the flour dry and prevent clumping.
- Allow the Flour to Cool: If you have recently purchased or freshly milled the flour, it is important to allow it to cool completely before transferring it to a storage container. Hot flour can create condensation inside the container and lead to clumping or spoilage.
By following these preparation steps, you are ensuring that your flour is clean, free from pests, and stored under optimal conditions. Once the flour is prepared, it’s time to focus on the important aspects of storing flour for long periods: temperature, light, and proper container selection. In the next few sections, we will explore these factors in detail.
Storing Flour in a Cool and Dry Place
One of the key factors in storing flour for years is maintaining a cool and dry environment. Heat and moisture can cause the flour to deteriorate more quickly and shorten its shelf life. Here are some tips for storing flour in a cool and dry place:
- Choose the Right Location: Find a storage location in your home that is consistently cool and dry. Avoid areas that are exposed to sunlight or heat sources such as the kitchen stove or oven.
- Avoid Humidity: Humidity can lead to clumping and spoilage of flour. Choose a storage area with low humidity levels. If you live in a humid climate, consider using a dehumidifier in the storage area.
- Use Shelving: Ensure that the storage area has proper shelving or racks to keep the containers of flour off the floor. This prevents moisture from seeping into the containers and maintains airflow.
- Keep Away from Water Sources: Avoid storing flour near areas that are prone to water leaks or water sources such as sinks, bathrooms, or laundry rooms. Water exposure can cause the flour to spoil and create an ideal environment for mold growth.
- Monitor Temperature: Regularly check the temperature in the storage area to ensure it remains cool and within the recommended range. Aim for a temperature of around 50°F to 70°F (10°C to 21°C) for optimal flour storage.
By storing your flour in a cool and dry place, you are creating an environment that helps preserve its quality and extend its shelf life. However, it’s important to remember that light exposure can also affect flour. In the next section, we will discuss how to keep flour away from light and heat to maintain its freshness.
Read more: How To Store Bread Flour
Keeping Flour Away from Light and Heat
Light and heat can have a detrimental effect on the quality of flour. They can cause the breakdown of nutrients and fats in the flour, leading to rancidity and a decrease in flavor. Here are some tips to protect your flour from light and heat:
- Store in Opaque Containers: Opt for opaque storage containers that block out light. Clear containers expose the flour to light, which can affect its quality. Choose containers made of materials such as plastic, metal, or ceramic that provide a protective barrier against light.
- Avoid Transparent Bags: If you’re using bags for flour storage, make sure they are opaque. Transparent bags don’t provide sufficient protection from light and can result in faster deterioration of the flour.
- Keep Away from Windows: Avoid placing your flour containers near windows or areas that receive direct sunlight. Sunlight can cause the flour to heat up and promote spoilage.
- Avoid Heat Sources: Keep your flour away from heat sources in the kitchen, such as ovens, stovetops, or appliances. Excessive heat can accelerate the degradation process and affect the quality of the flour.
- Consider Temperature Regulation: If you live in an area with higher temperatures, consider using techniques to regulate the temperature in the storage area. This can include using air conditioning, fans, or even relocating the flour to a cooler area of the house.
By protecting your flour from light and heat, you are maintaining the integrity of its flavor and nutrients. However, simply using the right containers and storing the flour in a cool, dark place is not enough. It is crucial to create an airtight seal to prevent the entry of air that can lead to oxidation. In the next section, we will discuss the importance of using airtight containers for flour storage.
Using Airtight Containers for Flour Storage
Creating an airtight seal is essential when it comes to storing flour for long periods. Airtight containers prevent the entry of air, which can lead to oxidation and spoilage of the flour. Here are some reasons why using airtight containers is important:
- Preserves Freshness: Airtight containers help retain the freshness of the flour by keeping out air, moisture, and odors. This helps prevent the flour from absorbing unwanted flavors and keeps it tasting fresh for longer.
- Prevents Clumping: When flour is exposed to air, it can absorb moisture and clump together, rendering it difficult to use. Airtight containers maintain the dryness of the flour, preventing clumping and ensuring it remains free-flowing.
- Protects Against Pests: Airtight containers create a barrier against pests such as flour beetles and weevils. These insects are attracted to the smell of flour and can infest it if not properly stored. By using airtight containers, you can prevent pests from accessing your stored flour.
- Extends Shelf Life: The airtight seal provided by these containers helps to extend the shelf life of flour. By reducing exposure to air, moisture, and other factors that can cause spoilage, you can preserve the quality of the flour for a longer period.
- Promotes Organization: Airtight containers help keep your pantry or storage area organized. They provide a clean and secure storage solution, allowing you to easily identify and access your flour when needed.
When selecting airtight containers, make sure they have a tight-fitting lid or seal. Containers with locking mechanisms or silicone gaskets are particularly effective in creating an airtight barrier.
Remember to remove as much air as possible from the container before sealing it. You can do this by pressing down on the flour or using a vacuum sealer for an extra tight seal (which we will discuss later in this article).
By using airtight containers, you can protect your flour from air, moisture, pests, and maintain its freshness and quality over an extended period. But storing flour for years requires more than just airtight containers. In the next section, we’ll discuss the importance of checking and rotating stored flour to maintain its optimal quality.
Store flour in airtight containers in a cool, dark place to keep it fresh for years. Consider using vacuum-sealed bags or oxygen absorbers to extend its shelf life even further.
Checking and Rotating Stored Flour
When storing flour for long periods, it is important to regularly check on it and rotate the stock to maintain its optimal quality. Here are some tips for checking and rotating stored flour:
- Regular Inspections: Periodically inspect your stored flour for any signs of spoilage, pests, or unusual odors. If you notice any issues, discard the affected flour and clean the container before refilling it with fresh flour.
- First-In, First-Out (FIFO) Method: Adhere to the FIFO method to ensure that you are using the oldest stock of flour first. By using the older flour first, you are minimizing the chances of it going bad or losing its quality. Place newly purchased or freshly stored flour behind the existing stock so that it is easily accessible.
- Rotate Stock Regularly: Rotate your flour stock by using and replacing it on a regular basis. This helps to prevent the flour from sitting too long in storage, reduces the risk of spoilage, and ensures that you always have fresh flour available.
- Labeling and Dating: Properly label each container with the type of flour and the date of storage. This allows you to track the freshness of the flour and ensure that you are using the oldest stock first.
- Record-Keeping: Consider keeping a log or inventory of your stored flour. This can help you keep track of the quantity, type, and date of storage, making it easier to manage and rotate your stock effectively.
By regularly checking your stored flour and rotating the stock, you can ensure that you are using the flour while it is still fresh and of the highest quality. Now that we’ve covered the importance of checking and rotating, let’s explore other methods of storing flour for long-term use.
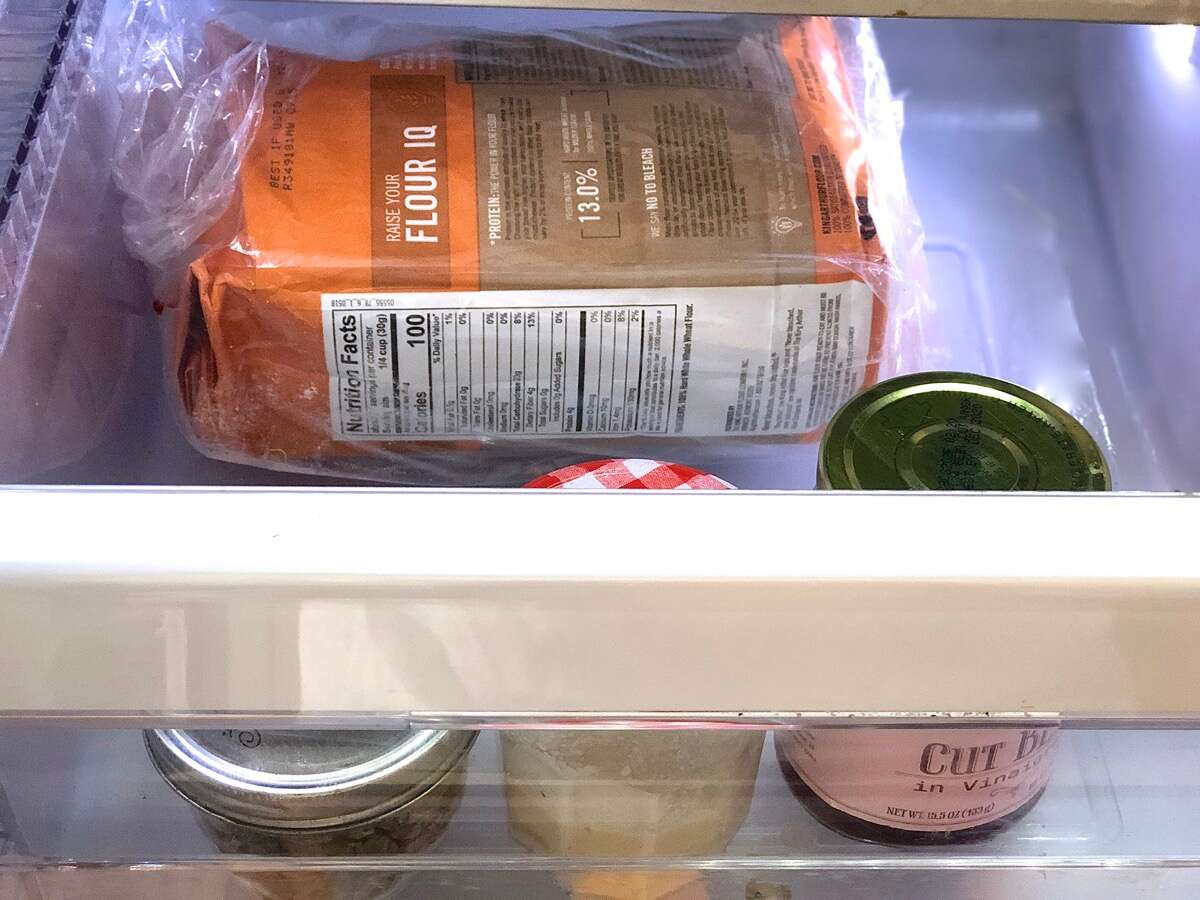
Freezing Flour for Long-Term Storage
Freezing flour is an effective method for extending its shelf life and preserving its quality for long-term storage. When done correctly, freezing can help prevent the development of rancidity, maintain the flour’s freshness, and keep it free from pests. Here’s how to freeze flour for long-term storage:
- Choose the Right Container: Transfer the flour to a freezer-safe airtight container or resealable freezer bags. Ensure that the container or bag is tightly sealed to prevent moisture from entering.
- Remove Excess Air: Squeeze out as much air as possible from the container or bag before sealing to minimize the risk of freezer burn and maintain the quality of the flour.
- Label and Date: Clearly label the containers or bags with the type of flour and the date of freezing. This will help you keep track of the flour and ensure that you use it within a reasonable time frame.
- Store in Freezer: Place the flour in the freezer, ideally in a location where it will not be disturbed. Remember to keep it away from strong-smelling foods to prevent any flavor absorption.
- Thawing the Flour: When you are ready to use the flour, take it out of the freezer and allow it to thaw at room temperature. It is important to let it come to room temperature before using it in recipes to avoid clumping.
- Use within a Reasonable Time: While frozen flour can last for a very long time, it is generally recommended to consume it within 6 to 12 months for optimal freshness and taste.
Note that freezing flour may affect its texture slightly, especially with delicate flours. It is recommended to use frozen flour in recipes that require baking or cooking, rather than for applications such as thickening sauces or gravies.
Now that you are familiar with freezing flour, let’s explore another method that can help extend its shelf life: vacuum sealing.
Read more: How To Store Almond Flour
Vacuum Sealing Flour for Extended Shelf Life
Vacuum sealing is a popular method for extending the shelf life of various food items, including flour. By removing the air from the packaging, vacuum sealing helps prevent oxidation, moisture absorption, and the growth of insects or pests. Here’s how to vacuum seal flour for extended shelf life:
- Choose the Right Vacuum Sealer: Invest in a good quality vacuum sealer specifically designed for food. There are various models available on the market, ranging from handheld to countertop units. Choose one that suits your needs and budget.
- Use Vacuum Seal Bags or Canisters: Vacuum seal bags or canisters are specially designed to withstand the vacuum sealing process. Place the flour inside the bag or canister, leaving enough space at the top for sealing.
- Remove Excess Air: Insert the open end of the bag or canister into the vacuum sealer. The sealer will then remove the air from the container and create an airtight seal. If using bags, use the seal function on the vacuum sealer to secure the bag closed.
- Label and Date: Properly label each vacuum-sealed package with the type of flour and the date of sealing. This will help you keep track of the freshness of the flour for later use.
- Store in a Cool, Dark Place: Place the vacuum-sealed flour in a cool, dark area, away from direct light and heat sources. This will help maintain its quality and extend its shelf life.
- Use within a Reasonable Time: While vacuum-sealed flour can last significantly longer than unsealed flour, it is still recommended to use it within a reasonable time frame for optimal freshness and flavor.
Vacuum sealing not only helps prolong the shelf life of your flour but also offers added protection against pests and moisture. It is an effective method for storing flour for an extended period, especially if you require large quantities or want to stock up during sales or bulk purchases.
Now that you are familiar with vacuum sealing, let’s discuss the importance of labeling and dating your stored flour for easy organization and usage.
Importance of Labeling and Dating Flour
Labeling and dating your stored flour is an important step in proper storage organization. It not only helps you keep track of the type and quantity of flour you have but also ensures that you use the oldest stock first. Here are a few reasons why labeling and dating your flour is crucial:
- Easy Identification: Labeling the containers or bags with the type of flour allows you to easily identify them, especially if you store multiple types of flour. This saves time and prevents confusion when choosing the desired flour for a particular recipe.
- Quantity Management: By labeling your flour containers, you can track the quantity of flour you have on hand. This helps in planning your grocery shopping and prevents any unnecessary overstocking or shortage of flour.
- Rotation and Freshness: Dating your stored flour ensures that you use the oldest stock first, following the “first-in, first-out” (FIFO) method. This helps maintain the quality of the flour as you are using it within a reasonable time frame, ensuring optimal freshness and taste.
- Inventory Control: Keeping a record of the type and quantity of flour you have can be helpful for inventory control. It allows you to manage your stock efficiently, making it easier to plan for future baking or cooking needs.
- Quality Assurance: By labeling and dating your flour, you can keep track of its storage duration. This knowledge ensures that you do not use expired flour, which could result in undesirable flavors or textures in your baked goods or recipes.
- Preventing Waste: Proper labeling and dating reduce the chances of unused flour going to waste. Having clear information on the storage containers helps minimize confusion and ensures that you can locate and use the flour before it becomes stale or spoiled.
When labeling your flour containers, use waterproof and oil-resistant labels or permanent markers to prevent smudging or fading. Ensure that the labels are easily visible and readable to avoid any future confusion.
By taking the time to label and date your flour, you can maintain an organized storage system, utilize your flour efficiently, and enjoy the best quality in your culinary endeavors.
Now that we understand the importance of labeling and dating, let’s explore some useful tips for using stored flour effectively.
Tips for Using Stored Flour
When it comes to using stored flour, there are a few tips and best practices that can help you make the most of it. Here are some useful tips for using stored flour:
- Inspect Before Use: Always inspect the stored flour before using it. Check for any signs of spoilage, pests, or unusual odors. If you notice any issues, discard the flour and use fresh stock.
- Sift if Needed: If your stored flour appears clumpy or compacted, consider sifting it before using it in recipes. Sifting helps to break up any clumps and ensures a smooth and consistent texture in your baked goods or dishes.
- Bring to Room Temperature: If you have stored your flour in the refrigerator or freezer, let it come to room temperature before using it in recipes. Cold flour can affect the consistency of your baked goods, so allow it to warm up before incorporating it into your recipe.
- Measure Accurately: Properly measure the amount of flour called for in your recipes using the appropriate measuring tools, such as a kitchen scale or measuring cups. Accurate measurements ensure the desired results in your baking or cooking endeavors.
- Consider Adjusting Hydration: In some cases, stored flour may have slightly lower hydration capabilities. If you notice that your dough or batter is too dry, you may need to adjust by adding a small amount of liquid, such as water or milk, to achieve the desired consistency.
- Store in Smaller Portions: To prevent frequent exposure to air, consider dividing your stored flour into smaller portions or containers. This allows you to access and use one portion at a time while keeping the rest sealed and protected.
- Experiment with Recipes: Stored flour can have a slightly different texture or flavor compared to fresh flour. Embrace this uniqueness and consider experimenting with recipes to discover new flavors and textures that can be achieved using your stored flour.
- Be Mindful of Shelf Life: Pay attention to the shelf life of your stored flour and use it within a reasonable time frame. While properly stored flour can last for years, it is still best to utilize it within its recommended shelf life for optimal quality.
By following these tips, you can make the most of your stored flour and enjoy delicious results in your baking and cooking endeavors. Remember to always trust your senses and use your judgment when using stored ingredients to ensure the best outcomes.
Now that we’ve covered various techniques and tips for storing and using flour, it’s time to conclude our guide on how to store flour for years.
Conclusion
Properly storing flour is essential for maintaining its freshness and usability over extended periods. By considering factors such as moisture, temperature, light, air, pests, and flour quality, you can implement effective storage practices and ensure that your flour remains in excellent condition for years to come.
Choosing the right container, such as airtight plastic containers, glass jars, or food-grade bags, provides a protective barrier against moisture, light, and pests. Preparing the flour by sifting, checking for pests, and using oxygen absorbers or desiccant packs further enhances its storage life.
Storing flour in a cool and dry place, away from light and heat sources, helps maintain its quality. Using airtight containers not only preserves freshness but also protects against air and moisture infiltration.
Regularly checking and rotating stored flour ensures that you use the oldest stock first and prevent spoilage. Freezing flour can also extend its shelf life, while vacuum sealing provides an additional layer of protection against oxidation and moisture.
Labeling and dating your stored flour allows for easy organization, inventory control, and better management of freshness. When using stored flour, inspect it for any signs of spoilage, sift if necessary, and adjust hydration if needed.
Remember to store flour in smaller portions, experiment with recipes, and be mindful of the flour’s shelf life. By following these tips, you can make the most of your stored flour and enjoy delicious results in your baking and cooking endeavors.
With the knowledge and techniques shared in this guide, you are now equipped to store flour effectively for long-term use. So, go ahead and stock up on your favorite flour varieties, and enjoy the convenience and versatility of having flour on hand whenever you need it!
Frequently Asked Questions about How To Store Flour For Years
Was this page helpful?
At Storables.com, we guarantee accurate and reliable information. Our content, validated by Expert Board Contributors, is crafted following stringent Editorial Policies. We're committed to providing you with well-researched, expert-backed insights for all your informational needs.


0 thoughts on “How To Store Flour For Years”