Articles
How To Store Flour
Modified: February 27, 2024
Learn effective ways to store flour and keep it fresh for longer with these informative articles. Discover tips and tricks for proper storage techniques and prevent flour from spoiling.
(Many of the links in this article redirect to a specific reviewed product. Your purchase of these products through affiliate links helps to generate commission for Storables.com, at no extra cost. Learn more)
Introduction
Flour is a staple ingredient in many households and is used in a wide variety of recipes, such as bread, cakes, and pastries. However, to ensure the quality and freshness of your flour, it is crucial to store it properly. Improper storage can lead to spoilage, loss of flavor, and even the growth of harmful bacteria.
In this article, we will explore the importance of properly storing flour and provide practical tips on how to keep it fresh and ready to use. Whether you use all-purpose flour, whole wheat flour, or specialty flours like almond or coconut flour, these guidelines will help you extend the shelf life of your flour and maintain its optimal quality.
By following the recommended storage practices, you can ensure that your flour retains its nutritional value, flavor, and texture, enhancing the success of your culinary endeavors.
Key Takeaways:
- Properly storing flour is crucial to maintain its freshness, nutritional value, and flavor. Choosing the right container, controlling temperature and humidity, and avoiding exposure to light are key practices to ensure your flour remains in optimal condition.
- Regularly checking for signs of spoilage and implementing tips for prolonging shelf life are essential for preserving the quality of your flour. By investing time and effort into proper flour storage, you can ensure that your flour remains a reliable and versatile ingredient in your kitchen for as long as possible.
Read more: How To Store Bread Flour
The Importance of Properly Storing Flour
Properly storing flour is essential to maintain its freshness and prevent spoilage. When exposed to air, moisture, heat, or light, flour can deteriorate quickly, leading to a decline in quality and potential health hazards. Here are a few reasons why it is crucial to store flour correctly:
- Prolong Shelf Life: Flour, especially whole wheat and specialty flours, contains natural oils that can turn rancid if not stored properly. By protecting it from air, moisture, and heat, you can significantly extend its shelf life and prevent it from becoming stale or unusable.
- Maintain Nutritional Value: Flour is a rich source of essential nutrients, including vitamins, minerals, and dietary fiber. However, improper storage can lead to the loss of these valuable nutrients. By storing flour in optimum conditions, you can preserve its nutritional value and ensure that it adds the desired health benefits to your recipes.
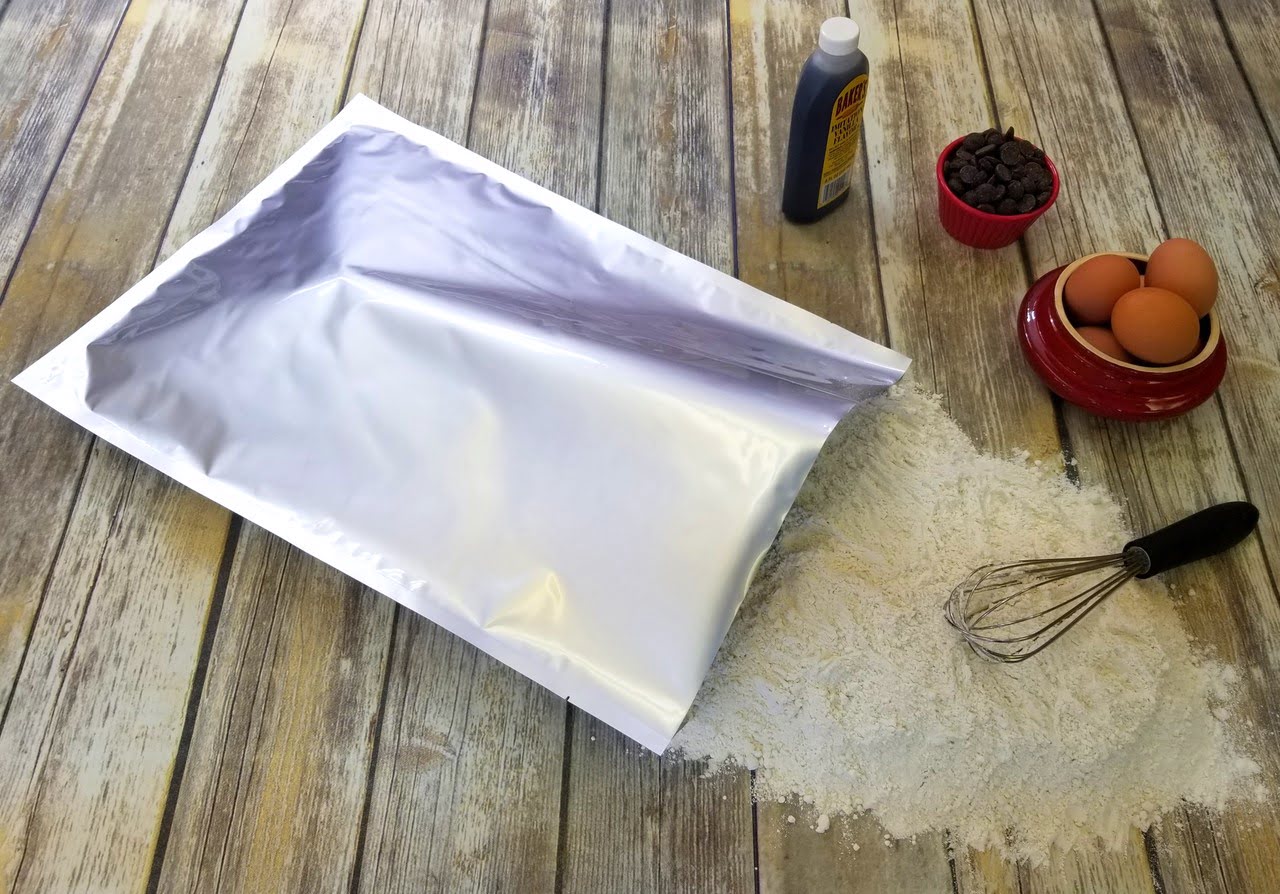
- Prevent Contamination: Flour is susceptible to contamination by pests, such as insects, mites, or rodents. Keeping your flour properly stored in airtight containers can help prevent infestations and the need to discard large batches of flour.
- Maintain Flavor and Texture: Fresh flour contributes to the enjoyable taste and texture of baked goods. By storing it correctly, you can preserve its flavor profile and improve the overall quality of your recipes.
Understanding the importance of proper flour storage sets the foundation for maintaining its quality and maximizing its potential. Let’s explore the specific steps you can take to store flour correctly and ensure it remains fresh and usable for an extended period.
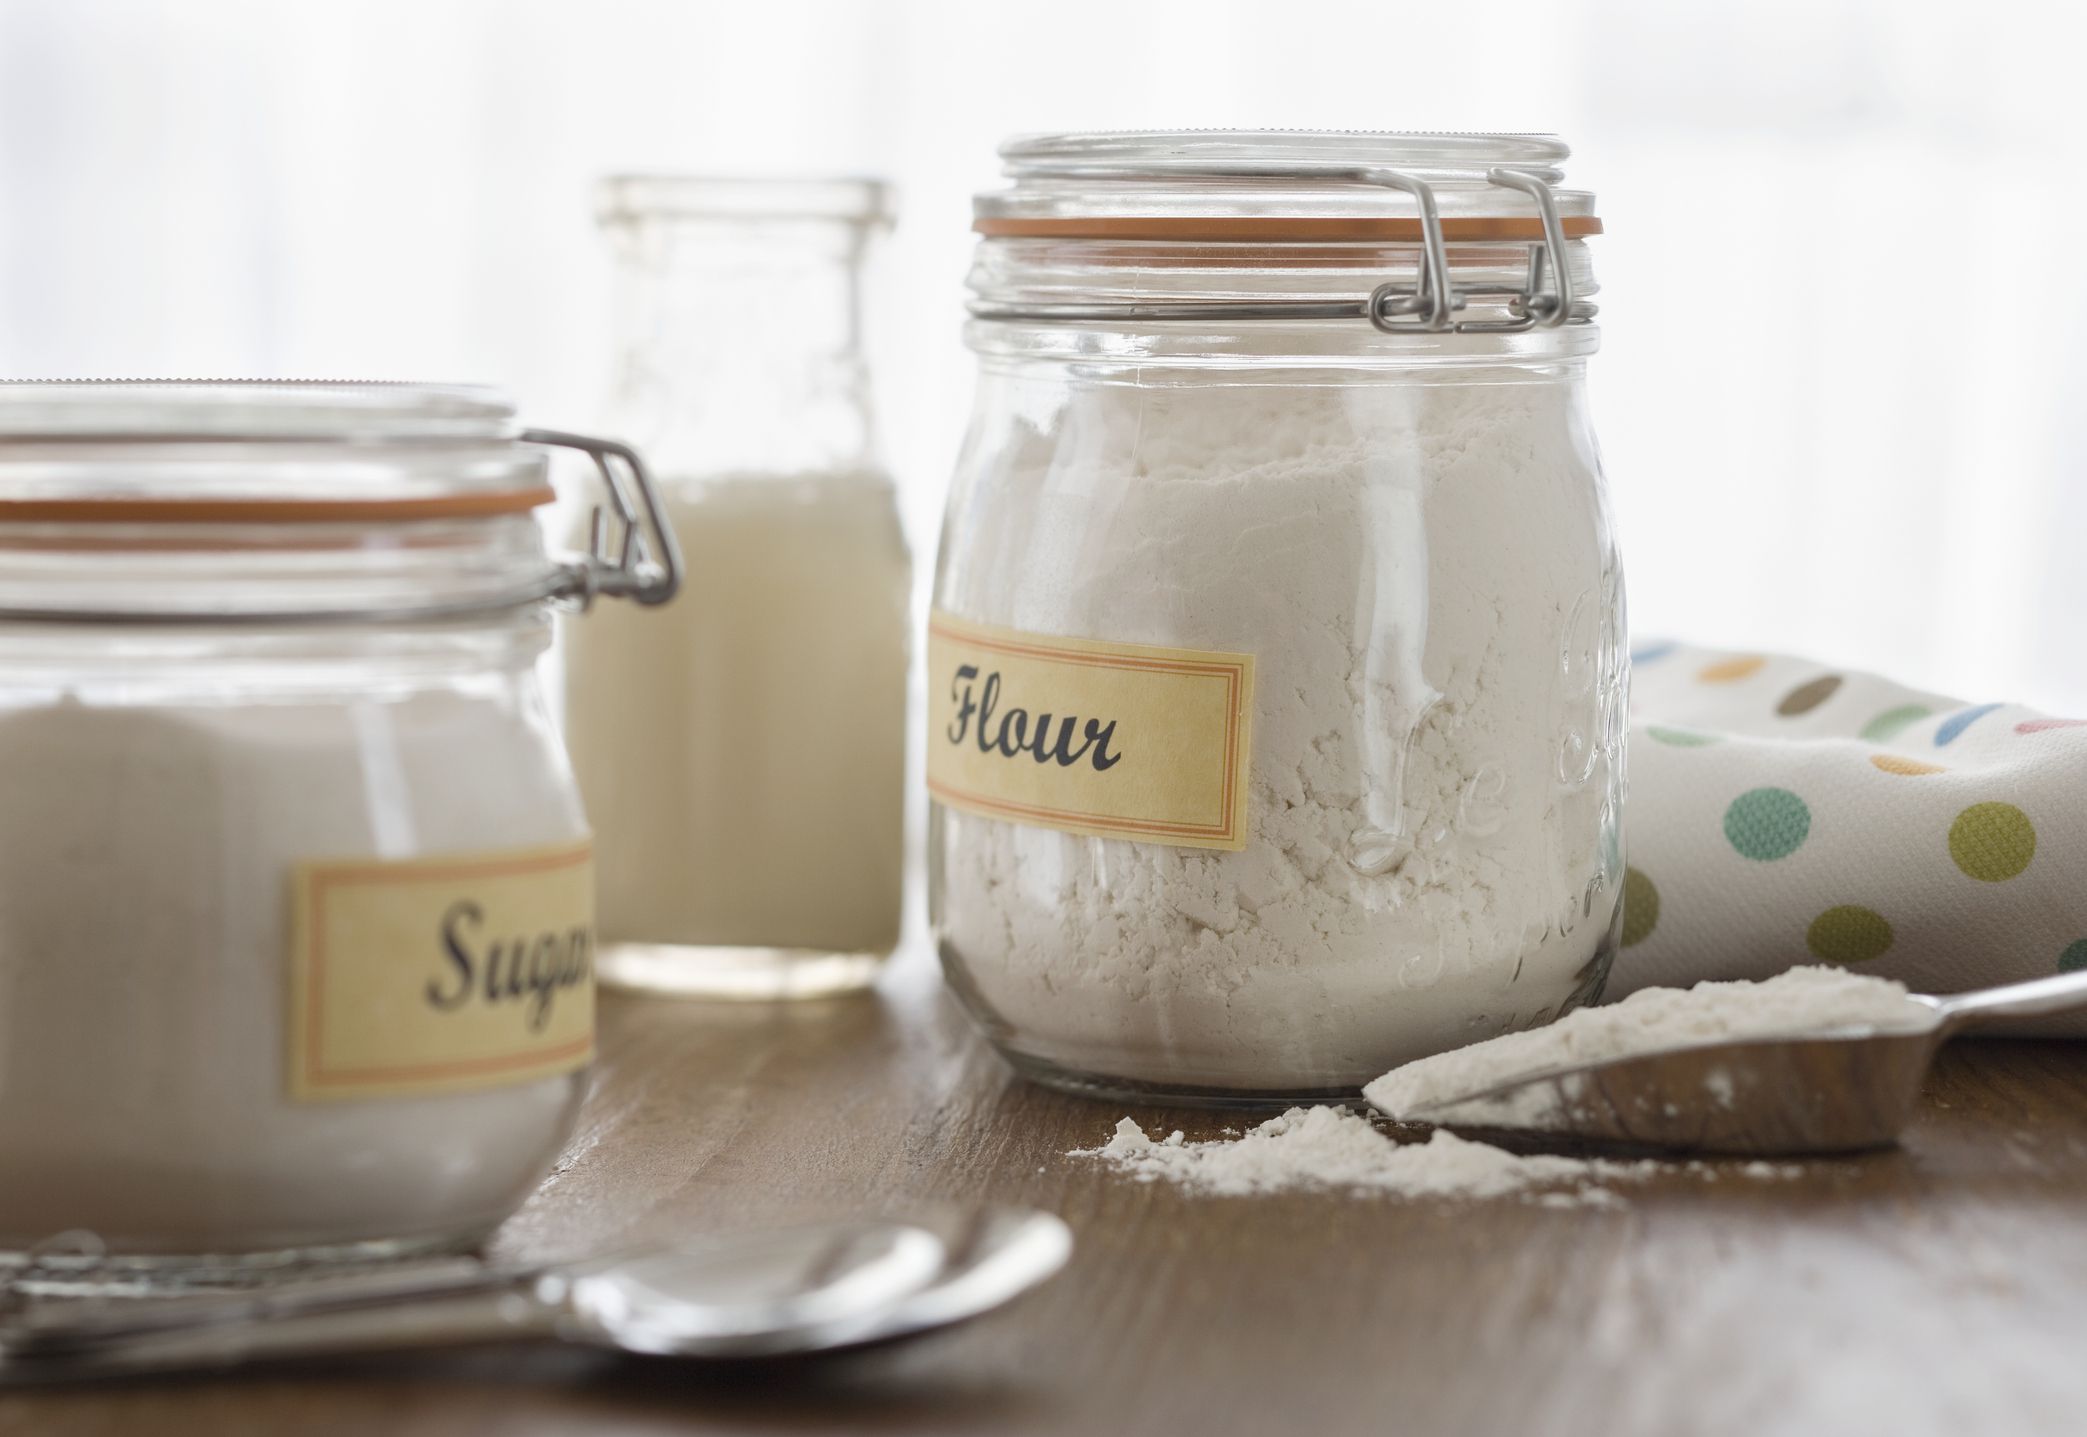
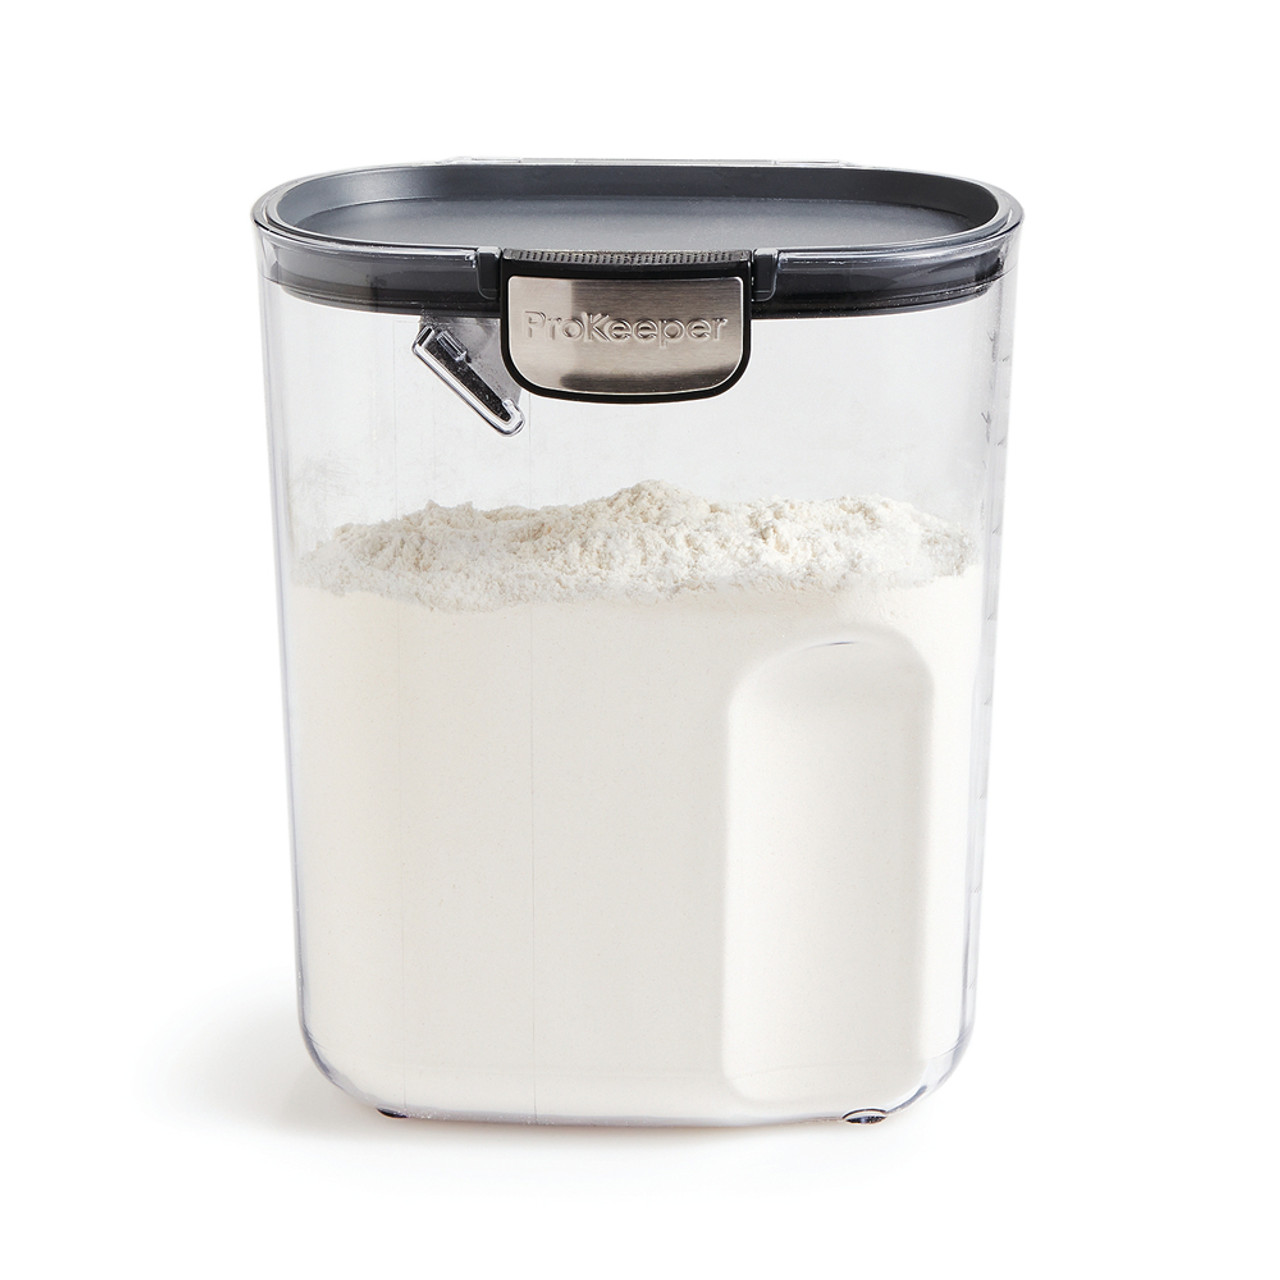
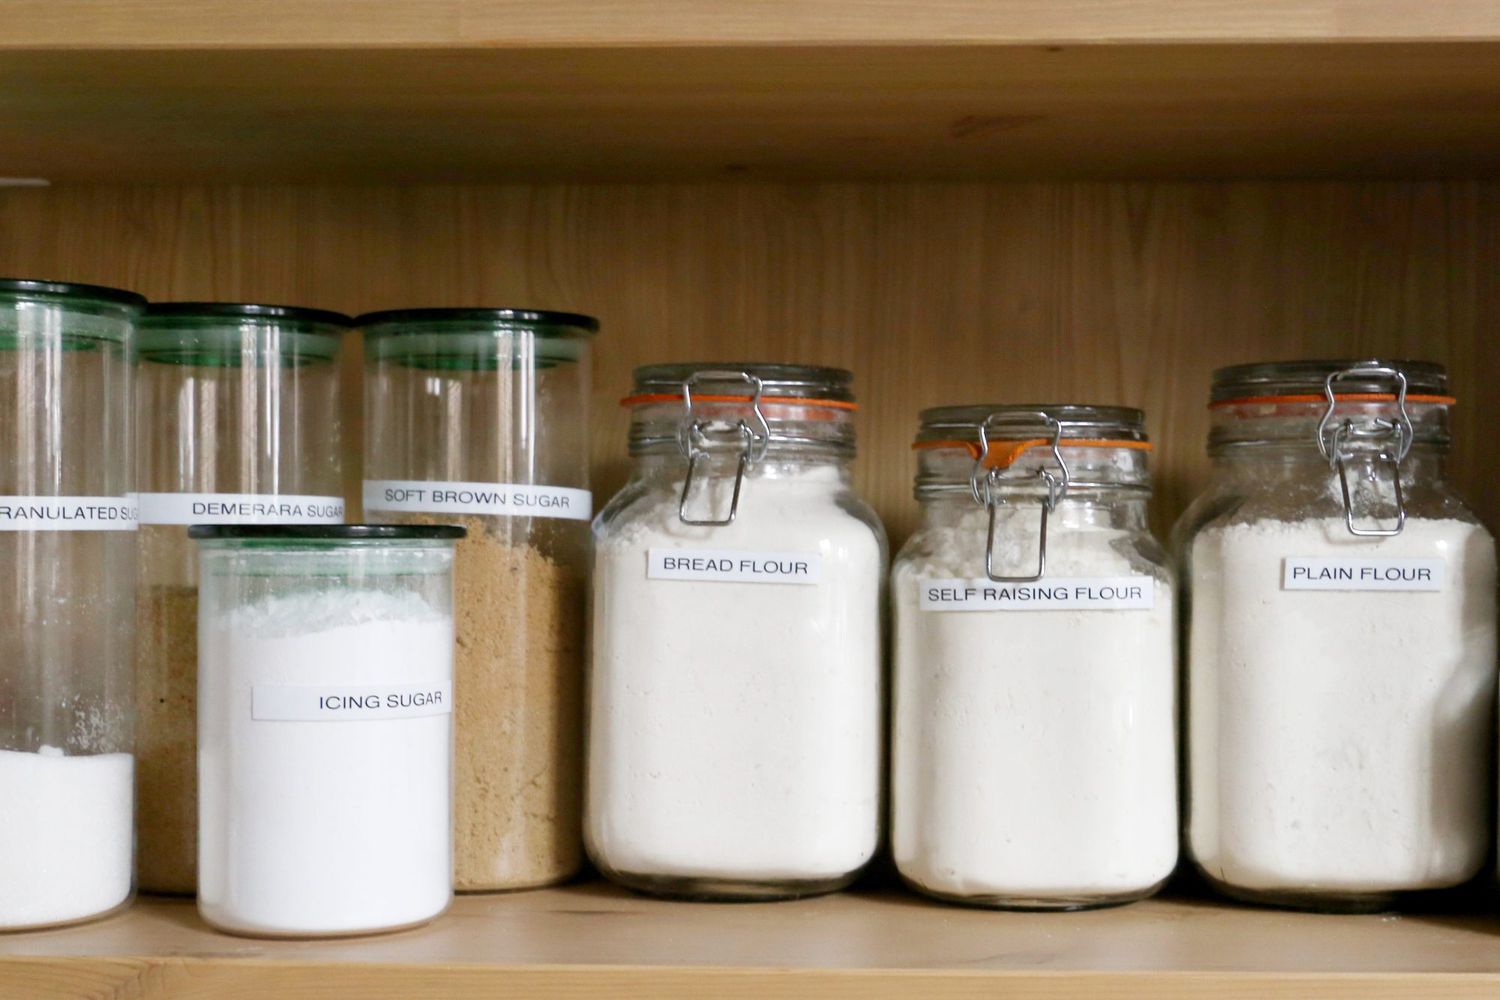
Choosing the Right Container
Choosing the right container for your flour is essential in preserving its quality and preventing exposure to air, moisture, and pests. Here are some factors to consider when selecting a flour storage container:
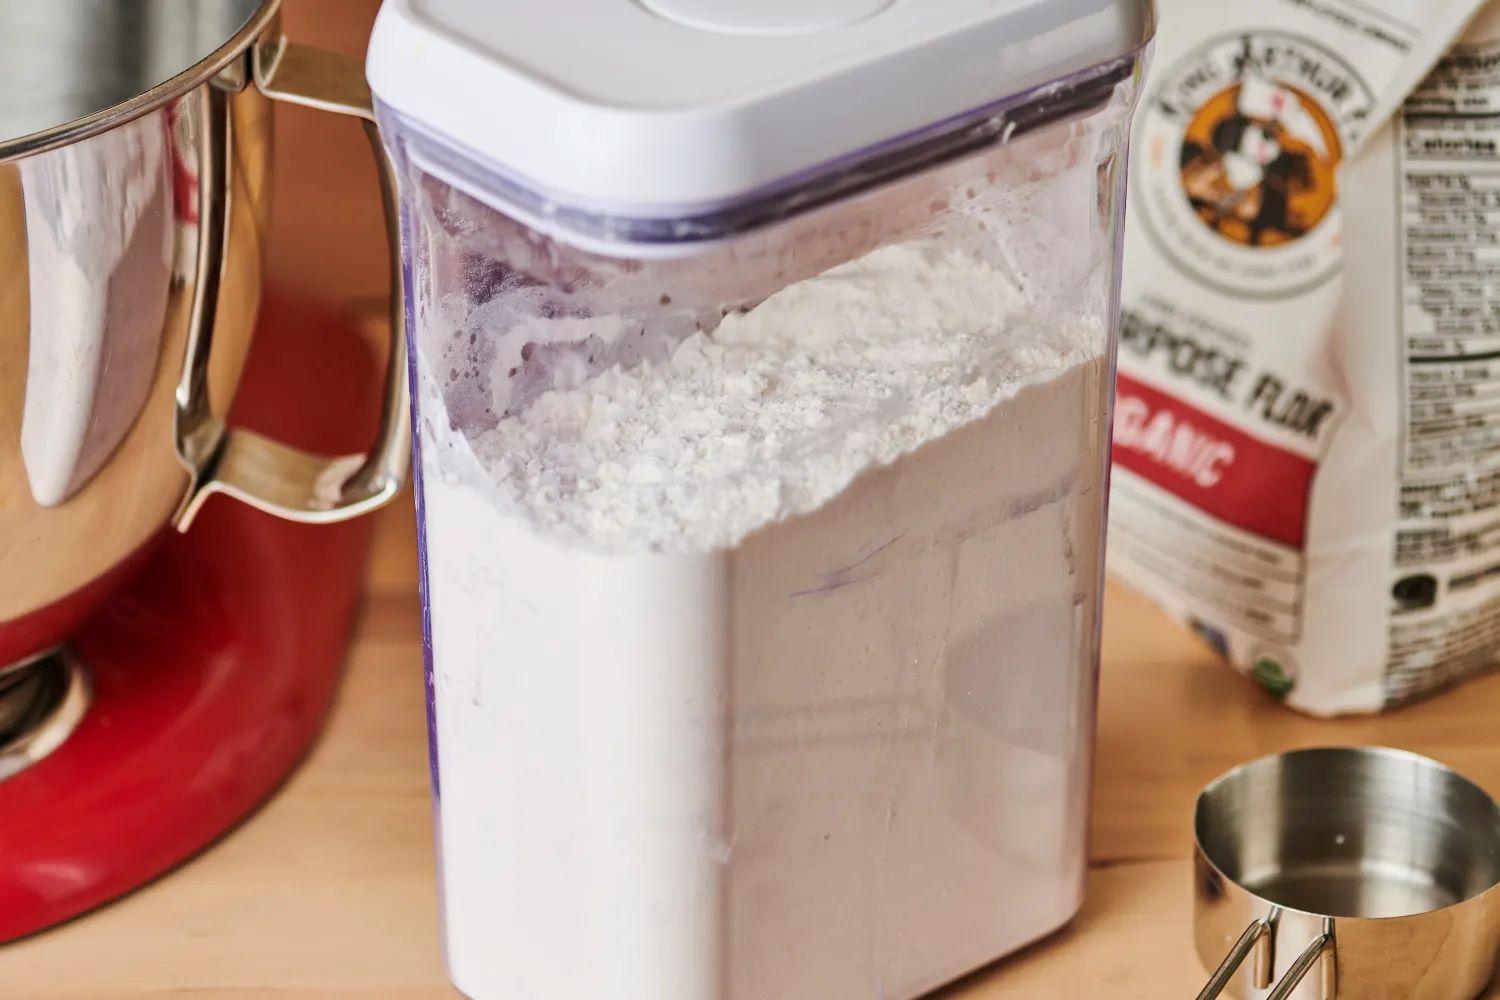
- Airtight and Sealed: The ideal container for storing flour should have an airtight seal to keep moisture and air out. This prevents the flour from absorbing moisture and becoming clumpy or attracting pests. Look for containers with tight-fitting lids or consider using resealable bags for smaller quantities of flour.
- Food-Grade Material: Opt for containers made of food-grade materials like glass, plastic, or metal. Avoid using containers that have previously held non-food items to prevent any potential contamination.
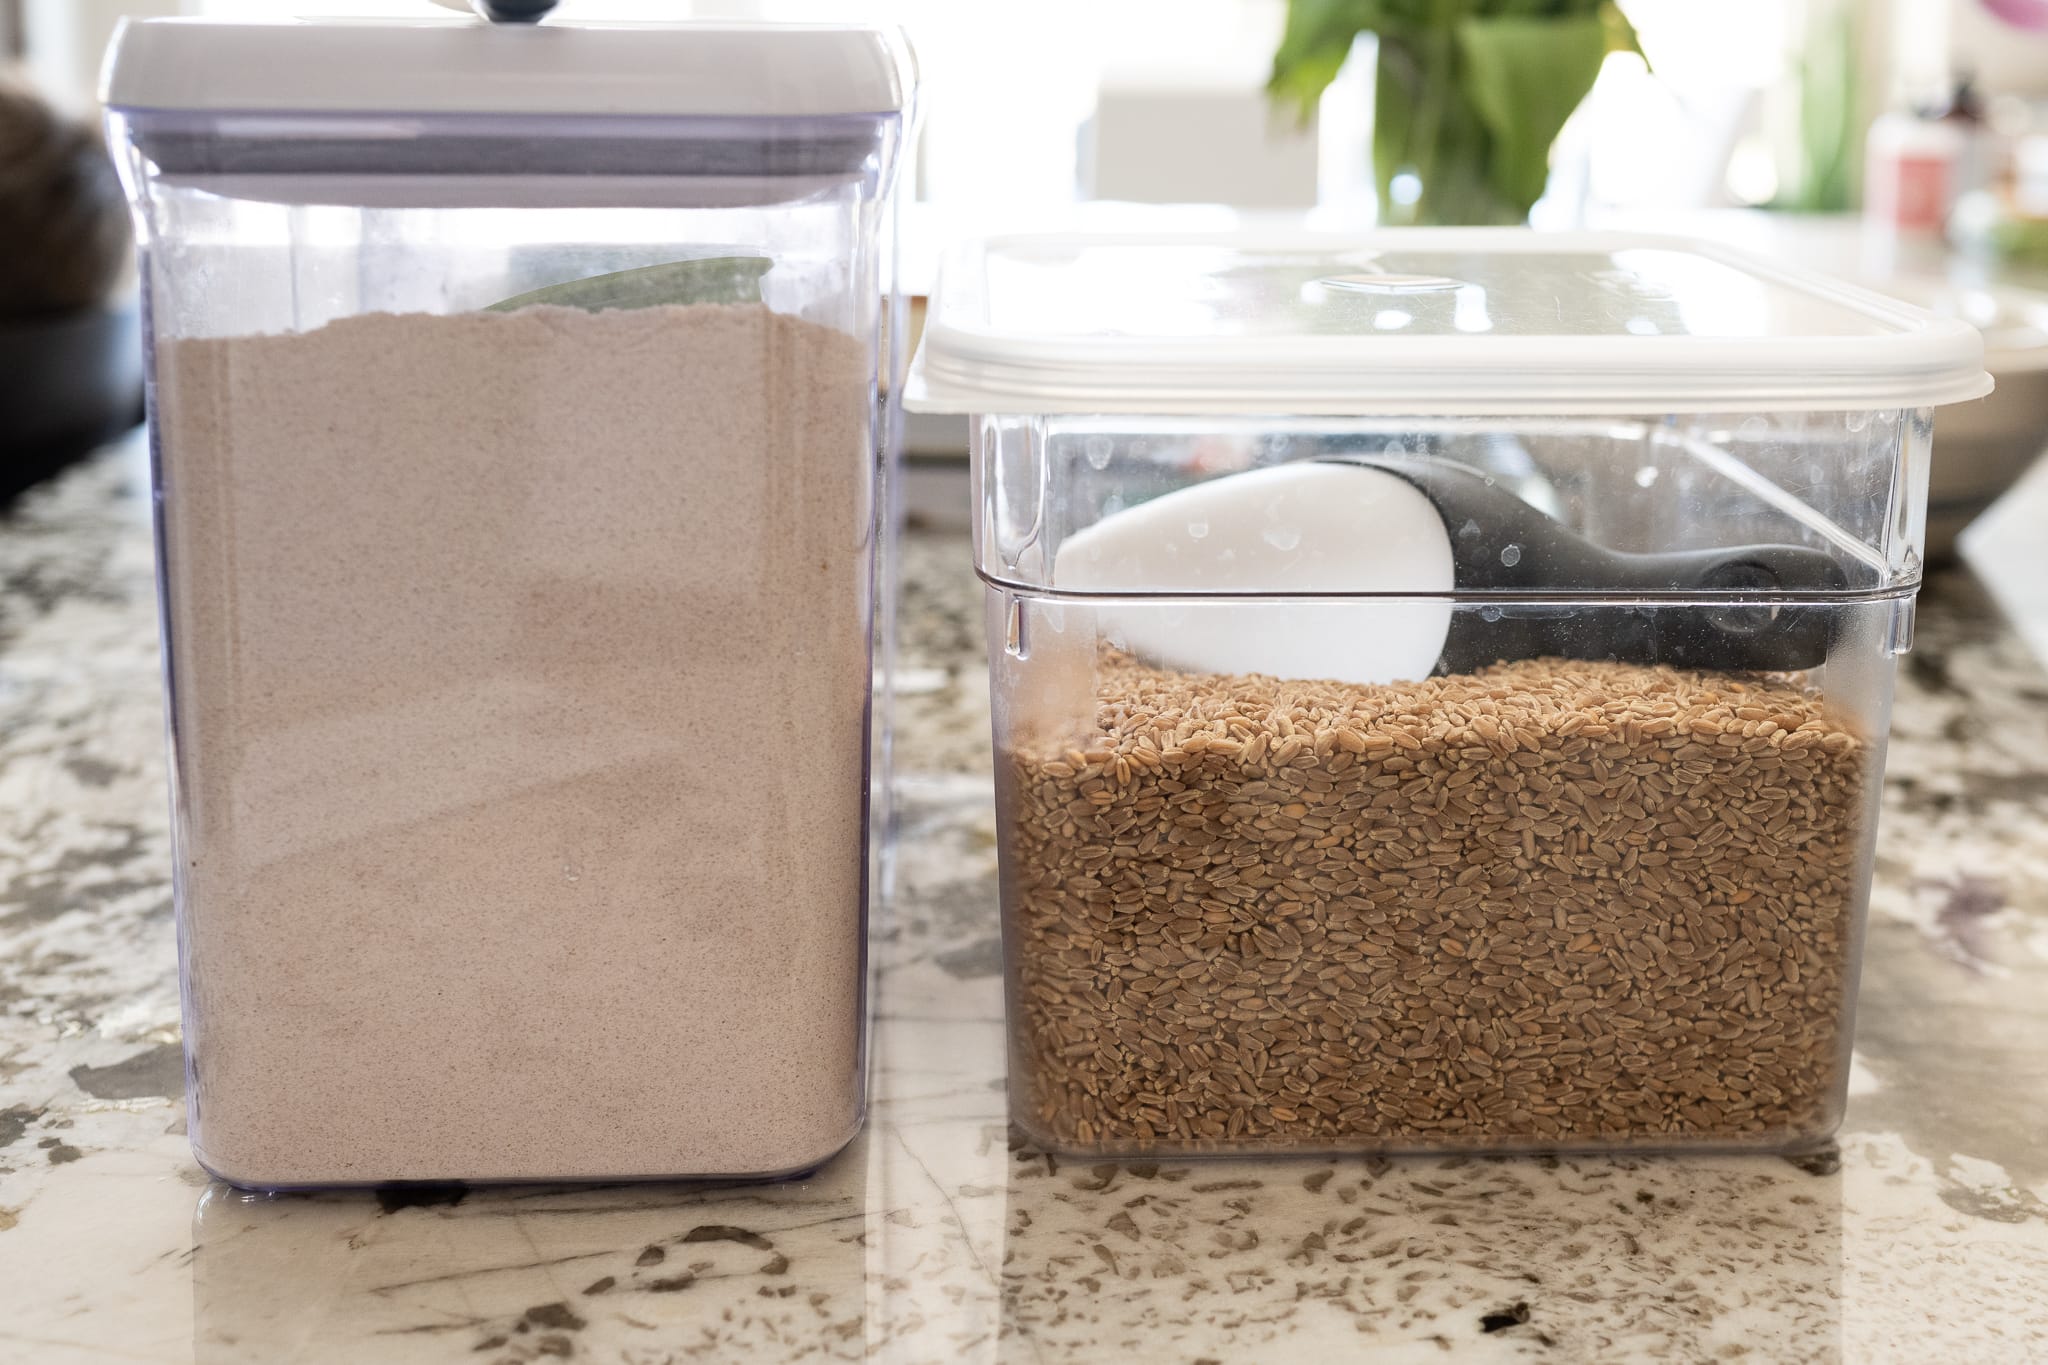
- Opaque or Dark-Colored: To protect your flour from exposure to light, choose containers that are opaque or dark-colored. Light can degrade the quality of flour and cause it to lose nutrients over time.
- Size and Capacity: Consider the amount of flour you typically use and choose a container that can accommodate your needs. It’s a good idea to have multiple containers to store different types of flour separately.
- Easy to Clean: Flour containers should be easy to clean to maintain hygiene and prevent the buildup of residues. Look for containers that are dishwasher-safe or have smooth, non-porous surfaces for easy cleaning.
When transferring flour to a new container, make sure it is clean and dry. Any moisture or residue from previous ingredients can compromise the freshness of the flour.
By choosing the right container, you can create an optimal storage environment for your flour, keeping it fresh, free from contaminants, and ready to use whenever you need it.
Controlling Temperature and Humidity
Temperature and humidity play a significant role in maintaining the quality and longevity of flour. Here are some guidelines to follow when it comes to controlling temperature and humidity in your flour storage area:
- Store in a Cool and Dry Place: Flour should be stored in a cool and dry area, away from direct sunlight and sources of heat. Extreme temperatures can cause the flour to spoil quickly or go rancid. Aim for a storage temperature below 75°F (24°C) to preserve the flour’s freshness.
- Avoid Moisture: Moisture is the enemy of flour, as it can lead to the growth of mold and attract pests. Ensure that your storage area is dry to prevent the flour from clumping or becoming a breeding ground for bacterial growth. Avoid storing flour near the sink, dishwasher, or any other source of moisture.
- Use Desiccants: Adding desiccant packs or moisture absorbers in your flour container can help prevent moisture buildup. These packets are available in stores and are designed to absorb excess moisture, keeping the flour dry and fresh.
- Avoid Fluctuating Humidity: Fluctuating humidity levels can lead to the formation of condensation inside the container, which can cause the flour to clump and spoil. Try to maintain a stable humidity level in the storage area to prevent these fluctuations.
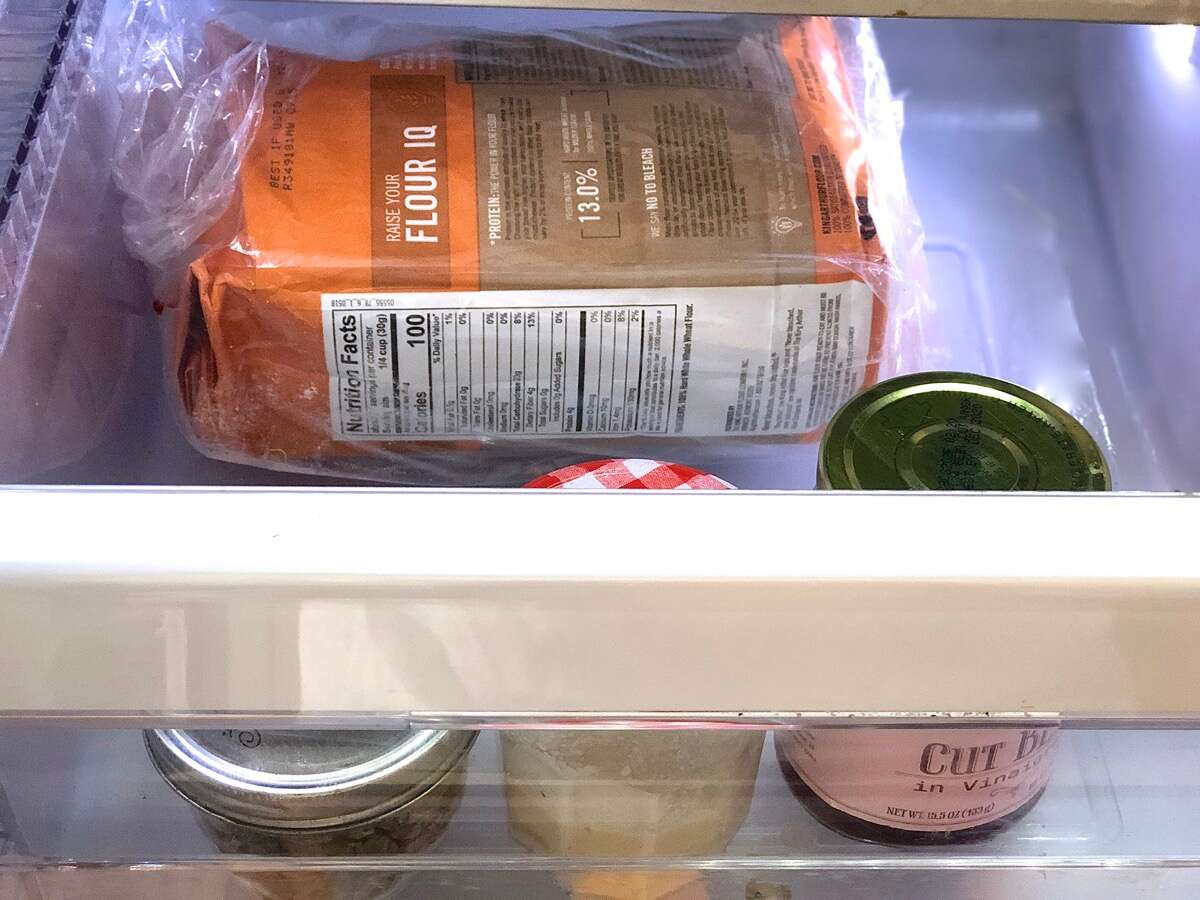
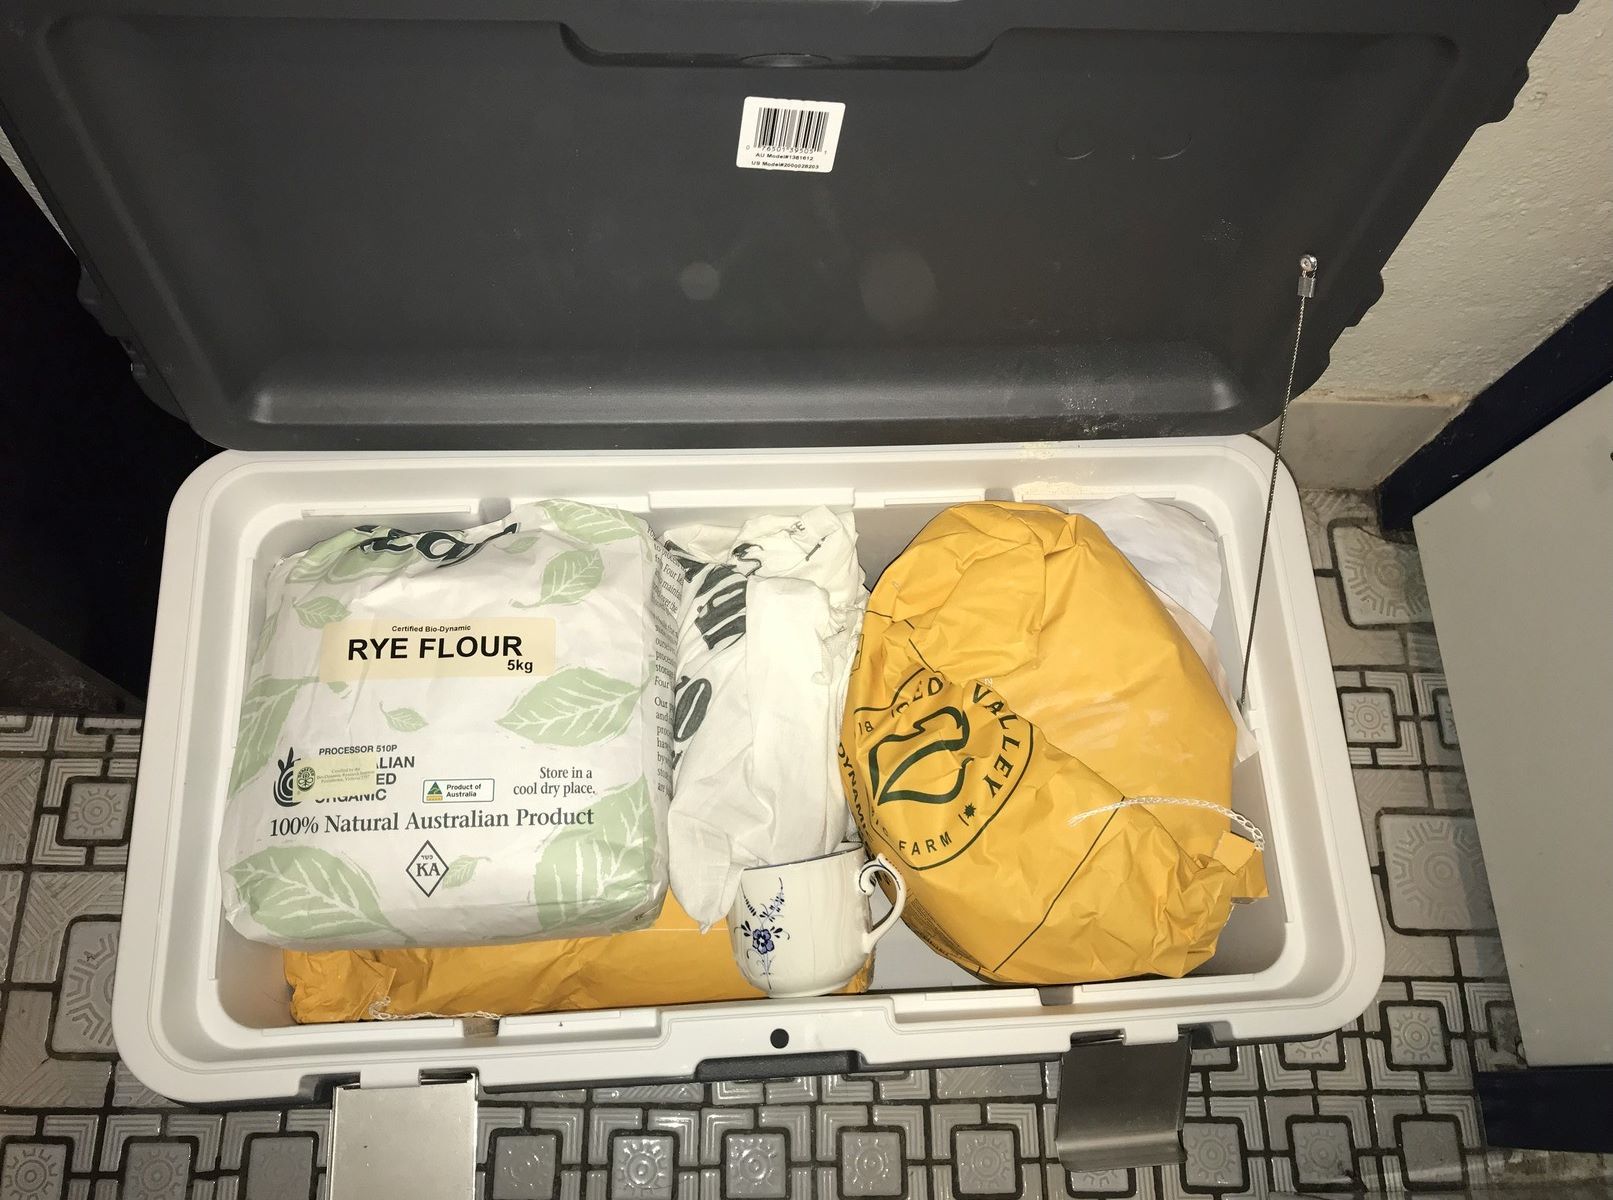
- Consider Refrigeration or Freezing: Although not necessary for all types of flour, refrigeration or freezing can be an option for extending the shelf life of certain flours, particularly whole wheat and specialty flours. If you choose to refrigerate or freeze your flour, ensure that it is stored in moisture-proof, airtight containers to prevent moisture absorption and odors from other foods in the refrigerator or freezer.
By controlling the temperature and humidity in your flour storage area, you can preserve the freshness and quality of your flour for an extended period. Remember to regularly check the storage conditions and make any necessary adjustments to ensure optimal storage.
Avoiding Exposure to Light
Exposure to light can have a detrimental effect on the quality and freshness of flour. Light can accelerate the degradation process, leading to flavor loss and nutrient deterioration. Here are some tips to avoid exposure to light when storing flour:
- Choose Opaque Containers: Opt for storage containers that are opaque or made of dark-colored materials. This helps to block out light and prevent it from reaching the flour. Avoid using transparent containers or leaving flour in bags or packaging that allows light to penetrate.
- Keep Flour in Dark Storage Area: Store your flour in a dark storage area, such as a pantry or cupboard, away from natural or artificial light sources. Direct sunlight and bright artificial light can degrade the quality of the flour over time.
- Use Labels: Label your flour containers with the type and expiration date to easily identify and rotate your stock. This way, you can quickly grab the flour you need without exposing the rest to unnecessary light.
- Avoid Displaying Flour Containers: While it may be tempting to showcase your collection of flour containers, it’s best to avoid displaying them on open shelves or countertops. This can subject the flour to constant exposure to light, which can impact its quality.
- Store in Light-Proof Cabinets: If your storage area is prone to light exposure, consider using light-proof cabinets or installing blinds or curtains to shield the area from light. This extra layer of protection can help maintain the freshness and quality of your flour.
By taking steps to avoid exposure to light, you can preserve the flavor, nutrients, and overall quality of your flour, ensuring that it remains fresh and ready to use in your culinary creations.
Store flour in an airtight container in a cool, dark place to prevent it from going rancid. Label the container with the purchase date for freshness tracking.
Read more: How To Store Flour For Years
Keeping Flour Away from Strong Odors
Flour has a porous nature which makes it prone to absorbing odors from its surroundings. Strong odors can easily infiltrate the flour and compromise its flavor and quality. To prevent your flour from absorbing unwanted odors, follow these guidelines:
- Separate Strongly Scented Ingredients: Store flour away from ingredients with strong odors, such as spices, onions, garlic, or cleaning agents. These odors can easily transfer to the flour and alter its taste and aroma.
- Use Airtight Containers: Opt for airtight containers that create a barrier between the flour and other fragrant items in your storage area. This will help minimize the risk of odor absorption.
- Consider Individual Packaging: If you have multiple types of flour or other ingredients in close proximity, consider storing each item in its own sealed container or bag. This ensures that odors from one ingredient don’t transfer to others.
- Avoid Storing Near Cleaning Products: Keep flour away from areas or cabinets where strong-smelling cleaning products are stored. These products can emit strong odors that can penetrate the flour and affect its quality.
- Regularly Clean Storage Containers: Clean your flour storage containers regularly to remove any lingering odors that may have transferred. Use mild dish soap and warm water, ensuring that the containers are thoroughly rinsed and dried before refilling them with flour.
By taking precautions to keep your flour away from strong odors, you can preserve its original flavor and ensure that it adds the perfect taste to your baked goods and recipes.
Organizing Your Flour Storage Area
Keeping your flour storage area organized is not only practical but also helps maintain the quality and freshness of your flour. Here are some tips for organizing your flour storage area:
- Categorize by Type: If you have different types of flour, consider categorizing them based on their type and usage. This allows for easy identification and retrieval when needed.
- Use Stackable Containers: Stackable containers help maximize space and keep your flour storage area tidy. They allow for efficient use of vertical space, making it easier to see and access different types of flour.
- Label Containers: Clearly label each container with the type of flour it contains. This prevents confusion and saves time when searching for a specific type of flour.
- Arrange by Expiration Date: Rotate your flour stock based on expiration dates. Place newer containers at the back and older ones at the front. This ensures that you use the flour before it reaches its expiration date.
- Maintain a First-In-First-Out (FIFO) System: Following a FIFO system ensures that the oldest flour is used first, minimizing the chances of it being forgotten and becoming expired.
- Keep Storage Area Clean: Regularly clean your flour storage area to remove any spills, dust, or debris. Maintaining a clean environment helps prevent pests, maintains a pleasant aesthetic, and ensures the flour remains uncontaminated.
- Utilize Storage Accessories: Consider using storage accessories such as shelves, bins, or baskets to maximize your storage space and keep everything organized. These accessories can help separate different types of flours and keep them easily accessible.
By organizing your flour storage area, you not only create a neat and efficient space but also ensure that your flour is well-preserved and easy to locate when you’re ready to embark on your next baking adventure.
Checking for Signs of Spoilage
Regularly checking your flour for signs of spoilage is crucial to ensure that you are using fresh and safe ingredients in your recipes. Here are some signs to look out for when assessing the quality of your flour:
- Unusual Odor: Fresh flour should have a mild, slightly sweet smell. If you detect any rancid or foul odor, it is an indication that the flour has spoiled and should not be used.
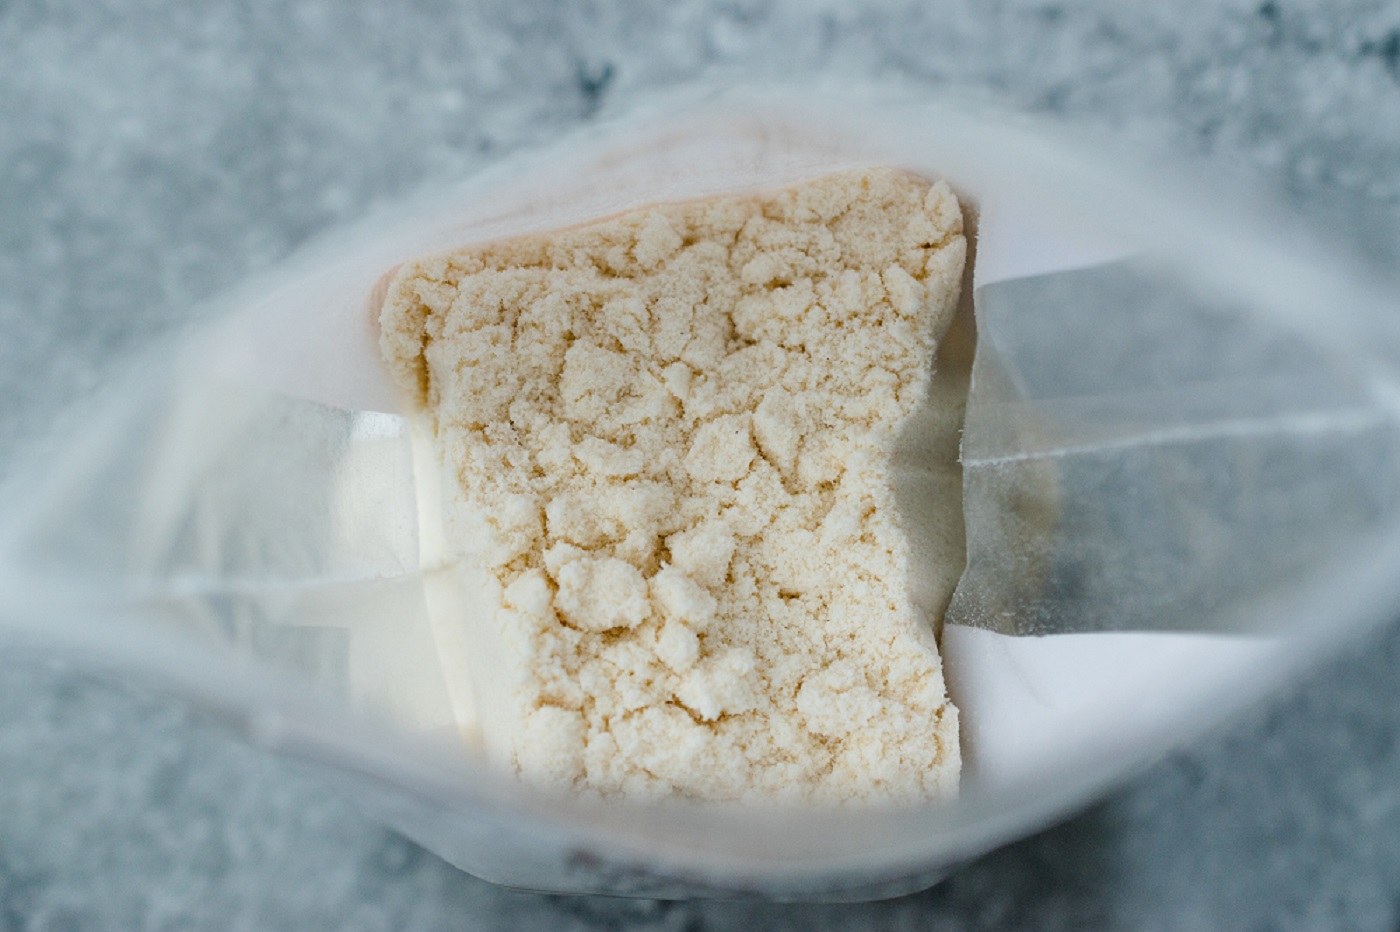
- Unusual Texture: Flour should have a soft, smooth texture. If you notice any lumps, clumps, or signs of moisture or mold, it is a clear sign that the flour has been exposed to unfavorable conditions and has spoiled.
- Off-Color: Fresh flour should have a pale color. If you notice any discoloration, such as dark spots or an overall yellow or grayish tinge, it is an indication that the flour has lost its freshness and should be discarded.
- Pest Infestation: Check your flour storage area for any signs of pests, such as insects or rodents. Noticing any traces of their presence, like eggs, droppings, or chewed packaging, is a clear indicator of contamination and the need to discard the flour.
- Expired Date: Always check the expiration date on your flour packaging. While the aforementioned signs are crucial indicators of spoilage, expired flour should be discarded even if it appears to be in good condition.
If you come across any of these signs of spoilage, it is important to discard the flour immediately. Using spoiled flour can result in unpleasant flavors, compromised texture, and even potential health risks.
Regularly inspecting your flour and being vigilant about its quality ensures that you are using only the freshest ingredients in your culinary creations, leading to delicious and safe meals.
Tips for Prolonging Flour Shelf Life
Prolonging the shelf life of your flour is essential to ensure that it remains fresh, flavorful, and safe to use. Here are some tips to help you extend the shelf life of your flour:
- Buy in Smaller Quantities: Consider purchasing flour in smaller quantities if you don’t use it frequently. This reduces the chances of it sitting in storage for an extended period, where it is more susceptible to spoilage.
- Store in Freezer or Refrigerator: For longer shelf life, you can store certain types of flour, particularly whole wheat and specialty flours, in the freezer or refrigerator. Place the flour in a moisture-proof, airtight container and allow it to come to room temperature before using it.
- Keep Moisture Out: Moisture is the enemy of flour and can accelerate spoilage. Always ensure that your storage containers are tightly sealed to prevent moisture from entering and causing the flour to become clumpy or moldy.
- Store in a Cool Environment: Optimal storage temperature for flour is below 75°F (24°C). Avoid storing flour near heat sources, such as stovetops or ovens, as exposure to high temperatures can cause it to spoil quickly.
- Avoid Direct Sunlight: Protect your flour from exposure to light, as it can lead to taste and quality degradation. Store your flour in opaque or dark-colored containers and keep them in a dark storage area.
- Practice First-In-First-Out (FIFO): When stocking your flour, use the oldest containers first before moving on to the newer ones. This ensures that you are using flour before it reaches its expiration date, reducing the chances of it going to waste.
- Regularly Clean Storage Containers: Clean your flour storage containers regularly to remove any residue or contaminants that may be present. Maintaining clean containers helps ensure the freshness and quality of the flour.
- Consider Vacuum Sealing: Vacuum sealing flour can help remove air and prevent moisture from entering the packaging, effectively prolonging its shelf life. This method is especially useful for storing flour in larger quantities.
By incorporating these tips into your flour storage routine, you can significantly extend the shelf life of your flour, saving money and ensuring that you always have fresh flour available for your culinary adventures.
Read more: How To Store Almond Flour
Conclusion
Properly storing flour is essential to maintain its quality, freshness, and safety. By following the guidelines outlined in this article, you can ensure that your flour remains in optimal condition, ready to be used in your favorite recipes.
Choosing the right container, controlling temperature and humidity, avoiding exposure to light, keeping flour away from strong odors, organizing your flour storage area, checking for signs of spoilage, and implementing tips for prolonging shelf life are all key practices to consider.
Remember to select airtight, opaque containers, store flour in a cool, dry place, protect it from light, and keep it away from strong odors that can alter its flavor. Additionally, organizing your storage area, regularly checking for signs of spoilage, and using proper storage techniques will help preserve the quality of your flour for an extended period.
By taking these actions, you can ensure that your flour retains its nutritional value, flavor, and texture, enhancing the success of your culinary endeavors. So, the next time you bake a luscious cake or whip up a batch of homemade bread, you can trust that your flour is fresh and ready to help you create delicious masterpieces.
Investing time and effort into proper flour storage is well worth it, as it guarantees that your flour remains a reliable and versatile ingredient in your kitchen for as long as possible.
Frequently Asked Questions about How To Store Flour
Was this page helpful?
At Storables.com, we guarantee accurate and reliable information. Our content, validated by Expert Board Contributors, is crafted following stringent Editorial Policies. We're committed to providing you with well-researched, expert-backed insights for all your informational needs.


0 thoughts on “How To Store Flour”