Articles
How To Store Flour In Mylar Bags
Modified: May 6, 2024
Learn the best method to store flour in mylar bags and keep it fresh for extended periods. Our articles provide valuable tips and insights to safeguard your flour supply.
(Many of the links in this article redirect to a specific reviewed product. Your purchase of these products through affiliate links helps to generate commission for Storables.com, at no extra cost. Learn more)
Introduction
Welcome to our comprehensive guide on how to store flour in Mylar bags. Flour is a staple ingredient in many kitchens, and it’s important to store it properly to maintain its freshness and quality. Mylar bags are an excellent option for long-term storage, as they provide airtight and moisture-resistant protection. In this article, we will explore the advantages of using Mylar bags for flour storage, the necessary materials you will need, and a step-by-step guide to help you store your flour effectively.
Whether you are an avid baker, a prepper, or simply like to have a stock of flour on hand, using Mylar bags can significantly extend the shelf life of your flour, keeping it fresh and free from pests or contaminants. Proper flour storage is crucial to maintain its flavor, texture, and nutritional value, so let’s dive into the world of Mylar bags and learn how you can preserve your flour for optimal use.
Key Takeaways:
- Storing flour in Mylar bags offers numerous benefits, including prolonged freshness, protection against oxygen and moisture, prevention of pests, cost savings, and efficient use of storage space. It’s a practical and economical solution for long-term flour storage.
- Proper preparation, including selecting fresh flour, using oxygen absorbers, and labeling bags, is crucial for effective flour storage in Mylar bags. Following a step-by-step guide and implementing storage tips can help maintain flour quality for extended periods.
Read more: How To Store Mylar Bags
Advantages of Storing Flour in Mylar Bags
Storing flour in Mylar bags offers several advantages that make them a preferred choice for long-term storage. Here are some of the key benefits:
- Airtight Protection: Mylar bags have excellent airtight properties, meaning they create a barrier that prevents oxygen from entering the bag. Oxygen exposure can cause flour to oxidize and develop rancidity, leading to a loss of flavor and nutritional value. By using Mylar bags, you can effectively protect your flour from oxygen, keeping it fresh for an extended period.
- Moisture Resistance: Moisture is another enemy of flour, as it can cause clumping and spoilage. Mylar bags act as a moisture barrier, preventing moisture from entering and damaging the flour. This is particularly important in humid climates where flour can easily absorb moisture from the air. With Mylar bags, you can keep your flour dry and free from mold or bacterial growth.
- Pest Prevention: Mylar bags provide a protective layer that helps keep pests, such as insects and rodents, away from your stored flour. These bags are made from a thick, durable material that pests cannot easily penetrate. This ensures that your flour remains uncontaminated and safe for consumption.
- Economical: Buying flour in bulk is often more cost-effective, and Mylar bags allow you to take advantage of these savings. By storing flour in larger quantities using Mylar bags, you can save money in the long run. Additionally, the extended shelf life provided by Mylar bags means less waste and fewer trips to the store.
- Space-Saving: Another advantage of Mylar bags is their ability to efficiently store your flour in a compact manner. These bags come in various sizes, allowing you to choose the most suitable ones for your storage needs. With proper sealing and organization, you can stack Mylar bags neatly, maximizing the use of your storage space.
Overall, storing flour in Mylar bags offers a multitude of benefits, including prolonged freshness, protection against oxygen and moisture, prevention of pests, cost savings, and efficient use of storage space. Now that we understand the advantages, let’s explore the materials you will need to start storing your flour in Mylar bags.
Necessary Materials for Storing Flour in Mylar Bags
Before you begin storing your flour in Mylar bags, it’s important to gather all the necessary materials to ensure a successful storage process. Here are the key materials you will need:
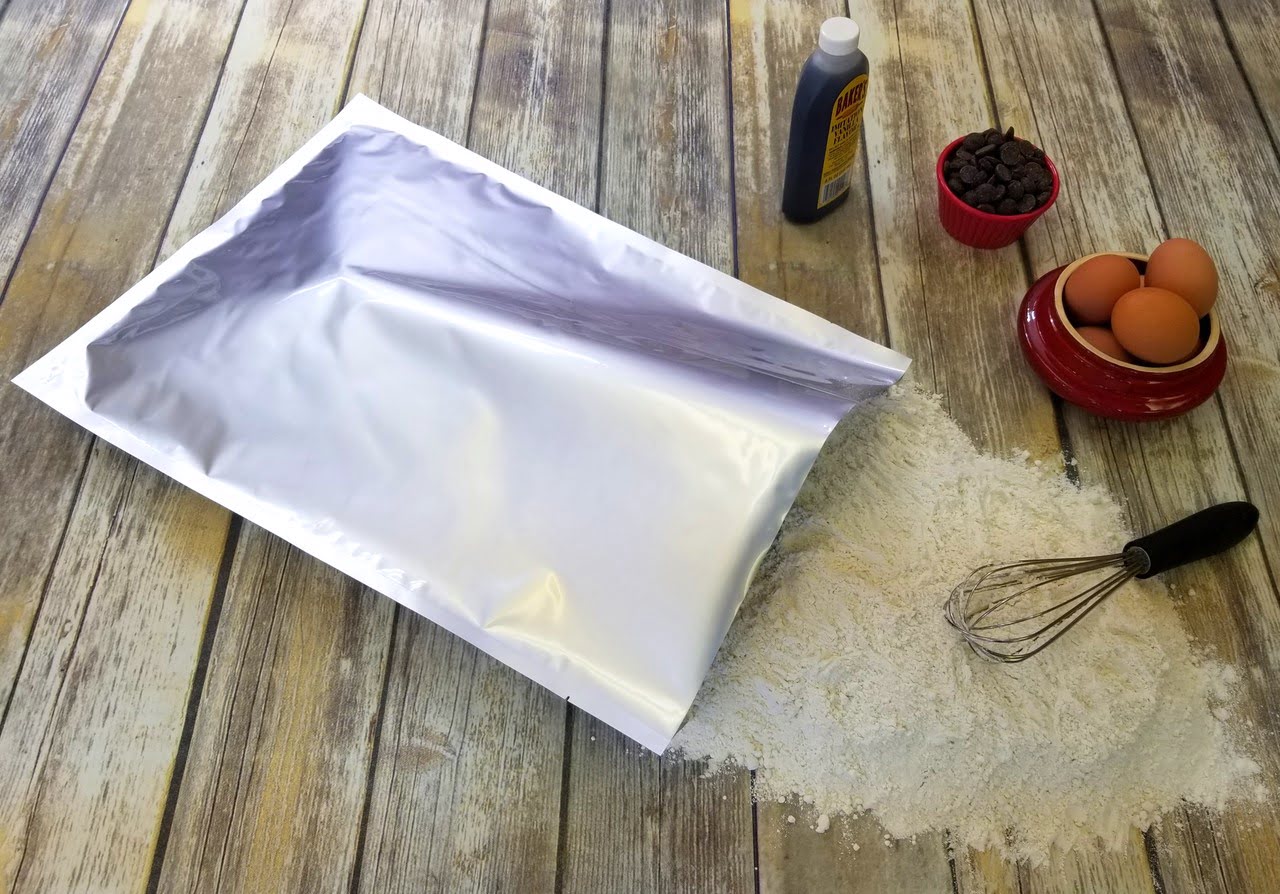
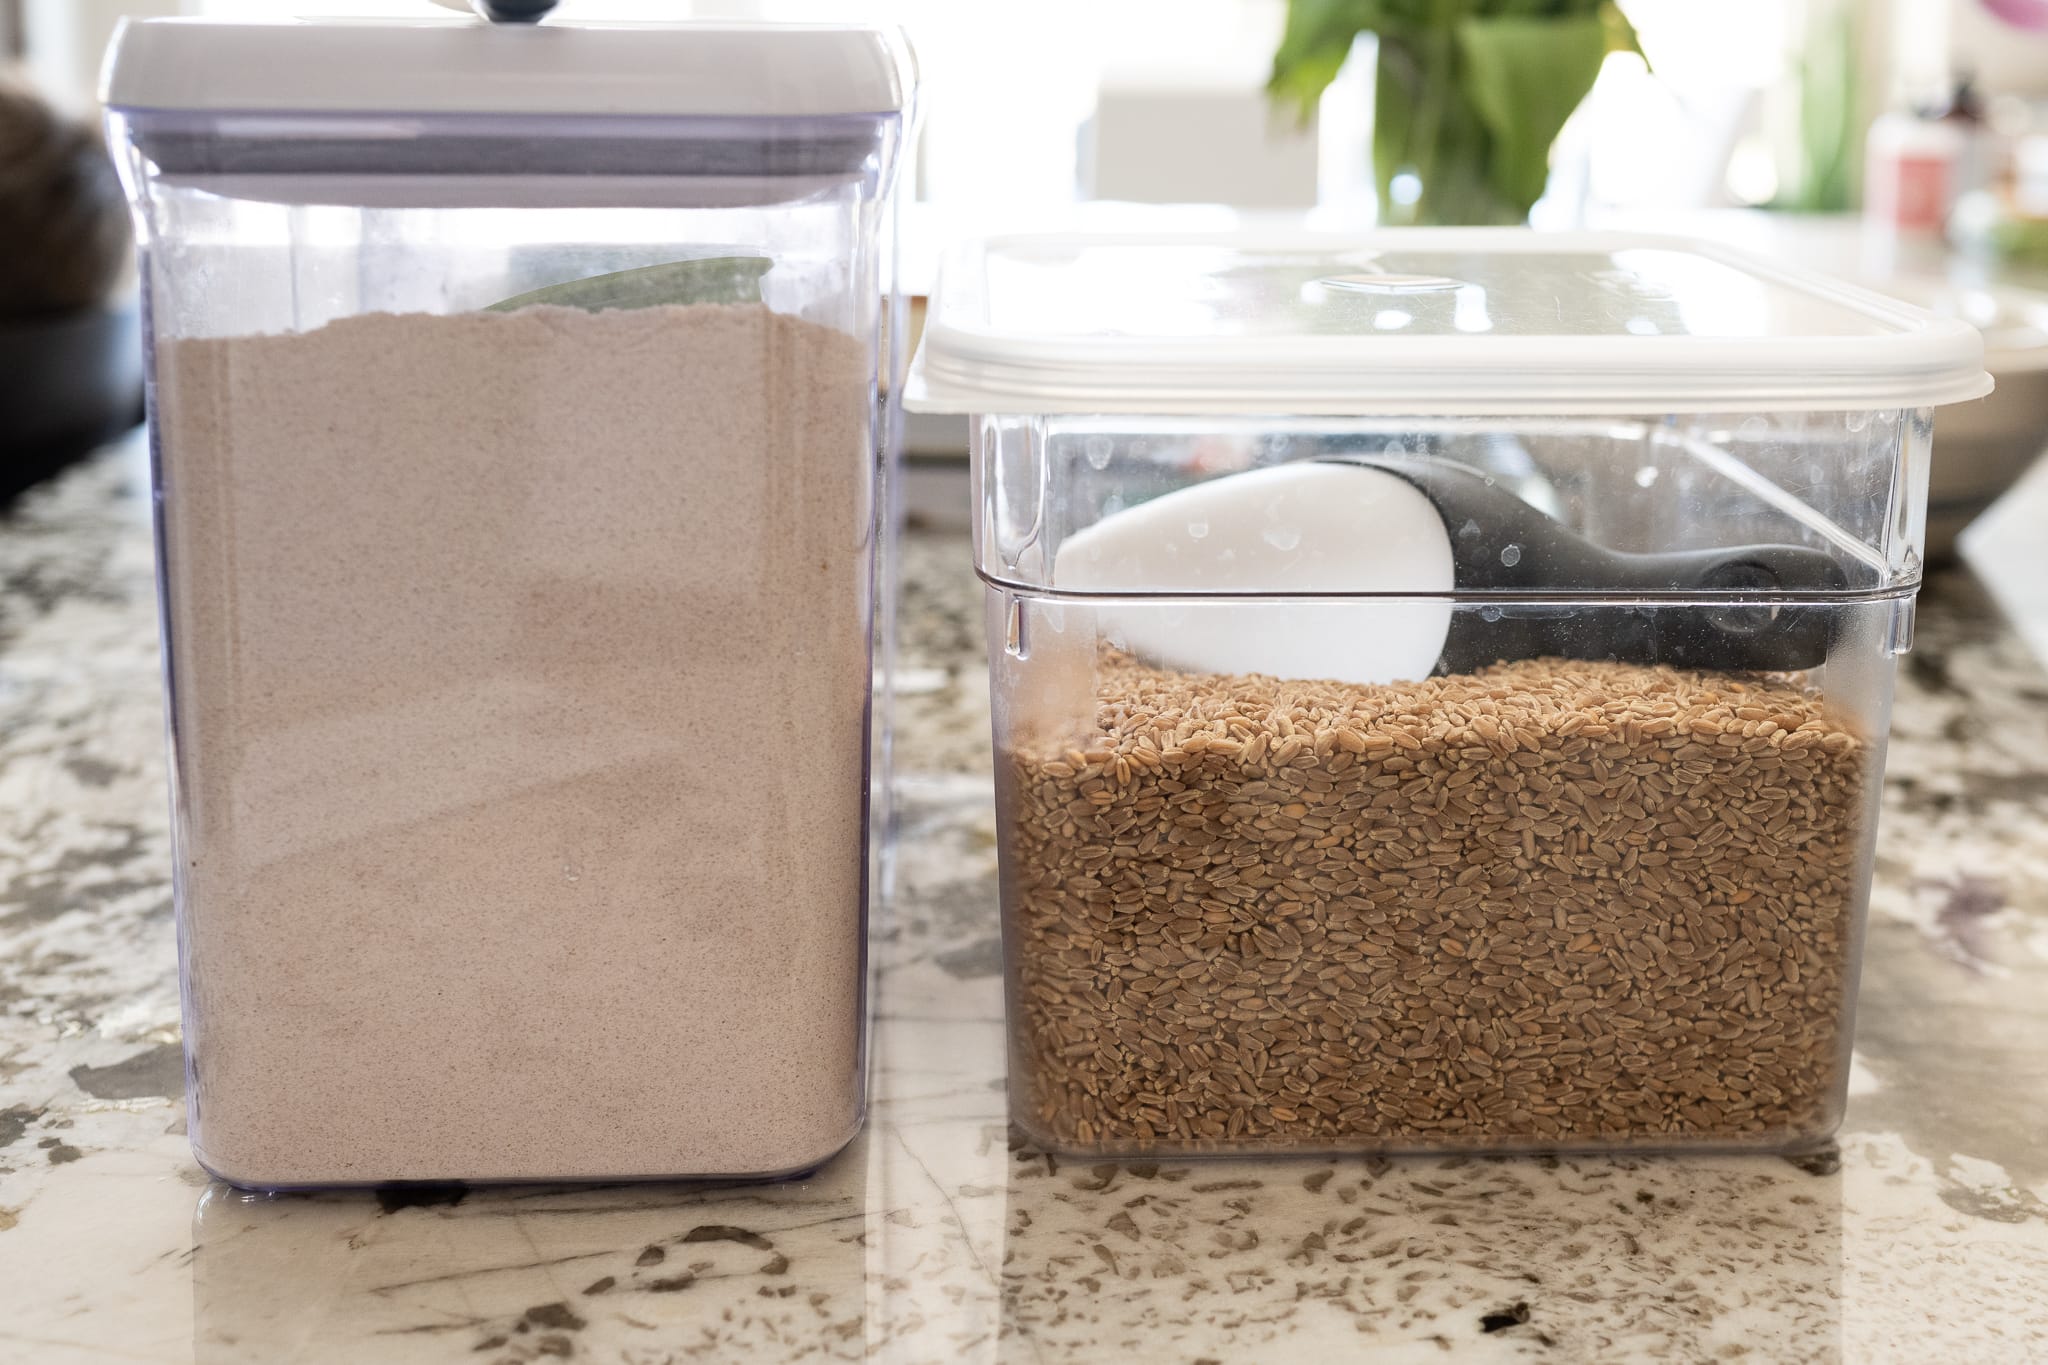
- Mylar Bags: The central component of this storage method is, of course, the Mylar bags themselves. Look for high-quality, food-grade Mylar bags with thicknesses ranging from 3.5 to 7 mil. These are typically available in various sizes, so choose the ones that will accommodate the amount of flour you plan to store.
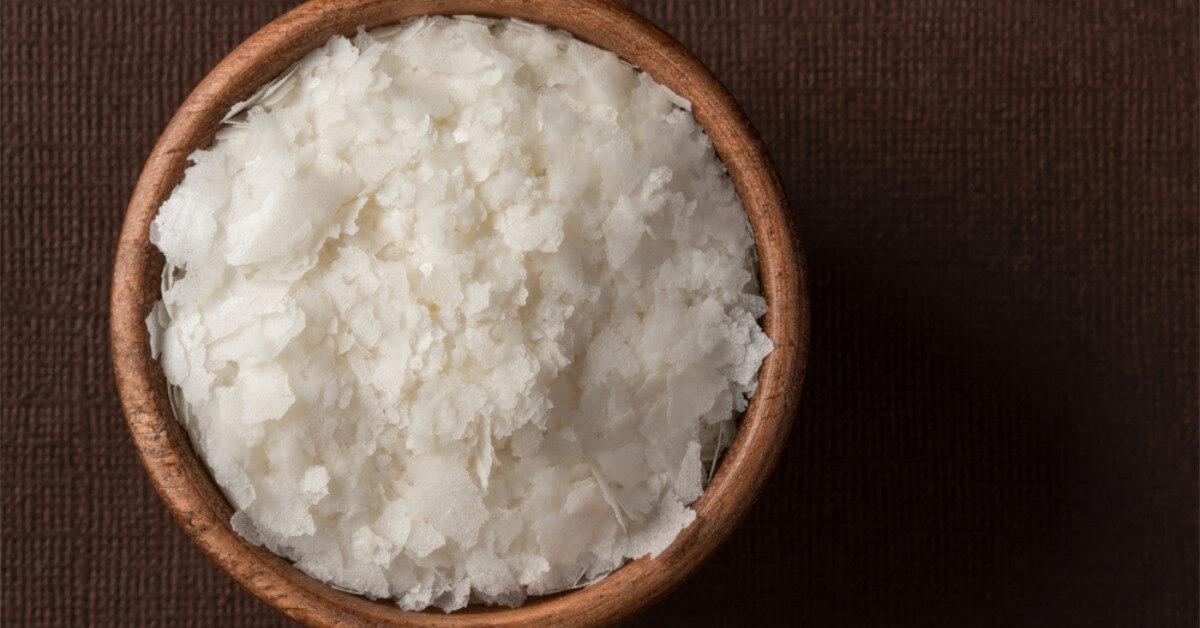
- Oxygen Absorbers: Oxygen absorbers are small packets that contain iron powder and are used to remove oxygen from the Mylar bags. They help maintain the freshness and quality of the flour by preventing oxidation. Ensure that you use oxygen absorbers specifically designed for food storage and follow the recommended usage instructions.
- Sealing Equipment: In order to create airtight seals on the Mylar bags, you will need a heat sealer or an iron. A heat sealer is a more efficient option, but an iron can also work well if you don’t have a sealer. Make sure to have a sturdy, heat-resistant surface (such as a wooden cutting board) to place the bags on during the sealing process.
- Labels and Marker: Properly labeling your Mylar bags is crucial for easy identification and organization. Use waterproof labels or write directly on the bags with a marker to indicate the contents and the date of storage. This will help you keep track of the freshness and rotation of your flour supply.
- Storage Containers or Bins: While not essential, placing the sealed Mylar bags in storage containers or bins can provide an extra layer of protection and organization. Choose containers that are airtight and stackable, ensuring they are large enough to accommodate the Mylar bags you have prepared.
Having these materials ready before you start storing your flour in Mylar bags will make the process smoother and more efficient. With everything in hand, it’s time to move on to the next step: properly preparing your flour for storage.
Proper Preparation Before Storing Flour in Mylar Bags
Before you start filling your Mylar bags with flour, it’s important to take a few steps to ensure the proper preparation of the flour. Here’s what you should do:
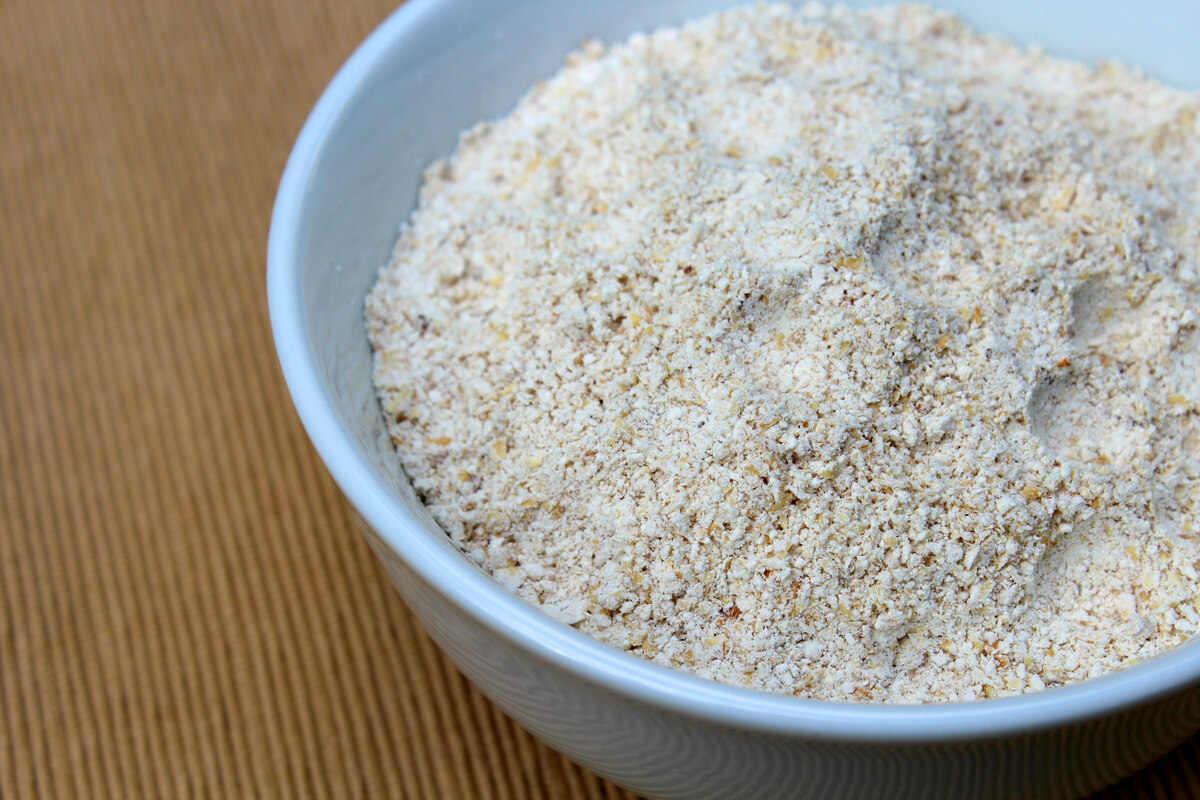
- Select Fresh Flour: Choose high-quality flour for storage. It’s best to opt for flour that is fresh and has not been sitting on the shelf for too long. Fresh flour will have better flavor, texture, and nutritional value.
- Sift the Flour: Sifting the flour helps remove any lumps or debris, ensuring a smooth and consistent texture. Use a fine-mesh sieve or a flour sifter to sift the flour into a clean, dry bowl. This step will also aerate the flour, making it easier to pack into the Mylar bags.
- Consider Oxygen Absorbers: While oxygen absorbers are not mandatory, they can greatly enhance the shelf life of your flour. Oxygen absorbers help eliminate oxygen inside the Mylar bags and prevent spoilage. Depending on the size of the Mylar bag, one or two oxygen absorbers should be sufficient. Follow the instructions provided with the oxygen absorbers to ensure proper usage.
- Calculate the Required Flour Amount: Before sealing the Mylar bags, it’s helpful to measure and calculate the exact amount of flour you are placing in each bag. This will make it easier to track your inventory and estimate how much flour remains without having to open each bag.
- Remove Excess Air: When filling the Mylar bags with flour, try to remove as much excess air as possible. Squeeze out the air while sealing the bags to minimize the presence of oxygen. This will further help preserve the freshness of the stored flour.
- Label the Bags: Once the Mylar bags are filled and sealed, it’s important to label them. Use waterproof labels or use a permanent marker directly on the bags to indicate the flour type and the date of storage. This will help you identify the contents and keep track of the freshness.
By taking these steps to properly prepare your flour before storing it in Mylar bags, you can ensure that your flour remains fresh, free from contaminants, and well-organized. With the preparations complete, let’s move on to the step-by-step guide on how to store flour in Mylar bags.
When storing flour in Mylar bags, be sure to remove as much air as possible before sealing to prevent spoilage. Additionally, store the bags in a cool, dark place to maintain freshness.
Step-by-Step Guide to Store Flour in Mylar Bags
Storing flour in Mylar bags is a straightforward process that requires careful attention to detail to ensure the best results. Follow these steps to effectively store your flour:
- Gather your materials: Collect all the necessary materials for storing flour in Mylar bags, including Mylar bags, oxygen absorbers, sealing equipment, labels, and storage containers.
- Prepare the flour: Select fresh flour and sift it to remove any lumps or debris. This will ensure a smooth texture and better storage results.
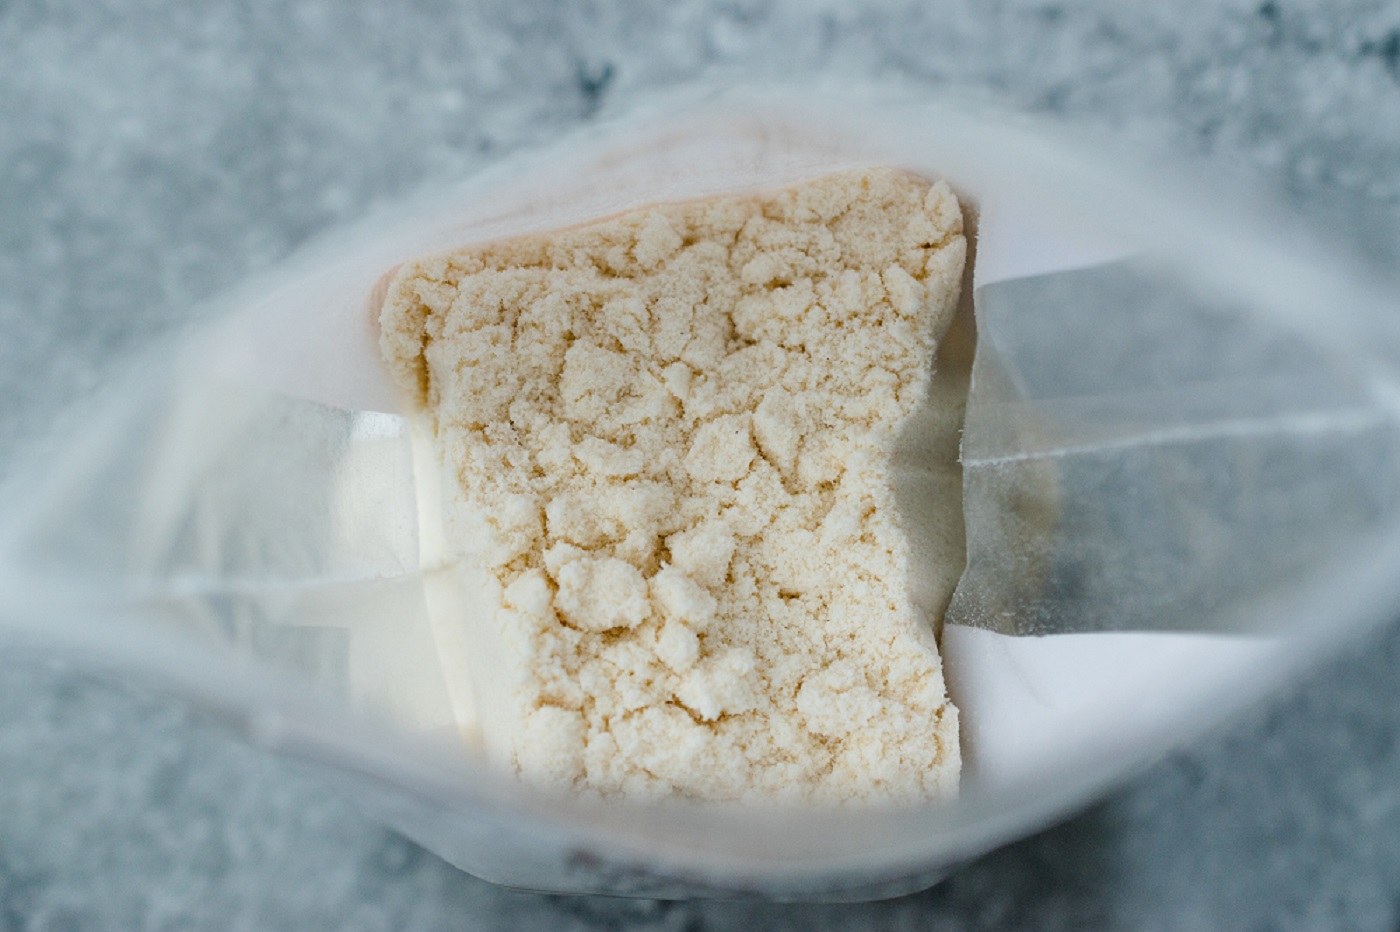
- Fill the Mylar bags: Place the Mylar bags in a clean, dry area. Fill each bag with the desired amount of flour, leaving some headspace for sealing and removing excess air.
- Add the oxygen absorbers: If using oxygen absorbers, add one or two into each Mylar bag, depending on its size. Oxygen absorbers help maintain the freshness and quality of the flour by removing oxygen from the bag.
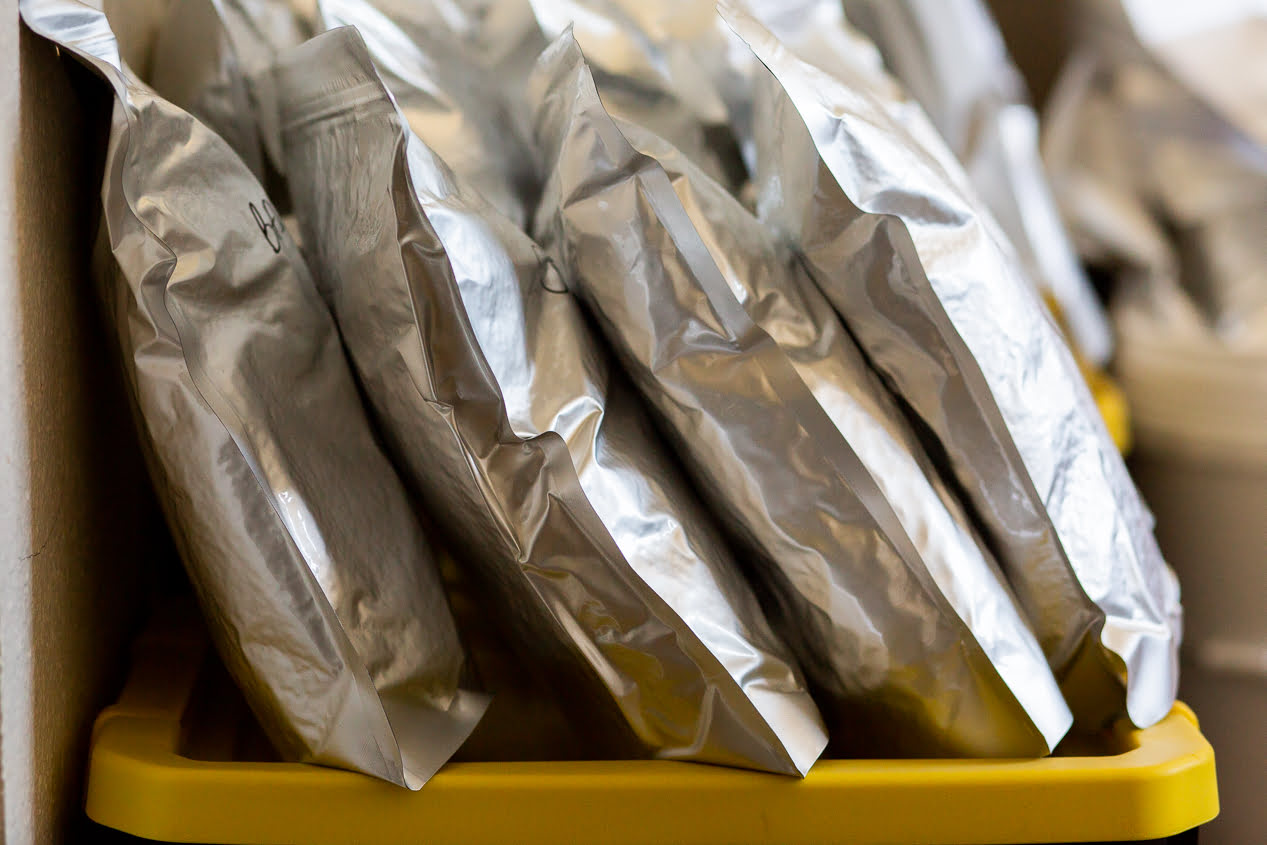
- Seal the bags: Use a heat sealer or an iron to create airtight seals on the Mylar bags. Starting from one end, carefully seal the bag, pressing firmly to ensure a tight seal. Continue until the entire bag is sealed. Be cautious not to puncture the bag during the process.
- Label the bags: Use waterproof labels or a permanent marker to label each Mylar bag with the type of flour and the date of storage. This will help you easily identify the contents and keep track of freshness.
- Place bags in storage containers: If desired, place the sealed Mylar bags in airtight storage containers or bins. This provides an extra layer of protection and helps with organization.
- Store in a cool, dry place: Find a cool, dry location to store your flour. Avoid exposure to heat, humidity, and direct sunlight, as these can negatively affect the quality of the flour.
- Check for freshness: Regularly inspect the Mylar bags for any signs of damage, pests, or moisture. If you notice any issues, remove the affected bag and take appropriate action to prevent further contamination.
- Rotate and use your stored flour: To maintain the freshness of your stored flour, practice the “first in, first out” method. Use the oldest bags of flour first and replenish your stock to ensure a constant supply of fresh flour.
By following these step-by-step instructions, you can effectively store your flour in Mylar bags and enjoy the benefits of extended shelf life and maintained quality. With your flour safely stored, let’s move on to some tips to optimize the storage process.
Read more: How To Store Pasta In Mylar Bags
Tips for Effective Flour Storage in Mylar Bags
Storing flour in Mylar bags is a reliable method for maintaining its freshness and quality. To ensure the best results, consider the following tips:
- Use high-quality Mylar bags: Invest in food-grade Mylar bags with a thickness of 3.5 to 7 mil. These bags provide superior protection against oxygen, moisture, and pests.
- Double-bag for added protection: For extra security, consider double-bagging your flour. Place the sealed Mylar bag inside another Mylar bag before storing it in a container or bin.
- Store in a cool location: Heat can accelerate the spoilage of flour. Store your Mylar bags in a cool area away from direct sunlight or sources of heat, such as the stove or oven.
- Avoid fluctuations in temperature: Rapid temperature changes can cause condensation inside the Mylar bags, leading to spoilage. Try to store your flour in an area with consistent temperature levels.
- Keep away from strong odors: Flour easily absorbs odors, which can affect its taste and quality. Store your Mylar bags away from strong-smelling substances, such as cleaning products or spices.
- Regularly check for pests or damage: Inspect your stored flour periodically for signs of pests or damage, such as holes or tears in the Mylar bags. If you notice any issues, take immediate action to prevent further contamination.
- Rotate your stock: Practice the “first in, first out” method by using the oldest bags of flour first. This ensures that your stored flour remains fresh, and you avoid any potential waste.
- Consider grouping flour types separately: If storing different types of flour, it can be helpful to group them separately in labeled Mylar bags or containers. This helps with organization and ensures that each type of flour maintains its unique flavor and characteristics.
- Keep an inventory log: Maintain a log or spreadsheet that tracks the type of flour, quantity stored, and the date of storage. This allows you to easily monitor your inventory and keep track of expiration dates.
- Periodically replace oxygen absorbers: Oxygen absorbers have a shelf life, so it’s important to periodically replace them. Refer to the manufacturer’s instructions for guidance on the recommended replacement frequency.
By implementing these tips, you can optimize the storage process and ensure that your flour remains fresh and of high quality for an extended period. Now, let’s address some commonly asked questions about storing flour in Mylar bags.
Frequently Asked Questions (FAQs) about Storing Flour in Mylar Bags
Here are answers to some commonly asked questions about storing flour in Mylar bags:
- Can I store different types of flour in the same Mylar bag?
- How long can flour be stored in Mylar bags?
- Should I refrigerate or freeze the Mylar bags of flour?
- Can I reuse Mylar bags after opening them?
- Can I store other dry ingredients in Mylar bags?
- What should I do if I find pests in my stored flour?
- Can I store Mylar bags of flour in the basement?
- Can I store opened bags of flour in Mylar bags?
It’s generally recommended to store different types of flour in separate Mylar bags to prevent cross-contamination and preserve their unique flavors and characteristics.
When stored properly in Mylar bags with oxygen absorbers, flour can last up to 5 years or longer. However, it’s important to regularly check for signs of spoilage and use the oldest bags first using the “first in, first out” method.
It’s generally recommended to store Mylar bags of flour in a cool, dry place away from direct sunlight. Refrigeration or freezing is not necessary and can introduce moisture and condensation, which may adversely affect the quality of the flour.
Once a Mylar bag has been opened, it’s best not to reuse it for long-term storage as it may compromise the airtight seal. Instead, transfer the remaining flour into a new Mylar bag or an airtight container.
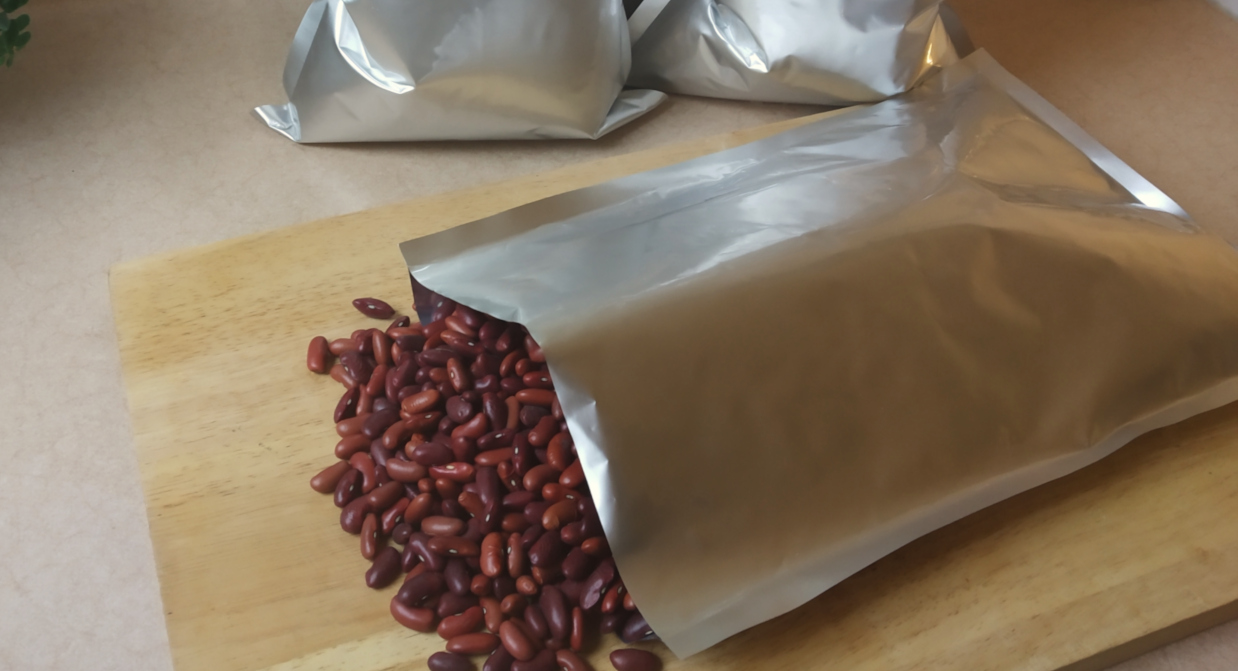
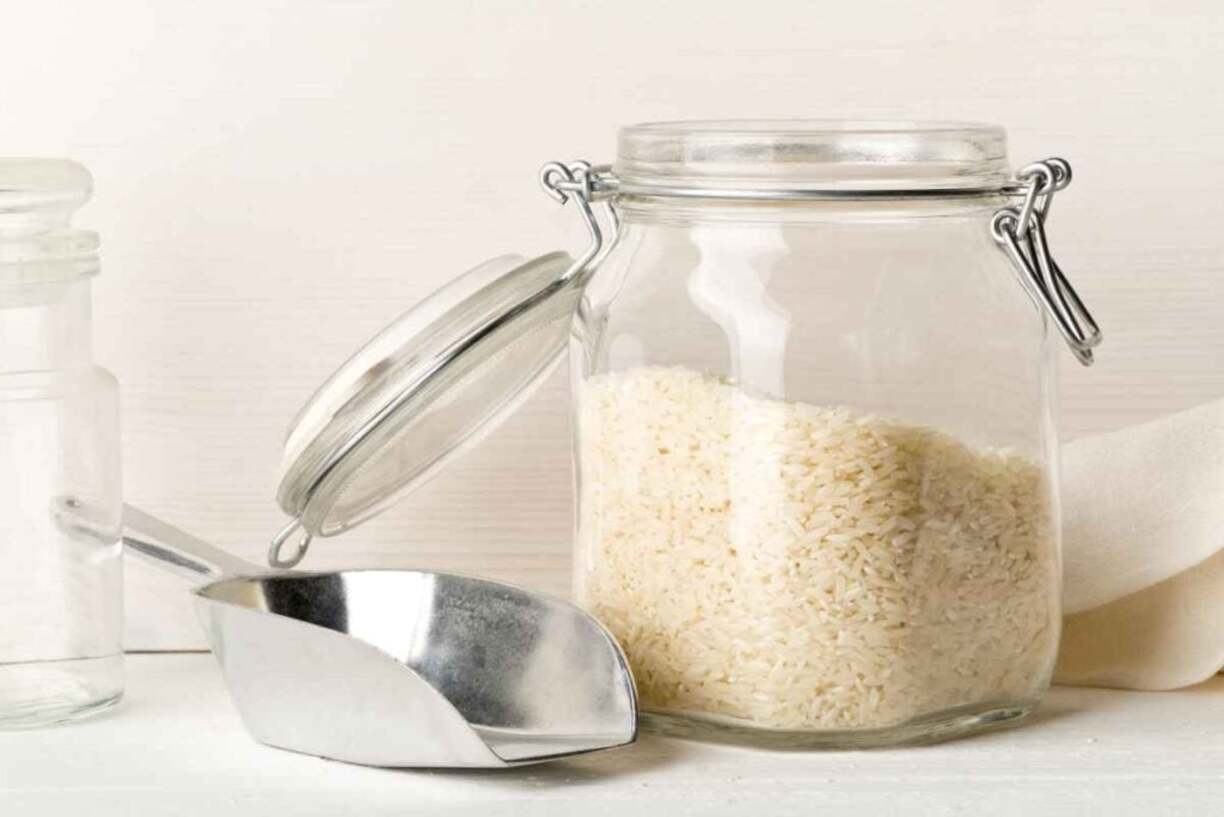
Yes, Mylar bags can be used to store a variety of dry ingredients such as rice, grains, and legumes. Just make sure to label each bag clearly to avoid confusion.
If you discover pests in your stored flour, immediately dispose of the affected bag and inspect the surrounding area for any signs of infestation. Thoroughly clean the storage area with hot, soapy water, and consider using pest control methods to prevent further infestation.
Basements can be prone to fluctuations in temperature and humidity, which may negatively impact the quality of stored flour. If your basement has consistent temperature and humidity levels, and you can ensure protection from pests and moisture, it can be a suitable storage location.
While it’s best to transfer opened bags of flour into Mylar bags for long-term storage, you can keep them in their original packaging if tightly sealed and stored in a cool, dry place. However, for extended storage, it’s recommended to use Mylar bags to ensure the best preservation.
These frequently asked questions cover some of the common concerns and inquiries regarding storing flour in Mylar bags. Now, let’s conclude this guide on storing flour in Mylar bags.
Conclusion
Properly storing flour is essential for maintaining its freshness, flavor, and nutritional value. Mylar bags provide an excellent solution for long-term flour storage, offering airtight protection, moisture resistance, and safeguarding against pests. By following the steps outlined in this guide, you can effectively store your flour in Mylar bags and enjoy extended shelf life.
Remember to select high-quality Mylar bags, use oxygen absorbers to remove oxygen, seal the bags securely, and label them for easy identification. It’s also important to store the Mylar bags in a cool, dry place and periodically inspect them to ensure there are no signs of damage or pests.
By following these guidelines, you can confidently stock up on flour, save money by buying in bulk, and have a convenient and reliable supply for your baking or cooking needs. Whether you are an avid baker, a prepper, or simply want to have a well-stocked pantry, using Mylar bags for flour storage is a practical and effective solution.
Thank you for reading this comprehensive guide on how to store flour in Mylar bags. With these tips and techniques, you can preserve your flour for long periods without compromising its quality. Take care of your stored flour, and enjoy the convenience and peace of mind that comes with having a well-preserved ingredient.
Now that you've mastered storing flour in Mylar bags, why not expand your savvy storage skills further? For those invested in securing provisions for the future, our guide on long term storage offers invaluable insights. Meanwhile, if organizing spaces is your current challenge, our article on pantry organization will help streamline your kitchen's most crucial area. And for enthusiasts keen on maintaining the quality of their baking essentials, our roundup of the best options for flour storage in the upcoming year is a must-read.
Frequently Asked Questions about How To Store Flour In Mylar Bags
Was this page helpful?
At Storables.com, we guarantee accurate and reliable information. Our content, validated by Expert Board Contributors, is crafted following stringent Editorial Policies. We're committed to providing you with well-researched, expert-backed insights for all your informational needs.


0 thoughts on “How To Store Flour In Mylar Bags”