Articles
How To Store Seeds Long Term In Mylar Bags
Modified: August 27, 2024
Learn how to store seeds long term using Mylar bags in this informative article. Find valuable tips and techniques for preserving your seeds for future use.
(Many of the links in this article redirect to a specific reviewed product. Your purchase of these products through affiliate links helps to generate commission for Storables.com, at no extra cost. Learn more)
Introduction
Welcome to this comprehensive guide on how to store seeds long term using Mylar bags. If you are an avid gardener, a prepper, or simply someone who wants to ensure a reliable supply of seeds for future planting, this article is for you.
Seeds are a precious resource, and it’s important to store them properly to maintain their viability over an extended period of time. Using Mylar bags is an excellent way to protect seeds from moisture, light, and other factors that can reduce their germination rates.
In this article, we will explore why storing seeds in Mylar bags is advantageous, the materials and equipment you’ll need, and the step-by-step process of storing seeds long term. By the end, you’ll be equipped with the knowledge you need to properly store seeds for years to come.
So, let’s dive in and learn how to store seeds long term using Mylar bags!
Key Takeaways:
- Storing seeds long term in Mylar bags offers excellent barrier protection, cost-effectiveness, and convenient storage options, ensuring your seeds remain viable for future planting.
- Selecting the right seeds, properly preparing Mylar bags, and maintaining ideal storage conditions are essential for preserving the viability of seeds and ensuring a fruitful gardening experience for years to come.
Why Store Seeds in Mylar Bags
When it comes to long-term seed storage, Mylar bags offer several advantages over other methods. Here are a few reasons why you should consider using Mylar bags:
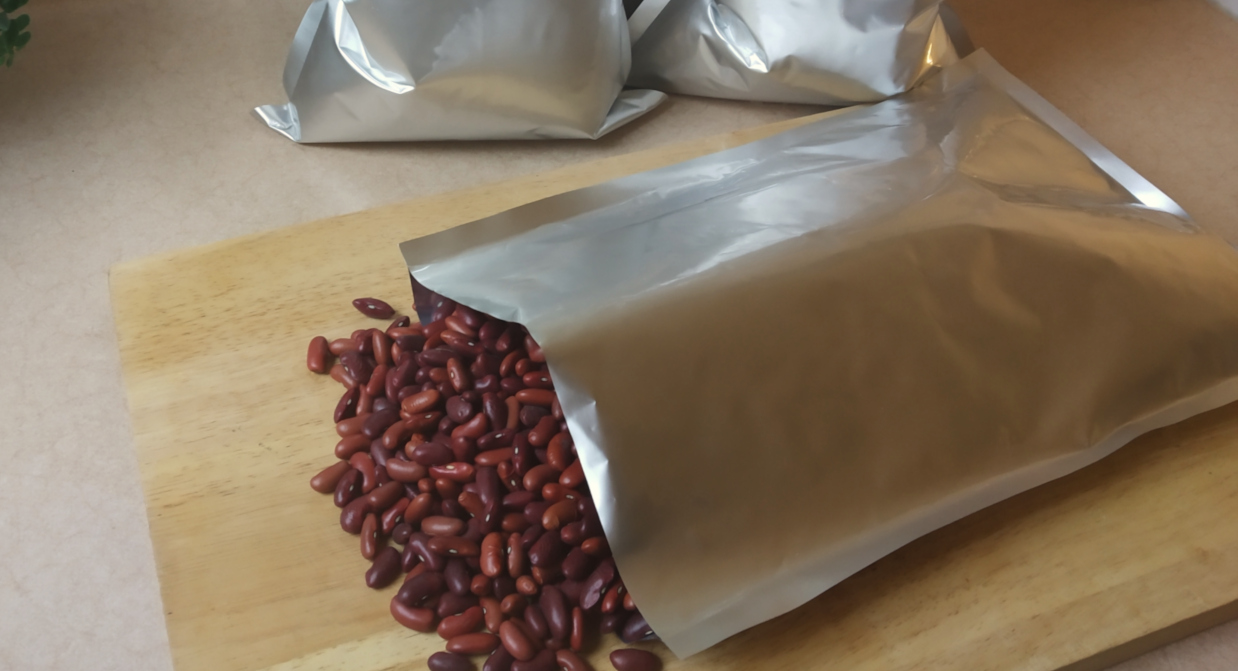
- Mylar Bags Provide Excellent Barrier Protection: Mylar bags are made from a durable material called polyester film, which is both puncture-resistant and moisture-proof. This ensures that your seeds are protected from elements like humidity, light, and oxygen, which can degrade their viability over time.
- Mylar Bags Offer Enhanced Shelf Life: By keeping seeds in Mylar bags, you can extend their shelf life significantly. The barrier protection provided by Mylar bags helps to preserve the seeds’ moisture content and maintain ideal storage conditions. With proper storage, many seeds can remain viable for five years or even longer.
- Mylar Bags are Cost-effective: Compared to other storage methods, Mylar bags are a cost-effective option. They are readily available, affordable, and reusable, making them a practical choice for long-term seed storage.
- Mylar Bags Provide Convenient Storage: Mylar bags come in various sizes, allowing you to store seeds in small or large quantities. They are lightweight, easy to handle, and can be stacked or organized in a compact manner, making them a space-efficient storage solution.
- Mylar Bags Offer Protection Against Pests: Another advantage of using Mylar bags is their ability to act as a barrier against pests. The thick material makes it difficult for insects and rodents to access the seeds, minimizing the risk of infestation and preserving the quality of your stored seeds.
With these benefits in mind, it’s clear why storing seeds in Mylar bags is a popular and effective method for long-term seed preservation. Whether you’re storing seeds for personal use or as part of your emergency preparedness plan, using Mylar bags will ensure that your seeds stay viable and ready for future planting.
In the next section, we will discuss the materials and equipment you will need to store seeds in Mylar bags.
What You Will Need
Before you begin the process of storing seeds in Mylar bags, it’s important to gather all the necessary materials and equipment. Here’s what you’ll need:
- Mylar Bags: You will need Mylar bags specifically designed for food storage. These bags are typically available in various sizes, so choose the ones that are suitable for the amount of seeds you plan to store.
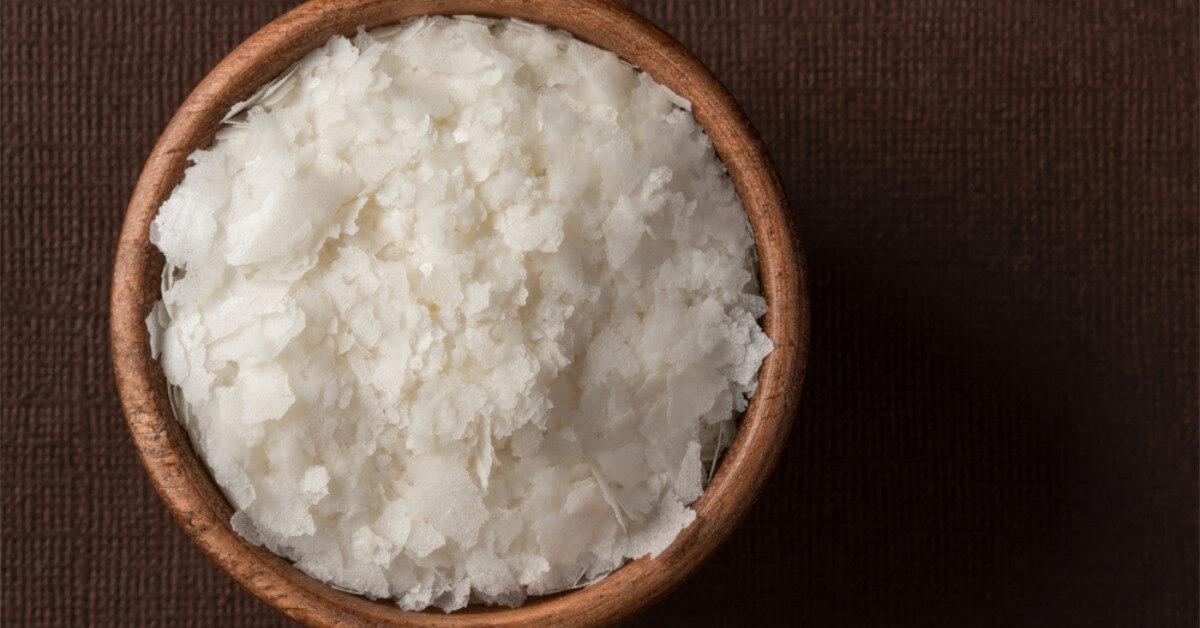
- Oxygen Absorbers: Oxygen absorbers are small packets that help remove oxygen from the sealed Mylar bags. They help create a low-oxygen environment, which further extends the shelf life of the seeds. Be sure to choose oxygen absorbers that are appropriate for the volume of seeds you are storing.
- Sealing Equipment: To seal the Mylar bags, you’ll need a heat-sealing device such as an impulse sealer or a clothes iron. This equipment ensures an airtight seal, keeping out moisture and pests.
- Labels and Permanent Marker: It’s important to label your Mylar bags with the type of seeds and the date of storage. A permanent marker works best for this purpose.
- Cool, Dark, and Dry Storage Area: Find a suitable location for storing your Mylar bags filled with seeds. Ideally, it should be a cool, dark, and dry area with a stable temperature, away from direct sunlight and fluctuations in humidity.
- Optional: Buckets or Airtight Containers: If you prefer extra protection, you can store the sealed Mylar bags inside airtight buckets or containers to provide an added layer of defense against external elements.
With these materials and equipment on hand, you’ll be well-prepared to store your seeds long term in Mylar bags. Now that you have everything ready, let’s move on to the step-by-step process of storing seeds in Mylar bags.
Step 1: Selecting the Right Seeds to Store
When it comes to long-term seed storage, it’s important to choose the right seeds. Here are a few factors to consider:
- Choose Non-Hybrid or Heirloom Seeds: Non-hybrid or heirloom seeds are the best choice for long-term storage. These seeds come from plants that have not been genetically modified and will produce offspring with the same characteristics. They have the highest chance of germination and producing viable plants in the future.
- Consider Seed Viability and Shelf Life: Some seeds have a longer shelf life and remain viable for several years, while others may have a shorter lifespan. Research and choose seeds that have a good record of long-term viability. This ensures that your stored seeds will remain viable for as long as possible.
- Focus on High-Quality Seeds: Select seeds from reputable seed suppliers or collect them from your own garden. High-quality seeds have a better chance of maintaining their viability and producing healthy plants.
- Choose Seeds from Preferred Plants: Prioritize seeds from plants that you enjoy growing or that are essential for your gardening needs. This way, you can ensure that you are storing seeds that you will benefit from in the future.
- Consider Climate and Growing Conditions: Take into account the climate and growing conditions in your area when selecting seeds. Choose seeds that are well-suited for your specific region to increase the chances of successful germination and growth.
Remember, it’s crucial to select seeds that are appropriate for your needs and have a high probability of successful germination in the future. By carefully choosing the right seeds, you’ll set yourself up for a successful long-term storage process.
Now that you’ve selected the seeds you want to store, it’s time to move on to the next step: preparing the Mylar bags.
Step 2: Preparing the Mylar Bags
Before you start filling the Mylar bags with seeds, it’s important to properly prepare them to ensure an airtight seal. Follow these steps to prepare the Mylar bags:
- Clean and Dry: Make sure the Mylar bags are clean and free from any dust or debris. Wipe them down with a clean cloth if necessary. It’s also important to ensure that the bags are completely dry before use to prevent moisture buildup.
- Size and Quantity: Select the appropriate size of Mylar bags for the amount of seeds you plan to store. Keep in mind that you should avoid overfilling the bags, as this can make it difficult to achieve a proper seal.
- Place Oxygen Absorbers: Oxygen absorbers are crucial for maintaining the viability of seeds in long-term storage. Place the appropriate number of oxygen absorbers in each Mylar bag, following the manufacturer’s instructions for usage.
- Arrange the Seeds: Divide the seeds into individual packets, if necessary, and place them inside the Mylar bags. Avoid mixing different types of seeds in the same bag to ensure easy identification and prevent cross-contamination.
- Labels: Label each Mylar bag with the type of seeds and the date of storage. This will help you keep track of the contents and ensure proper rotation if necessary. Use a permanent marker to write the information on the outside of the bag.
Once you have prepared the Mylar bags and filled them with the chosen seeds, you’re ready to move on to the next step: sealing the bags to create airtight storage.
Stay tuned for Step 3: Filling the Bags with Seeds.
Store seeds long term in mylar bags by ensuring they are completely dry before sealing them in the bags. Add a small oxygen absorber to reduce moisture and oxygen levels, then store in a cool, dark place.
Read more: How To Store Mylar Bags
Step 3: Filling the Bags with Seeds
Now that you have prepared the Mylar bags, it’s time to fill them with seeds. Follow these steps to ensure proper filling:
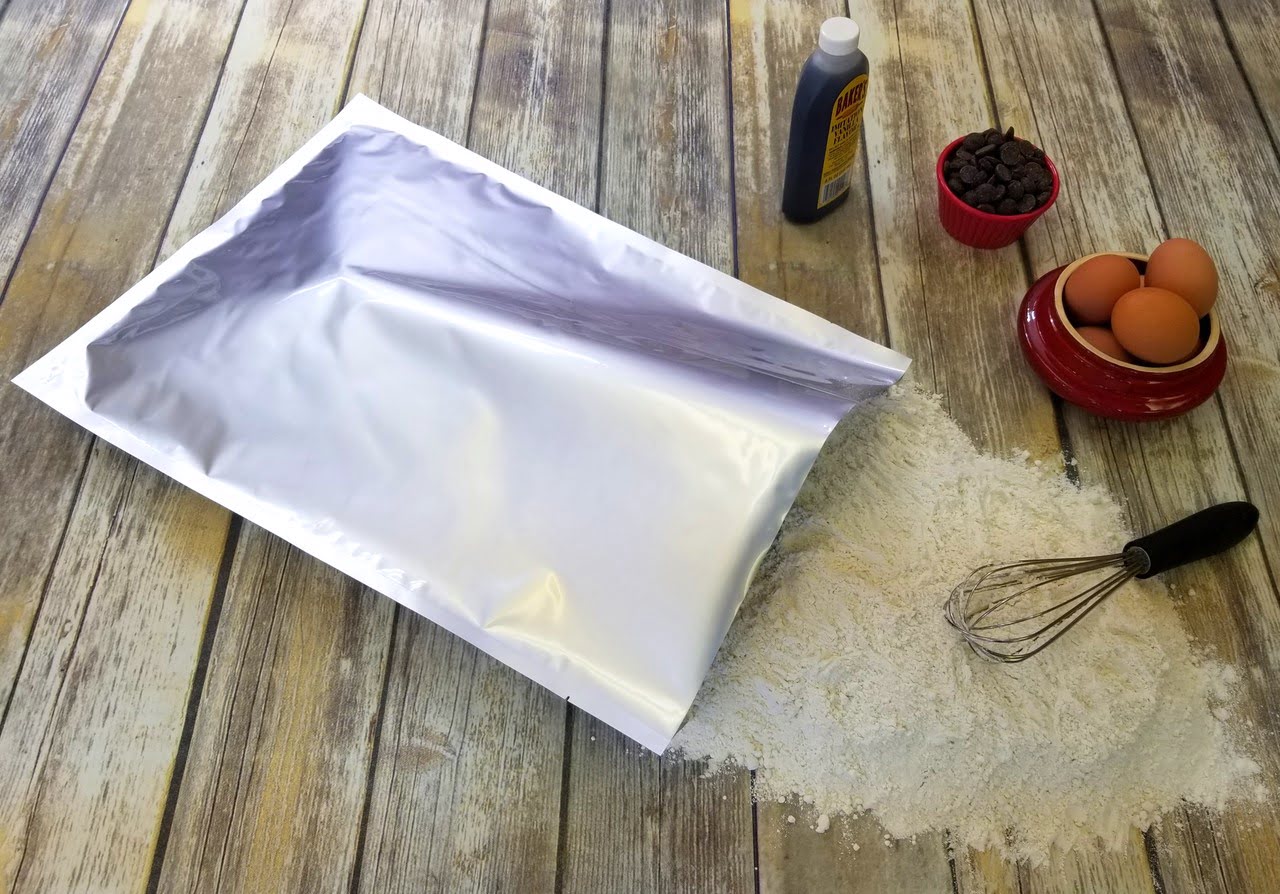
- Open the Mylar Bag: Carefully open the Mylar bag, making sure not to tear or damage it in the process. You can use scissors or tear along the designated opening if available.
- Transfer the Seeds: Take the individual seed packets or containers and pour the seeds into the Mylar bag. Be cautious when transferring the seeds to avoid spillage or mixing different types of seeds.
- Leave Space for Sealing: As you fill the Mylar bag, be sure to leave enough space at the top to create a proper seal. This space is necessary to accommodate the sealing process without compromising the integrity of the bag.
- Remove Excess Air: Before sealing the bag, gently press down on the Mylar bag to remove any excess air. This will help create a tight and compact package.
- Double Check the Labels: Ensure that the Mylar bag is properly labeled with the type of seeds and the date of storage. Double-check for any errors or missing information to avoid confusion in the future.
Take your time to accurately fill the Mylar bags with seeds and make sure they are properly labeled. Proper filling is essential for maintaining the integrity and organization of your seed storage.
Once the bags are filled with seeds, you’re ready to proceed to Step 4: Sealing the Mylar Bags for long-term storage.
Step 4: Sealing the Mylar Bags
Now that you have filled the Mylar bags with seeds, it’s time to seal them to ensure the seeds remain protected and viable in long-term storage. Follow these steps to properly seal the Mylar bags:
- Heat-Sealing Method: If you have an impulse sealer, follow the manufacturer’s instructions to seal the Mylar bags. Place the open end of the bag between the heat bar of the sealer and press down to create a seal. Hold it for a few seconds to allow the heat to melt the Mylar and create a tight seal. Move the sealer along the edge of the bag until the entire top portion is sealed.
- Clothes Iron Method: If you’re using a clothes iron, set it to a low or medium heat setting. Place a cloth or towel on a heat-resistant surface and lay the Mylar bag on top. Fold over the open end of the bag to create a double layer, and then press the heated iron on the folded portion for several seconds to melt and seal the Mylar together. Repeat this process along the entire open edge to create a complete seal.
- Check for a Secure Seal: After sealing each Mylar bag, visually inspect the seal to ensure it is secure and airtight. Run your fingers along the edges to feel for any gaps or areas that may need additional sealing. A proper seal is vital for protecting the seeds from moisture, light, and pests.
- Trim Excess Bag: Once the bags are sealed, you can trim any excess Mylar bag material near the seal to create a neater appearance. Be careful not to cut too close to the seal, as it may compromise the integrity of the seal.
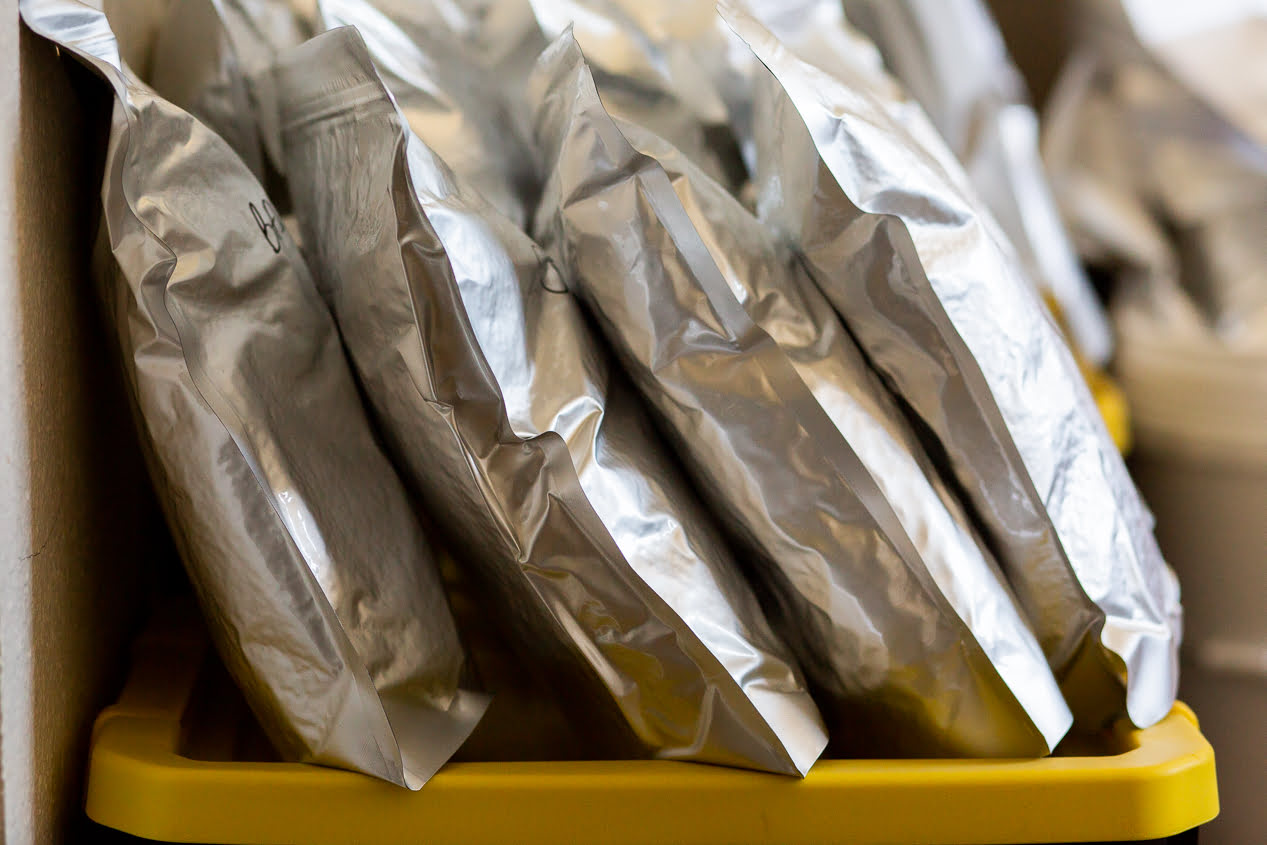
- Store Sealed Bags: Once the Mylar bags are properly sealed, place them in a cool, dark, and dry storage area. Consider using buckets or airtight containers for additional protection if desired. Keep them away from direct sunlight, fluctuations in temperature, and high humidity levels.
By following these steps, you can ensure that your Mylar bags are securely sealed, providing optimal protection for the stored seeds. Sealing is a critical step in the long-term storage process, as it prevents moisture, oxygen, and pests from compromising the viability of the seeds.
In the next step, we’ll discuss how to properly store the sealed Mylar bags for long-term viability of the seeds.
Step 5: Storing the Mylar Bags
Now that you have sealed the Mylar bags containing your precious seeds, it’s time to properly store them for long-term viability. Follow these guidelines to ensure the best conditions for seed storage:
- Cool Temperature: Choose a storage area that maintains a cool temperature, ideally between 32°F (0°C) and 50°F (10°C). Avoid storing the bags in areas that are prone to temperature fluctuations, such as attics or garages.
- Dark Environment: Seeds are sensitive to light, so store the Mylar bags in a dark environment to prevent light exposure. Light can trigger premature germination or deterioration of the seeds, reducing their viability.
- Dry Atmosphere: Humidity can cause moisture to seep into the Mylar bags and potentially damage the seeds. Optimal humidity levels for seed storage range between 30% and 50%. Consider using desiccant packets to absorb excess moisture in the storage area.
- Stable Environment: Maintain a stable environment for your seed storage. Avoid areas that are prone to extreme fluctuations in temperature or humidity, as these can impact the viability of the seeds.
- Organize and Rotate: Keep your stored Mylar bags organized and easily accessible. It’s a good practice to label your storage space, arrange the bags by type of seeds, and rotate them periodically. This helps ensure that older seeds are used first and gives you an opportunity to assess the viability of stored seeds over time.
By following these storage guidelines, you can maintain the ideal conditions for the long-term viability of your stored seeds. Remember to periodically check on the storage area and inspect the Mylar bags for any signs of damage or compromise to the seal.
Now that you have successfully stored the Mylar bags, we’ll move on to the final step: checking on the seeds periodically to ensure their ongoing viability.
Step 6: Checking on the Seeds Periodically
Even though you have stored the Mylar bags properly, it’s important to periodically check on the seeds to ensure their ongoing viability. Here are some steps to follow when checking on your stored seeds:
- Regular Inspection: Set a schedule to inspect the stored Mylar bags at least once or twice a year. This will allow you to monitor the condition of the seeds and identify any potential issues.
- Visual Assessment: Carefully examine each Mylar bag for any signs of damage, such as punctures, tears, or moisture accumulation. If you notice any compromised bags, transfer the seeds to new, properly sealed Mylar bags.
- Germination Test: Perform germination tests on a sample of the stored seeds to assess their viability. Select a small number of seeds from each variety and follow the germination instructions for that particular seed type. Keep track of the results to determine if the stored seeds are still viable.
- Rotate and Use: As you periodically check on the seeds, ensure that you rotate them properly. Use the older seeds first, especially if you have newer batches available. This practice helps maintain a fresh supply of seeds and ensures that none go to waste.
- Record Keeping: Keep a detailed record of the types of seeds, the date of storage, and the results of germination tests. This information will help you track the viability of different seed varieties and make informed decisions about future storage and planting.
By regularly inspecting and testing the stored seeds, you can identify any issues early on and take corrective measures to preserve the viability of your seed stock. This proactive approach ensures that you have a reliable supply of seeds for future planting.
Congratulations! You have successfully completed all the steps necessary to store seeds long term using Mylar bags. By following these guidelines, you can maintain the quality and viability of your seeds, ensuring a fruitful gardening experience for years to come.
Happy gardening!
Read more: How To Store Pasta In Mylar Bags
Conclusion
In conclusion, storing seeds long term in Mylar bags is a practical and effective way to preserve their viability for future planting. By following the step-by-step process outlined in this guide and ensuring proper storage conditions, you can protect your seeds from moisture, light, and pests, ultimately extending their shelf life and maintaining their germination rates.
Mylar bags offer excellent barrier protection, cost-effectiveness, and convenient storage options. They provide a reliable solution for keeping your seeds safe and ready for sowing when the time comes.
Remember to select the right seeds for storage, focusing on non-hybrid or heirloom varieties with a long shelf life. Take the time to properly prepare the Mylar bags, fill them with seeds, and create a secure seal using a heat-sealing device or clothes iron. Store the sealed Mylar bags in a cool, dark, and dry environment, avoiding temperature and humidity fluctuations.
It’s essential to periodically check on the seeds to ensure ongoing viability. Regular inspection, visual assessment, germination tests, and proper record-keeping will help you track the condition of your stored seeds and make informed decisions about their usage.
By following these guidelines and best practices, you can rest assured knowing that you have a reliable supply of seeds for your gardening needs, whether it’s for personal use, sustainability, or emergency preparedness.
Now that you have the knowledge and guidance to store seeds long term using Mylar bags, it’s time to put it into action. Start gathering your seeds, prepare the Mylar bags, and enjoy the peace of mind that comes with having a well-preserved seed collection ready to bloom in the future.
Happy gardening and may your seeds thrive for years to come!
Frequently Asked Questions about How To Store Seeds Long Term In Mylar Bags
Was this page helpful?
At Storables.com, we guarantee accurate and reliable information. Our content, validated by Expert Board Contributors, is crafted following stringent Editorial Policies. We're committed to providing you with well-researched, expert-backed insights for all your informational needs.


0 thoughts on “How To Store Seeds Long Term In Mylar Bags”