Articles
How To Store Flour To Prevent Bugs
Modified: February 23, 2024
Learn how to store flour properly to keep it fresh and prevent bugs from invading your pantry. Get expert tips and useful advice in our informative articles.
(Many of the links in this article redirect to a specific reviewed product. Your purchase of these products through affiliate links helps to generate commission for Storables.com, at no extra cost. Learn more)
Introduction
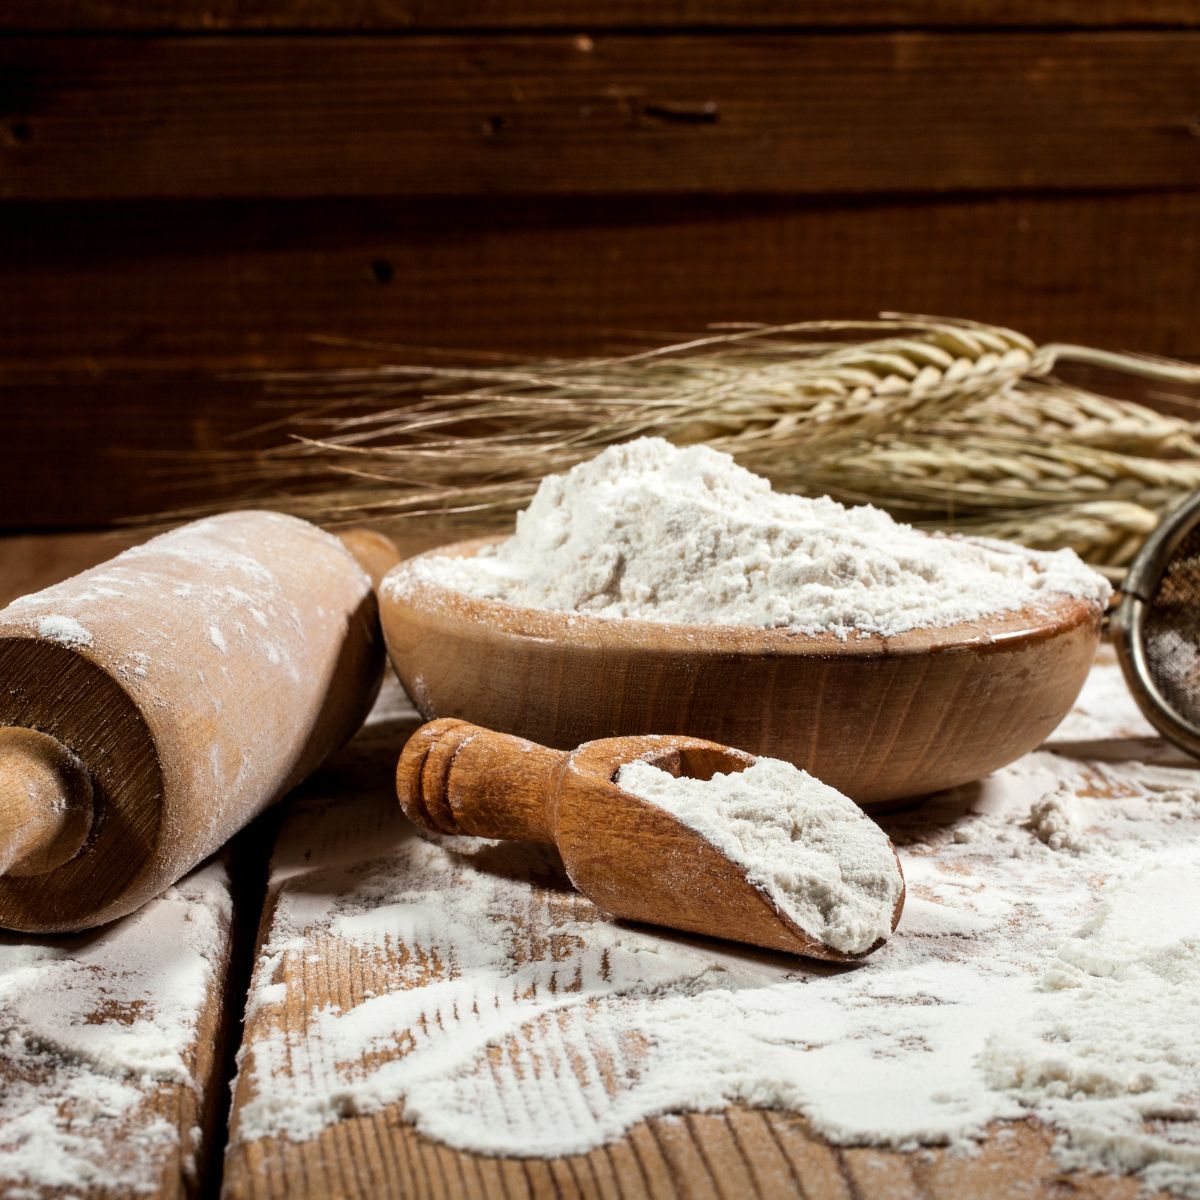
Flour is a staple ingredient in many kitchens, used in a wide range of recipes from baking to cooking. However, one of the challenges that many home cooks face is the pesky problem of flour bugs. These tiny insects, such as weevils and pantry moths, can infest your flour and wreak havoc in your pantry if not properly dealt with.
Discovering bugs in your flour can be quite alarming, but fear not! In this article, we will delve into the world of flour bugs, the importance of proper storage, and provide you with tips on how to store flour correctly to prevent these unwanted visitors from taking up residence in your pantry.
Key Takeaways:
- Properly storing flour is crucial for preventing flour bugs, maintaining freshness, and promoting pantry organization. Follow key steps such as choosing the right container, cleaning it thoroughly, and adding natural pest deterrents to keep your flour bug-free and ready for use.
- Long-term storage of flour requires attention to temperature control, regular inspection, and proper hygiene. Implement a rotation system, avoid excessive exposure to air, and keep flour away from strong odors to ensure its freshness and usability over time.
Read more: How To Store Sugar To Prevent Bugs
Understanding Flour Bugs
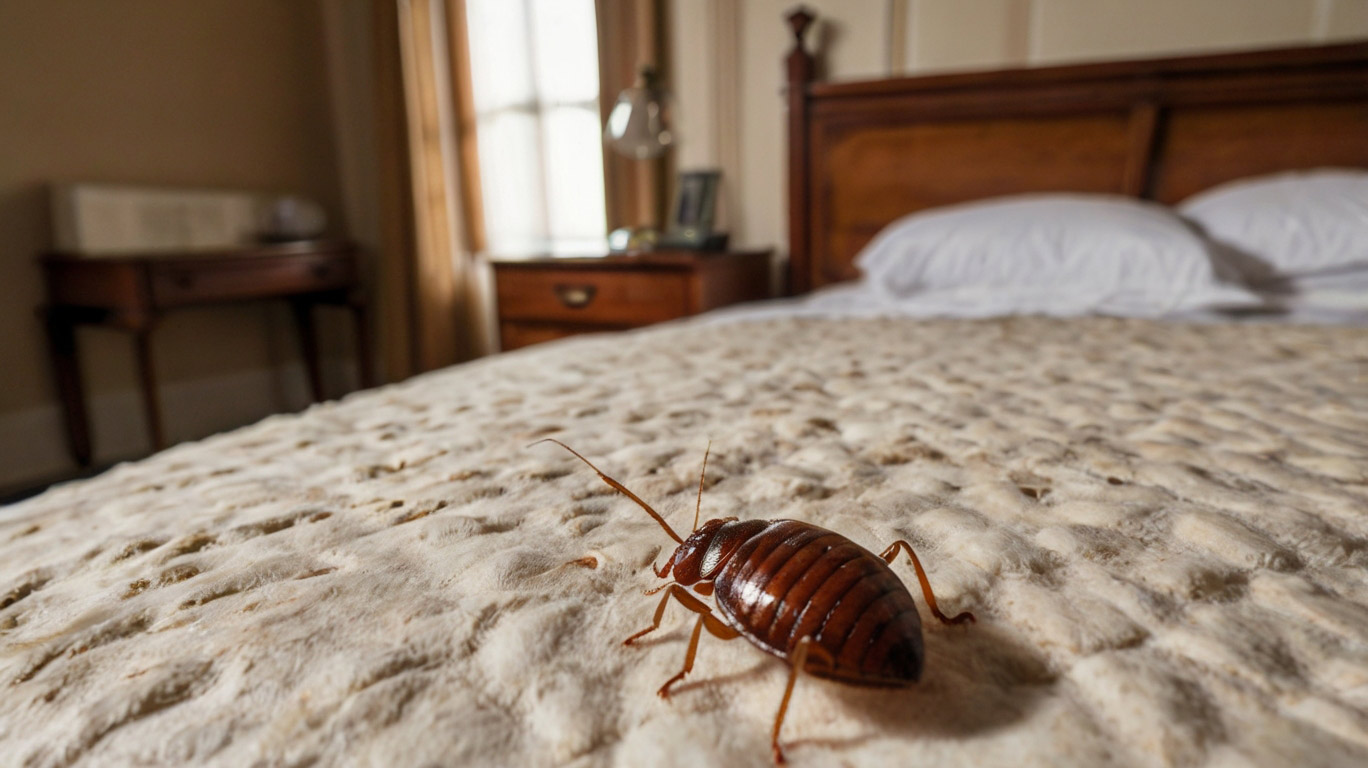
Before we dive into proper storage techniques, it’s essential to understand the culprits behind flour infestations: flour bugs. These tiny pests can find their way into your flour, leaving behind eggs, larvae, and even adult insects.
The most common types of flour bugs are weevils and pantry moths. Weevils are small beetles that are typically brown or black and have a distinct elongated snout. Pantry moths, on the other hand, are small winged insects that resemble small grain moths.
These bugs can find their way into your pantry through contaminated flour or grain products you bring home from the store. Once they infiltrate your pantry, they lay eggs in the flour, and those eggs hatch into larvae, which can further contaminate other food items.
While flour bugs are not harmful to consume, they can make your flour unappetizing and lead to food waste. It’s important to take proactive steps to prevent these bugs from infiltrating your pantry in the first place by properly storing your flour.
Why Proper Storage is Important
Properly storing your flour is essential for several reasons. Firstly, it helps prevent flour bugs from infesting your pantry. By implementing effective storage methods, you can significantly reduce the chances of these pesky insects finding their way into your flour and other food items.
Secondly, proper storage helps maintain the freshness and quality of your flour. Exposure to air, moisture, and heat can deteriorate the quality of flour over time, leading to a stale taste and texture. By storing your flour correctly, you can prolong its shelf life and ensure it remains fresh for longer.
Furthermore, storing your flour properly can help prevent the formation of lumps and clumps. When flour is exposed to moisture, it can become clumpy and difficult to measure accurately. By keeping your flour in ideal storage conditions, you can maintain its powdery consistency, making it easier to work with in recipes.
Lastly, proper storage allows you to organize your pantry more effectively. By using suitable containers and labeling them properly, you can easily access your flour when needed and prevent it from becoming lost or misplaced.
Overall, proper storage is crucial for preventing flour bugs, maintaining freshness, preserving quality, and promoting pantry organization. Now, let’s explore the steps you can take to store your flour correctly and keep those pesky bugs at bay.
How to Store Flour Correctly
When it comes to storing flour, there are several key steps you can take to ensure it remains fresh and free from bugs. Follow these guidelines to store your flour correctly:
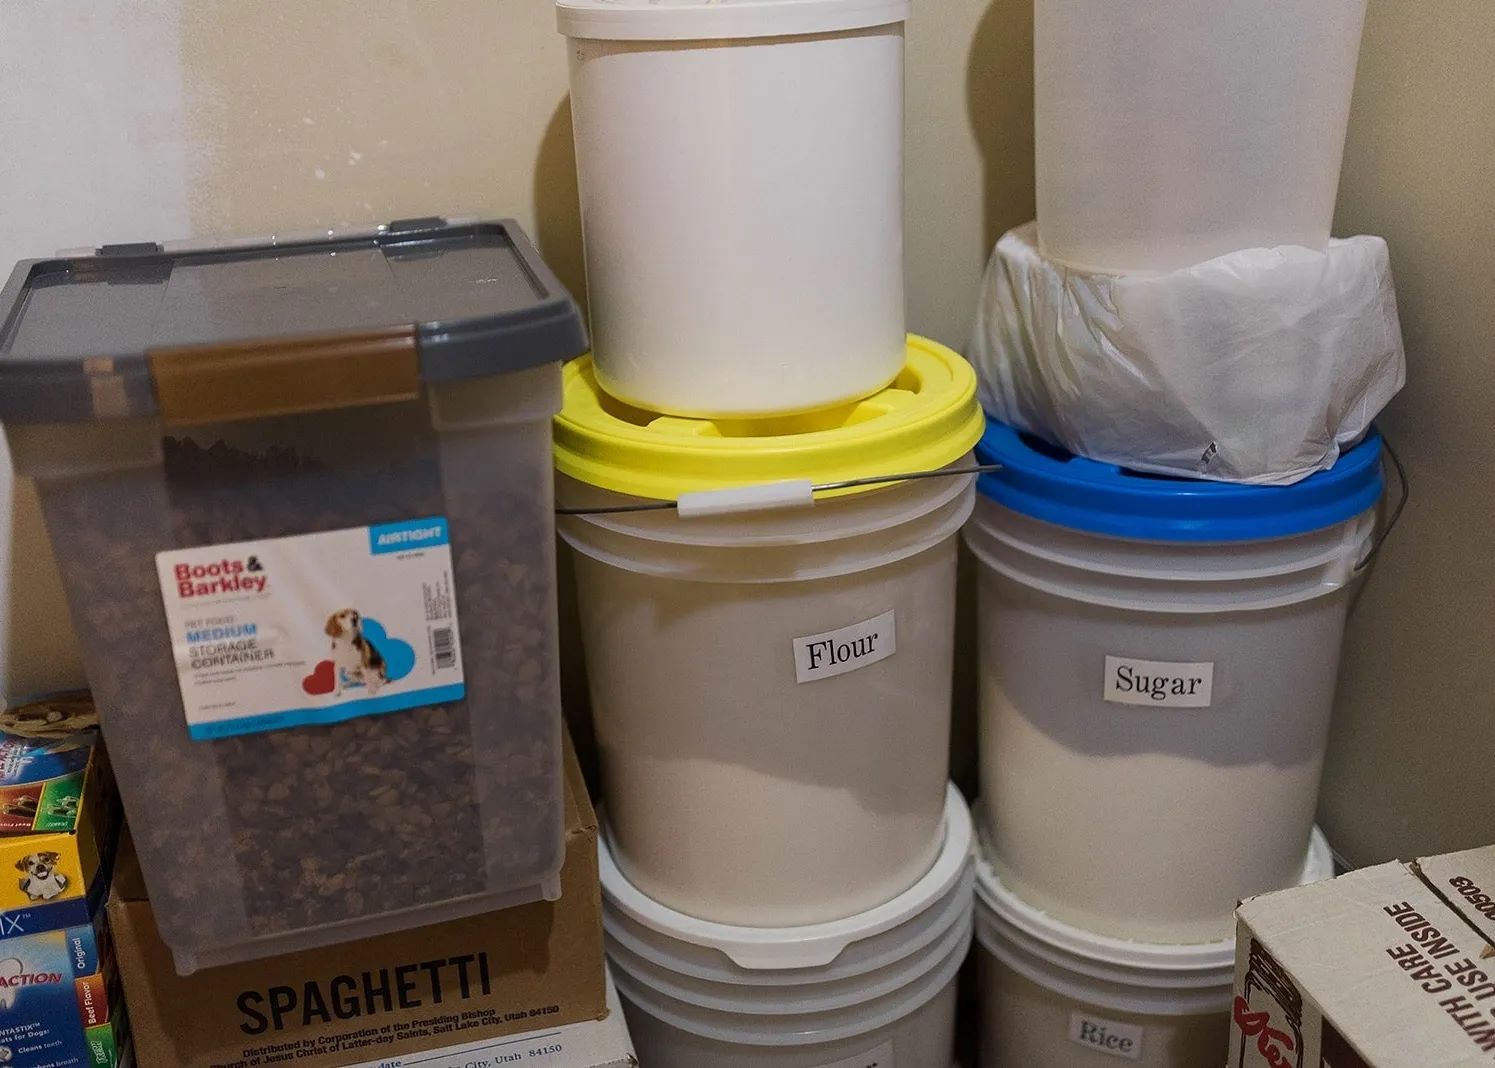
1. Choosing the Right Container
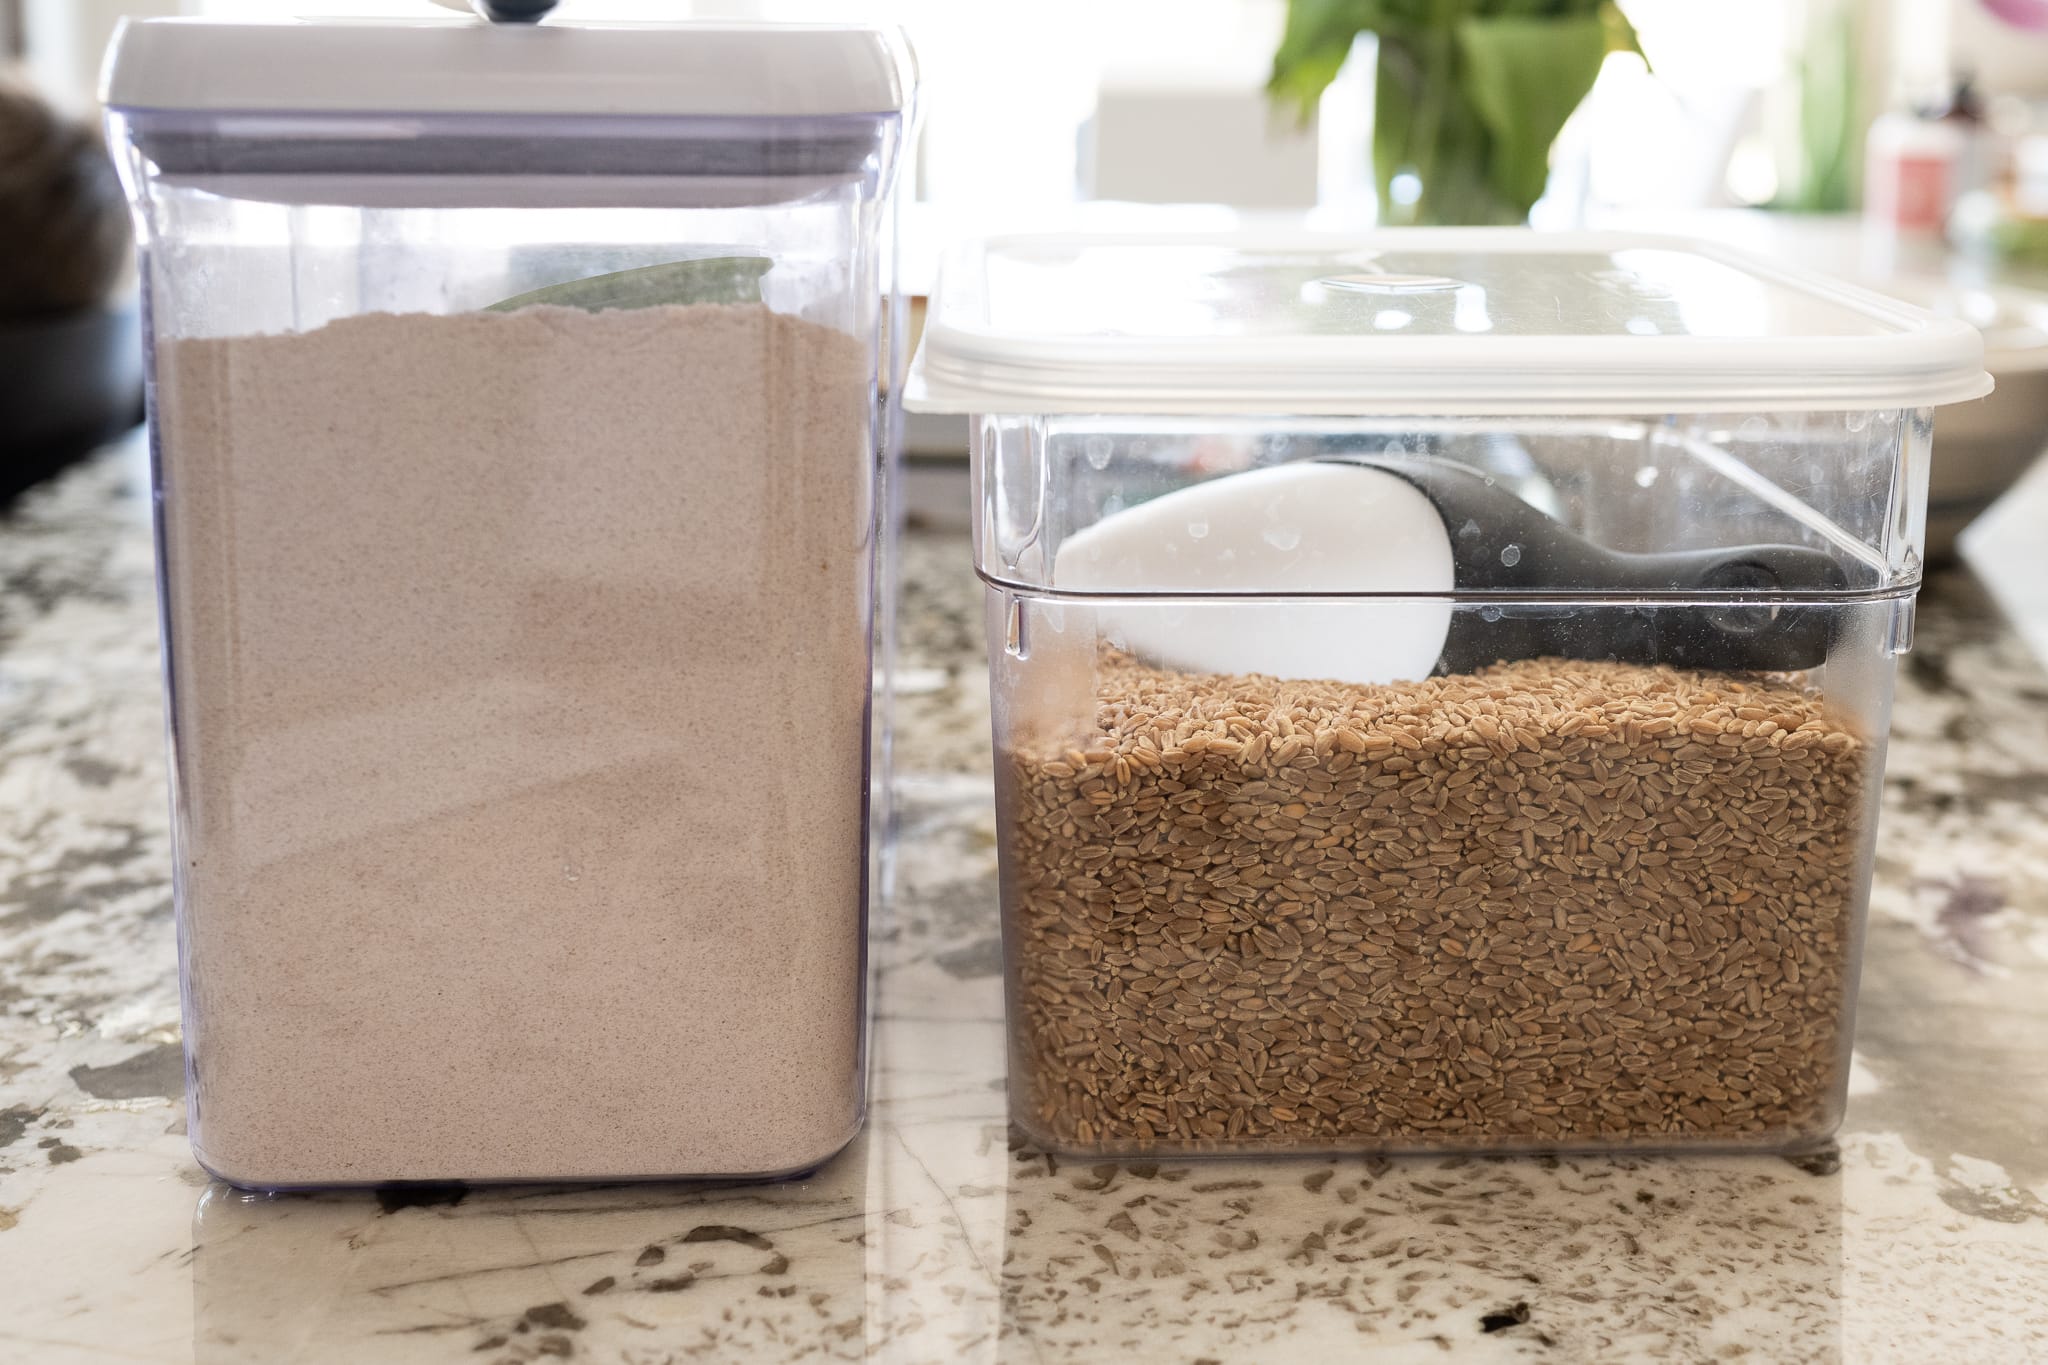
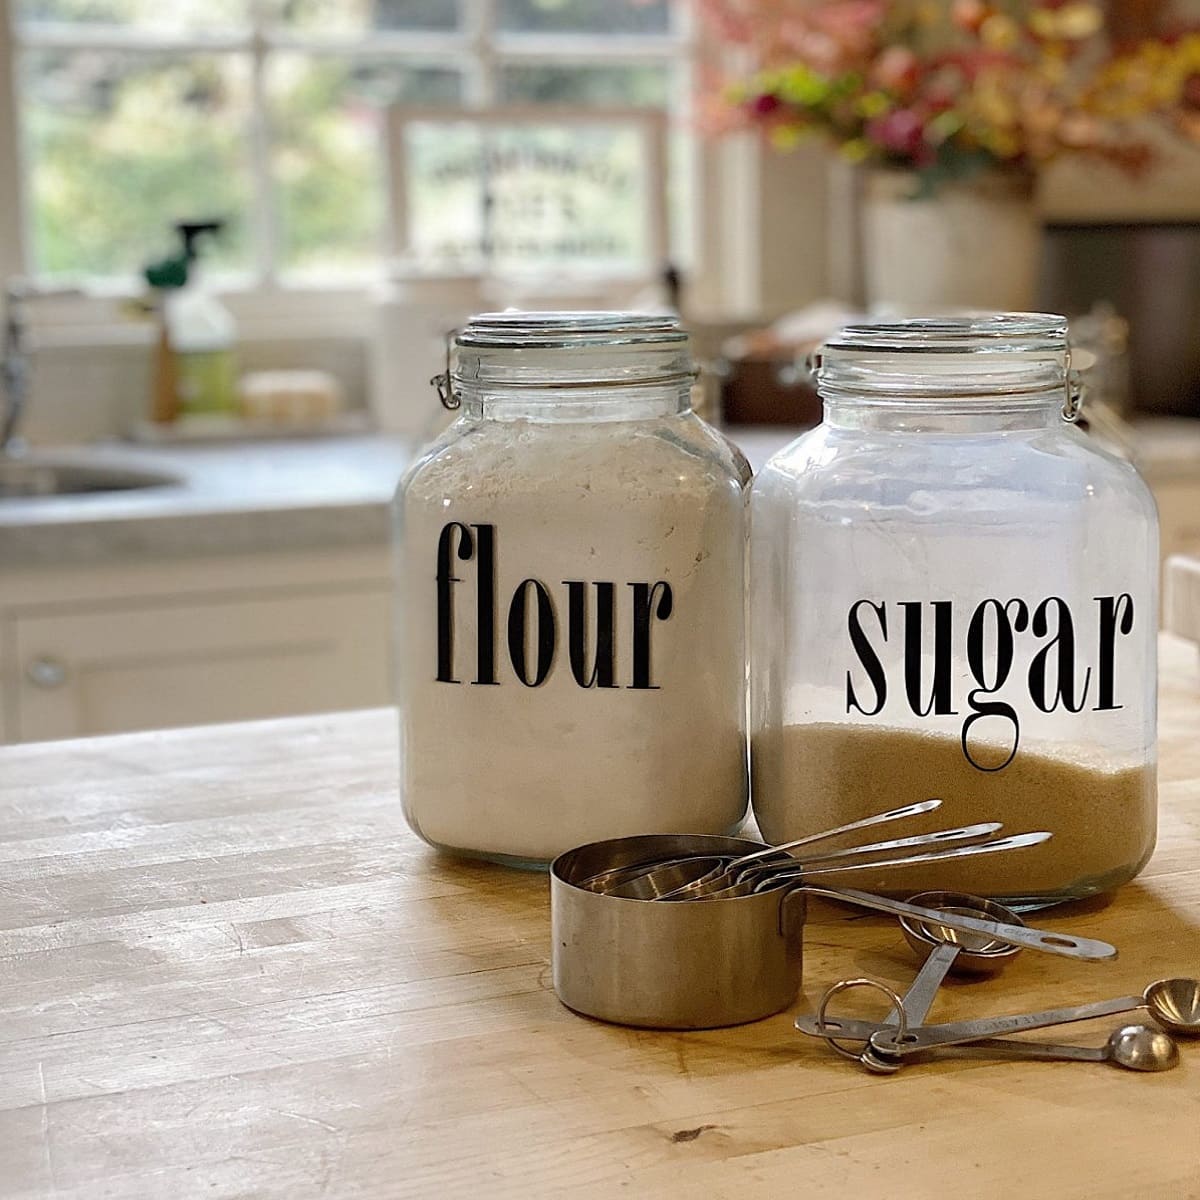
Opt for airtight containers that will keep out moisture and bugs. Glass or plastic containers with tight-fitting lids are ideal for storing flour. Make sure the container is clean and dry before transferring the flour into it.
Read more: How To Prevent Bed Bugs
2. Cleaning the Container
Before transferring your flour into a new container, wash it thoroughly with warm, soapy water to remove any traces of old flour or contaminants. Allow the container to dry completely before filling it with fresh flour.
3. Freezing or Refrigerating Flour
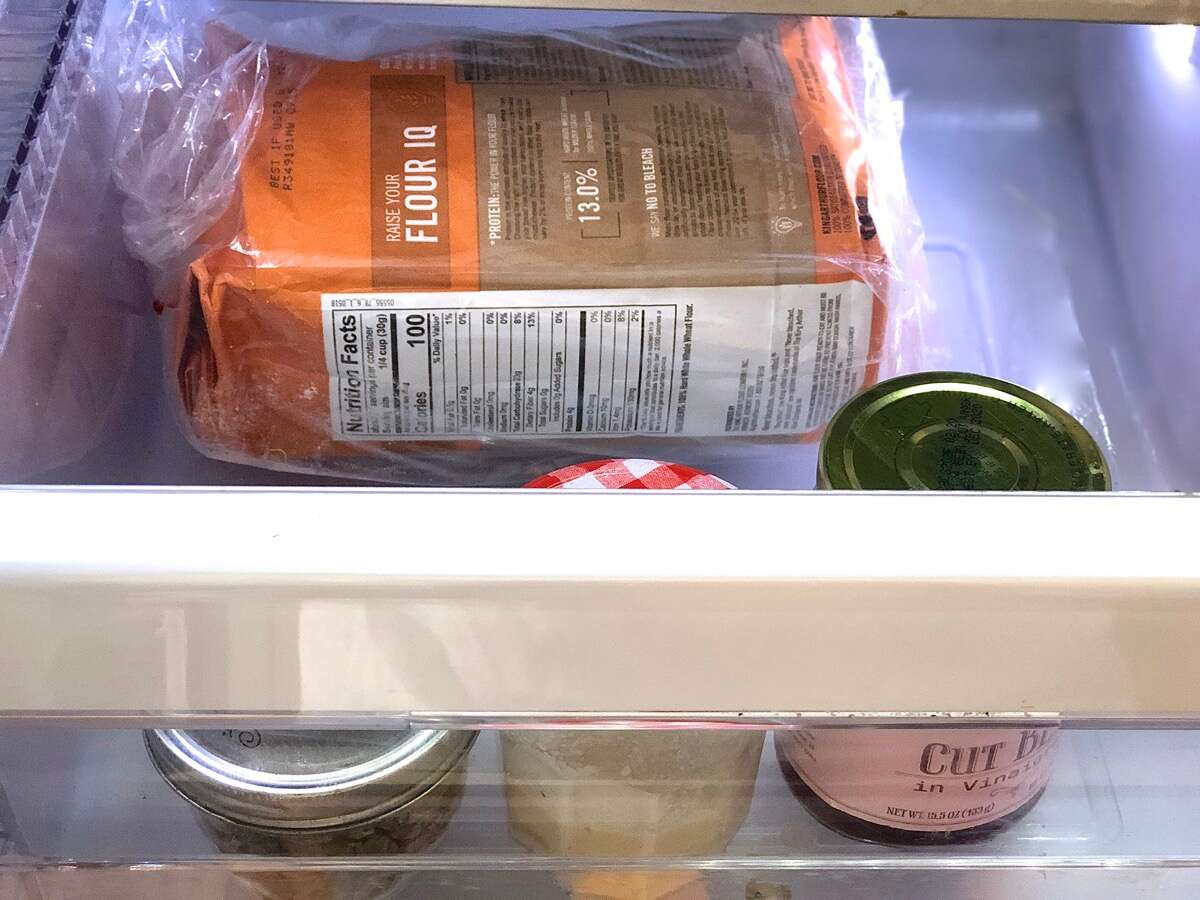
If you live in a warm and humid climate, consider storing your flour in the freezer or refrigerator. This helps extend its shelf life and keeps bugs at bay. Place the flour in an airtight freezer bag or container and label it to prevent any mix-ups.
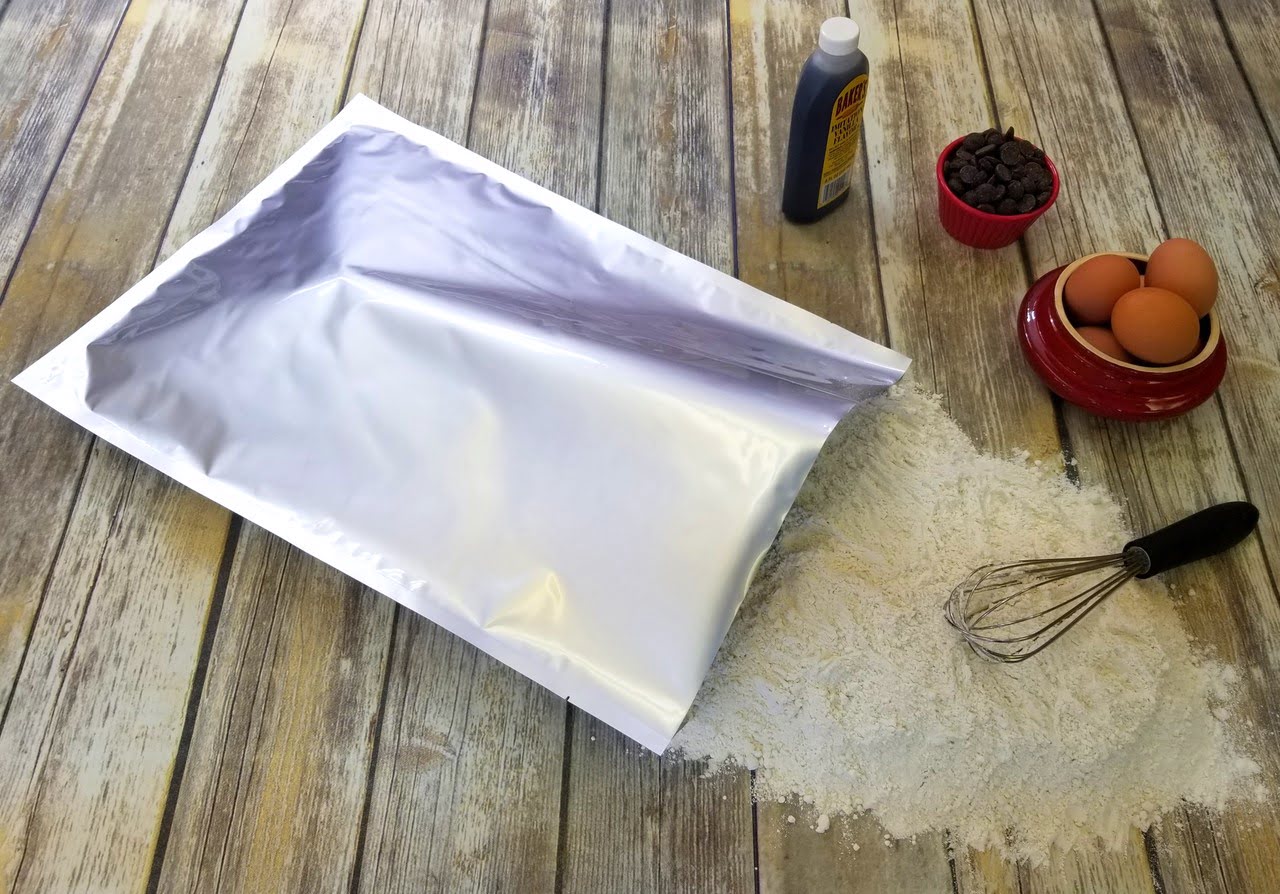
4. Using Airtight Sealed Bags
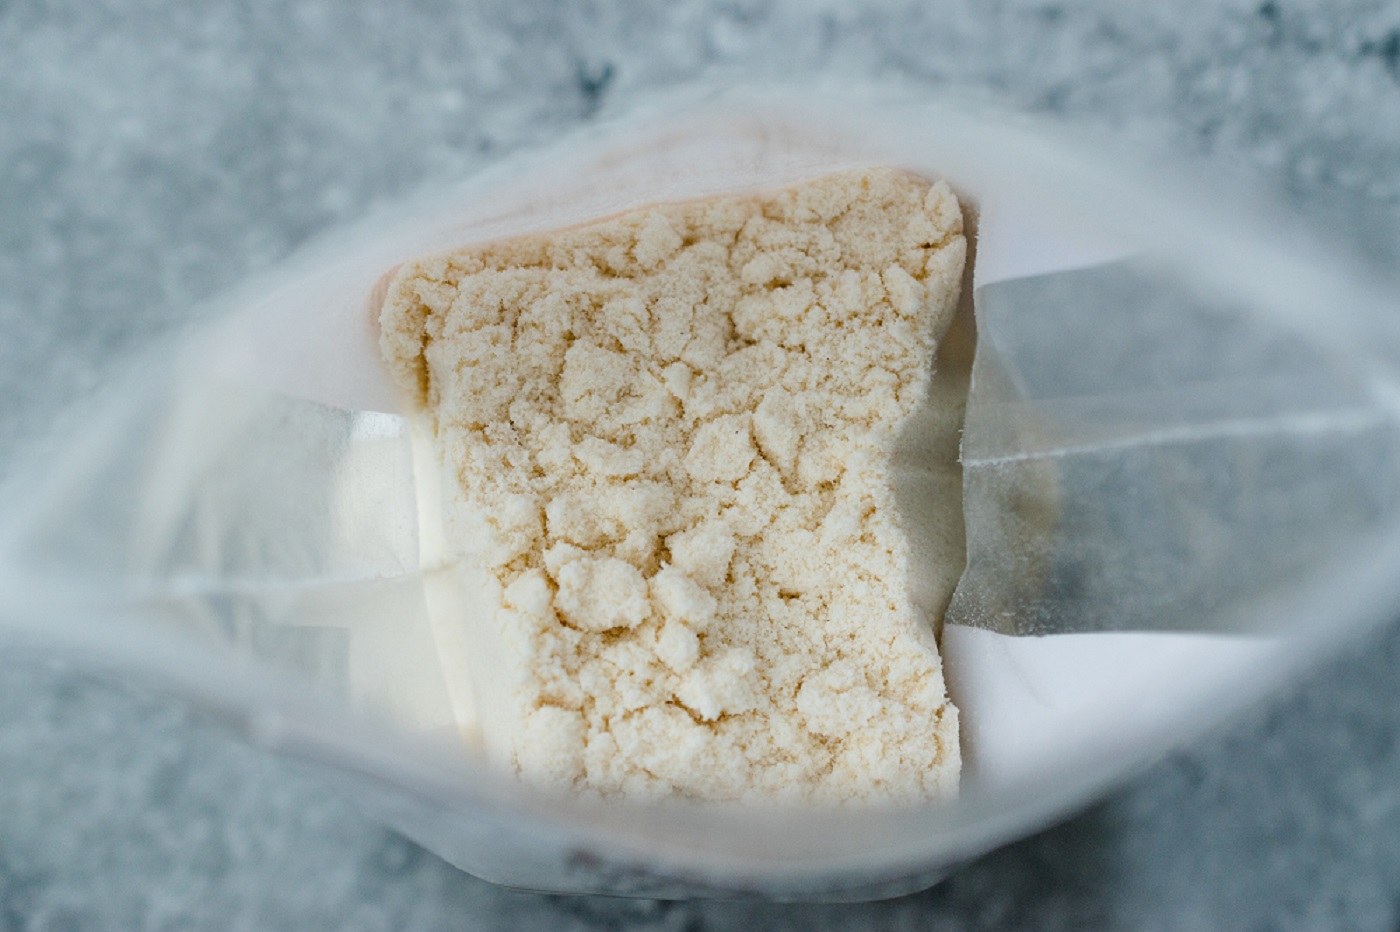
If you prefer to keep your flour in its original packaging, ensure the bag is tightly sealed. Consider double-bagging it to provide an extra layer of protection against bugs and moisture. You can also place the bag in an airtight container for added insurance.
5. Adding Natural Pest Deterrents
There are several natural ingredients you can add to your flour or store nearby to deter bugs. Some effective options include bay leaves, cloves, or a few grains of uncooked rice. These natural repellents can help prevent bugs from infesting your flour.
By following these steps, you’ll be well on your way to storing your flour correctly and preventing the intrusion of bugs. However, it’s also important to keep in mind a few additional tips for long-term storage.
Read more: How To Store Almond Flour
Choosing the Right Container
When it comes to storing flour, selecting the appropriate container plays a crucial role in preventing moisture, air, and bugs from infiltrating your supply. Here are some tips for choosing the right container:
- Airtight Containers: Opt for containers that offer a tight seal to keep your flour protected. Glass or plastic containers with secure lids are excellent options.
- Opaque Containers: Choose containers that are opaque or made of materials that block out light. Direct exposure to sunlight can degrade the quality of flour over time.
- Size: Select a container that can comfortably accommodate the amount of flour you typically use. Consider the quantity you buy and use it as a guide to determine the appropriate size.
- Stackable: If space is a concern in your pantry, opt for stackable containers. This will allow you to maximize storage space without compromising on organization.
- Easy to Clean: Look for containers that are easy to clean and maintain. Flour can leave residues, so finding a container that can be thoroughly washed and dried is important for long-term use.
Remember, it’s essential to ensure the container you choose is clean and dry before transferring your flour into it. Residual moisture or contaminants can attract bugs and lead to spoilage.
Additionally, consider labeling your containers to avoid any confusion. Clearly mark them with the type of flour and the date of purchase to stay organized and ensure you use the oldest flour first.
By selecting the right container for storing your flour, you are taking a critical step towards preserving its freshness and protecting it from bugs and other contaminants.
Cleaning the Container
Before transferring your flour to a new container, it’s important to clean the container thoroughly to remove any residue or contaminants that could affect the quality and freshness of the flour. Follow these steps for cleaning your container:
- Empty the Container: Start by emptying the container of any leftover flour or other contents. Discard any old flour to ensure you have a clean slate.
- Wash with Warm, Soapy Water: Fill a sink or basin with warm water and add a small amount of dish soap. Submerge the container in the water and use a sponge or dishcloth to scrub the inside and outside surfaces.
- Pay Attention to the Lid: Don’t forget to clean the lid or any other removable parts of the container. These areas can harbor bacteria or odors that could transfer to the flour.
- Rinse Thoroughly: After scrubbing the container, rinse it thoroughly with warm water to remove any soap residue. Ensure that all soap is rinsed off, as it can affect the taste and quality of the flour.
- Dry Completely: Allow the container to air dry completely before transferring the flour. Moisture can create an environment where mold or bacteria can grow, so it’s crucial for the container to be completely dry.
It’s worth noting that some containers may have specific cleaning instructions, so be sure to follow any guidelines provided by the manufacturer. Additionally, avoid using harsh chemicals or abrasive cleaners that could leave behind residues or damage the container.
By cleaning the container before storing your flour, you’re removing any potential contaminants that could compromise the quality and safety of the flour. This step is crucial for maintaining freshness and preventing the intrusion of bugs or other pests.
Freezing or Refrigerating Flour
If you live in a warm and humid climate or want to extend the shelf life of your flour, consider storing it in the freezer or refrigerator. The cold temperatures can help preserve the freshness and prevent spoilage. Here’s how to properly freeze or refrigerate your flour:
Freezing Flour:
- Choose Fresh Flour: Use flour that is fresh and free from any bugs or contaminants.
- Transfer to a Freezer Bag: Place the flour in a sturdy, airtight freezer bag, ensuring all excess air is removed before sealing the bag. Alternatively, you can use a freezer-safe container.
- Label and Date: Clearly label the bag or container with the type of flour and the date of freezing.
- Store in the Freezer: Place the bag or container in the freezer, ensuring it is stored away from strong-smelling foods to avoid flavor absorption.
- Thawing Before Use: When you’re ready to use the flour, transfer it to the refrigerator and allow it to thaw slowly. This will prevent moisture buildup that can affect the quality of the flour.
Refrigerating Flour:
- Use an airtight Container: Transfer the flour to an airtight container to prevent any absorption of moisture or odors from other items in the refrigerator.
- Label and Date: Label the container with the type of flour and the date of refrigeration.
- Temperature Control: Keep the flour in the coldest part of the refrigerator, away from items that emit moisture, such as fruits and vegetables.
- Use within a Reasonable Timeframe: Refrigerated flour will last longer than flour stored at room temperature, but it is still best to use it within a few months for optimal freshness.
It’s important to note that freezing or refrigerating flour can cause changes in the texture and consistency. For this reason, it’s advisable to only freeze or refrigerate the amount of flour you anticipate using within a reasonable timeframe.
By utilizing the freezer or refrigerator, you can extend the shelf life of your flour and help prevent the intrusion of bugs and moisture, ensuring your flour remains fresh for longer.
Using Airtight Sealed Bags
Using airtight sealed bags is another effective method for storing flour and keeping it fresh and bug-free. These bags create a barrier against moisture, air, and pests, ensuring the quality of your flour remains intact. Here’s how to properly use airtight sealed bags:
- Choose High-Quality Bags: Opt for thick, durable bags that are specifically designed for food storage. Look for bags that are made of materials that are resistant to tearing and can provide a strong seal.
- Ensure the Bags are Clean and Dry: Before transferring your flour into the bags, make sure they are clean and dry to avoid any moisture or residue that can affect the quality of the flour. Consider using new, unused bags for optimal freshness.
- Portion the Flour: If you buy flour in bulk, it’s a good idea to divide it into smaller portions before packaging it in the sealed bags. This allows you to only open and use what you need, keeping the remaining flour sealed and protected.
- Remove Excess Air: After filling the bags with flour, squeeze out as much air as possible before sealing them. This helps create a vacuum-like seal, preventing moisture and pests from entering.
- Seal Properly: Use the sealing mechanism provided by the bags, such as self-sealing strips or zip locks, to ensure a tight and secure closure. Double-check that the seal is firmly in place to maintain the integrity of the bag.
- Label and Date: It’s essential to label the bags with the type of flour and the date of packaging. This helps you keep track of the freshness and allows you to use the oldest flour first.
Using airtight sealed bags is a convenient and practical option for storing flour, especially if you want to maximize shelf life and protect against bugs and moisture. These bags provide an extra layer of protection, preserving the quality and freshness of your flour.
Remember to store the sealed bags in a cool, dry place, away from direct light and strong odors. Proper storage conditions combined with the airtight sealed bags will help ensure your flour remains fresh and ready for use.
Store flour in airtight containers to prevent bugs. Consider using glass or plastic containers with tight-fitting lids to keep out moisture and pests.
Read more: How To Store Oat Flour
Adding Natural Pest Deterrents
In addition to proper storage techniques, you can further protect your flour from bugs by incorporating natural pest deterrents. These simple and safe ingredients can help repel pests and keep your flour bug-free. Here are some natural pest deterrents to consider:
- Bay Leaves: Place a few bay leaves in your flour container or bag. The strong aroma of bay leaves is known to deter bugs and keep them away from your flour.
- Cloves: Similar to bay leaves, cloves have an intense and pungent scent that repels bugs. Add a few whole cloves to your flour storage container, or tie them in a small muslin cloth and place it alongside the flour.
- Uncooked Rice: A handful of uncooked rice grains added to your flour can help absorb any excess moisture and discourage bugs from infesting your supply.
- Hermetic Sealing: Consider using vacuum-sealed bags or containers to create an airtight seal around your flour. This prevents bugs from accessing the flour and eliminates their food source.
When using natural pest deterrents, it’s important to remember a few key points:
Replace the Ingredients: Over time, the potency of natural pest deterrents may diminish. Replace the bay leaves, cloves, or rice periodically to ensure their effectiveness.
Inspect Regularly: Despite taking preventative measures, it’s essential to inspect your flour periodically for any signs of infestation. Look for insects, webbing, or clumps that may indicate the presence of bugs.
Keep a Clean Pantry: Maintaining a clean and tidy pantry is crucial for preventing bug infestations. Regularly clean and vacuum your pantry shelves to remove any food particles or spills that could attract pests.
By adding these natural pest deterrents to your flour storage, you can provide an extra layer of protection against bugs and ensure the long-term freshness of your flour.
Tips for Long-Term Storage
When it comes to storing flour for the long term, there are a few additional tips and considerations to keep in mind. These tips will help you maintain the quality and freshness of your flour over an extended period. Here are some key tips for long-term storage:
- Temperature Control: Store your flour in a cool, dry place away from any sources of heat or humidity. Fluctuations in temperature can lead to moisture buildup or spoilage, so a stable environment is essential for long-term storage.
- Rotation System: To ensure you use your flour before it expires, implement a rotation system. Use the oldest flour first, and when you buy a new batch, place it at the back of your storage area. This way, you prevent any flour from sitting around for too long.
- Regular Inspection: Check your stored flour periodically for any signs of bugs or spoilage. Look out for clumps, strange odors, or unusual discoloration, as these may indicate that the flour has gone bad.
- Avoid Excessive Exposure: Minimize the exposure of your stored flour to air as much as possible. Each time you open the container, ensure you seal it tightly afterward to prevent moisture absorption or pest infiltration.
- Keep Away from Strong Odors: Flour has the tendency to absorb strong odors from its surroundings. Avoid storing it near spices, strong-scented cleaning products, or other pungent food items that could affect its flavor.
- Proper Hygiene: Practice good hygiene when handling your flour and working in your pantry. Wash your hands before touching the flour or handling storage containers to prevent any cross-contamination.
By implementing these tips, you can ensure that your flour remains fresh and usable for an extended period. Long-term storage requires a bit of attention and maintenance, but the effort is well worth it in the end to have a fresh supply of flour whenever you need it.
Conclusion
Properly storing your flour is essential for maintaining its freshness and preventing pesky flour bugs from wreaking havoc in your pantry. By following the tips outlined in this article, you can ensure that your flour remains bug-free and ready to use for all your baking and cooking needs.
Understanding the nature of flour bugs and their potential impact on your pantry is the first step. These tiny insects can find their way into your flour through contaminated sources, leading to infestation and spoilage. Taking proactive measures to prevent them from entering your flour supply is key.
Choosing the right container, cleaning it thoroughly, and adding natural pest deterrents are all important steps in proper flour storage. Using airtight sealed bags and considering freezing or refrigeration can also help extend the shelf life of your flour and protect it from moisture and pests.
Remember to implement a rotation system, regularly inspect your stored flour, and maintain a clean pantry environment. These practices will ensure that your flour remains fresh and usable for the long term.
By following these guidelines and being vigilant in your storage techniques, you can enjoy bug-free flour and confidently create delicious recipes in your kitchen without any unwelcome surprises.
So, take the necessary steps to store your flour correctly, keep those pesky bugs at bay, and enjoy the convenience and satisfaction of having fresh, high-quality flour at your fingertips whenever you need it.
Frequently Asked Questions about How To Store Flour To Prevent Bugs
Was this page helpful?
At Storables.com, we guarantee accurate and reliable information. Our content, validated by Expert Board Contributors, is crafted following stringent Editorial Policies. We're committed to providing you with well-researched, expert-backed insights for all your informational needs.


0 thoughts on “How To Store Flour To Prevent Bugs”