Articles
How To Store Potato Flakes In Mylar Bags
Modified: August 27, 2024
Discover the best method for storing potato flakes in Mylar bags with these informative articles. Ensure long-lasting freshness for your favorite food staple.
(Many of the links in this article redirect to a specific reviewed product. Your purchase of these products through affiliate links helps to generate commission for Storables.com, at no extra cost. Learn more)
Introduction
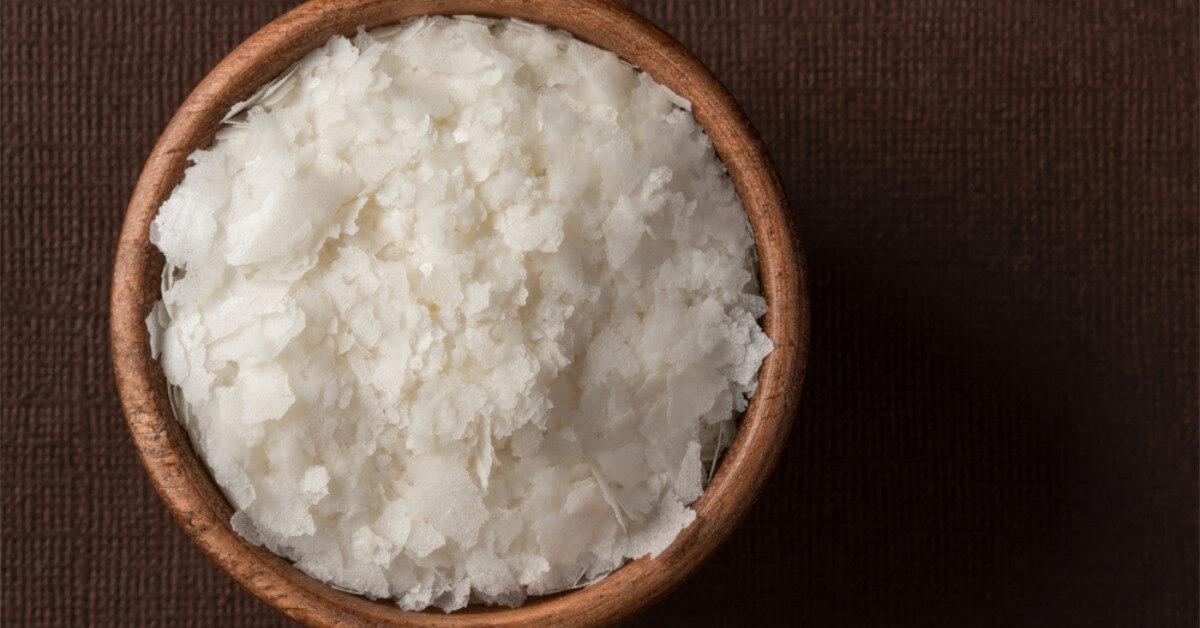
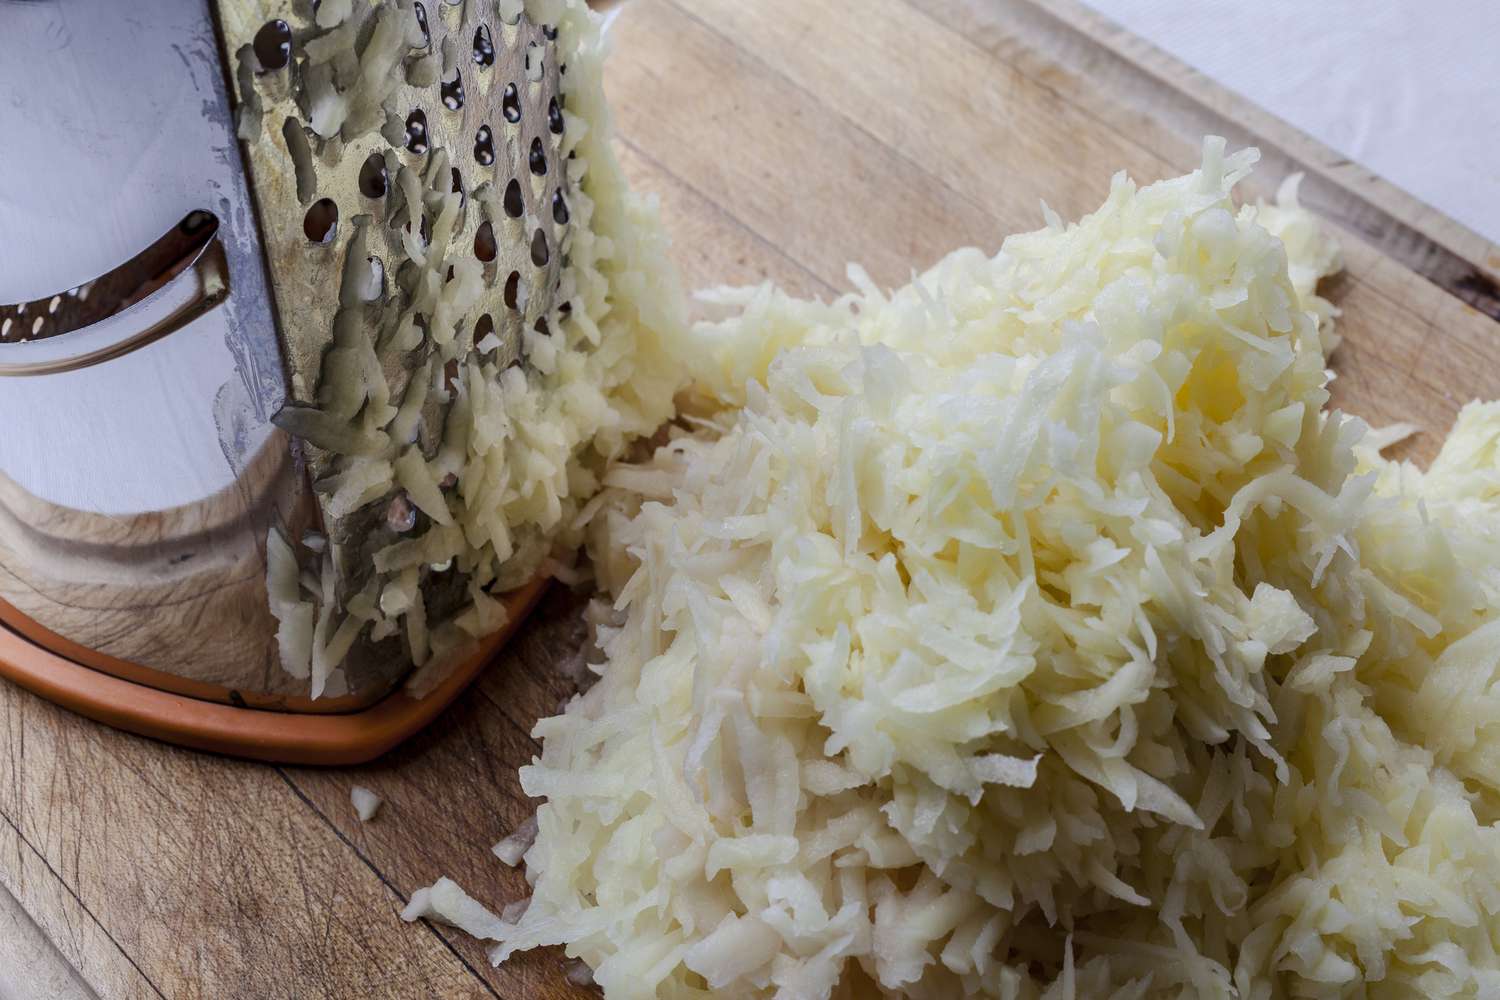
Storing potato flakes in mylar bags is a smart and practical way to extend the shelf life of this versatile kitchen staple. Potato flakes, often used to make instant mashed potatoes, are a convenient and handy ingredient to have on hand for quick meals or emergency situations. By properly storing potato flakes in mylar bags, you can preserve their freshness, flavor, and nutritional value for an extended period.
In this article, we will guide you through the step-by-step process of storing potato flakes in mylar bags. We will also discuss the benefits of using mylar bags for long-term storage and provide essential tips for maintaining the quality of your stored potato flakes.
So, whether you’re an avid prepper, looking to stock up on emergency food supplies, or just want to keep your pantry well-stocked with convenient meal options, learning how to store potato flakes in mylar bags is a valuable skill to have.
Key Takeaways:
- Extend the Shelf Life: Storing potato flakes in mylar bags with oxygen absorbers can preserve their freshness for up to 10 years, ensuring a long-lasting and reliable kitchen staple.
- Versatile and Cost-Effective: Mylar bags provide a space-saving and cost-effective solution for storing potato flakes, offering extended shelf life, preserved flavor, and nutritional value.
Read more: How To Store Mylar Bags
Benefits of Storing Potato Flakes in Mylar Bags
Storing potato flakes in mylar bags offers several advantages over other storage methods. Here are the key benefits:
- Extended Shelf Life: Mylar bags provide an excellent barrier against moisture, oxygen, light, and pests, which helps to prevent the spoilage and degradation of the potato flakes. With proper storage techniques, potato flakes stored in mylar bags can last up to 10 years.
- Preserves Freshness and Flavor: The airtight seal of the mylar bags prevents exposure to oxygen, which can cause oxidation and rancidity in the potato flakes. This helps to retain the fresh taste and flavor of the potato flakes, ensuring a delicious meal every time.
- Retains Nutritional Value: Potato flakes are a good source of essential vitamins and minerals. Storing them in mylar bags helps to preserve their nutritional value by keeping them away from light and moisture, which can degrade the nutrient content.
- Cost-Effective Storage Solution: Mylar bags are relatively inexpensive and can be purchased in bulk. They provide a cost-effective way to store potato flakes in large quantities, allowing you to save money in the long run.
- Compact and Space-Saving: Mylar bags are lightweight and flexible, making them easy to store and stack in your pantry or storage area. They take up minimal space, allowing you to maximize your storage capacity.
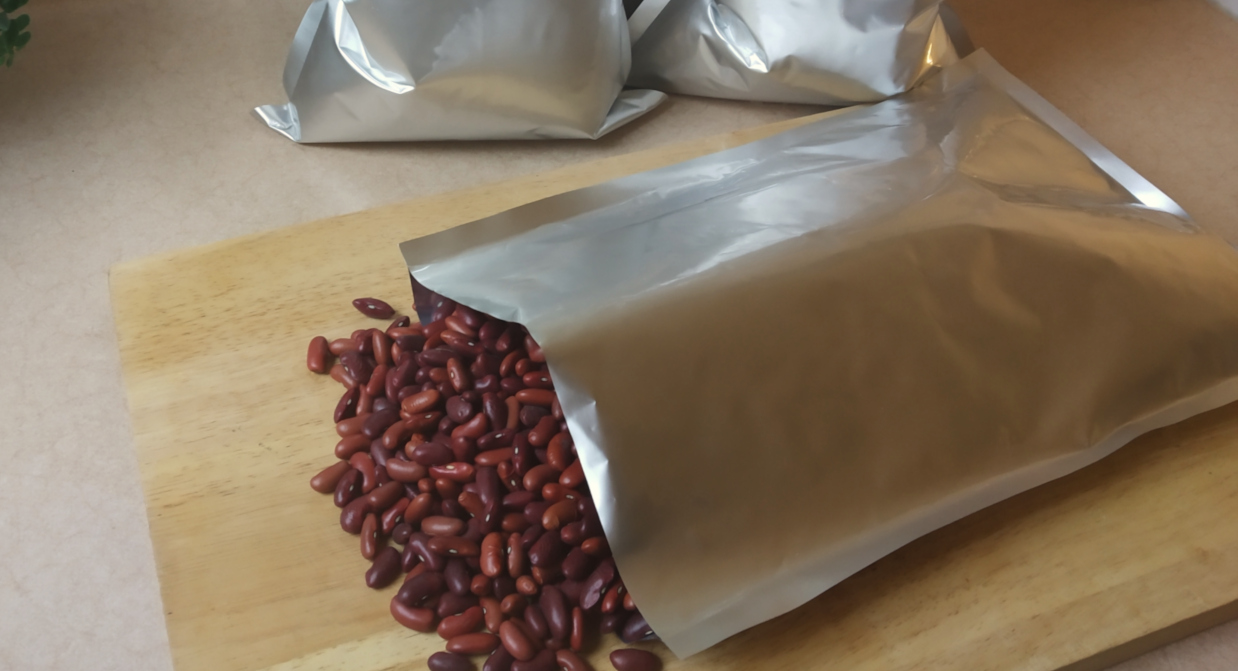
- Versatile Usage: Besides potato flakes, mylar bags can also be used to store a variety of other food items such as grains, pasta, dried fruits, and more. This makes them a versatile storage solution for your overall food storage needs.
By utilizing mylar bags to store your potato flakes, you can ensure that you always have a reliable and long-lasting source of this culinary staple. With their superior protective qualities, mylar bags help to keep your potato flakes fresh, flavorful, and nutrient-rich, making them a valuable addition to your kitchen pantry or emergency food supply.
Materials Needed
Before you begin the process of storing potato flakes in mylar bags, gather the following materials:
- Mylar Bags: Purchase high-quality mylar bags specifically designed for food storage. These bags should have a thickness of at least 4.5 mil for optimal durability and protection.
- Oxygen Absorbers: Oxygen absorbers help to remove any remaining oxygen inside the mylar bags, preventing spoilage and extending the shelf life of the potato flakes. Use oxygen absorbers with a suitable capacity for the size of the mylar bags you are using.
- Sealing Device: You will need a heat-sealing device like a hair straightener, a clothes iron, or a heat sealer. Ensure that the device reaches a temperature of at least 200°F (93°C) for effective sealing.
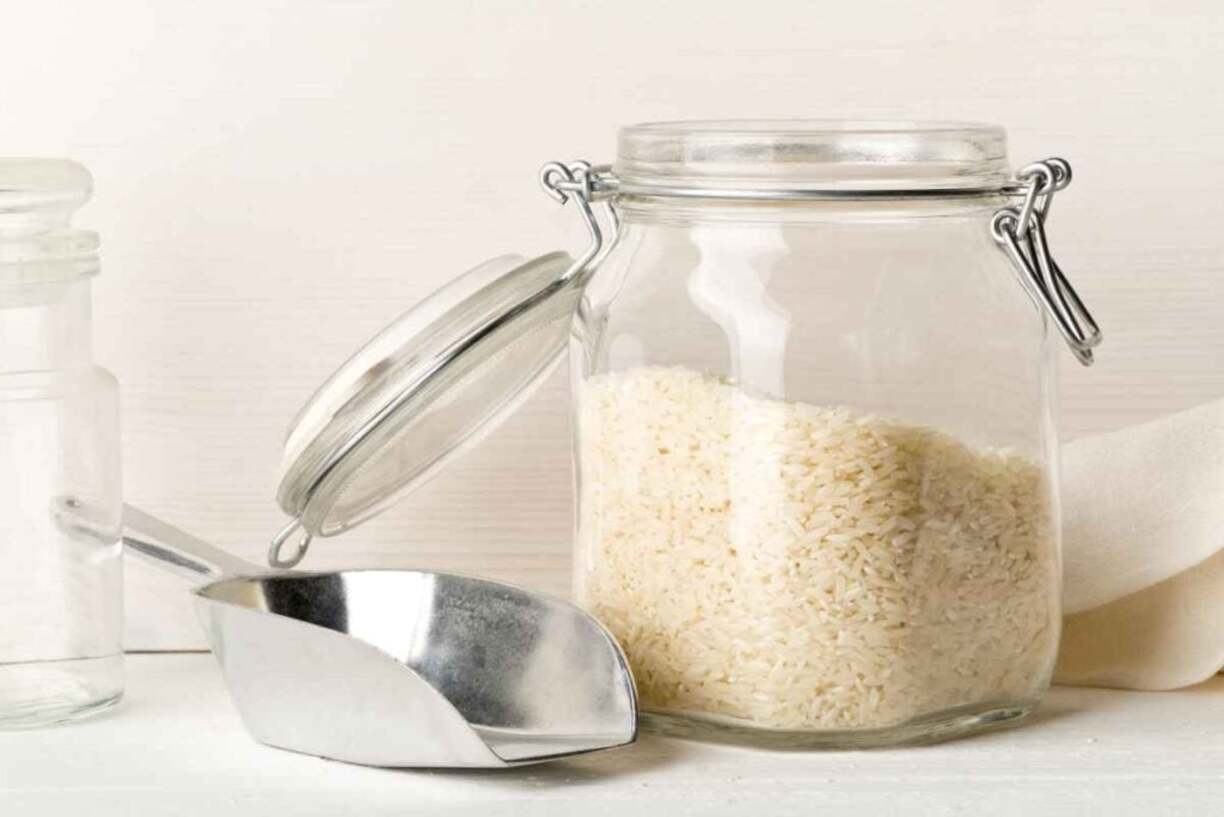
- Measuring Scoop: Have a measuring scoop or spoon on hand to accurately measure and transfer the potato flakes into the mylar bags.
- Labels and Permanent Marker: It’s essential to label each mylar bag with the contents and the date of storage. Use a permanent marker to write this information on the outside of the bags.
- Clean Workspace: Clear a clean and clutter-free workspace to ensure a hygienic and organized environment for the packing process.
- Optional: Vacuum Sealer: While not necessary, a vacuum sealer can be used to remove excess air from the mylar bags before sealing. This step helps to further extend the shelf life of the potato flakes.
With these materials readily available, you’ll be well-prepared to undertake the process of storing potato flakes in mylar bags. Ensure that all the materials are clean and in good condition to maintain the quality and integrity of the stored potato flakes.
Step 1: Preparing the Mylar Bags
Properly preparing the mylar bags is a crucial first step in ensuring the successful storage of potato flakes. Follow these steps to prepare the mylar bags:
- Clean and Sanitize: Before using the mylar bags, make sure they are clean and free from any dust or debris. Wipe them down with a clean, damp cloth to ensure they are sanitized.
- Size Consideration: Choose the appropriate size of mylar bags based on the quantity of potato flakes you plan to store. It is recommended to use smaller-sized bags to minimize air exposure when opening them in the future.
- Oxygen Absorber Placement: Place one oxygen absorber in each mylar bag before filling them with potato flakes. The absorber will help remove any residual oxygen and maintain the quality of the stored flakes.
- Opening the Bags: Open the mylar bags carefully, ensuring not to rip or damage them. Use scissors or a utility knife to create a clean and neat opening along the top of the bags.
- Prepare Work Area: Set up a clean and flat work surface to work on. Make sure the area is free from any moisture or potential contaminants.
By properly preparing the mylar bags, you are ensuring a clean and sterile environment for storing the potato flakes. This step is essential to maintain the quality and longevity of the stored food. Once you have prepared the mylar bags, you are ready to move on to the next step: filling them with potato flakes.
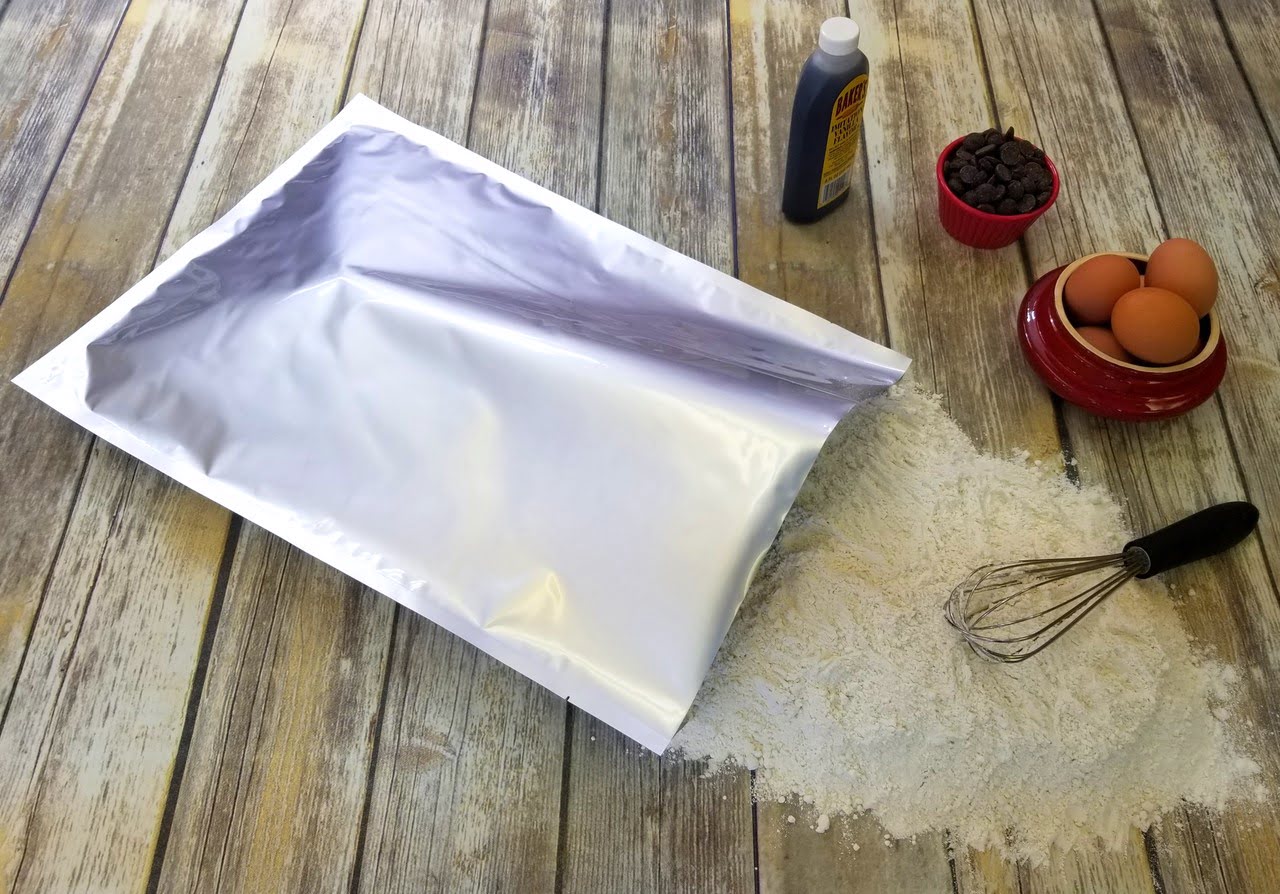
Step 2: Filling the Mylar Bags with Potato Flakes
Now that you have prepared the mylar bags, it’s time to start filling them with potato flakes. Follow these steps to ensure a proper and efficient filling process:
- Measure the Potato Flakes: Use a measuring scoop or spoon to accurately measure the desired amount of potato flakes. Refer to the instructions on the package for the recommended serving size or determine the quantity based on your personal preference.
- Pour the Potato Flakes: Carefully pour the measured potato flakes into the prepared mylar bags. Be cautious not to spill or waste any of the flakes.
- Distribute the Flakes: Spread the potato flakes evenly inside the mylar bags, ensuring that they are distributed uniformly. This helps to prevent uneven packing and ensures consistent air removal during the sealing process.
- Leave Headroom: Leave a small headroom at the top of each bag. This space will allow for easier sealing and accommodate the removal of excess air from the bags later on.
- Avoid Overpacking: It is crucial not to overpack the mylar bags with potato flakes. Leave enough room for the flakes to move and settle easily when pressing and removing air later in the process.
By following these steps, you can efficiently fill the mylar bags with the desired amount of potato flakes. This step ensures that the flakes are packed properly to facilitate the next step of removing excess air from the bags. Once the bags are filled, you are ready to proceed to the next step: removing excess air from the bags to maximize shelf life.
Store potato flakes in Mylar bags by first ensuring they are completely dry. Then, fill the Mylar bag with the flakes, add an oxygen absorber, and seal the bag tightly. Store in a cool, dark place.
Read more: How To Store Potato Flakes Long Term
Step 3: Removing Excess Air from the Bags
Removing excess air from the mylar bags is a vital step in maximizing the shelf life of the stored potato flakes. Follow these steps to effectively remove air from the bags:
- Option 1: Vacuum Sealer: If you have a vacuum sealer, it can be used to remove excess air from the mylar bags. Place the open end of the bag carefully into the vacuum sealer, and activate the vacuum function. The sealer will remove the air, creating a vacuum seal. Once the air is removed, quickly seal the bag.
- Option 2: Manual Method: If you do not have a vacuum sealer, you can remove air manually. Gently press down on the bag to compact the potato flakes and remove as much air as possible. Once the air is manually removed, proceed to the next step of sealing the bag.
Whichever method you choose, the goal is to create a vacuum-like seal by removing as much air as possible from the mylar bags. This step helps to prevent oxidation and maintain the quality of the potato flakes during storage. Once excess air is removed, you can move on to the next step: sealing the mylar bags.
Step 4: Sealing the Mylar Bags
Sealing the mylar bags is a crucial step in preserving the freshness and longevity of the stored potato flakes. Follow these steps to properly seal the mylar bags:
- Heat Sealing Device: If you are using a heat sealing device like a hair straightener, clothes iron, or heat sealer, ensure it is preheated to a temperature of at least 200°F (93°C) for effective sealing.
- Sealing Edge: Gently squeeze the top of the mylar bag to push out any remaining air pockets before sealing. This step ensures a tighter seal.
- Sealing Process: Place the open end of the mylar bag between the heat sealing device and apply pressure to seal the bag. Hold the sealing device in place for a few seconds to ensure a tight and secure seal.
- Repeat for Multiple Seams: Some mylar bags come with multiple seams or zipper locks for added security. Repeat the sealing process for each seam to ensure a complete and reliable seal.
- Check the Seal: Carefully inspect each sealed bag to ensure there are no leaks or openings. A properly sealed bag should be airtight and free from any signs of damage.
Properly sealed mylar bags create a barrier against moisture, oxygen, and pests, ensuring the long-term preservation of the potato flakes. Make sure to take your time and pay attention to detail when sealing the bags to prevent any potential air leakage. Once the mylar bags are sealed, you can proceed to the final step: labeling and storing the bags.
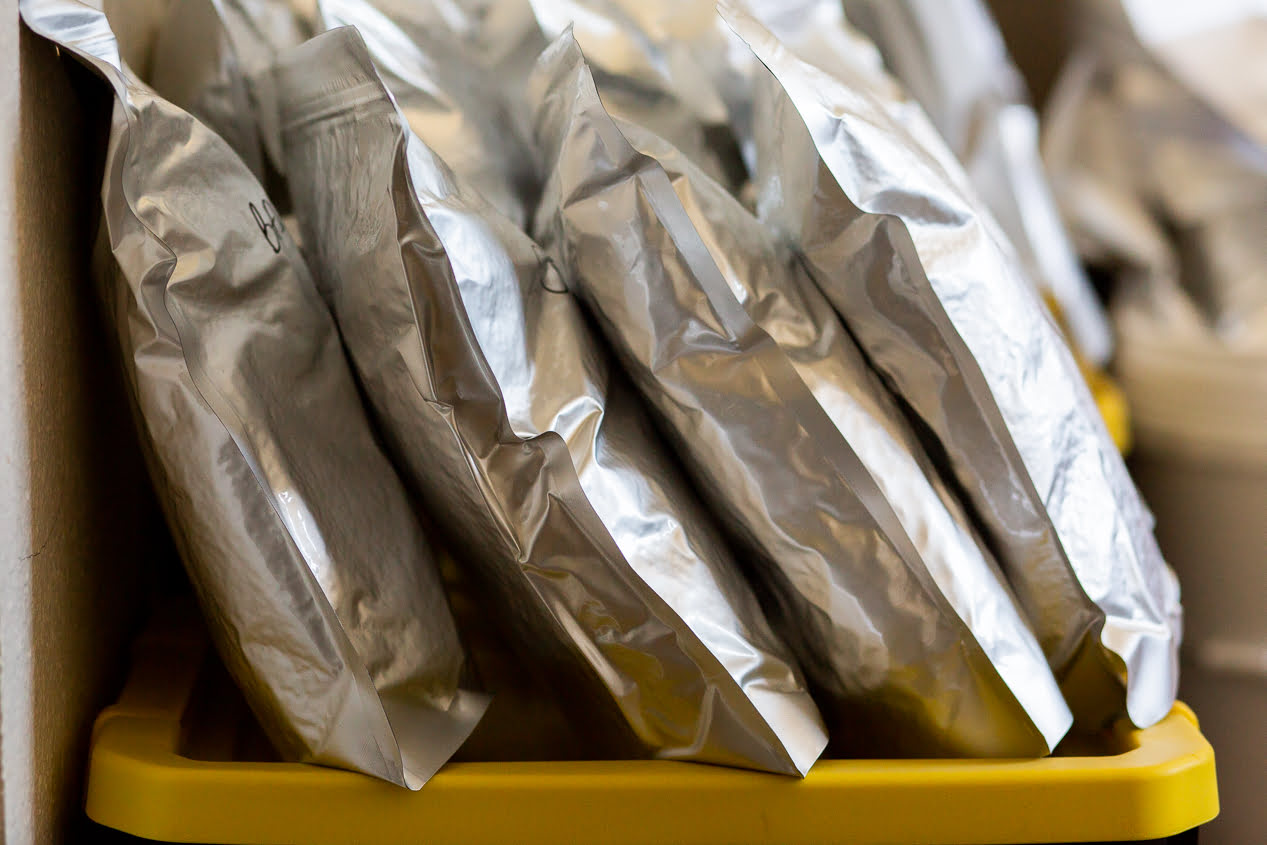
Step 5: Labeling and Storing the Mylar Bags
Labeling and properly storing the mylar bags is the final step in the process of storing potato flakes for long-term use. Follow these steps to ensure that your stored potato flakes are organized and easily accessible:
- Labeling: Use a permanent marker to label each mylar bag with essential information such as the contents (potato flakes) and the date of storage. This helps you keep track of the freshness and allows for easy identification in your pantry or storage area.
- Clean and Dry Storage Area: Choose a cool, dry, and dark area for storing the mylar bags. Make sure the storage area is clean and free from any potential contaminants that could compromise the quality of the stored potato flakes.
- Stacking: Carefully stack the mylar bags in an organized manner to maximize space and prevent crushing. Keep heavier bags at the bottom and lighter bags on top to avoid any damage to the sealed bags.
- Avoid Exposure to Light: Keep the stored potato flakes away from direct sunlight or any other source of light. Light exposure can cause oxidation and nutrient degradation, reducing the shelf life and quality of the potato flakes.
- Monitor and Rotate: Regularly check the mylar bags for any signs of damage or pest infestation. Additionally, it is advisable to rotate your stored potato flakes on a first-in, first-out (FIFO) basis. This ensures that older bags are used first, maintaining freshness and preventing waste.
- Maintain Ideal Temperature: The ideal temperature for storing potato flakes is between 50°F (10°C) and 70°F (21°C). Avoid storing the bags in extreme temperatures as they can affect the quality and texture of the flakes.
By labeling and storing the mylar bags properly, you can maintain the quality, freshness, and nutritional value of the stored potato flakes for an extended period. Following these steps ensures that you have a reliable and convenient pantry staple ready to use whenever needed.
With your potato flakes expertly stored in mylar bags, you can enjoy the convenience and peace of mind of having this versatile ingredient readily available for your everyday cooking or emergency food supplies.
Tips for Long-Term Storage
To ensure the long-term storage success of your potato flakes in mylar bags, consider the following tips:
- Use High-Quality Mylar Bags: Invest in high-quality mylar bags that are specifically designed for food storage. Thicker bags with a minimum thickness of 4.5 mil provide better durability and protection against moisture, oxygen, and pests.
- Double-Bag for Added Protection: For an extra layer of protection, consider double-bagging your potato flakes. Place the sealed mylar bag into a second mylar bag, providing an additional barrier against potential damage or punctures.
- Store in a Cool and Dark Environment: Keep your stored potato flakes in a cool, dry, and dark environment. Avoid exposure to sunlight or any other sources of light and maintain a consistent temperature to prevent spoilage or nutrient degradation.
- Consider Using Desiccant Packs: To further minimize moisture inside the mylar bags, you can include desiccant packs. These moisture-absorbing packets help to maintain the dryness of the potato flakes, reducing the risk of spoilage.
- Regularly Inspect and Rotate: Periodically check your stored potato flakes for any signs of damage, pests, or spoilage. Additionally, practice a rotation system where you use the oldest bags first and replace them with freshly stored ones. This ensures that your potato flakes are consumed before their expiration date.
- Avoid Temperature Fluctuations: Fluctuating temperatures can negatively impact the quality and shelf life of the stored potato flakes. Make sure to store them in an area where temperature changes are minimal, preventing moisture accumulation and spoilage.
- Keep Away from Strong Odors: Store your potato flakes away from strong-smelling substances or food items. Potato flakes can absorb odors, affecting their taste and quality.
- Consider Using a Mylar Bag Sealer: While not necessary, investing in a mylar bag sealer can provide more precise and efficient sealing results. These sealers ensure airtight closures and help maintain the freshness of your stored potato flakes for a longer duration.
- Label and Date Each Bag: Properly label and date each mylar bag as soon as it is sealed. This will help you track the storage time and ensure you use the oldest bags first.
By following these tips, you can maximize the shelf life and quality of your stored potato flakes. Proper storage techniques will enable you to have a long-lasting and reliable supply of this versatile kitchen ingredient.
Read more: How To Store Pasta In Mylar Bags
Conclusion
Storing potato flakes in mylar bags is an effective and efficient way to extend their shelf life and preserve their freshness for long-term use. By following the steps outlined in this article, you can ensure that your stored potato flakes remain flavorful, nutritious, and readily available whenever you need them.
The benefits of storing potato flakes in mylar bags are numerous. From the extended shelf life and preserved freshness to the cost-effectiveness and space-saving features, mylar bags provide an ideal storage solution for this versatile kitchen staple.
Remember to use high-quality mylar bags with oxygen absorbers for maximum protection against moisture, oxygen, light, and pests. Properly filling the bags, removing excess air, and sealing them tightly are essential steps to maintain the quality of the stored potato flakes.
Labeling each mylar bag with the contents and storage date, and storing them in a cool, dark, and dry environment, will further optimize the longevity of the potato flakes. Regularly inspect and rotate the stored bags to ensure that you prioritize using the older bags first and replace them in a timely manner.
By implementing these storage tips, you can confidently store your potato flakes for an extended period while maintaining their flavor, nutritional value, and convenience.
So, whether you’re stocking up for emergency situations or simply want to have a reliable and convenient pantry staple, storing potato flakes in mylar bags is an excellent choice. Trust in the process, and enjoy the benefits of having long-lasting and versatile potato flakes right at your fingertips.
Ready to step up your food preservation game? Delve into our latest guides, discovering the best practices in food storage, the top Mylar bags for safeguarding your essentials, and effective strategies for long-term food security. Each guide is packed with tips to ensure that your provisions stay fresh and nutritious. Whether you're stocking up for future needs or optimizing your current pantry, these articles are invaluable resources for any home.
Frequently Asked Questions about How To Store Potato Flakes In Mylar Bags
Was this page helpful?
At Storables.com, we guarantee accurate and reliable information. Our content, validated by Expert Board Contributors, is crafted following stringent Editorial Policies. We're committed to providing you with well-researched, expert-backed insights for all your informational needs.


0 thoughts on “How To Store Potato Flakes In Mylar Bags”