Articles
How To Store Fresh Mint Leaves In Freezer
Modified: September 1, 2024
Learn how to store fresh mint leaves in the freezer to keep them fresh for longer. Follow our step-by-step guide and enjoy the flavors of mint in your recipes all year round.
(Many of the links in this article redirect to a specific reviewed product. Your purchase of these products through affiliate links helps to generate commission for Storables.com, at no extra cost. Learn more)
Introduction
Welcome to our guide on how to store fresh mint leaves in the freezer. Mint leaves are a versatile herb that can add a refreshing touch to various dishes, beverages, and even desserts. However, keeping them fresh for an extended period can be challenging. That’s where freezing comes in handy.
Freezing mint leaves is a simple and effective way to preserve their flavor and aroma. Whether you have an abundance of mint from your garden or want to stock up on this delightful herb, freezing is a great option. In this article, we will share some useful tips and step-by-step instructions to make the most of your fresh mint leaves.
Before we dive into the storage techniques, let’s take a look at why freezing mint leaves is the ideal method for long-term storage.
Key Takeaways:
- Preserve the vibrant flavor and aroma of fresh mint leaves by freezing them, extending their shelf life for several months while retaining their health benefits and saving you time and money.
- Follow the step-by-step process of washing, blanching, and freezing mint leaves to ensure optimal preservation, and explore creative ways to use them in various recipes for a refreshing and aromatic twist.
Read more: How To Store Mint Leaves
Why Store Fresh Mint Leaves in the Freezer?
Mint leaves are known for their vibrant flavor and aroma, which can enhance the taste of various dishes and beverages. However, fresh mint leaves have a relatively short shelf life and can quickly wilt and lose their potency if not stored properly. That’s where freezing comes in as a convenient and effective solution to preserve their freshness. Here are a few reasons why storing fresh mint leaves in the freezer is beneficial:
- Extended Shelf Life: By freezing fresh mint leaves, you can significantly extend their shelf life. While fresh mint leaves typically last for a few days in the refrigerator, freezing them can preserve their quality for several months.
- Nutrient Retention: Freezing mint leaves locks in their nutrients, ensuring that you can enjoy their health benefits even after they are thawed. Mint leaves are known for their anti-inflammatory properties, digestive aids, and high antioxidant content.
- Convenience: When you freeze mint leaves, you can have them readily available whenever you need them. This eliminates the need for frequent trips to the grocery store or the hassle of growing mint plants year-round.
- Cost Saving: If you have an abundant supply of mint leaves from your garden or have purchased them in bulk, freezing is a cost-effective way to preserve them. You can enjoy fresh mint flavor all year round without wasting any leaves.
Now that you understand the benefits of freezing mint leaves, let’s dive into the step-by-step process of how to store them in the freezer.
Fresh Mint Leaves Storage Tips
Before freezing your mint leaves, it’s important to follow these storage tips to ensure optimal freshness and flavor:
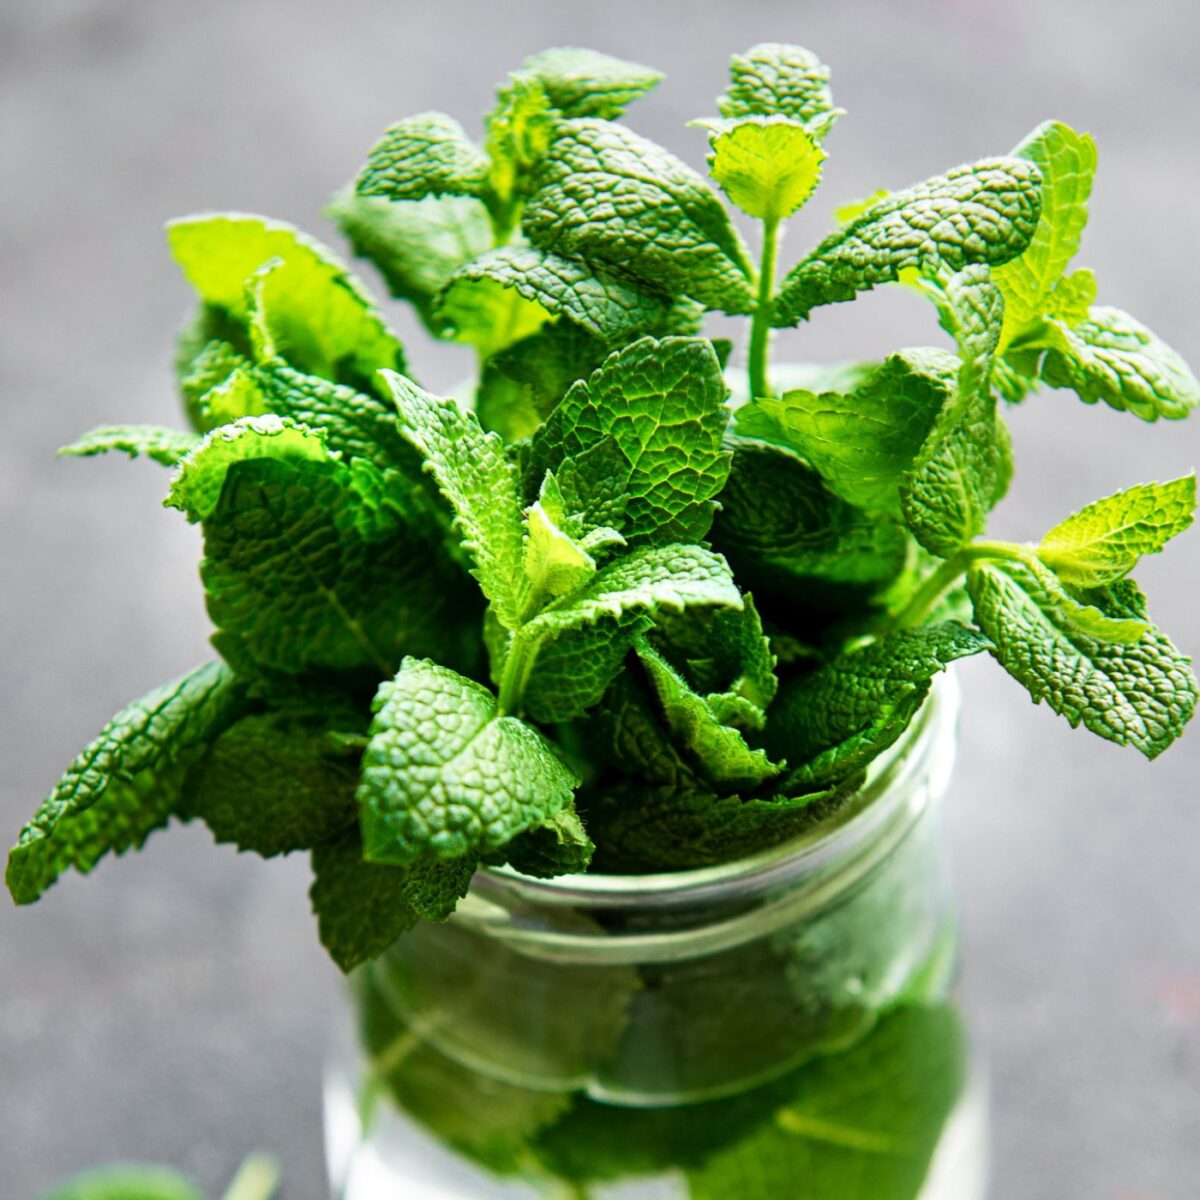
- Harvest at the Right Time: Pick your mint leaves when they are fresh and vibrant. Avoid harvesting leaves that show signs of wilting or yellowing.
- Gently Handle the Leaves: Mint leaves are delicate, so handle them gently to avoid bruising or damaging them. This will help preserve their texture and flavor.
- Remove Damaged Leaves: Inspect the mint leaves and remove any that are damaged or discolored.
- Avoid Washing Before Storage: It’s best to wash the mint leaves just before you plan to use them. Washing them prior to freezing can introduce excess moisture, which can cause freezer burn.
- Choose the Right Container: Opt for freezer-safe containers or resealable plastic bags that are specifically designed for freezing. Make sure they are airtight to prevent any odor transfer or freezer burn.
- Label and Date: Remember to label the containers or bags with the date of freezing. This will help you keep track of their freshness and ensure you use the oldest leaves first.
- Portion Control: Consider freezing the mint leaves in small portions, depending on your typical usage. This way, you can easily take out the required amount without having to thaw the entire batch.
- Keep the Leaves Whole: It’s recommended to freeze the mint leaves whole rather than chopping or crushing them. This helps preserve their texture and flavor.
- Avoid Overpacking: When filling containers or bags, avoid overpacking them to allow room for expansion during freezing.
- Store in the Back of the Freezer: Place the mint leaves towards the back of the freezer, where the temperature is lowest and most consistent. Avoid storing them in the freezer door, as it tends to have temperature fluctuations.
Following these storage tips will ensure that your mint leaves retain their freshness, flavor, and aroma when stored in the freezer. Now let’s move on to the step-by-step process of freezing the mint leaves.
Step 1: Washing the Mint Leaves
Before freezing mint leaves, it is important to clean them thoroughly to remove any dirt, debris, or pesticides. Follow these steps to properly wash your mint leaves:
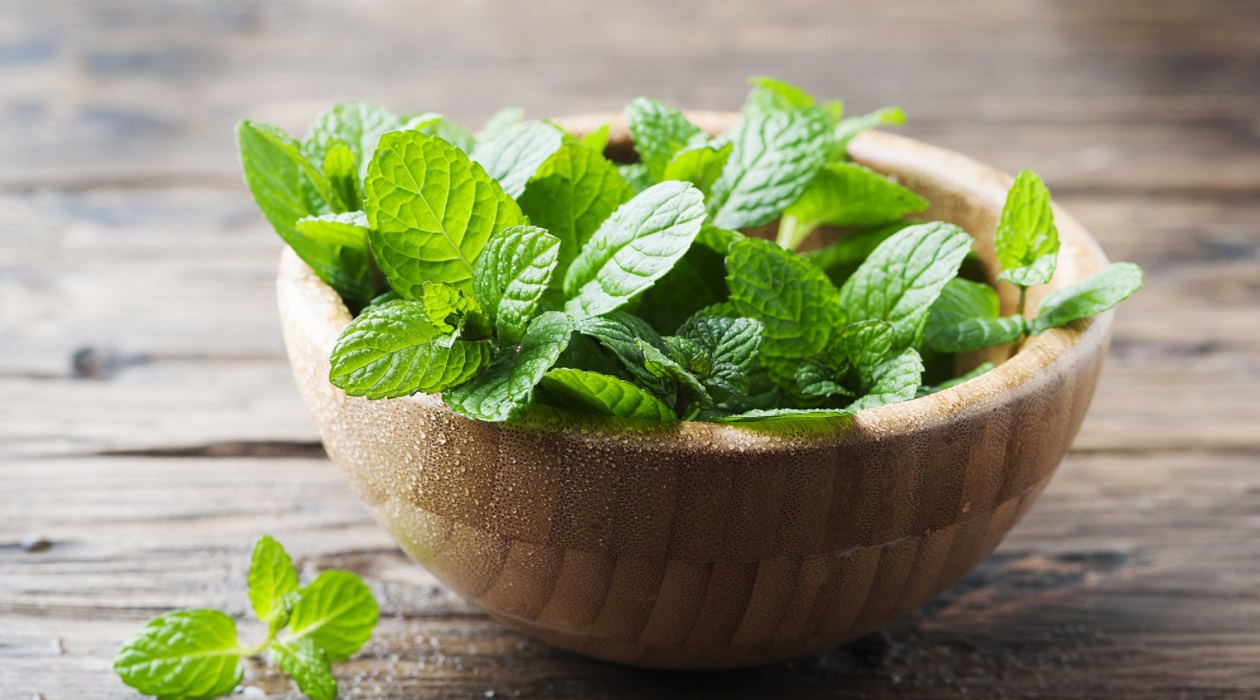
- Fill a Bowl or Sink: Fill a large bowl or clean sink with cold water. Make sure it is deep enough to submerge the mint leaves.
- Separate the Leaves: Gently separate the mint leaves from the stems and discard any damaged or discolored leaves.
- Submerge the Leaves: Place the clean mint leaves in the water-filled bowl or sink. Swirl them around gently with your hands to dislodge any dirt or debris.
- Repeat if Necessary: If you notice any remaining dirt or debris, drain the water and repeat the process with fresh water until the mint leaves are clean.
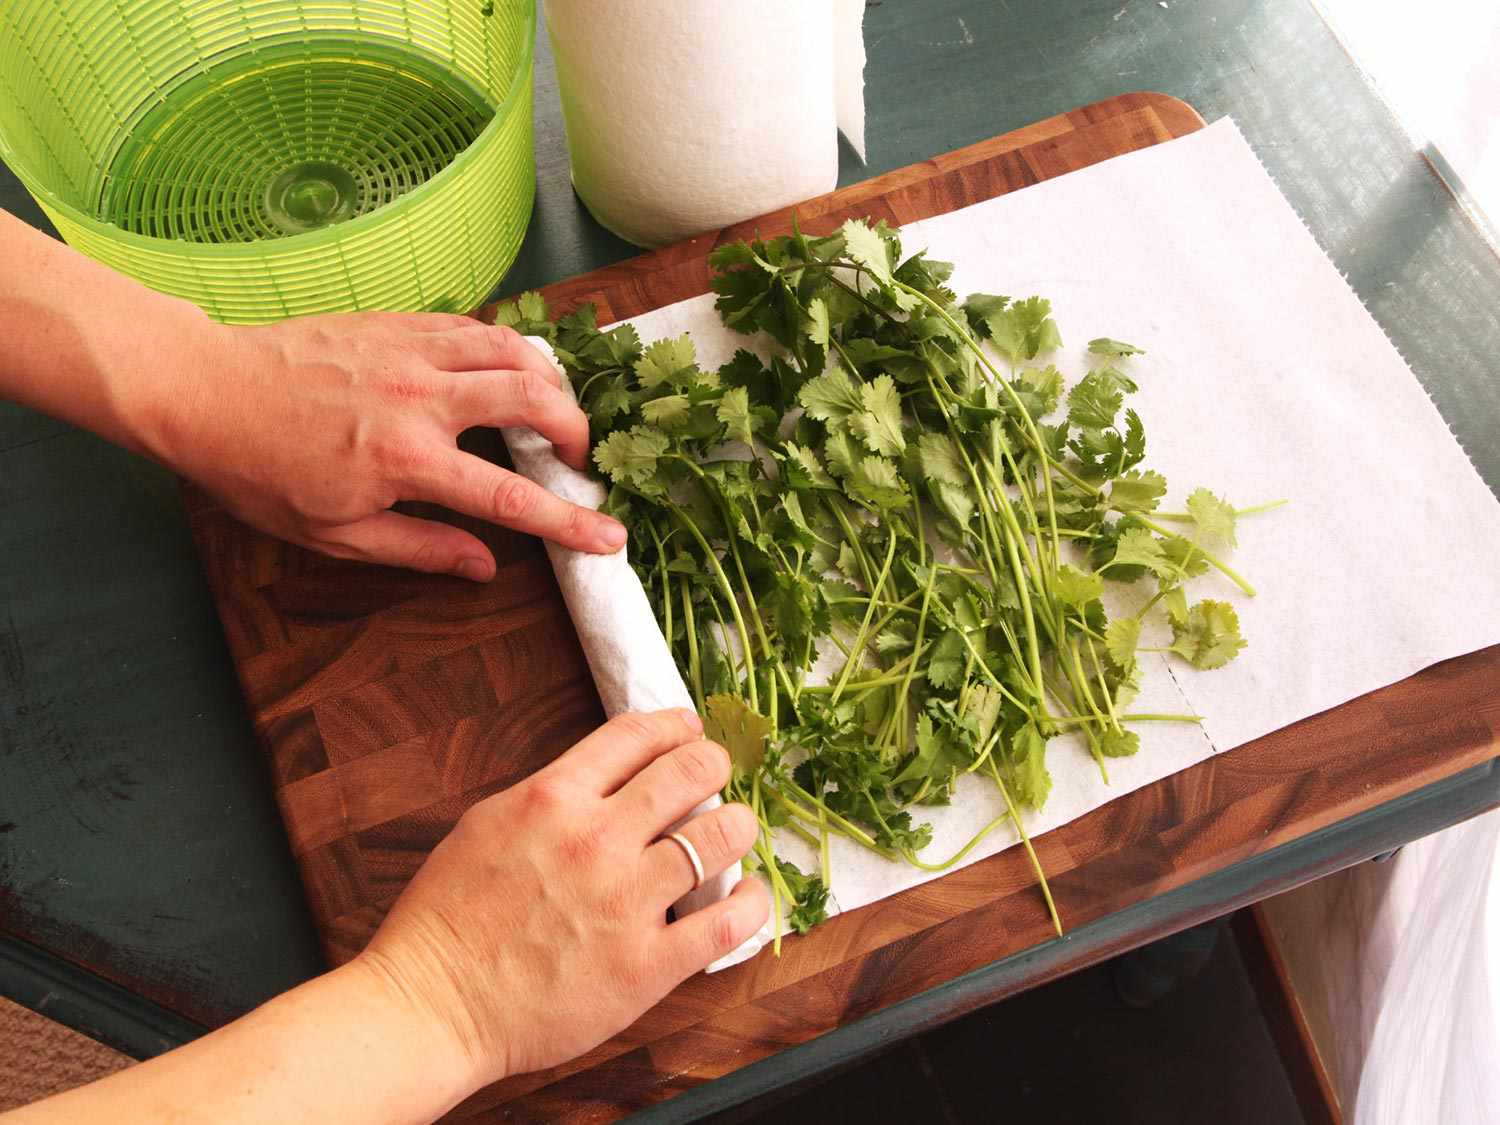
- Drain the Leaves: Once the mint leaves are clean, transfer them to a colander or use a clean kitchen towel to remove excess water. Gently pat them dry without crushing or bruising the leaves.
Remember, it is best to wash the mint leaves right before you plan to freeze them. This prevents unnecessary moisture buildup and ensures the leaves retain their freshness and flavor. Now that your mint leaves are clean and dry, let’s move on to the next step of blanching.
Step 2: Blanching the Mint Leaves
Blanching the mint leaves before freezing them helps preserve their color, flavor, and texture. This step also helps to deactivate enzymes that can cause the leaves to deteriorate over time. Follow these steps to blanch your mint leaves:
- Prepare an Ice Bath: Fill a large bowl or basin with ice and water. This will be used to quickly cool the mint leaves after blanching.
- Bring Water to a Boil: In a pot, bring a large amount of water to a rolling boil. Ensure that there is enough water to fully submerge the mint leaves.
- Add the Mint Leaves to the Boiling Water: Carefully drop the mint leaves into the boiling water and let them blanch for about 10 to 15 seconds.
- Transfer to the Ice Bath: Using a slotted spoon, quickly transfer the blanched mint leaves from the boiling water to the ice bath. This stops the cooking process and preserves their vibrant color.
- Allow to Cool Completely: Let the mint leaves sit in the ice bath for a couple of minutes until they are completely cooled.
- Drain and Pat Dry: Remove the mint leaves from the ice bath and drain them in a colander. Gently pat them dry with a clean kitchen towel, being careful not to crush or bruise the leaves.
Blanching the mint leaves helps retain their vibrant green color and fresh flavor. Once you have blanched and dried the mint leaves, you are ready to move on to the next step of freezing them.
To store fresh mint leaves in the freezer, first wash and dry the leaves thoroughly. Then, place them in a single layer on a baking sheet and freeze until solid. Transfer the frozen leaves to a resealable plastic bag and store in the freezer for up to 6 months.
Read more: How To Store Dried Mint Leaves
Step 3: Freezing the Mint Leaves
Now that your mint leaves are clean and blanched, it’s time to freeze them. Follow these steps to properly freeze your mint leaves:
- Prepare a Baking Sheet: Line a baking sheet with parchment paper or a silicone mat. This will prevent the mint leaves from sticking to the surface.
- Arrange the Mint Leaves: Spread the blanched and dried mint leaves in a single layer on the prepared baking sheet. Make sure they are not overlapping each other.
- Place in the Freezer: Carefully transfer the baking sheet with the mint leaves to the freezer. You may need to rearrange the items already in the freezer to make space.
- Flash Freeze: Allow the mint leaves to freeze for about 1 to 2 hours, or until they are completely frozen. This process, known as flash freezing, helps prevent the leaves from sticking together in clumps.
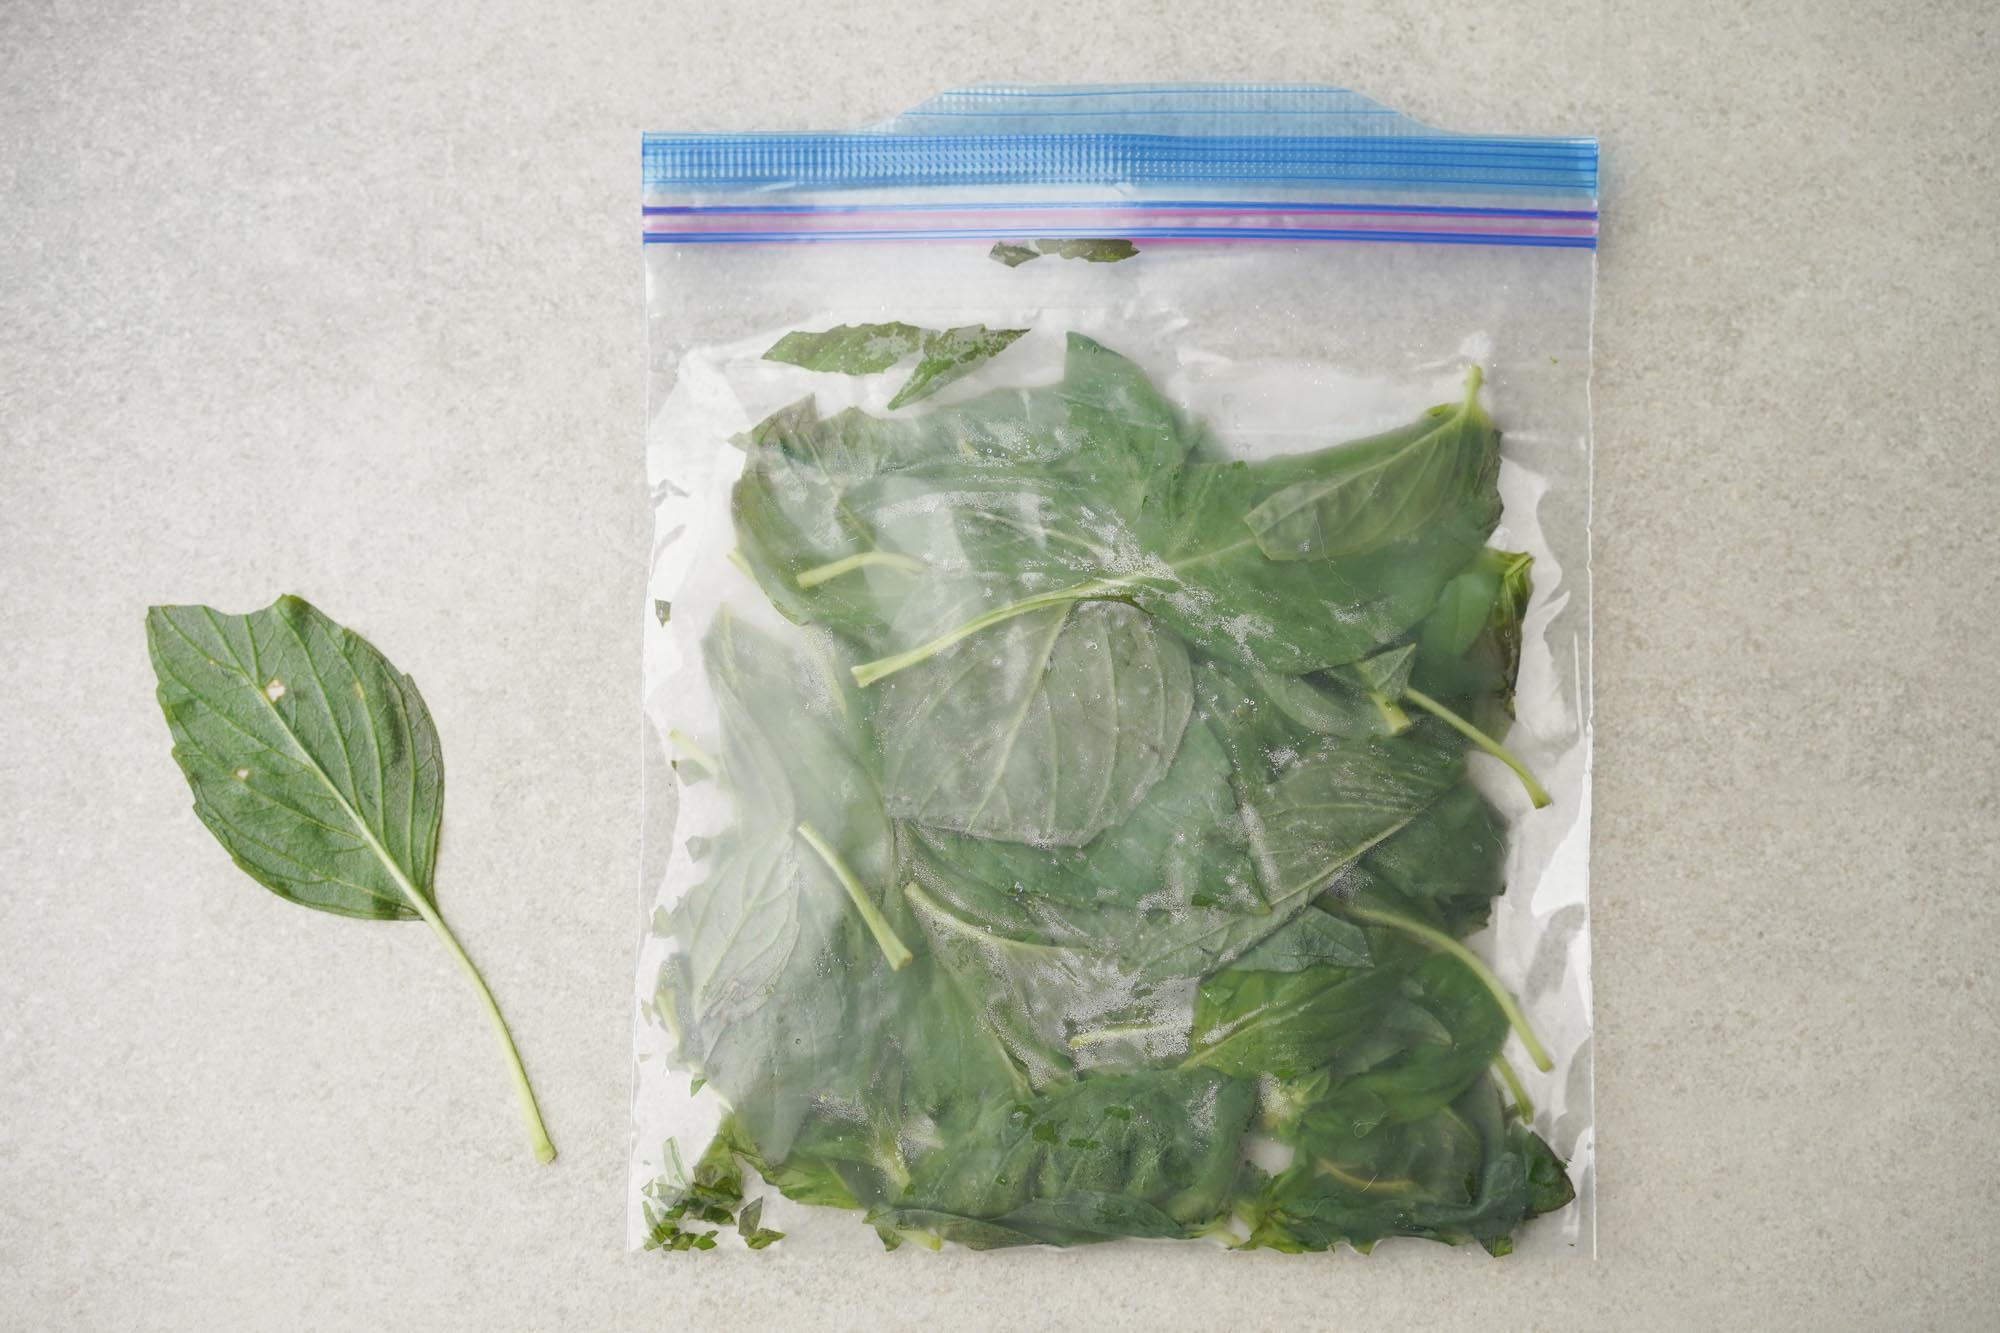
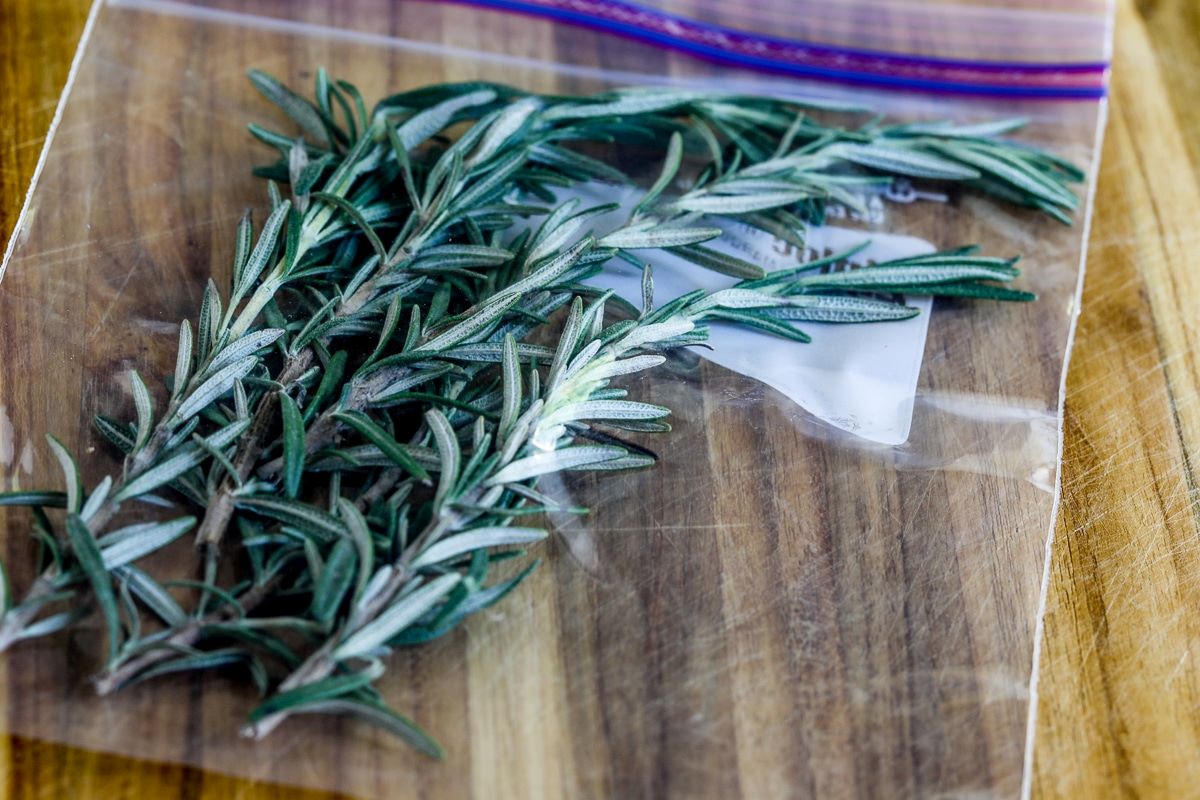
- Transfer to Freezer Bags or Containers: Once the mint leaves are frozen, remove the baking sheet from the freezer. Transfer the leaves to freezer-safe bags or containers.
- Label and Seal: Label the bags or containers with the date of freezing and the contents. Seal them tightly to prevent any moisture or air from entering.
Freezing the mint leaves on a baking sheet before transferring them to bags or containers helps maintain their individuality and prevents them from clumping together. Now that your mint leaves are frozen and properly stored, let’s move on to the next step of storing them for the long term.
Step 4: Storing the Frozen Mint Leaves
Now that your mint leaves are properly frozen, it’s time to store them for long-term use. Follow these steps to ensure your frozen mint leaves stay fresh and flavorful:
- Choose the Right Storage Containers: Use freezer-safe bags or airtight containers specifically designed for freezing. Ensure they are made of durable, food-grade materials that can withstand freezing temperatures.
- Portion Control: Divide the frozen mint leaves into portion sizes that align with your typical usage. This way, you can easily take out the required amount without thawing the entire batch.
- Remove Air and Seal: Squeeze out as much air as possible from the bags or containers before sealing them. This helps prevent freezer burn and keeps the mint leaves fresh for a longer period.
- Label and Date: Clearly label each bag or container with the date of freezing. This will help you keep track of their freshness and ensure you use the oldest leaves first.
- Store in the Back of the Freezer: Place the bags or containers with the frozen mint leaves towards the back of the freezer, where the temperature is coldest and most stable. Avoid storing them in the freezer door, as it experiences temperature fluctuations when opened frequently.
Following these steps will help maintain the quality of your frozen mint leaves for an extended period. Now that your mint leaves are properly stored, let’s move on to the final step of thawing and using them.
Step 5: Thawing and Using the Frozen Mint Leaves
When you’re ready to use your frozen mint leaves, follow these steps to thaw them and incorporate them into your recipes:
- Choose the Thawing Method: There are a few methods you can use to thaw your frozen mint leaves. Choose the one that suits your needs:
- – Refrigerator Thawing: Transfer the desired portion of frozen mint leaves to the refrigerator the night before you plan to use them. This slow thawing method allows the leaves to defrost gradually without compromising their texture.
- – Room Temperature Thawing: If you need to thaw the mint leaves quickly, you can leave them at room temperature for about 30 minutes to an hour. However, be cautious not to leave them out for too long to avoid any bacterial growth.
- – Cooking with Frozen Mint Leaves: In some recipes, such as soups or sauces, you can add frozen mint leaves directly without thawing. The cooking process will naturally thaw and incorporate them into the dish.
- Use in Recipes: Once the frozen mint leaves are thawed, they can be used in various recipes. Here are a few ideas:
- – Add them to teas or infused water for a refreshing and aromatic twist.
- – Use them in salads or dressings to add a burst of minty flavor.
- – Incorporate them into cocktails or mocktails for a refreshing and vibrant twist.
- – Use them in marinades or sauces for grilled meats or vegetables.
- – Add them to baked goods or desserts for a hint of minty freshness.
- Store Unused Portion: If you have any unused portion of thawed mint leaves, you can store them in the refrigerator for a few days. Make sure to transfer them to an airtight container or wrap them tightly in plastic wrap to maintain their freshness.
- Discard if Damaged: If any part of the mint leaves appears discolored, slimy, or has an off odor after thawing, it is best to discard them.
Thawing your frozen mint leaves properly ensures that they retain their flavor and aroma. Whether you’re adding them to beverages, savory dishes, or desserts, the thawed mint leaves will bring a delightful touch to your culinary creations.
Now that you know the step-by-step process of thawing and using frozen mint leaves, let’s move on to some additional tips and tricks to make the most of your frozen mint supply.
Additional Tips and Tricks
Here are some additional tips and tricks to help you make the most of your frozen mint leaves:
- Pre-portion the Mint Leaves: Consider freezing the mint leaves in pre-measured portions that align with your typical recipes. This will make it easier to grab the right amount without having to thaw the entire batch.
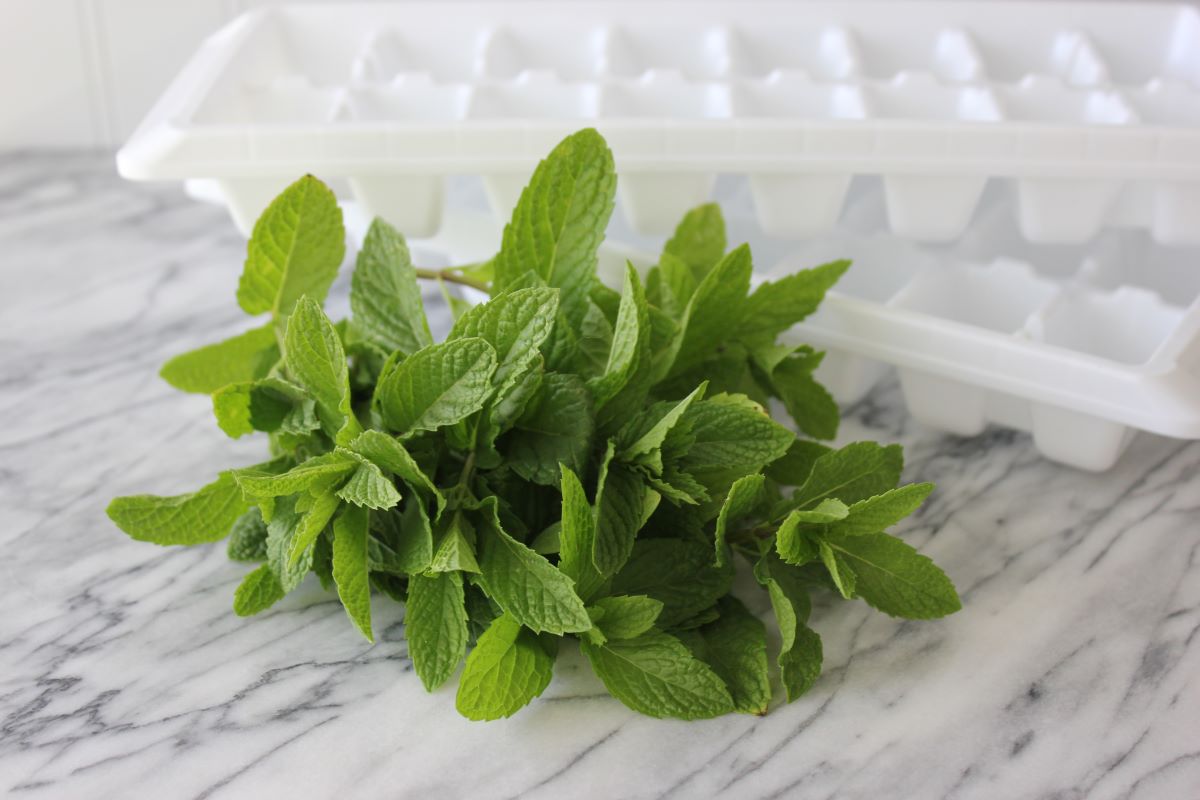
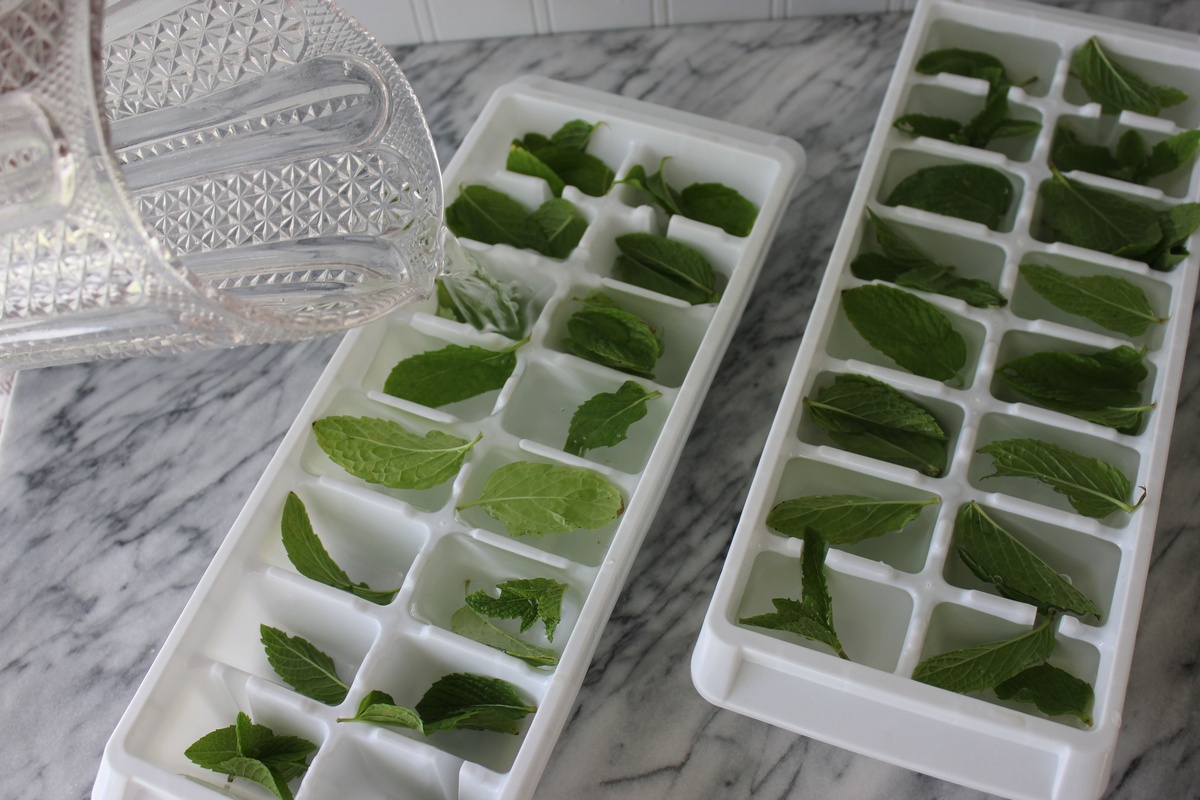
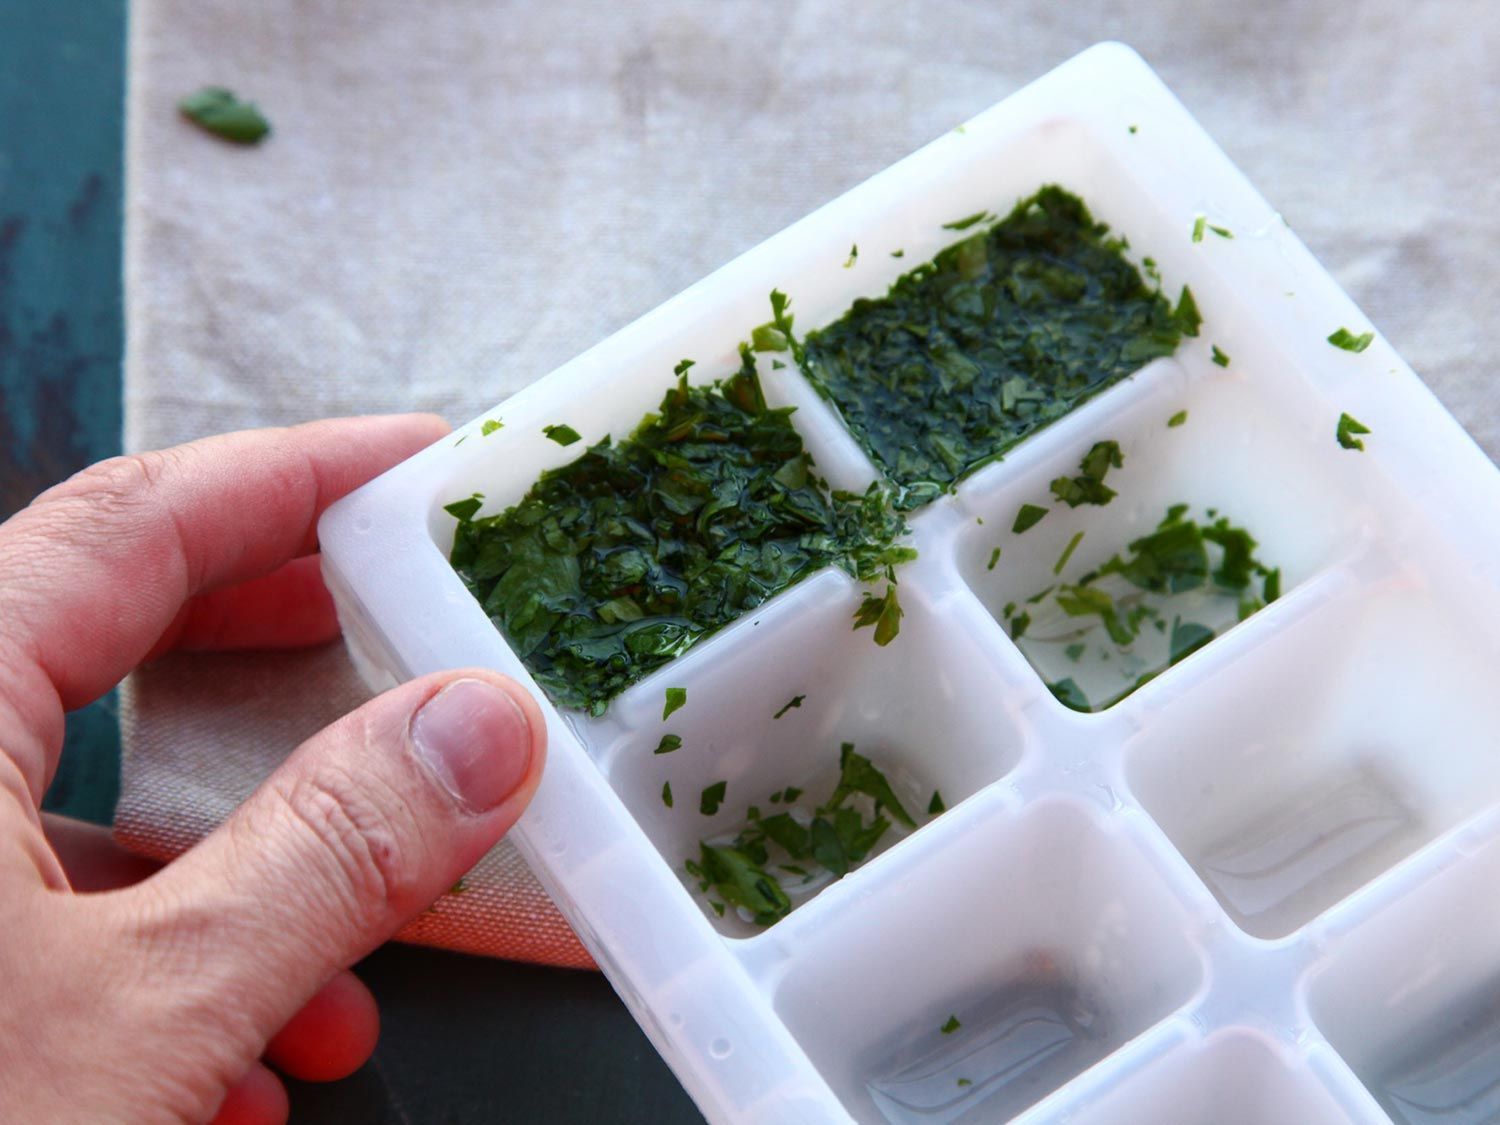
- Use Ice Cube Trays: To create small, pre-portioned mint cubes, you can freeze the blanched mint leaves in ice cube trays. Once frozen, transfer the mint cubes to a freezer-safe bag or container for easier storage.
- Combine with Water: If you enjoy adding mint to your beverages, consider freezing the mint leaves in ice cube trays with a little water. This way, you can easily add a mint-infused ice cube to your drinks for a refreshing twist.
- Dry Mint Leaves: If you prefer using dried mint leaves in your recipes, you can dry the fresh mint leaves before freezing them. Simply spread them in a single layer on a baking sheet and allow them to air dry for a few days. Once dry, store them in an airtight container or freezer bag in the freezer.
- Label and Rotate: As you continue to freeze fresh mint leaves, always label and date the containers. This will help you keep track of their freshness and ensure you use the oldest leaves first.
- Consider Other Freezing Methods: Freezing the whole leaves is the most common method, but you can also try freezing mint leaves pureed with water or oil in ice cube trays for a quick and convenient flavor addition to your dishes.
- Experiment with Recipes: Don’t limit yourself to traditional mint recipes. Explore new culinary possibilities by adding frozen mint leaves to smoothies, popsicles, salad dressings, or even homemade ice cream.
- Optimize Storage Space: If you have limited freezer space, remove the mint leaves from the baking sheet once they are frozen and transfer them to a labeled freezer bag to save space.
- Monitor Freezer Temperature: Ensure that your freezer is set to the recommended temperature for optimal storage, typically around 0°F (-18°C). This will help maintain the quality of your frozen mint leaves.
By following these additional tips and tricks, you can maximize the usage and longevity of your frozen mint leaves. Embrace your creativity and experiment with different recipes to enjoy the refreshing flavor of mint all year round.
Now that you have a comprehensive understanding of how to store fresh mint leaves in the freezer and utilize them effectively, you can confidently stock up on this delightful herb and enjoy its vibrant flavor in your culinary creations.
We hope this guide has been helpful and that you enjoy the convenience and freshness of frozen mint leaves!
Happy cooking and exploring!
Read more: How To Store Fresh Mint
Conclusion
Preserving the freshness and flavor of fresh mint leaves is made easy with the technique of freezing. Whether you have an abundance of mint from your garden or want to stock up on this versatile herb, freezing mint leaves is a convenient and effective method.
In this comprehensive guide, we have walked you through the step-by-step process of storing fresh mint leaves in the freezer. From washing and blanching the leaves to properly freezing and storing them, we have provided you with the knowledge and tips to ensure optimal preservation.
Freezing mint leaves not only extends their shelf life but also retains their vibrant color, flavor, and aroma. By following the tips and tricks we have shared, you can make the most of your frozen mint supply and enjoy the refreshing taste of mint in a variety of dishes and beverages throughout the year.
Remember to label and date your frozen mint leaves, as this will help you keep track of their freshness and ensure you use the oldest leaves first. Additionally, feel free to experiment with new recipes and freezing methods to discover unique ways to incorporate mint into your culinary creations.
With these insights, you are now equipped to confidently store fresh mint leaves in the freezer and enjoy their delightful flavor whenever you desire. Say goodbye to wilted and wasted mint leaves, and embrace the convenience and freshness of freezing.
So go ahead, gather those fresh mint leaves, follow the steps outlined in this guide, and stock up on this versatile herb. With your freezer as a reliable ally, you can infuse your dishes and drinks with the vibrant essence of mint all year round.
Happy freezing and happy cooking!
Frequently Asked Questions about How To Store Fresh Mint Leaves In Freezer
Was this page helpful?
At Storables.com, we guarantee accurate and reliable information. Our content, validated by Expert Board Contributors, is crafted following stringent Editorial Policies. We're committed to providing you with well-researched, expert-backed insights for all your informational needs.


0 thoughts on “How To Store Fresh Mint Leaves In Freezer”