Articles
How To Store Fresh Peppers From The Garden
Modified: January 9, 2024
Learn how to store fresh peppers from your garden with these helpful articles. Keep your harvest fresh for longer and enjoy the flavors all year round.
(Many of the links in this article redirect to a specific reviewed product. Your purchase of these products through affiliate links helps to generate commission for Storables.com, at no extra cost. Learn more)
Introduction
Fresh peppers from the garden are a delicious and versatile addition to any kitchen. Whether you grow them yourself or buy them from a local farmer’s market, you’ll want to make sure you store them properly to maintain their flavor and quality. In this article, we’ll explore different methods for storing fresh peppers so that you can enjoy their vibrant taste all year round.
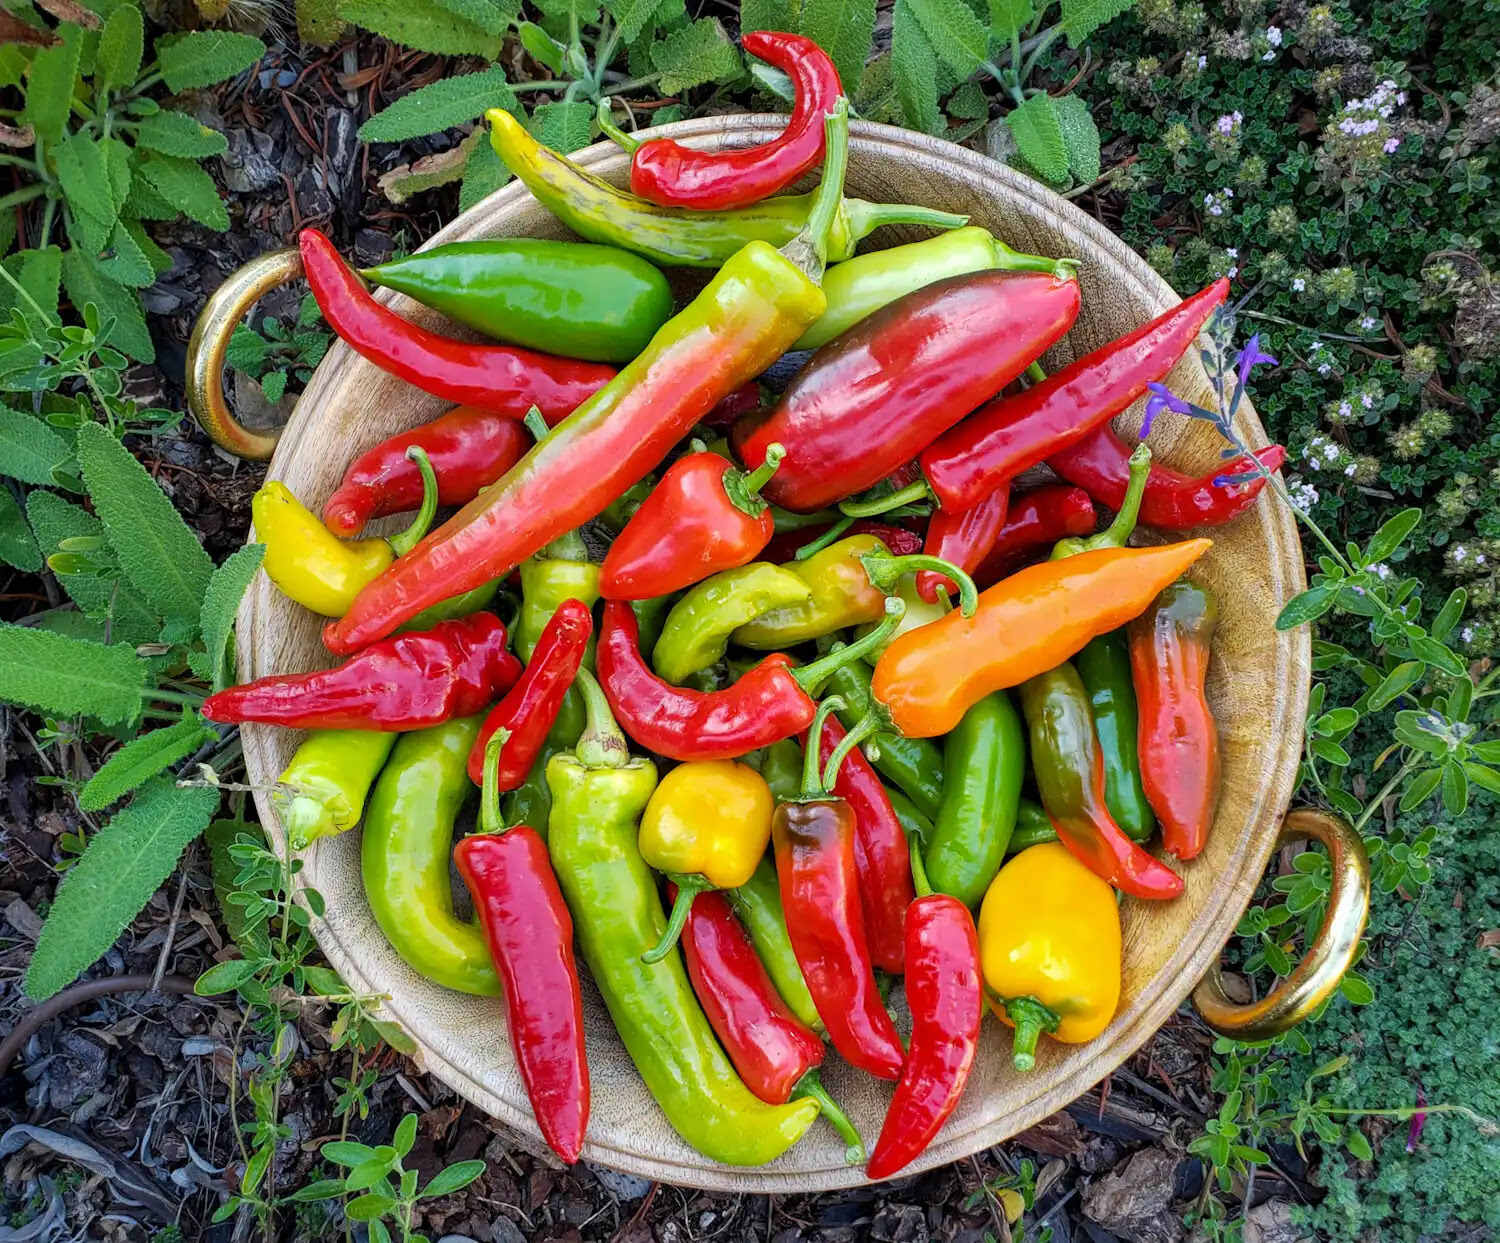
Peppers come in a variety of shapes, sizes, and heat levels, providing a wide range of flavors for culinary enthusiasts. They can be used in salads, stir-fries, salsas, and many other dishes, adding a pop of color and a kick of heat. By properly storing your fresh peppers, you can extend their shelf life and preserve their vibrant taste.
When it comes to choosing the right peppers for storage, it’s important to select ones that are firm, blemish-free, and free from rot or mold. Look for peppers with shiny skins and vibrant colors. Whether you prefer mild bell peppers or spicy chili peppers, make sure you select the freshest ones available.
Once you’ve chosen your peppers, it’s time to harvest them. Peppers are typically ready to be picked when they reach their mature size and color. Gently twist or cut the stem of the pepper to harvest it from the plant. Be careful not to damage the plant or the surrounding peppers in the process.
After harvesting, it’s important to clean the peppers before storing them. Rinse them under cool water to remove any dirt or debris. You can also use a mild detergent to remove any residue on the surface. Make sure to dry the peppers thoroughly before proceeding with the storage methods.
Now that you have clean and dry peppers, there are several methods you can choose from to store them. These include drying, freezing, pickling, and storing in oil or vinegar. The method you choose will depend on your preference and the intended use of the peppers.
In the following sections, we will explore each of these methods in detail, providing step-by-step instructions and helpful tips to ensure successful storage. Whether you want to enjoy the intense flavor of dried peppers throughout the year or the tangy kick of pickled peppers, there’s a storage method that suits your taste.
So let’s dive in and discover how to store fresh peppers from the garden to preserve their flavor and enjoy a taste of summer all year long.
Key Takeaways:
- Preserve the vibrant taste of fresh peppers year-round by choosing, harvesting, and storing them properly. From drying and freezing to pickling and storing in oil or vinegar, there’s a method for every culinary preference.
- Whether you’re a gardening enthusiast or a farmers’ market shopper, mastering the art of storing fresh peppers is essential. With careful selection, proper cleaning, and the right storage method, you can enjoy the flavors of summer all year long.
Read more: How To Store Peppers From The Garden
Choosing the Right Peppers
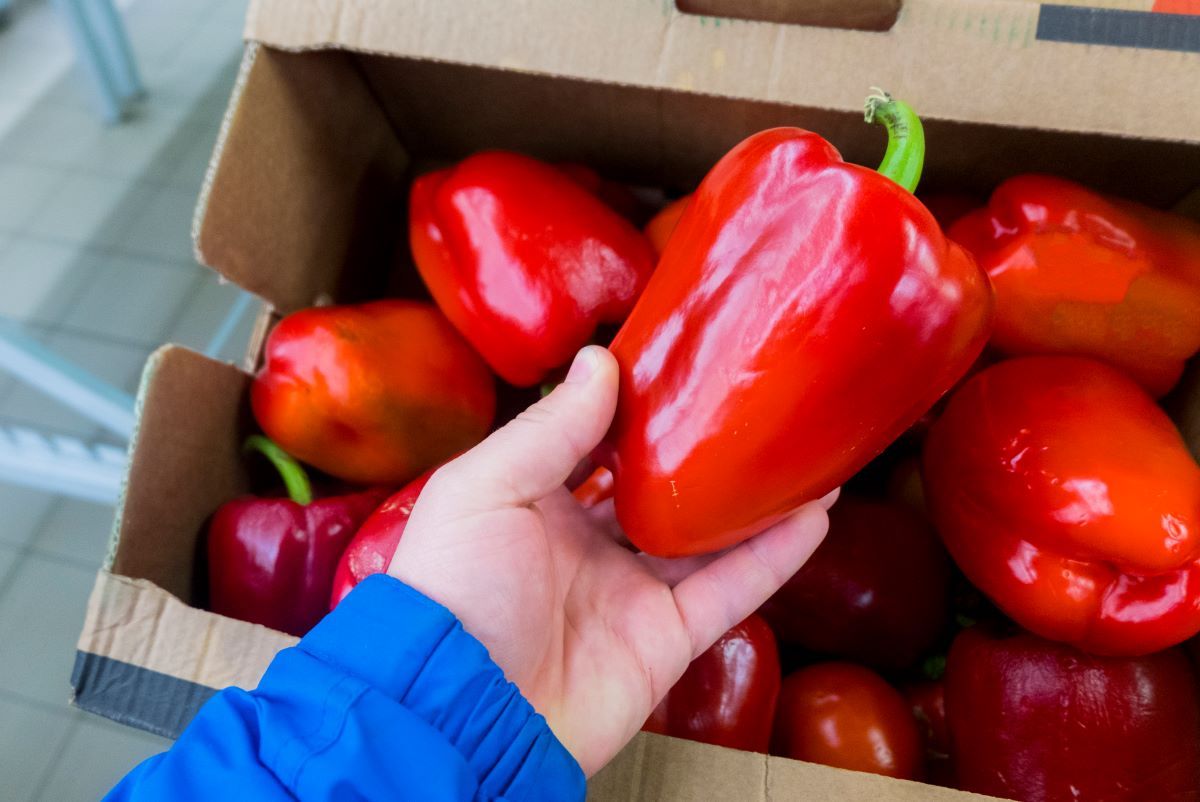
When it comes to storing fresh peppers, it’s important to start with the right ones. Choosing peppers that are in their prime will ensure that they have the best flavor and texture when you’re ready to use them.
First and foremost, look for peppers that are firm to the touch. Avoid any peppers that feel soft or mushy, as they may already be beginning to spoil. The skin of the pepper should be smooth and glossy, without any visible blemishes or wrinkling.
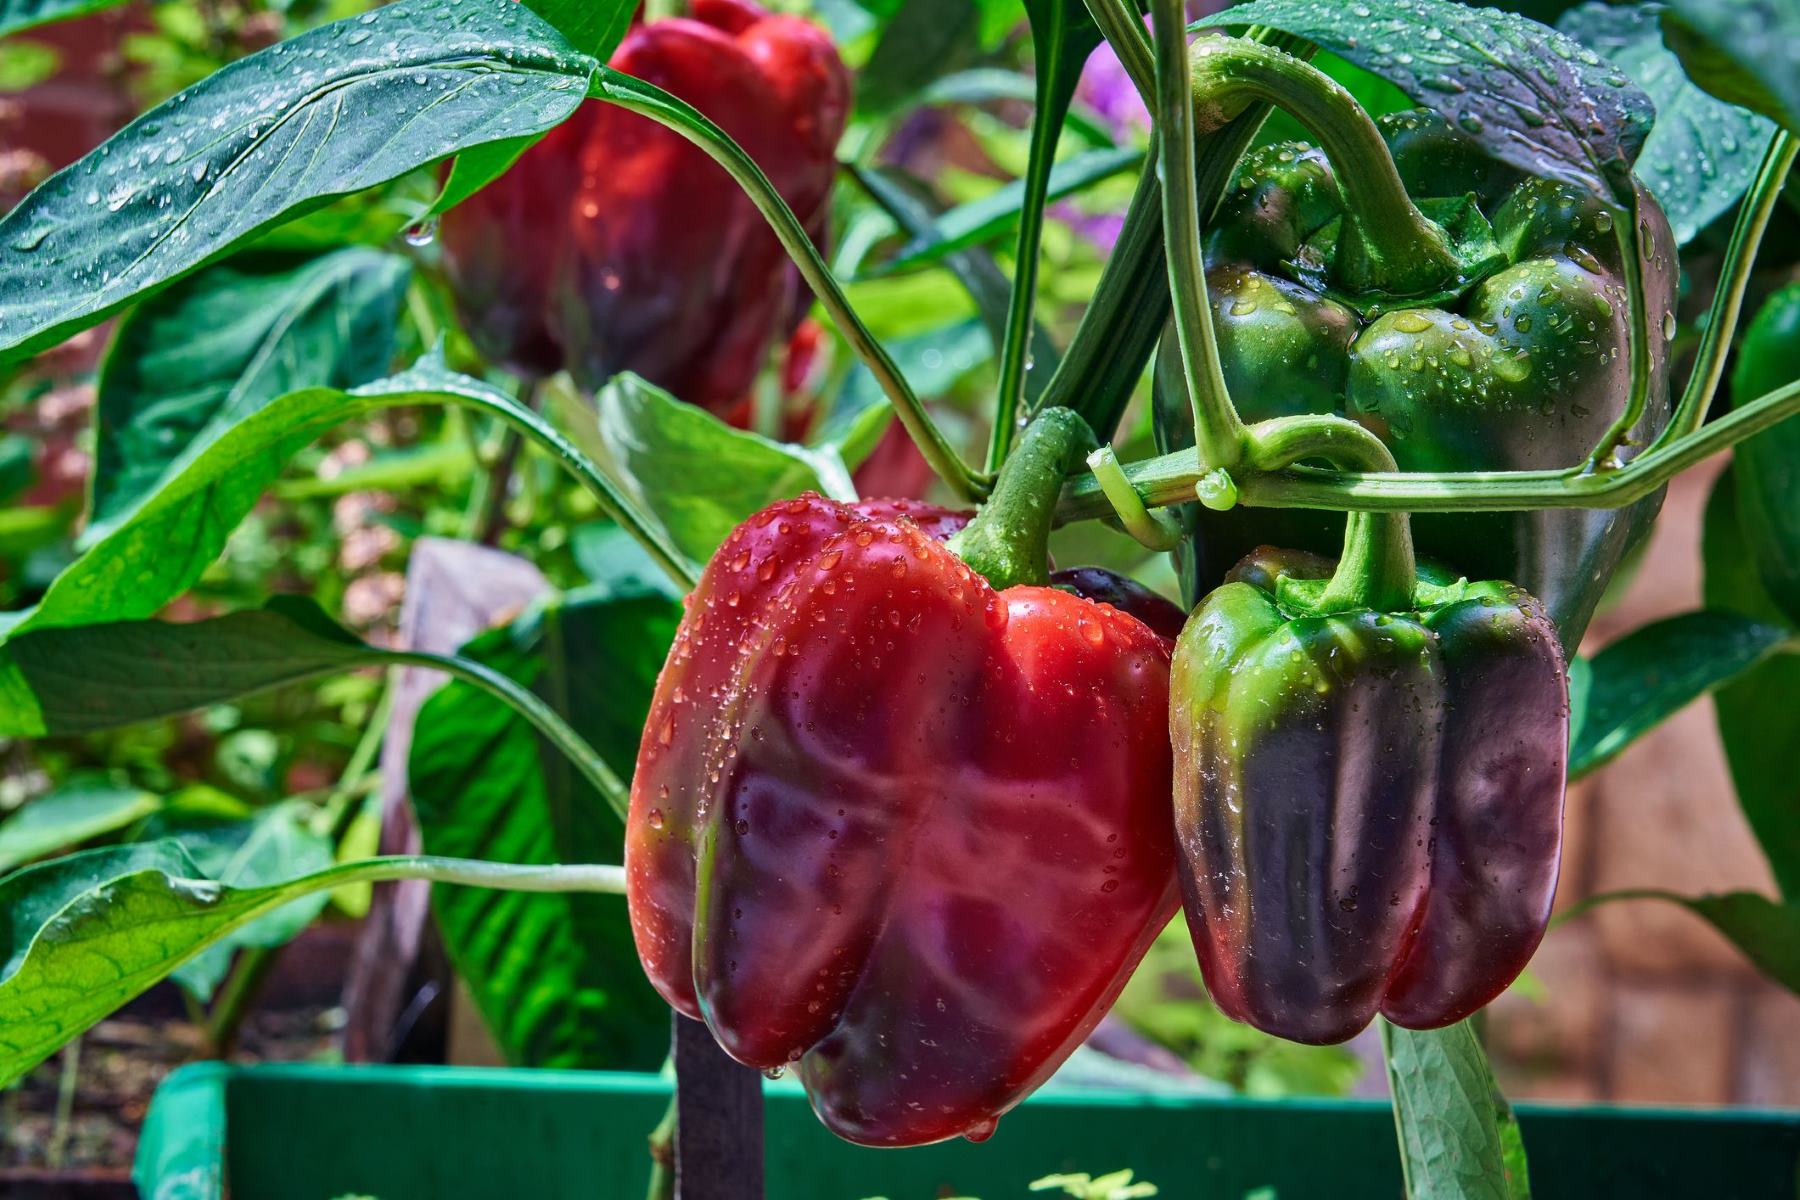
The color of the pepper can also give you an indication of its ripeness. For example, red bell peppers are fully ripe and have a sweeter taste compared to their green counterparts. Yellow, orange, and purple peppers also indicate ripeness and will have a slightly different flavor profile.
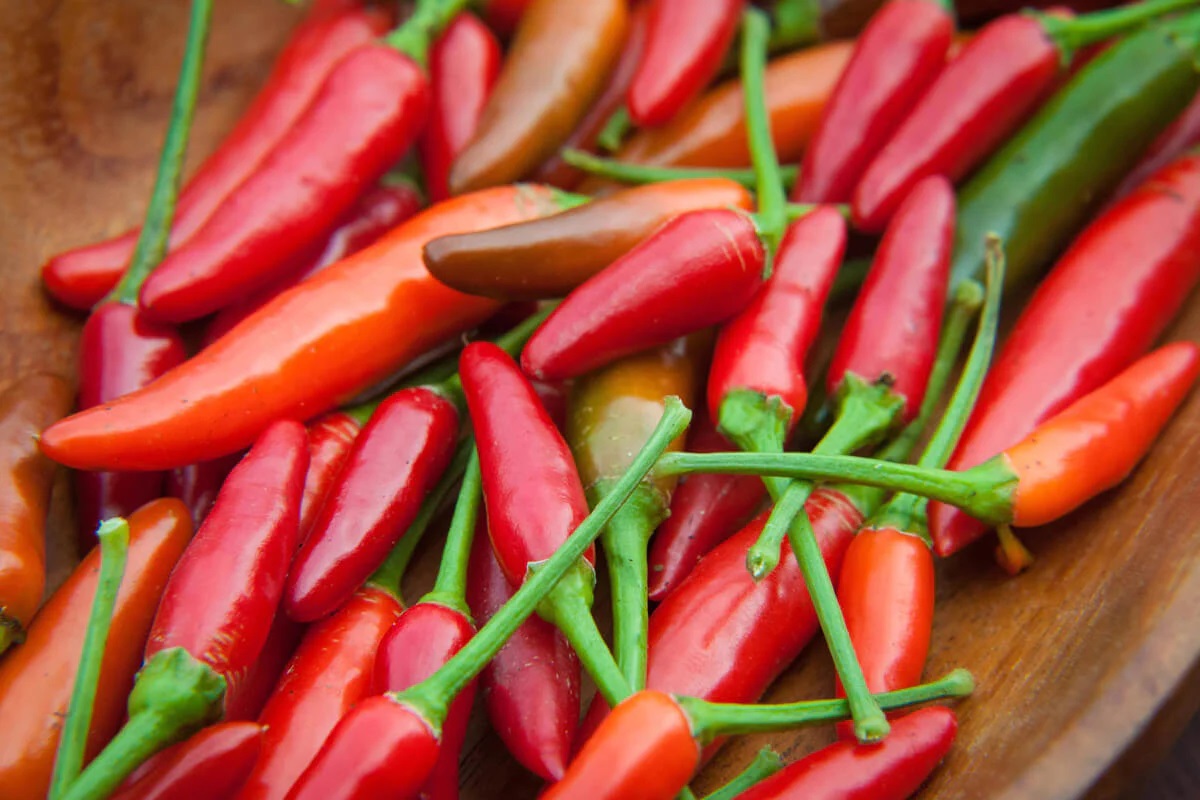
Consider the heat level of the peppers as well. If you prefer mild peppers, opt for bell peppers or varieties like Anaheim and Poblano, which have a milder heat. For those who enjoy a bit more spice, look for jalapenos, serranos, or habaneros. Keep in mind that the level of heat can vary even among peppers of the same variety, so it’s always a good idea to taste a small piece before using the pepper in your dish.
If you’re unsure about which type of pepper to choose, don’t be afraid to ask the vendor or farmer for recommendations. They’ll be able to provide valuable insights on flavor profiles, heat levels, and different ways to use each variety.
Lastly, consider the intended use of the peppers. Some peppers are better suited for stuffing or roasting, while others are perfect for slicing into salads or adding to stir-fries. Choose the peppers that align with your culinary plans to maximize their potential.
By taking the time to carefully choose your peppers, you’ll set the foundation for successful storage and delicious culinary creations.
Harvesting Fresh Peppers
Harvesting fresh peppers from your garden is an exciting moment. It’s important to wait until the peppers are fully mature before picking them to ensure the best flavor. Here are some tips for harvesting your peppers:
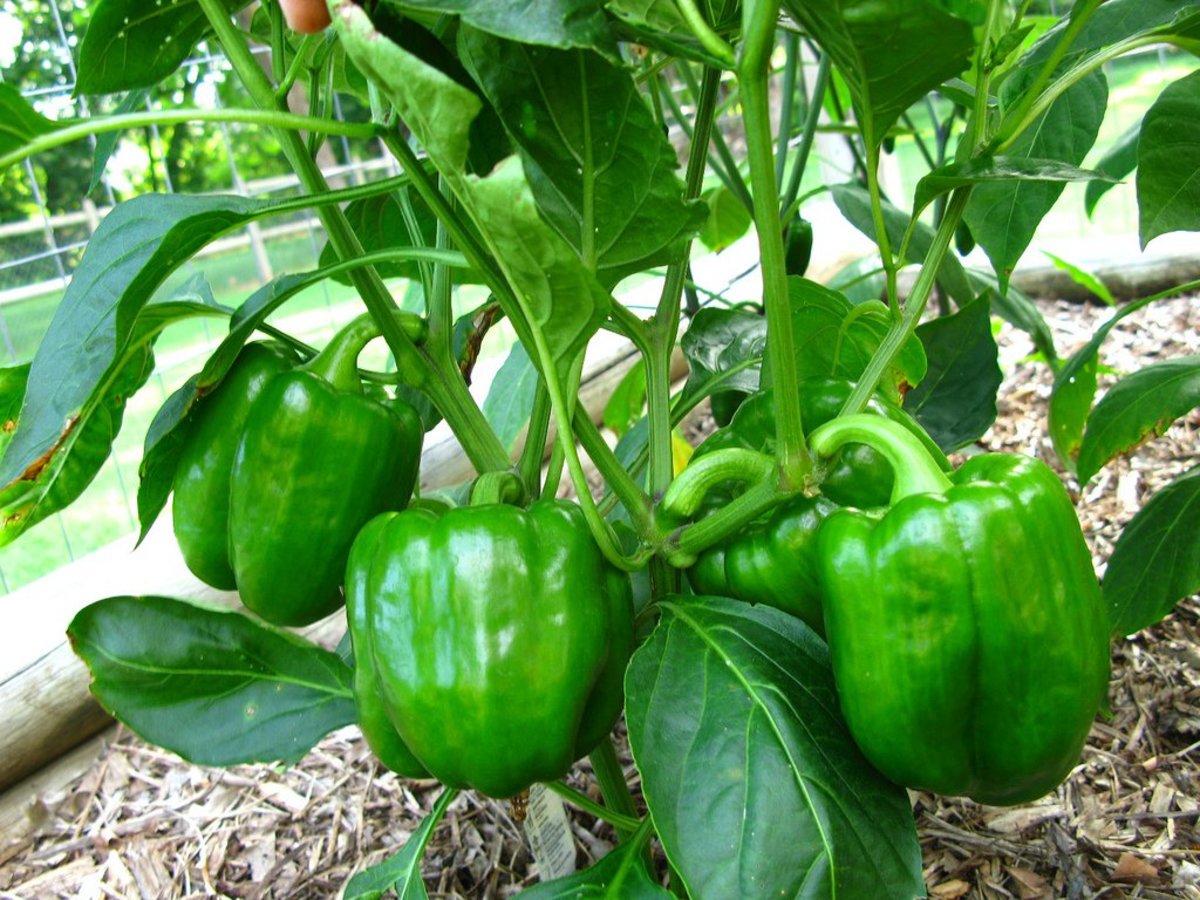
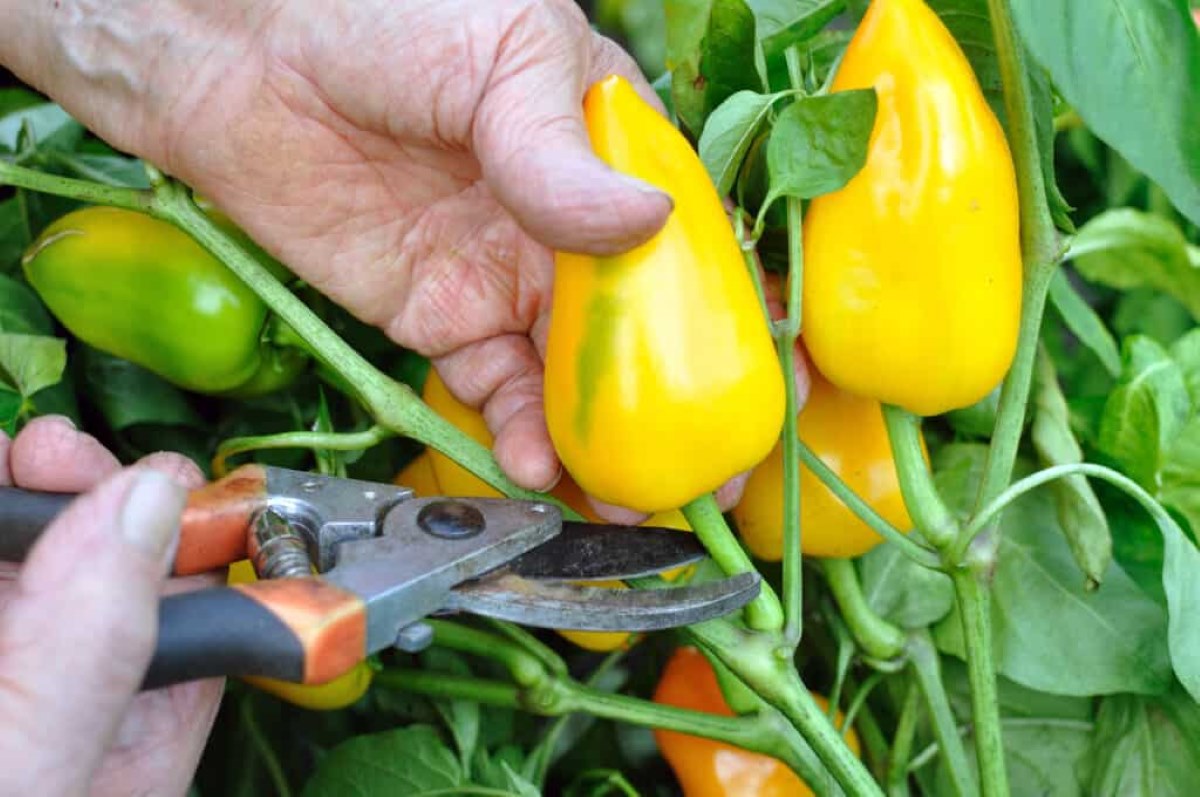
1. Timing is key: Peppers should be harvested when they reach their mature size and color. This will vary depending on the variety you are growing. For bell peppers, they are typically ready to be harvested when they reach their full size and have a glossy appearance. Hot peppers, on the other hand, can be harvested when they have turned their characteristic color, whether it’s green, red, yellow, or any other color specific to the variety.
2. Proper technique: To harvest peppers, it’s best to use garden shears or a sharp knife to cut the stem just above the pepper. Avoid pulling or twisting the peppers off the plant, as this can cause damage to the plant and potentially break the stems of neighboring peppers.
3. Handle with care: Peppers are delicate and can bruise easily. To prevent damage, handle them gently when harvesting. Hold the pepper carefully by the stem and avoid squeezing or applying too much pressure.
4. Check for ripeness: Before harvesting, check each pepper for ripeness. The pepper should feel firm to the touch and have a vibrant color. Depending on the variety, the color may change from green to red, yellow, orange, or even purple as it ripens.
5. Harvest regularly: Peppers continue to ripen on the plant, so it’s important to keep an eye on your pepper plants and harvest regularly. If you notice ripe peppers, it’s best to harvest them to encourage the growth of new peppers.
6. Harvest before frost: If you live in a region with a shorter growing season, it’s important to harvest your peppers before the first frost. Exposure to frost can damage the peppers and affect their flavor and quality.
Once you’ve harvested your fresh peppers, it’s time to move on to the next step: preparing them for storage. Proper cleaning and drying are essential to prolonging the shelf life of your peppers and ensuring they retain their vibrant flavor.
Cleaning the Peppers
After harvesting fresh peppers from your garden, it’s important to give them a thorough cleaning to remove any dirt, residue, or insects that may be lingering on their surface. Here’s how you can clean your peppers effectively:
1. Rinse under cool water: Start by rinsing the peppers under cool running water. Gently rub the surface of the peppers with your fingers to remove any visible dirt or debris. Be careful not to apply too much pressure, as peppers can be delicate and bruise easily.
2. Remove stubborn dirt: If there are any stubborn dirt spots or residues on the peppers, you can use a soft brush, like a vegetable brush, to gently scrub the surface. This will help to loosen and remove any stuck-on dirt without damaging the pepper.
3. Use a mild detergent (optional): If you prefer, you can use a mild detergent or dish soap to clean the peppers. Fill a bowl or basin with cool water and add a few drops of mild detergent. Place the peppers in the soapy water and gently agitate them to loosen any dirt or residues. After a few minutes, rinse the peppers thoroughly under cool running water to remove any soap residue.
4. Inspect for pests: While cleaning the peppers, take the opportunity to inspect them for any signs of pests or insects. Look for holes, chew marks, or any other indications of insect damage. If you find any affected peppers, set them aside and use them immediately rather than storing them.
5. Dry thoroughly: Once you’ve finished cleaning the peppers, it’s crucial to dry them thoroughly before moving on to the storage methods. Excess moisture can promote mold and spoilage. Gently pat the peppers dry with a clean kitchen towel or paper towels. You can also lay them out on a clean dish rack or a towel-lined baking sheet to air-dry for a few hours.
By cleaning your peppers properly, you’ll remove any impurities and ensure that they are ready for the storage methods of your choice. With clean and dry peppers, you can now proceed to the next step: selecting the storage method that suits your culinary needs and preferences.
Drying the Peppers
Drying fresh peppers is a popular method of preserving them for long-term storage. The process removes moisture from the peppers, giving them a concentrated flavor and a longer shelf life. Here’s how you can effectively dry your peppers:
1. Choose the right peppers: Not all peppers are suitable for drying. It’s best to select peppers with thick walls, such as cayenne, jalapeno, or habanero peppers. These varieties tend to dry well and retain their flavor. Avoid using thin-walled peppers like bell peppers, as they can be more challenging to dry and may not yield the desired results.
2. Wash and dry the peppers: Before drying, make sure the peppers are clean and dry. Refer to the previous section on how to clean the peppers effectively. Once they are clean, pat them dry with a kitchen towel or allow them to air dry for a few hours to remove any excess moisture.
3. Prepare the peppers: Depending on your preference, you can either leave the peppers whole or cut them into desired shapes. For smaller peppers, you may choose to dry them whole. For larger peppers, you can slice them into rings, strips, or even dice them. Bear in mind that smaller pieces will dry faster.
4. Air drying method: The simplest way to dry peppers is by air drying. To do this, you can hang the peppers in a well-ventilated and dry area. String a needle and thread through the stems of the peppers and hang them upside down, ensuring they are not touching each other. It’s crucial to place the peppers in an area away from direct sunlight to prevent excessive discoloration and loss of flavor.
5. Oven drying method: If air drying is not feasible, you can use your oven to dry the peppers. Preheat your oven to the lowest temperature setting (typically around 150°F/65°C). Place the peppers on a baking sheet lined with parchment paper, making sure they are evenly spaced. Leave the oven door slightly ajar to allow moisture to escape. Check the peppers regularly and rotate the baking sheet if needed. It may take a few hours to overnight for the peppers to fully dry, depending on their size and thickness.
6. Dehydrator method: If you have a food dehydrator, it provides an optimal environment for drying peppers. Follow the manufacturer’s instructions for dehydrating fruits or vegetables and set the temperature to approximately 125°F/52°C. Arrange the peppers on the dehydrator trays, ensuring proper airflow between the slices. Check the peppers periodically until they are fully dried to your desired texture.
7. Check for doneness: The peppers are considered fully dried when they become leathery and brittle. To test for doneness, try bending the pepper slices. If they snap instead of bending, they are ready. Keep in mind that thicker pieces may take longer to dry compared to thinner slices.
8. Storage: Once the peppers are completely dry, it’s important to store them properly. Place the dried peppers in airtight containers or sealed bags. Store them in a cool, dark, and dry place to maintain their quality. Properly stored dried peppers can last for up to a year.
By drying your fresh peppers, you can enjoy their intense flavor and add a punch of heat to your dishes even during the off-season. Whether you choose to air dry, oven dry, or use a dehydrator, the process of drying peppers is relatively simple and rewarding.
Read more: How To Store Green Peppers From The Garden
Freezing the Peppers
Freezing is a convenient and effective method to store fresh peppers. It allows you to preserve the flavor, texture, and vibrant color of the peppers for an extended period. Here’s a step-by-step guide on how to freeze your peppers:
1. Wash and dry the peppers: Start by washing the peppers under cool running water to remove any dirt or debris. Gently pat them dry with a kitchen towel or allow them to air dry. Ensuring the peppers are dry will prevent ice crystals from forming during freezing.
2. Decide on the form: You have a choice of freezing the peppers whole, sliced, or diced, depending on your preference and how you plan to use them in the future. Whole peppers are convenient if you want to stuff them later, while sliced or diced peppers are suitable for stir-fries, sauces, or soups.
3. Prep the peppers: If you choose to freeze them whole, you can leave the stems intact. For sliced or diced peppers, remove the stems, seeds, and membranes. Cut the peppers into desired sizes and shapes. You may also choose to blanch the peppers briefly in boiling water to help preserve their color and texture, although this step is optional.
4. Blanching (optional): To blanch the peppers, bring a pot of water to a rolling boil. Carefully lower the peppers into the boiling water and blanch them for about 2 minutes. Immediately transfer the peppers to an ice bath to cool them rapidly and stop the cooking process. Once cooled, drain the peppers thoroughly.
5. Arrange for freezing: Place the prepared peppers in a single layer on a baking sheet lined with parchment paper or a silicone mat. Make sure the peppers are not touching each other. This will prevent them from freezing together in a clump, making it easier to remove individual pieces later. Place the baking sheet in the freezer and allow the peppers to freeze until firm, typically for 1 to 2 hours.
6. Packaging: Once the peppers are frozen solid, transfer them into airtight freezer bags or containers. Remove as much air as possible from the bags or containers to minimize the risk of freezer burn. Label the bags or containers with the name of the peppers and the date of freezing for easy reference in the future.
7. Return to the freezer: Place the packaged peppers back into the freezer. Store them in an organized manner, making sure they are not overcrowded. Freezing the peppers at 0°F (-18°C) or below will ensure optimal quality and longevity.
8. Thawing and using: When you’re ready to use the frozen peppers, simply remove the desired amount from the freezer and thaw them in the refrigerator or use them directly in your cooking. Frozen peppers are particularly suitable for recipes where they will be cooked or when the texture change is not a concern.
Freezing fresh peppers is a fantastic way to preserve the bounty of your garden or take advantage of a great deal at the farmers’ market. With frozen peppers readily available, you can add their vibrant flavor and nutritional value to your meals throughout the year.
Store fresh peppers from the garden in a paper bag in the refrigerator to help them stay fresh longer. The paper bag will absorb excess moisture and prevent the peppers from spoiling.
Pickling the Peppers
Pickling fresh peppers is a wonderful way to preserve their flavors while adding a tangy and savory twist. Whether you prefer sweet and crisp pickled peppers or spicy and tangy ones, the pickling process will transform your peppers into a delightful condiment or snack. Here’s how you can pickle your peppers:
1. Select your peppers: Choose peppers that are firm and free from blemishes. You can use a variety of peppers, such as jalapenos, banana peppers, or bell peppers. Consider the level of heat you desire and the flavor profile you want to achieve when selecting your peppers.
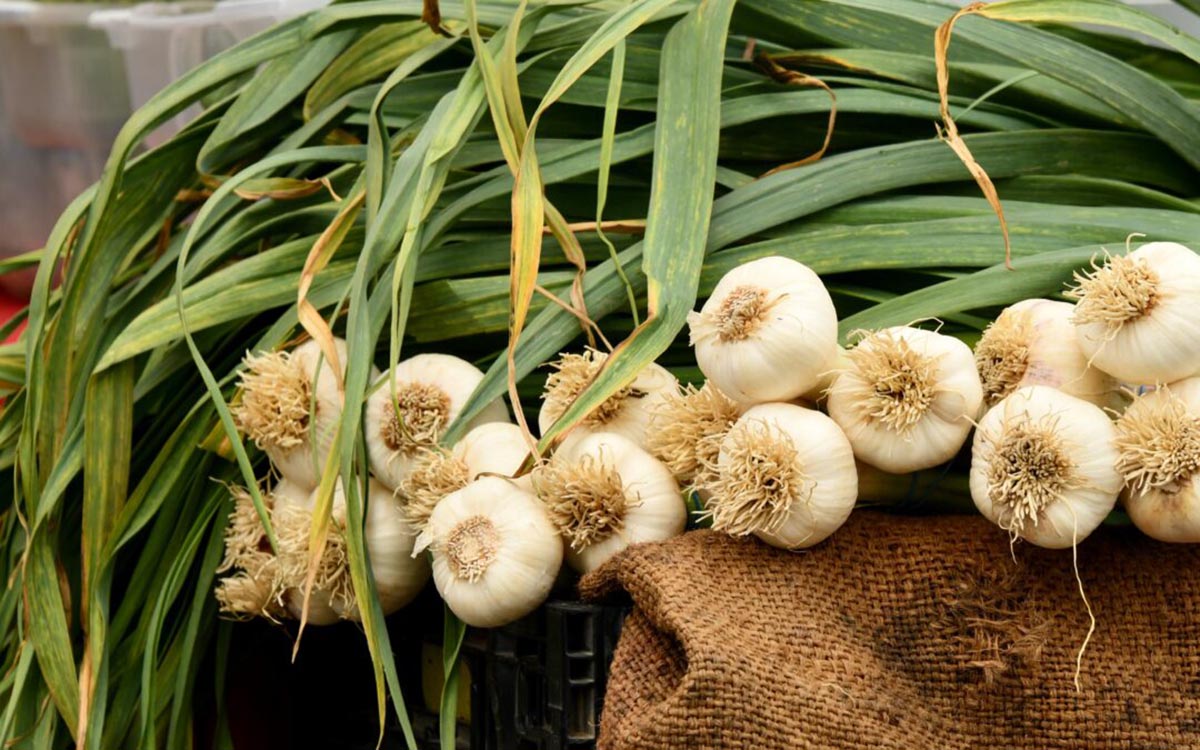
2. Prepare the brine: Start by preparing the pickling brine. In a non-reactive pot, combine equal parts vinegar and water. The vinegar can be white distilled vinegar, apple cider vinegar, or another mild vinegar of your choice. Add sugar, salt, and spices to the pot to season the brine. Common spices for pepper pickling include mustard seeds, coriander seeds, black peppercorns, and garlic cloves. Bring the brine to a boil and allow it to simmer for a few minutes to infuse the flavors.
3. Prepare the peppers: Wash the peppers thoroughly, removing any dirt or debris. Cut the peppers into desired shapes and sizes, such as rings, strips, or leave them whole if they are small. Remember to wear gloves when working with hot and spicy peppers to protect your skin from irritation. If you prefer milder pickled peppers, you can remove the seeds and membranes which contain most of the heat.
4. Sterilize the jars: Before filling the jars with the peppers, make sure to sterilize them. Wash the jars and lids in hot, soapy water, and rinse them well. Place the jars and lids in a pot of boiling water for a few minutes, or use a dishwasher on a sterilizing cycle.
5. Pack the peppers: Carefully pack the prepared peppers into the sterilized jars, leaving some headspace at the top. Evenly distribute the spices and seasonings between the jars, ensuring they are well-distributed among the peppers for even flavoring.
6. Add the brine: Pour the hot pickling brine over the peppers, ensuring that they are completely submerged. Leave about 1/4 inch of headspace at the top of the jar to allow for expansion during pickling. Use a clean utensil to remove any air bubbles and adjust the peppers if needed.
7. Seal and store: Wipe the jar rims clean and place the lids on tightly. Allow the jars to cool at room temperature before storing them in the refrigerator. The flavors of the pickled peppers will develop over time, so it’s best to wait a few weeks before enjoying them. Properly sealed and stored, pickled peppers can last for several months in the refrigerator.
Pickled peppers make a versatile condiment for sandwiches, salads, tacos, or as a tangy addition to cheese boards. The pickling process preserves the crunchiness and flavors of the peppers while offering a unique twist to your dishes.
Storing Peppers in Oil
Storing fresh peppers in oil is a delicious and versatile way to preserve their flavors and create a flavorful oil infusion that can be used in various dishes. Whether you prefer mild and sweet peppers or spicy and tangy ones, storing peppers in oil is a simple process that enhances their taste and adds a touch of richness to your culinary creations. Here’s how to store peppers in oil:
1. Select your peppers: Choose peppers that are firm, fresh, and free from blemishes. You can use any type of pepper that you enjoy, such as bell peppers, chili peppers, or even specialty varieties like sweet pimentos. Consider the flavor and heat level you desire, as this will influence your choice of peppers.
2. Clean and prepare the peppers: Wash the peppers under cool running water to remove any dirt or debris. Pat them dry with a clean kitchen towel or allow them to air dry. Remove the stems, seeds, and membranes from the peppers, as they can add a bitter taste if left intact.
3. Roast or grill the peppers (optional): For added flavor, you can roast or grill the peppers before storing them in oil. This step is optional but can impart a smoky and charred taste to the peppers. Place the peppers on a baking sheet and broil them in the oven or char them directly over a gas flame or grill. Flip them occasionally until the skin is blistered and blackened. Once charred, place the peppers in a covered bowl to steam for a few minutes. This will loosen the skin, making it easier to remove.
4. Peel and slice the peppers: Peel the skin from the roasted or grilled peppers, as it can be tough and impart a bitter taste. Slice the peppers into desired sizes and shapes, such as strips or chunks. The size of the slices will depend on how you plan to use them.
5. Sterilize the jars: Before adding the peppers and oil, it’s important to sterilize the jars to prevent bacterial growth. Wash the jars and lids in hot, soapy water, and rinse them well. Then, place the jars and lids in a pot of boiling water for a few minutes, or use a dishwasher on a sterilizing cycle.
6. Layer the peppers and herbs: Layer the sliced peppers and any herbs or spices of your choice in the sterilized jars. You can add garlic cloves, basil leaves, thyme sprigs, or any other herbs and spices that complement the flavor of the peppers.
7. Fill the jars with oil: Pour olive oil or another high-quality vegetable oil over the peppers until they are fully submerged. Ensure there is enough oil to cover the peppers completely, as exposure to air can lead to spoilage. Gently tap the jars on the counter to remove any air bubbles and top up with more oil if needed.
8. Seal and store: Wipe the jar rims clean and place the lids on tightly. Store the jars in a cool, dark place, such as a pantry or cellar. The peppers will continue to infuse the oil with their flavors over time. Properly sealed and stored, peppers in oil can last for several months. However, it’s important to check the jars periodically for any signs of spoilage, such as mold or off smells. If you notice any signs of spoilage, discard the entire jar.
Storing peppers in oil not only preserves their flavors but also creates a versatile ingredient that can be used in salads, pasta dishes, sandwiches, and more. The infused oil adds a delightful zing to your recipes, making it a pantry staple for any culinary enthusiast.
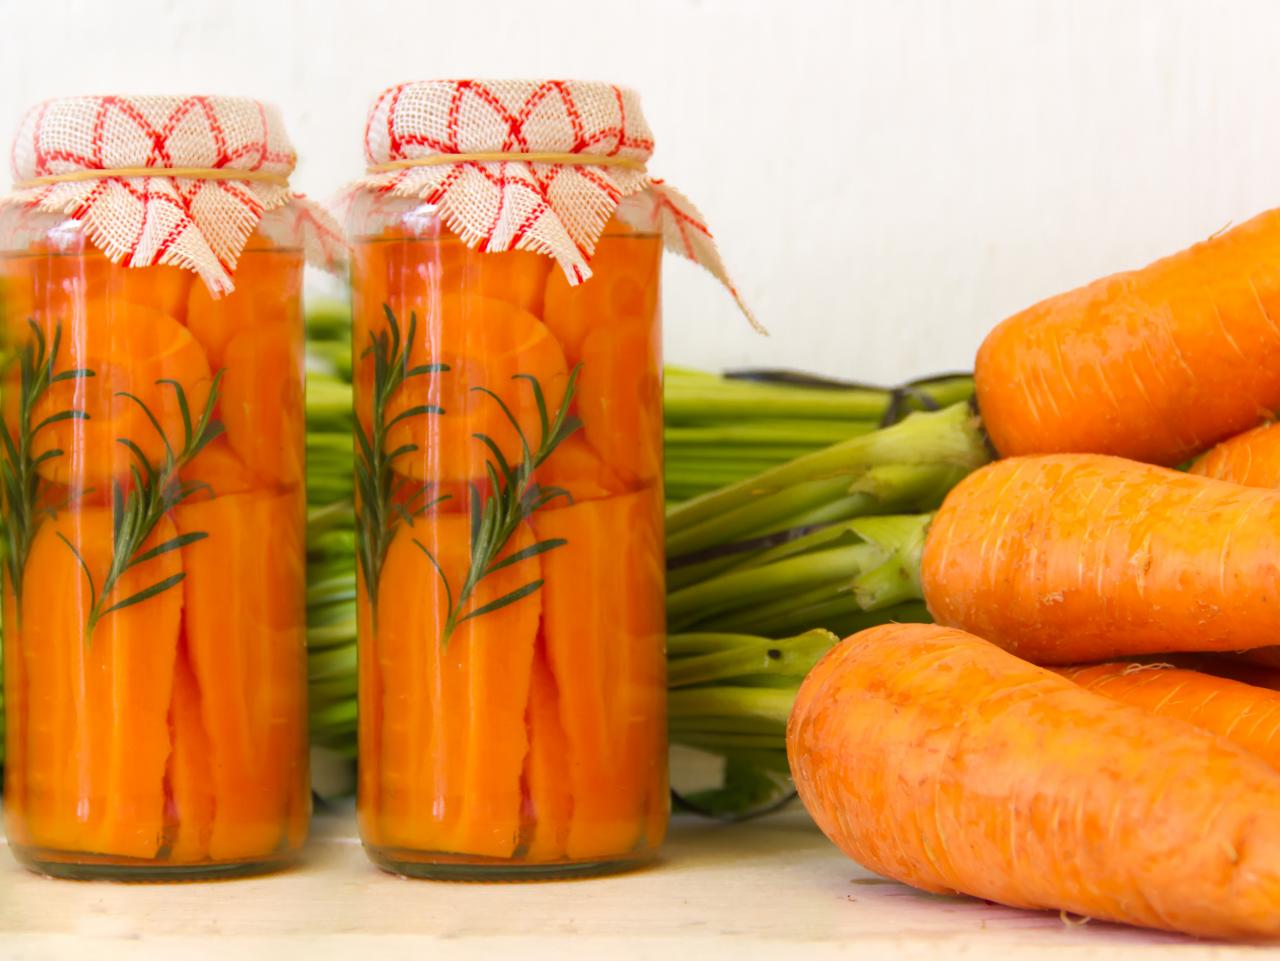
Storing Peppers in Vinegar
Storing fresh peppers in vinegar is a popular method that not only preserves their vibrant flavors but also creates a tangy and versatile condiment that can be used in various dishes. Whether you prefer mild and sweet peppers or spicy and tangy ones, storing peppers in vinegar infuses them with tanginess and extends their shelf life. Here’s how to store peppers in vinegar:
1. Select your peppers: Choose peppers that are firm, fresh, and free from blemishes. You can use any type of pepper that you enjoy, such as bell peppers, jalapenos, or even habaneros. Consider the flavor and heat level you desire, as this will influence your choice of peppers.
2. Prepare the peppers: Wash the peppers thoroughly under cool running water to remove any dirt or debris. Pat them dry with a clean kitchen towel or allow them to air dry. Remove the stems, seeds, and membranes from the peppers, as they can add a bitter taste to the pickling vinegar.
3. Slice or dice the peppers: Slice or dice the peppers into desired sizes and shapes. The size of the pieces will depend on how you plan to use the pickled peppers. Slicing the peppers into rings or strips works well for garnishing salads or sandwiches, while dicing them is perfect for adding a pop of flavor to salsas or stews.
4. Sterilize the jars: To ensure the pickled peppers stay fresh and safe to consume, it’s important to sterilize the jars. Wash the jars and lids in hot, soapy water, and rinse them well. Then, place the jars and lids in a pot of boiling water for a few minutes, or use a dishwasher on a sterilizing cycle.
5. Prepare the pickling liquid: In a non-reactive pot, combine equal parts vinegar and water. You can use white distilled vinegar, apple cider vinegar, or another mild vinegar of your choice. Add sugar, salt, and any desired spices or herbs to the pot to season the pickling liquid. Common spices for pickled peppers include mustard seeds, black peppercorns, garlic cloves, and bay leaves.
6. Heat the pickling liquid: Bring the pickling liquid to a boil, stirring until the sugar and salt dissolve completely. Allow the liquid to simmer for a few minutes to infuse the flavors of the spices. Remove it from the heat and let it cool for a few minutes.
7. Pack the jars: Pack the prepared peppers tightly into the sterilized jars, leaving some headspace at the top. Pour the hot pickling liquid over the peppers, ensuring they are completely submerged. Leave about 1/2 inch of headspace at the top to allow for expansion during pickling. Use a clean utensil to remove any air bubbles and adjust the peppers if needed.
8. Seal and store: Wipe the jar rims clean and place the lids on tightly. Allow the pickled peppers to cool completely at room temperature before transferring them to the refrigerator. They can be enjoyed after a few days, but the flavors will continue to develop over time. Properly sealed and stored, pickled peppers in vinegar can last for several months.
Storing peppers in vinegar not only preserves their flavors but also creates a tangy and zesty condiment that can elevate the taste of salads, tacos, sandwiches, and more. Their tanginess adds a burst of flavor to your dishes, making them a versatile and tasty addition to your pantry.
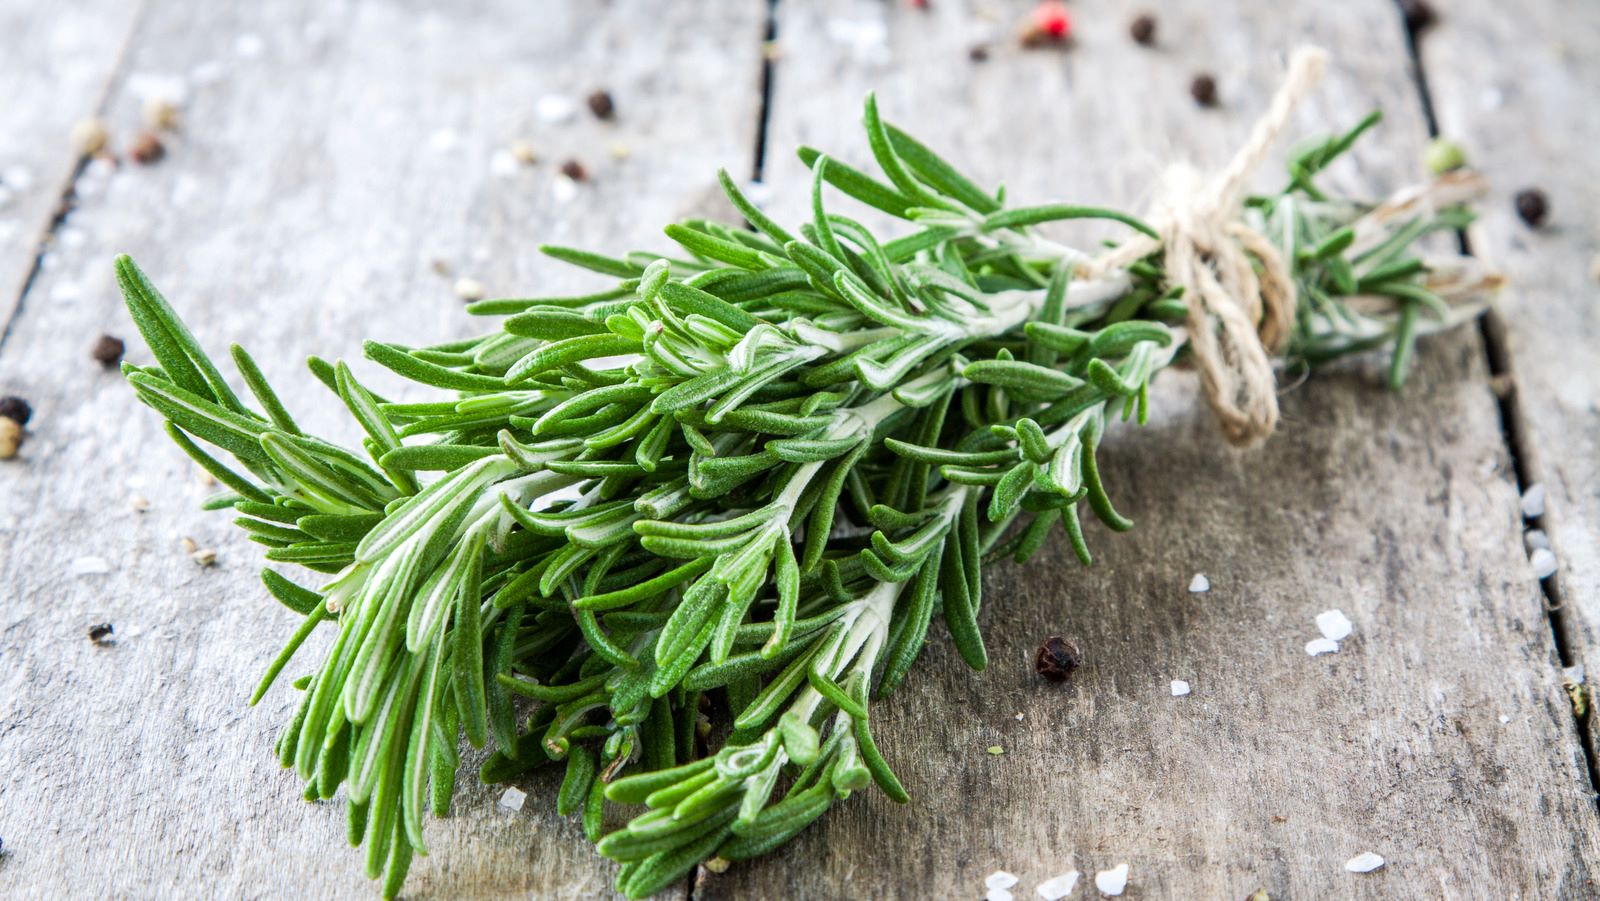
Read more: How To Store Fresh Herbs From Garden
Storing Peppers in the Refrigerator
Storing fresh peppers in the refrigerator is a simple and effective method to keep them fresh for an extended period. Proper refrigeration helps maintain the crisp texture and vibrant color of the peppers while preserving their flavors. Here’s how you can store peppers in the refrigerator:
1. Select your peppers: Choose peppers that are firm, fresh, and free from any signs of rot or mold. Look for peppers with shiny skin and vibrant colors. Whether you prefer sweet bell peppers or spicy chili peppers, selecting the highest quality peppers will ensure better storage results.
2. Do not wash the peppers: It’s important to avoid washing the peppers before refrigeration. Moisture can accelerate spoilage, so it’s best to keep the peppers unwashed until you’re ready to use them. Washing can also remove the protective natural coating of the pepper, making them more prone to mold growth.
3. Store in a perforated bag or in the vegetable drawer: Place the peppers in a perforated plastic bag or wrap them loosely in a paper towel. The perforations or loose wrapping allow for airflow and help prevent excess moisture buildup. Alternatively, you can store the peppers in the vegetable drawer of your refrigerator, separating them from other produce items to prevent cross-contamination.
4. Keep away from ethylene-producing fruits: Ethylene gas can accelerate the ripening process and spoilage of peppers. Therefore, it’s advisable to store peppers away from ethylene-producing fruits like bananas, apples, or tomatoes. This will help to extend their shelf life.
5. Check and rotate regularly: It’s a good practice to check the peppers regularly for signs of spoilage. Discard any peppers that show soft spots, mold, or have a foul odor. Additionally, rotate the peppers in the refrigerator to ensure even cooling and prevent any areas from becoming overly damp or warm.
6. Use within a week: While refrigeration can prolong the shelf life of peppers, it’s recommended to use them within a week for the best quality. Over time, the peppers may start to lose their firmness and become slightly shriveled, but they can still be used in cooked dishes where texture is not as important.
Storing peppers in the refrigerator is a convenient way to keep them fresh and readily available for your culinary creations. Whether you’re adding them to salads, stir-fries, or stuffing them with delicious fillings, properly storing your peppers in the refrigerator will ensure their optimum freshness and flavor.
Storing Peppers in the Pantry
Storing fresh peppers in the pantry is a viable option if you prefer to keep them at room temperature. While refrigeration can help prolong the shelf life of peppers, storing them in the pantry allows them to stay accessible and often results in optimal flavor and texture. Here’s how to store peppers in the pantry:
1. Choose the right peppers: Select peppers that are firm, fresh, and free from any signs of decay or mold. Look for peppers with smooth and shiny skin, vibrant colors, and no visible blemishes. Whether you prefer mild bell peppers or spicy chili peppers, choosing high-quality peppers is essential for successful pantry storage.
2. Do not wash the peppers: It’s important to avoid washing the peppers before storing them in the pantry. Moisture can lead to mold growth, so it’s best to keep the peppers unwashed until you are ready to use them. Washing can also remove the natural protective coating of the pepper, making them more susceptible to spoilage.
3. Check for any damage: Before storing, inspect the peppers for any signs of damage or soft spots. Remove any peppers that show signs of decay or have begun to spoil. Separating compromised peppers from the rest will help prevent any potential spread of spoilage.
4. Place in a cool and dark location: Find a cool spot in your pantry away from direct sunlight or heat sources to store the peppers. Excessive heat or sunlight can cause the peppers to spoil or degrade more quickly. Ideally, maintain a temperature of around 50 to 70°F (10 to 21°C) to keep the peppers in optimal condition.
5. Keep away from ethylene-producing fruits: Ethylene gas can accelerate the ripening process and spoilage of peppers. Therefore, it’s advisable to store peppers away from ethylene-producing fruits like bananas, apples, or tomatoes. This will help to extend their shelf life.
6. Check regularly and use within a week: It’s important to check the peppers regularly for any signs of deterioration. Discard any peppers that show soft spots, mold, or have a foul odor. Peppers stored in the pantry are best used within a week for optimal flavor and texture. Over time, they may start to lose their firmness and become slightly wrinkled, but they can still be used in cooked dishes where texture is not as crucial.
Storing peppers in the pantry allows them to mature and develop their flavors while remaining easily accessible for your culinary needs. By following these simple steps, you can enjoy the convenience of having fresh peppers at hand while maintaining their quality and taste.
Conclusion
Storing fresh peppers properly is essential to preserve their flavors, textures, and nutritional value. Whether you have a bountiful garden or have purchased them from a local market, knowing how to store peppers will allow you to enjoy their vibrant taste all year round. From drying and freezing to pickling and storing in oil or vinegar, there are various methods to choose from based on your preference and intended use.
Choosing the right peppers is the first step toward successful storage. Look for firm, blemish-free peppers with vibrant colors that align with your taste preferences. Harvest your peppers when they reach their mature size and color, and handle them with care to avoid bruising and damage.
Cleaning the peppers thoroughly by rinsing and drying them ensures that they are free from dirt and debris. After cleaning, you can proceed with the storage method of your choice.
Drying peppers is an excellent option for preserving their concentrated flavor and extending their shelf life. Whether you opt for air drying, oven drying, or using a food dehydrator, remember to choose peppers with thick walls and fully dry them before storage.
Freezing peppers allows you to preserve their freshness and flavors. Whether you freeze them whole or in slices, make sure they are dry before placing them in airtight containers or freezer bags for long-term storage.
Pickling peppers in vinegar or oil creates tangy and savory condiments that add a burst of flavor to various dishes. Properly sterilize the jars and pack the peppers tightly, ensuring they are completely submerged in the pickling liquid for best results.
Storing peppers in the refrigerator or pantry is a simple way to keep them accessible, while maintaining their quality. Take care to avoid washing the peppers before storing, check for spoilage regularly, and use them within the recommended time frame for optimal flavor and texture.
In conclusion, by following the methods and tips outlined in this article, you can store your fresh peppers effectively and enjoy their vibrant taste throughout the year. Whether you’re drying, freezing, pickling, or storing in oil or vinegar, each method offers a unique way to preserve their flavors and versatility. So, whether you’re adding a kick of spice to your recipes or simply enhancing the colors on your plate, proper storage ensures that you’ll have fresh peppers ready for use whenever inspiration strikes.
Frequently Asked Questions about How To Store Fresh Peppers From The Garden
Was this page helpful?
At Storables.com, we guarantee accurate and reliable information. Our content, validated by Expert Board Contributors, is crafted following stringent Editorial Policies. We're committed to providing you with well-researched, expert-backed insights for all your informational needs.


0 thoughts on “How To Store Fresh Peppers From The Garden”