Articles
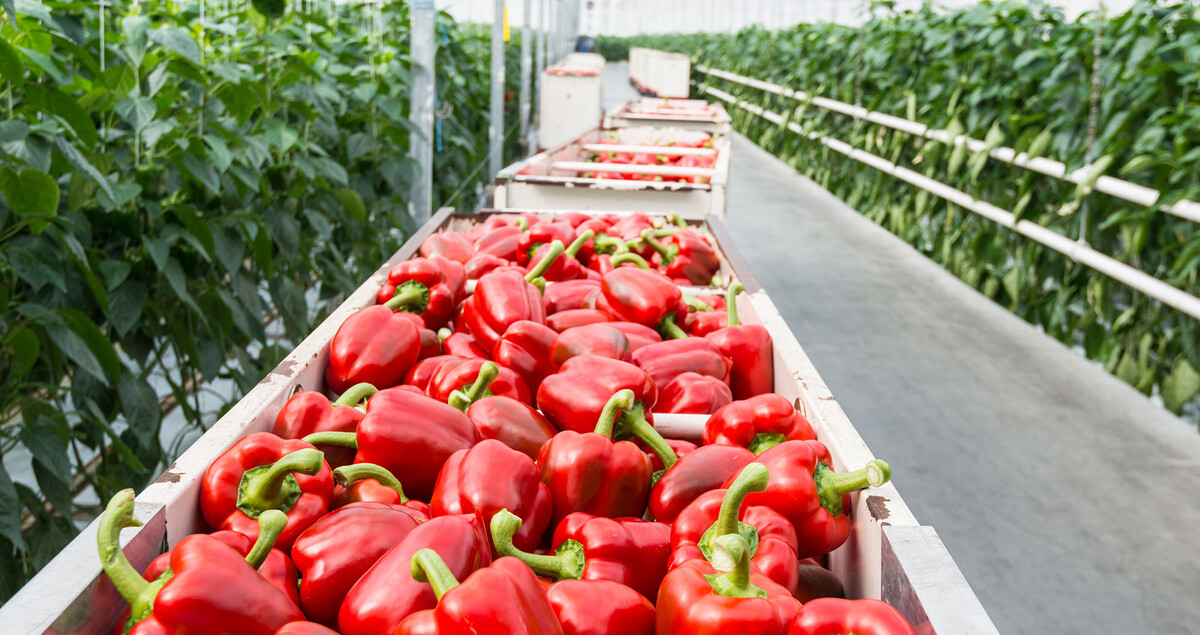
How To Store Peppers From The Garden
Modified: February 24, 2024
Discover effective techniques for storing peppers from your garden with these helpful articles. Learn how to keep your peppers fresh and flavorful for longer periods.
(Many of the links in this article redirect to a specific reviewed product. Your purchase of these products through affiliate links helps to generate commission for Storables.com, at no extra cost. Learn more)
Introduction
Welcome to the world of garden-to-table freshness! Growing your own peppers can be a rewarding experience, as nothing beats the taste of a freshly picked pepper straight from your garden. But what do you do when you have an abundance of peppers and want to preserve their flavor for later use? Storing peppers from the garden is a great way to extend their shelf life and enjoy the fruits of your labor throughout the year.
Whether you have bell peppers, jalapenos, or other varieties, the same general principles apply for storing these versatile and colorful vegetables. This article will guide you through various methods of storing peppers, including refrigeration, freezing, oil preservation, drying, and pickling. By following these techniques, you can continue to savor the vibrant taste of homegrown peppers long after the growing season has ended.
Before jumping into the storage methods, it’s important to keep in mind that the quality of the peppers you harvest will greatly affect their shelf life. Harvesting at the right time can make a big difference in the flavor and texture of your peppers. Let’s explore how to determine the optimal harvest time for your peppers.
Key Takeaways:
- Preserve the vibrant flavors of homegrown peppers by storing them in the refrigerator, freezer, oil, or pickled form. Enjoy the fruits of your labor all year round with these versatile and colorful vegetable storage methods.
- From determining the optimal harvest time to preparing and storing peppers, explore various methods to savor the taste of garden-fresh peppers long after the growing season ends. Experiment with drying, pickling, freezing, and refrigerating for a burst of homegrown flavor.
Read more: How To Store Peppers From Garden
Determining Harvest Time
Knowing when to harvest your peppers is crucial for achieving the best flavor and quality. The exact timing will depend on the type of pepper you are growing, as different varieties have different maturation rates. Here are some general guidelines to help you determine when your peppers are ready to be harvested:
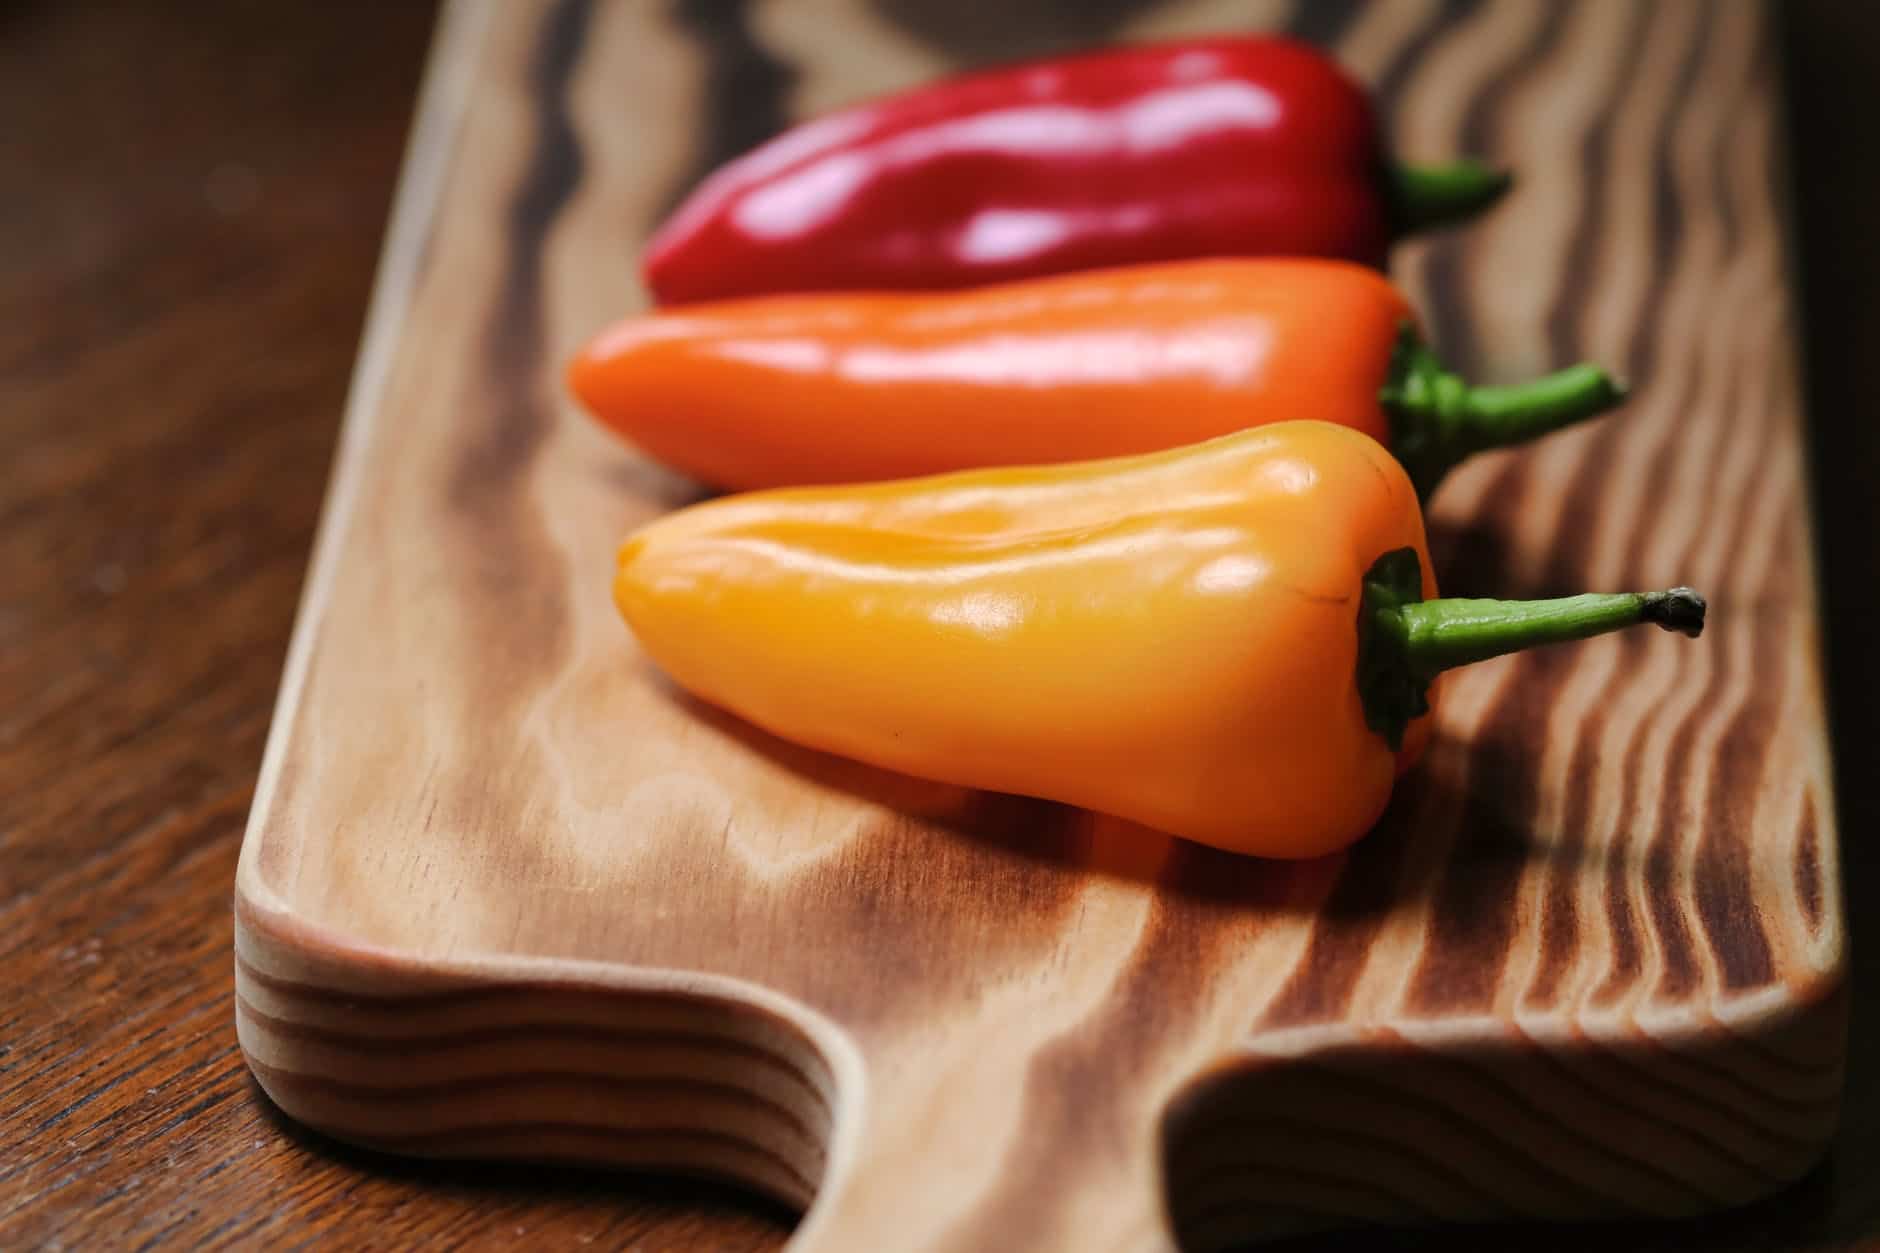
1. Color: The color of the pepper is a good indicator of its ripeness. Most peppers start off green and gradually change color as they mature. For example, bell peppers turn from green to yellow, orange, or red, depending on the variety. Wait until the peppers have reached their desired color before harvesting.
2. Size and Firmness: Peppers should be a good size and have a firm texture before they are harvested. They should feel plump and heavy in your hand. Avoid picking peppers that are underdeveloped or too small, as they may lack flavor.
3. Taste Test: If you’re unsure about the ripeness of your peppers, you can always do a taste test. Gently bite into a small part of the pepper to evaluate its flavor. If it has a crisp and sweet taste, it’s ready to be harvested. However, if the pepper is bitter or lacks flavor, it may need more time on the plant.
Remember, it’s better to harvest your peppers a little later than too early. Leaving them on the plant for an extra week or two can greatly enhance their flavor and sweetness. Once you have determined the ideal harvest time, it’s time to move on to the next step: selecting the peppers for storage.
Selecting Peppers for Storage
When choosing peppers for storage, it’s important to select ones that are in prime condition. Here are some tips to help you select the best peppers for long-term storage:
1. Blemish-free: Look for peppers that are free of blemishes, bruises, or signs of decay. Any damaged areas can lead to rot and spoilage during storage, so it’s best to choose peppers that are in excellent condition.
2. Firmness: Peppers should still have a firm texture when you choose them for storage. Avoid peppers that feel soft or have a wrinkled appearance, as these may not hold up well during the storage process.
3. Size: While size doesn’t necessarily affect the storage quality of peppers, it may be more convenient to choose peppers that are of a similar size. This will ensure more even cooking and preparation when you use them later.
4. Ripeness: If you plan to use your peppers quickly, you can choose ones that are fully ripe and ready to eat. However, if you want to store your peppers for a longer period, it’s best to select peppers that are slightly underripe. These peppers will have a longer shelf life and will continue to ripen gradually as they are stored.
Remember, the quality of the peppers you choose will determine the quality and longevity of your stored peppers. It’s always better to choose peppers that are in the best possible condition to maximize their shelf life. Once you have selected your peppers, it’s time to prepare them for storage.
Preparing Peppers for Storage
Before storing your peppers, it’s essential to properly prepare them to ensure optimal freshness and longevity. Follow these steps to prepare your peppers for storage:
1. Wash and Dry: Begin by washing your peppers thoroughly under cool running water. Gently rub the surface to remove any dirt or debris. After washing, pat them dry with a clean kitchen towel or paper towels. Removing excess moisture will help prevent mold and spoilage during storage.
2. Remove Stem and Seeds: Next, remove the stem from each pepper by either twisting it off or cutting around it. You can also slice the peppers in half lengthwise and scoop out the seeds and membranes with a spoon. Removing the stem and seeds will prevent the peppers from becoming mushy or developing an off taste during storage.
3. Slice or Dice (optional): Depending on how you plan to use the peppers in the future, you can slice or dice them before storage. This step is particularly useful if you want to conveniently add peppers to recipes without having to thaw or chop them later. However, if you prefer to use whole peppers, skip this step.
4. Blanching (optional): Blanching is a helpful technique for preserving the color and texture of peppers during freezing. To blanch, bring a pot of water to a boil and immerse the peppers in boiling water for about two to three minutes. Then, quickly transfer them to an ice water bath to stop the cooking process. Blanching can help retain the peppers’ quality and reduce the risk of freezer burn. However, it is an optional step and can be skipped if you prefer.
By following these preparation steps, you will ensure that your peppers are ready to be stored using the method of your choice. Whether you plan to store them in the refrigerator, freezer, oil, or in pickled form, properly preparing the peppers will contribute to their overall storage success.
Storing Peppers in the Refrigerator
If you prefer to use fresh peppers over an extended period, storing them in the refrigerator is an excellent option. Here’s how you can store peppers in the refrigerator:
1. Place in Perforated Bag or Container: Transfer the prepared peppers into a perforated plastic bag or container. The perforations allow for proper air circulation, preventing moisture buildup and prolonging the peppers’ freshness. If you don’t have perforated bags or containers, you can create small holes in regular plastic bags using a fork or a sharp object.
2. Store in Crisper Drawer: The crisper drawer in your refrigerator is the ideal spot for storing peppers. It provides a cool, humidity-controlled environment, which helps to maintain the peppers’ crispness and flavors. Place the bag or container of peppers in the crisper drawer, away from other fruits or vegetables that emit ethylene gas, which can cause the peppers to spoil faster.
3. Check Regularly: It’s important to check on your stored peppers regularly. Remove any peppers that show signs of decay or spoilage to prevent them from affecting the others. Remember to handle the peppers gently to avoid bruising or damaging them.
By storing peppers in the refrigerator using these simple steps, you can enjoy fresh peppers for up to two weeks. It’s worth noting that the flavor and texture of peppers may gradually change over time, so it’s best to use them as soon as possible for the best taste.
Next, let’s explore another popular method for storing peppers: the freezer.
Read more: How To Store Green Peppers From The Garden
Storing Peppers in the Freezer
If you have an abundance of peppers and want to enjoy their flavors all year round, freezing them is a convenient option. Freezing peppers preserves their taste and texture, making them versatile for use in various dishes. Here’s how you can store peppers in the freezer:
1. Flash Freeze Whole Peppers: If you prefer to use whole peppers in your recipes, start by flash freezing them. Place the whole peppers on a baking sheet lined with parchment paper, making sure they are not touching each other. Then, place the baking sheet in the freezer and allow the peppers to freeze for a few hours until they are solid.
2. Transfer to Freezer Bags: Once the peppers are frozen, transfer them into freezer-safe plastic bags. Remove any excess air from the bags before sealing to prevent freezer burn. Label the bags with the date for easier tracking of freshness.
3. Slice or Dice Peppers: Alternatively, you can slice or dice the peppers before freezing if you prefer to have them ready to use in specific recipes. Follow the same flash freezing and bagging process mentioned earlier, ensuring that the peppers are properly sealed and labeled.
4. Use in Frozen State: When you’re ready to use the frozen peppers, there’s no need to thaw them beforehand. You can directly add them to soups, stir-fries, or any recipe that requires cooking. The peppers will soften as they cook and retain their flavors well.
Frozen peppers can be stored in the freezer for up to 6 months without significant loss of quality. However, for the best taste and texture, it’s recommended to use them within 3-4 months.
Now that you know how to store peppers in the freezer, let’s explore another method: preserving peppers in oil.
To store peppers from the garden, keep them in a paper bag in the refrigerator to maintain freshness. Avoid washing them until ready to use to prevent spoilage.
Storing Peppers in Oil
Preserving peppers in oil not only adds an extra layer of flavor but also extends their shelf life. This method allows you to have ready-to-use peppers infused with aromatic oil for a variety of recipes. Here’s how you can store peppers in oil:
1. Prepare the Peppers: Start by washing, drying, and preparing the peppers as mentioned earlier. Remove the stem, seeds, and membranes, and slice or dice the peppers according to your preference.
2. Blanch the Peppers (optional): If desired, you can blanch the peppers before preserving them in oil. This step helps maintain the peppers’ color and texture. Simply blanch the pepper slices or pieces in boiling water for 2-3 minutes, then transfer them to an ice water bath to cool quickly.
3. Sterilize Jars or Containers: To ensure the preservation of the peppers, sterilize the jars or containers that you will be using. Wash them thoroughly with hot, soapy water and rinse well. You can also run them through a dishwasher for sterilization.
4. Layer Peppers in Jars: Place a layer of peppers into the sterilized jars, ensuring they are packed loosely without crushing them. You can intersperse the peppers with garlic cloves, herbs, or spices of your choice to add extra flavor. Continue layering the peppers until the jars are almost full, leaving about an inch of headspace at the top.
5. Fill with Oil: Once the jars are filled with peppers, pour a high-quality oil such as olive oil or sunflower oil into the jar, completely covering the peppers. Make sure to leave a small gap at the top for expansion and to prevent leakage when sealing.
6. Seal and Store: After filling the jars with oil, tightly seal them with lids. Label the jars with the date and store them in a cool, dark place like a pantry or cellar. The peppers can be stored in oil for several months, but it’s recommended to use them within 4-6 months for the best taste and quality.
When you’re ready to use the preserved peppers, simply remove them from the jar with a clean utensil. The flavored oil can also be used in recipes for an extra burst of flavor.
Now that you know how to store peppers in oil, let’s move on to another method: drying peppers for storage.
Drying Peppers for Storage
Drying peppers is a traditional method of preserving them that concentrates their flavor and allows for long-term storage. Dried peppers can be used in various dishes, adding a unique and intense heat to your culinary creations. Here’s how you can dry peppers for storage:
1. Choose Peppers for Drying: Select peppers that are fully ripe and in good condition. Both mild and hot pepper varieties can be dried, depending on your preference for heat level.
2. Air Drying: One of the easiest methods of drying peppers is air drying. Start by washing the peppers and patting them dry. Leave the peppers whole, as it helps retain their flavor and makes them easier to handle during the drying process. Ensure the peppers have enough space around them for proper air circulation.
3. Hang or Racks: Hang the peppers or string them together using a needle and thread. Alternatively, you can place them on a wire rack or a mesh tray. Set them in a well-ventilated area away from direct sunlight, as sunlight can cause discoloration and affect the flavor of the peppers.
4. Air Dry Until Crisp: Allow the peppers to air dry for several weeks until they become crisp. This process can take anywhere from 2 to 4 weeks, depending on the humidity levels in your environment. The peppers should feel brittle and easily break when bent.
5. Store in Airtight Containers: Once the peppers are fully dried, remove them from the drying area and store them in airtight containers such as glass jars or resealable plastic bags. Make sure the containers are clean and dry before adding the dried peppers. Store them in a cool, dark place to maintain their quality.
Dried peppers can be stored for up to a year or more if kept in optimal conditions. When ready to use, you can grind them into powder or rehydrate them by soaking in hot water before incorporating them into your recipes.
Now that you know how to dry peppers for storage, let’s explore another method using dehydrators.
Using Dehydrators to Dry Peppers
If you want a more efficient and controlled method for drying peppers, using a dehydrator is the way to go. Dehydrators provide consistent heat and airflow, resulting in faster and more evenly dried peppers. Here’s how you can use dehydrators to dry peppers:
1. Prepare the Peppers: Start by washing the peppers and patting them dry. Remove the stems, seeds, and membranes, and cut the peppers into uniform slices or pieces for even drying.
2. Arrange on Dehydrator Trays: Place the prepared pepper slices or pieces in a single layer on the dehydrator trays. Make sure to leave enough space between the pieces for proper air circulation. This will allow the hot air to evenly penetrate and dry the peppers.
3. Set the Temperature and Time: Refer to the manufacturer’s instructions for your specific dehydrator model to determine the appropriate temperature and drying time for peppers. Generally, a temperature between 125°F (52°C) and 135°F (57°C) is suitable for drying peppers. The drying time can vary depending on the thickness of the peppers and the desired level of dryness.
4. Monitor the Drying Process: Keep an eye on the peppers as they dry in the dehydrator. Check the trays periodically to ensure that the peppers are drying evenly and not becoming overly dry or brittle. Rotate the trays or rearrange the pepper pieces if needed to promote uniform drying.
5. Test for Dryness: To check if the peppers are fully dried, remove a piece from the dehydrator and allow it to cool for a few minutes. The pepper should be brittle and snap easily when bent. If any pieces are still flexible or have moisture, return them to the dehydrator for further drying.
6. Store in Airtight Containers: Once the peppers are completely dried, transfer them into airtight containers, such as glass jars or resealable bags. Label the containers with the date and store them in a cool, dry place away from sunlight. Properly dried peppers can be stored for several months to a year.
Using a dehydrator provides a convenient and efficient way to dry peppers while preserving their flavors and nutrients. The dried peppers can be rehydrated in hot water or used directly in recipes to add a concentrated burst of heat and flavor.
In addition to drying peppers, another popular method of preserving their flavors is by storing them in pickled form. Let’s explore that method next.
Read more: How To Store Fresh Peppers From The Garden
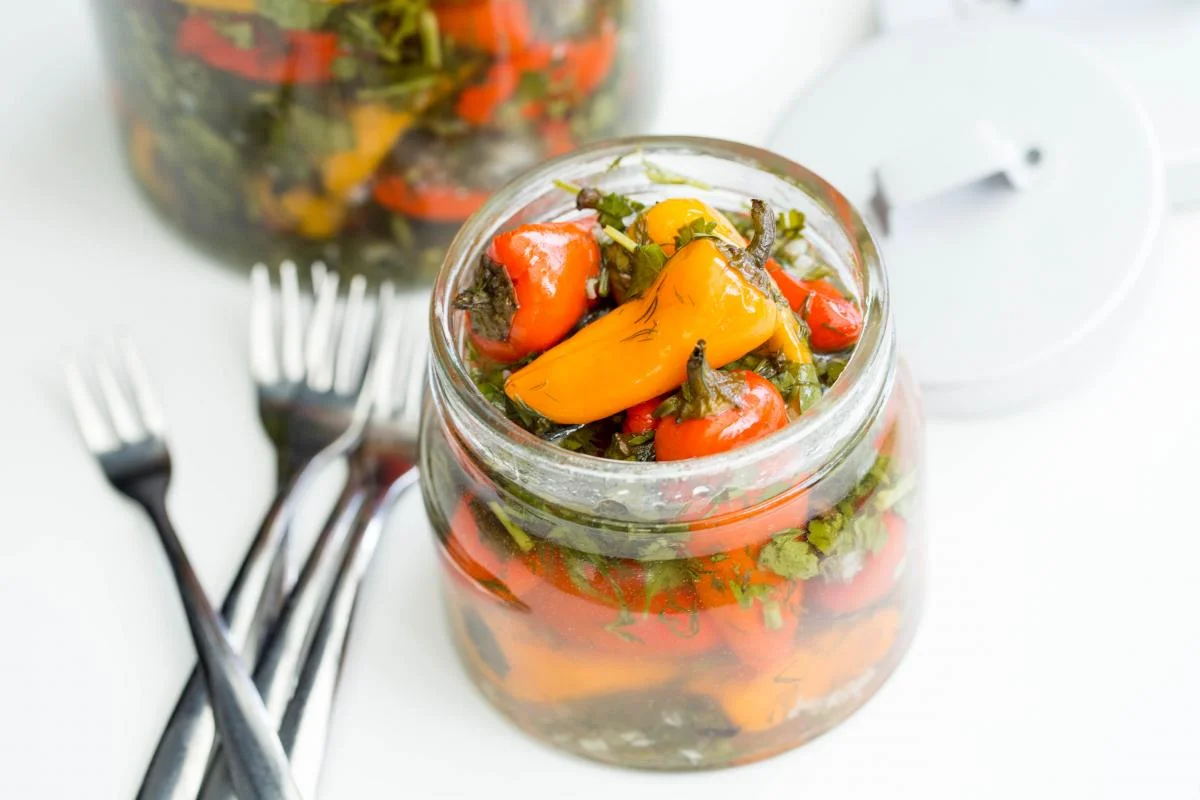
Storing Peppers in Pickled Form
If you love the tangy and briny flavors of pickled peppers, storing your peppers in pickled form is a fantastic way to enjoy them. Pickling not only extends the shelf life of peppers but also enhances their taste and versatility. Here’s how you can store peppers in pickled form:
1. Prepare the Peppers: Start by washing the peppers and patting them dry. Remove the stems, seeds, and membranes. You can choose to leave the peppers whole or slice them into rings, strips, or any desired shape.
2. Prepare the Pickling Solution: In a non-reactive pot, combine equal parts vinegar and water. For added flavor, you can use a combination of white vinegar and apple cider vinegar. Add sugar, salt, and your choice of pickling spices such as peppercorns, garlic, or bay leaves. Bring the solution to a boil, stirring until the sugar and salt have dissolved.
3. Pack the Peppers: Pack the prepared peppers into sterilized glass jars, leaving a bit of headspace at the top. For added flavor, you can layer the peppers with spices or garlic. You can also mix different types of peppers to create a medley of flavors and colors.
4. Pour the Pickling Solution: Pour the hot pickling solution over the peppers in the jars, ensuring that the peppers are completely immersed in the liquid. Use a clean utensil to remove any air bubbles and adjust the liquid level if needed.
5. Seal and Store: Wipe the rims of the jars with a clean, damp cloth to remove any food residue. Place sterilized lids on the jars and tighten them securely. Allow the jars to cool to room temperature before storing them in the refrigerator. The pickled peppers will develop their flavors over time, but you can start enjoying them after a week of pickling.
Pickled peppers can be stored in the refrigerator for several months, and their tangy and zesty flavor will only enhance with time. They can be enjoyed as a condiment, added to sandwiches, salads, or used in various recipes to lend a delightful kick.
Now that you know how to store peppers in pickled form, let’s recap the various methods we’ve covered.
Conclusion
Storing peppers from the garden allows you to enjoy the vibrant flavors and colors of these versatile vegetables all year round. By employing the various methods discussed in this article, you can preserve the freshness and quality of your homegrown peppers, ensuring that no harvest goes to waste.
From determining the optimal harvest time and selecting the best peppers for storage to preparing them properly, you now have the knowledge to embark on your pepper preservation journey. Whether you choose to store your peppers in the refrigerator, freezer, oil, or in pickled form, each method offers its own unique benefits, allowing you to customize your storage based on your preferences and intended use.
When storing peppers, it’s important to maintain their quality by checking them regularly for any signs of decay or spoilage. Properly sealed and labeled containers help ensure freshness and allow for easy organization. Remember to use your stored peppers within the recommended timeframes for the best flavor and texture.
So, whether you’re adding a burst of heat to your favorite dishes with dried peppers, infusing your meals with the tangy flavors of pickled peppers, or enjoying the freshness of refrigerated or frozen peppers, you can savor the taste of your garden’s bounty long after the growing season ends.
Experiment with these methods and discover your favorite ways to store and savor the peppers from your garden. With a little effort and some creativity, you can enjoy the vibrant flavors of homegrown peppers throughout the year.
Happy storing and happy cooking!
Frequently Asked Questions about How To Store Peppers From The Garden
Was this page helpful?
At Storables.com, we guarantee accurate and reliable information. Our content, validated by Expert Board Contributors, is crafted following stringent Editorial Policies. We're committed to providing you with well-researched, expert-backed insights for all your informational needs.

0 thoughts on “How To Store Peppers From The Garden”