Articles
How To Store Decorated Sugar Cookies
Modified: February 23, 2024
Learn how to store decorated sugar cookies with these helpful articles. Keep your cookies fresh and enjoy them for longer.
(Many of the links in this article redirect to a specific reviewed product. Your purchase of these products through affiliate links helps to generate commission for Storables.com, at no extra cost. Learn more)
Introduction
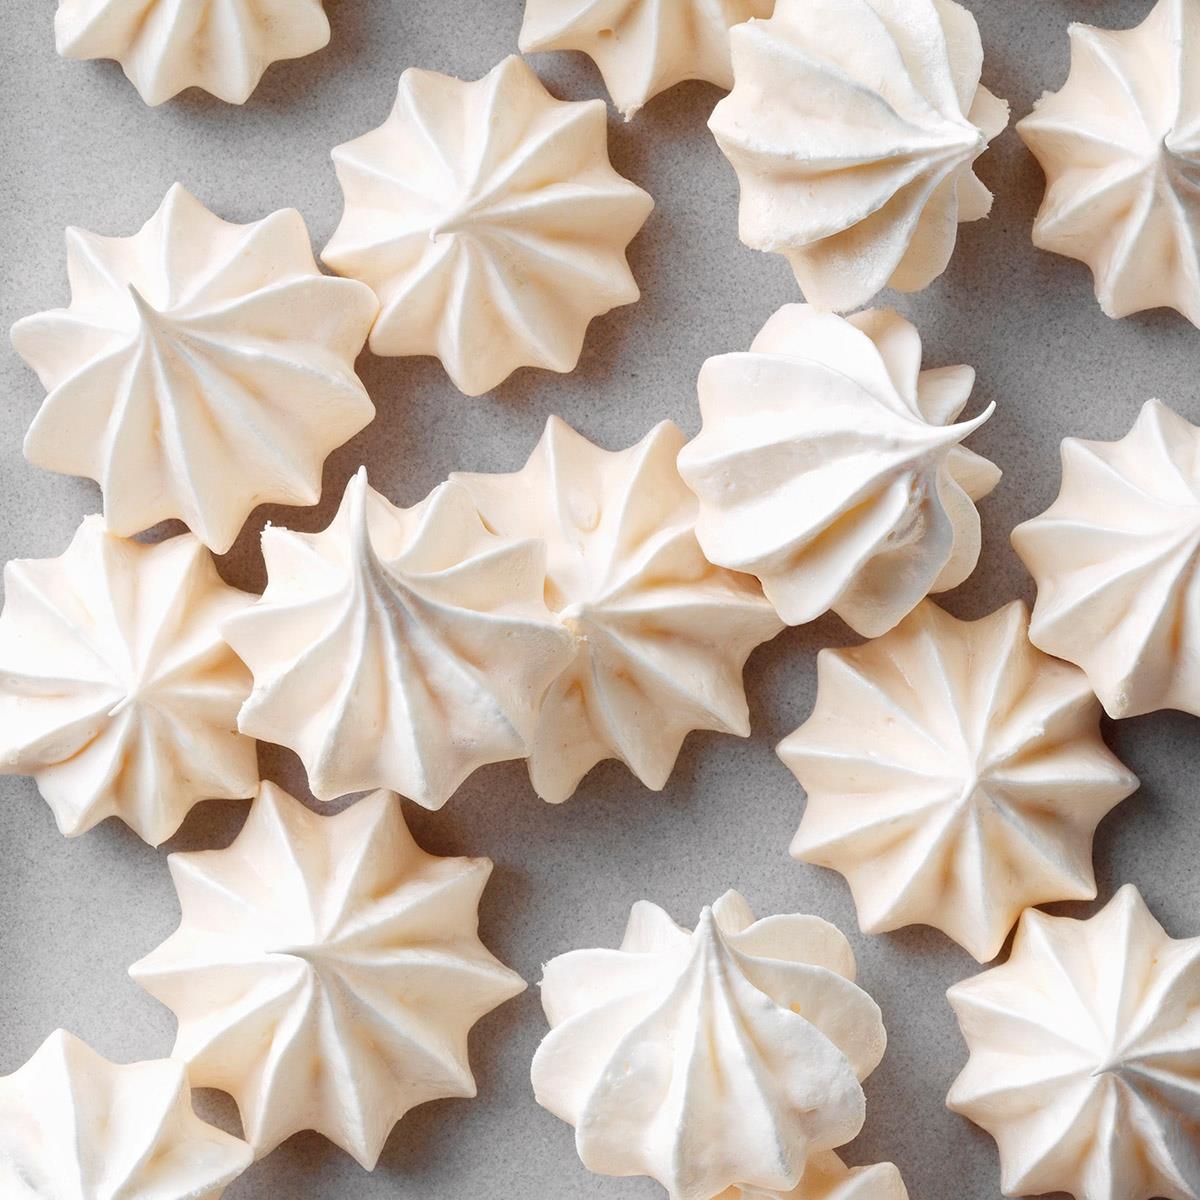
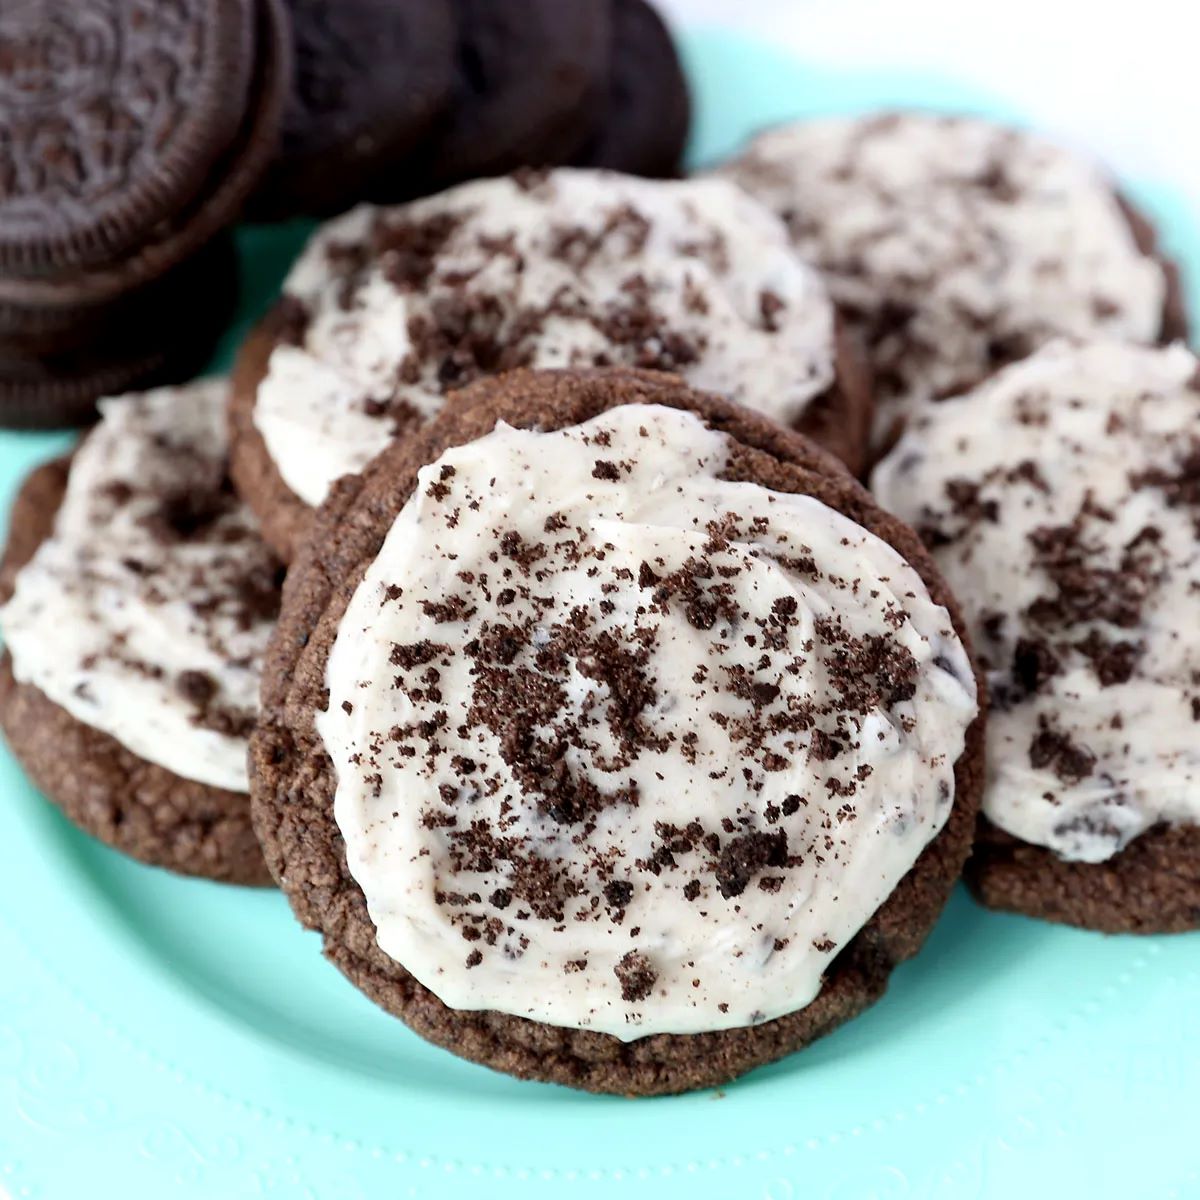
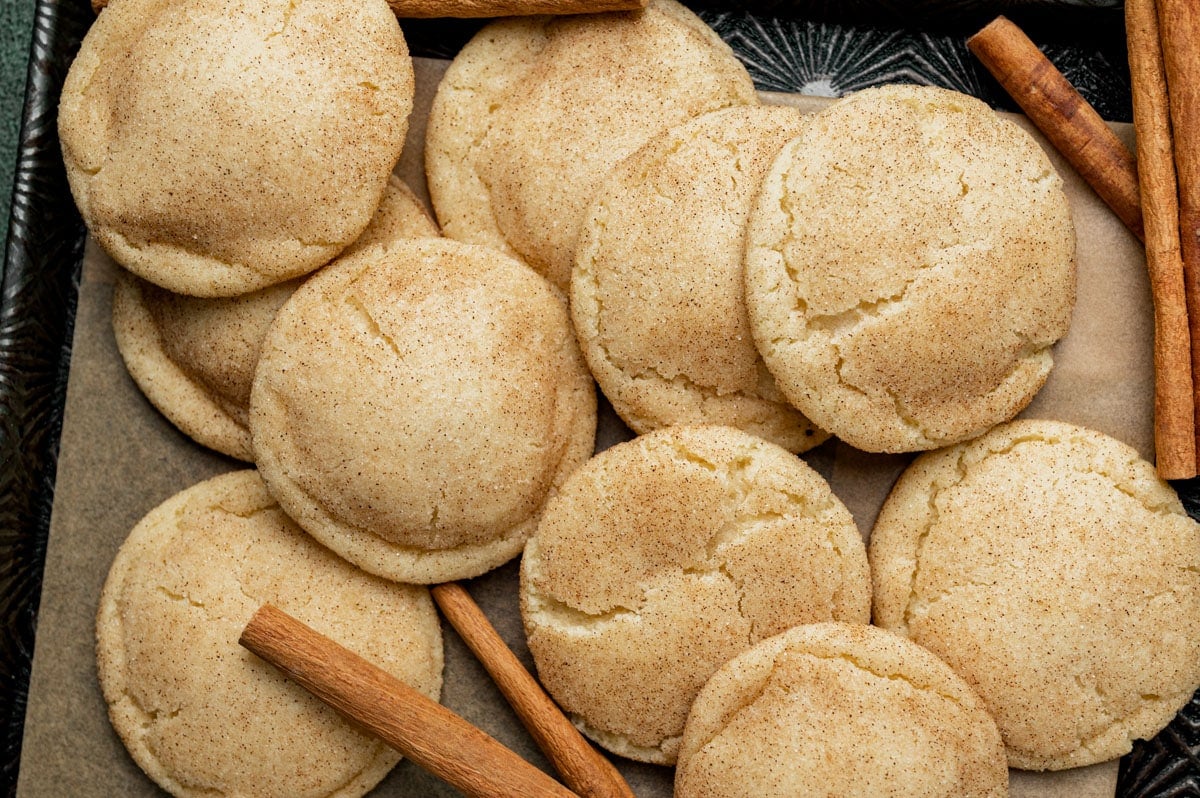
Decorated sugar cookies are delightful treats that not only tantalize our taste buds but also add a dash of color and cheer to any occasion. Whether they are intricately designed for a special event or simply adorned with a sprinkle of sugar, these cookies deserve proper care to ensure they stay fresh and look their best. In this article, we will explore the best ways to store decorated sugar cookies to maintain their freshness and appearance.
When it comes to storing decorated sugar cookies, there are a few factors to consider. The right containers, proper layering techniques, and airtight seals all play a crucial role in preserving both the taste and aesthetics of these sweet treats. In addition, if you have used royal icing to decorate your cookies, there are specific guidelines to follow to ensure that the icing sets properly and maintains its texture.
So, whether you are a seasoned baker, someone who enjoys decorating cookies as a hobby, or simply someone who appreciates the artistry of these edible creations, read on to discover the best practices for storing your precious decorated sugar cookies.
Key Takeaways:
- Properly storing decorated sugar cookies is crucial for preserving their taste and appearance. Choose the right containers, layer and stack with care, and use parchment paper dividers to maintain their freshness and visual appeal.
- When storing decorated sugar cookies with royal icing, ensure the icing is fully dry, avoid stacking delicate cookies, and use parchment paper dividers to protect intricate designs. Properly freezing and thawing the cookies can extend their shelf life while maintaining their delightful taste and visual appeal.
Read more: How To Store Sugar Cookie Dough
Choosing the Right Containers
When it comes to storing decorated sugar cookies, choosing the right containers is vital to keeping them fresh and protected. Here are some factors to consider when selecting containers for your cookies:
- Size: Choose containers that are spacious enough to accommodate your cookies without crowding them. This will help prevent the cookies from getting crushed or damaged.
- Material: Opt for food-safe and non-reactive containers. Glass or plastic containers with tight-fitting lids are ideal choices. Avoid containers made of materials that can absorb or transfer odors to the cookies.
- Transparency: Clear containers allow you to see the cookies without opening them, which can help preserve their freshness by minimizing exposure.
- Stackability: If you plan to store a large quantity of cookies, consider containers that have a stackable design to save space and maintain the integrity of the decorations.
Additionally, consider the shape of the containers. Rectangular or square-shaped containers are often more practical for storing cookies, as they maximize space efficiency and minimize empty air pockets.
It is important to note that using separate containers for different types of cookies or flavors can prevent flavor transfer and preserve the individual characteristics of each cookie batch. This is especially crucial for cookies with strong flavors, such as peppermint or citrus-infused cookies.
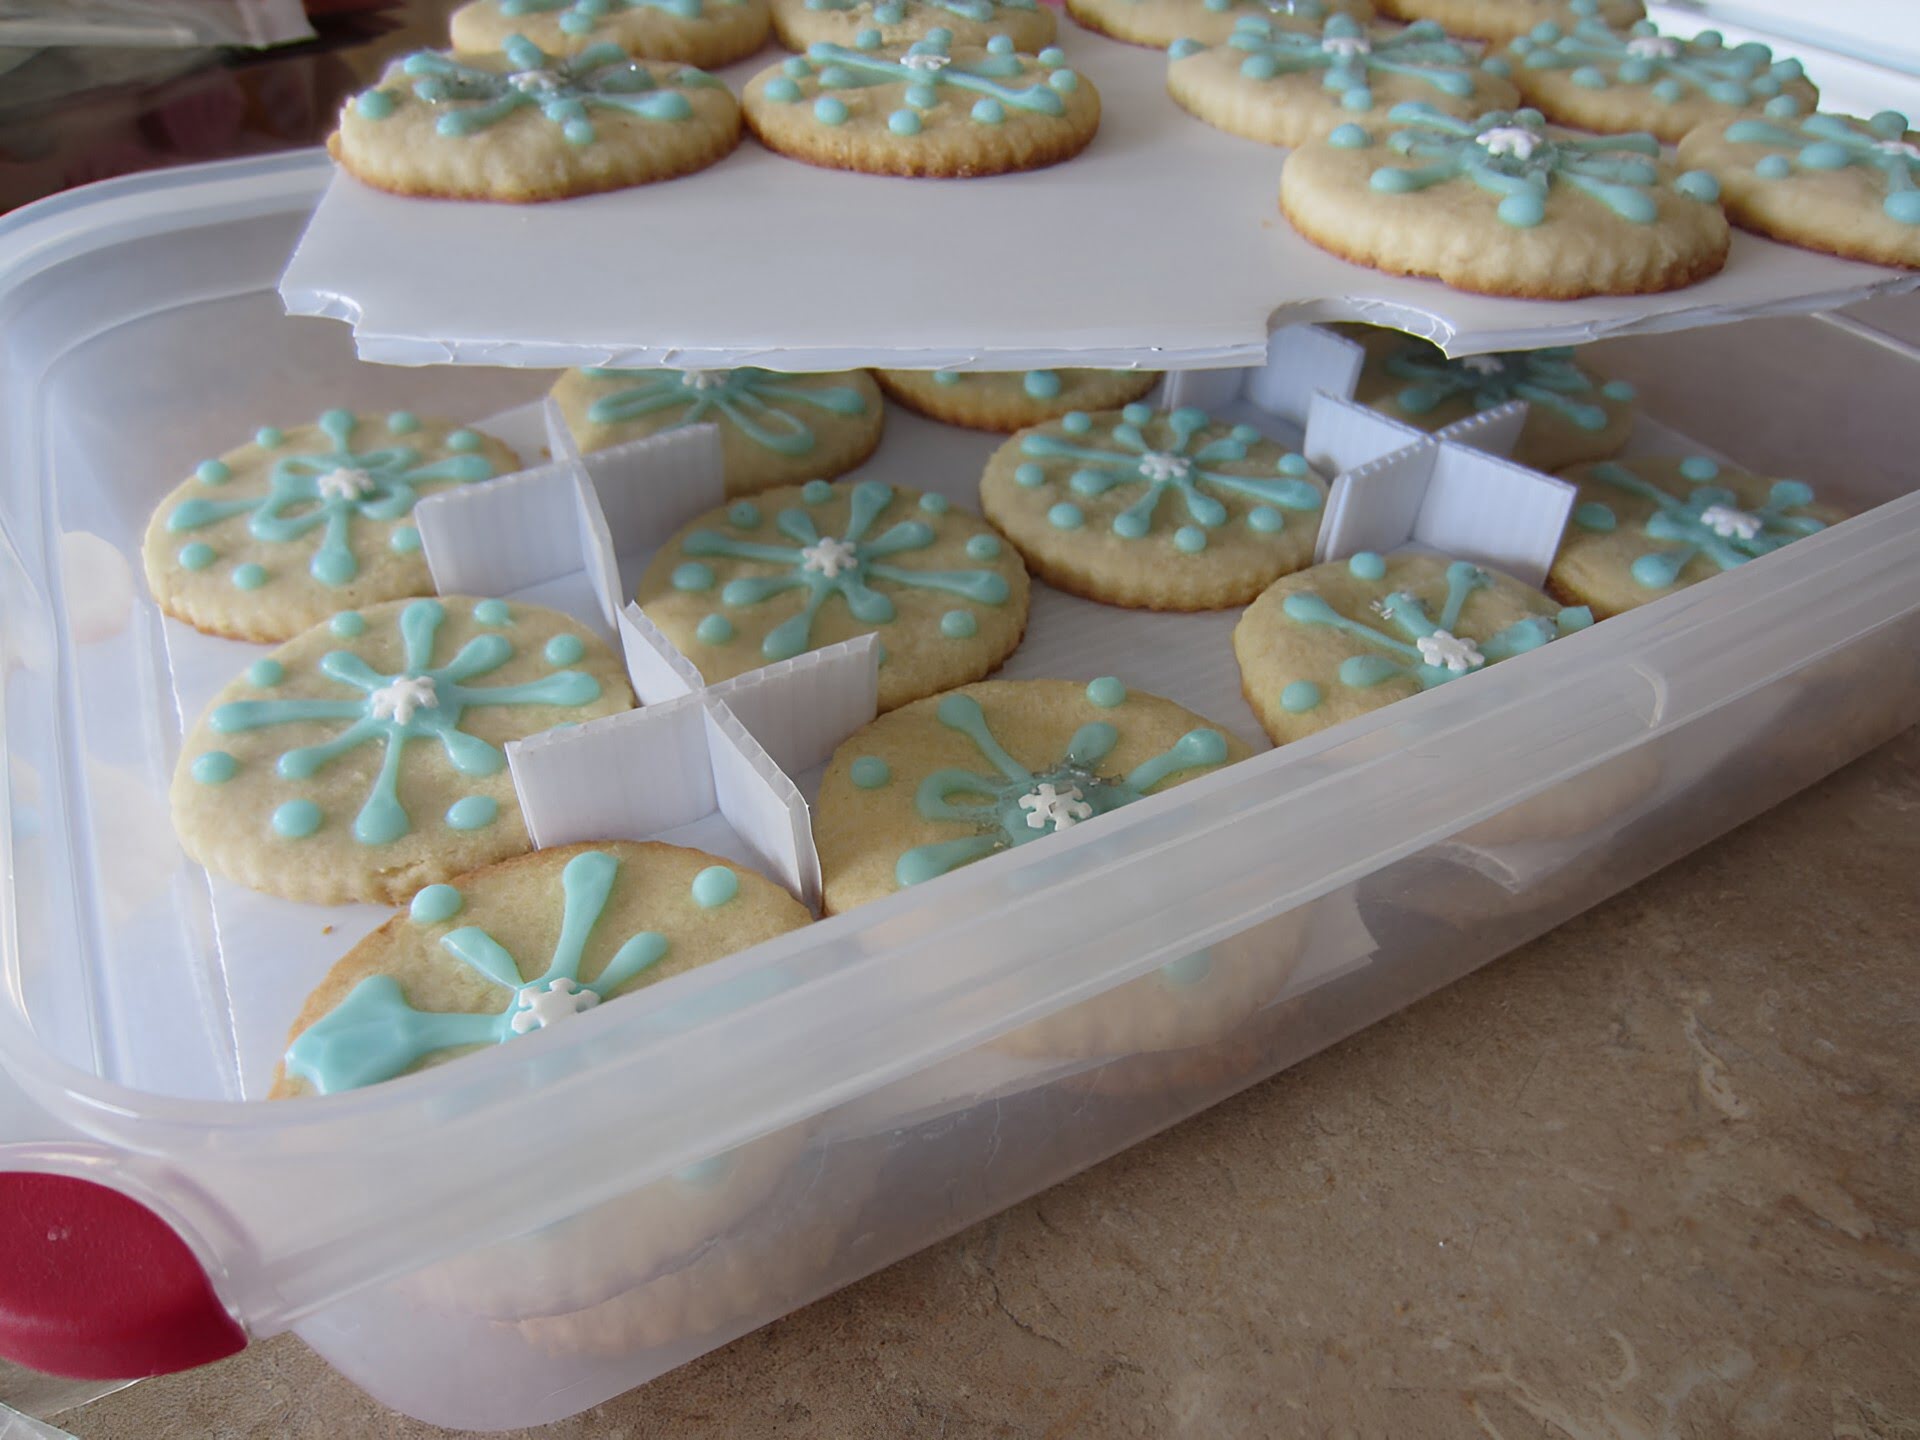
When storing highly decorated or delicate cookies, consider containers with adjustable dividers or compartments. These dividers can help create separate sections for each cookie, preventing them from touching and potentially causing damage to the decorations.
By carefully selecting the right containers for your decorated sugar cookies, you can ensure their protection and extended freshness, allowing you to enjoy them for days to come.
Layering and Stacking Cookies
Proper layering and stacking techniques are essential to prevent decorated sugar cookies from getting smudged or damaged while in storage. Here are some tips to help you layer and stack your cookies effectively:
- Flat Surface: Ensure that the surface on which you stack your cookies is flat and even. This will help maintain the shape and design of the cookies.
- Size and Shape: When layering cookies, match cookies of similar size and shape together, with the decorations facing up. This will prevent any protruding decorations from getting flattened or damaged.
- Parchment Paper Dividers: Place a layer of parchment paper or wax paper between each layer of cookies to create a protective barrier. This prevents the decorations from sticking to one another and helps to maintain their integrity.
- Alternating Directions: To ensure stability, alternate the direction of each cookie layer. For example, place the first row of cookies horizontally, the second row vertically, and so on. This helps distribute the weight evenly and prevents any crushing or crumbling of cookies.
- Consider Cookie Thickness: If your cookies vary in thickness, stack the thicker ones at the bottom and the thinner ones towards the top. This ensures that the weight of the cookies doesn’t compromise the integrity of the decorations on thinner cookies.
- Avoid Overfilling: Be mindful not to overfill the container with stacked cookies as this can lead to pressure and damage. Leave some space between the top layer of cookies and the lid.
Always handle the cookies with clean, dry hands or with the help of a spatula to prevent any smudging or damage to the decorations. It is also advisable to refrigerate the cookies for a short period of time before stacking them, as chilled cookies tend to be more stable and less prone to breakage.
Remember, the goal is to preserve the visual appeal and integrity of your decorated sugar cookies, so taking the time to layer and stack them properly will ensure that they remain picture-perfect when it’s time to serve or gift them.
Adding Parchment Paper Dividers
When it comes to storing decorated sugar cookies, one effective technique to ensure their freshness and protect their decorations is to use parchment paper dividers. These dividers create a barrier between the cookies, preventing any potential sticking or damage. Here’s how to add parchment paper dividers:
- Cut Parchment Paper: Measure the size of your container and cut pieces of parchment paper to fit inside. The size of the parchment paper pieces should be slightly larger than the cookies to cover the entire surface.
- Separate Layers: Once the cookies are stacked, place a sheet of parchment paper between each layer. Gently press it down to ensure proper separation.
- Consider Cookie Shapes: If your cookies vary in shape or have protruding decorations, you may want to consider cutting parchment paper dividers to match those shapes. This will provide additional protection for delicate or intricate designs.
- Secure with Clips: If your container allows, use clips or binder clips to secure the parchment paper dividers in place. This will prevent them from shifting or moving.
Parchment paper dividers not only prevent decorations from sticking together, but they also help maintain the shape and texture of the cookies. They create a buffer zone between the cookies, protecting their visual appeal and preventing any potential damage during storage or transportation.
Furthermore, using parchment paper dividers makes it easier to remove individual cookies from the container without having to handle the entire stack. This reduces the risk of accidentally smudging or damaging the decorations.
Remember to always opt for high-quality parchment paper that is food-safe and designed for baking purposes. Avoid using wax paper as a substitute, as it may stick to the decorations and affect their appearance.
By adding parchment paper dividers, you can store your decorated sugar cookies with confidence, knowing that each cookie will retain its pristine appearance and taste.
Using Airtight Containers
When it comes to storing decorated sugar cookies, using airtight containers is essential to preserve their freshness and protect them from exposure to air and moisture. Airtight containers create a sealed environment that helps maintain the taste, texture, and appearance of the cookies. Here are some important points to keep in mind when using airtight containers:
- Selecting the Right Container: Choose containers with airtight seals and secure locking mechanisms. Glass jars with rubber gaskets, plastic containers with tight-fitting lids, or resealable bags are all excellent options for storing decorated sugar cookies.
- Size and Shape: Select a container that is appropriate for the quantity and size of your cookies. Make sure there is enough space for the cookies to be stored without getting crowded or crushed.
- Remove Excess Air: Before sealing the container, remove as much air as possible. Squeeze out any excess air from resealable bags, or press down gently on the lid of the container to expel air trapped inside.
- Protect from Light: Store the airtight containers in a cool, dark place, away from direct sunlight. Exposure to light can cause the cookies to fade or lose their vibrancy.
- Avoid Temperature Fluctuations: Keep the containers in a stable environment with consistent temperature to prevent the cookies from becoming stale or overheated.
- Label and Date: It’s a good practice to label the containers with the type of cookies and the date they were stored. This will help you keep track of their freshness and ensure you consume them within a reasonable timeframe.
Using airtight containers not only helps preserve the taste and visual appeal of decorated sugar cookies but also protects them from absorbing unpleasant odors or flavors from the surrounding environment. The airtight seal creates a barrier, preventing any external elements from affecting the quality of the cookies.
Remember to clean and dry the airtight containers thoroughly before using them. Any moisture or residue left in the containers can compromise the freshness of the cookies and potentially cause them to become soft or soggy.
By utilizing airtight containers, you can enjoy your beautifully decorated sugar cookies for an extended period, knowing that they will remain fresh and delicious until you’re ready to indulge.
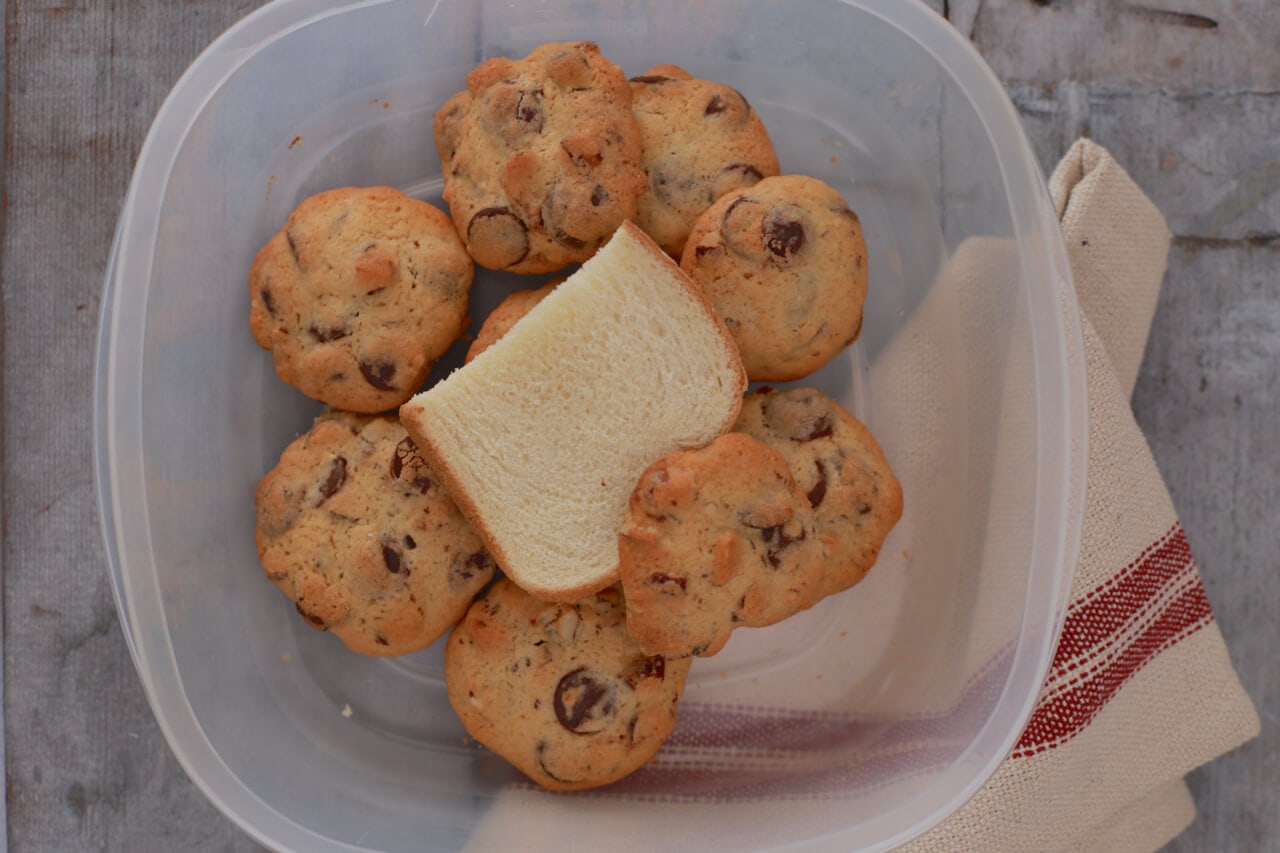
Store decorated sugar cookies in an airtight container at room temperature for up to 1 week. Layer cookies with parchment paper to prevent sticking and place a piece of bread in the container to keep them soft.
Read more: How To Store Iced Sugar Cookies
Storing Decorated Sugar Cookies with Royal Icing
Decorating sugar cookies with royal icing requires special care when it comes to storage. Royal icing is a smooth, hard-drying icing that can create intricate designs and add stunning details to your cookies. To ensure that the royal icing sets properly and maintains its texture, here are some guidelines for storing cookies decorated with royal icing:
- Fully Dry the Royal Icing: Allow the royal icing to dry completely before storing the decorated cookies. The drying time can vary depending on the thickness and intricacy of the designs. It is recommended to let the cookies sit at room temperature for at least 24 hours to allow the icing to harden.
- Single Layer: When storing cookies with royal icing, it’s best to store them in a single layer to prevent any smudging or damage. Place them in a container with enough space to avoid any contact between cookies.
- Avoid Stacking: Due to the delicate nature of royal icing, it is not advisable to stack cookies with detailed decorations on top of each other. The weight and pressure could cause the icing to crack or break. Instead, opt for a container with enough width and height to accommodate the cookies in a single layer.
- Separate with Parchment Paper: To further protect the royal icing designs, place a sheet of parchment paper between each cookie. This will create a barrier and prevent any potential sticking or smudging.
- Room Temperature Storage: Royal icing is best stored at room temperature. Avoid exposing the cookies to excessive heat or direct sunlight, as this can cause the icing to melt or soften.
- Avoid Moisture: Moisture can cause the royal icing to become soft or sticky. Ensure that the cookies are fully cooled before storing them and refrain from storing them in humid or damp environments.
It’s important to note that while royal icing dries hard, it can still be susceptible to humidity or moisture absorption over time. If stored in a humid environment, the icing may become soft or lose its crisp texture. To prevent this, consider adding a food-grade silica gel packet to the container to help absorb any excess moisture.
By following these guidelines, you can store your decorated sugar cookies with royal icing confidently, knowing that the intricate designs will be well-preserved and ready to impress when it’s time to enjoy them.
Freezing Decorated Sugar Cookies
Freezing decorated sugar cookies is a great option if you want to prepare them in advance or if you have leftover cookies that you want to save for later. By freezing them properly, you can extend their shelf life and ensure that they remain fresh and delicious. Here are some steps to follow when freezing decorated sugar cookies:
- Cool Completely: Allow the decorated sugar cookies to cool completely at room temperature before freezing them. This ensures that they retain their texture and prevent any condensation from forming during freezing.
- Wrap Individually: Wrap each cookie individually in plastic wrap or cling film. This step prevents the cookies from sticking together and helps maintain their shape and design.
- Double Wrapping: For added protection against freezer burn and to maintain freshness, place the individually wrapped cookies in a freezer-safe ziplock bag or airtight container.
- Label and Date: To keep track of the storage time, label the bag or container with the type of cookies and the date they were frozen.
- Flat Freezing: For cookies with delicate decorations, it’s best to freeze them in a flat position to avoid any damage. Place the wrapped cookies in a single layer on a baking sheet or tray and freeze them until firm.
- Long-Term Storage: If you plan to store the cookies for an extended period, consider placing the individually wrapped cookies in a freezer-safe container or bag to provide extra protection.
When it’s time to enjoy the frozen cookies, simply remove the desired number of cookies from the freezer and allow them to thaw at room temperature. It is important to keep the cookies wrapped during the thawing process to prevent any moisture from accumulating on the icing or the cookies themselves.
Thawed frozen cookies may not have the same texture as fresh-baked cookies, but they will still retain their taste and visual appeal. They are perfect for impromptu gatherings, last-minute treats, or whenever a sweet craving strikes.
It’s worth noting that the icing on the thawed cookies may have a slightly softer texture compared to freshly decorated cookies. However, the overall taste and appearance should still be enjoyable.
By properly freezing decorated sugar cookies, you can ensure they are readily available whenever you need them, saving you time and effort while still enjoying the same delightful flavors and designs.
Thawing Frozen Sugar Cookies
Thawing frozen sugar cookies is a crucial step in bringing them back to their fresh and delightful state. To prevent any damage to the texture or appearance of the cookies, it’s important to thaw them properly. Here’s a step-by-step guide for thawing frozen sugar cookies:
- Remove from Freezer: Take the desired number of frozen sugar cookies out of the freezer and transfer them to a plate or baking sheet. It’s best to thaw only the amount you plan to consume to avoid any unnecessary refreezing.
- Keep Them Wrapped: It’s important to keep the cookies wrapped during the thawing process to prevent any moisture from accumulating on the icing or the cookies themselves. Leave the plastic wrap or cling film on while they thaw.
- Thaw at Room Temperature: Place the wrapped cookies at room temperature to thaw. Avoid thawing them in direct sunlight or near a heat source as this can cause the icing to melt or the cookies to become too soft.
- Be Patient: Allow the cookies to thaw at their own pace. Depending on the size and thickness of the cookies, it may take anywhere from 1 to 3 hours for them to fully thaw.
- Check for Thorough Thawing: To ensure that the cookies are completely thawed, gently touch the surface of a cookie. It should be soft and yield to slight pressure. If there are any frozen or firm spots, allow the cookies to thaw for a bit longer.
It’s important to note that thawed sugar cookies may not have the exact same texture as freshly baked ones. The cookies may be slightly softer after thawing, but they will still retain their delicious taste and visual appeal.
If you prefer a crispier texture, you can pop the thawed cookies into a preheated oven at a low temperature (around 300°F or 150°C) for a few minutes. This will help restore some of the crispness without affecting the decorations. However, it’s crucial to monitor them closely to prevent any burning or melting of the icing.
Thawed sugar cookies can be enjoyed immediately or stored in an airtight container at room temperature for a few days. If there are any leftovers, ensure that they are tightly sealed to maintain their freshness.
By following these steps and allowing your frozen sugar cookies to thaw properly, you can enjoy their delightful taste and beautiful designs just like they were freshly baked.
Maintaining Freshness and Flavor
Maintaining the freshness and flavor of decorated sugar cookies is key to ensuring a delightful taste experience. Whether you’ve just baked them or thawed them from the freezer, here are some tips to help you keep your cookies fresh:
- Storage Containers: Use airtight containers or resealable bags designed for food storage. These containers create a barrier against air, moisture, and odors, helping to preserve the cookies’ freshness.
- Cool and Dry Storage: Store the cookies in a cool, dry place, away from direct sunlight or heat sources. Excessive heat can cause the cookies to become soft or stale, while moisture can make them soggy.
- Avoid Strong Odors: Keep the cookies away from strongly scented foods or ingredients. Decorated sugar cookies can absorb odors easily, compromising their original flavor.
- Separate Flavor Profiles: If storing different flavored cookies together, separate them with parchment paper or store them in separate containers. This prevents cross-contamination of flavors.
- Consume Within a Reasonable Timeframe: While decorated sugar cookies can stay fresh for several days when stored properly, they are best enjoyed within the first 3-5 days of baking or thawing. The longer they are stored, the more their texture and flavor may deteriorate.
- Refrigeration: Unless your decorated sugar cookies have perishable fillings or ingredients, such as cream cheese or fresh fruit, it’s generally not necessary to refrigerate them. Refrigeration can cause the cookies to become soft or develop a stale texture.
- Reheating: If you find that your cookies have lost some of their freshness, you can try reheating them in the oven at a low temperature (around 300°F or 150°C) for a few minutes to revive their texture. However, be cautious not to overheat and melt any icing decorations.
Additionally, consider the quality of your ingredients. Using fresh, high-quality ingredients in your cookie dough and icing will contribute to the overall flavor and longevity of the cookies.
It’s worth mentioning that while proper storage and freshness maintenance are important, decorated sugar cookies are meant to be enjoyed! So, don’t hesitate to share them with loved ones or indulge in their sweet deliciousness.
By following these tips, you can savor the freshness and flavors of your beautifully decorated sugar cookies for as long as possible.
Read more: How To Store Sugar Cookies With Royal Icing
Conclusion
Storing decorated sugar cookies properly is essential for preserving their freshness, flavor, and visual appeal. By following a few simple guidelines, you can ensure that your cookies stay delicious and beautiful from the moment they are baked until the last bite. Here’s a recap of the key points discussed in this article:
Choosing the right containers is crucial for storing decorated sugar cookies. Opt for containers that are the right size, made of food-safe materials, and provide airtight seals to prevent air, moisture, and odors from compromising the cookies.
When layering and stacking cookies, match similar sizes and shapes together, use parchment paper dividers to protect delicate decorations, and avoid excessive pressure that may damage the cookies.
Adding parchment paper dividers is an effective way to prevent sticking and smudging between decorated sugar cookies, helping to preserve their intricate designs and textures.
Using airtight containers is essential to keep your cookies fresh by creating a sealed environment that protects them from air, moisture, and external contaminants.
Storing decorated sugar cookies with royal icing requires extra care. Ensure that the icing is fully dried before storing and avoid stacking fragile cookies to prevent damage to the intricate designs.
Freezing decorated sugar cookies is a convenient option for long-term storage. Properly wrap the cookies to avoid freezer burn and thaw them gradually to preserve their taste and texture.
Thawing frozen sugar cookies should be done at room temperature, keeping them wrapped to prevent moisture absorption and preserving their delicate decorations.
Maintaining freshness and flavor is achieved by storing the cookies in airtight containers, away from heat and moisture, and consuming them within a reasonable timeframe.
By applying these storage techniques and maintaining the quality of your ingredients, you can enjoy the delightful taste and stunning designs of your decorated sugar cookies for as long as possible.
So, whether you’re baking for a special occasion, gifting them to loved ones, or simply indulging in a little treat, take the time to store your decorated sugar cookies properly. The result will be cookies that look as amazing as they taste, allowing you to savor every bite with fresh and delicious delight.
Frequently Asked Questions about How To Store Decorated Sugar Cookies
Was this page helpful?
At Storables.com, we guarantee accurate and reliable information. Our content, validated by Expert Board Contributors, is crafted following stringent Editorial Policies. We're committed to providing you with well-researched, expert-backed insights for all your informational needs.


0 thoughts on “How To Store Decorated Sugar Cookies”