Articles
How To Store Home Grown Carrots
Modified: October 28, 2024
Learn how to store home grown carrots with this informative articles. Discover the best methods for preserving freshness and maximizing flavor.
(Many of the links in this article redirect to a specific reviewed product. Your purchase of these products through affiliate links helps to generate commission for Storables.com, at no extra cost. Learn more)
Introduction
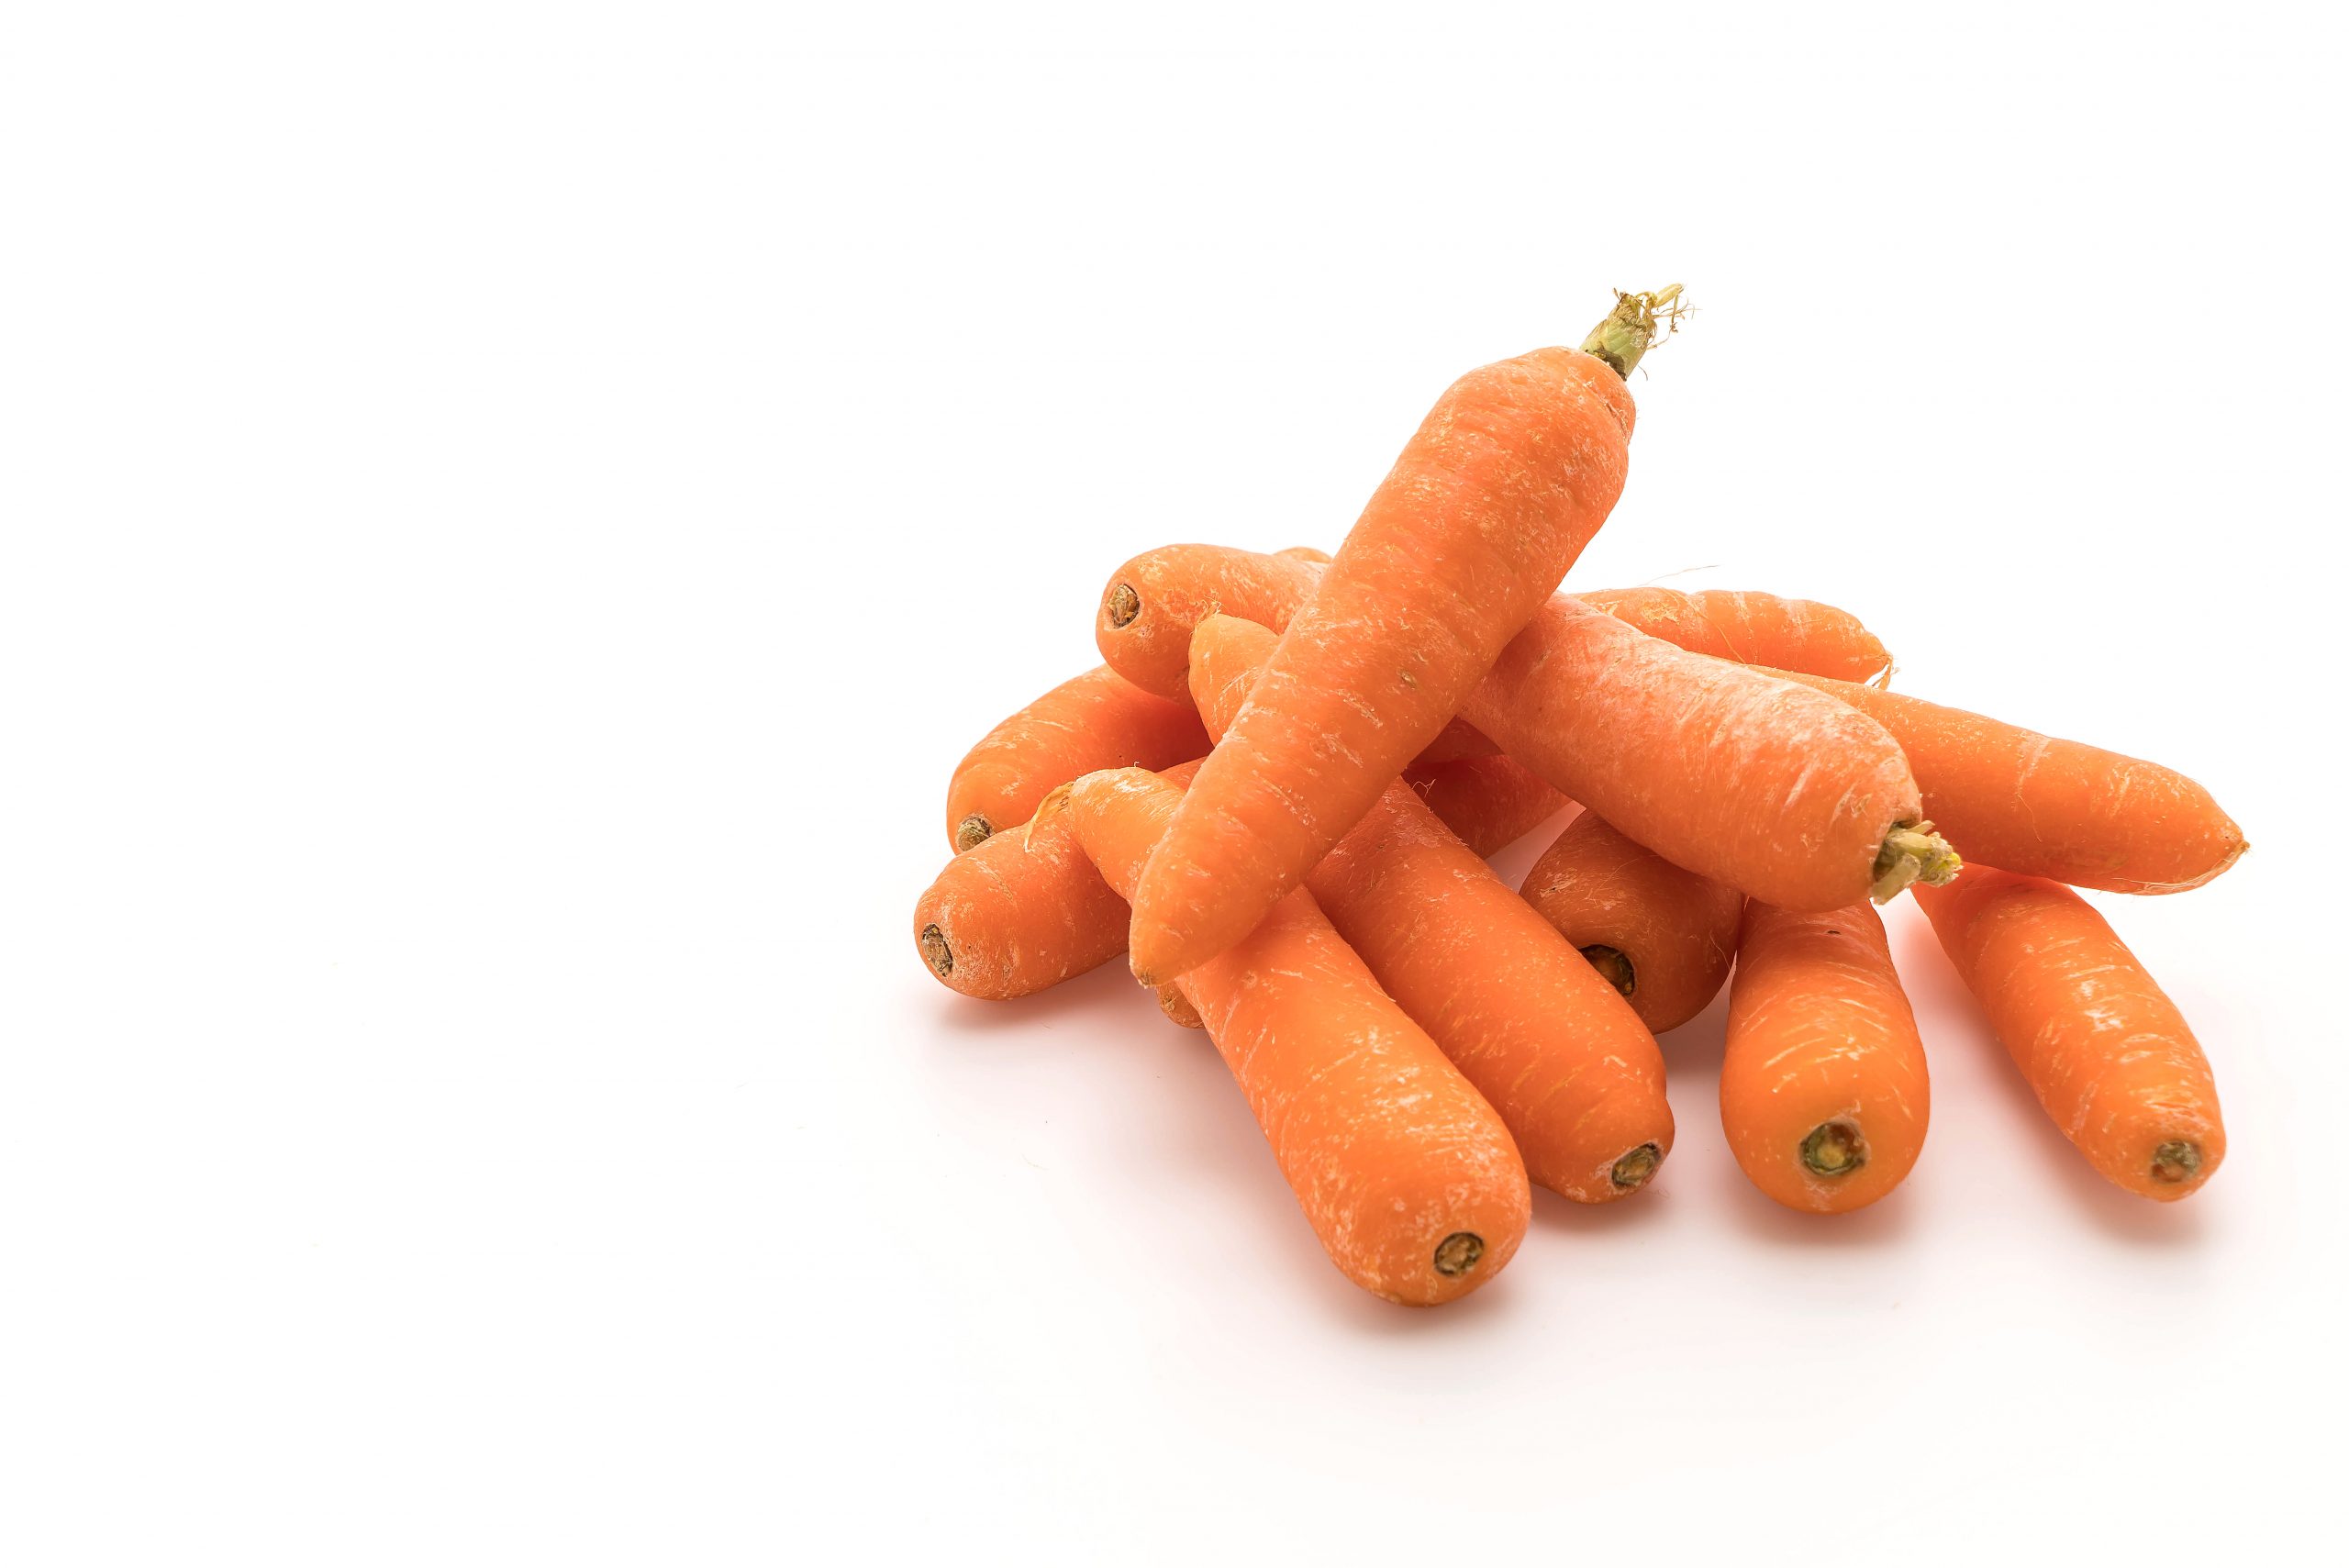
Growing your own vegetables at home is a rewarding and satisfying experience. One vegetable that many gardeners enjoy cultivating is carrots. Not only are they delicious and versatile, but carrots also offer a host of health benefits. However, once your carrots are ready for harvest, the next step is figuring out how to store them properly to ensure they stay fresh and flavorful.
Choosing the right storage method for your homegrown carrots is essential for maintaining their quality and prolonging their shelf life. In this article, we will explore different storage options and provide you with useful tips on how to store your homegrown carrots effectively.
Key Takeaways:
- Properly storing homegrown carrots is essential for maintaining their freshness and flavor. Whether in the refrigerator, root cellar, sand, or plastic bags, choosing the right method ensures a continuous supply of this versatile vegetable throughout the year.
- Regularly checking and maintaining carrot storage conditions is crucial for preserving their quality. From inspecting for spoilage to using them in various dishes, proper attention and care ensure the continued enjoyment of homegrown carrots.
Read more: How To Store Carrots
Choosing the Right Storage Method
When it comes to storing homegrown carrots, selecting the appropriate storage method is crucial. The right storage method will not only keep your carrots fresh but also preserve their flavor and nutrients for an extended period.
Several factors will influence your choice of storage method, including the storage space available, environmental conditions, and the intended duration of storage. Let’s explore some common storage methods and their suitability for storing homegrown carrots:
- Refrigerator: If you only have a small quantity of carrots and plan to use them within a few weeks, storing them in the refrigerator is a practical option. The low temperature and high humidity in the fridge will help preserve the crispness and moisture of the carrots.
- Root Cellar: For larger quantities of carrots and a longer storage period, a root cellar can be an ideal choice. A root cellar provides cool, dark, and well-ventilated conditions necessary for preserving the freshness of your carrots. If you don’t have a traditional root cellar, you can create a makeshift one in a cool basement or a designated cool corner of your garage or storage shed.
- Sand or Sawdust: Another traditional storage method involves burying your carrots in damp sand or sawdust. This method mimics the natural conditions in the ground and helps keep the carrots fresh for an extended period. Make sure the sand or sawdust is slightly damp, but not wet, to prevent rotting.
- Plastic Bags: Storing carrots in perforated or ventilated plastic bags can work well if you don’t have access to a root cellar or a large storage space. Make sure to remove any excess moisture from the carrots before placing them in the bags. The perforated or ventilated bags will allow for proper air circulation, reducing the risk of mold or spoilage.
When selecting your preferred storage method, keep in mind the available resources, the quantity of carrots you have, and the duration of storage. Experimenting with different methods can help you determine which one works best for your specific situation.
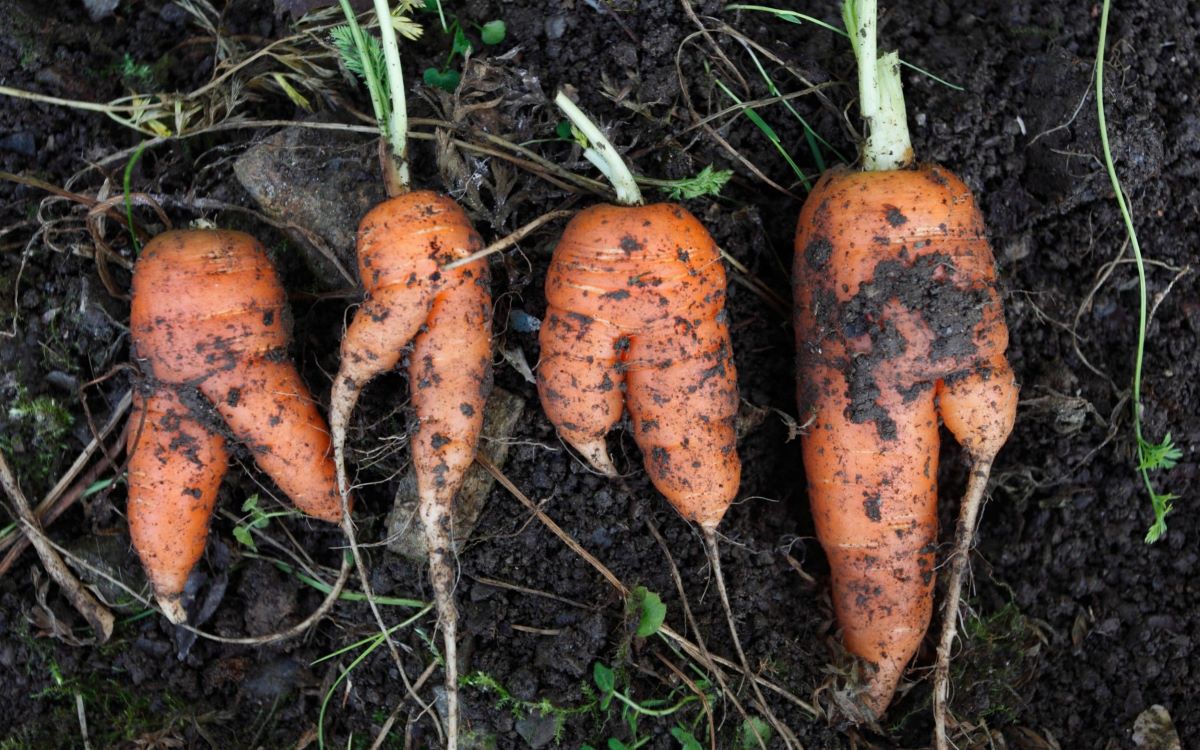
Harvesting and Cleaning Carrots
Before you can store your homegrown carrots, it’s essential to harvest them at the right time and clean them properly. Here are some steps to follow for harvesting and cleaning your carrots:
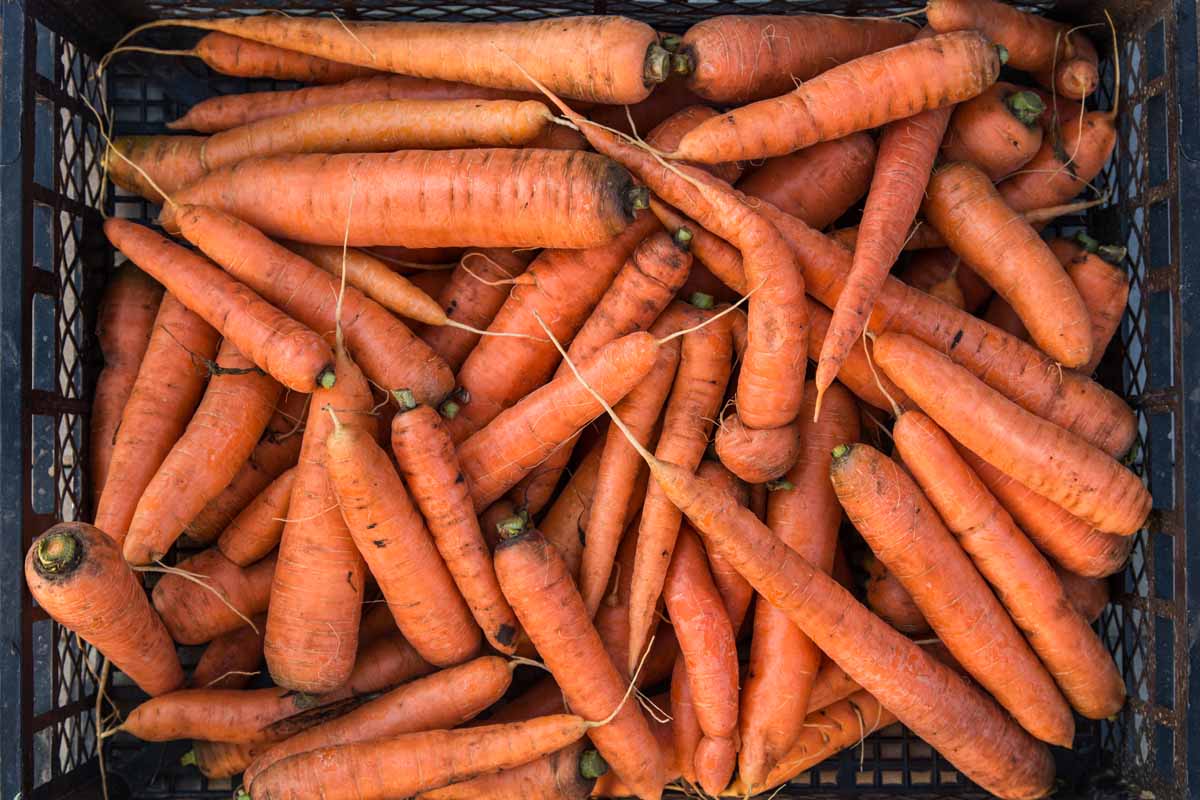
- Timing: Carrots are typically ready for harvest when their roots have reached a desirable size, usually 1 to 2 inches in diameter. Gently pull the carrot from the soil, using your hands or a garden fork, to avoid damaging the delicate roots. Harvesting in the early morning or late afternoon is ideal, as the carrots will be less stressed from heat.
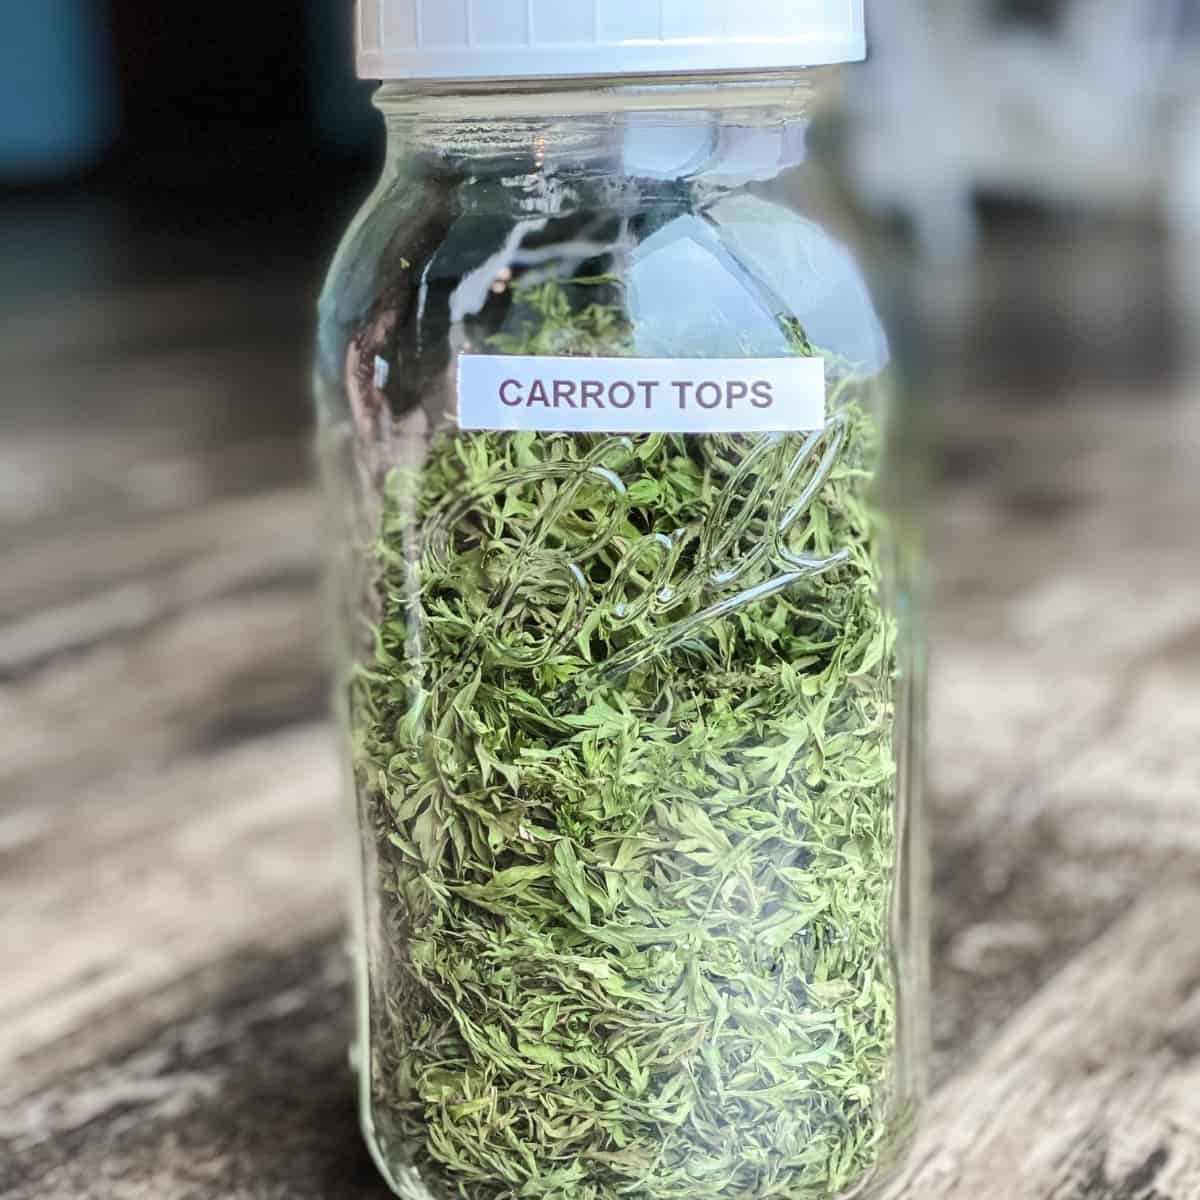
- Trimming: Once you’ve harvested your carrots, remove the tops by cutting them with a pair of clean, sharp scissors. Leaving the tops on can cause the carrots to wilt and lose moisture more quickly.
- Washing: After trimming, gently rinse off any dirt or debris on the carrots using cool water. Be cautious not to scrub the carrots too vigorously, as this can damage their outer layer and reduce their storage life.
- Drying: Allow the washed carrots to air dry for a short period before proceeding with the storage method of your choice. It’s important to ensure that the carrots are completely dry to avoid the growth of mold or rot during storage.
- Sorting: Take the time to sort your carrots based on their size and condition. Remove any carrots that show signs of disease, damage, or softness, as they can spoil the rest of the stored batch quickly.
By harvesting your carrots when they are mature and following proper cleaning techniques, you can maximize the storage potential and maintain the quality of your homegrown carrots.
Preparation for Storage
Before storing your homegrown carrots, it’s essential to prepare them properly to ensure optimal storage conditions. By following these preparation steps, you can help extend the shelf life of your carrots:
- Trimming: Start by trimming the greens off the carrots if you haven’t done so during the harvesting and cleaning process. Removing the greens helps prevent moisture loss and keeps the carrots fresh for longer.
- Storage Container: Choose an appropriate storage container based on your chosen storage method. For refrigerator storage, use plastic bags or airtight containers. For cellar storage, consider wooden crates, perforated plastic bins, or cardboard boxes. Ensure that the container is clean and dry before placing the carrots inside.
- Layering: If you have a large quantity of carrots to store, consider layering them with paper towels or straw. This helps absorb any excess moisture and prevents the carrots from sticking together.
- Spacing: Avoid overcrowding the carrots in the storage container. Leave enough space between each carrot to allow for proper air circulation. Overcrowding can lead to moisture buildup and increase the risk of rot.
- Monitoring: Regularly check your stored carrots for any signs of spoilage or decay. Remove any carrots that show signs of rot to prevent it from spreading to the rest of the batch.
Properly preparing your carrots for storage sets a solid foundation for maintaining their freshness and quality throughout their storage period. Taking the time to follow these steps will ensure that you can enjoy your homegrown carrots for an extended period.
Storage Methods for Home Grown Carrots
There are several effective storage methods available for homegrown carrots. Depending on your available resources, space, and desired storage duration, you can choose the method that best suits your needs. Here are some popular storage methods for homegrown carrots:
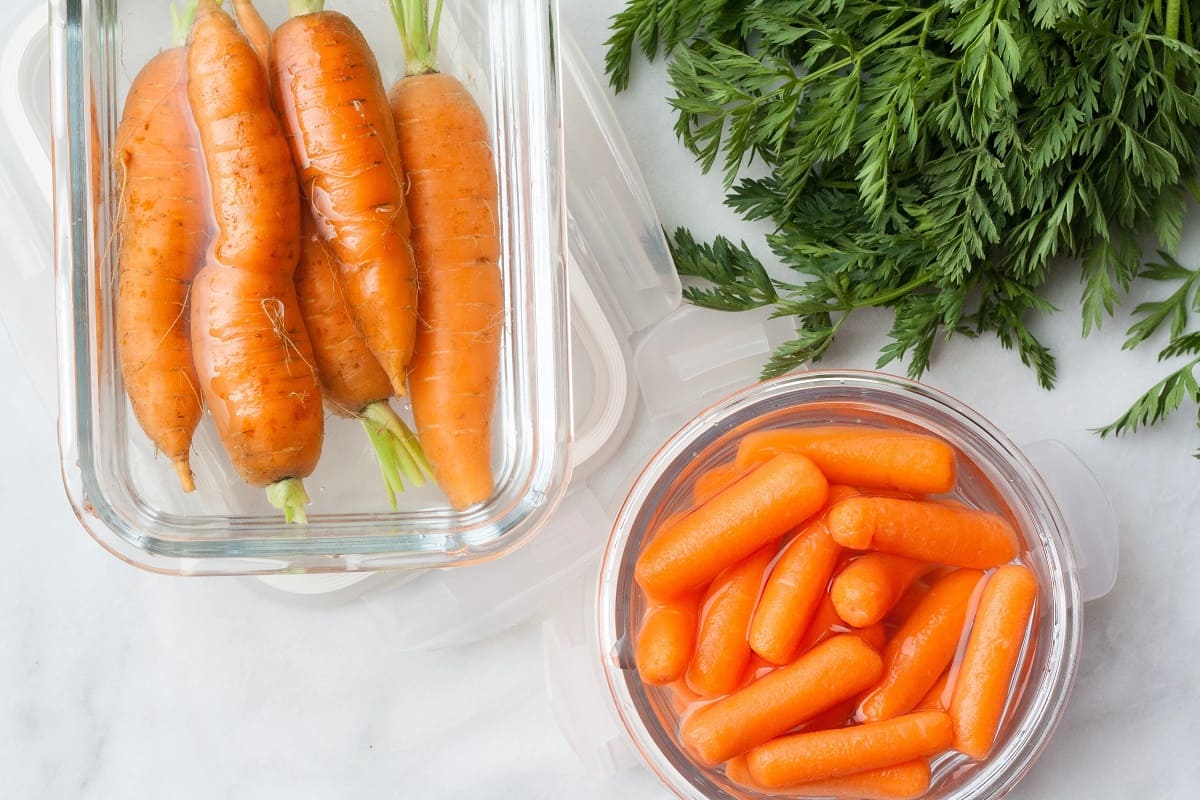
- Refrigerator: Storing carrots in the refrigerator is a convenient option, especially if you plan to use them within a few weeks. Place the trimmed and dried carrots in perforated plastic bags or airtight containers, ensuring that they are free from excess moisture. The refrigerator’s cool temperature and high humidity will help keep the carrots fresh and crisp.
- Root Cellar: A traditional and effective method of storing carrots is using a root cellar. A root cellar provides the ideal cool and dark conditions required to maintain the freshness of your carrots. Simply place the trimmed and dried carrots in wooden crates, perforated plastic bins, or cardboard boxes. Make sure to store them in a well-ventilated area with a temperature range of 32-40°F (0-4°C).
- Sand or Sawdust: Another classic storage method is burying your carrots in damp sand or sawdust. Fill a container, such as a wooden box or a plastic bin, with slightly damp sand or sawdust. Place the carrots in layers, ensuring they are completely covered. This method mimics the natural conditions in the ground and helps retain the moisture and freshness of the carrots. Store the container in a cool place, like a cellar or garage.
- Plastic Bags: If you don’t have access to a root cellar or a large storage space, storing carrots in perforated or ventilated plastic bags can be an effective alternative. After trimming and drying the carrots, place them in the bags, making sure to remove any excess moisture. The perforations or ventilation in the bags allow for proper air circulation, reducing the risk of mold or spoilage.
When deciding on a storage method, consider factors such as available space, storage duration, and desired ease of access. Experimenting with different methods can help you determine the most suitable one for your homegrown carrots.
Read more: How To Store Carrots In Sand
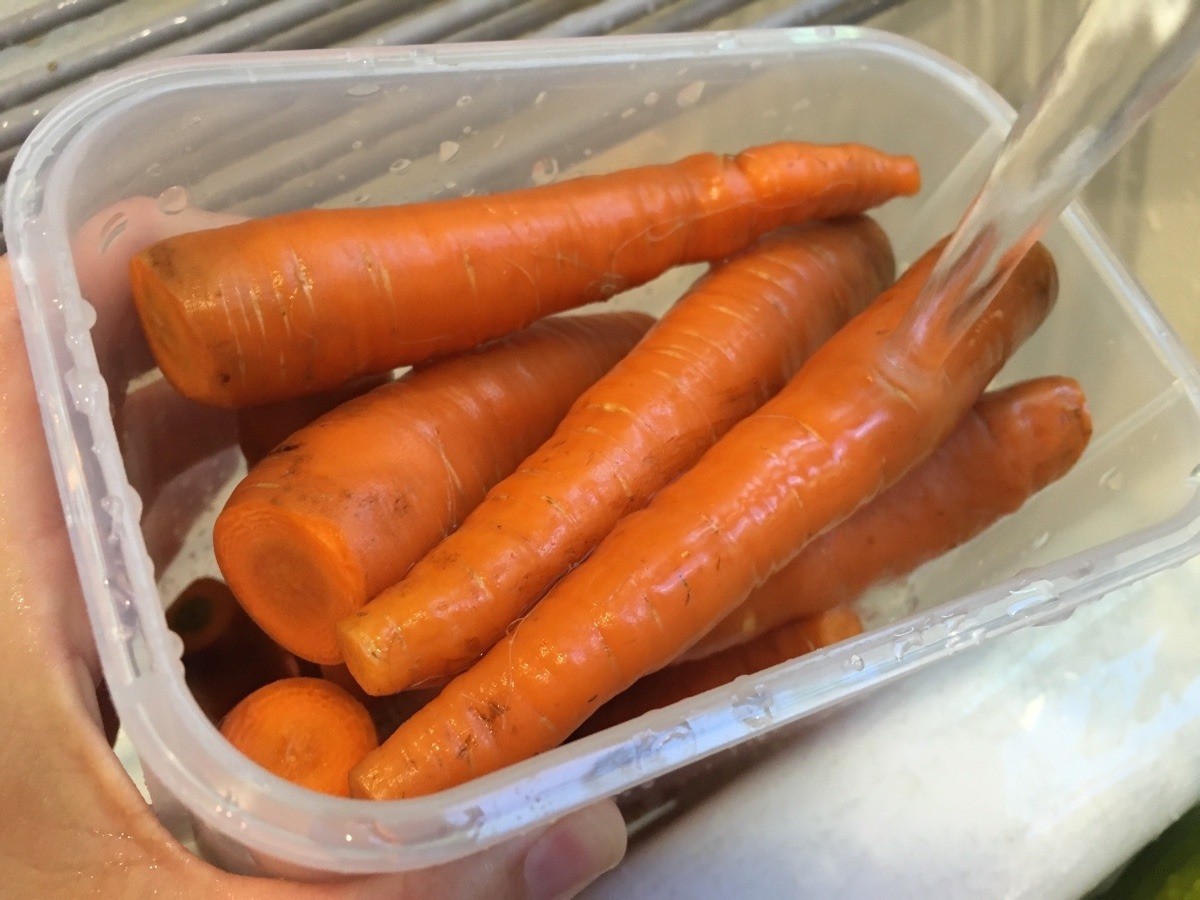
Storing Carrots in the Refrigerator
The refrigerator is a convenient and effective storage option for homegrown carrots, especially if you plan to use them within a few weeks. Follow these steps to properly store your carrots in the refrigerator:
- Trimming: Start by trimming the greens off the carrots, leaving about an inch of the stem attached. Removing the greens helps prevent moisture loss and keeps the carrots fresh for longer.
- Cleaning: Gently rinse the carrots under cool water to remove any dirt or debris. Avoid scrubbing them vigorously, as this can damage the outer layer.
- Drying: Allow the washed carrots to air dry for a short while before storing them. Ensure they are completely dry to prevent the growth of mold or rot during storage.
- Storage Containers: Place the dried carrots in perforated plastic bags or airtight containers. The perforations or ventilation in the bags or containers will allow for proper air circulation.
- Arrangement: Arrange the carrots in a single layer inside the bags or containers, avoiding overcrowding. If you have multiple layers, separate them with a sheet of paper towel to absorb any excess moisture.
- Temperature and Humidity: Set your refrigerator’s temperature to around 32-40°F (0-4°C) and the humidity level to high. The cool temperature and high humidity will help maintain the carrots’ crispness and moisture.
- Checking: Regularly check the stored carrots for any signs of spoilage or decay. Remove any carrots that show signs of rot to prevent it from spreading to the rest.
By following these steps, you can extend the shelf life of your homegrown carrots and enjoy them fresh for a longer period. Remember to use the stored carrots within a few weeks to ensure optimal taste and quality.
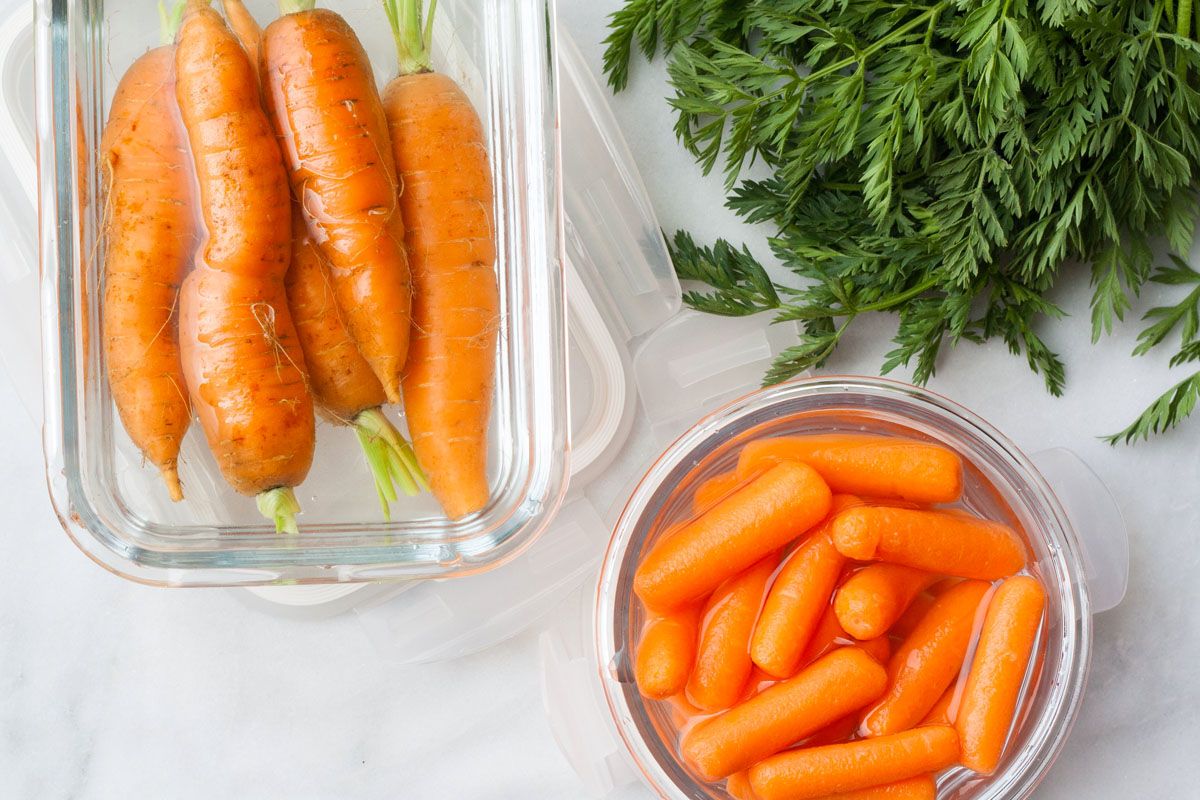
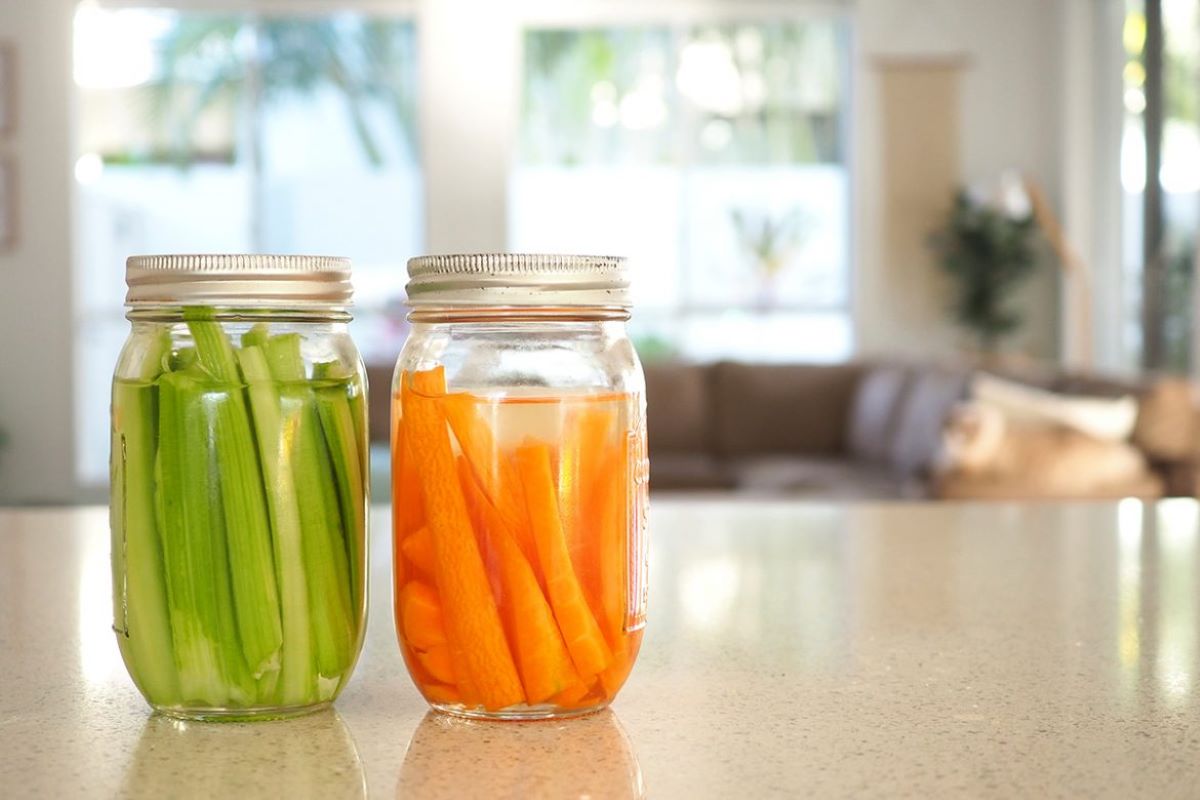
After harvesting, remove the tops to prevent moisture loss. Store unwashed carrots in the refrigerator in a plastic bag with some moisture, such as a damp paper towel, for up to a few weeks.
Storing Carrots in a Root Cellar
If you have access to a root cellar, it can be an excellent storage option for homegrown carrots. Root cellars provide the ideal cool, dark, and well-ventilated conditions necessary for preserving the freshness and flavor of your carrots. Follow these steps to properly store your carrots in a root cellar:
- Trimming: Start by trimming the greens off the carrots, leaving about an inch of the stem attached. Removing the greens helps prevent moisture loss and keeps the carrots fresh for longer.
- Cleaning: Gently rinse the carrots under cool water to remove any dirt or debris. Be careful not to scrub them too vigorously, as it can damage the outer layer.
- Drying: Allow the washed carrots to air dry for a short while before storage. Ensure they are completely dry to avoid the growth of mold or rot during storage.
- Storage Containers: Choose suitable containers for storing your carrots in the root cellar. Wooden crates, perforated plastic bins, or cardboard boxes work well. Ensure the containers are clean and dry before placing the carrots inside.
- Arrangement: Place the dried carrots in a single layer inside the containers, avoiding overcrowding. If you have multiple layers, separate them with a sheet of newspaper or straw to absorb excess moisture.
- Temperature and Ventilation: Store the containers of carrots in a cool area of the root cellar, maintaining a temperature range of 32-40°F (0-4°C). Ensure that the cellar is well-ventilated to prevent the accumulation of excess moisture.
- Checking: Regularly check the stored carrots for any signs of spoilage or decay. Remove any carrots that show signs of rot to prevent it from spreading to the rest of the batch.
By following these steps and utilizing the cool, dark environment of a root cellar, you can extend the shelf life of your homegrown carrots and enjoy them throughout the winter months. Remember to monitor the conditions in the root cellar and adjust if necessary to maintain optimal storage conditions for your carrots.
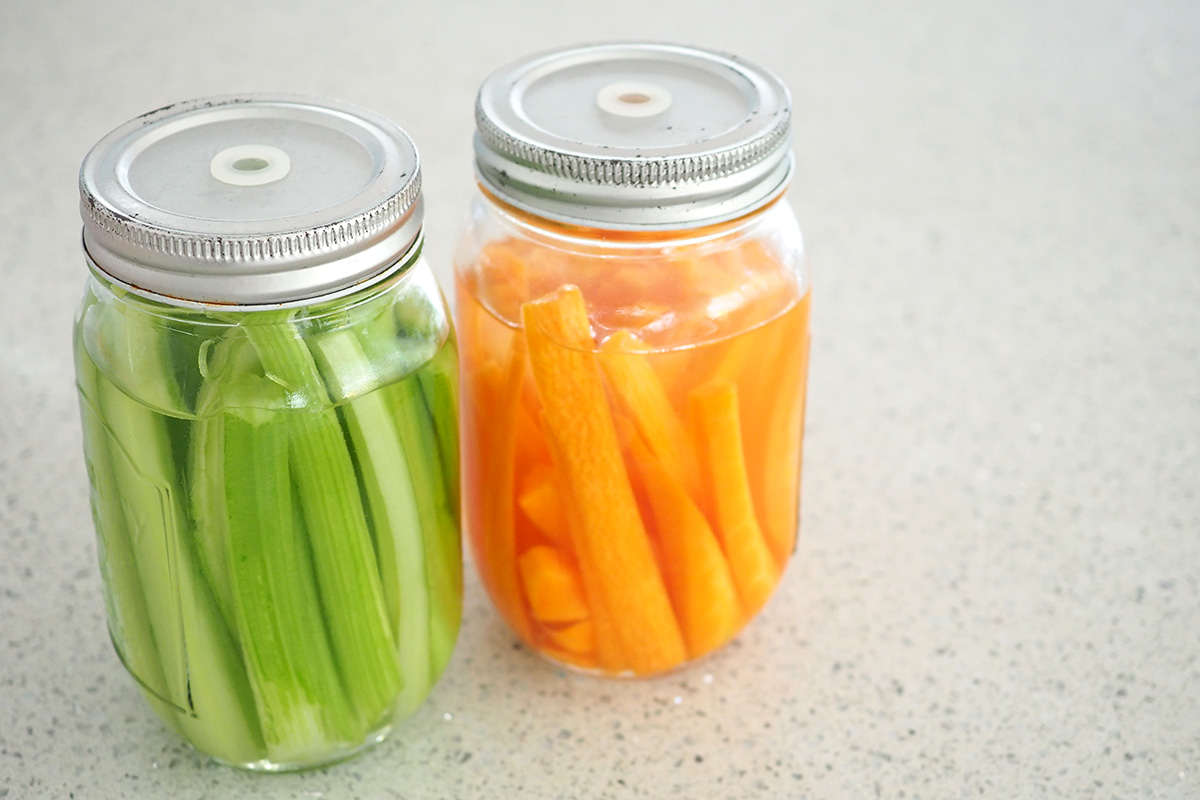
Storing Carrots in Sand or Sawdust
Another traditional and effective method of storing homegrown carrots is to bury them in damp sand or sawdust. This method replicates the natural conditions in the ground and helps maintain the carrots’ freshness and moisture. Let’s explore the steps to properly store carrots in sand or sawdust:
- Trimming: Start by trimming the greens off the carrots, leaving about an inch of the stem attached. Removing the greens helps prevent moisture loss and keeps the carrots fresh for longer.
- Cleaning: Gently rinse the carrots under cool water to remove any dirt or debris. Avoid scrubbing them vigorously to prevent damage to the outer layer.
- Drying: Allow the washed carrots to air dry for a short while before storage. Ensure they are completely dry to prevent the growth of mold or rot during storage.
- Container: Select a clean and dry container to hold the sand or sawdust. Wooden boxes or plastic bins with lids work well for this purpose.
- Filling: Fill the container with slightly damp sand or sawdust. The moisture level should be enough to create a moist environment without making the medium overly wet.
- Layering: Place a layer of sand or sawdust at the bottom of the container, then arrange the dried carrots in a single layer. Cover the carrots with another layer of sand or sawdust, ensuring they are fully immersed and well separated from one another.
- Storage: Store the container in a cool and dark location, such as a cellar or garage. The temperature should range between 32-40°F (0-4°C) to maintain the carrots’ freshness.
- Checking: Periodically check the stored carrots for any signs of spoilage or decay. Remove any carrots that show signs of rot to prevent it from spreading to the rest.
By following these steps and storing your carrots in damp sand or sawdust, you can maintain their quality and enjoy fresh carrots throughout the winter months. It’s important to monitor the container’s moisture levels and remove any spoiled carrots to ensure the remaining batch stays in optimal condition.
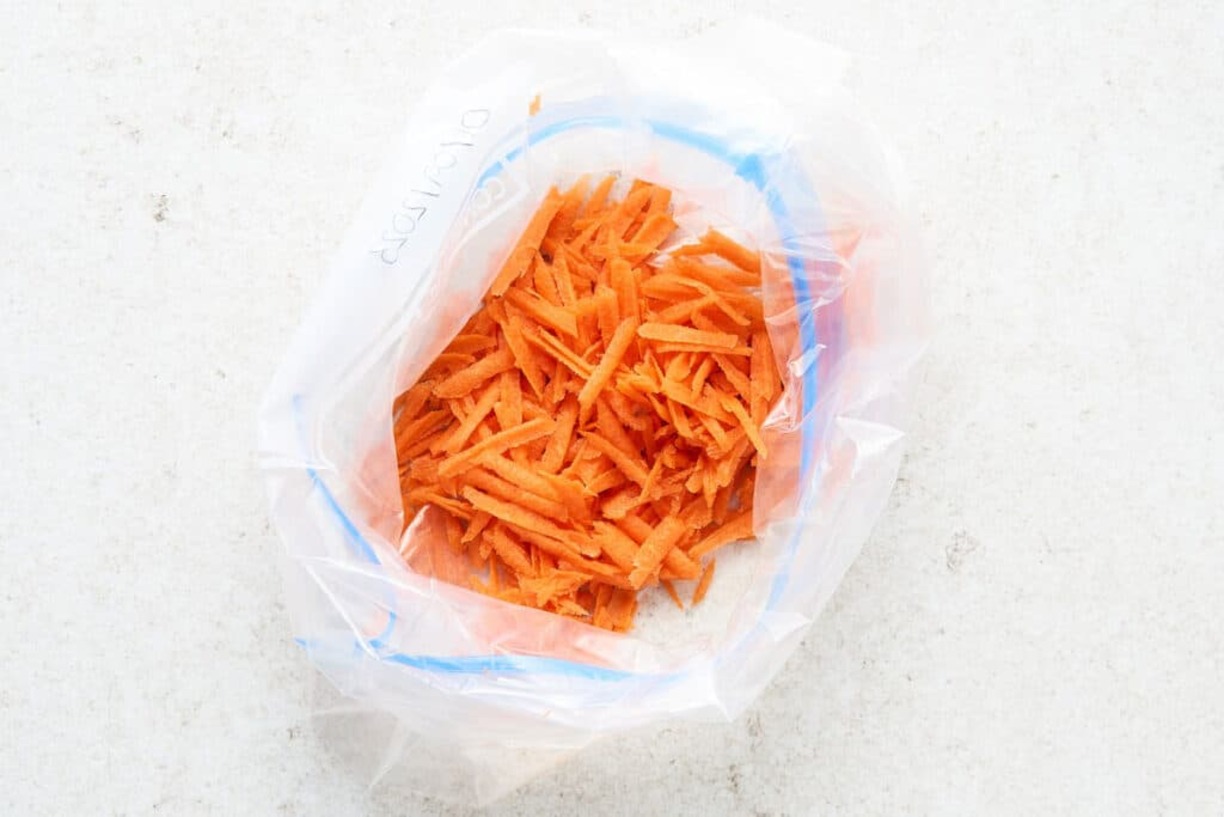
Storing Carrots in Plastic Bags
If you don’t have access to a root cellar or a large storage space, storing carrots in plastic bags can be a practical and effective solution. By using perforated or ventilated plastic bags, you can provide proper air circulation while protecting the carrots from excess moisture. Here’s how to store carrots in plastic bags:
- Trimming: Start by trimming the greens off the carrots, leaving about an inch of the stem attached. This helps prevent moisture loss and keeps the carrots fresh for longer.
- Cleaning: Gently rinse the carrots under cool water to remove any dirt or debris. Be careful not to scrub them too vigorously, as it can damage the outer layer.
- Drying: Allow the washed carrots to air dry for a short while before storage. Ensure they are completely dry to avoid the growth of mold or rot during storage.
- Perforated or Ventilated Bags: Choose plastic bags that have perforations or are specifically designed to allow air circulation. These bags are readily available in stores or online.
- Arrangement: Place the dried carrots in the plastic bags, leaving some space for air circulation. Avoid overcrowding the bags, as it can hinder proper airflow and increase the risk of mold or spoilage.
- Removal of Excess Moisture: Before sealing the bags, make sure the carrots are free of excess moisture. Moisture can lead to rotting, so it’s essential to remove any water droplets or excess moisture from the carrots.
- Storage: Place the sealed plastic bags of carrots in a cool and dark location, such as a refrigerator or a cool basement. The temperature should be around 32-40°F (0-4°C).
- Checking: Regularly check the stored carrots for any signs of spoilage or decay. Remove any carrots that show signs of rot to prevent it from spreading to the rest of the batch.
By following these steps and using perforated or ventilated plastic bags, you can store your homegrown carrots effectively while allowing for proper air circulation. This method is especially useful for those with limited storage space or those who prefer a more convenient option.
Read more: How To Store Chopped Carrots
Checking and Maintaining Carrot Storage
Properly storing your homegrown carrots is only part of the equation. Regularly checking and maintaining the storage conditions is essential to ensure their freshness and longevity. Here are some tips for checking and maintaining carrot storage:
- Regular Inspection: Set a schedule to check your stored carrots regularly. Inspect them for any signs of spoilage, such as mold, soft spots, or an unpleasant odor.
- Removing Spoiled Carrots: If you come across any carrots that show signs of spoilage, promptly remove them from the storage batch. Infected or rotting carrots can quickly spread the decay to the surrounding ones.
- Adjusting Storage Conditions: Monitor the storage conditions, such as the temperature and humidity levels, and make adjustments as necessary. Aim to maintain a temperature range of 32-40°F (0-4°C) and a humidity level suited for the specific storage method you’re using.
- Air Circulation: Ensure that there is proper air circulation around the stored carrots. In methods like plastic bag storage, regularly check the bags for any blockages or obstructions that may hinder airflow.
- Removal of Excess Moisture: Moisture can lead to rotting, so it’s crucial to remove any excess moisture from the carrots and the storage container. Check for condensation or pooling water and address it promptly.
- Rotating the Batch: If you have a large batch of stored carrots, consider rotating them periodically. This involves moving the older carrots to the front and the fresher ones towards the back. By doing this, you can ensure that the oldest carrots are used first and maintain optimal freshness.
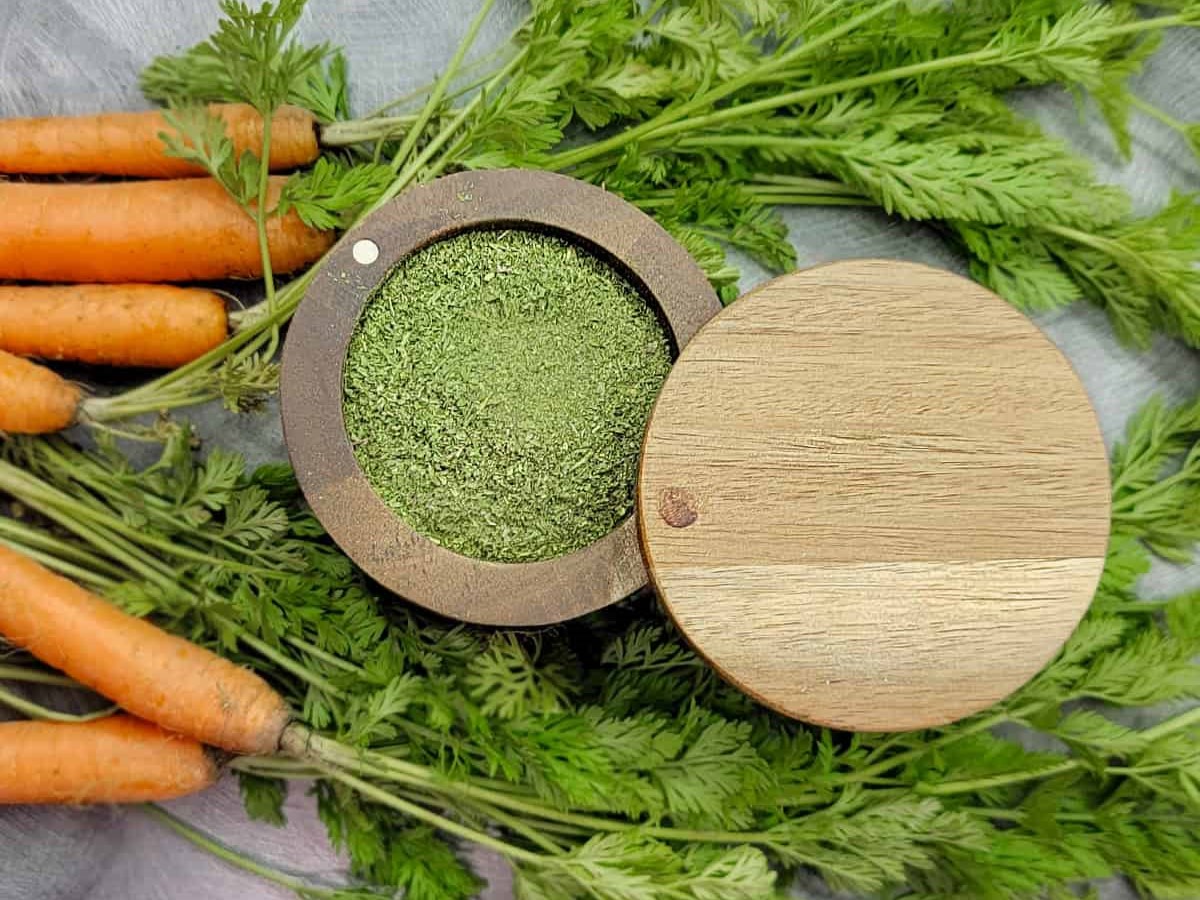
- Using Stored Carrots: As time goes on, prioritize using the stored carrots to prevent them from exceeding their storage life. Incorporate them into your meals, share them with neighbors, or consider preserving techniques like canning or freezing to extend their usability.
By regularly checking and maintaining your carrot storage, you can catch any issues early on and ensure that your homegrown carrots remain fresh and delicious for as long as possible. With proper attention and care, you can enjoy the fruits of your labor throughout the storage period.
Using Stored Carrots
Stored carrots from your homegrown harvest offer a versatile and nutritious ingredient for a variety of culinary creations. Here are some ideas and tips for using your stored carrots:
- Fresh Snacks: Enjoy the crispness of your stored carrots by slicing them into sticks or rounds and serving them as a healthy snack with hummus, yogurt dip, or your favorite dressing.
- Cooked Dishes: Incorporate stored carrots into a wide range of cooked dishes. Add them to soups, stews, and stir-fries for added flavor and nutrients. Carrots also work well in roasted vegetable medleys or as a delicious addition to casseroles.
- Carrot-based Sauces and Spreads: Blend cooked and mashed carrots to create flavorful sauces and spreads. Carrot puree can serve as a base for pasta sauces, gravies, or even as a spread on toast or sandwiches.
- Baked Goods: Grate or finely chop stored carrots and incorporate them into recipes for cakes, muffins, bread, and cookies. Carrots add moisture and natural sweetness to baked goods, making them delicious and nutritious.
- Preserving Techniques: If you find yourself with an abundance of stored carrots, consider preserving them for later use. Carrots can be canned, pickled, or frozen to maintain their quality and extend their shelf life.
- Carrot Juice: If you have a juicer or a blender, turn your stored carrots into vibrant and refreshing carrot juice. Add a hint of lemon or ginger for an extra kick of flavor.
- Carrot-based Salads: Grate or julienne your stored carrots and use them as a base for vibrant salads. Combine them with other fresh vegetables, fruits, nuts, and your favorite dressing for a satisfying and nutritious meal.
Remember to properly wash your stored carrots before using them and peel them if desired. The possibilities for using stored carrots are endless, so get creative in the kitchen and enjoy the bounty of your homegrown harvest throughout the year!
Conclusion
Growing your own carrots at home is a rewarding experience, and proper storage is crucial to enjoy the fruits of your labor for an extended period. Whether you choose to store your homegrown carrots in the refrigerator, a root cellar, sand or sawdust, or plastic bags, following the right techniques will help maintain their freshness, flavor, and nutritional value.
By harvesting and cleaning your carrots properly, preparing them for storage, and choosing the right storage method, you can ensure that your homegrown carrots stay in optimal condition. Regularly checking and maintaining the storage conditions, along with using the stored carrots in a variety of dishes, will help you make the most out of your harvest.
Remember, the storage method you choose should align with factors such as available space, quantity of carrots, and desired storage duration. Experiment with different methods to find the one that works best for you.
Whether you enjoy your stored carrots as fresh snacks, in cooked dishes, or in innovative recipes, the rewards of your homegrown harvest will be evident in the flavors and nutritional value they bring to your meals. So, take pride in your homegrown carrots, savor their taste, and enjoy the continuous supply of this versatile vegetable throughout the year.
With proper storage and utilization, your homegrown carrots will continue to be a source of joy, nourishment, and culinary delight long after the harvest season has passed.
Frequently Asked Questions about How To Store Home Grown Carrots
Was this page helpful?
At Storables.com, we guarantee accurate and reliable information. Our content, validated by Expert Board Contributors, is crafted following stringent Editorial Policies. We're committed to providing you with well-researched, expert-backed insights for all your informational needs.


0 thoughts on “How To Store Home Grown Carrots”