Articles
How To Store Gnocchi
Modified: January 8, 2024
Learn how to store gnocchi properly to maintain their freshness and taste. Check out our informative articles for helpful tips and tricks.
(Many of the links in this article redirect to a specific reviewed product. Your purchase of these products through affiliate links helps to generate commission for Storables.com, at no extra cost. Learn more)
Introduction
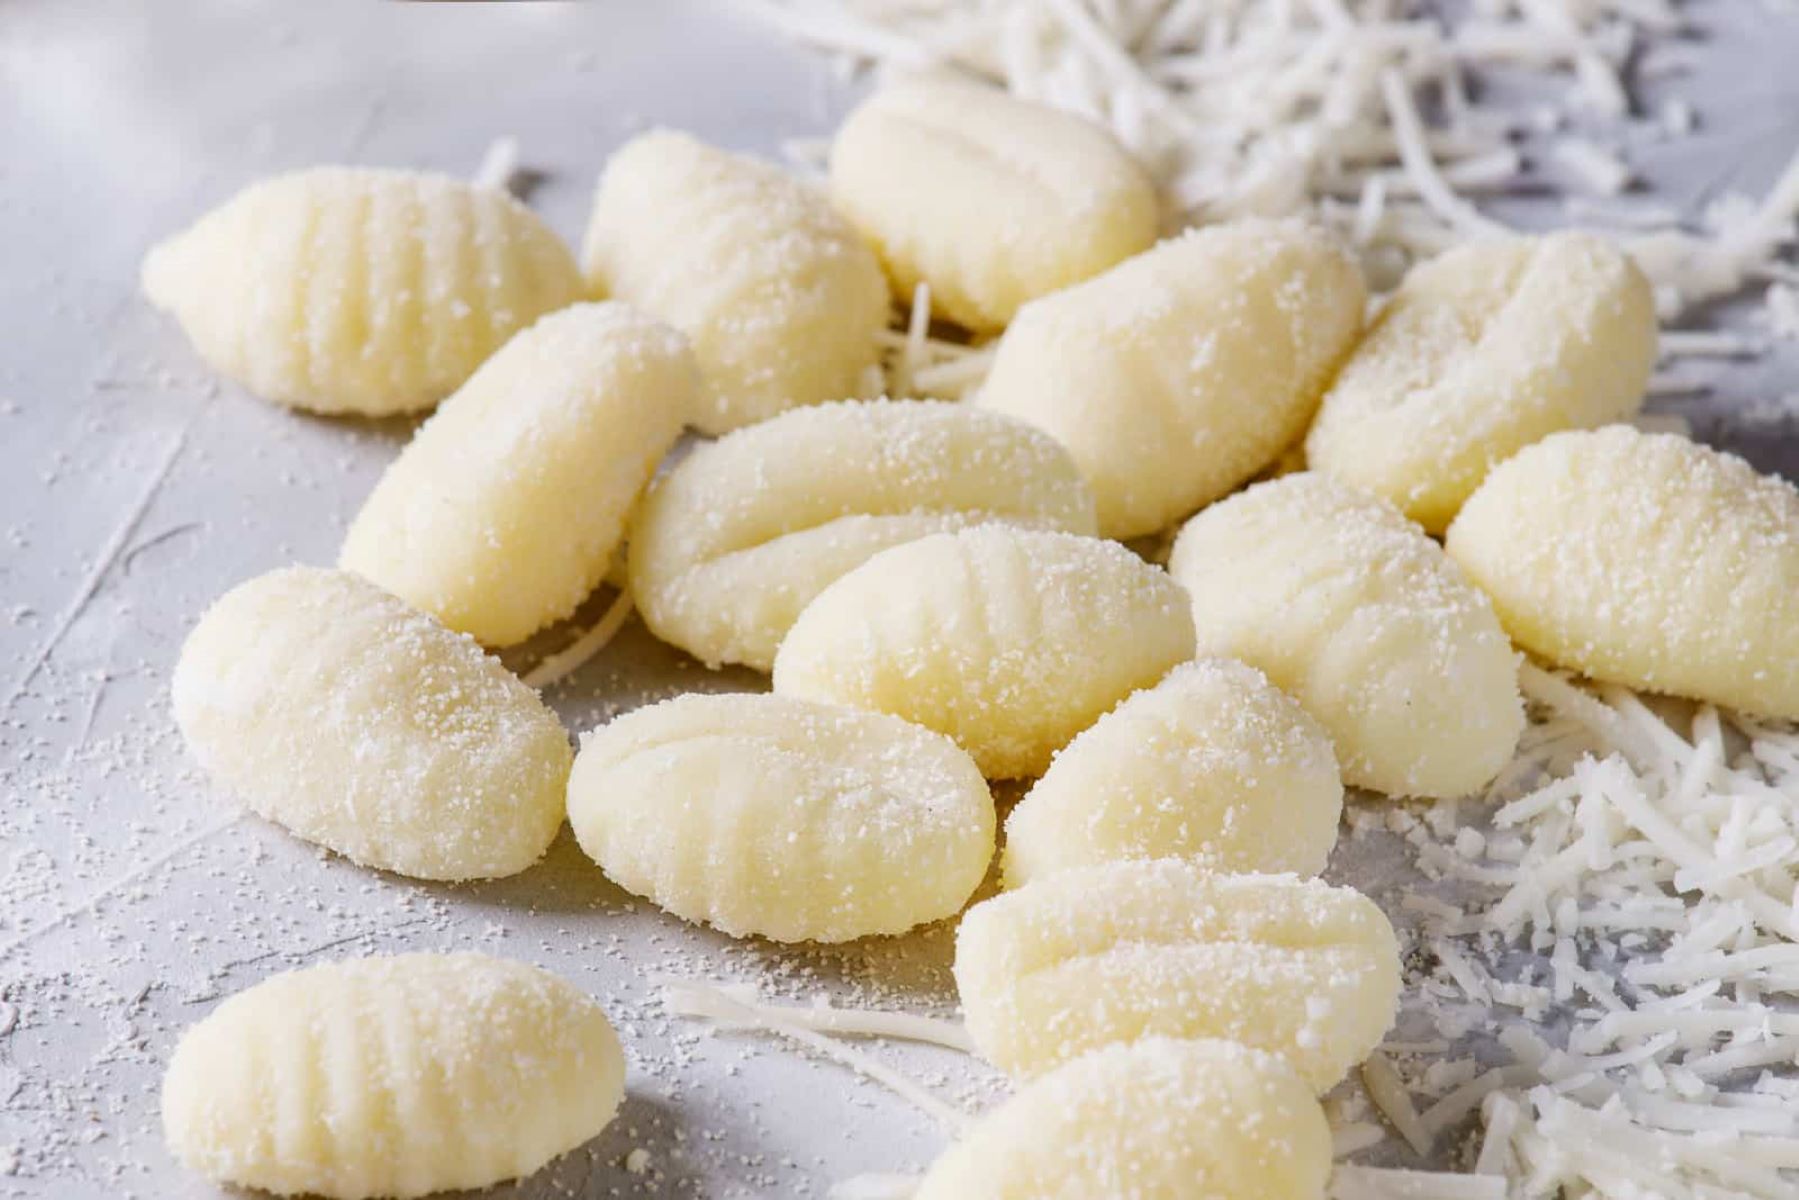
Gnocchi, a traditional Italian pasta made from potatoes, flour, and eggs, is a delicious and versatile dish enjoyed by many around the world. Whether you’ve made gnocchi from scratch or purchased it from a store, proper storage is essential to maintain its freshness and taste. In this article, we will explore different methods to store gnocchi, whether cooked or uncooked, as well as the process of freezing and thawing gnocchi to ensure its shelf life.
Choosing the right storage method for your gnocchi depends on whether it is cooked or uncooked. Cooked gnocchi, which has been boiled until tender, can be stored using different techniques than uncooked gnocchi, which has not yet been cooked. Additionally, for those who prefer to make a large batch of gnocchi and store it for future use, freezing can be a convenient option. Let’s delve into the details of each method to ensure your gnocchi stays fresh and delicious.
Key Takeaways:
- Properly storing gnocchi, whether cooked or uncooked, is crucial for maintaining its freshness and taste. From refrigeration to freezing, follow specific steps to ensure your gnocchi stays delicious for longer.
- Freezing gnocchi can extend its shelf life for several months without compromising its taste and texture. Properly prepare, cool, and arrange the gnocchi before freezing, and follow specific thawing methods for best results.
Read more: How To Store Store-Bought Bread
Choosing the Right Storage Method
When it comes to storing gnocchi, it’s important to choose the right method based on whether your gnocchi is cooked or uncooked. The storage technique for cooked gnocchi differs from that of uncooked gnocchi.
Storing Cooked Gnocchi: If you have leftover cooked gnocchi, the best way to store it is in an airtight container in the refrigerator. Make sure the gnocchi is completely cooled before placing it in the container to prevent condensation and the potential for mold growth. Cooked gnocchi can last in the refrigerator for up to 3 days, but its texture may become slightly softer over time.
Storing Uncooked Gnocchi: If you have uncooked gnocchi that you’d like to store for later use, the best way is to keep it in the refrigerator. Place the uncooked gnocchi in a single layer on a baking sheet lined with parchment paper and cover it with plastic wrap or aluminum foil. This prevents them from sticking together and absorbing any strong odors from the refrigerator. Uncooked gnocchi can last in the refrigerator for up to 2 days.
Now that we know the basic storage methods for gnocchi, let’s dive into the process of freezing gnocchi for longer-term storage.
Storing Cooked Gnocchi
When it comes to storing cooked gnocchi, there are a few key considerations to keep in mind to ensure its freshness and taste. Here’s the best way to store cooked gnocchi:
- Cool the Gnocchi: Before storing, allow the cooked gnocchi to cool completely. This helps prevent condensation and ensures that the gnocchi stays fresh.
- Use an Airtight Container: Transfer the cooled gnocchi into an airtight container. This could be a plastic container or a resealable bag. Make sure the container is tightly sealed to prevent air from entering, which can lead to moisture buildup and spoilage.
- Label and Date: To keep track of the storage time, label the container with the date when the gnocchi was cooked. This will help you keep track of its freshness and prevent you from accidentally using expired gnocchi.
- Refrigeration: Place the airtight container in the refrigerator. The cool temperature of the fridge helps slow down the growth of bacteria and keeps the gnocchi fresh for longer. Cooked gnocchi can typically be stored in the refrigerator for up to 3 days.
- Reheating: When you’re ready to enjoy your stored gnocchi, simply reheat it in a skillet with a little bit of olive oil or butter. This helps restore its soft and tender texture.
By following these steps, you can store cooked gnocchi safely and enjoy it at a later time without compromising its taste and quality. Now let’s move on to storing uncooked gnocchi.
Storing Uncooked Gnocchi
If you have uncooked gnocchi that you want to store for future use, there are a few simple steps you can follow to maintain its freshness and quality. Here’s how to store uncooked gnocchi:
- Preparing the Gnocchi: Ensure that the uncooked gnocchi is fresh and free from any signs of spoilage. If you have made the gnocchi from scratch, make sure it has been properly prepared and shaped.
- Arranging on a Baking Sheet: Line a baking sheet with parchment paper and arrange the uncooked gnocchi in a single layer. Ensure that each piece is separate and not touching to prevent them from sticking together.
- Covering: Once the gnocchi is arranged on the baking sheet, cover it with plastic wrap or aluminum foil. This will help protect the gnocchi from absorbing any strong odors and flavors from the refrigerator.
- Refrigeration: Place the baking sheet with the covered gnocchi in the refrigerator. It’s important to keep the gnocchi chilled to maintain its freshness and prevent any bacterial growth. Uncooked gnocchi can typically be stored in the refrigerator for up to 2 days.
- Using within 48 Hours: It’s important to note that uncooked gnocchi should be used within 48 hours of being stored in the refrigerator. Beyond that timeframe, the quality and texture of the gnocchi may deteriorate.
By following these steps, you can store uncooked gnocchi safely and ensure that it retains its shape and taste when you are ready to cook it. Now, let’s explore the process of freezing gnocchi for extended storage.
Store uncooked gnocchi in an airtight container in the refrigerator for up to 2 days. If you want to store them for longer, freeze them in a single layer on a baking sheet, then transfer to a freezer bag for up to 2 months.
Freezing Gnocchi
If you have a large batch of gnocchi or want to store it for a longer period, freezing is a great option. Freezing gnocchi can extend its shelf life for several months without compromising its taste and texture. Here’s how to freeze gnocchi:
- Prepare the Gnocchi: Ensure that the gnocchi is fresh and properly shaped. If you are making gnocchi from scratch, cook it until it is slightly undercooked.
- Cook the Gnocchi: Boil the gnocchi in a pot of salted water until it floats to the surface. Cooking the gnocchi partially ensures that it retains its shape and texture during the freezing process.
- Cooling the Gnocchi: Once cooked, drain the gnocchi and rinse it with cold water to stop the cooking process. Make sure the gnocchi is completely cooled before proceeding to the next step.
- Arrange on a Baking Sheet: Place the cooled gnocchi in a single layer on a baking sheet lined with parchment paper. Be sure to arrange the gnocchi so that they are not touching each other, as this will prevent them from sticking together.
- Flash Freeze: Put the baking sheet with the gnocchi into the freezer and allow them to freeze individually. This process, known as flash freezing, prevents the gnocchi from clumping together. Leave them in the freezer for about 1-2 hours or until they are firm to the touch.
- Transfer to Freezer Bags or Containers: Once the gnocchi are individually frozen, transfer them into labeled freezer bags or airtight containers. Remove any excess air from the bags to prevent freezer burn. Be sure to write the date on the bags or containers for future reference.
- Freezing Time: Gnocchi can generally be stored in the freezer for up to 3 months. However, for the best quality, it’s recommended to consume them within 1-2 months.
By following these steps, you can freeze gnocchi successfully and have it readily available for future use. Now, let’s discuss the process of thawing and using frozen gnocchi.
Read more: How To Store Basil From Grocery Store
Thawing and Using Frozen Gnocchi
When it comes to using frozen gnocchi, proper thawing is essential to preserve its taste and texture. Here’s how to thaw and use frozen gnocchi:
- Thawing in the refrigerator: The best way to thaw frozen gnocchi is to transfer it from the freezer to the refrigerator. Place the sealed bag or container in the refrigerator and allow it to thaw overnight. This slow thawing process ensures that the gnocchi remains fresh and doesn’t lose its texture.
- Thawing in cold water: If you need to thaw the gnocchi quickly, you can do so by placing the sealed bag or container in a bowl of cold water. Make sure the gnocchi is tightly sealed to prevent any water from entering. Change the water every 30 minutes to maintain a cold temperature. The gnocchi should thaw within 1-2 hours using this method.
- Cooking the thawed gnocchi: Once the gnocchi is thawed, you can proceed to cook it as desired. Whether you prefer boiling, sautéing, or baking, the thawed gnocchi should retain its shape and texture. Follow your favorite gnocchi recipe or experiment with new flavors to create a delicious meal.
- Avoid refreezing: It’s important to note that once the gnocchi has been thawed, it should not be refrozen. Refreezing can negatively affect the texture and taste of the gnocchi, resulting in a less desirable eating experience.
By following these thawing and cooking methods, you can enjoy your frozen gnocchi while ensuring it maintains its original taste and texture. Now, let’s explore some additional tips for storing gnocchi to ensure the best possible results.
Tips for Proper Gnocchi Storage
To ensure the best possible storage and freshness for your gnocchi, here are some additional tips to keep in mind:
- Use quality ingredients: When making homemade gnocchi, use fresh and high-quality ingredients. This will not only enhance the taste but also contribute to better storage and shelf life.
- Cook in small batches: If you are planning to store cooked gnocchi, it is better to cook them in smaller batches. This allows for easier storage and prevents overcrowding in the container, which can lead to clumping or sticking together.
- Properly seal containers: Whether storing cooked or uncooked gnocchi, make sure to use airtight containers or freezer bags. Proper sealing helps prevent air exposure, which can lead to freezer burn and loss of quality.
- Label and date: It is essential to label each container or bag with the date of storage. This way, you can keep track of the freshness of the gnocchi and ensure you consume them within the recommended storage time.
- Avoid strong odors: Store gnocchi away from other strong-smelling foods in the refrigerator or freezer. Gnocchi can easily absorb odors, compromising the taste and aroma of the dish.
- Stacking in the freezer: When freezing gnocchi, it is helpful to flatten the bags or containers to allow for easy stacking. This saves space in the freezer and allows for better organization.
- Keep track of storage time: Regularly check the stored gnocchi for any signs of spoilage or freezer burn. If you notice any changes in texture, color, or smell, discard it immediately to avoid any risk of foodborne illness.
By following these tips, you can ensure that your gnocchi stays fresh and flavorful for as long as possible. Whether you’re storing cooked or uncooked gnocchi, proper storage techniques are key to preserving its quality.
Now, armed with the knowledge of how to store gnocchi properly, you can enjoy this delicious Italian dish at any time and waste less food. So go ahead, store your gnocchi with confidence, and savor its delightful flavors whenever you please!
Conclusion
Gnocchi, a beloved Italian pasta made from potatoes, flour, and eggs, can be stored using various methods to ensure its freshness and taste. Whether you have cooked or uncooked gnocchi, proper storage is essential to maintain its quality and extend its shelf life.
For cooked gnocchi, cool it thoroughly and store it in an airtight container in the refrigerator. Cooked gnocchi can last for up to 3 days in the fridge. Uncooked gnocchi, on the other hand, should be arranged in a single layer on a baking sheet and covered before being stored in the refrigerator for up to 2 days.
If you have a large batch of gnocchi or want to store it for a longer period, freezing is a great option. Cook the gnocchi partially, arrange it on a baking sheet to freeze individually, and then transfer it to labeled freezer bags or containers. Frozen gnocchi can be stored for up to 3 months in the freezer.
When it’s time to use frozen gnocchi, thaw it in the refrigerator overnight or in cold water for a quicker thaw. Once thawed, cook the gnocchi as desired, being careful not to refreeze it.
To ensure the best results, use quality ingredients, seal containers tightly, label and date them, and store gnocchi away from strong odors. Keep track of storage time and discard any gnocchi that shows signs of spoilage.
By following these storage tips, you can enjoy the delicious flavors of gnocchi whenever you desire, while minimizing food waste and ensuring a delightful culinary experience. So take the knowledge you’ve gained and savor the joy of homemade or store-bought gnocchi anytime, knowing that it will be fresh and delicious!
Frequently Asked Questions about How To Store Gnocchi
Was this page helpful?
At Storables.com, we guarantee accurate and reliable information. Our content, validated by Expert Board Contributors, is crafted following stringent Editorial Policies. We're committed to providing you with well-researched, expert-backed insights for all your informational needs.


0 thoughts on “How To Store Gnocchi”