
Articles
How To Store Homemade Gummies
Modified: December 7, 2023
Learn the best methods for storing your homemade gummies with our informative articles. Keep your treats fresh and delicious for longer!
(Many of the links in this article redirect to a specific reviewed product. Your purchase of these products through affiliate links helps to generate commission for Storables.com, at no extra cost. Learn more)
Introduction
Welcome to the wonderful world of homemade gummies! There’s something incredibly satisfying about creating your own delicious and chewy treats from scratch. Whether you’re a gummy enthusiast or just looking for a fun and rewarding cooking project, making homemade gummies is a great way to unleash your creativity and indulge your sweet tooth.
In this article, we’ll guide you through the process of making your own homemade gummies and also provide you with valuable tips on how to store them properly. So, let’s get started!
Before we dive into the storage aspect, let’s take a moment to appreciate the joy of making homemade gummies. Not only do you have complete control over the flavors and colors, but you’ll also know exactly what ingredients are going into your treats. Say goodbye to artificial preservatives and hello to all-natural goodness!
To create your homemade gummies, you’ll need a few key ingredients. Gelatin is the star of the show, providing the delightful chewiness and structure that we all love. You’ll also need fruit juice or puree to give your gummies their signature flavor, as well as sweetener if desired. The possibilities are endless, so feel free to experiment with different combinations and create your own unique gummy creations.
Aside from the ingredients, you’ll need a few tools and equipment to make the process smooth and seamless. A saucepan and stove or microwave will be needed to dissolve the gelatin, along with a whisk or spoon to stir the mixture. Gummy molds, which can be found online or at your local baking supply store, are essential for shaping your gummies into fun and appealing forms. And don’t forget parchment paper or silicone mats to prevent sticking!
In the following sections, we’ll walk you through each step of the gummy-making process, from preparing the gelatin mixture to storing the final product. By the end, you’ll have a batch (or several) of mouthwatering homemade gummies at your disposal, ready to be enjoyed or gifted to friends and family.
So grab your apron, gather your ingredients, and get ready to embark on a culinary adventure in the world of homemade gummies!
Key Takeaways:
- Homemade gummies are a delightful and customizable treat, and proper storage is essential for maintaining their freshness. Follow the steps and tips to ensure your gummies stay chewy, flavorful, and enjoyable for weeks to come.
- Experiment with different flavors, colors, and storage methods to create and preserve your unique gummy creations. Share the joy of homemade gummies with loved ones and savor the delicious rewards of your culinary adventure.
Read more: How To Store Gummies
Ingredients
Making homemade gummies requires a few simple ingredients that you may already have in your pantry. Here’s a list of the basic ingredients you’ll need to get started:
- Gelatin: The main ingredient that gives gummies their chewy texture. Opt for unflavored gelatin powder or gelatin sheets.
- Fruit Juice or Puree: Choose your favorite juice or puree to add flavor to your gummies. You can use fruit juices like orange, apple, or grape, or even experiment with flavors like strawberry or pomegranate.
- Sweetener: Optional but recommended if you prefer your gummies on the sweeter side. Honey, maple syrup, or granulated sugar can be used as sweetening agents.
- Food Coloring: Add a pop of color to your gummies with food coloring. Gel or liquid food coloring works best for achieving vibrant hues.
- Citric Acid (optional): If you want to give your gummies a tangy flavor, citric acid can be added. It’s commonly found in the baking section of grocery stores.
These are the basic ingredients, but feel free to get creative and add other flavorings or mix-ins like vanilla extract, cocoa powder, or even dried fruit pieces.
Remember, the quantities of the ingredients will depend on the recipe you’re using. Be sure to follow the instructions carefully to ensure the perfect balance of flavors and textures.
Now that you know what ingredients you’ll need, let’s move on to the tools and equipment required for making homemade gummies.
Tools and Equipment
Before you embark on your homemade gummy-making adventure, it’s important to gather the necessary tools and equipment. Having everything ready and within reach will help make the process smooth and enjoyable. Here are the essential items you’ll need:
- Saucepan or Microwave-Safe Bowl: You’ll need a heat-resistant container to dissolve the gelatin. A saucepan on the stovetop or a microwave-safe bowl will work perfectly. Choose a size that comfortably holds the ingredients without causing overflow.
- Whisk or Spoon: A whisk or spoon is essential for stirring the gelatin mixture and ensuring that it dissolves completely. It’s important to achieve a smooth and homogeneous mixture, so use a utensil that allows for thorough mixing.
- Gummy Molds: Gummy molds are a must-have for shaping your homemade gummies. They are available in various shapes and sizes, allowing you to get creative with your designs. Silicone molds are recommended for easy removal of the gummies.
- Parchment Paper or Silicone Mats: To prevent the gummies from sticking to the surface, line your molds or trays with parchment paper or silicone mats. This will make it easier to remove the gummies once they have set.
- Measuring Cups and Spoons: Accurate measurements are crucial for the success of your gummy-making. Have a set of measuring cups and spoons on hand to ensure you add the right quantities of ingredients.
- Piping Bag or Dropper: To fill the gummy molds with the gelatin mixture, you’ll need a way to transfer it easily. A small piping bag or dropper can help you control the amount and ensure that the molds are filled evenly.
- Refrigerator or Freezer: Once your gummies are made, you’ll need a place to set and cool them. A refrigerator or freezer will be required to solidify the gummies and allow them to hold their shape.
These tools and equipment are the basics for making homemade gummies. Depending on your recipe and personal preferences, you may also need additional items such as a fine-mesh strainer, a candy thermometer, or a small brush for applying food coloring.
Make sure to have all your tools and equipment clean and ready before starting the gummy-making process. Now that you’re equipped, let’s dive into the steps of preparing the gelatin mixture!
Step 1: Preparing the Gelatin Mixture
The first step in making homemade gummies is preparing the gelatin mixture. This is the crucial foundation that gives the gummies their texture and structure. Follow these steps to ensure a successful gelatin mixture:
- Measure the Gelatin: Start by measuring the amount of gelatin needed for your recipe. Refer to your recipe’s instructions and use a measuring spoon or cup to accurately measure the desired quantity.
- Dissolve the Gelatin: In a saucepan or microwave-safe bowl, pour a small amount of the recommended liquid (usually fruit juice) over the gelatin. Allow the gelatin to bloom for a few minutes until it becomes firm and spongy.
- Heat the Gelatin Mixture: Place the saucepan on the stovetop over low heat or microwave the bowl in short intervals, stirring in between, until the gelatin is completely melted. Be careful not to overheat as this can affect the texture of the gummies.
- Stir Until Smooth: Once the gelatin is melted, use a whisk or spoon to stir the mixture consistently until it becomes smooth and free of any lumps. Make sure all the gelatin is fully dissolved for a cohesive texture in the gummies.
It’s important to note that each gelatin brand may have specific instructions regarding the amount of liquid and heating time required. Always refer to the manufacturer’s instructions for best results.
Once your gelatin mixture is smooth and well-combined, you’re ready to move on to the next step: flavoring and coloring the mixture. So let’s explore the exciting world of gummy flavors!
Wrap the content with
tag. Each step should be wrapped with
- ) should wrap the ordered step
- Choose your Flavor: Decide on the flavor you want your gummies to have. This can be done by adding fruit juice or puree of your choice. For a stronger flavor, use concentrated fruit juice or reduce the liquid beforehand.
- Sweeten (Optional): If you prefer your gummies to be sweeter, you can add a sweetener at this stage. Honey, maple syrup, or granulated sugar can be used to sweeten the mixture to your desired taste. Adjust the amount according to your preference and the sweetness of the fruit juice or puree.
- Add the Flavor and Sweetener: Pour the desired amount of fruit juice or puree into the saucepan with the gelatin mixture. If using a sweetener, add it at this stage as well. Stir the mixture gently but thoroughly to ensure the flavors and sweeteners are evenly distributed.
- Color your Gummies: If you want to make your gummies visually appealing, it’s time to add food coloring. Gel or liquid food coloring works best for achieving vibrant hues. Start with a small amount and gradually add more until you reach the desired color. Remember, a little goes a long way, so add the food coloring incrementally to avoid overpowering the flavor or ending up with artificial-looking gummies.
- Prepare the Molds: Ensure that your gummy molds are clean and dry. If using silicone molds, no additional preparation is needed. If using other types of molds, lightly grease them with cooking spray or wipe them with a small amount of vegetable oil.
- Pour the Mixture: Using a spoon, small pitcher, or a piping bag, carefully pour the gelatin mixture into the molds. Fill each mold cavity to the top, being mindful not to overflow or create uneven shapes.
- Tap and Smooth: Once the molds are filled, gently tap them on the countertop to release any trapped air bubbles and to ensure that the mixture settles evenly in each cavity. Use a small spatula or the back of a spoon to smooth and level the surface of the mixture for a clean finish.
- Set the Gummies: Place the filled gummy molds in the refrigerator or freezer. The time required for the gummies to set will vary depending on the recipe and the size of the gummies. Generally, they will take about 1 to 2 hours in the refrigerator or 30 to 60 minutes in the freezer.
- Check for Firmness: After the recommended time has passed, gently touch the surface of the gummies to check for firmness. They should be set and spring back when lightly pressed. If the gummies are still too soft and not holding their shape, give them a little more time in the refrigerator or freezer.
- Cool Completely: Once the gummies are set, it’s important to allow them to cool completely before removing them from the molds. This helps to ensure that they maintain their shape and don’t stick to the molds. Cooling times may vary, but a minimum of 4 hours in the refrigerator or 2 hours in the freezer is typically recommended.
- Gently Release the Gummies: Carefully peel back the edges of the molds to release the gummies. If you’re using silicone molds, this step should be relatively easy as the flexibility of the molds allows the gummies to pop out effortlessly. If you’re using other types of molds, such as plastic or metal, use your fingers or a blunt tool to gently push the gummies out from the bottom.
- Ease Them Out: Once the gummies start to come out, gently ease them out of the molds by applying light pressure or flexing the molds. Take your time and be patient, as rushing this step can cause the gummies to tear or lose their shape.
- Arrange the Gummies: Once the gummies are out of the molds, arrange them on a clean, dry surface. If any gummies have slightly deformed during the removal process, gently reshape them by pressing them back into their desired forms.
- Choose an Airtight Container: Select a clean, airtight container that is the appropriate size for storing your gummies. This will help to prevent moisture and air from reaching the gummies, which can lead to them becoming sticky or stale.
- Layer the Gummies: Place a layer of gummies in the container, making sure to leave a little space between each piece. If you are storing multiple layers, separate them with parchment paper or silicone mats to prevent them from sticking together.
- Seal the Container: Once all the gummies are in the container, seal it tightly to maintain freshness. This will help to keep the moisture levels consistent and preserve the texture of the gummies.
- Store in a Cool, Dry Place: Find a cool and dry spot in your kitchen to store the container of gummies. Avoid areas with direct sunlight or high levels of humidity, as these can negatively affect their quality and longevity.
- Avoid Refrigeration (Optional): While gummies can be stored in the refrigerator, it’s not necessary unless you live in a particularly warm climate. Excessive cold temperatures can cause the gummies to become too firm or lose their chewiness.
- Enjoy Within the Recommended Timeframe: Homemade gummies are best consumed within 2 to 3 weeks for optimal freshness and flavor. While they may remain edible for a longer period, they may start to lose their texture and taste after a couple of weeks.
- Separate Different Flavors: If you have made gummies with different flavors, it’s a good idea to store them in separate containers or use dividers within the same container. This prevents flavor transfer and maintains the individual tastes of each gummy.
- Avoid Exposing to Moisture: Moisture is one of the biggest enemies of gummy texture. Keep your gummies away from humid environments and sources of moisture to prevent them from becoming sticky or mushy.
- Consider Using Silica Gel Packs: Adding silica gel packs to the container can help absorb any excess moisture and prolong the shelf life of your gummies. Just make sure the silica gel packs are food-safe and not consumed accidentally.
- Avoid Storing with Odorous Foods: Gummies can easily absorb odors from other strong-smelling foods. To prevent this, keep them away from foods with strong odors, such as onions or spices, to maintain the original flavors of the gummies.
- Do Not Freeze for Extended Periods: While placing gummies in the freezer temporarily can aid in the removal process, freezing them for an extended period can lead to changes in texture and quality. It’s best to store them in the refrigerator or at room temperature.
- Label and Date the Container: To keep track of the freshness of your gummies, it’s helpful to label the container with the date they were made. This way, you can easily identify how long they have been stored and consume them within the recommended timeframe.
- Share and Enjoy Sooner: Homemade gummies are best enjoyed when they are fresh and at their peak. Share them with family and friends and enjoy them sooner rather than later to experience the full flavor and texture.
Step 2: Flavoring and Coloring the Mixture
Now that your gelatin mixture is smooth and ready, it’s time to add some flavor and color to your homemade gummies. This step allows you to get creative and customize the taste and appearance of your treats. Here’s how to flavor and color your gummy mixture:
This is your chance to experiment and create unique flavor combinations. You can mix different fruit juices or purees to create your own custom blends. Don’t be afraid to get creative and try out new flavors!
Once you’ve added the flavor and color to your gelatin mixture, it’s time to move on to the exciting step of pouring the mixture into molds. So grab your molds and let’s continue the gummy-making journey!
Read more: How To Store Gummy Vitamins
Step 3: Pouring the Mixture into Molds
Now that you’ve flavored and colored your gelatin mixture, it’s time to pour it into your gummy molds. This step is where you get to play with different shapes and sizes, making your gummies visually appealing. Follow these steps to ensure a successful pouring process:
During the pouring process, it’s important to work quickly and efficiently, as the gelatin mixture may start to set as it cools. If you’re using a large batch of gummy mixture, you may need to reheat it slightly to maintain its liquidity.
Don’t worry if you spill or make a mess while pouring the mixture into the molds – it happens to the best of us! Just clean up any spills and continue with the process.
Once you’ve poured the mixture into the molds and smoothed the surface, it’s time to move on to the next step: setting and cooling the gummies. Get ready to exercise some patience as your gummies take shape!
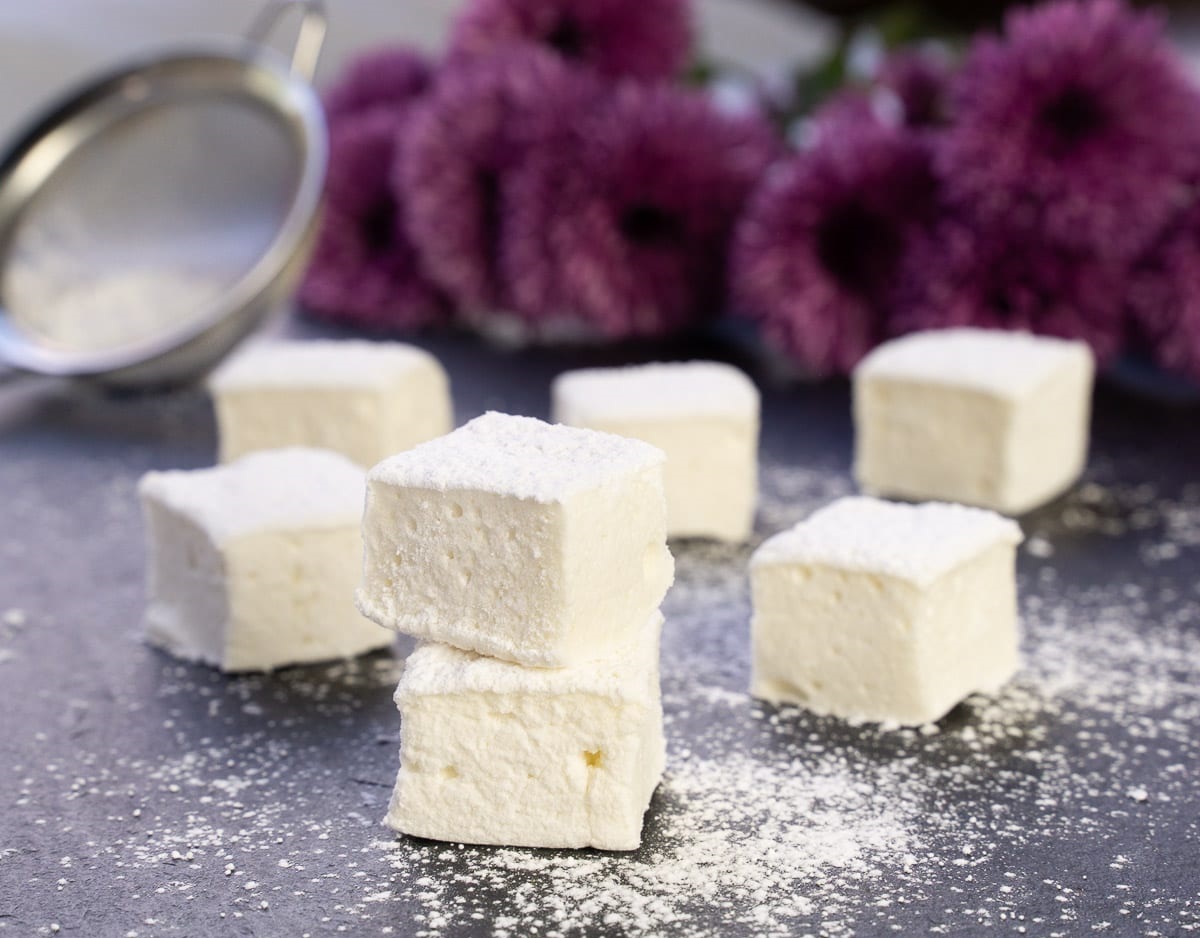
Store homemade gummies in an airtight container at room temperature for up to 1 week, or in the refrigerator for up to 2 weeks. Be sure to separate layers with wax paper to prevent sticking.
Step 4: Setting and Cooling the Gummies
After pouring the gelatin mixture into the molds, it’s time to let the gummies set and cool. This step is crucial for the gummies to achieve their desired texture and become firm enough to hold their shape. Follow these steps to ensure successful setting and cooling:
It’s important to resist the temptation to remove the gummies from the molds before they are fully set and cooled. Premature removal can cause the gummies to break or lose their shape. Patience is key to achieving perfectly shaped and textured gummies.
If you’re running short on time and need your gummies to set quickly, you can place them in the freezer for a shorter period. Just remember to monitor them closely to prevent them from freezing completely.
Once your gummies have set and cooled completely, it’s time for the exciting step of removing them from the molds. So let’s move on to the next step and unveil your homemade gummies!
Step 5: Removing the Gummies from Molds
Now comes the moment of truth – removing your homemade gummies from the molds! This step requires some gentle handling and patience to ensure that the gummies come out intact and retain their shape. Follow these steps to successfully remove the gummies from the molds:
If you encounter any difficulty in removing the gummies from the molds, you can try placing the molds in the freezer for a few minutes. The brief chill can help loosen the gummies and make them easier to release from the molds.
Remember to handle the gummies with clean hands or utensils to maintain hygiene and prevent any contamination. And don’t worry if the gummies aren’t perfectly uniform in shape – their handmade charm adds to their appeal!
With your gummies successfully removed from the molds, it’s time to move on to the final step: storing your homemade gummies. Let’s ensure that your delectable treats stay fresh and delicious for as long as possible!
Step 6: Storing the Homemade Gummies
After all the hard work and anticipation, it’s important to store your homemade gummies properly to maintain their freshness and texture. How you store them will depend on your preference and the conditions in your kitchen. Follow these steps to ensure the best storage for your gummies:
By following these storage guidelines, you can extend the shelf life of your homemade gummies and continue to enjoy them for as long as possible. Remember to periodically check on the gummies and discard any that show signs of spoilage or degradation.
Now that you know how to store your homemade gummies, it’s time to put your knowledge into practice and savor the sweet rewards of your gummy-making journey. Enjoy your delicious treats and don’t forget to share them with family and friends!
Read more: How To Store Edible Gummies
Tips and Tricks for Successful Storage
To ensure the long-lasting freshness of your homemade gummies, here are some additional tips and tricks for successful storage:
By following these tips and tricks, you can ensure that your homemade gummies stay delicious and enjoyable for an extended period. Experiment with different storage methods and find what works best for you and your gummy creations.
Remember, the joy of making homemade gummies extends beyond the process itself. It’s about savoring and sharing the fruits of your labor with loved ones. So go ahead, store your gummies with care, and enjoy every chewy, flavorful bite whenever the craving strikes!
Conclusion
Congratulations! You have successfully learned how to store your homemade gummies for long-lasting freshness and enjoyment. Making homemade gummies is not only a fun and creative activity but also allows you to control the ingredients and customize the flavors to your liking. By following the steps outlined in this article and implementing the tips and tricks for storage, you can ensure that your gummies retain their chewy texture, vibrant colors, and delicious taste for as long as possible.
Remember to start by preparing the gelatin mixture, flavoring and coloring it to your desired taste, and pouring it into molds. Allow the gummies to set and cool fully before removing them from the molds with gentle care. Then, store your gummies in airtight containers in a cool, dry place, ensuring they are separated by flavor to maintain their individual characteristics.
Utilize additional techniques like silica gel packs, preventing exposure to moisture and strong odors, and labeling containers with dates for easy reference. Avoid prolonged freezing and enjoy your homemade gummies within the recommended timeframe for optimal flavor and texture.
Now that you have the knowledge and understanding of proper storage techniques, it’s time to experiment with different flavors, colors, and shapes to create your own unique gummy creations. Share them with family and friends or enjoy them as a sweet indulgence for yourself.
Remember, homemade gummies are not only a delicious treat but also a reflection of your creativity and passion in the kitchen. So have fun, explore new flavor combinations, and continue to delight in the joy of homemade gummies. Happy gummy-making and happy storing!
Frequently Asked Questions about How To Store Homemade Gummies
Was this page helpful?
At Storables.com, we guarantee accurate and reliable information. Our content, validated by Expert Board Contributors, is crafted following stringent Editorial Policies. We're committed to providing you with well-researched, expert-backed insights for all your informational needs.


0 thoughts on “How To Store Homemade Gummies”