Articles
How To Store Homemade Caramel
Modified: January 6, 2024
Discover the best methods for storing your homemade caramel with our helpful articles. Keep your caramel fresh and delicious for longer with these storage tips.
(Many of the links in this article redirect to a specific reviewed product. Your purchase of these products through affiliate links helps to generate commission for Storables.com, at no extra cost. Learn more)
Introduction
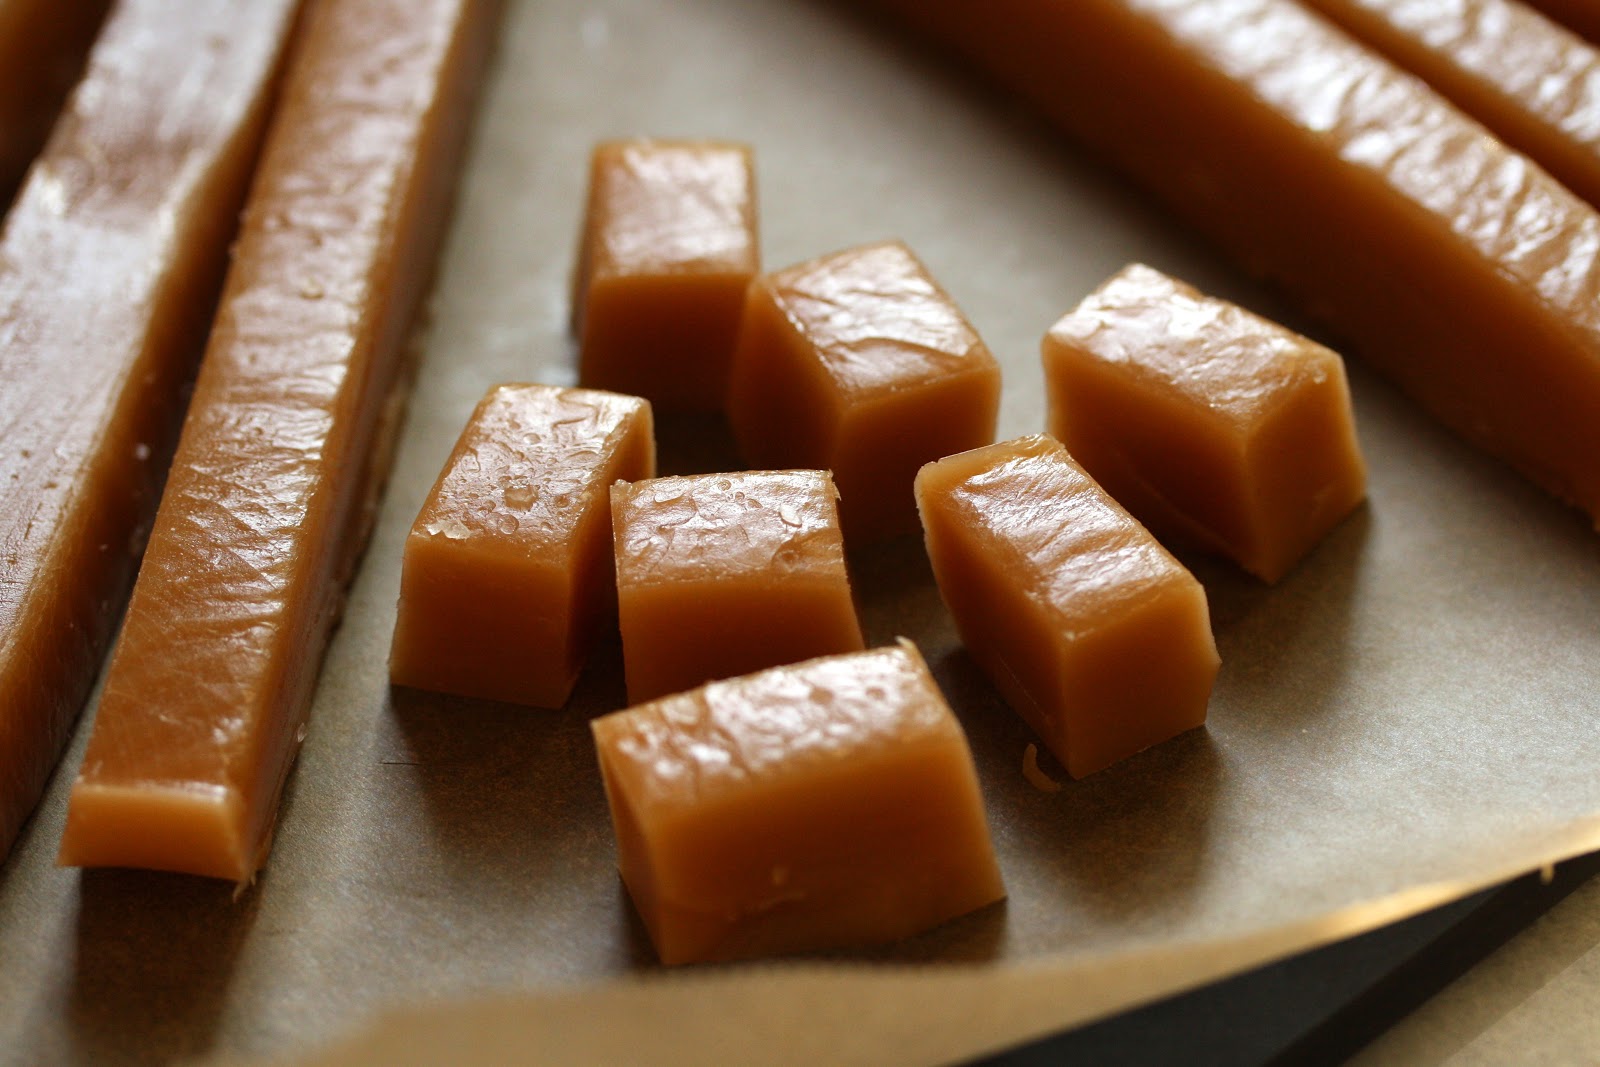
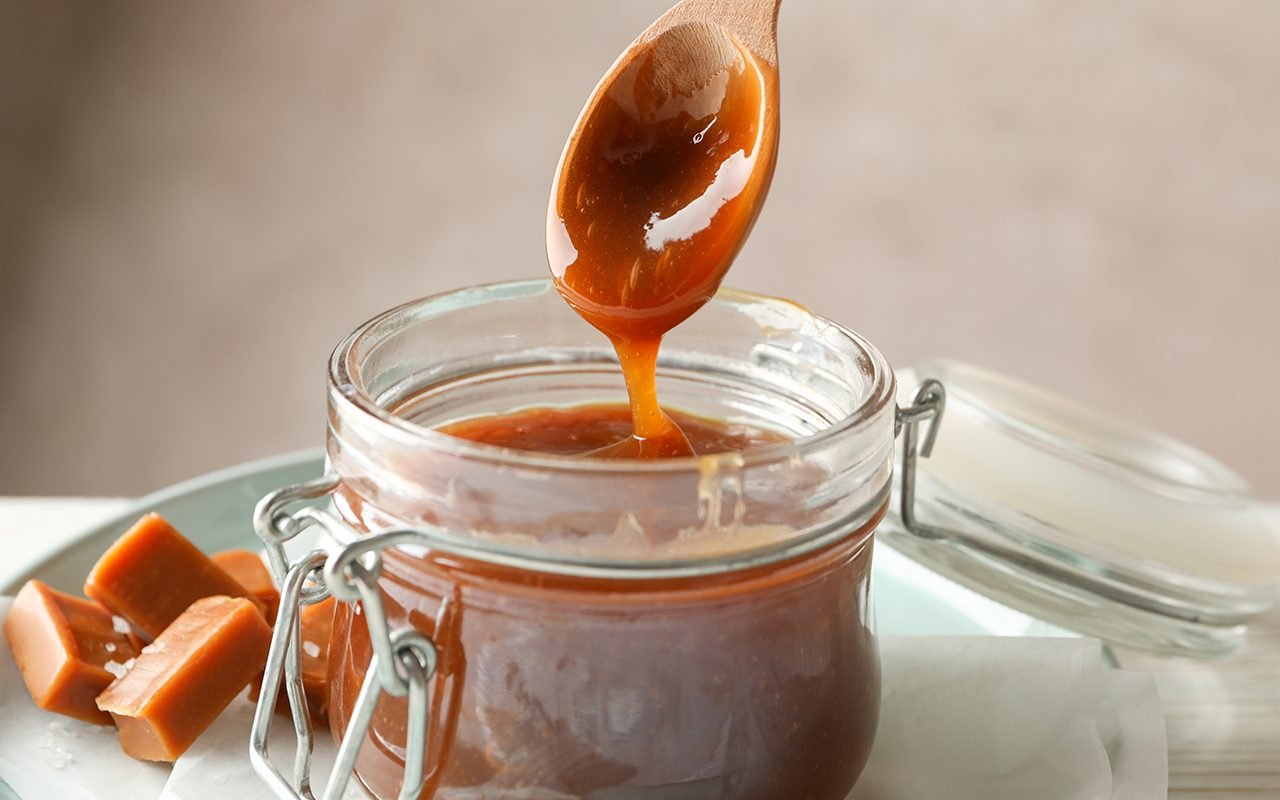
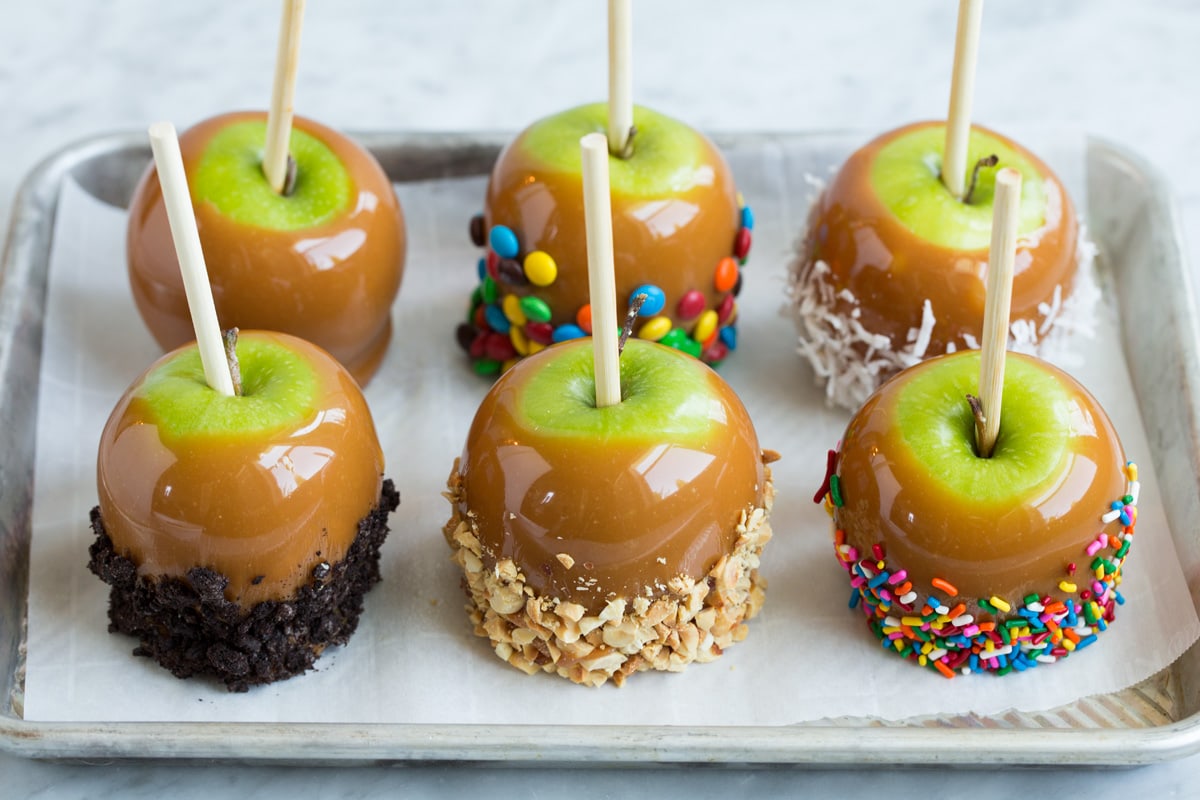
Homemade caramel is a delicious treat that can be enjoyed in various forms, from drizzling over ice cream to adding a sweet touch to baked goods. Whether you’re a seasoned caramel-maker or a beginner in the kitchen, knowing how to store your homemade caramel properly is essential to maintain its quality and prolong its shelf life.
When it comes to storing homemade caramel, there are a few factors to consider, including the choice of container, temperature, and duration. This article will guide you through the different storage methods and provide tips to ensure that your caramel stays fresh and delectable for as long as possible.
Key Takeaways:
- Store homemade caramel in airtight glass jars or food-grade plastic containers at room temperature for up to 2 weeks, ensuring it’s away from heat and sunlight to maintain its delectable quality.
- For longer storage, refrigerate homemade caramel in airtight containers for up to a month, or freeze it for up to 6 months. Thaw slowly in the refrigerator and use smaller portions to minimize waste.
Read more: How To Store Homemade Caramel Sauce
Choosing the Right Container
The first step in storing homemade caramel is selecting the appropriate container. The key is to choose a container that is airtight and able to keep moisture out. This will prevent the caramel from becoming sticky or developing a grainy texture.
Glass jars with tight-fitting lids are an excellent choice for storing homemade caramel. They are non-porous, meaning they won’t absorb any flavors or odors from the caramel. Additionally, glass jars are transparent, allowing you to easily see the contents and determine the quantity remaining.
If you prefer using plastic containers, make sure they are made of food-grade plastic and have a secure sealing mechanism. Look for containers specifically designed for storing food, ensuring they are BPA-free and can withstand the temperature changes associated with storing caramel.
Another option is to use silicone containers or molds. Silicone is a flexible material that makes it easy to remove the caramel without sticking. It is also safe to use in the microwave or freezer.
Regardless of the container you choose, make sure it is thoroughly cleaned and dried before transferring the caramel. Any residual moisture or impurities can affect the shelf life and quality of the caramel.
Room Temperature Storage
If you plan to consume your homemade caramel within a week or two, storing it at room temperature is a convenient option. However, it’s important to ensure that the room temperature is not too warm, as excessive heat can cause the caramel to melt or spoil.
To store caramel at room temperature, follow these steps:
- Transfer the caramel to an airtight container, ensuring that it is completely cooled before sealing.
- Find a cool, dark spot in your kitchen or pantry away from direct sunlight and heat sources, such as the stovetop or oven.
- Place the container in the selected area, making sure it is not exposed to any extreme temperature changes.
When stored at room temperature, homemade caramel can maintain its quality for up to two weeks. However, it’s important to regularly check the caramel for any signs of spoilage, such as changes in color, texture, or an off-putting odor. If you notice any of these signs, it’s best to discard the caramel to avoid any potential foodborne illnesses.
It’s worth noting that room temperature storage may not be suitable in hot and humid climates, as the high moisture content in the air can cause the caramel to become sticky or develop mold. In such cases, refrigeration or freezer storage is a better option to maintain the caramel’s freshness and texture.
Refrigerator Storage
If you want to extend the shelf life of your homemade caramel beyond a couple of weeks, storing it in the refrigerator is the way to go. Refrigeration helps to maintain the freshness and consistency of the caramel for a longer period.
Follow these steps for refrigerator storage:
- Transfer the caramel to an airtight container, making sure it is completely cooled before sealing.
- Place the container in the refrigerator, preferably towards the back where the temperature is most consistent.
- Avoid placing the caramel near strong-smelling foods, as it can absorb those odors.
Stored properly in the refrigerator, homemade caramel can retain its quality for up to a month. However, it’s crucial to check the caramel regularly for any signs of spoilage. If you notice any changes in color, texture, or an unusual smell, it’s best to discard the caramel to avoid any potential health risks.
One thing to keep in mind is that refrigerated caramel can become firm due to the cooler temperature. If you prefer a softer consistency, you can allow the caramel to sit at room temperature for a few minutes before using it.
If you plan to store caramel for a longer duration, such as several months, freezer storage is the most suitable option.
Store homemade caramel in an airtight container at room temperature for up to 2 weeks. If you want to extend its shelf life, you can refrigerate it for up to 1 month or freeze it for up to 3 months. Just make sure to bring it back to room temperature before using.
Freezer Storage
Freezing homemade caramel is an excellent option if you want to store it for an extended period, allowing you to enjoy the rich and velvety goodness even months later. Freezing can help preserve the freshness and flavor of the caramel.
Here are the steps for freezer storage:
- Transfer the caramel to an airtight container or freezer-safe bag, ensuring that it is completely cooled before sealing. If using a bag, squeeze out as much air as possible to prevent freezer burn.
- Label the container or bag with the date to keep track of its freshness.
- Place the container or bag in the freezer, making sure it is stored in a flat position to prevent leakage or any deformation in shape.
When stored in the freezer, homemade caramel can remain in excellent condition for up to 6 months. However, it’s important to note that caramel may harden and become slightly crystallized when frozen. This is normal and can be easily remedied.
To thaw frozen caramel:
- Remove the caramel from the freezer and place it in the refrigerator. Allow it to thaw slowly overnight or for a few hours, depending on the quantity.
- Once thawed, you may notice some separation or a change in texture. Simply give the caramel a gentle stir to restore its smooth consistency.
After thawing, the caramel can be stored in the refrigerator and used as usual. However, it’s recommended to use the thawed caramel within a week to maintain its optimal taste and quality.
Note that repeatedly freezing and thawing caramel can affect its texture and flavor. Therefore, it’s best to freeze caramel in smaller portions to minimize waste.
Read more: How To Store Caramel
Tips for Properly Storing Homemade Caramel
To ensure that your homemade caramel stays fresh and delicious, here are some essential tips for proper storage:
- Allow the caramel to cool completely before transferring it to a storage container. Hot caramel can create condensation inside the container, which can lead to spoilage.
- Always use clean and dry utensils when handling the caramel. Any moisture or contaminants can impact the caramel’s shelf life.
- When sealing the container, make sure it is airtight to prevent any air or moisture from entering. This will help maintain the caramel’s texture and flavor.
- Store caramel away from strong-smelling foods to avoid any flavor absorption.
- Regularly check the stored caramel for any signs of spoilage, such as changes in color, texture, or an off-putting odor. If any of these signs are present, discard the caramel.
- If you only plan to use a portion of the caramel at a time, scoop out the desired amount and reseal the container immediately. This will minimize exposure to air and help preserve the remaining caramel.
- Consider storing caramel in smaller portions to reduce waste. This will make it easier to thaw and use only what you need.
- If using plastic containers, opt for those labeled as microwave-safe and BPA-free.
- Label the containers or bags with the date of storage to keep track of freshness.
- When thawing frozen caramel, do so gradually in the refrigerator to maintain its texture and flavor.
By following these simple tips, you can effectively store your homemade caramel and enjoy its delectable taste for an extended period.
Conclusion
Properly storing homemade caramel is essential to maintain its quality and prolong its shelf life. By choosing the right container, considering the storage temperature, and following a few guidelines, you can ensure that your caramel remains fresh, delicious, and ready to be enjoyed in a variety of ways.
Whether you opt for room temperature storage, refrigeration, or freezer storage, each method has its own benefits and considerations. Room temperature storage is suitable for short-term use, while refrigeration can extend the caramel’s shelf life for up to a month. Freezer storage allows you to enjoy caramel for even longer periods, up to 6 months, albeit with some slight texture changes.
Remember to always use airtight containers and ensure your homemade caramel is completely cooled before transferring it for storage. Regularly check the caramel for any signs of spoilage and discard if it shows any abnormal changes in color, texture, or smell.
Furthermore, consider portioning your caramel and using smaller containers to minimize waste and facilitate thawing. Label your containers or bags with the storage date to keep track of freshness.
With these tips in mind, you can confidently store your homemade caramel and enjoy its sweet, rich goodness whenever your taste buds desire. So go ahead, drizzle it over ice cream, dip your favorite fruits, or use it in baked goods – your homemade caramel will be ready whenever you are!
Frequently Asked Questions about How To Store Homemade Caramel
Was this page helpful?
At Storables.com, we guarantee accurate and reliable information. Our content, validated by Expert Board Contributors, is crafted following stringent Editorial Policies. We're committed to providing you with well-researched, expert-backed insights for all your informational needs.


0 thoughts on “How To Store Homemade Caramel”