
Articles
How To Store Homemade Potato Chips
Modified: August 25, 2024
Learn how to properly store your homemade potato chips to keep them fresh and crispy for longer. Read our informative articles for helpful tips and tricks.
(Many of the links in this article redirect to a specific reviewed product. Your purchase of these products through affiliate links helps to generate commission for Storables.com, at no extra cost. Learn more)
Introduction
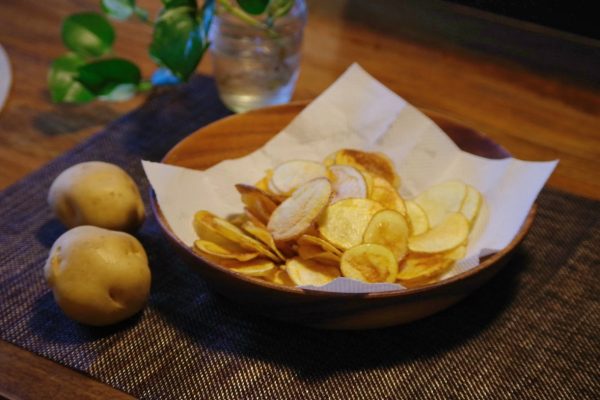
There’s nothing quite like the satisfaction of biting into a crispy, homemade potato chip. The golden brown color, the satisfying crunch, and the burst of flavor make these chips a favorite snack for many. Whether you’re making a batch for a party or simply enjoying a movie night at home, knowing how to store homemade potato chips properly is crucial to maintain their fresh and crispy texture.
While store-bought potato chips usually come in airtight packaging, homemade chips require a bit more attention to ensure they stay fresh and tasty. In this article, we’ll guide you through the process of storing homemade potato chips, from choosing the right potatoes to the best methods for keeping them crispy for as long as possible.
Key Takeaways:
- Properly storing homemade potato chips in an airtight container or resealable bag in a cool, dry place helps maintain their crispy texture and delicious flavor for up to a week. Avoid exposure to air and moisture for optimal freshness.
- When storing homemade potato chips, resist the temptation to add extra seasonings or toppings until just before serving to prevent sogginess. Consider using vacuum-sealed bags or containers with air-release valves for prolonged freshness.
Read more: How To Store Homemade Kale Chips
Choosing the Right Potatoes
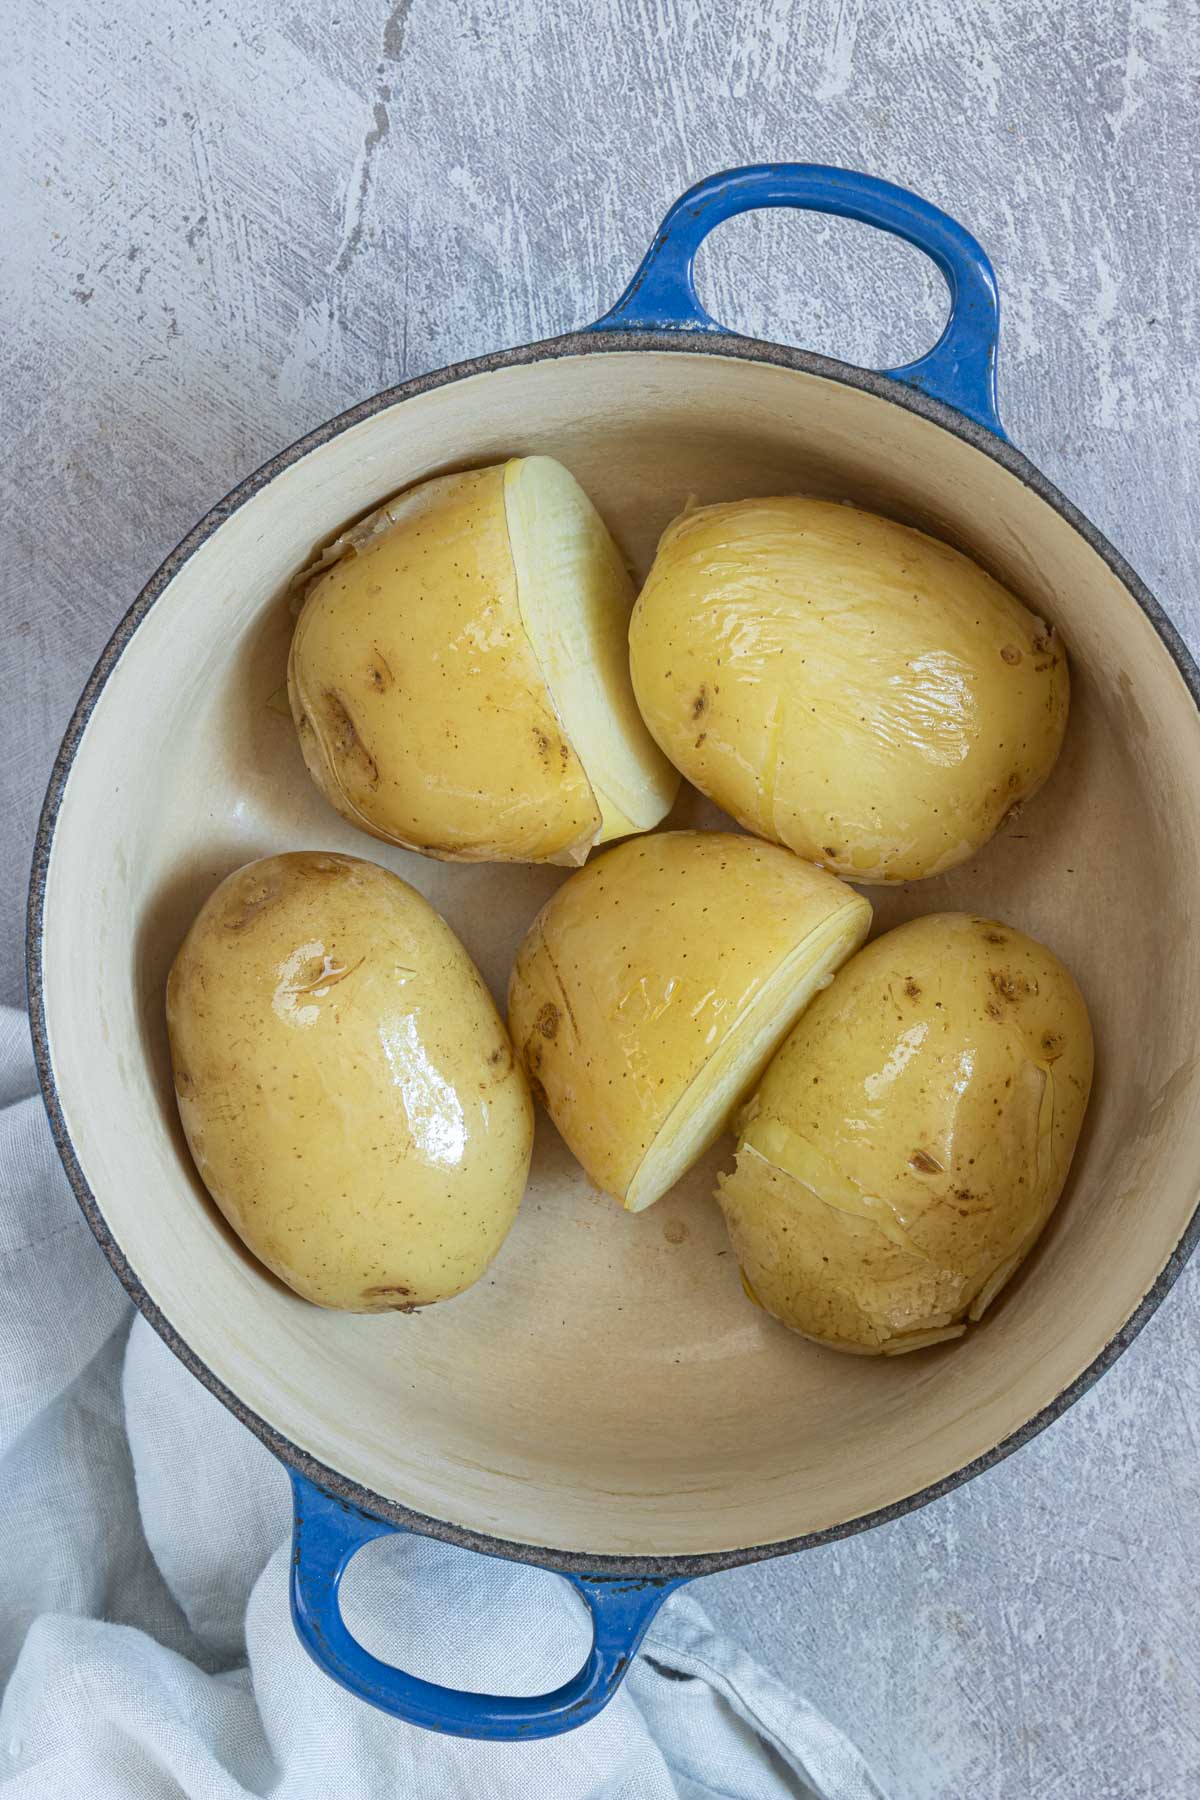
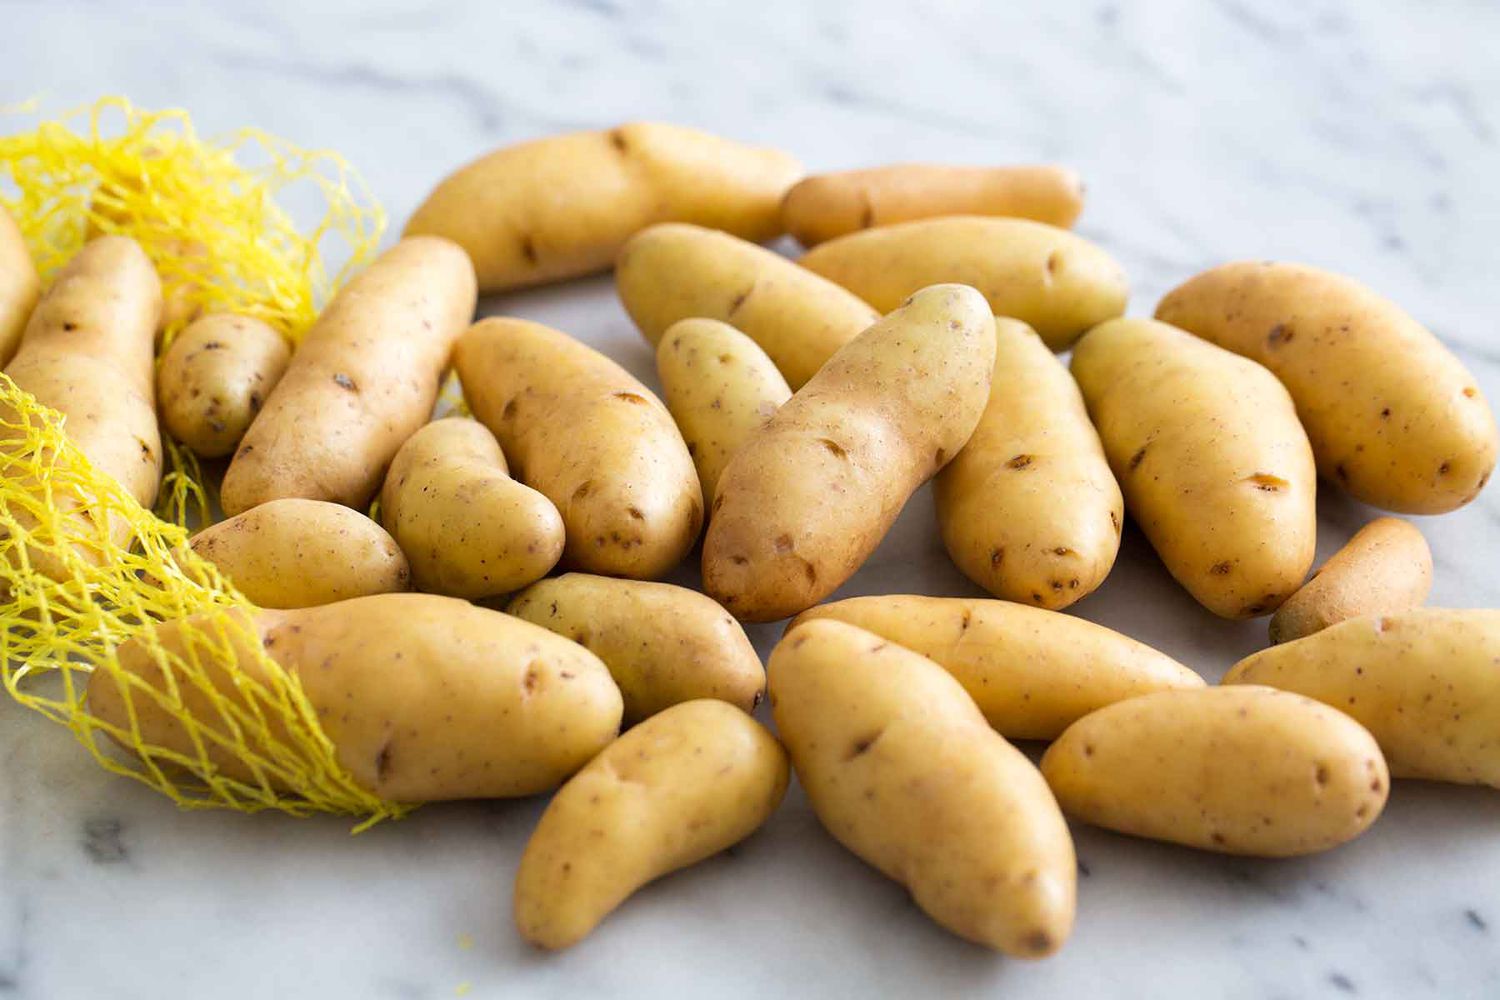
When it comes to making homemade potato chips, selecting the right type of potato is crucial. The ideal potatoes for chip-making are those with a high starch content and low moisture content. This combination helps to achieve a crispy texture during the frying process.
The Russet or Idaho potato varieties are often the go-to choices for homemade chips. These potatoes have a high starch content and a dry texture, making them perfect for achieving that desired crunch. However, feel free to experiment with other varieties such as Yukon Gold or red potatoes to add a unique flavor to your chips.
It’s important to note that fresher potatoes tend to have higher water content, which can result in less crispy chips. Opt for potatoes that have been stored for some time, as they tend to have a lower moisture content and will yield crunchier chips.
Additionally, choose potatoes that are free from blemishes, bruises, or sprouts. These can affect the texture and taste of the final product. Look for potatoes that are firm to the touch and have smooth, unbroken skin.
To prepare the potatoes, wash them thoroughly with cold water to remove any dirt, and pat them dry with a clean kitchen towel. It’s best to leave the skin on for added texture and flavor, but you can peel them if you prefer.
By choosing the right potatoes and preparing them properly, you’re setting the stage for delicious and crispy homemade potato chips. Let’s move on to the next step of the process – slicing the potatoes.
Slicing the Potatoes
Once you have chosen the perfect potatoes for your homemade potato chips, it’s time to slice them into thin, uniform pieces. The thickness of the slices will greatly affect the texture and cooking time of the chips, so it’s important to maintain consistency.
Using a sharp knife or a mandoline slicer, cut the potatoes into slices that are about 1/8 inch thick. This thickness allows for a crisp chip without being too thin or too thick. Keep in mind that thinner slices will result in a quicker cooking time, while thicker slices may take longer to crisp up.
As you slice the potatoes, try to make each chip of a similar thickness. This will ensure even cooking and consistent texture throughout the batch. If you’re using a mandoline slicer, adjust the blade to your desired thickness and use caution to avoid any accidents.
After slicing, transfer the potato slices to a bowl of cold water. This will help remove excess starch and prevent the chips from sticking together during frying. Let the slices soak for about 30 minutes, then drain and pat them dry with a paper towel.
By taking the time to slice the potatoes evenly and remove excess starch, you’re setting yourself up for perfectly cooked and crispy homemade potato chips. Next, let’s move on to preparing the oil for frying.
Preparing the Oil
The quality of the oil you use for frying plays a crucial role in the overall taste and texture of your homemade potato chips. It’s important to choose an oil with a high smoke point and a neutral flavor, as this will allow the natural taste of the potatoes to shine through.
Good options for frying potato chips include vegetable oil, canola oil, or peanut oil. These oils have high smoke points, which means they can withstand the high temperatures required for frying without breaking down and imparting unwanted flavors to the chips.
To prepare the oil, start by pouring it into a deep, heavy-bottomed pot or a deep fryer. You’ll want enough oil to fully submerge the potato slices during frying, but not so much that it overflows when the chips are added.
Heat the oil over medium-high heat until it reaches a temperature of about 350°F (175°C). It’s important to use a cooking thermometer to ensure the oil reaches the correct temperature. If the oil is not hot enough, the chips will absorb more oil and become greasy. If the oil is too hot, the chips may burn before they have a chance to crisp up.
Once the oil has reached the desired temperature, carefully add the potato slices in small batches, making sure not to overcrowd the pot. Overcrowding can cause the oil temperature to drop, resulting in soggy chips. Cook the chips for about 5-6 minutes, or until they turn golden brown and crisp.
After each batch is cooked, use a slotted spoon or tongs to carefully remove the chips from the oil and transfer them to a paper towel-lined plate to drain any excess oil. Season the hot potato chips immediately with salt or any desired seasonings to enhance the flavor.
With the oil properly prepared and the potato chips fried to perfection, it’s time to move on to the next step – draining and cooling the chips.
Deep-frying the Chips
Now that you have your perfectly sliced potatoes and the oil is heated to the right temperature, it’s time to deep-fry your homemade potato chips. This step is crucial in achieving that crisp texture and delicious flavor that we all love.
Carefully place a handful of potato slices into the hot oil, ensuring that they are fully submerged without overcrowding the pot. Remember to work in small batches to maintain consistent frying temperatures and avoid soggy chips.
As the chips cook, gently stir them using a slotted spoon or tongs to prevent sticking and to ensure even browning. This will help distribute the heat evenly and ensure that each chip is perfectly crispy.
The cooking time will vary depending on the thickness of the slices and the desired level of crispness. On average, it takes about 5-6 minutes for the chips to turn golden brown and become crispy. Keep a close eye on them as they fry, adjusting the heat if needed to prevent burning.
Once the chips have reached the desired level of crispness, carefully remove them from the oil and transfer them to a paper towel-lined plate or baking sheet. The paper towels will help absorb any excess oil and further enhance the crispy texture.
To prevent the chips from becoming soggy, it’s important to allow them to cool completely before storing. Once cooled, resist the temptation to dive in right away and enjoy a few chips – we’re almost there!
With your homemade potato chips perfectly deep-fried to a golden brown and crispy texture, it’s time to move on to the next step – draining and cooling the chips.
Store homemade potato chips in an airtight container at room temperature to maintain their crispiness. Adding a paper towel to absorb any excess moisture can help keep them fresh longer.
Read more: How To Make Potato Chips With A Dehydrator
Draining and Cooling the Chips
After frying your homemade potato chips to crispy perfection, it’s important to drain and cool them properly in order to maintain their texture and flavor. This step is crucial for removing excess oil and ensuring that the chips remain crispy for as long as possible.
To drain the chips, carefully transfer them from the hot oil to a paper towel-lined plate or baking sheet. Arrange them in a single layer to allow the excess oil to be absorbed by the paper towels. Gently pat the chips with additional paper towels to remove any remaining oil on the surface.
Allow the chips to cool completely before handling or storing them. This will ensure that they retain their crispy texture and prevent them from becoming soft or oily. Depending on the room temperature and humidity level, it may take anywhere from 30 minutes to an hour for the chips to cool completely.
During the cooling process, it’s important to resist the temptation to snack on the chips. This allows them to cool undisturbed, ensuring that they remain crisp and fresh. While waiting, you can take this time to clean up and prepare your storage containers.
Once the chips are completely cooled, it’s time to move on to the next important step – storing them properly to maintain their freshness and crunch.
Storing the Chips
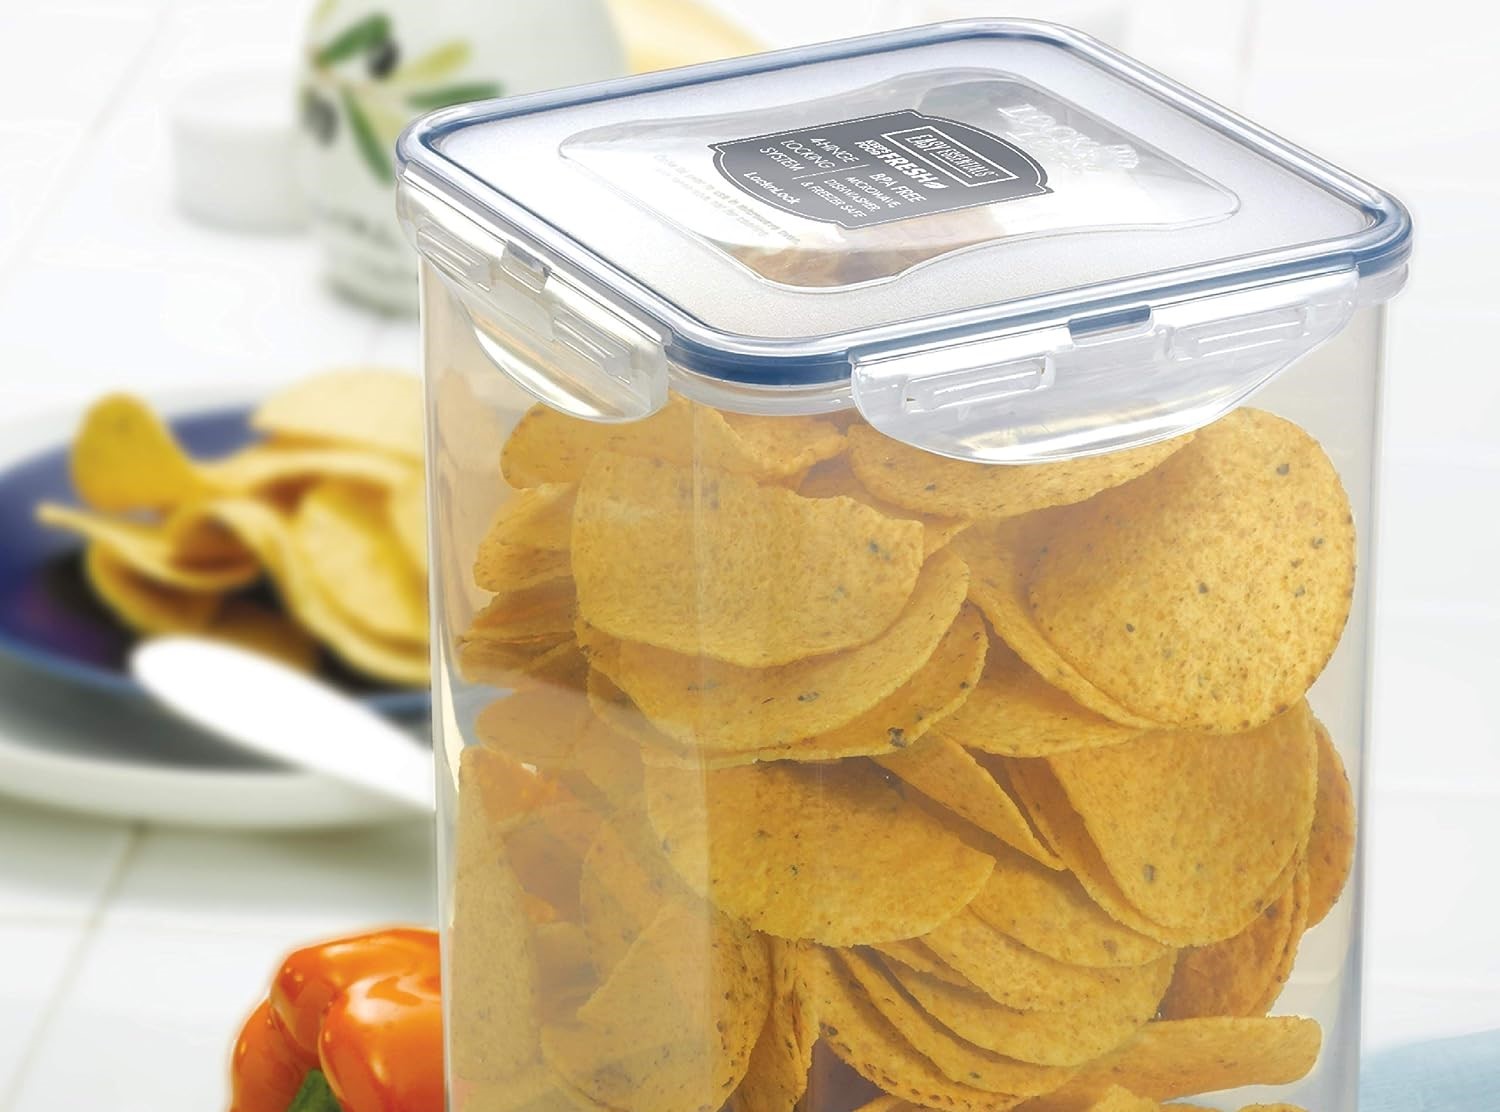
To keep your homemade potato chips fresh and crispy, it’s crucial to store them in an airtight container or resealable bag. This will protect them from exposure to air and moisture, which can cause them to become stale or lose their crunch.
Choose a container or bag that is large enough to hold the chips without crushing them. It’s best to store the chips in a single layer to maintain their shape and prevent them from breaking. If you have multiple batches or flavors of chips, separate them with sheets of wax paper or parchment paper to prevent any cross-contamination of flavors.
Store the container of chips in a cool, dry place, away from direct sunlight or heat sources. This will help maintain their crispness and prevent them from absorbing any moisture from the surrounding environment.
It’s worth noting that homemade potato chips are best consumed within a few days to a week. The longer they are stored, the more they may lose their texture and flavor. However, if stored properly, you can enjoy them for up to a week and still experience their delicious crunch.
Tips for Maintaining Freshness
- Do not expose the chips to air for long periods of time, as this can cause them to become stale.
- Avoid storing the chips in the refrigerator, as the humidity can make them lose their crunch.
- Avoid adding any extra seasonings or toppings until just before serving, as they can cause the chips to become soggy.
- Consider using vacuum-sealed bags or containers with air-release valves to prolong the freshness of your homemade potato chips.
By following these tips and storing your homemade potato chips properly, you can enjoy them at their best for as long as possible. Now, sit back, relax, and savor the deliciousness of your homemade, crispy potato chips!
Storing the Chips
To keep your homemade potato chips fresh and crispy, it’s crucial to store them in an airtight container or resealable bag. This will protect them from exposure to air and moisture, which can cause them to become stale or lose their crunch.
Choose a container or bag that is large enough to hold the chips without crushing them. It’s best to store the chips in a single layer to maintain their shape and prevent them from breaking. If you have multiple batches or flavors of chips, separate them with sheets of wax paper or parchment paper to prevent any cross-contamination of flavors.
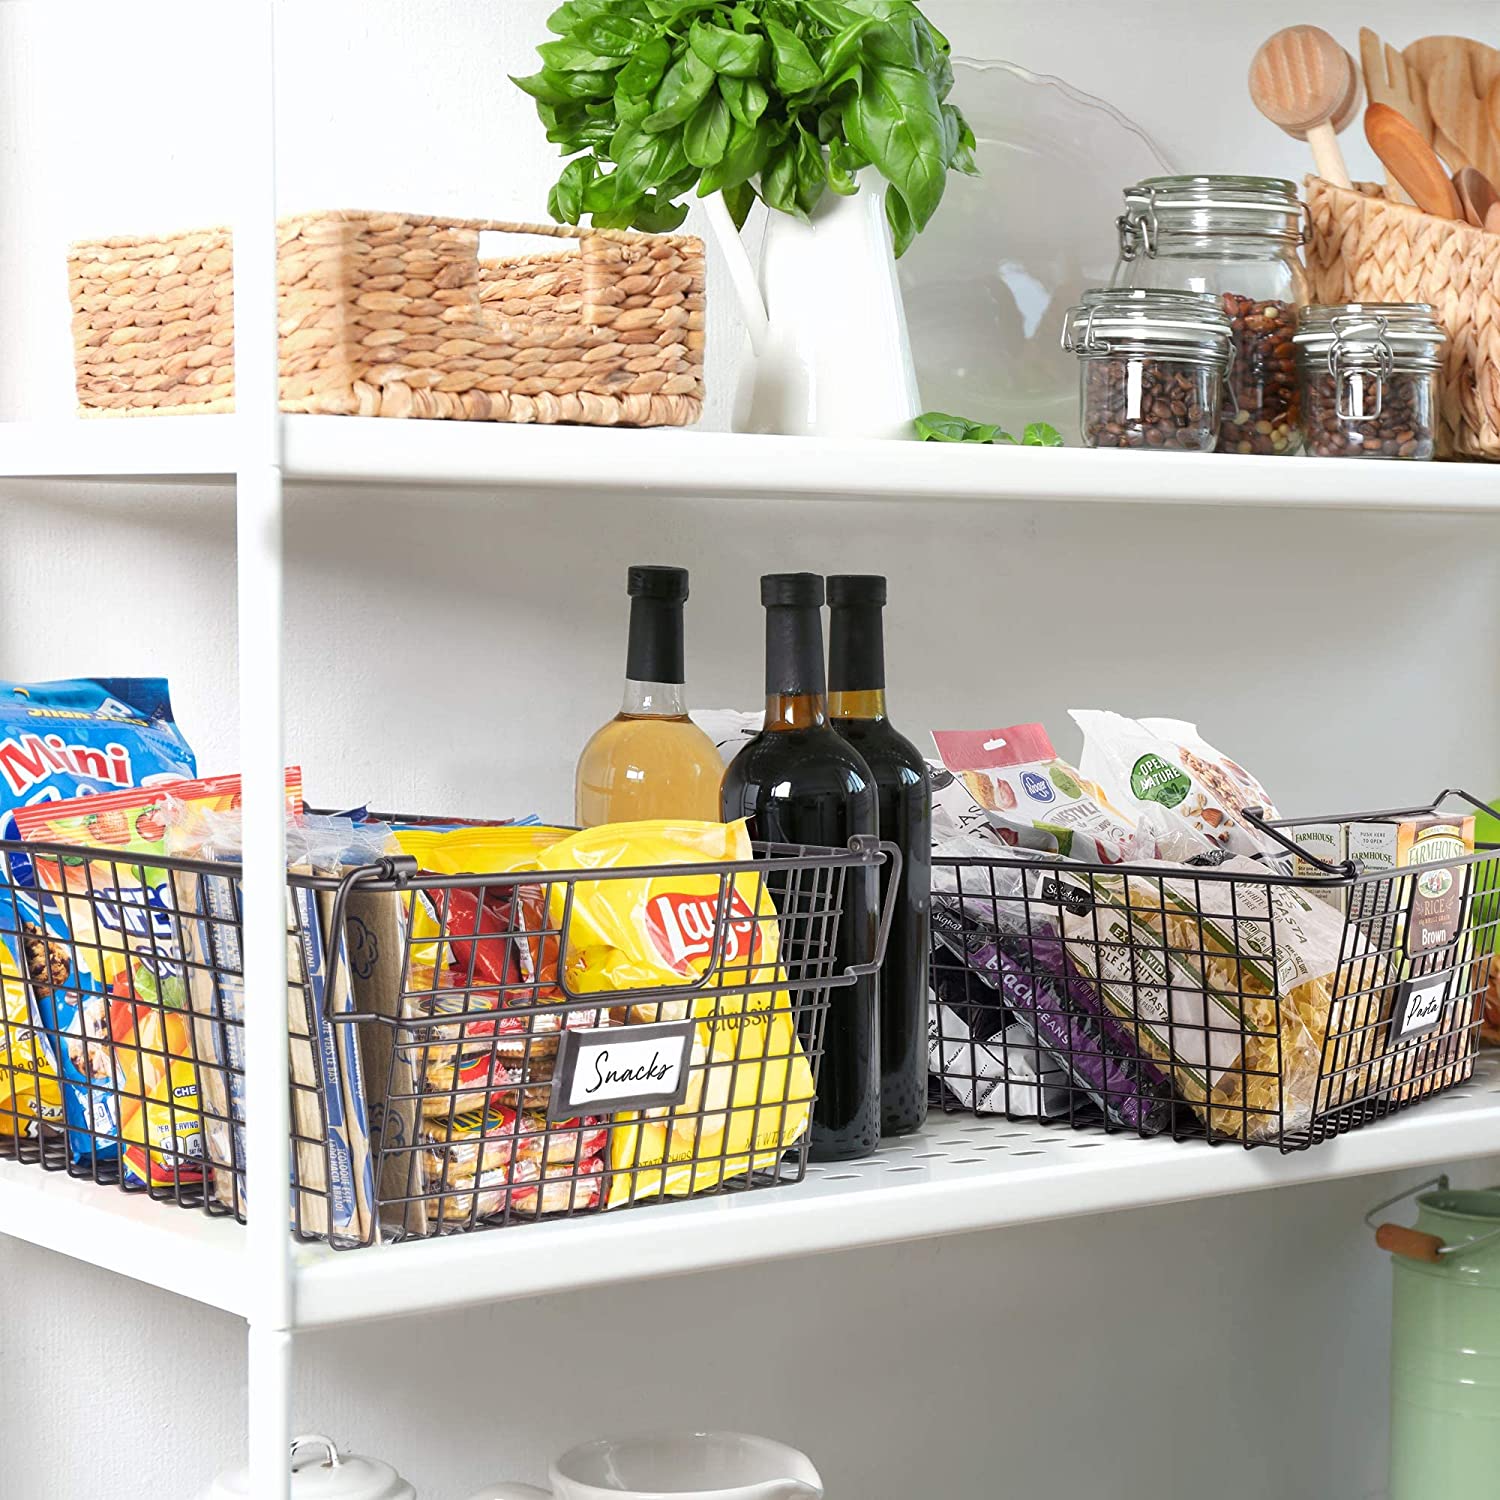
It’s important to store the chips in a cool, dry place, away from direct sunlight or heat sources. Exposure to heat and light can cause the chips to become soft and lose their crispiness. A pantry or a cupboard at room temperature is an ideal location for storing your homemade potato chips.
If you live in a particularly humid area, consider adding a desiccant packet or a small amount of uncooked rice to the container. These can help absorb any excess moisture and keep the chips crispy for a longer period of time.
Avoid storing the chips in the refrigerator, as the humidity can make them lose their crunch and absorb odors from other foods. Similarly, avoid freezing the chips, as the moisture content can change during the freezing and thawing process, resulting in a less desirable texture.
It’s worth noting that homemade potato chips are best consumed within a few days to a week. The longer they are stored, the more they may lose their texture and flavor. However, if stored properly, you can enjoy them for up to a week and still experience their delicious crunch.
During the storage period, periodically check the chips for any signs of moisture or staleness. If you notice any softness or loss of crunch, it may be time to enjoy the remaining chips or consider making a fresh batch.
By following these storage guidelines, you can ensure that your homemade potato chips stay fresh and crispy for as long as possible. Now, sit back, relax, and savor the satisfaction of enjoying your homemade snack whenever the craving strikes!
Tips for Maintaining Freshness
- Do not expose the chips to air for long periods of time, as this can cause them to become stale. Always seal the container tightly after taking out the desired portion.
- Avoid adding any extra seasonings or toppings until just before serving, as they can cause the chips to become soggy. Season the chips right before you’re ready to enjoy them for the best taste and texture.
- Avoid placing the chips near items with strong odors, as they can absorb unwanted flavors. Store them away from spices, strong-scented foods, or cleaning products.
- Consider using vacuum-sealed bags or containers with air-release valves for prolonged freshness. These specialized storage options remove excess air and help preserve the crispness of your homemade potato chips.
- Before storing the chips, make sure they have cooled down completely. Storing warm chips can create condensation inside the container and lead to moisture buildup, making them lose their crunch.
- If you notice any signs of moisture or staleness, you can try crisping up the chips in a preheated oven at a low temperature (around 250°F or 120°C) for a few minutes. Be cautious and monitor them closely to avoid overcooking or burning.
- If you have excess chips and want to prolong their shelf life, consider repurposing them in different recipes. Crush them up as a flavorful coating for chicken or fish, or use them as a crunchy topping for salads or casseroles.
By following these tips, you can extend the freshness and enjoyment of your homemade potato chips. Remember, the key is to minimize exposure to air, moisture, and external flavors. Proper storage and handling will ensure that your chips maintain their coveted crunch and delicious taste for as long as possible.
Now that you’re armed with the knowledge of how to store and maintain the freshness of your homemade potato chips, you can confidently indulge in these delectable snacks anytime you desire. Enjoy the satisfaction of perfectly crispy chips that rival any store-bought variety, right at your fingertips!
Conclusion
Congratulations! You’ve learned how to store homemade potato chips to keep them fresh and maintain their delightful crunch. By carefully selecting the right potatoes, slicing them to perfection, and mastering the art of deep-frying, you’ve created a delicious snack worth savoring.
Properly storing homemade potato chips is essential to preserve their texture, flavor, and overall quality. Remember to choose airtight containers or resealable bags, and keep the chips in a cool, dry place away from direct sunlight and heat sources. By following these storage guidelines, you can enjoy your homemade potato chips for up to a week while still maintaining their crispy perfection.
Additionally, remember to follow our tips for maintaining freshness, such as avoiding exposure to air for extended periods, adding seasonings just before serving, and utilizing vacuum-sealed bags for optimum preservation. By incorporating these practices, you can ensure a consistently delightful snacking experience.
Making homemade potato chips allows you to customize the flavors to your liking and enjoy a healthier alternative to store-bought varieties. Plus, the satisfaction of creating a snack from scratch is a reward in itself. So, gather your favorite potatoes, put your culinary skills to the test, and relish the aroma and taste of your very own homemade potato chips.
Remember, making homemade chips is not only about the end result but also about the joy in the process. Experiment with different seasonings, and share your creations with friends and family. The possibilities are endless, and the reward is the satisfaction of seeing smiles on the faces of those who get to enjoy your delicious creations.
Now that you possess the knowledge and know-how, it’s time to turn your kitchen into a chip-making haven. Embrace your inner chef, explore new flavors, and enjoy the tantalizing crunch of homemade potato chips. Happy snacking!
Frequently Asked Questions about How To Store Homemade Potato Chips
Was this page helpful?
At Storables.com, we guarantee accurate and reliable information. Our content, validated by Expert Board Contributors, is crafted following stringent Editorial Policies. We're committed to providing you with well-researched, expert-backed insights for all your informational needs.



0 thoughts on “How To Store Homemade Potato Chips”