
Articles
How To Store Homemade Bread
Modified: January 7, 2024
Learn the best methods for storing homemade bread in this informative article, so that you can enjoy its freshness for longer.
(Many of the links in this article redirect to a specific reviewed product. Your purchase of these products through affiliate links helps to generate commission for Storables.com, at no extra cost. Learn more)
Introduction
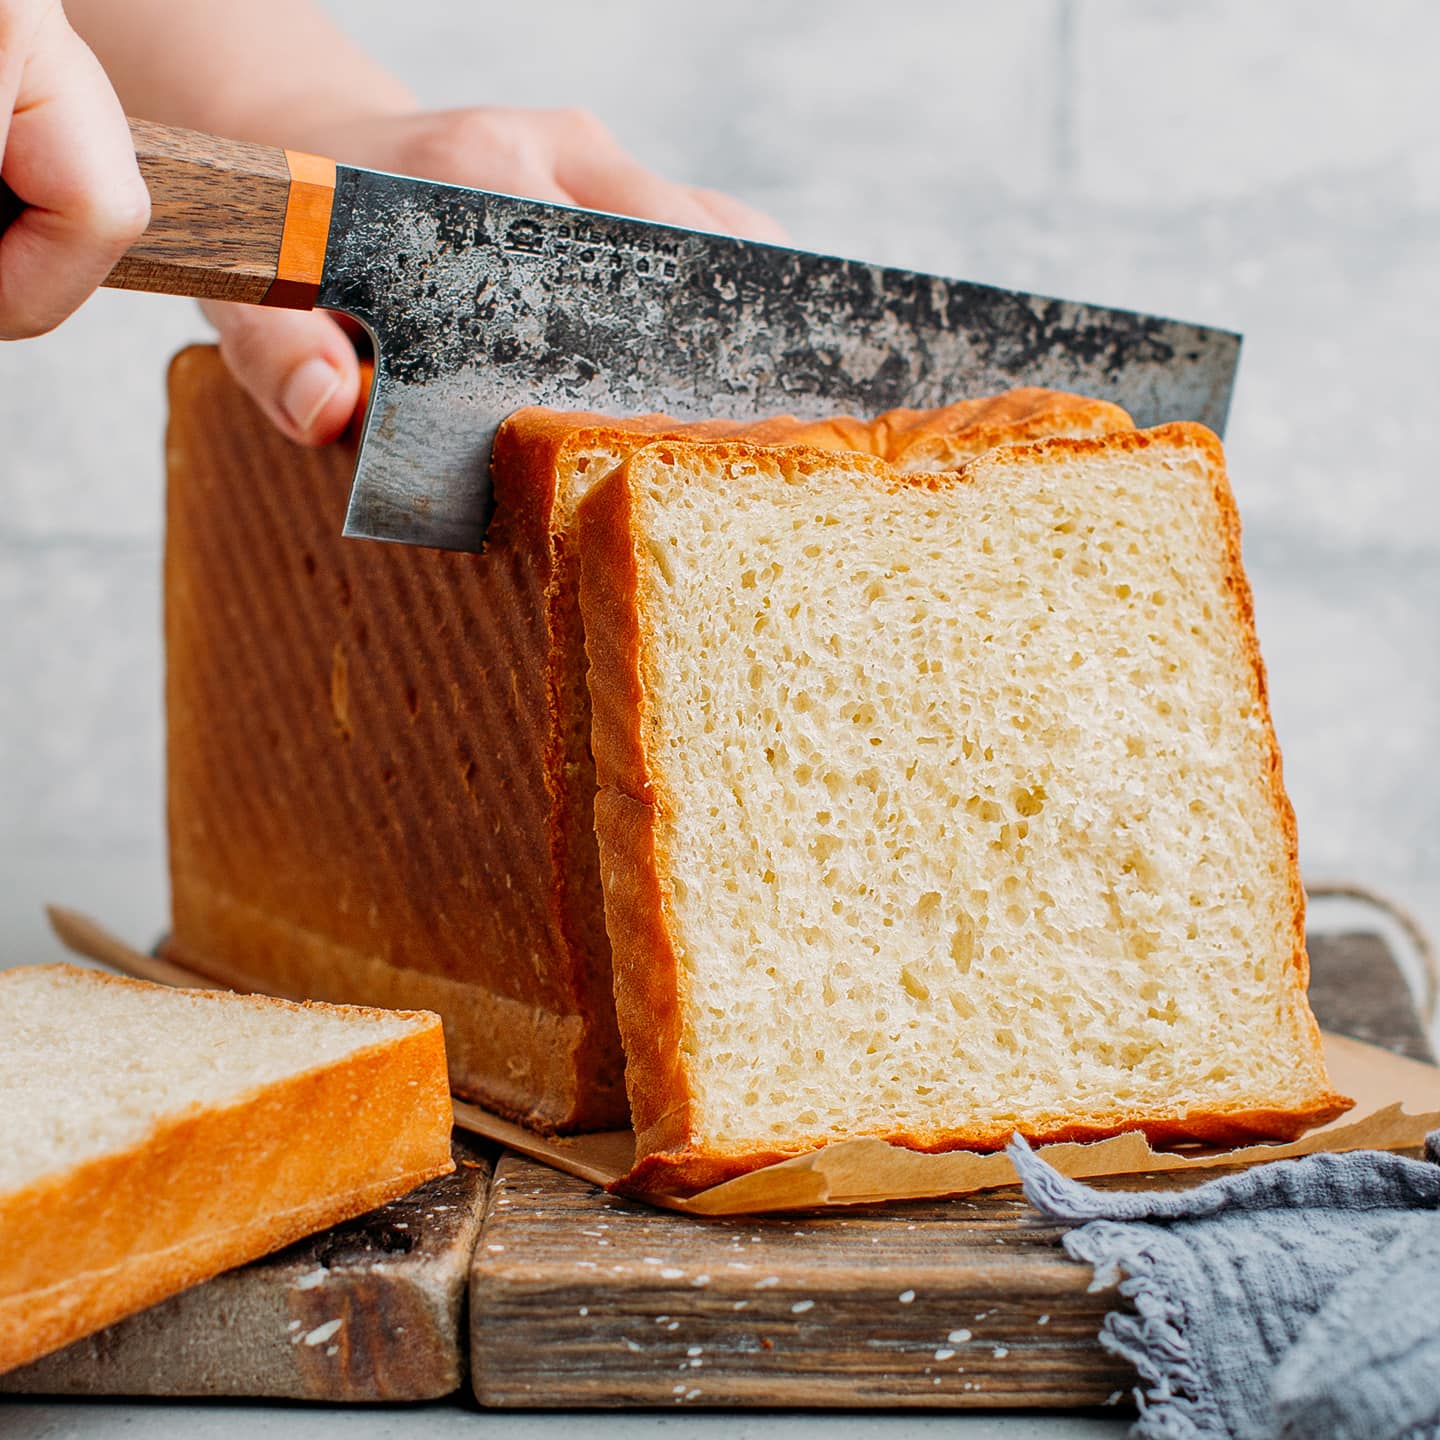
Homemade bread is a delight, with its fresh aroma and delicious taste. Whether you’ve baked a loaf yourself or received it as a gift, ensuring its longevity is essential to be able to enjoy it for days to come. Properly storing homemade bread is not only important for preserving its freshness but also for maintaining its texture and flavor.
In this article, we’ll explore the different methods and containers you can use to store your homemade bread. We’ll also provide helpful tips on freezing, thawing, and reheating bread to have it taste as good as freshly baked. So if you’re wondering how to keep your homemade bread fresh for longer, read on!
Key Takeaways:
- Properly storing homemade bread is crucial for maintaining its freshness, flavor, and texture, allowing you to enjoy it for an extended period without worrying about it going bad.
- Choosing the right containers, storing at room temperature, freezing, thawing, and reheating are key steps to ensure your homemade bread stays fresh and delicious for days to come.
Read more: How To Store Homemade Sourdough Bread
Why Store Homemade Bread?
Storing homemade bread properly is essential for several reasons. First and foremost, it helps to maintain the bread’s freshness. Homemade bread typically lacks preservatives found in store-bought bread, making it more susceptible to mold and staleness.
Additionally, storing homemade bread allows you to enjoy it over a more extended period. Instead of feeling rushed to finish the loaf in a day or two, proper storage ensures that you can savor it for days without worrying about it going bad.
Another reason to store homemade bread is to maximize its flavor and texture. Freshly baked bread has a crispy crust and a soft, fluffy interior. By storing it correctly, you can prevent it from becoming too dry or overly chewy.
Besides personal enjoyment, storing homemade bread is also beneficial for planning ahead. If you have a busy schedule, storing bread allows you to have a quick and convenient option for breakfast, lunch, or snacks.
Lastly, storing homemade bread helps reduce food waste. By effectively preserving it, you can avoid throwing away half-eaten loaves that have gone stale or moldy. It’s a sustainable practice that allows you to make the most out of your homemade creations.
Now that we understand the importance of storing homemade bread let’s move on to the next section, where we’ll discuss choosing the right containers.
Choosing the Right Containers
Choosing the right containers for storing homemade bread is crucial to maintain its freshness and quality. Here are some factors to consider when selecting containers:
- Airtightness: Look for containers that have airtight seals to prevent moisture from entering and causing the bread to become soggy. A tight seal also helps to keep the bread from drying out.
- Size: Choose containers that are appropriately sized for your loaves or slices of bread. It’s important to avoid having too much empty space in the container, as this can lead to faster staleness.
- Material: Opt for containers made of food-safe materials such as glass, stainless steel, or BPA-free plastic. These materials are non-reactive, ensuring that your bread stays fresh without any unwanted flavors or odors.
- Visibility: Consider containers with transparent lids or windows that allow you to see the bread without opening the container. This helps to minimize exposure to air and moisture, which can affect the bread’s quality.
- Easy to Clean: Look for containers that are easy to clean, as bread crumbs and oils can accumulate over time. Dishwasher-safe containers are convenient for hassle-free cleaning.
Some popular container options for storing homemade bread include bread boxes, plastic food storage containers, resealable bags, and airtight glass jars. Choose the container that best suits your needs and preferences.
Now that we’ve discussed the importance of choosing the right containers let’s move on to the next section, where we’ll explore storing homemade bread at room temperature.
Storing at Room Temperature
Storing homemade bread at room temperature is a convenient option if you plan to consume it within a few days. Here are some tips for storing bread at room temperature:
- Wrap it properly: After the bread has cooled completely, wrap it tightly in plastic wrap or aluminum foil to protect it from air exposure. Make sure to cover the entire loaf or individual slices.
- Store in a dry place: Find a cool, dry spot in your kitchen or pantry to store the wrapped bread. Avoid areas with high humidity, as it can cause the bread to become soggy or moldy.
- Avoid direct sunlight: Keep the bread away from direct sunlight, as it can accelerate the staling process and affect the flavor.
- Check for freshness: Regularly check the bread for any signs of mold or staleness. If you notice any, discard the affected parts or the entire loaf if necessary.
- Replenish freshness: If the bread starts to become dry after a few days, you can wrap it in a damp kitchen towel or microwave it for a few seconds to restore moisture. However, be careful not to over-moisturize the bread.
Remember that storing homemade bread at room temperature has its limitations. It is suitable for short-term storage, usually up to five days, depending on the recipe and humidity levels in your environment. If you want to store bread for a longer duration, freezing is a better option, which we’ll discuss next.
Now that we’ve covered storing homemade bread at room temperature, let’s move on to the next section, which explores freezing homemade bread.
Store homemade bread in a paper bag or bread box at room temperature for up to 2 days. For longer storage, wrap the bread in plastic wrap and store in the freezer for up to 3 months.
Freezing Homemade Bread
Freezing homemade bread is a fantastic way to extend its shelf life and ensure you have freshly baked bread whenever you crave it. Here’s how you can freeze your homemade bread:
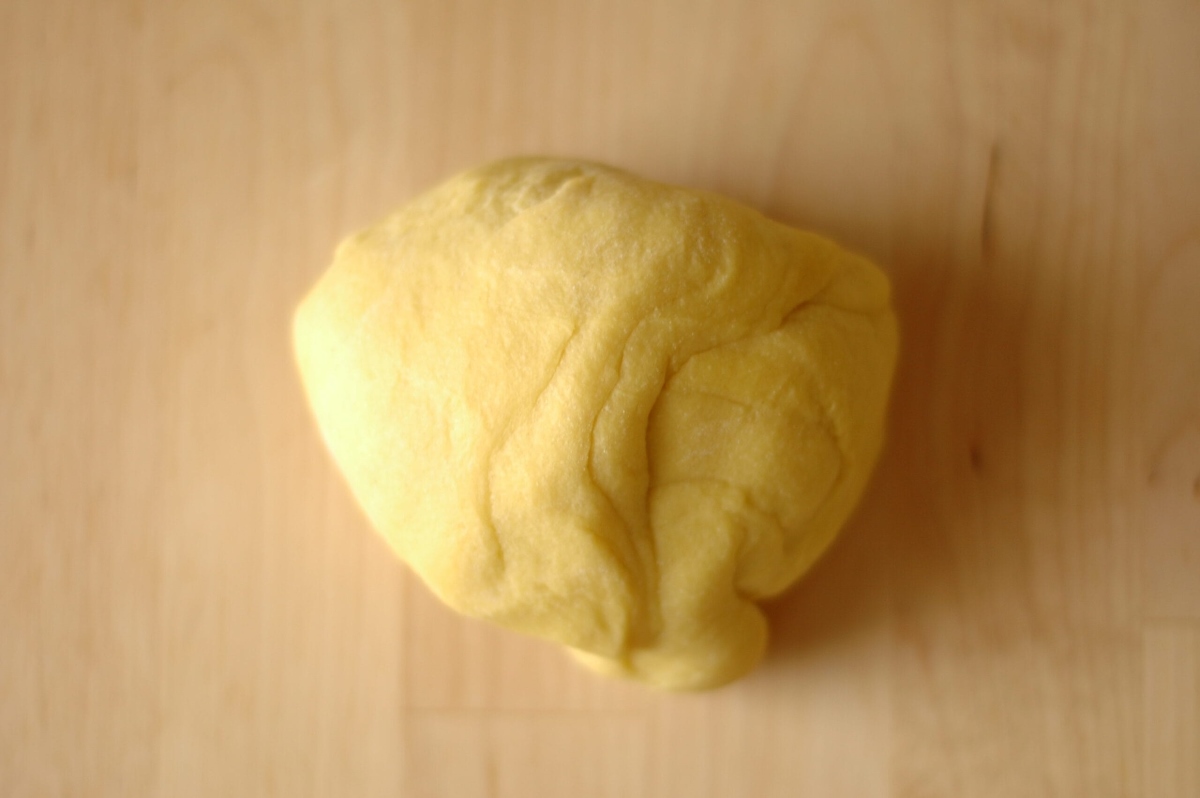
- Cool the bread completely: Allow the bread to cool completely after baking. This prevents condensation from forming and making the bread soggy during the freezing process.
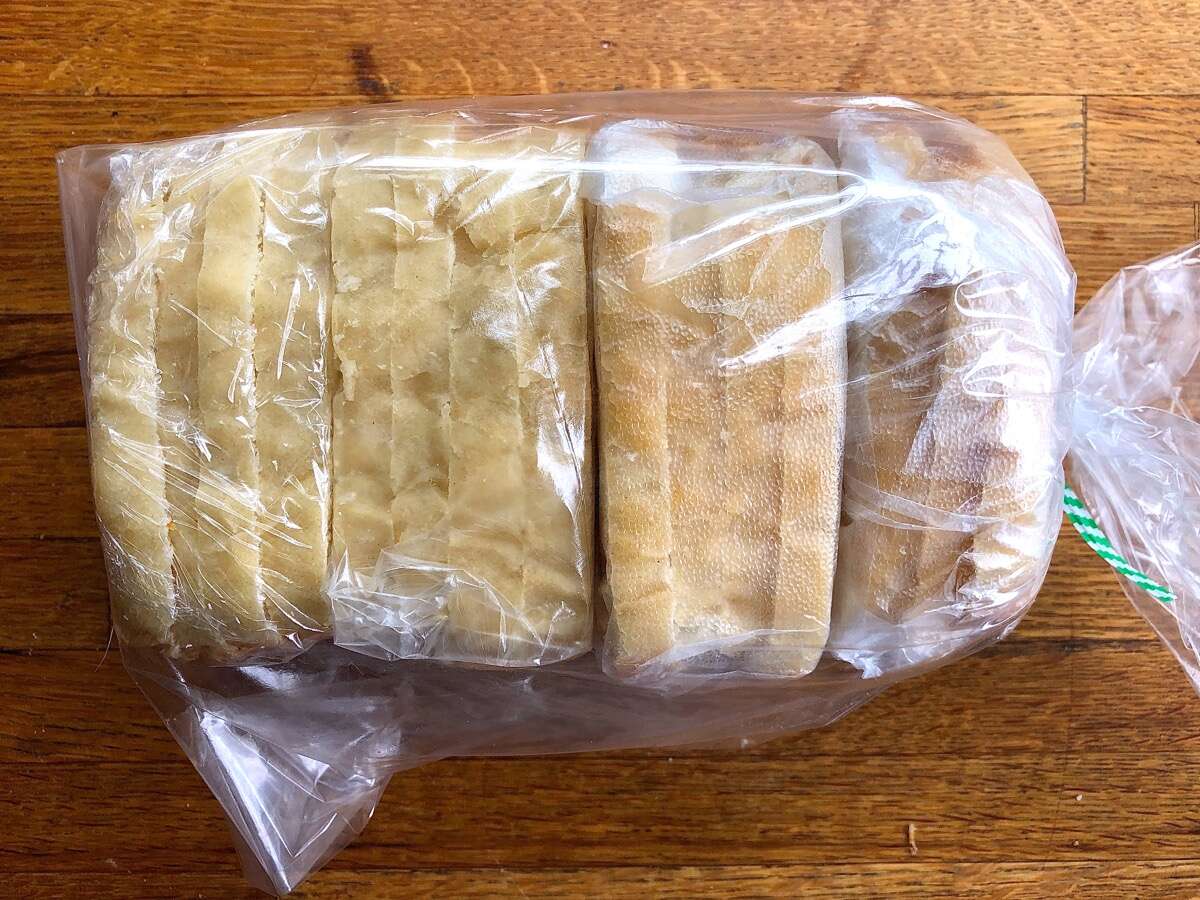
- Slice the bread (optional): If you prefer to freeze individual slices, you can slice the bread before freezing. It makes it easier to defrost and use only the amount you need.
- Wrap in plastic wrap or freezer bags: Wrap the whole loaf or individual slices tightly in plastic wrap or place them in freezer bags. Make sure to remove any excess air to prevent freezer burn.
- Label and date: Don’t forget to label the wrapped bread with the date of freezing. This helps you keep track of the bread’s freshness and ensures you use the oldest ones first.
- Place in the freezer: Put the wrapped bread in the freezer, ideally in a dedicated freezer section or on a flat surface to prevent the bread from getting crushed or deformed.
Homemade bread can typically be stored in the freezer for up to three months while still maintaining its quality. However, it is best to consume it within the first month for the best taste.
Now that we’ve covered how to freeze homemade bread, let’s move on to the next section, which explains how to thaw and reheat frozen bread.
Read more: How To Store Homemade Tortillas
Thawing and Reheating Frozen Bread
When it comes to thawing and reheating frozen bread, there are a few methods you can choose from, depending on your preferences and time constraints. Here are some options:
- Thaw at room temperature: The simplest way to thaw frozen bread is to leave it at room temperature. Place the wrapped bread on the countertop and allow it to thaw gradually. This method works well for whole loaves but may take a few hours.
- Toast or Grill: If you want to enjoy a warm, crispy slice of bread, try toasting it or grilling it. Simply take the frozen slice out of the freezer, pop it in the toaster or place it on a preheated grill, and cook it until it reaches your desired level of crispiness.
- Oven method: For larger portions or whole loaves, you can use the oven to thaw and reheat frozen bread. Preheat the oven to around 300°F (150°C), then place the wrapped bread on a baking sheet and bake for about 10-15 minutes until it is thawed and heated through.
- Microwave method: If you’re short on time and want to quickly defrost a slice of bread, you can use the microwave. Remove the slice from its wrapping, place it on a microwave-safe plate, and microwave on low power in 15-20 second intervals until it is fully thawed.
Remember that the reheating methods may vary depending on the type and thickness of your bread. It’s always a good idea to monitor the bread closely to ensure it doesn’t become too dry or overdone.
Now that we’ve covered how to thaw and reheat frozen bread, let’s move on to the next section, where we’ll provide some tips for preserving the freshness of homemade bread.
Tips for Preserving Freshness
To maintain the freshness of your homemade bread for as long as possible, follow these helpful tips:
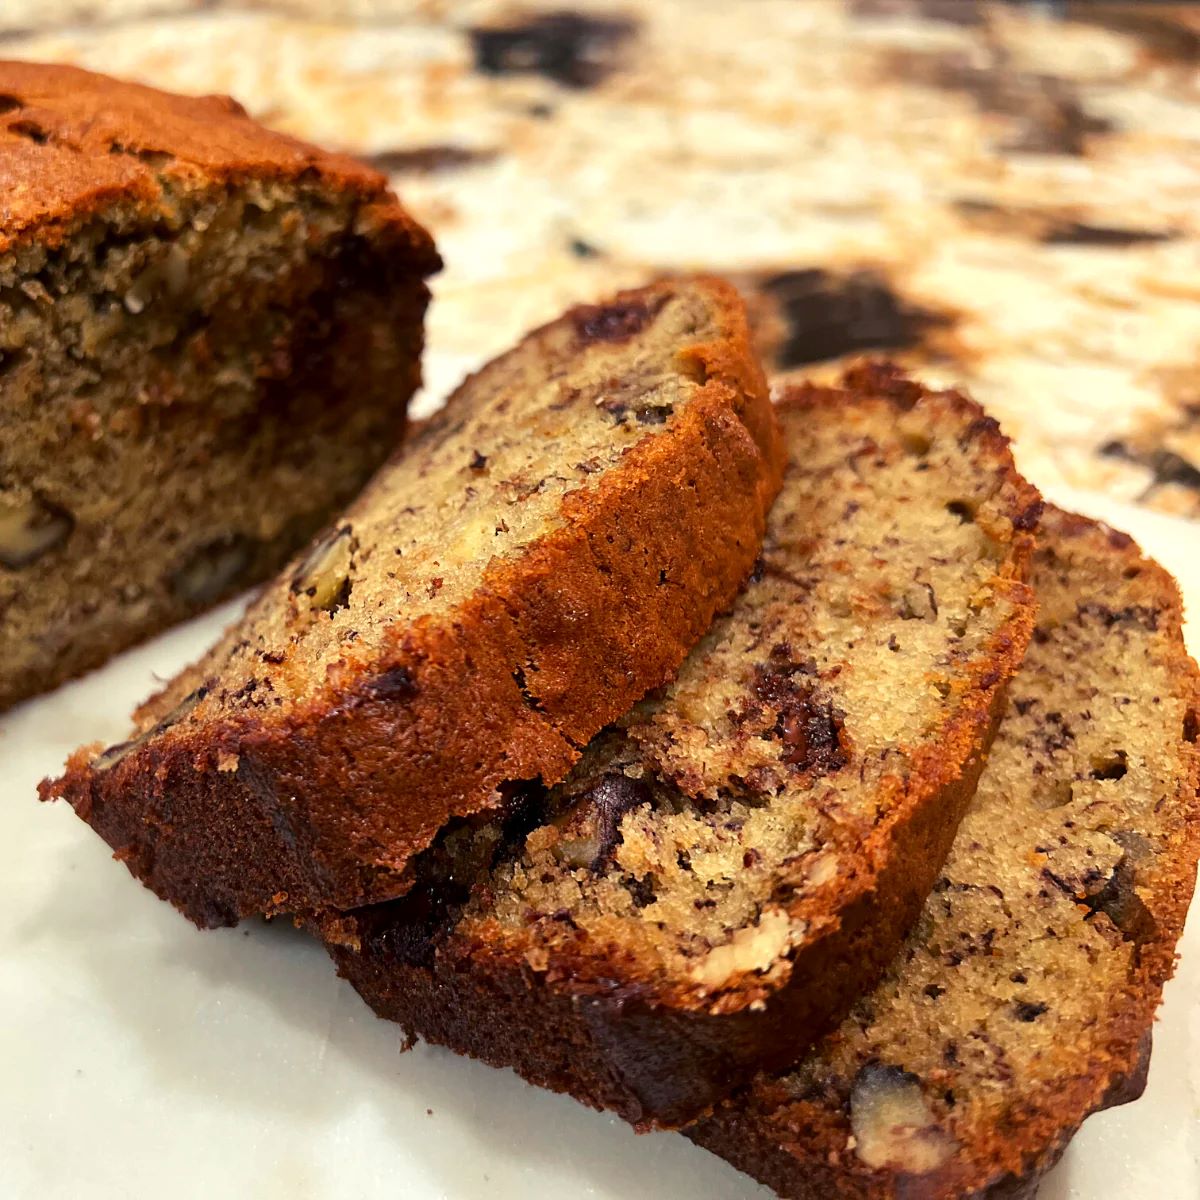
- Slice as needed: Instead of slicing the entire loaf at once, only slice the bread as needed. This helps to minimize its exposure to air, preserving its freshness.
- Store in the right container: Choose the appropriate airtight container for storing your bread. A container with a tight seal will prevent air and moisture from getting in, keeping the bread fresh.
- Avoid refrigeration: While refrigeration can help prolong the shelf life of some foods, it is not recommended for homemade bread. The cold temperature can dry out the bread and alter its texture.
- Don’t cut into hot bread: Allow the freshly baked bread to cool completely before slicing it. Cutting into hot bread can release trapped steam and moisture, causing it to dry out quickly.
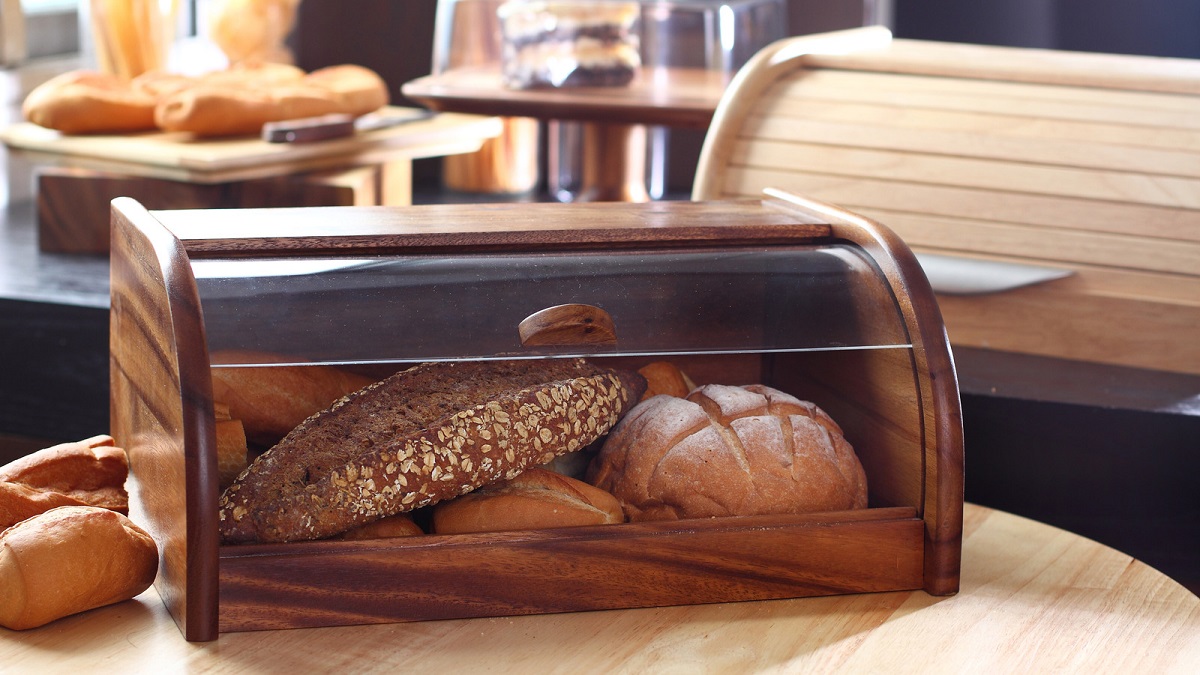
- Use a bread box: If you’re an avid bread baker, investing in a bread box can be a great idea. A bread box helps regulate moisture levels, keeping the bread fresh without the need for plastic wrap.
- Re-crisp stale bread: If your bread starts to go stale, you can re-crisp it by preheating the oven to 350°F (175°C) and placing the bread directly on the oven rack for a few minutes. This helps to revive its texture.
- Store in a cool place: Find a cool spot in your kitchen or pantry to store the bread, away from heat sources like the stove or direct sunlight. Elevated temperatures can accelerate the staling process.
By implementing these tips, you can ensure that your homemade bread stays fresh, moist, and delicious for an extended period.
Now that we’ve covered the tips for preserving freshness, let’s wrap up the article in the next section.
Conclusion
Properly storing homemade bread is essential for preserving its freshness, flavor, and texture. By following the right techniques and using the appropriate containers, you can extend the shelf life of your bread and enjoy it for longer. Whether you choose to store it at room temperature or freeze it for later use, these methods allow you to have freshly baked bread ready whenever you desire.
Remember to choose containers that are airtight, the right size, and made of food-safe materials to keep your bread in optimal condition. Storing bread at room temperature can work well for short-term storage, while freezing is ideal for longer-term preservation.
Thawing and reheating frozen bread can be done using various methods, including room temperature thawing, toasting, grilling, oven, or microwave. These methods allow you to enjoy the bread as if it were freshly baked.
Implementing tips for preserving freshness, such as slicing as needed, using appropriate containers, and keeping the bread in a cool place, will help maintain its quality and taste. Avoid refrigeration and consider investing in a bread box for even better preservation.
By following these guidelines and recommendations, you can ensure that your homemade bread stays fresh, flavorful, and enjoyable for an extended period. So go ahead and bake that delicious loaf, knowing that you can savor it days later with the same satisfaction.
Thank you for reading, and happy baking!
Frequently Asked Questions about How To Store Homemade Bread
Was this page helpful?
At Storables.com, we guarantee accurate and reliable information. Our content, validated by Expert Board Contributors, is crafted following stringent Editorial Policies. We're committed to providing you with well-researched, expert-backed insights for all your informational needs.


0 thoughts on “How To Store Homemade Bread”