Articles
How To Store Jello Jigglers
Modified: December 7, 2023
Learn how to store Jello Jigglers properly with these helpful articles. Keep your jiggly treats fresh and delicious for longer!
(Many of the links in this article redirect to a specific reviewed product. Your purchase of these products through affiliate links helps to generate commission for Storables.com, at no extra cost. Learn more)
Introduction
Welcome to the wonderful world of Jello Jigglers! If you’re a fan of gelatin-based treats, then you’re in for a real treat. Jello Jigglers are a fun and delicious snack that not only taste great but also add a playful element to any gathering or party. Whether you’re a kid or just a kid at heart, these wiggly and jiggly treats are sure to bring a smile to your face.
In this article, we’ll take you through the step-by-step process of making and storing Jello Jigglers. We’ll guide you through each of the necessary ingredients, walk you through the preparation process, and provide tips on how to properly store these delightful treats.
So, let’s dive right in and learn how to make and store Jello Jigglers in the most delicious and efficient way possible!
Key Takeaways:
- Create delightful Jello Jigglers by following simple steps: prepare, pour, refrigerate, cut, and store. Enjoy the wiggly, jiggly treats that bring joy to any gathering or party!
- Keep Jello Jigglers fresh and fun by storing them in airtight containers. Get creative with shapes and flavors to make these treats a hit at any occasion!
Read more: How To Store Jello
Ingredients
Before we begin, let’s gather all the ingredients that you will need to make Jello Jigglers:
- 1 package (3 ounces) of flavored gelatin (any flavor of your choice)
- 2 1/2 cups of boiling water
- A non-stick cooking spray (optional)
That’s it! With just three simple ingredients, you’ll be on your way to creating a batch of Jello Jigglers that will have everyone asking for more.
Now that you have your ingredients ready, let’s move on to the next step: preparing the gelatin mixture.
Step 1: Preparing the Gelatin
To start making Jello Jigglers, you’ll first need to prepare the gelatin mixture. Follow these steps:
- In a heatproof bowl, empty the package of flavored gelatin.
- Add 2 1/2 cups of boiling water to the bowl. Stir well until the gelatin powder is completely dissolved.
- If desired, you can add a splash of cold water to slightly cool down the mixture.
- Let the gelatin mixture sit for a few minutes to cool down further and slightly thicken.
Now that your gelatin mixture is ready, it’s time to move on to the next step: pouring the gelatin into the desired molds or containers.
Step 2: Pouring the Gelatin Mixture
Now that you have prepared the gelatin mixture, it’s time to pour it into your desired molds or containers. Here’s how:
- Prepare your molds or containers by lightly greasing them with a non-stick cooking spray. This will make it easier to remove the Jello Jigglers later.
- If you don’t have specific molds, you can use a regular baking dish and cut the Jello Jigglers into fun shapes later.
- Carefully pour the gelatin mixture into the molds or baking dish, filling them almost to the top.
- Make sure to pour slowly and evenly to prevent any air bubbles from forming.
Once you have poured the gelatin mixture into the molds or baking dish, it’s time to move on to the next step: refrigerating the Jello Jigglers.
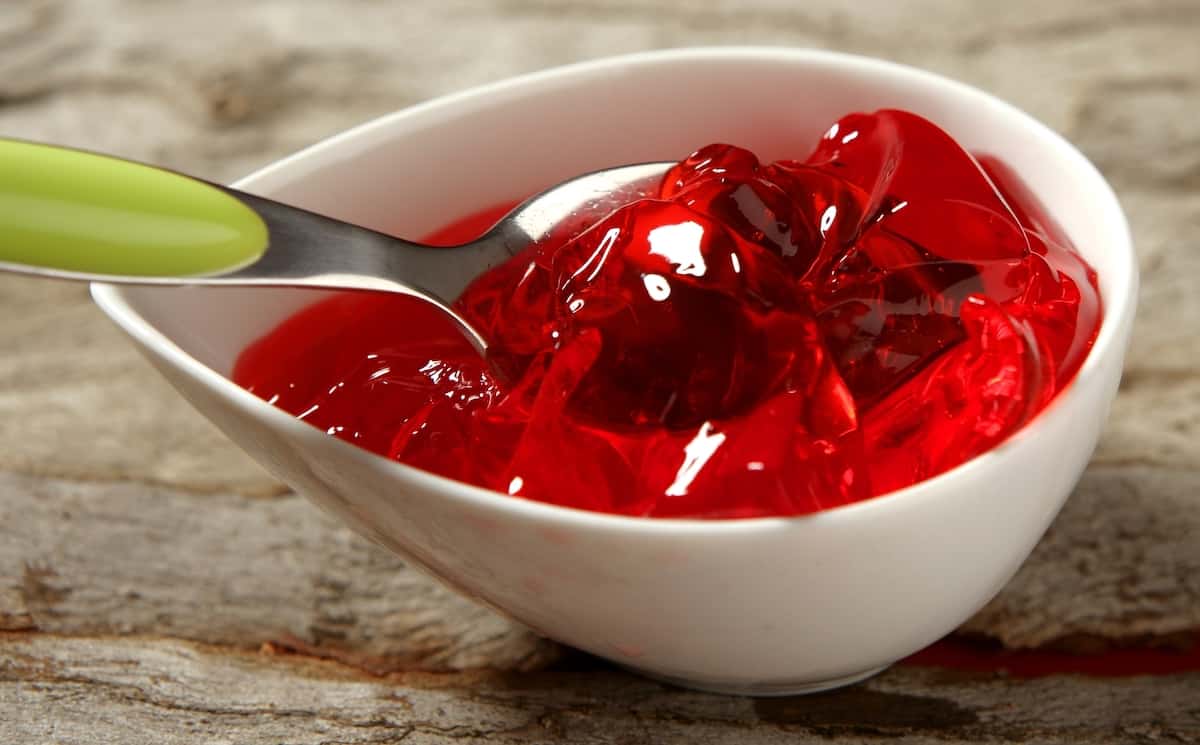
Store Jello Jigglers in an airtight container in the refrigerator to prevent them from drying out or absorbing any odors. Layer them with wax paper to prevent sticking.
Step 3: Refrigerating the Jello Jigglers
After pouring the gelatin mixture into your desired molds or baking dish, it’s important to refrigerate the Jello Jigglers to allow them to set properly. Follow these steps:
- Cover the molds or baking dish with plastic wrap to prevent any odors or flavors from affecting the Jello Jigglers.
- Place the molds or baking dish in the refrigerator and let them chill for at least 2-4 hours, or until the gelatin is fully set.
- For best results, it is recommended to leave the Jello Jigglers in the refrigerator overnight to ensure they are thoroughly set.
During the refrigeration process, the gelatin will firm up, resulting in the iconic jiggly texture of Jello Jigglers. Once the Jello Jigglers are fully set, it’s time to move on to the final step: cutting and storing them.
Read more: How To Store Jello Shots
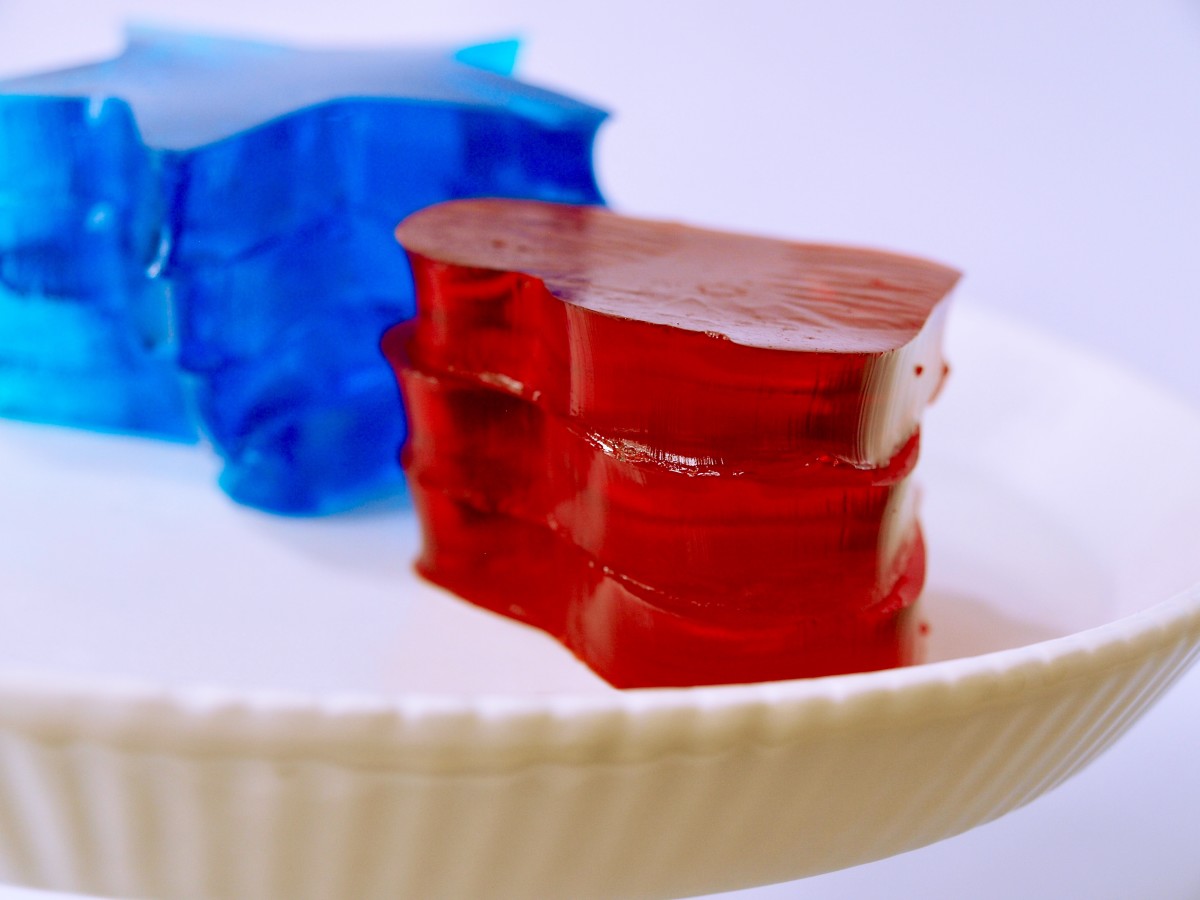
Step 4: Cutting and Storing the Jello Jigglers
Now that your Jello Jigglers have set and are ready to be enjoyed, it’s time to cut them into fun shapes and store them properly. Follow these steps:
- Remove the Jello Jigglers from the molds by gently pressing on the bottom or using a butter knife to loosen the edges.
- If you used a baking dish, use cookie cutters or a knife to cut the Jello Jigglers into desired shapes, such as squares, circles, or even fun novelty shapes.
- Transfer the cut Jello Jigglers to an airtight container or individual snack bags.
- Store in the refrigerator to maintain their shape and freshness.
When storing the Jello Jigglers, it’s important to keep them in an airtight container or sealed snack bags to prevent them from drying out or absorbing any odors from other food in the refrigerator.
Your freshly cut and properly stored Jello Jigglers are now ready to be served and enjoyed!
Conclusion
Congratulations! You have successfully learned how to make and store Jello Jigglers. These wiggly and jiggly treats are not only delicious but also bring joy and fun to any gathering or party.
By following the steps outlined in this article, you can create your own batch of Jello Jigglers in no time. From preparing the gelatin mixture to pouring it into molds, refrigerating, cutting, and storing, each step is crucial to achieving the perfect Jello Jigglers.
Remember to get creative with your shapes and flavors to make your Jigglers even more enticing. Whether you’re making them for a birthday party, a picnic, or just as a fun treat for yourself, Jello Jigglers are sure to be a hit.
So go ahead and gather your ingredients, follow the steps, and enjoy the delightful wiggles and giggles of Jello Jigglers. Bring a smile to everyone’s face with this classic treat that never fails to amuse and satisfy.
Happy Jiggling!
Frequently Asked Questions about How To Store Jello Jigglers
Was this page helpful?
At Storables.com, we guarantee accurate and reliable information. Our content, validated by Expert Board Contributors, is crafted following stringent Editorial Policies. We're committed to providing you with well-researched, expert-backed insights for all your informational needs.


0 thoughts on “How To Store Jello Jigglers”