Home>Furniture>Kitchen Furniture>How To Use A Kitchenaid Juicer Attachment
Kitchen Furniture
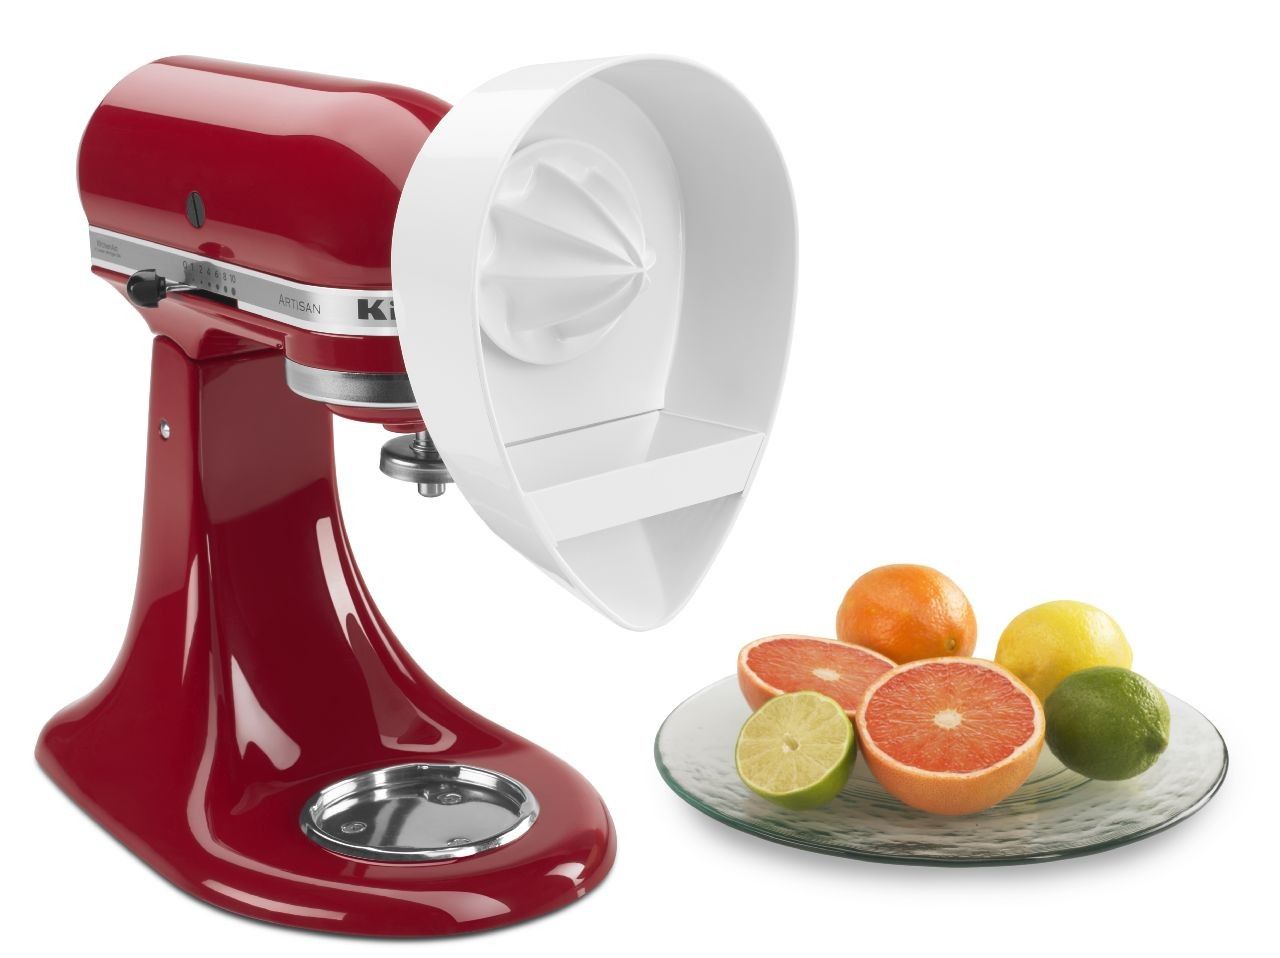
How To Use A Kitchenaid Juicer Attachment
Modified: August 17, 2024
Learn how to use the Kitchenaid Juicer Attachment with these helpful articles. Get tips and step-by-step instructions for maximizing your juicing experience.
(Many of the links in this article redirect to a specific reviewed product. Your purchase of these products through affiliate links helps to generate commission for Storables.com, at no extra cost. Learn more)
Introduction
Welcome to the world of juicing with the KitchenAid Juicer Attachment! This versatile attachment allows you to transform your KitchenAid stand mixer into a powerful juicer, making it easier than ever to enjoy freshly squeezed juices. Whether you’re looking to kickstart a healthy lifestyle or simply add some variety to your daily routine, the KitchenAid Juicer Attachment is a convenient and efficient tool that can help you achieve your juicing goals.
In this article, we will guide you through the process of using the KitchenAid Juicer Attachment, providing step-by-step instructions along with helpful tips and tricks. From unpacking and assembly to cleaning and maintenance, we’ve got you covered. So, let’s dive in and discover how to make the most out of your KitchenAid Juicer Attachment!
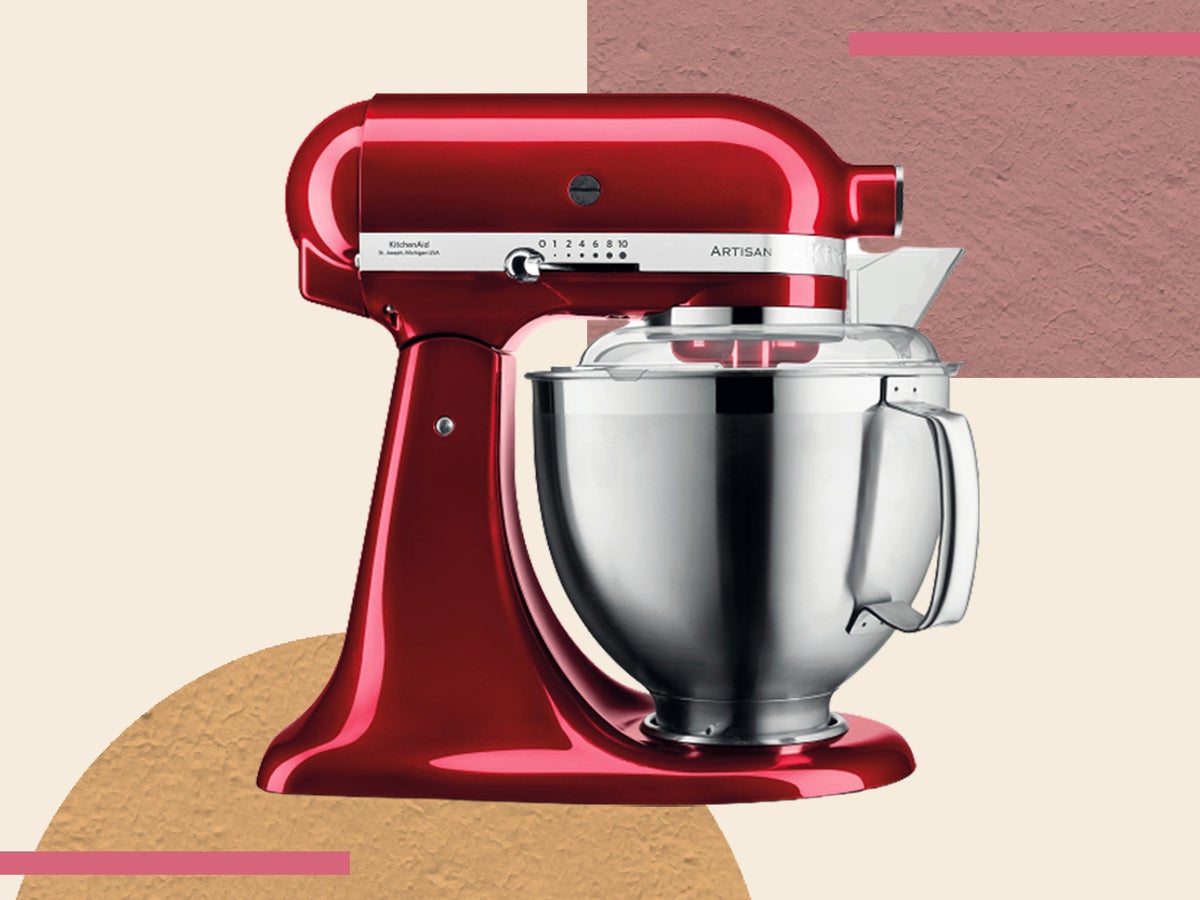
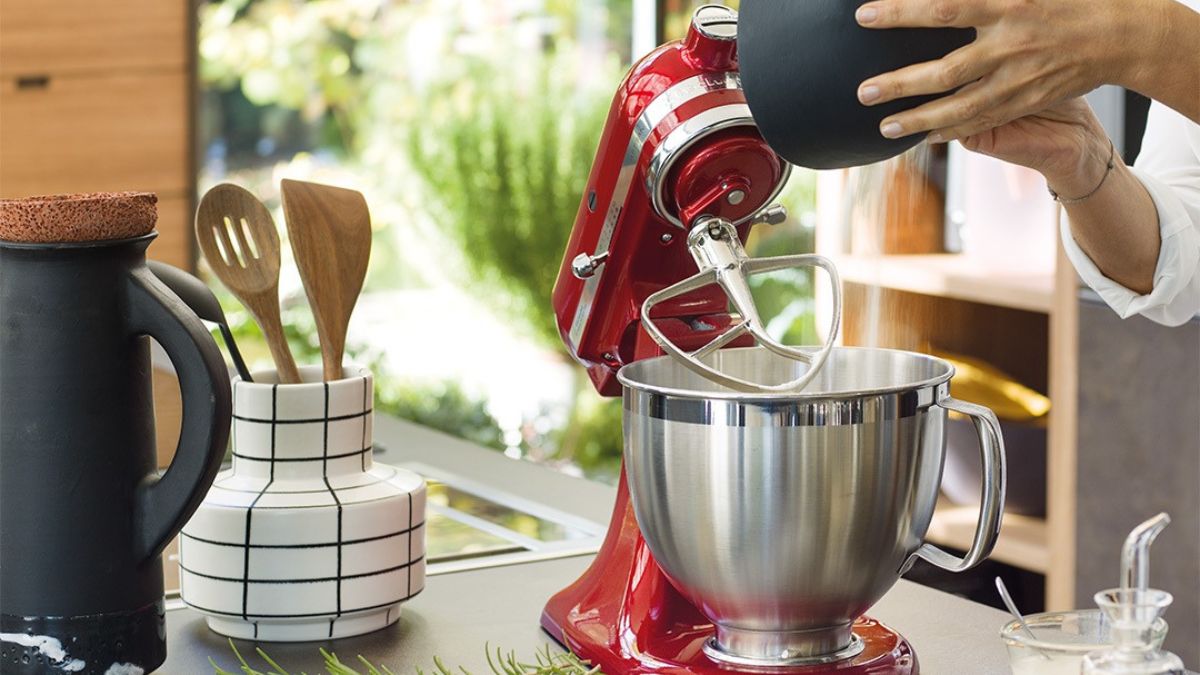
Before we get started, it’s important to note that the KitchenAid Juicer Attachment is compatible with all KitchenAid stand mixers, so you’ll need to have one of these handy before proceeding. If you don’t already own a stand mixer, don’t worry – you can find various models and attachments available for purchase online or at your local kitchen appliance store.
Key Takeaways:
- Transform your KitchenAid stand mixer into a powerful juicer with the KitchenAid Juicer Attachment, allowing you to enjoy freshly squeezed juices and kickstart a healthy lifestyle with ease.
- Master the art of juicing with step-by-step instructions for using and maintaining the KitchenAid Juicer Attachment, and start creating delicious and nutritious juices right in the comfort of your own home.
Step 1: Unpacking and Assembly
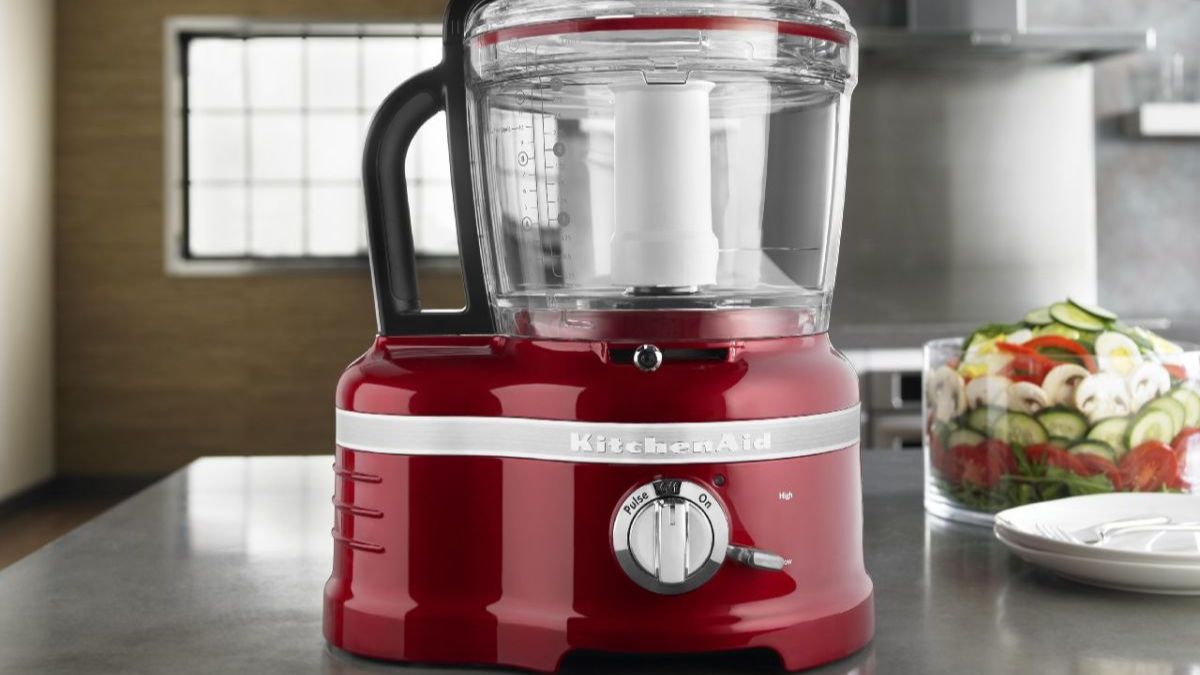
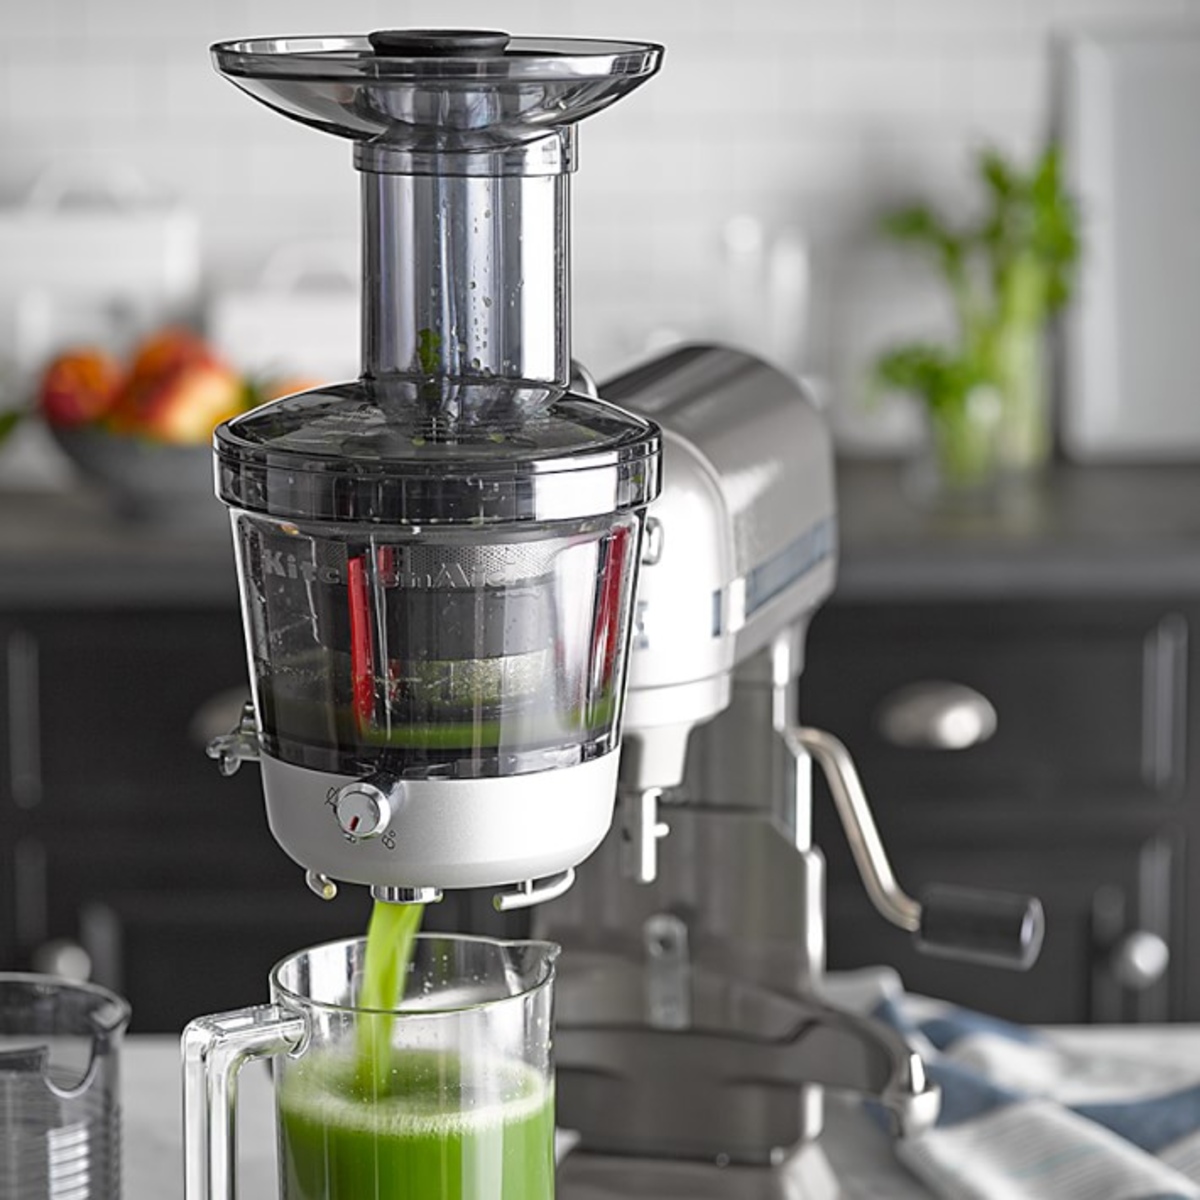
The first step in using the KitchenAid Juicer Attachment is to unpack and assemble it. Start by carefully opening the packaging and removing all the components. You should find the juicer body, the juicing screen, the juice pitcher, the feed tube, and the food pusher.
Take a moment to familiarize yourself with the different parts of the juicer attachment. The juicer body is the main component that attaches to your stand mixer. The juicing screen fits into the juicer body and filters out pulp while allowing juice to flow through. The juice pitcher is used to collect the extracted juice, while the feed tube is where you’ll insert your fruits and vegetables. The food pusher, on the other hand, will help you guide the produce down the feed tube and into the juicer.
Once you’ve unpacked everything, it’s time to assemble the juicer attachment. Start by placing the juicing screen into the juicer body, making sure it fits securely. Next, attach the juicer body to the power hub of your stand mixer. It should lock into place with a gentle twist.
Take a moment to ensure that the attachment is properly aligned and securely attached. Give it a gentle tug to make sure it’s firmly in place. You’re now ready to move on to the next step of using your KitchenAid Juicer Attachment – attaching it to your stand mixer.
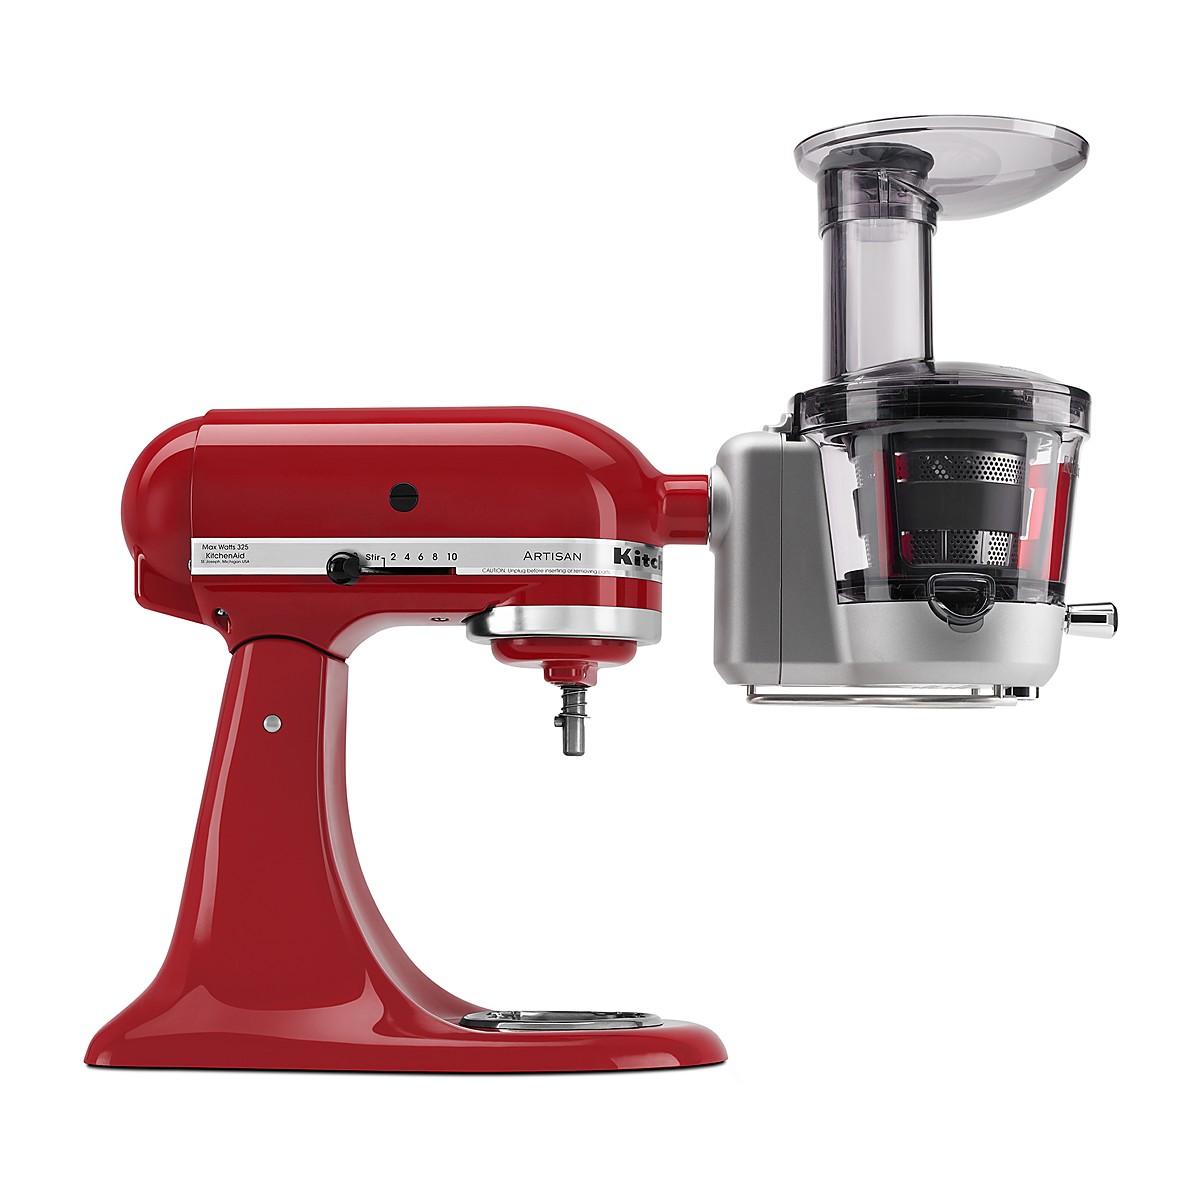
Step 2: Attaching the Juicer to the Stand Mixer
Now that you’ve assembled the KitchenAid Juicer Attachment, it’s time to attach it to your stand mixer. This step is quick and easy, and it ensures that the juicer is properly connected to the power source.
Start by ensuring that your stand mixer is unplugged and turned off. This is an important safety precaution before attaching any attachment. Locate the power hub on your stand mixer – it’s usually located on the front of the appliance and has a circular shape with a power symbol.
Take the juicer body, which you’ve already assembled in the previous step, and align it with the power hub on your stand mixer. Insert it into the power hub and give it a gentle twist clockwise until it locks into place.
Once the juicer attachment is securely attached to the stand mixer, double-check that it’s properly aligned and fitted. This will ensure that it functions correctly and avoids any possibility of accidents or malfunctions.
That’s it – you’ve successfully attached the KitchenAid Juicer Attachment to your stand mixer! Now you’re ready to start preparing fruits and vegetables for juicing. Before you move on to the next step, take a moment to make sure everything is securely in place and ready for use.
Step 3: Preparing Fruits and Vegetables for Juicing
Now that your KitchenAid Juicer Attachment is securely attached to your stand mixer, it’s time to prepare the fruits and vegetables for juicing. Proper preparation ensures optimum juicing results and helps maintain the longevity of your juicer.
Start by selecting fresh, ripe fruits and vegetables. Wash them thoroughly under running water to remove any dirt, pesticides, or wax. If necessary, use a produce brush to scrub away any stubborn residues.
Next, remove any inedible parts such as stems, cores, and seeds. Depending on the type of produce, this may include removing the stems from apples, peeling citrus fruits, or removing the seeds from watermelon. It’s essential to remove anything that can affect the taste or texture of the juice and potentially damage the juicer.
Cut the fruits and vegetables into smaller pieces that will fit comfortably into the feed tube. This will make it easier to juice them and prevent clogging or strain on the juicer. However, be cautious not to cut them too small, as this may affect the juicing efficiency.
If you’re juicing larger quantities of fruits and vegetables, it’s a good idea to have a separate container for collecting the prepared produce. This will help you stay organized and streamline the juicing process.
Remember, the quality of the ingredients plays a significant role in the taste and nutritional value of the juice. Try to use fresh and high-quality produce for the best results. You can experiment with different combinations of fruits and vegetables to create unique flavors and health benefits.
With your fruits and vegetables washed, prepared, and ready to go, you’re now set for the next step: adjusting the juicing screen for optimal juicing.
When using the Kitchenaid Juicer Attachment, make sure to cut fruits and vegetables into small pieces to ensure smooth juicing and prevent clogging. Also, be sure to use the appropriate speed setting for the type of produce being juiced.
Step 4: Adjusting the Juicing Screen
Before you start juicing with the KitchenAid Juicer Attachment, it’s important to adjust the juicing screen to ensure that you get the desired level of pulp in your juices. The juicing screen allows you to control the amount of pulp that makes its way into the extracted juice.
To adjust the juicing screen, start by turning off and unplugging your stand mixer for safety. Locate the control lever on the side of the juicing screen – it’s a small switch that allows you to adjust the pulp control. Slide the lever to the desired setting: high pulp, low pulp, or no pulp.
If you prefer a juice with more pulp and fiber, set the control lever to the high pulp setting. This will allow more pulp to pass through into the juice, giving it a thicker consistency and added texture.
On the other hand, if you prefer a juice with less pulp and a smoother texture, set the control lever to the low pulp setting. This setting will minimize the amount of pulp in the juice, resulting in a smoother and clearer liquid.
If you prefer your juice without any pulp at all, set the control lever to the no pulp setting. This will effectively filter out all the pulp, giving you a pure and pulp-free juice.
Once you’ve adjusted the juicing screen to your desired pulp level, double-check that it’s securely in place and properly aligned. This will ensure that it functions correctly and prevents any leakage or blockages during the juicing process.
With the juicing screen adjusted, you’re now ready to move on to the exciting part – the juicing process itself. Let’s explore how to juice with the KitchenAid Juicer Attachment in the next step.
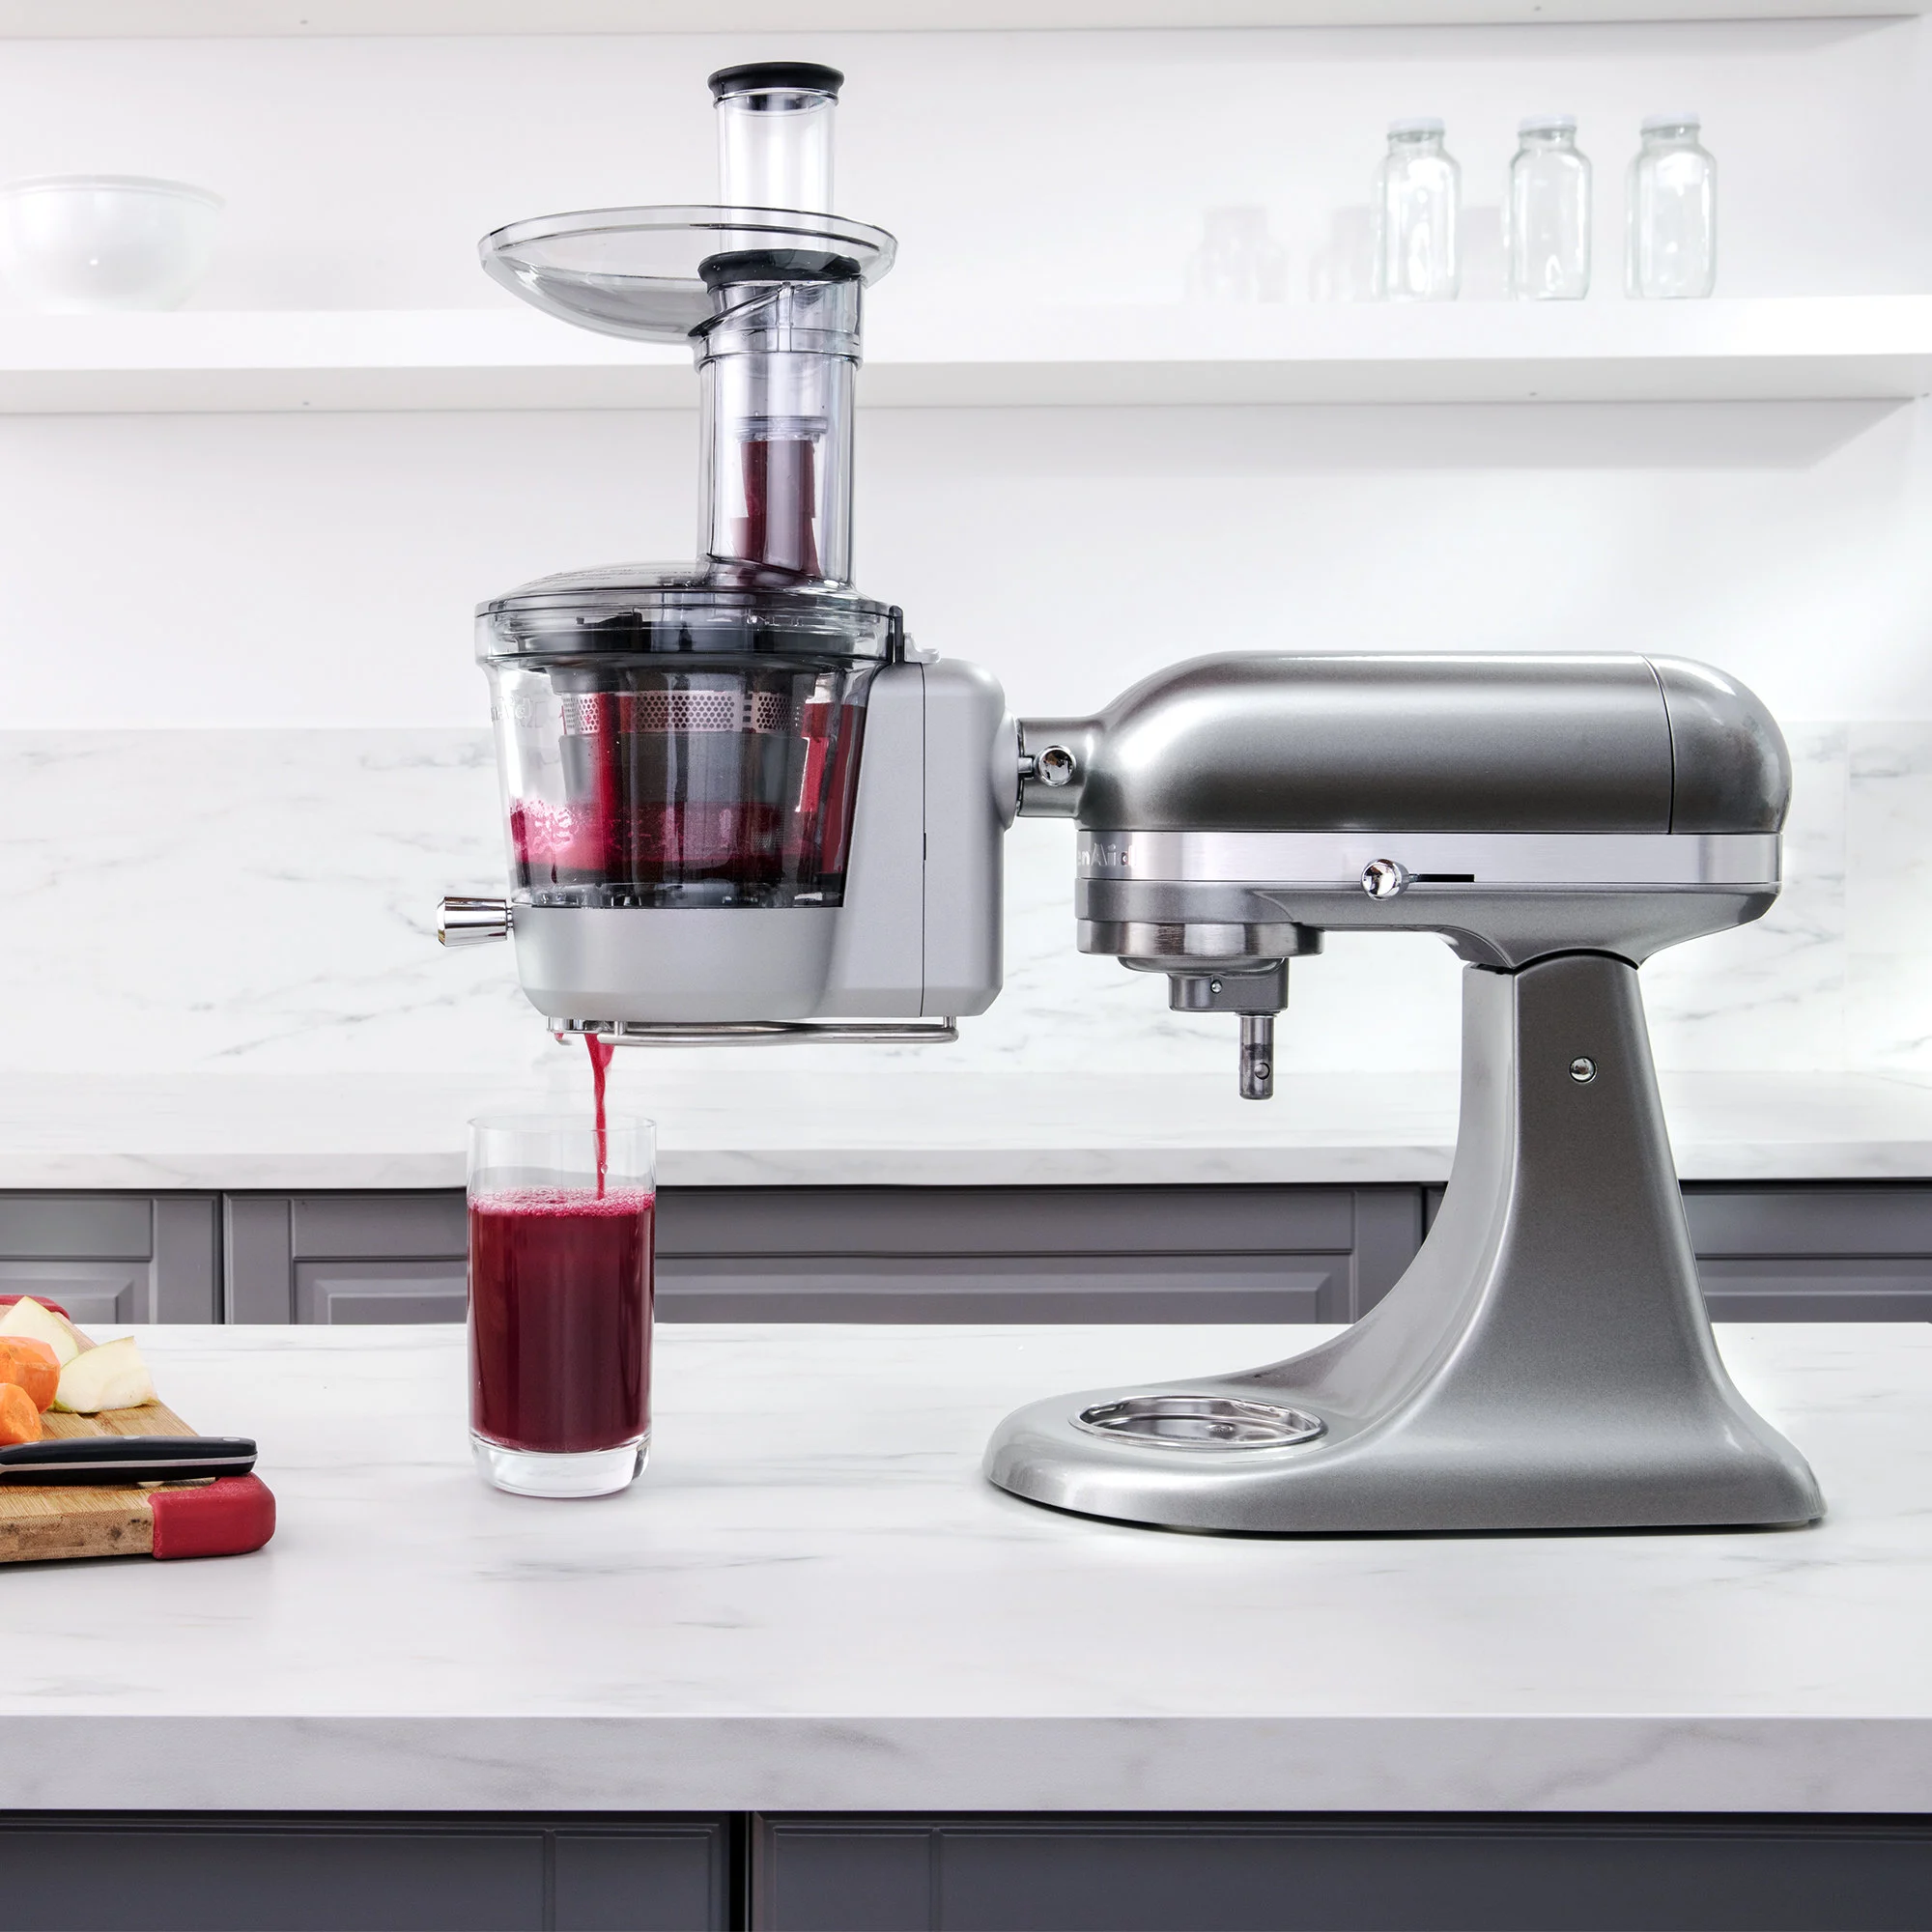
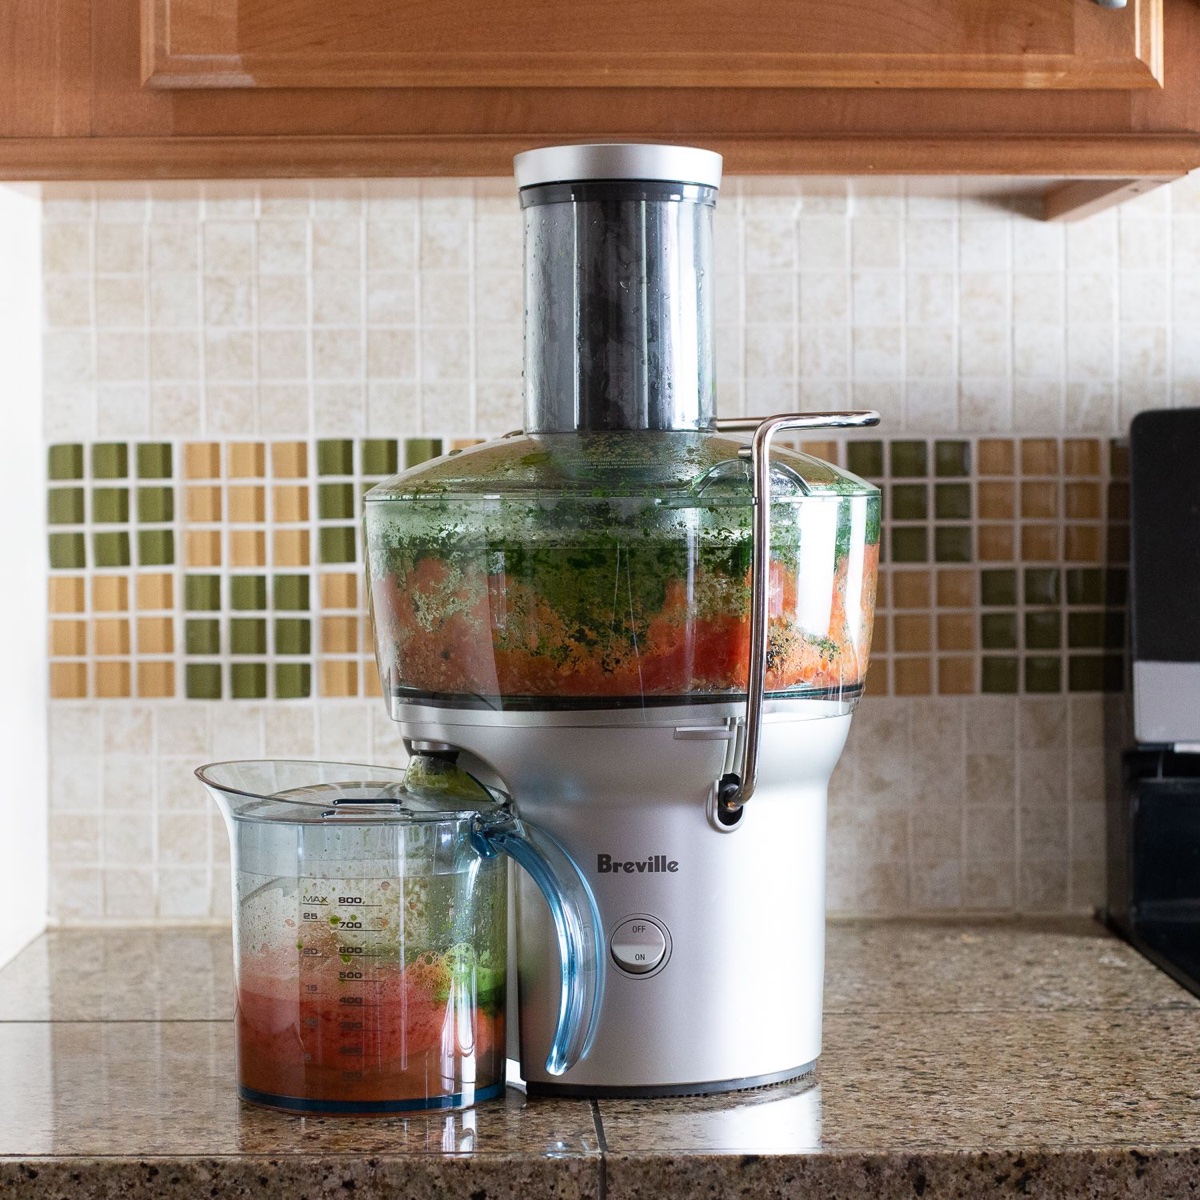
Step 5: Juicing Process
With all the preparations in place, it’s time to start the juicing process with your KitchenAid Juicer Attachment. Follow these steps to extract fresh and nutritious juices from your fruits and vegetables:
- Ensure that your stand mixer with the juicer attachment is plugged in and turned on.
- Place the juice pitcher or a suitable container under the spout of the juicer to collect the extracted juice.
- Take a piece of prepared fruit or vegetable and insert it into the feed tube of the juicer. Use the food pusher to gently guide it down towards the juicing screen.
- Turn on the stand mixer to start the juicing process. The powerful motor of the stand mixer will spin the juicing screen, extracting juice from the produce and separating it from the pulp.
- Continue juicing the remaining pieces of fruit or vegetable, one at a time, ensuring that you don’t overload the feed tube. It’s best to keep a steady pace and avoid jamming or forcing the produce into the juicer.
- As the juice is extracted, you’ll see it flow out from the spout and into the juice pitcher. The pulp will be collected in a separate chamber, ready for easy disposal.
- Once you’ve finished juicing all your fruits and vegetables, turn off the stand mixer and unplug it. Give the juicer and all its components a few seconds to come to a complete stop.
- Carefully remove the juicer attachment from the stand mixer by twisting it counterclockwise.
And there you have it – freshly extracted juice using your KitchenAid Juicer Attachment! Remember to give the juice a quick stir before serving to ensure a uniform mixture of flavors. Pour it into glasses and enjoy the refreshing and nutritious goodness.
Now that you’ve enjoyed your delicious juice, it’s time to move on to the last step – cleaning and maintaining your KitchenAid Juicer Attachment.
Step 6: Cleaning and Maintenance
After enjoying your freshly squeezed juices, it’s important to properly clean and maintain your KitchenAid Juicer Attachment to ensure its longevity and continued performance. Here are some guidelines for cleaning and maintaining your juicer:
- Start by unplugging the stand mixer and disassembling the juicer attachment. Remove the juicing screen, feed tube, food pusher, and juice pitcher.
- Rinse the juicing screen, feed tube, and food pusher under running water to remove any leftover pulp and juice. Use a soft brush or sponge to gently scrub away any stubborn residue.
- Wash the juice pitcher and all detachable parts with warm soapy water. Make sure to thoroughly clean all the crevices and corners to remove any residual pulp or juice.
- For stubborn stains or buildup, you can create a cleaning solution by mixing equal parts of water and white vinegar. Soak the parts in this solution for a few minutes before rinsing them thoroughly.
- Allow all the parts to air-dry completely or use a clean towel to dry them before reassembling the juicer attachment. Ensure that all the components are dry to prevent any mold or mildew growth.
- Store the juicer attachment in a clean and dry area. It’s best to keep it in a cabinet or on a shelf where it’s protected from dust and moisture.
- Regular maintenance is essential for the longevity of your juicer attachment. Check the juicing screen regularly for any signs of wear or damage. If needed, you can replace the juicing screen to ensure optimal performance.
- When not in use, it’s advisable to cover your stand mixer and the juicer attachment with a clean cloth or a dust cover to prevent dust and debris from entering.
Following these cleaning and maintenance practices will help keep your KitchenAid Juicer Attachment in excellent condition and ensure its smooth functioning for years to come.
Congratulations on completing all the steps of using and maintaining your KitchenAid Juicer Attachment! By now, you have gained the knowledge and confidence to make delicious and nutritious juices with ease. So, grab your favorite fruits and vegetables, and start experimenting with different flavors to create your unique juice recipes!
Remember, juicing is a fantastic way to incorporate healthy fruits and vegetables into your diet, providing you with essential nutrients and vitamins. Cheers to your juicing journey and a healthier lifestyle!
Conclusion
Congratulations on mastering the art of using the KitchenAid Juicer Attachment! By following the steps provided in this article, you are now equipped with the knowledge and skills to create delicious and nutritious juices right in the comfort of your own home.
The KitchenAid Juicer Attachment transforms your stand mixer into a powerful juicing machine, allowing you to extract juice from a variety of fruits and vegetables. With its adjustable pulp control, you can customize your juice to your preferred level of pulp, ensuring a personalized juicing experience.
Remember to take care of your juicer attachment by cleaning it thoroughly after each use and maintaining it regularly. By doing so, you’ll ensure its longevity and continued performance, allowing you to enjoy fresh juices for years to come.
Juicing is a wonderful way to incorporate more fruits and vegetables into your diet, providing you with an abundance of vitamins, minerals, and antioxidants. It can help boost your immune system, support healthy digestion, and increase your overall well-being.
So, start experimenting with different combinations of fruits and vegetables to create your unique juice recipes. Whether you prefer a refreshing green juice, a vibrant citrus blend, or a sweet berry medley, the possibilities are endless.
Keep in mind that juicing should complement a balanced diet and lifestyle. It’s important to incorporate a variety of whole fruits, vegetables, grains, and proteins in your daily meals to ensure a well-rounded nutrient intake. Juicing should not replace the consumption of whole foods but rather serve as a supplemental source of nutrition.
Enjoy the journey of exploring new flavors, experimenting with different ingredients, and discovering the incredible health benefits that juicing can offer. Cheers to a healthier, more vibrant you!
Frequently Asked Questions about How To Use A Kitchenaid Juicer Attachment
Was this page helpful?
At Storables.com, we guarantee accurate and reliable information. Our content, validated by Expert Board Contributors, is crafted following stringent Editorial Policies. We're committed to providing you with well-researched, expert-backed insights for all your informational needs.


0 thoughts on “How To Use A Kitchenaid Juicer Attachment”