Home>Renovation & DIY>Painting & Decorating>How To Organize Paint
Painting & Decorating
How To Organize Paint
Modified: October 27, 2024
Learn how to efficiently organize your painting supplies and tools with our expert tips. Simplify your painting and decorating projects today!
(Many of the links in this article redirect to a specific reviewed product. Your purchase of these products through affiliate links helps to generate commission for Storables.com, at no extra cost. Learn more)
Choosing the Right Paint
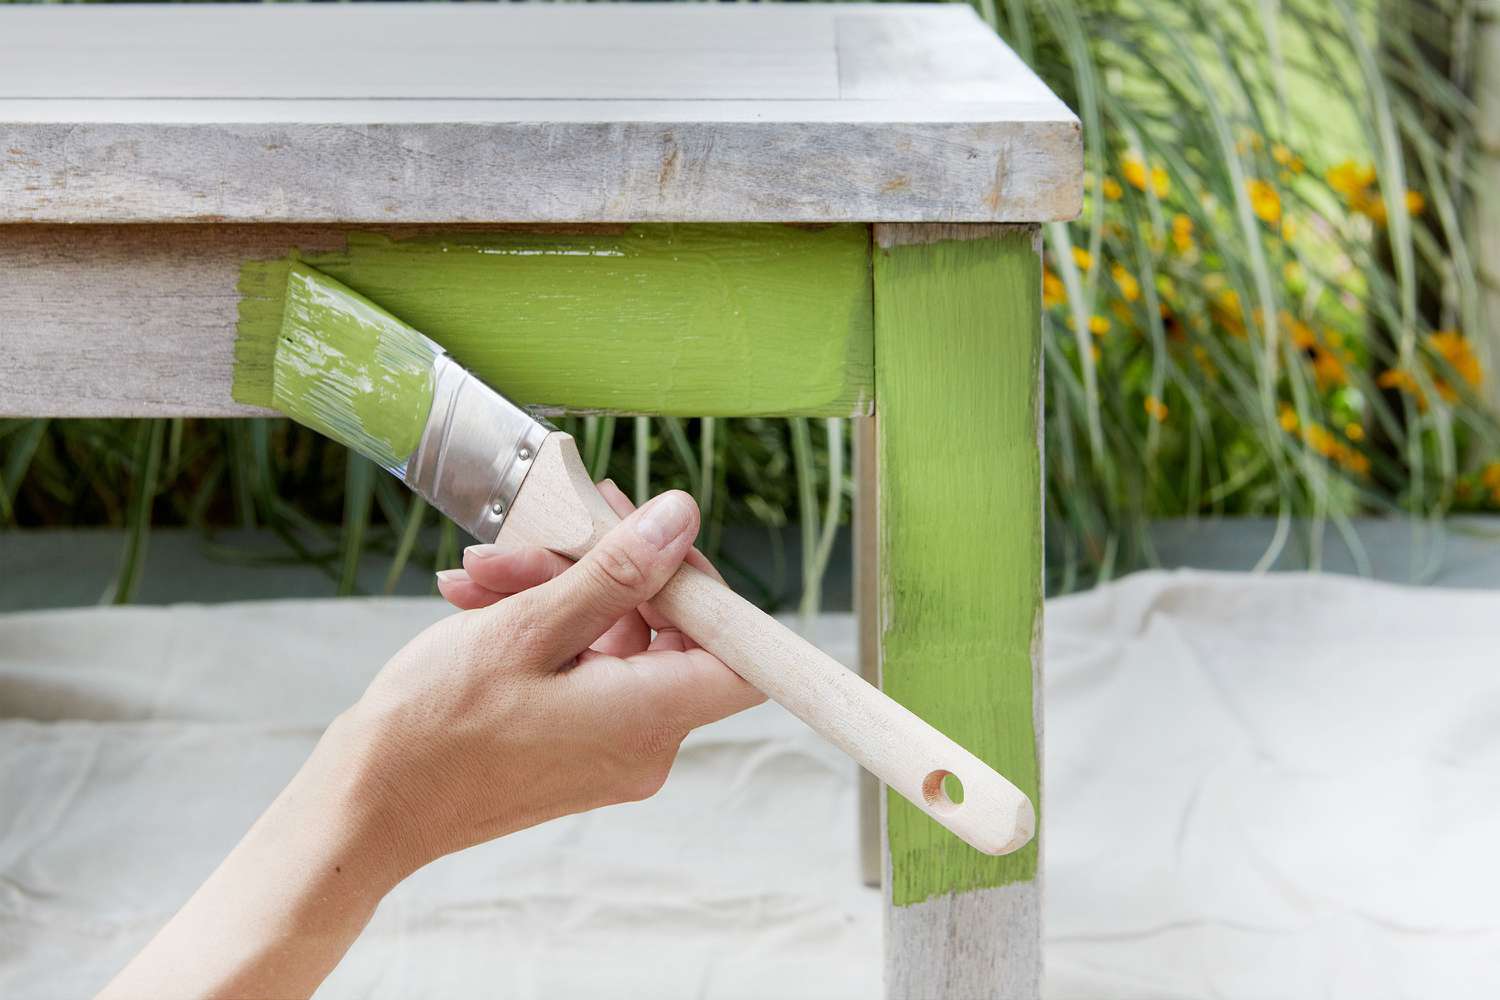
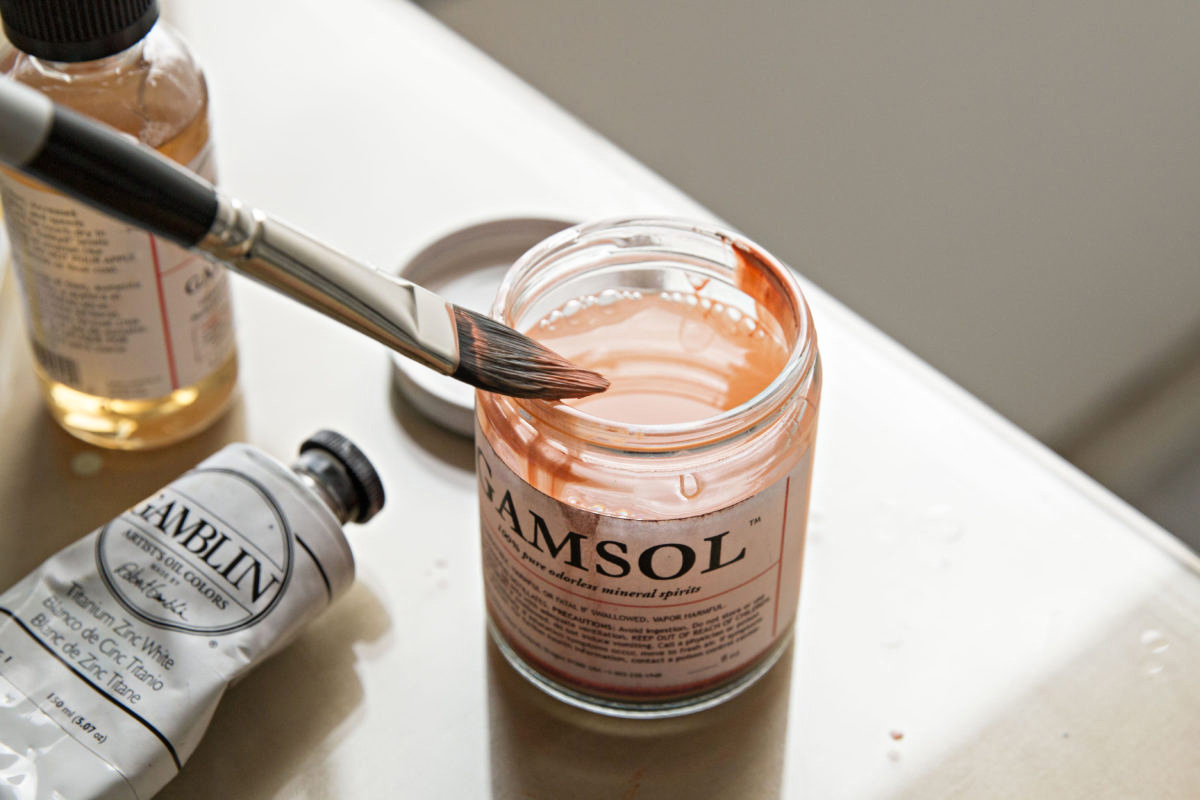
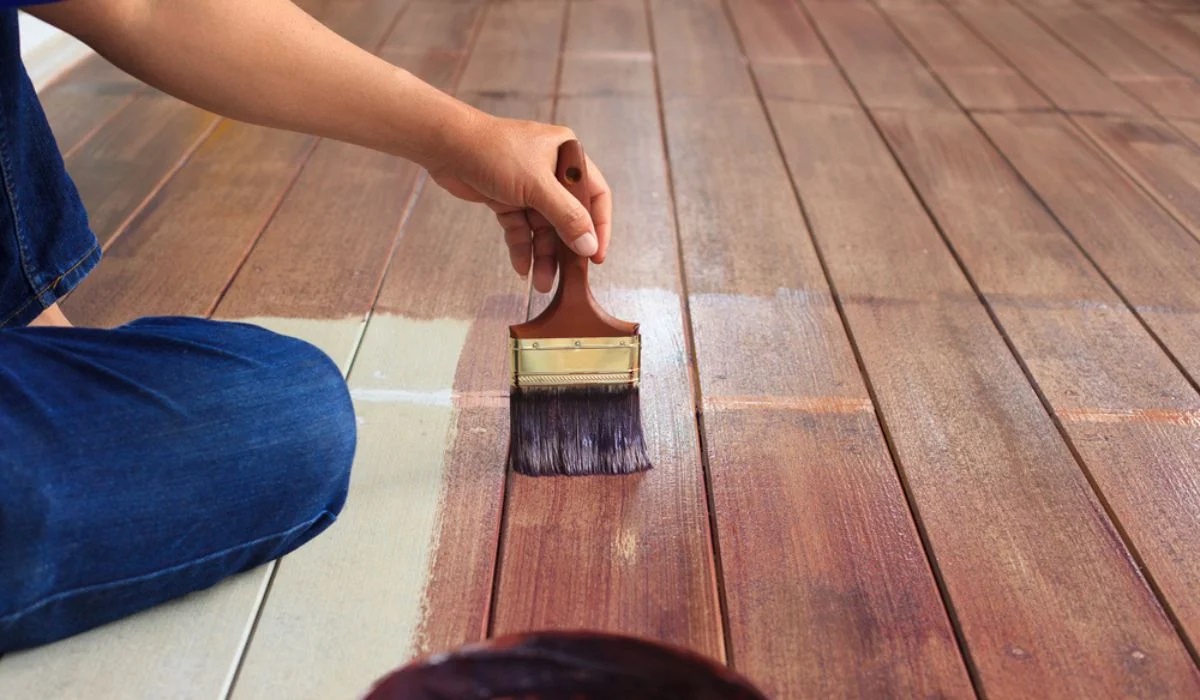
When it comes to organizing paint, the first step is to choose the right paint for your project. Whether you're painting a room, furniture, or an outdoor surface, selecting the appropriate type of paint is crucial for achieving the best results. Consider factors such as the surface material, the location of the painted area, and the desired finish. For interior walls, latex paint is a popular choice due to its durability and easy cleanup. On the other hand, for outdoor surfaces, consider using acrylic or oil-based paint for better weather resistance. Additionally, if you're painting furniture or cabinets, opt for enamel paint for a smooth and durable finish. Always ensure that the paint you choose aligns with the specific requirements of your project to achieve a professional-looking outcome.
Key Takeaways:
- Choose the right paint for your project by considering surface type, location, and finish. Latex paint is great for interior walls, while acrylic or oil-based paint works well for outdoor surfaces.
- Prepare your painting area by clearing space, protecting floors and furniture, ensuring ventilation, repairing and cleaning the surface, and ensuring proper lighting. This sets the stage for a successful painting project.
Preparing the Painting Area
Before diving into your painting project, it's essential to prepare the area to ensure a smooth and efficient process. Here's how to get the painting area ready:
-
Clear the Space: Start by removing any furniture, decorations, or obstacles from the area you plan to paint. This will provide you with ample space to move around and work without any hindrances.
-
Protect the Floors and Furniture: Cover the floors with drop cloths or plastic sheets to prevent paint spills and splatters from staining the surface. For furniture and fixtures that cannot be removed, use painter's tape and plastic covers to shield them from accidental paint marks.
-
Ventilation: Proper ventilation is crucial when painting indoors. Open windows and doors to allow fresh air to circulate, which helps in drying the paint faster and reduces the inhalation of fumes.
-
Repair and Clean the Surface: Inspect the walls or surfaces to be painted for any cracks, holes, or imperfections. Fill in any gaps with spackling compound and sand the area smooth once it's dry. Additionally, wipe down the surfaces with a damp cloth to remove dust and dirt, ensuring a clean and smooth painting surface.
-
Lighting: Adequate lighting is essential for a successful painting project. Ensure that the area is well-lit to accurately see the details and achieve a professional finish.
By taking the time to prepare the painting area properly, you can minimize potential mishaps and create an environment that is conducive to a successful painting project.
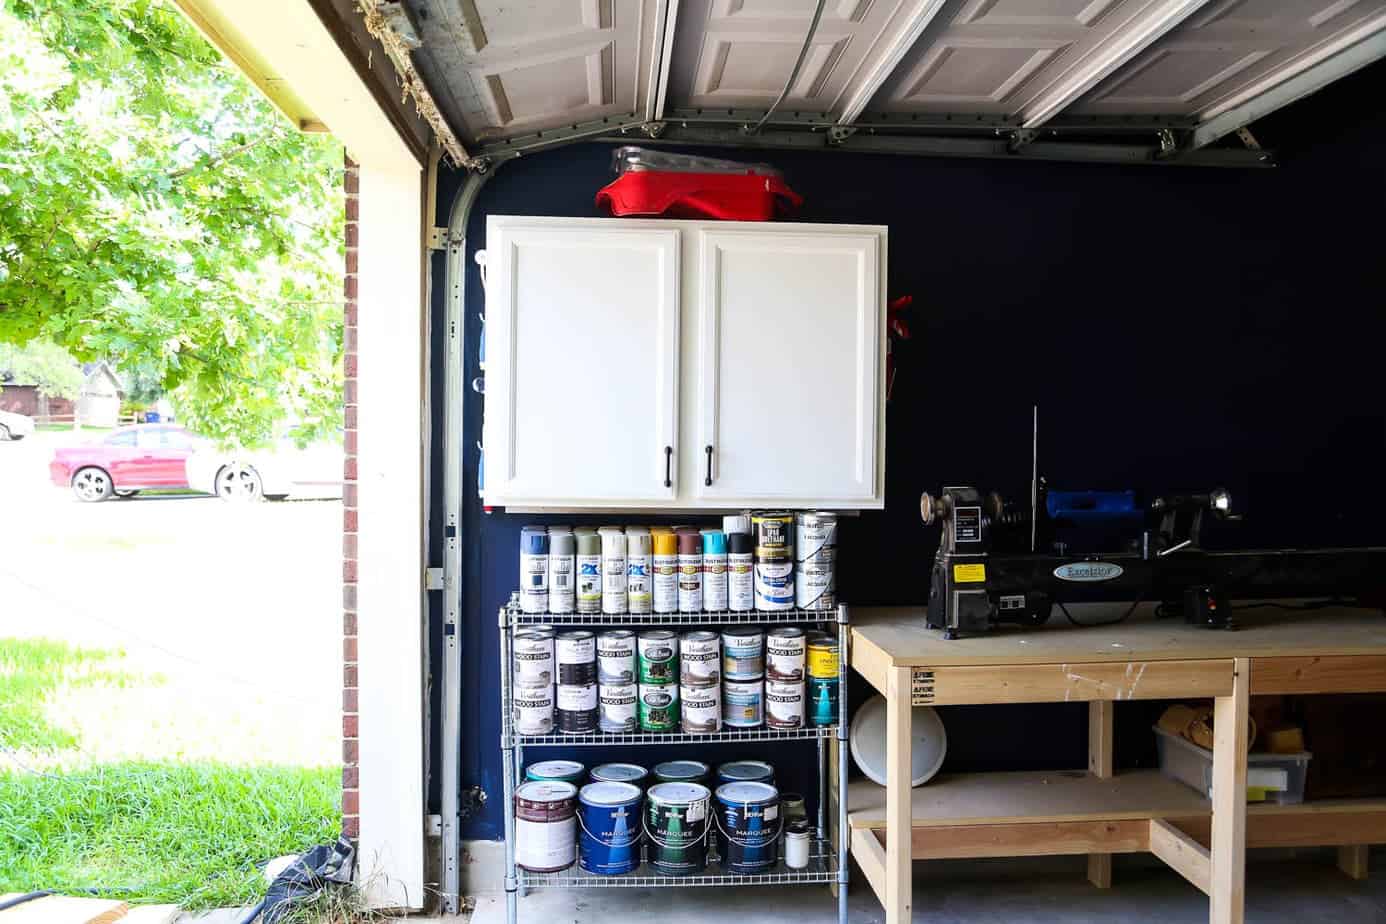
Organizing Painting Supplies
Organizing your painting supplies is essential for a smooth and efficient painting process. Here's a detailed guide on how to organize your painting supplies:
-
Gather Your Supplies: Before you begin painting, gather all the necessary supplies in one central location. This includes paintbrushes, rollers, paint trays, painter's tape, drop cloths, stir sticks, paint cans, and any other tools or accessories you may need.
-
Sort and Categorize: Once you have all your supplies together, sort and categorize them based on their functionality. Group together brushes of similar sizes, organize rollers and trays, and separate different types of paint and primers. This will make it easier to locate specific items when you need them during the painting process.
-
Storage Solutions: Invest in storage solutions such as toolboxes, caddies, or shelving units to keep your painting supplies organized. Utilize compartments and dividers within these storage units to keep smaller items neatly arranged and easily accessible.
-
Labeling: Consider labeling your paint cans and storage containers to identify the type of paint, color, and specific project they are designated for. This simple step can save time and prevent confusion, especially if you have multiple ongoing painting projects.
-
Clean and Maintain: After completing a painting project, clean and maintain your painting supplies. Thoroughly clean paintbrushes and rollers with appropriate solvents or water, depending on the type of paint used. Store them properly to prevent bristles from bending or drying out.
-
Inventory Check: Periodically conduct an inventory check of your painting supplies. Discard any dried-out or unusable items and replenish your stock of essentials to ensure you're always prepared for your next painting endeavor.
By organizing your painting supplies effectively, you can streamline the painting process, reduce the likelihood of misplaced tools, and maintain the longevity of your painting equipment.
Store paint cans upside down to create a better seal and prevent the paint from drying out. This also makes it easier to see the color and keeps the rim from getting clogged with dried paint.
Setting Up a Painting Schedule
Setting up a painting schedule is crucial for effectively managing your painting project and ensuring that it progresses smoothly. Here's a detailed guide on how to establish a painting schedule:
-
Assess the Scope of the Project: Begin by assessing the scope of the painting project. Determine the size of the area to be painted, the number of coats required, and any additional preparation or drying time needed. This assessment will help you gauge the overall timeline for the project.
-
Consider External Factors: Take into account external factors that may impact the painting schedule, such as weather conditions for outdoor painting projects. Ensure that you schedule outdoor painting during favorable weather to prevent any disruptions or complications.
-
Break Down the Tasks: Divide the painting project into smaller, manageable tasks. This could include tasks such as surface preparation, priming, painting, and drying time between coats. Breaking down the project into specific tasks allows for better organization and time allocation.
-
Allocate Time for Preparation: Factor in ample time for preparation, including clearing the area, protecting surfaces, and repairing any imperfections. Adequate preparation is essential for achieving a high-quality finish.
-
Plan for Drying Time: Account for drying time between coats of paint. Different types of paint may require varying durations to dry completely. Ensure that you allow sufficient time for each coat to dry before proceeding with the next application.
-
Create a Timeline: Once you have a clear understanding of the tasks involved, create a detailed timeline for each phase of the painting project. Consider the sequence of tasks and allocate realistic timeframes for completion.
-
Account for Multiple Sessions: If the painting project is extensive, consider breaking it down into multiple sessions. This approach can help prevent fatigue and maintain focus and precision throughout the project.
-
Factor in Rest Periods: It's important to factor in rest periods within the painting schedule. Taking breaks at regular intervals can help prevent burnout and ensure that you maintain a steady pace throughout the project.
-
Flexibility: While it's essential to have a structured schedule, it's also important to be flexible. Unforeseen circumstances or unexpected challenges may arise during the painting process, so allow for some flexibility in the schedule to accommodate any necessary adjustments.
-
Communication and Coordination: If multiple individuals are involved in the painting project, effective communication and coordination are key. Ensure that everyone involved is aware of the schedule and their respective responsibilities to maintain a cohesive and efficient workflow.
By setting up a well-organized painting schedule, you can effectively manage your time, resources, and efforts, ultimately leading to a successful and satisfying painting project.
Storing Leftover Paint
When it comes to storing leftover paint, proper handling and storage methods are essential to maintain the quality of the paint for future use. Here's a detailed guide on how to store leftover paint effectively:
-
Seal the Paint Cans: After completing a painting project, ensure that the paint cans are tightly sealed to prevent air from entering and causing the paint to dry out. Use a rubber mallet to firmly close the lids and create a secure seal.
-
Clean the Rim of the Can: Before sealing the paint cans, clean the rim and inner lip of the can to remove any excess paint. This prevents the buildup of dried paint, which can compromise the seal and lead to air exposure.
-
Label the Cans: Clearly label each paint can with the specific color, the room or area it was used for, and the date of purchase. This labeling system makes it easier to identify and retrieve the paint when needed in the future.
-
Store in a Cool, Dry Place: Choose a suitable storage location for the paint cans, preferably in a cool, dry area away from direct sunlight and extreme temperature fluctuations. Basements or utility rooms are often ideal for paint storage.
-
Avoid Freezing Temperatures: It's crucial to prevent paint from freezing, as this can alter its consistency and quality. Ensure that the storage area maintains a temperature above freezing to preserve the paint's integrity.
-
Prevent Rust and Corrosion: If storing paint cans on metal shelves or surfaces, place a barrier such as cardboard or a wooden board between the cans and the metal to prevent rust and corrosion.
-
Regularly Inspect and Rotate: Periodically inspect the stored paint cans for any signs of deterioration, such as rusting or leaking. Additionally, rotate the cans occasionally to prevent the paint from settling or forming a skin on the surface.
-
Dispose of Unusable Paint: If you encounter paint that has dried out or become unusable, dispose of it responsibly according to local regulations. Many communities have specific guidelines for the disposal of paint and other hazardous materials.
By following these guidelines for storing leftover paint, you can prolong the shelf life of the paint, maintain its quality, and be prepared for touch-ups or future painting projects without the need to purchase new paint.
Frequently Asked Questions about How To Organize Paint
Was this page helpful?
At Storables.com, we guarantee accurate and reliable information. Our content, validated by Expert Board Contributors, is crafted following stringent Editorial Policies. We're committed to providing you with well-researched, expert-backed insights for all your informational needs.


0 thoughts on “How To Organize Paint”