Articles
How To Store Leeks In Freezer
Modified: September 1, 2024
Discover the best way to store leeks in the freezer with this informative article. Find out how to preserve their freshness and flavor for future use.
(Many of the links in this article redirect to a specific reviewed product. Your purchase of these products through affiliate links helps to generate commission for Storables.com, at no extra cost. Learn more)
Introduction
Welcome to the world of freezing leeks! If you’ve found yourself with an abundance of this versatile and delicious vegetable, but aren’t sure how to preserve them for future use, fret not! Freezing leeks is a simple and effective method that allows you to enjoy their fresh flavor even when they’re out of season.
Leeks, with their mild onion-like taste, are a fantastic addition to soups, stews, stir-fries, and many other dishes. However, since they’re highly perishable, it’s essential to store them properly to maintain their quality and flavor.
In this article, we will walk you through the step-by-step process of how to store leeks in the freezer. We’ll cover everything from preparing and cleaning the leeks to blanching, packaging, and storing them. By following these instructions, you’ll be able to preserve your leeks for months to come, ensuring that you always have this flavorful ingredient on hand.
So, without further ado, let’s dive into the wonderful world of freezing leeks!
Key Takeaways:
- Preserve the fresh flavor and versatility of leeks year-round by following the simple steps to freeze, package, and store them. Enjoy the convenience of having this flavorful ingredient readily available for various recipes.
- Ensure optimal quality and taste by properly preparing, cleaning, blanching, and freezing leeks. Label and store them in the coldest part of the freezer, and use within 8-12 months for the best results.
Read more: How To Store Leeks In The Fridge
Step 1: Preparing the Leeks
Before you can freeze leeks, you need to prepare them properly. This involves trimming and discarding any parts of the leeks that are tough or damaged. Here’s how to do it:
- Start by trimming off the root ends of the leeks. Cut off about 1/4 inch from the bottom.
- Next, remove the tough dark green tops. These parts are usually fibrous and not ideal for freezing.
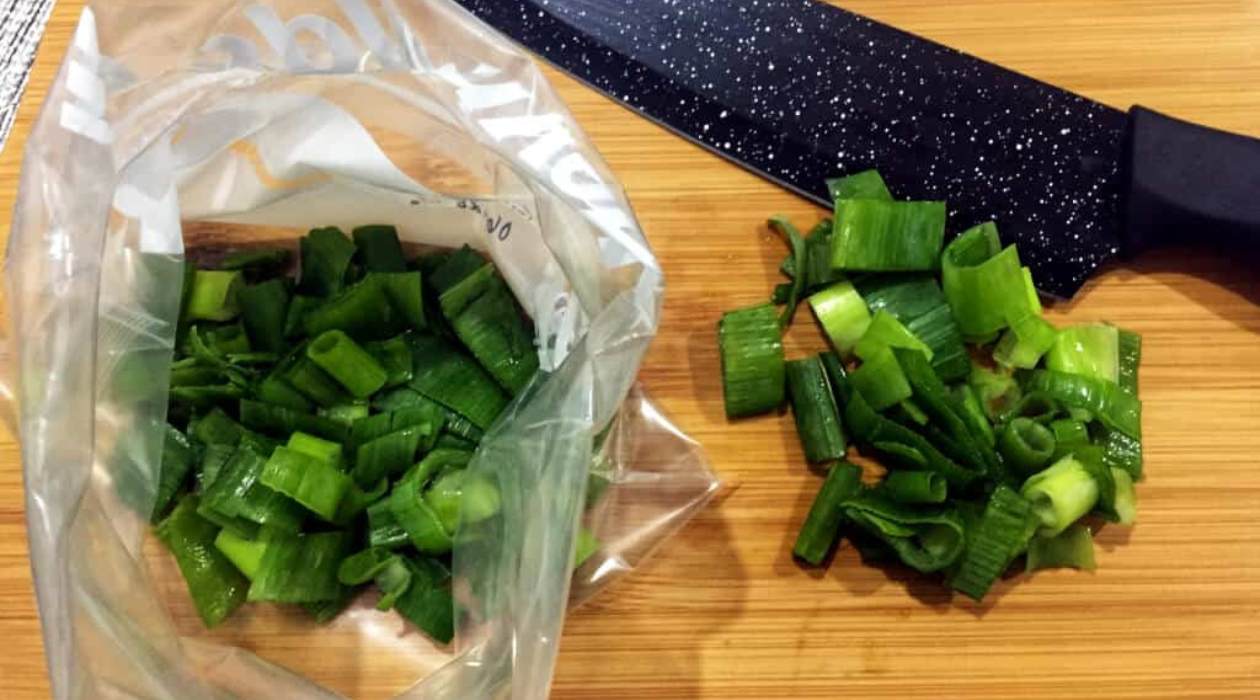
- Once you’ve removed the tops, carefully slice the leeks lengthwise from the top to the bottom, leaving the root end intact.
- Wash the leeks thoroughly under cold running water to remove any dirt or grit that may be trapped between the layers.
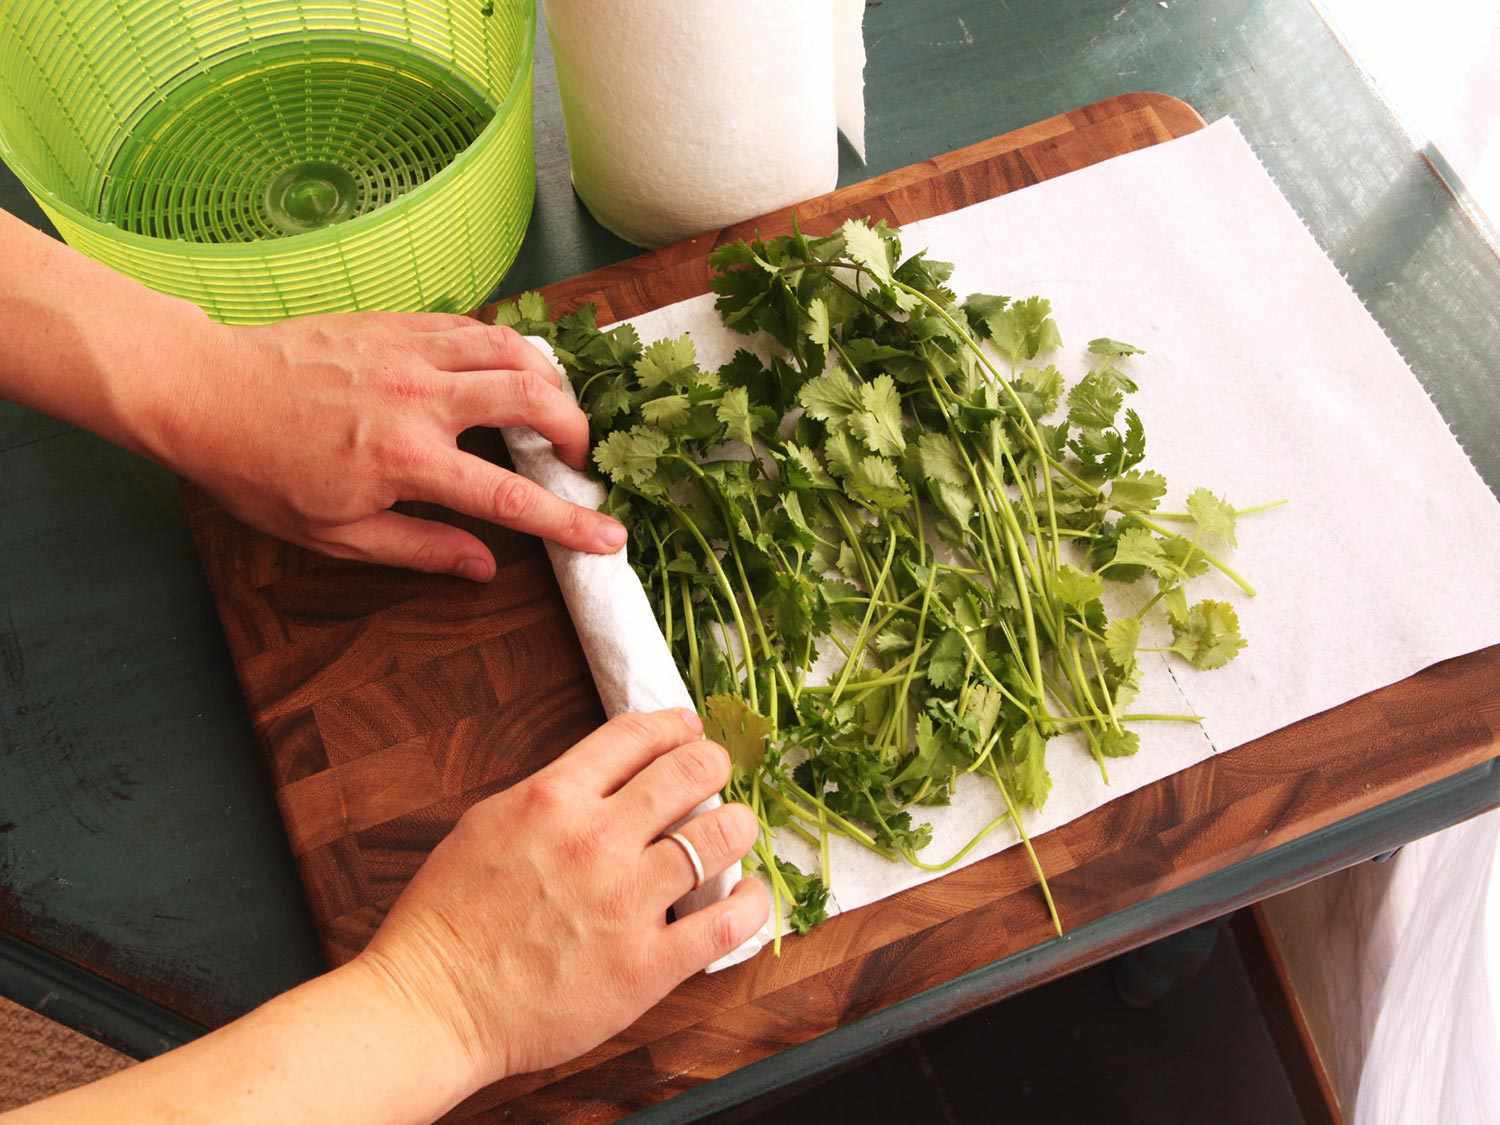
- Pat the leeks dry using a clean kitchen towel or paper towels.
Preparing the leeks in this way ensures that you’re left with the most desirable and usable parts of the vegetable. By removing the tough outer layers and washing them thoroughly, you’ll have clean and delicious leeks ready for the next steps of the freezing process.
Step 2: Cleaning the Leeks
Now that you’ve prepared the leeks by trimming and slicing them, it’s time to give them a thorough cleaning to remove any residual dirt and sand. Here’s how to clean leeks effectively:
- Fill a clean sink or a large bowl with cold water.
- Submerge the sliced leeks in the water and gently swish them around to dislodge any trapped dirt.
- Let the leeks soak in the water for about 5 minutes to allow the dirt to settle at the bottom.
- After soaking, lift the leeks out of the water, being careful not to disturb the settled dirt.
- Inspect the water for any remaining dirt. If you see particles floating on the surface, repeat the soaking and cleaning process until the water appears clean.
It’s important to be thorough when cleaning leeks, as any embedded dirt can affect the taste and texture of the final dish. Taking the time to properly clean them ensures that you’re left with pristine leeks that are ready for blanching and freezing.
Step 3: Blanching the Leeks
Blanching is an essential step in the freezing process that helps preserve the color, texture, and flavor of leeks. It involves briefly immersing the leeks in boiling water and then rapidly cooling them. Here’s how to blanch leeks:
- Bring a large pot of water to a rolling boil.
- Add the prepared leeks to the boiling water and cook them for 2-3 minutes.
- While the leeks are blanching, fill a bowl with ice water.
- Using a slotted spoon or tongs, carefully transfer the blanched leeks to the ice water bath to cool them rapidly.
- Allow the leeks to sit in the ice water for the same amount of time that they were blanched (2-3 minutes).
- Once cooled, remove the leeks from the ice water and drain them thoroughly.
Blanching helps to halt enzymatic activity in the leeks, which can cause flavor and texture changes over time. It also helps to maintain the vibrant green color of the leeks, ensuring that they still look appealing after freezing. By blanching the leeks before freezing, you’re taking an important step towards preserving their quality.
To store leeks in the freezer, first clean and chop them, then blanch in boiling water for 2-3 minutes. After blanching, plunge them into ice water to stop the cooking process. Once cooled, pat them dry and store in airtight containers or freezer bags, removing as much air as possible. This will help preserve their flavor and texture for future use.
Step 4: Freezing the Leeks
Now that you’ve prepared and blanched the leeks, it’s time to freeze them. Freezing leeks not only extends their shelf life but also allows you to have them readily available for various recipes. Follow these steps to freeze the leeks:
- Prepare a baking sheet or tray by lining it with parchment paper or a silicone mat.
- Spread the blanched leeks out in a single layer on the baking sheet or tray, ensuring that they are not touching each other.
- Place the baking sheet or tray in the freezer and allow the leeks to freeze completely. This can take anywhere from 2 to 4 hours.
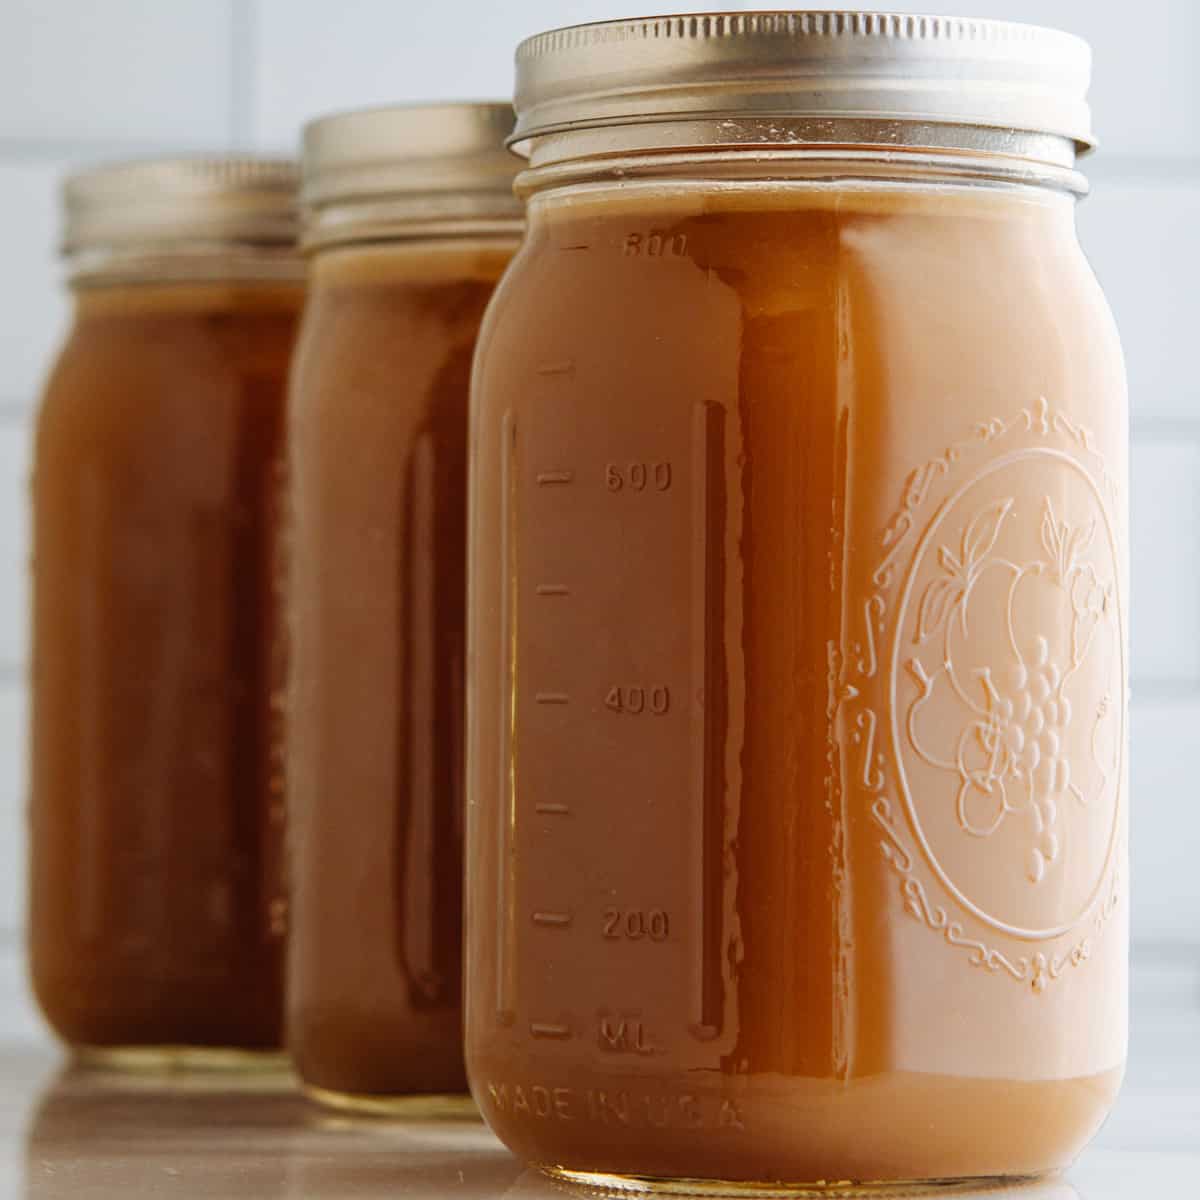
- Once the leeks are frozen solid, quickly transfer them into labeled freezer-safe bags or airtight containers. Remove as much air as possible from the bags or containers before sealing.
By freezing the leeks individually on a baking sheet before transferring them to freezer bags or containers, you prevent them from clumping together, making it easier to portion them out later. Freezing them in flat layers also helps to retain their shape and prevent them from becoming mushy.
It’s important to label the bags or containers with the date of freezing to keep track of their freshness. Freezing leeks in this way ensures that you can easily grab the desired amount for your recipes without having to thaw the entire batch.
Read more: How To Harvest Leek Seeds
Step 5: Packaging and Labeling the Leeks
Properly packaging and labeling the frozen leeks is crucial for easy identification and maintaining their quality during storage. Here’s how to package and label the leeks:
- If using freezer bags, make sure to squeeze out as much air as possible before sealing to prevent freezer burn.
- If using airtight containers, leave a small empty space at the top to allow for expansion during freezing.
- Label each bag or container with the date of freezing and the contents (e.g., “Frozen Leeks”).
- You may consider portioning the leeks into smaller quantities based on your typical usage to avoid thawing more than needed.
- Once labeled, place the bags or containers in a single layer in the freezer to freeze completely.
Packaging the leeks properly helps to maintain their quality and prevents freezer burn. By removing excess air, using airtight containers, and labeling them clearly, you’ll easily be able to identify and use the frozen leeks as needed.
Remember to use freezer-safe bags or containers that are designed to withstand the low temperatures of the freezer. This ensures that the leeks stay fresh and flavorful until you’re ready to use them.
Step 6: Storing the Leeks in the Freezer
Now that your leeks are properly packaged and labeled, it’s time to store them in the freezer. Follow these steps to ensure optimal storage conditions:
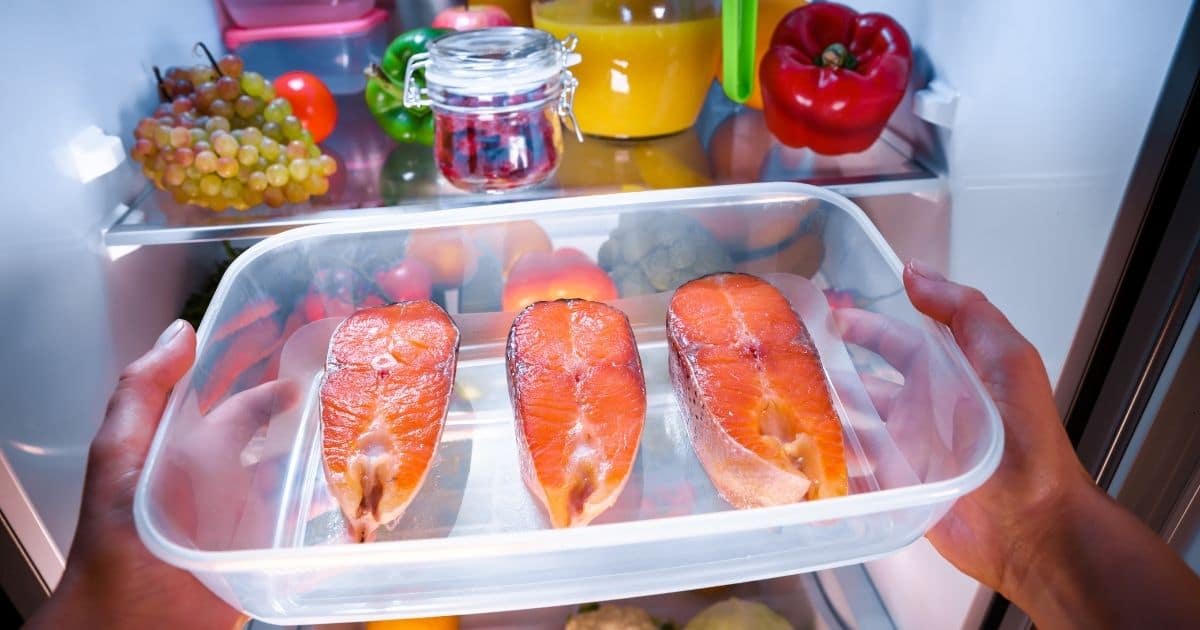
- Place the labeled bags or containers in the coldest area of your freezer, such as the back or bottom shelves.
- Ensure that the freezer temperature is set to 0 degrees Fahrenheit (-18 degrees Celsius) or below to maintain the quality of the leeks.
- Avoid placing other warm or easily perishable items near the leeks, as this can affect their freezing process.
- Keep the leeks away from the freezer door, as frequent opening and closing can cause temperature fluctuations.
- Try to use the frozen leeks within 8-12 months for the best flavor and quality. While they may remain safe to eat beyond that timeframe, their taste and texture may start to deteriorate.
Proper storage is key to preserving the taste, texture, and nutrient content of the frozen leeks. By following these storage guidelines, you can ensure that your leeks stay fresh and ready for use whenever you need them.
When it’s time to use the frozen leeks, simply remove the desired portion from the freezer and thaw them in the refrigerator overnight or use them directly in cooked dishes. Avoid refreezing thawed leeks to maintain their quality.
Conclusion
Congratulations! You’ve learned how to store leeks in the freezer, allowing you to enjoy the fresh flavor and versatility of this wonderful vegetable all year round. By following the step-by-step process of preparing, cleaning, blanching, freezing, packaging, and storing the leeks, you can ensure that they retain their quality and taste for months to come.
Freezing leeks not only extends their shelf life, but it also provides convenience and flexibility in meal preparation. Whether you want to add them to soups, stews, stir-fries, or other dishes, having frozen leeks on hand allows you to enhance the flavors of your recipes with minimal effort.
Remember to label your packages with the date of freezing and contents for easy identification, and store them in the coldest part of your freezer to maintain their freshness. It’s recommended to use the frozen leeks within 8-12 months for the best quality, although they may still be safe to eat beyond that timeframe.
So go ahead and stock up on fresh leeks when they’re in season, prepare them for freezing using the steps outlined in this article, and enjoy the convenience and flavor of having leeks readily available in your freezer. Now, get ready to elevate your culinary creations with the deliciousness of frozen leeks!
Frequently Asked Questions about How To Store Leeks In Freezer
Was this page helpful?
At Storables.com, we guarantee accurate and reliable information. Our content, validated by Expert Board Contributors, is crafted following stringent Editorial Policies. We're committed to providing you with well-researched, expert-backed insights for all your informational needs.


0 thoughts on “How To Store Leeks In Freezer”