
Articles
How To Store Muffins In Freezer
Modified: February 27, 2024
Learn the best tips and tricks for freezing muffins in this helpful article. Find out how to store muffins properly in the freezer to keep them fresh and delicious for longer.
(Many of the links in this article redirect to a specific reviewed product. Your purchase of these products through affiliate links helps to generate commission for Storables.com, at no extra cost. Learn more)
Introduction
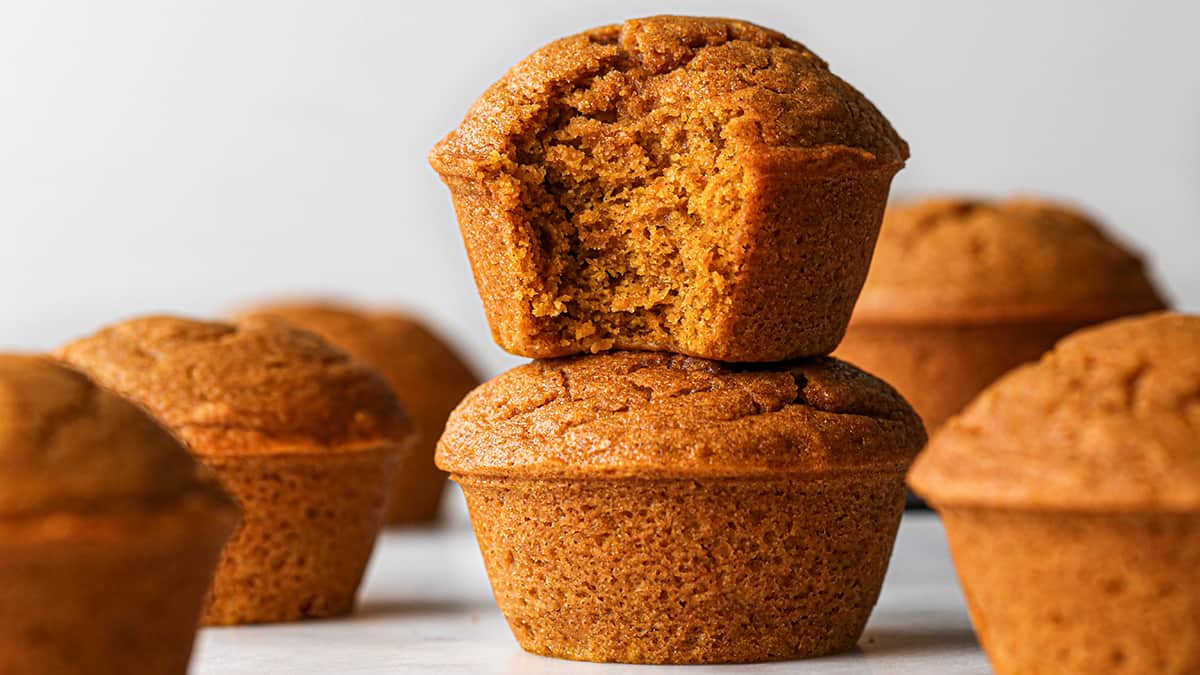
Muffins are a delightful treat that can be enjoyed any time of the day. Whether you bake them at home or buy them from a bakery, muffins can provide a quick and delicious breakfast or snack option. However, if you find yourself with an excess of muffins that you won’t be able to consume before they go stale, freezing them is a great solution.
The process of freezing muffins is not only convenient but also allows you to enjoy freshly baked muffins whenever you desire. By properly storing muffins in the freezer, you can prolong their shelf life and preserve their taste and texture. In this article, we will explore the benefits of freezing muffins and provide you with step-by-step instructions on the best way to store them in the freezer.
So, whether you want to stock up on muffins for busy mornings or have leftovers from a baking session, let’s dive into the world of freezing muffins and discover how to keep them fresh and delicious for longer periods.
Key Takeaways:
- Freezing muffins extends their shelf life, reduces food waste, and provides convenient, cost-effective, and customizable options for enjoying delicious treats at any time.
- Proper preparation, wrapping, storage, and thawing techniques ensure that frozen muffins maintain their taste, texture, and freshness for months, making freezing a practical and worthwhile method.
Read more: How Long Do Muffins Last In The Freezer
Benefits of Freezing Muffins
Freezing muffins comes with numerous benefits that make it a popular storage option for many baking enthusiasts. Here are some of the advantages of freezing muffins:
- Extended Shelf Life: Freezing muffins allows you to extend their shelf life significantly. Instead of consuming them within a few days, you can preserve them for weeks or even months in the freezer without compromising their taste or texture.
- Convenience: Having a stash of frozen muffins in your freezer provides convenience in terms of meal planning and quick breakfast options. You can simply thaw a muffin or two as needed and enjoy a freshly baked treat without the effort of baking from scratch.
- Reduced Food Waste: Freezing muffins helps reduce food waste, especially when you have a surplus or leftovers that you won’t be able to consume in time. Instead of letting them go stale or throwing them away, freezing allows you to save them for later consumption.
- Cost-Effective: If you love homemade muffins, freezing is a cost-effective solution. You can bake a large batch of muffins at once and freeze the extras, saving money on buying store-bought muffins or frequent baking ingredients.
- Preserved Taste and Texture: When frozen properly, muffins retain their taste and texture remarkably well. The freezer helps to slow down the aging process, preserving the freshness and flavor of the muffins until you’re ready to enjoy them.
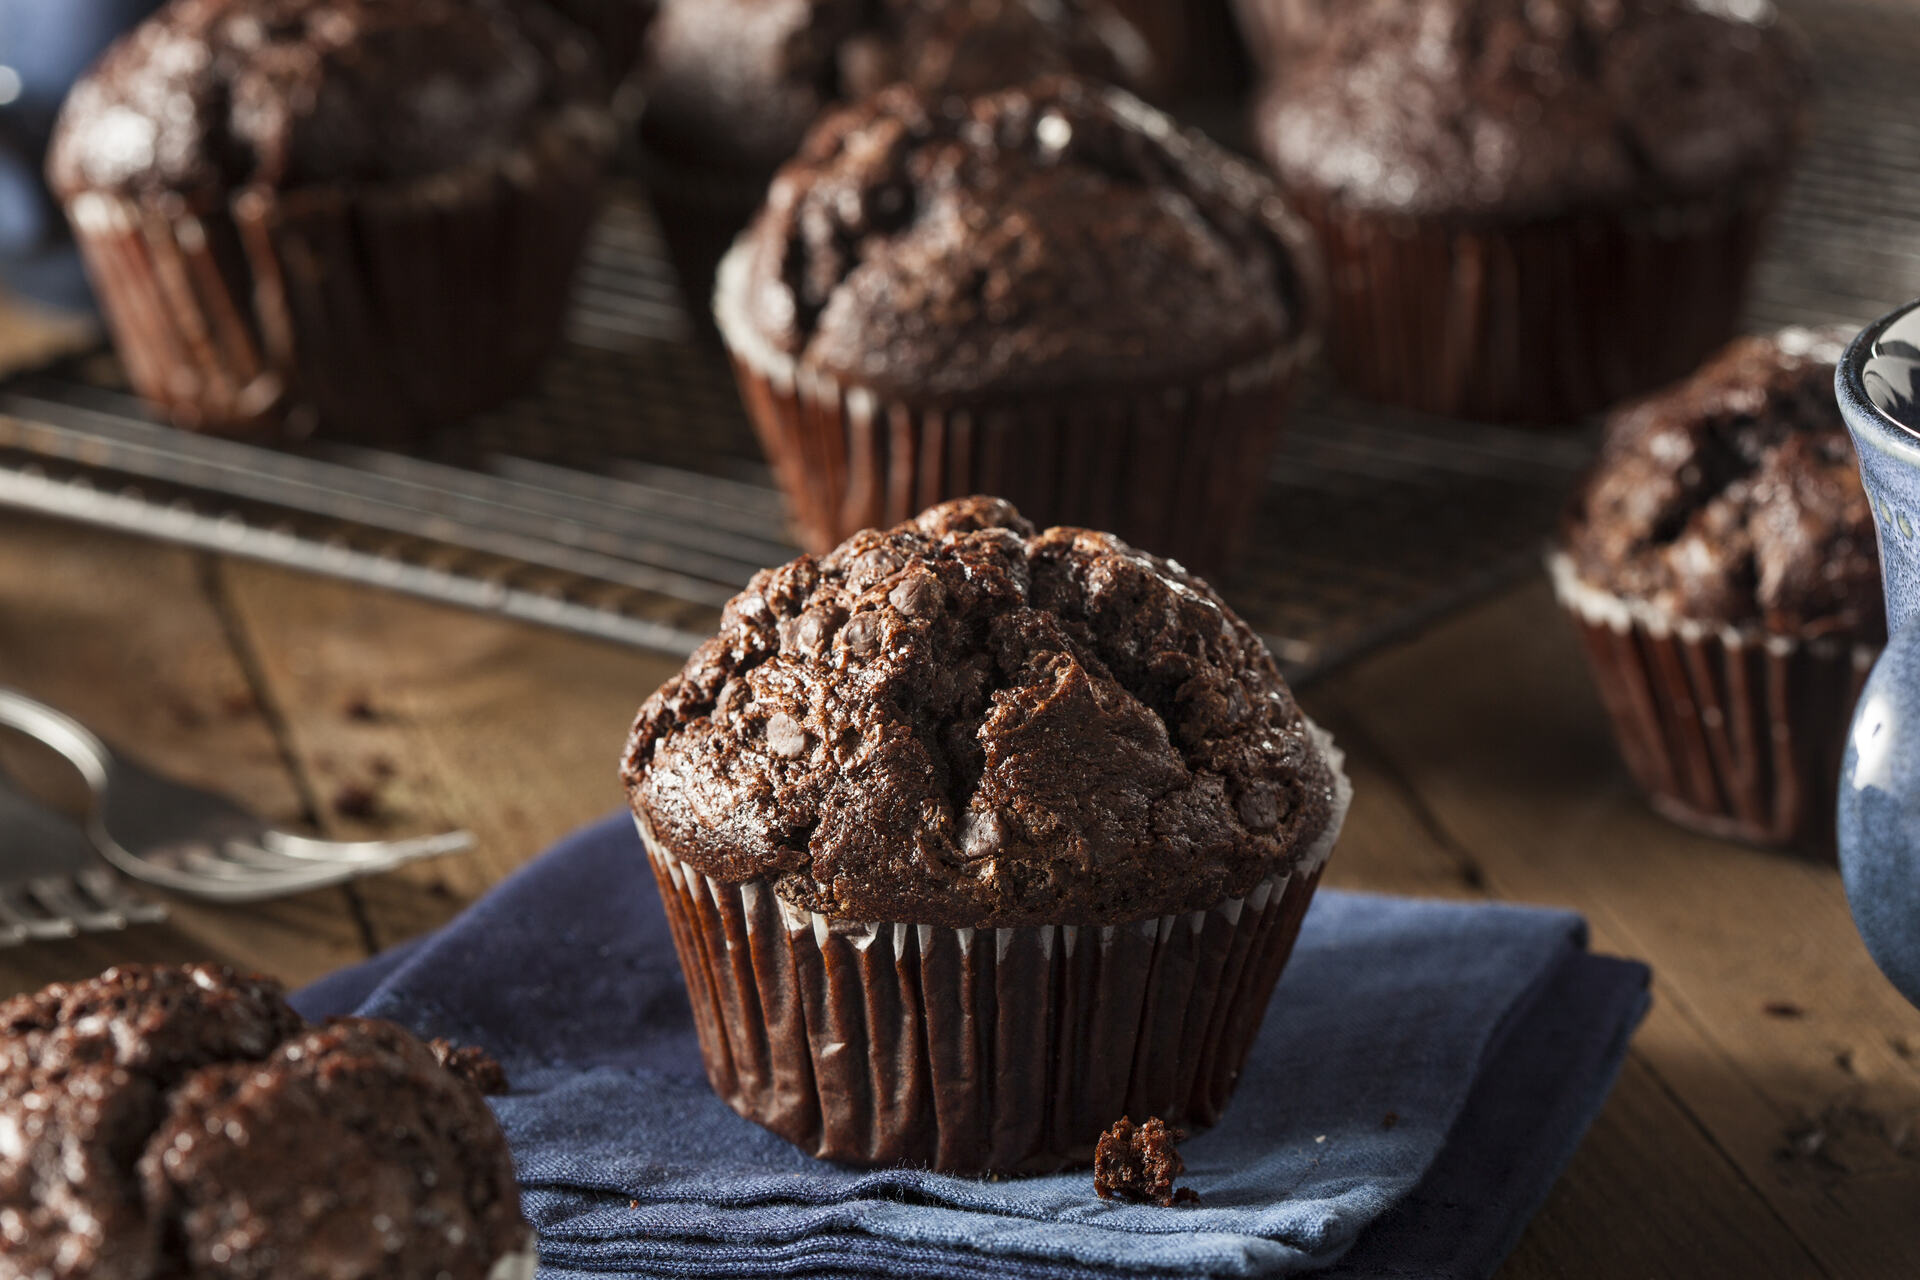
- Customizable Options: Freezing muffins opens up a world of customizable options. You can experiment with different flavors and varieties, freeze them individually or in batches, and have a wide range of muffin choices readily available at your fingertips.
With these benefits in mind, it’s clear that freezing muffins is a practical and worthwhile method to ensure you always have delicious treats on hand. Now that we’ve explored the advantages, let’s move on to the next steps, including preparation and the actual freezing process.
Preparation Before Freezing
Before you start freezing your muffins, it’s important to take some preparatory steps to ensure optimal results. Here’s what you need to do:
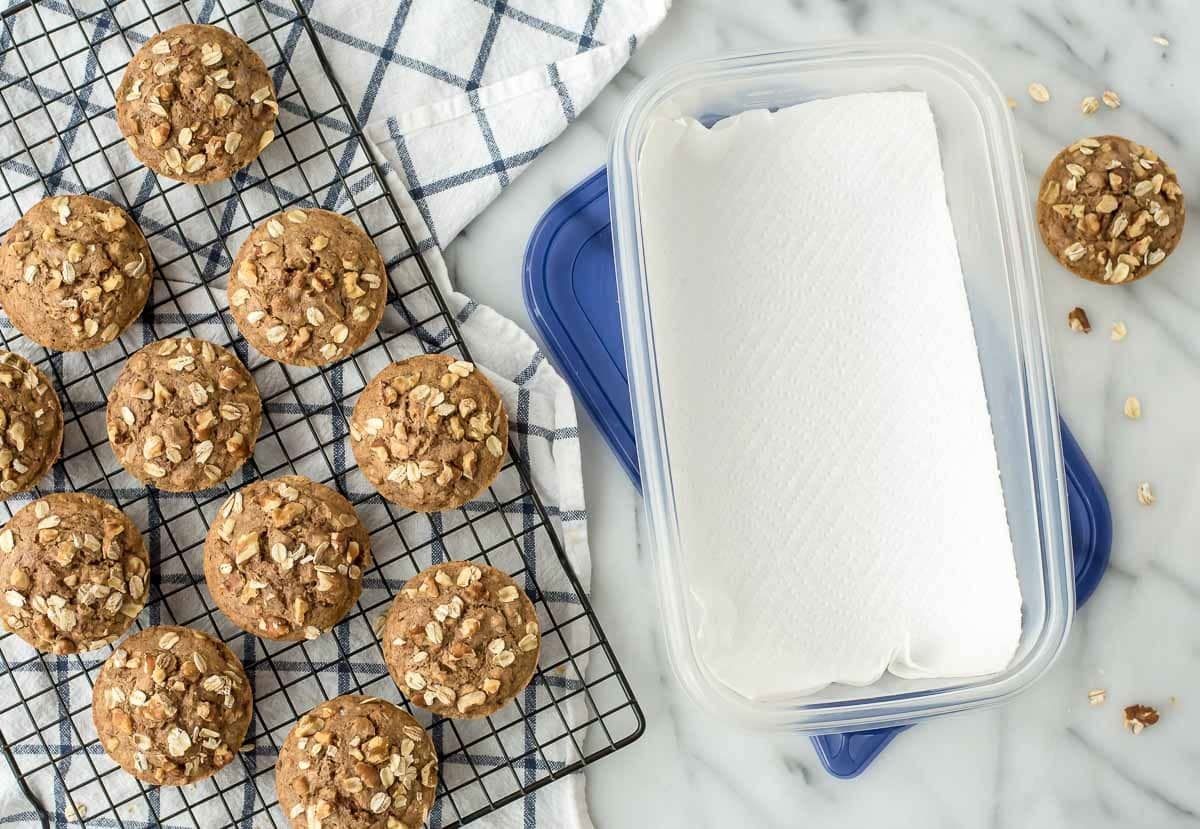
- Cool the Muffins: Allow your freshly baked muffins to cool completely on a wire rack. This step is crucial to prevent condensation and moisture buildup during the freezing process.
- Wrap Individually: Wrap each muffin individually in plastic wrap or aluminum foil. This step helps to maintain the freshness and prevent the muffins from sticking together when frozen.
- Label and Date: It’s essential to label each wrapped muffin with its flavor and the date it was baked. This labeling practice ensures easy identification and helps you keep track of freshness.
- Choose the Right Packaging: If you prefer to use reusable packaging, opt for airtight containers or freezer-safe bags. These options provide better protection against freezer burn and maintain the quality of the muffins during storage.
- Consider Flash Freezing: If you’re freezing a large batch of muffins, flash freezing can be helpful. To do this, place the wrapped muffins on a baking sheet and put them in the freezer for an hour or so until they are partially frozen. This step prevents the muffins from sticking together and allows you to easily remove individual muffins when needed.
By following these preparation steps, you can ensure that your muffins are properly protected and maintain their taste and texture throughout the freezing process. Now that you’re prepared, let’s move on to the actual freezing process.
Freezing Muffins
Now that your muffins are prepared and ready for freezing, it’s time to start the process. Follow these simple steps to freeze your muffins effectively:
- Select Freezer-Safe Containers: Choose freezer-safe containers or bags that are specifically designed to withstand low temperatures. These containers should be airtight to prevent freezer burn and maintain the quality of the muffins.
- Place Muffins in Containers: Carefully place the individually wrapped muffins into the freezer-safe containers or bags. Make sure to arrange them in a single layer to prevent them from sticking together.
- Remove Excess Air: If you’re using bags, squeeze out as much air as possible before sealing them. This step helps to reduce the risk of freezer burn and maintains the freshness of the muffins.
- Seal Tightly: Ensure that all containers or bags are tightly sealed to maintain a proper environment for freezing. This will prevent any air or moisture from entering and affecting the muffins’ quality.
- Label and Date: Remember to label the containers or bags with the muffin flavor and the date of freezing. This labeling practice will make it easier for you to identify the muffins and keep track of their freshness.
- Place in the Freezer: Carefully place the containers or bags in the freezer, ensuring they are placed on a flat surface to maintain the shape of the muffins.
It’s worth noting that freezing muffins at their peak freshness is crucial to preserve their taste and texture. Ideally, freeze the muffins within 24 hours of baking to ensure the best results. By following these steps, you can store your muffins in the freezer for an extended period without compromising their quality.
Now that your muffins are frozen and safely stored, let’s move on to the next section to learn how to wrap and store them in the freezer effectively.
Wrapping Muffins
Properly wrapping your muffins before freezing is essential to protect them from freezer burn and maintain their taste and texture. Here’s how to wrap your muffins effectively:
- Individually Wrap: Wrap each muffin individually in plastic wrap or aluminum foil. This step prevents moisture from seeping in and helps to preserve the freshness of the muffins.
- Double Wrapping: For an extra layer of protection, consider double wrapping your muffins. After wrapping them individually, place each wrapped muffin in a second layer of plastic wrap or foil.
- Sealing Properly: When wrapping the muffins, ensure that all edges are sealed tightly to prevent air or moisture from entering. This will help maintain the quality of the muffins during freezing.
- Consider Muffin Liners: If you prefer to use muffin liners, you can place each muffin in a liner before wrapping them individually. This method can make it easier to handle and store the muffins.
- Labeling: It’s important to label the wrapped muffins with their flavor and the date they were baked. This labeling practice will help you easily identify the muffins and ensure you consume them within the recommended time.
By following these wrapping techniques, you can protect your muffins from freezer burn and maintain their taste and texture until you’re ready to thaw and enjoy them. Now that your muffins are properly wrapped, let’s move on to the next section to learn how to store them in the freezer effectively.
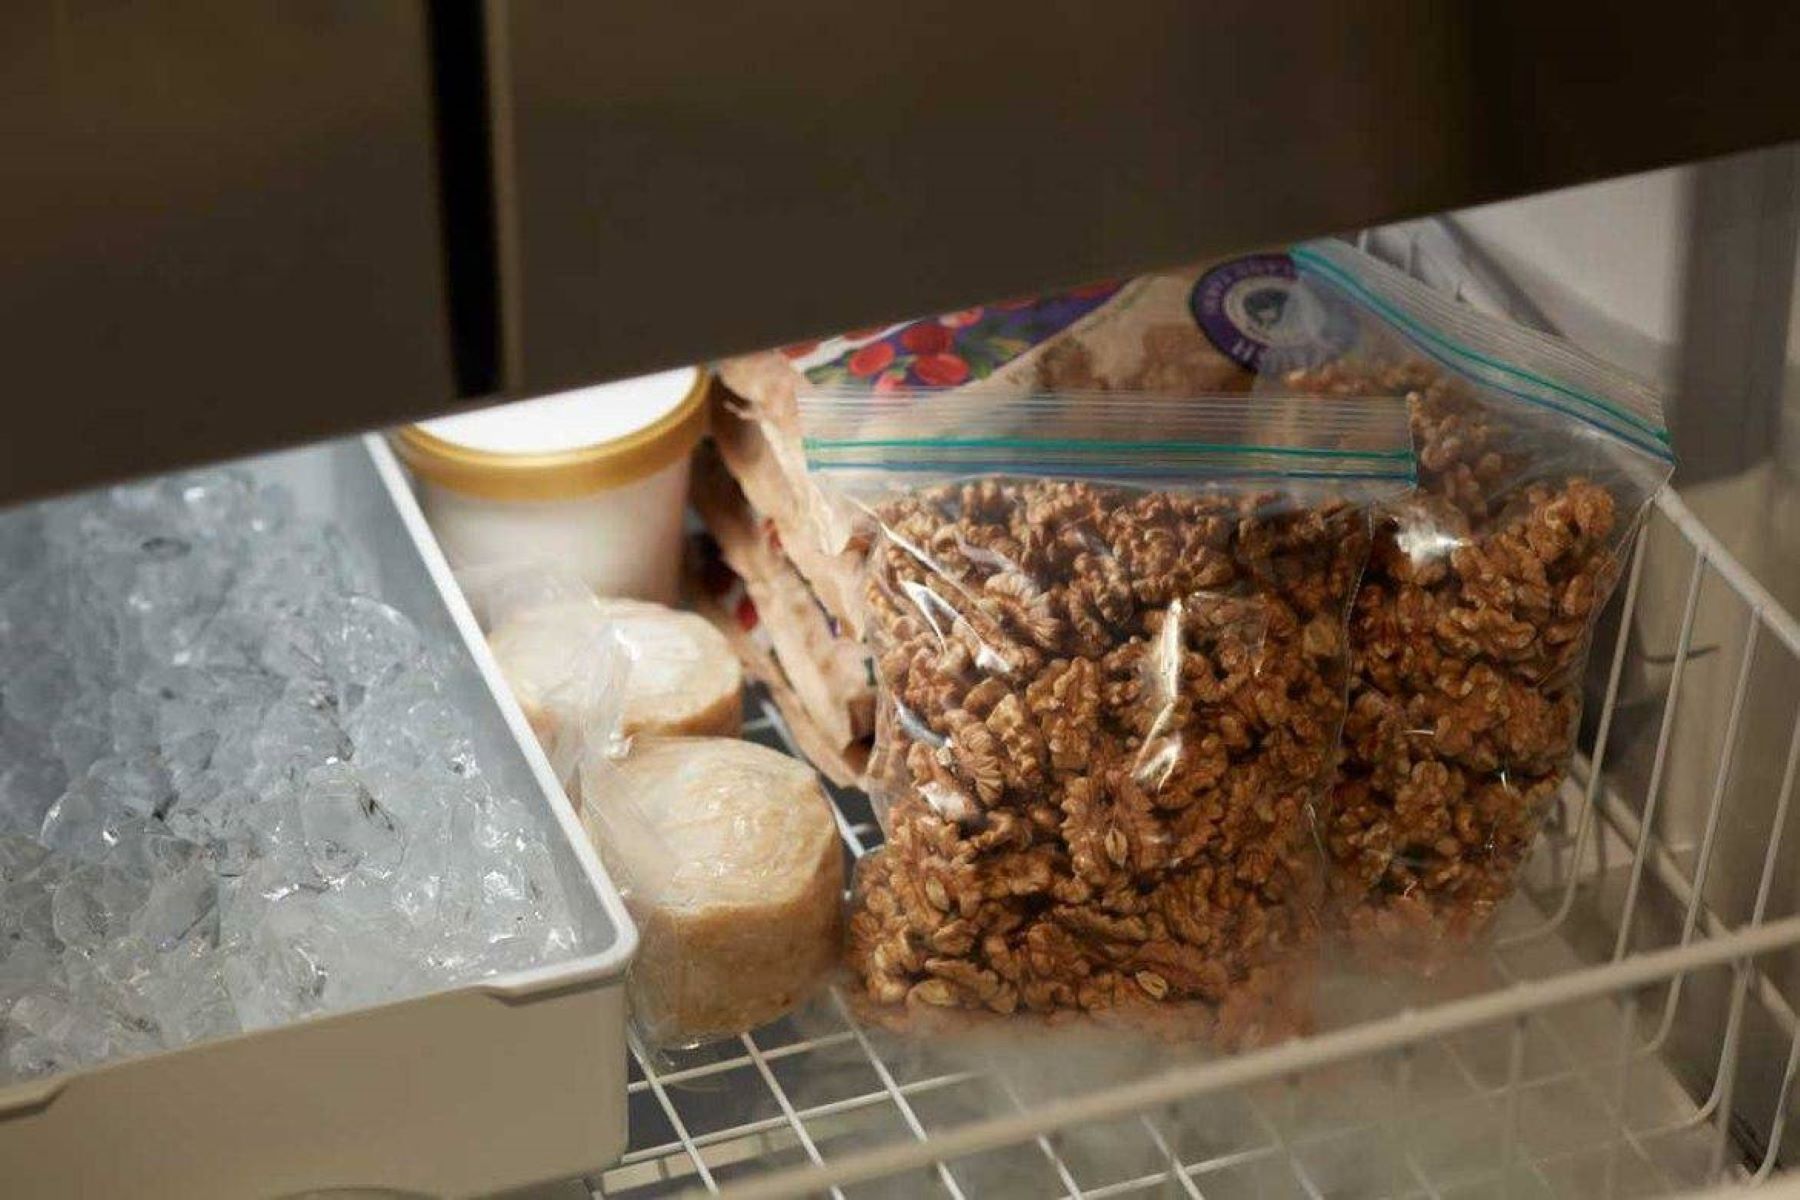
To store muffins in the freezer, first let them cool completely. Then, wrap them individually in plastic wrap and place them in a resealable plastic bag. Squeeze out any excess air before sealing the bag to prevent freezer burn. This will help keep the muffins fresh and moist when you’re ready to enjoy them.
Read more: How To Store Blueberry Muffins
Storing Muffins in the Freezer
Now that your muffins are wrapped and ready for freezing, it’s time to store them in the freezer. Follow these steps to ensure proper storage:
- Choose a Flat Surface: Select a flat surface in your freezer where you can place the muffins. This will help prevent any misshaping or damage to the muffins during freezing.
- Organize in a Single Layer: Place the wrapped muffins in a single layer on the flat surface. Avoid stacking them on top of each other, as this can lead to deformation or sticking together.
- Avoid Overcrowding: Ensure there is enough space between the muffins to allow air circulation. Overcrowding can prevent the muffins from freezing properly and may affect their quality.
- Do Not Disturb: Once the muffins are in the freezer, avoid moving or disturbing them unnecessarily. Keeping them in a stable position will help maintain their shape and quality.
- Monitor Freezer Temperature: It’s crucial to maintain a consistent freezer temperature. Make sure the freezer is set at or below 0°F (-18°C) to ensure optimal freezing and preserve the muffins for an extended period.
- Regularly Rotate Muffins: If you have multiple batches of muffins in the freezer, remember to rotate them periodically. Using the “first in, first out” method will ensure you consume the oldest muffins first, maintaining their freshness.
- Keep Away from Strong Odors: To prevent any transfer of odors, store your muffins away from strong-smelling foods in the freezer. You want to preserve the flavor and aroma of the muffins without any unwanted influences.
By following these steps, you can effectively store your muffins in the freezer and maintain their quality for an extended period. Now that your muffins are safely stored, let’s move on to the next section to learn how to thaw and reheat them when you’re ready to enjoy!
Thawing and Reheating Muffins
When you’re ready to enjoy your frozen muffins, it’s important to properly thaw and reheat them to regain their freshness and deliciousness. Here’s how you can do it:
- Thawing Method 1: Room Temperature: Remove the desired number of muffins from the freezer and place them on a plate or countertop at room temperature. Allow them to thaw for a few hours or until they reach room temperature. This method is suitable for muffins that will be consumed shortly after thawing.
- Thawing Method 2: Microwave: If you’re short on time, you can use the microwave to thaw your muffins. Wrap the frozen muffin in a damp paper towel and microwave it on the defrost setting in short intervals. Check and rotate the muffin frequently to ensure even thawing. Be cautious not to overheat the muffin, as it can become dry or rubbery.
- Thawing Method 3: Oven: For a more thorough thawing method, preheat your oven to 350°F (175°C) and place the frozen muffins on a baking sheet lined with parchment paper. Bake them for 10-15 minutes or until they are fully thawed and warmed through. This method provides a freshly baked texture and flavor.
- Reheating: Once your muffins are thawed, you can enjoy them as is or reheat them to enhance their taste. Place the thawed muffins in a preheated oven at 350°F (175°C) for 5-10 minutes. This will restore their warmth and give them a freshly baked flavor.
- Enjoy: Once your muffins are thawed and reheated, they are ready to be enjoyed! Serve them as a delicious breakfast, snack, or dessert option. You can enjoy them plain or consider adding a dollop of butter, a drizzle of honey or jam to enhance the flavors.
By following these thawing and reheating methods, you can enjoy your frozen muffins as if they were freshly baked. Now that you know how to thaw and reheat your muffins, let’s move on to some additional tips for proper muffin storage.
Tips for Proper Muffin Storage
To ensure that your muffins stay fresh and delicious during storage, here are some additional tips to keep in mind:
- Use Quality Ingredients: Start with high-quality ingredients when preparing your muffins. Fresh ingredients and good baking practices contribute to the overall flavor and texture, even after freezing.
- Choose the Right Muffin Tin: When baking muffins, opt for non-stick or silicone muffin tins. This will make it easier to remove the muffins after baking and prevent them from sticking to the pan.
- Avoid Overbaking: Be mindful of the baking time and make sure not to overbake the muffins. Overbaking can result in dry or crumbly muffins that may not freeze or thaw well.
- Allow Muffins to Cool Completely: Before wrapping and freezing, ensure that your muffins are completely cooled. This prevents condensation and moisture buildup, which can affect the texture and quality of the muffins.
- Smaller Portions: Consider freezing muffins in smaller portions. This allows you to thaw and enjoy only what you need, avoiding unnecessary waste.
- Use Freezer-Safe Labels: Invest in freezer-safe labels or markers to ensure clear and visible labeling of your frozen muffins. This will help you easily identify the flavor and date of freezing.
- Frequent Rotation: If you have multiple batches of muffins in the freezer, make sure to rotate them regularly. This practice ensures that you consume the older ones first and maintain the overall quality of your muffin stock.
- Keep a Muffin Inventory: Consider keeping a list or inventory of the muffins you have frozen, along with their flavors and freezing dates. This helps you keep track of what you have on hand and plan your consumption accordingly.
- Storage Time Limit: While properly frozen muffins can last for several months, it’s best to consume them within 3-4 months for optimal taste and texture.
By following these tips, you can ensure that your muffins stay fresh, flavorful, and enjoyable even after freezing. Now that you’re equipped with the knowledge of proper muffin storage, let’s wrap up.
Conclusion
Freezing muffins is a convenient and practical solution to extend their shelf life and enjoy them whenever you desire. By following the proper steps, you can preserve the taste, texture, and freshness of your muffins, ensuring that they are just as delicious as when they were first baked.
From the benefits of freezing muffins to the preparation, wrapping, storage, and thawing processes, we’ve covered all the essential aspects of storing muffins in the freezer. By taking the time to wrap them individually, label them, and store them properly in freezer-safe containers, you can enjoy flavorful muffins for months to come.
Remember to thaw and reheat your muffins using methods that best suit your preferences and time constraints. Whether you choose to thaw them at room temperature, use the microwave, or bake them in the oven, the goal is to restore that freshly baked taste and warmth.
With the proper techniques and tips in mind, you can easily incorporate freezing into your muffin-baking routine. Not only does freezing muffins reduce food waste and allow for convenient meal planning, but it also saves you time and money.
So the next time you find yourself with too many muffins to consume, don’t hesitate to freeze them. Whether it’s homemade muffins or store-bought favorites, freezing is a fantastic way to preserve their deliciousness and enjoy them at your own pace.
Now that you’re equipped with the knowledge of how to store muffins in the freezer, go ahead and indulge in these delightful treats without worrying about them going stale. Happy baking and freezing!
Frequently Asked Questions about How To Store Muffins In Freezer
Was this page helpful?
At Storables.com, we guarantee accurate and reliable information. Our content, validated by Expert Board Contributors, is crafted following stringent Editorial Policies. We're committed to providing you with well-researched, expert-backed insights for all your informational needs.


0 thoughts on “How To Store Muffins In Freezer”