Articles
How To Store Mint Leaves In Freezer
Modified: March 19, 2024
Learn how to store mint leaves in the freezer with these helpful articles. Find out the best techniques to preserve the freshness and flavor of your mint for future use.
(Many of the links in this article redirect to a specific reviewed product. Your purchase of these products through affiliate links helps to generate commission for Storables.com, at no extra cost. Learn more)
Introduction
Mint leaves are a versatile herb used in various culinary applications, from cocktails and desserts to savory dishes and teas. They add a refreshing and aromatic touch to any recipe. However, fresh mint leaves can wilt and lose their flavor quickly if not stored properly. That’s where the freezer comes in handy!
Freezing mint leaves is a great way to preserve their vibrant green color, distinct flavor, and aroma for an extended period. By freezing mint leaves, you can enjoy the taste of summer all year round.
In this article, we will guide you through the process of storing mint leaves in the freezer so that you can have a readily available stash of this delightful herb at your fingertips.
Key Takeaways:
- Preserve the vibrant flavor and aroma of mint leaves by freezing them, ensuring convenient access and reducing waste while adding a fresh twist to your culinary creations.
- Harvest, wash, dry, and freeze mint leaves to extend their shelf life, retain their essential oils, and enjoy their versatile usage in various recipes throughout the year.
Read more: How To Store Fresh Mint Leaves In Freezer
Why store mint leaves in the freezer?
Before we dive into the steps of freezing mint leaves, let’s explore why it’s a preferred method of preservation:
- Longer shelf life: Freezing mint leaves helps them retain their flavor and freshness for several months. This way, you can enjoy the taste of freshly picked mint even during the off-season.
- Convenient access: Having frozen mint leaves allows you to add a burst of flavor to your recipes at any time, without the need for a trip to the grocery store.
- Versatility: Frozen mint leaves can be used in a wide range of recipes, including beverages, sauces, dressings, and even desserts.
- Reduced waste: By freezing excess mint leaves, you can prevent them from spoiling and going to waste.
Now that you understand the benefits of freezing mint leaves, let’s move on to the step-by-step process of storing them in the freezer.
Key Takeaways:
- Preserve the vibrant flavor and aroma of mint leaves by freezing them, ensuring convenient access and reducing waste while adding a fresh twist to your culinary creations.
- Harvest, wash, dry, and freeze mint leaves to extend their shelf life, retain their essential oils, and enjoy their versatile usage in various recipes throughout the year.
Read more: How To Store Fresh Mint Leaves In Freezer
Why store mint leaves in the freezer?
Storing mint leaves in the freezer is an excellent way to preserve their freshness, flavor, and aroma for an extended period. Here are a few reasons why you should consider freezing your mint leaves:
- Extended Shelf Life: Mint leaves are delicate and tend to wilt and lose their freshness quickly. By freezing them, you can extend their shelf life and ensure they stay vibrant and flavorful for months. This is particularly useful if you have an abundant harvest of mint or want to stock up for future use.
- Convenience: Having a stash of frozen mint leaves in your freezer provides convenience and saves you time. Whenever you need mint for a recipe, you won’t have to worry about running to the store or dealing with wilted leaves. Simply grab a handful from your freezer, and you’re good to go. It’s a hassle-free way to enjoy the taste of fresh mint year-round.
- Retains Flavor and Aroma: Freezing mint leaves helps preserve their essential oils, which are responsible for their distinct flavor and aroma. When stored properly, frozen mint leaves retain their refreshing and minty taste. Whether you’re making a mojito, infusing water, or adding mint to your savory dishes, you can be confident that the frozen leaves will impart the same delightful flavors as fresh ones.
- Versatile Usage: Frozen mint leaves can be used in various recipes, just like fresh ones. Whether you’re making mint tea, adding it to your smoothies, or incorporating it into your cooking, the frozen leaves will provide the same fresh taste and aromatic essence. They can also be used as garnishes for desserts, cocktails, or salads, enhancing the presentation and flavor of your dishes.
- Economical and Sustainable: Freezing mint leaves is a great way to reduce waste. If you have an abundance of mint leaves and can’t use them all immediately, freezing is an excellent option to preserve them for longer. It allows you to enjoy the benefits of this versatile herb without letting any go to waste.
Now that you understand the advantages of storing mint leaves in the freezer, let’s move on to the step-by-step process of freezing them.
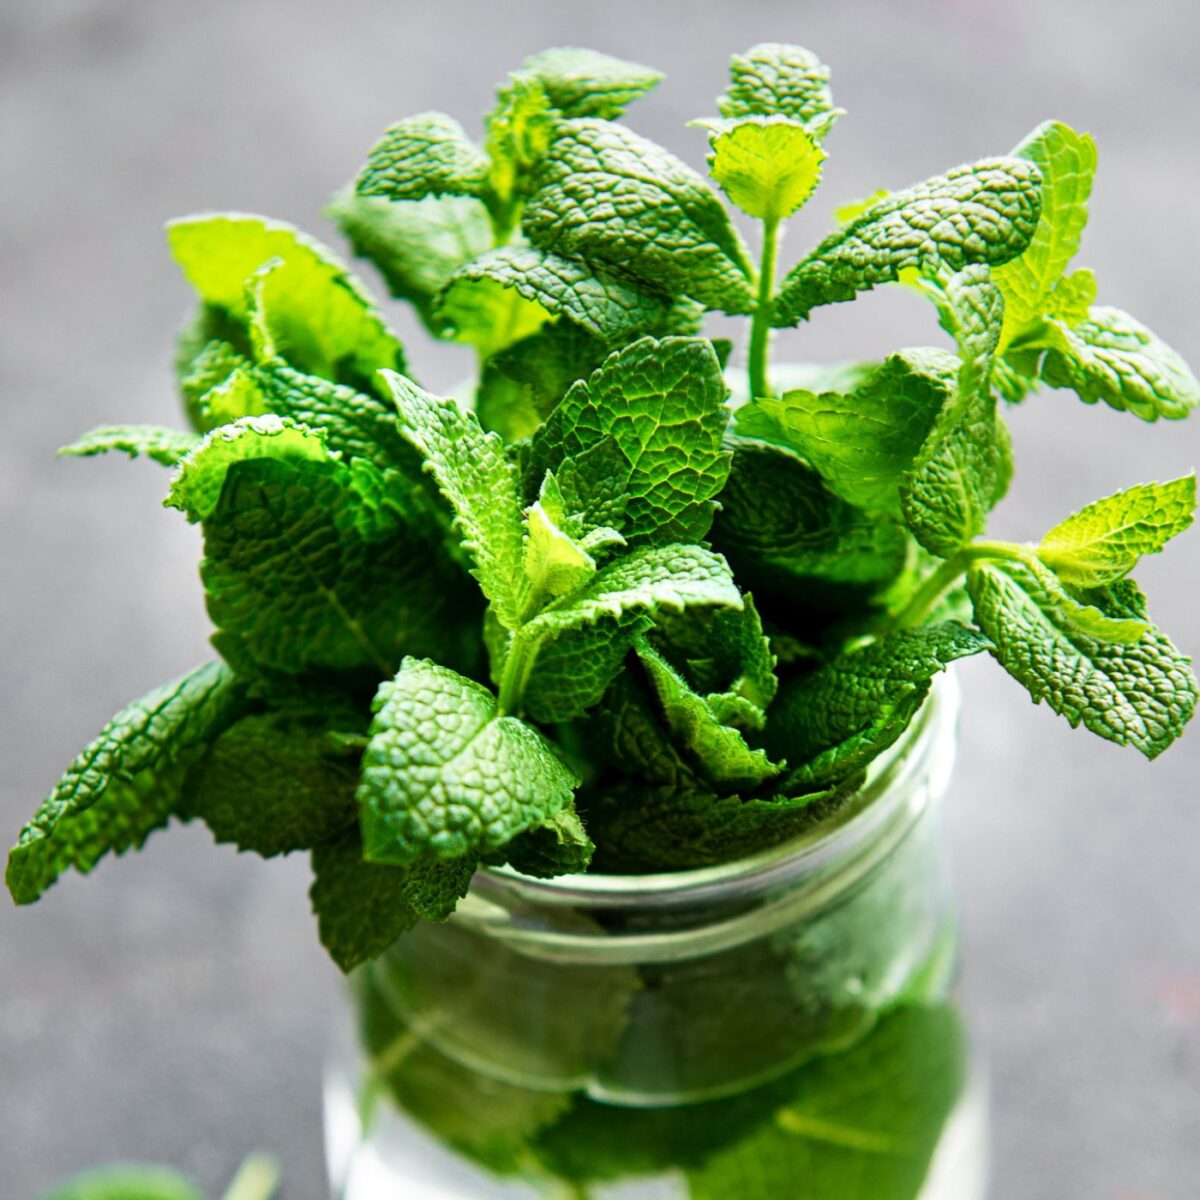
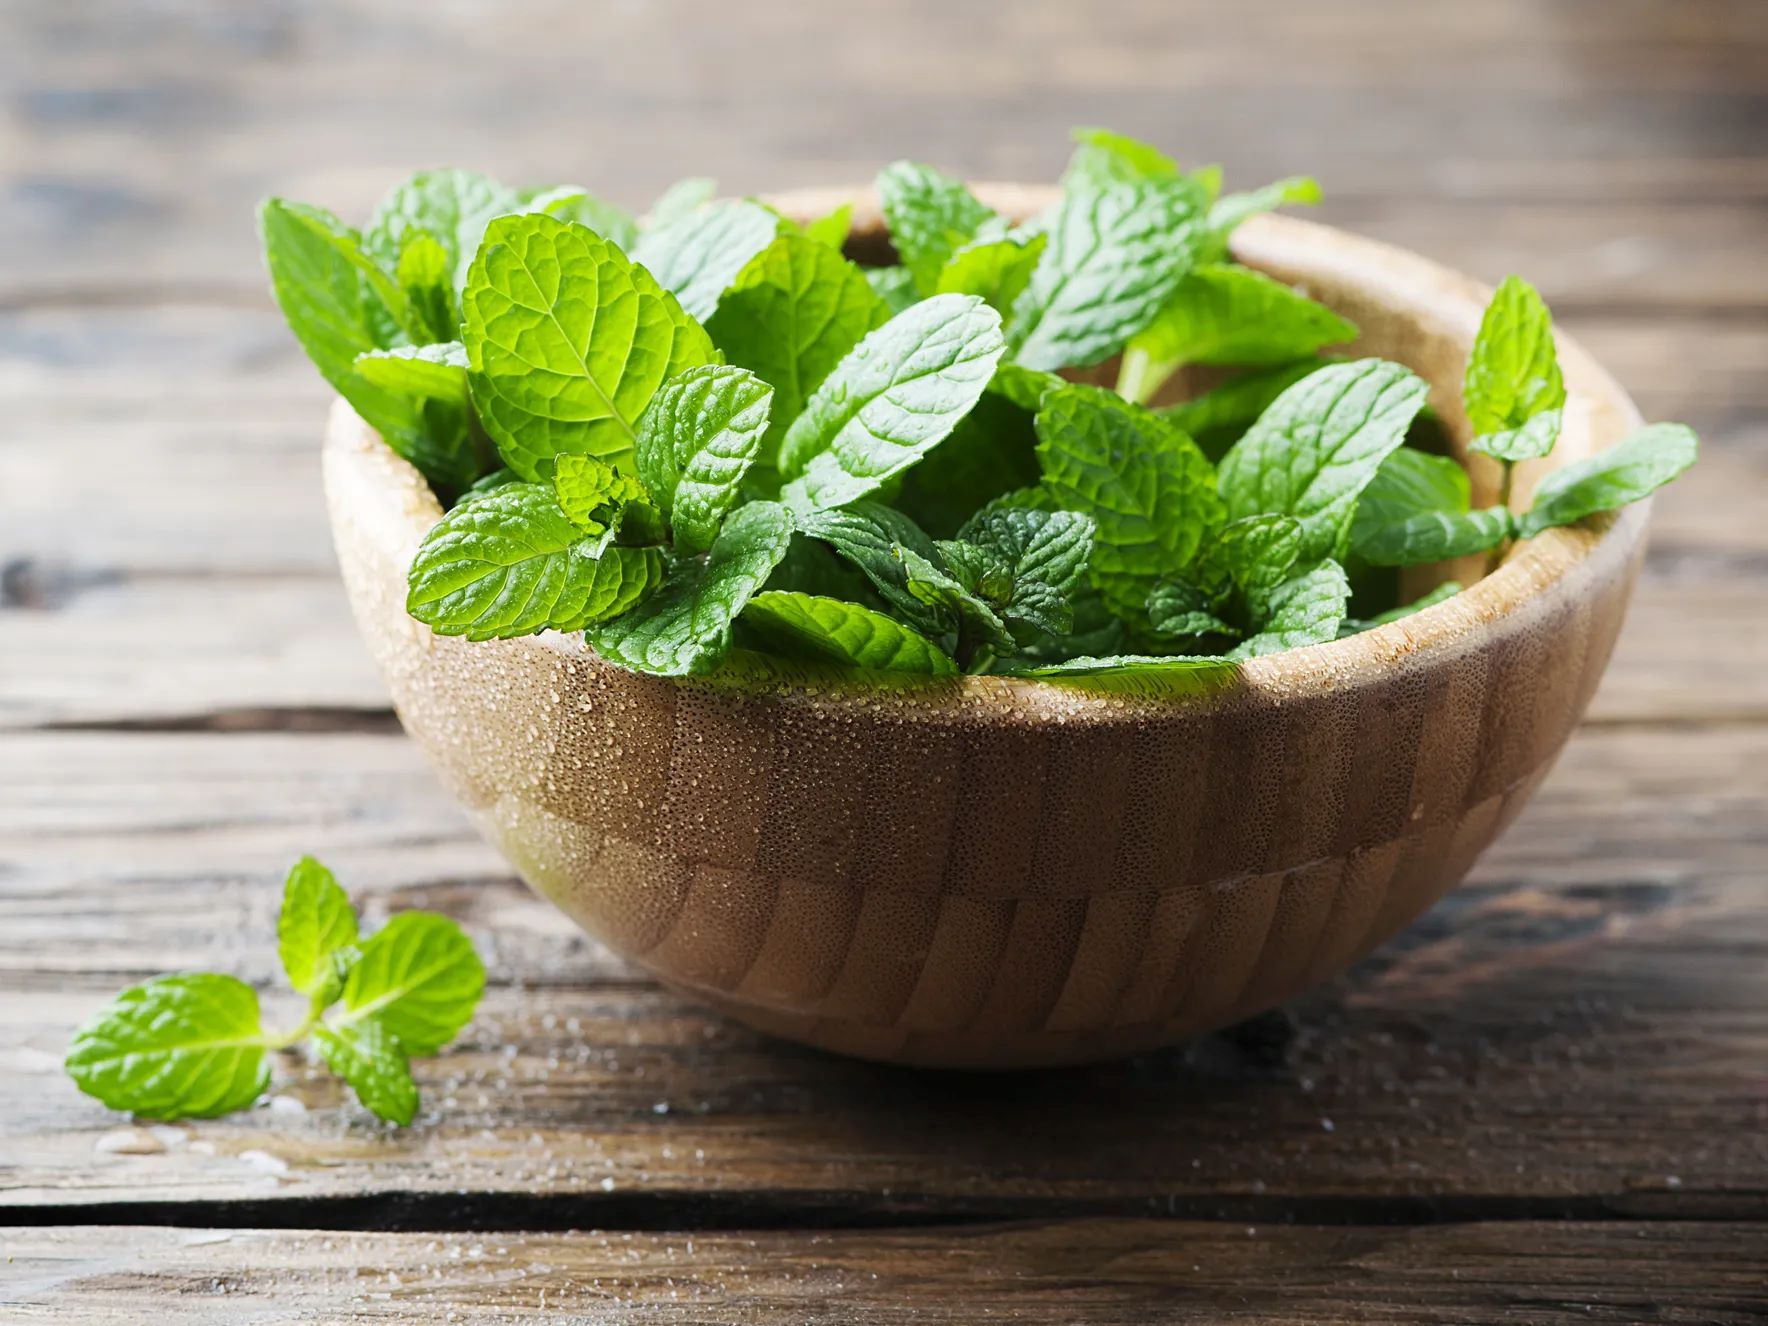
Step 1: Harvesting Mint Leaves
The first step in storing mint leaves in the freezer is to harvest them from your mint plant. Here’s how to do it:
- Choose the right time: Mint leaves are best harvested in the morning when the essential oils are at their peak. The leaves are most flavorful and aromatic during this time.
- Inspect the plant: Before harvesting, carefully inspect your mint plant for any signs of pests or diseases. Remove any damaged or discolored leaves to ensure you only freeze the best-quality leaves.
- Use sharp scissors or garden shears: When cutting mint leaves, it’s essential to use sharp scissors or garden shears to ensure clean and precise cuts. Avoid tearing or crushing the leaves, as this can lead to flavor loss.
- Choose mature leaves: Select mature leaves that are fully grown and vibrant green in color. These leaves have the most flavor and aroma.
- Harvest selectively: To promote the growth and health of your mint plant, avoid harvesting all the leaves from a single stem. Instead, pluck a few leaves from each plant to allow for continued growth and regrowth.
Remember, harvesting mint leaves is a continuous process throughout the growing season. By regularly picking mature leaves, you encourage the plant to produce more foliage and maintain its health.
Now that you have harvested the fresh mint leaves, it’s time to move on to the next step: washing them to remove any dirt or impurities.
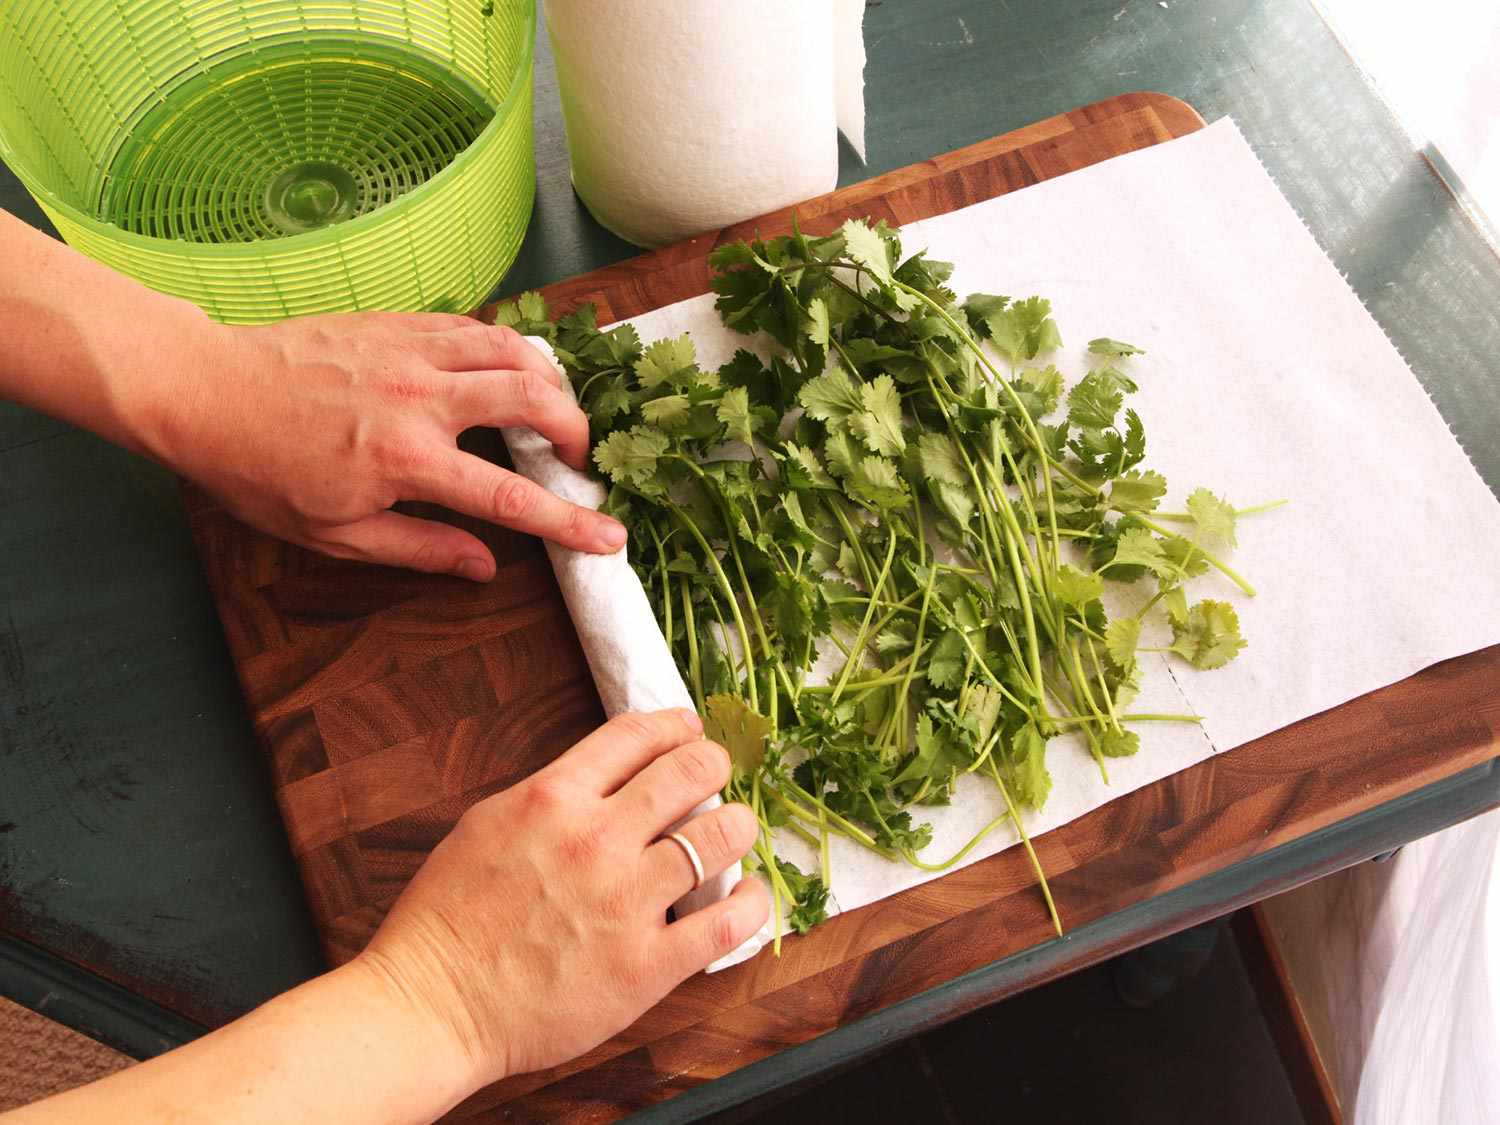
Step 2: Washing the Mint Leaves
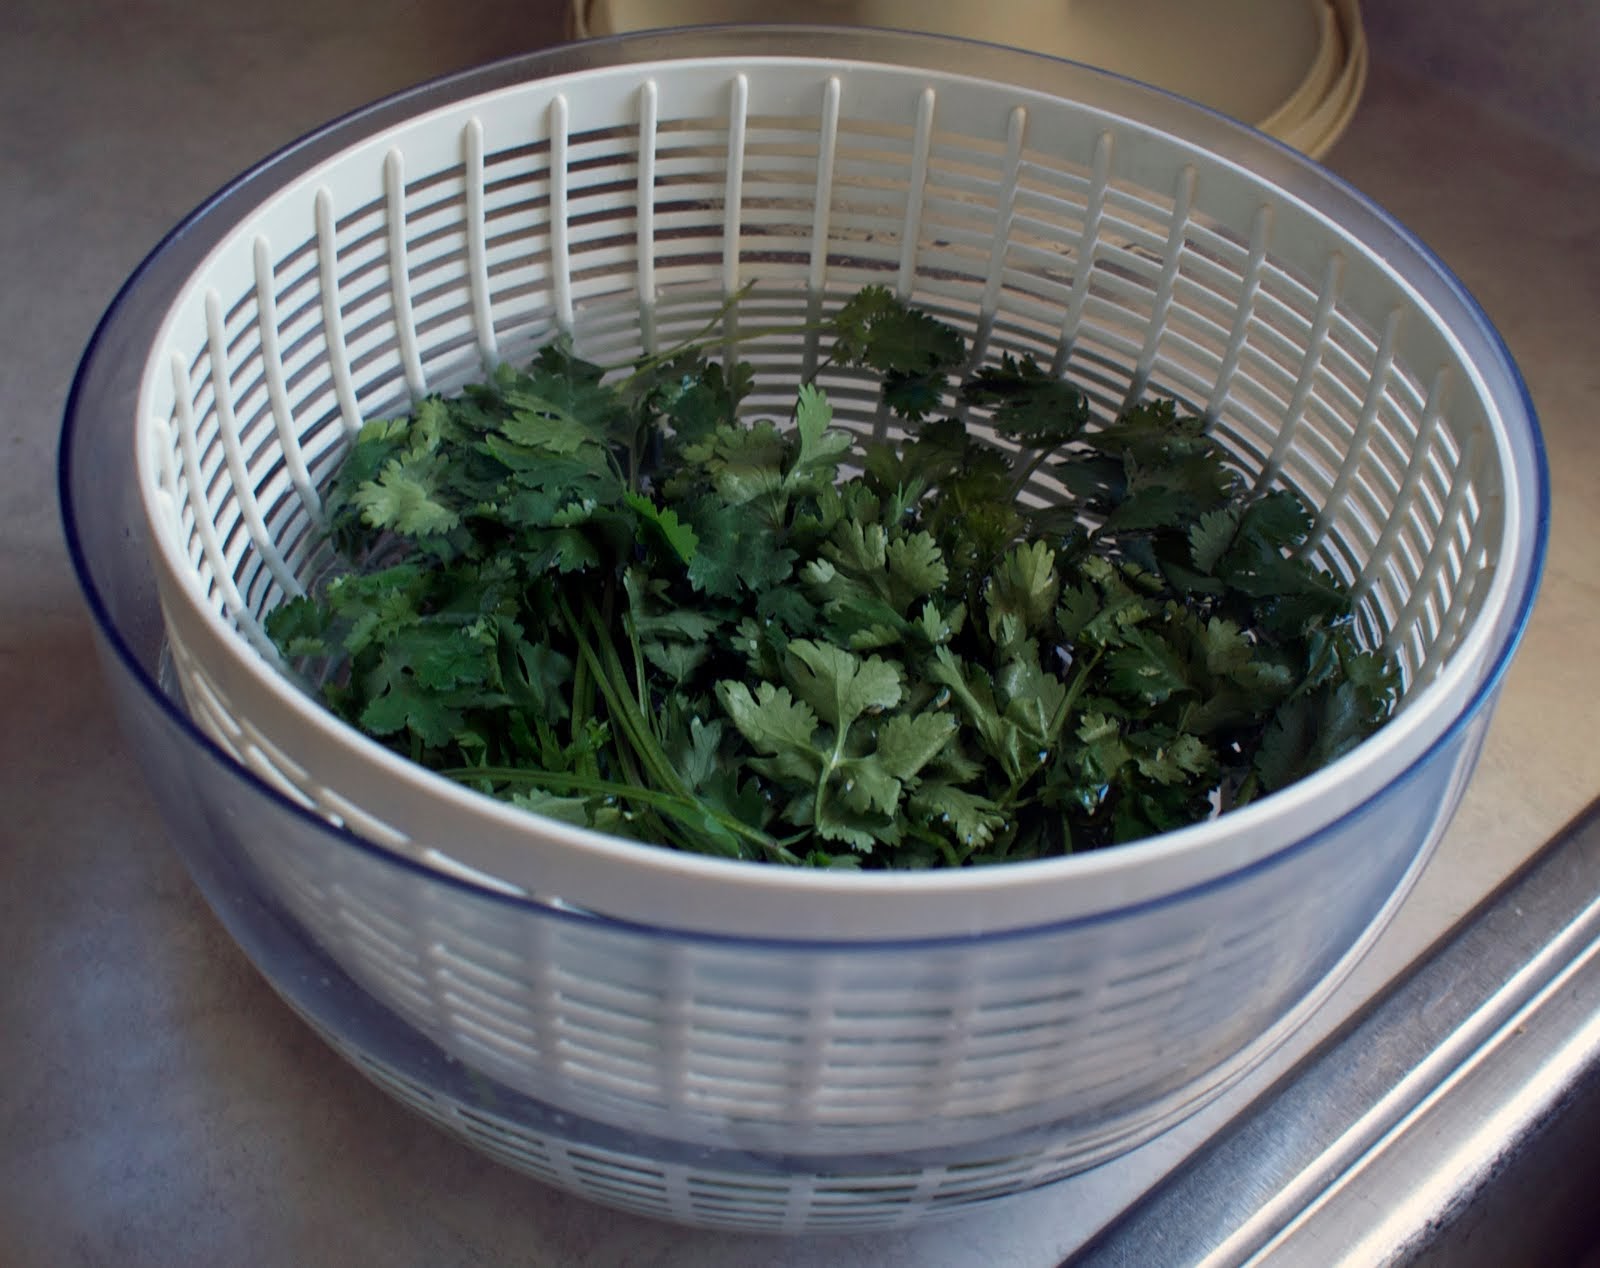
After harvesting the mint leaves, it’s essential to wash them thoroughly to remove any dirt, dust, or potential pests. Here’s a step-by-step guide on how to wash mint leaves:
- Separate the leaves: Start by carefully separating the mint leaves from the stems. Discard any damaged or discolored leaves.
- Rinse with cold water: Place the mint leaves in a colander and rinse them under cold running water. Gently rub them between your fingers to remove any dirt or debris that may be clinging to the leaves.
- Inspect for pests: While washing, keep an eye out for any pests that may have hitched a ride on your mint leaves. Remove and discard any insects you come across.
- Optional: Soak in a vinegar solution: If you are concerned about bacteria or want to give the leaves an extra thorough clean, you can soak them in a vinegar solution. Fill a bowl with water and add a splash of white vinegar. Submerge the mint leaves in the solution for a few minutes, then rinse them again with cold water.
- Pat dry: Gently pat the washed mint leaves with a clean kitchen towel or paper towels to remove excess moisture. Avoid using excessive force, as mint leaves are delicate and can bruise easily.
By washing the mint leaves properly, you ensure that they are clean and ready for the next step: drying.
Proceed to the next step to learn how to dry the mint leaves for optimal freezing results.
Read more: How To Store Mint Leaves
Step 3: Drying the Mint Leaves
Once you have washed the mint leaves, it’s important to dry them thoroughly before freezing. Proper drying ensures that excess moisture is removed, preventing ice crystals from forming and affecting the flavor and texture of the frozen leaves. Here’s how to dry mint leaves:
- Air drying: The simplest and most effective way to dry mint leaves is by air drying. Spread the washed mint leaves in a single layer on a clean kitchen towel, parchment paper, or a wire rack. Make sure the leaves are evenly spaced to allow for proper airflow.
- Choose a well-ventilated area: Place the mint leaves in a well-ventilated area away from direct sunlight and humidity. A cool and dry spot, such as a countertop or a clean, empty tray, works best.
- Allow for sufficient drying time: Let the mint leaves air dry for several days or until they become crisp and brittle to the touch. The drying time may vary depending on the humidity levels in your environment.
- Check for dryness: To ensure that the mint leaves are completely dry, check for any remaining moisture. The leaves should not feel moist or pliable. If needed, give them additional drying time.
Properly dried mint leaves are essential for successful freezing. Once the leaves are fully dry, you can proceed to the next step: preparing them for freezing.
Continue to the next step to learn how to prepare the mint leaves before placing them in the freezer.
To store mint leaves in the freezer, first wash and dry them thoroughly. Then, place the leaves in a single layer on a baking sheet and freeze until solid. Transfer the frozen leaves to a resealable plastic bag and store in the freezer for up to 6 months.
Step 4: Preparing the Mint Leaves for Freezing
After washing and drying the mint leaves, it’s time to prepare them for freezing. Properly preparing the leaves ensures that they retain their freshness, flavor, and vibrant green color. Here’s how to prepare mint leaves for freezing:
- Trim the stems: Using a sharp knife or kitchen shears, trim off any remaining stems from the mint leaves. Discard the stems or save them for other uses, such as making herbal infusions or garnishing drinks.
- Decide on the portion size: Determine how much mint you would typically use in a recipe, or how much you would like to have readily available when you need it. Mint leaves can be frozen in small portions or as a whole bunch, depending on your preference and future usage.
- Choose a freezing method: There are a few options for freezing mint leaves, depending on how you plan to use them in the future. You can freeze them as whole leaves, chopped leaves, or in the form of a paste.
- Freezing whole leaves: If you prefer to have intact mint leaves for garnishing purposes, simply place the leaves flat on a baking sheet lined with parchment paper. Make sure the leaves are not touching each other to prevent them from sticking together.
- Chopped leaves: If you often use chopped mint leaves in your recipes, you can chop the leaves into small pieces and then freeze them. The chopped leaves can be stored in an airtight container or freezer bags.
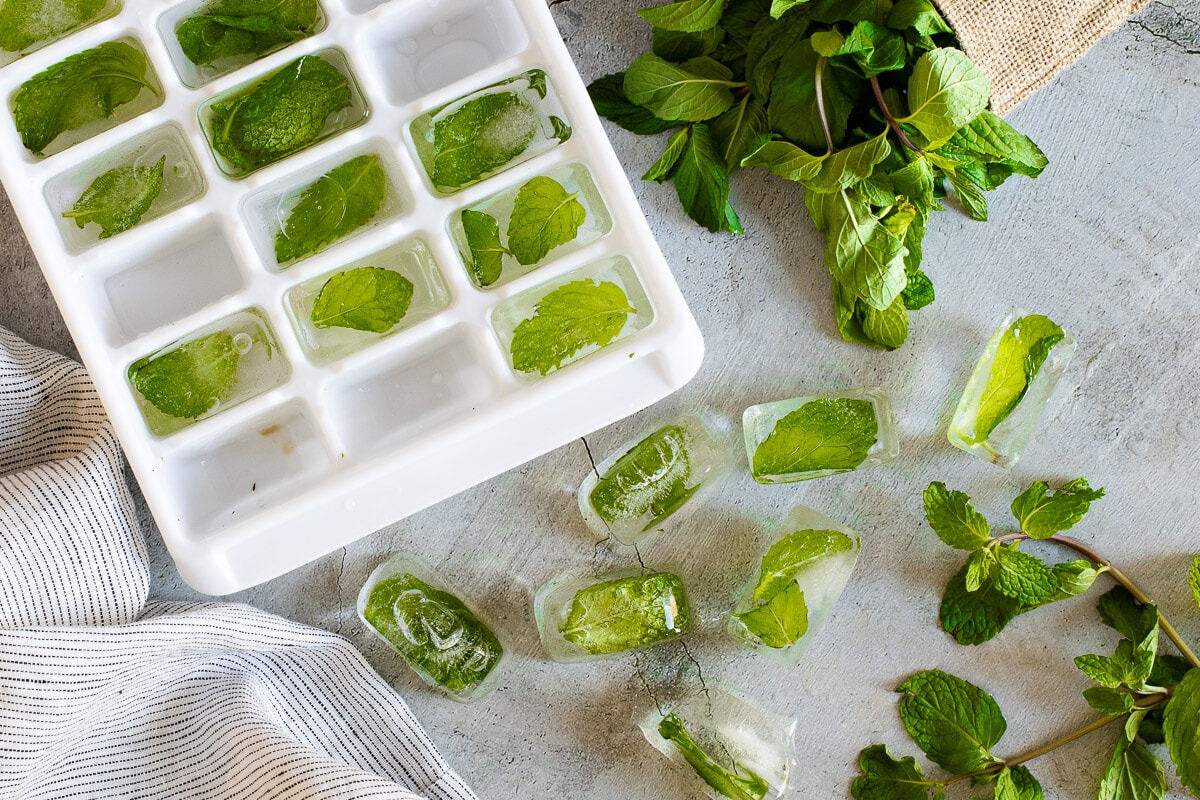
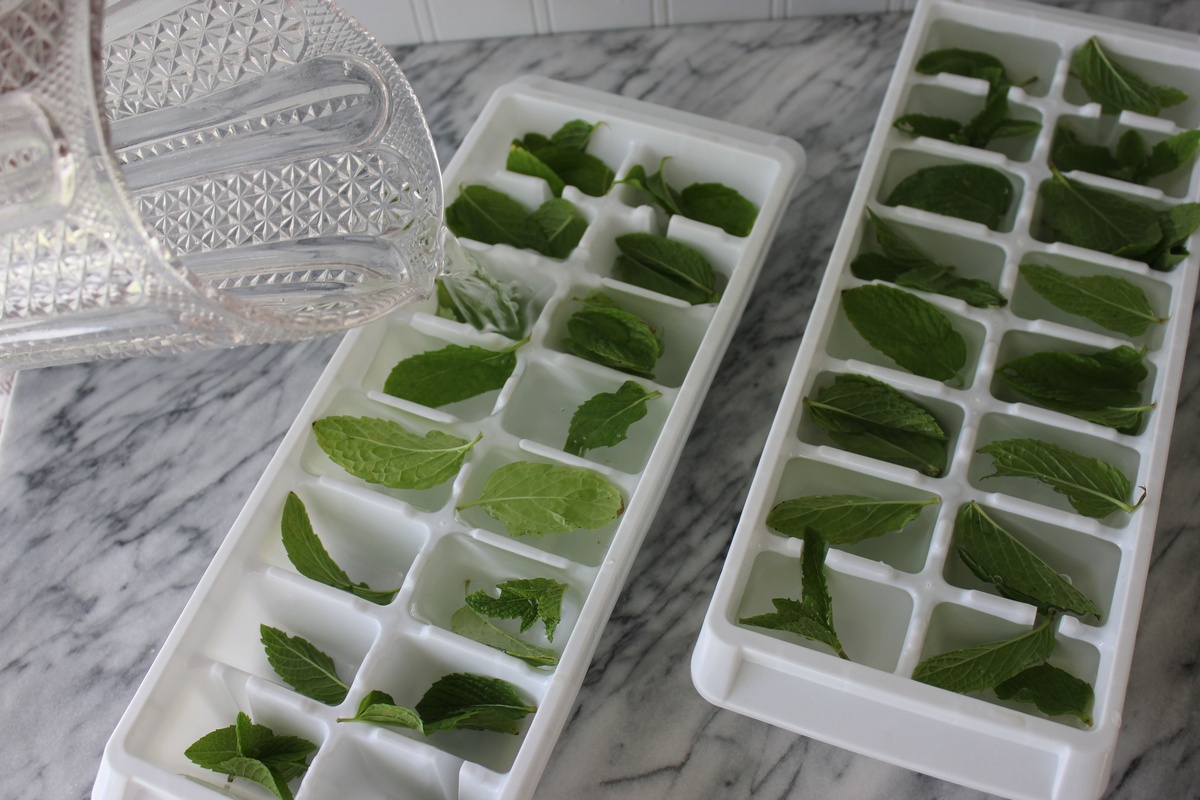
- Mint paste: Another option is to blend the mint leaves with a small amount of water to create a paste. Spoon the mint paste into ice cube trays, freeze until solid, then transfer the frozen cubes to freezer bags.
- Label and date: Before placing the mint leaves in the freezer, label the containers or bags with the date of freezing. This will help you keep track of the freshness and ensure you use the oldest leaves first.
Now that you have prepared the mint leaves for freezing, let’s move on to the next step: actually freezing them!
Continue to the next step to learn the best way to freeze mint leaves and ensure their long-term preservation.
Step 5: Freezing the Mint Leaves
Now that you have prepared your mint leaves, it’s time to freeze them. Freezing the mint leaves properly will help retain their flavor, aroma, and vibrant green color. Here’s how to freeze mint leaves:
- Flash freezing: If you are freezing whole or chopped mint leaves, it’s best to use the flash freezing method. Place the prepared leaves in a single layer on a parchment-lined baking sheet or tray. Make sure the leaves are not touching each other.
- Pre-freeze: Place the baking sheet or tray with the mint leaves in the freezer and allow them to pre-freeze for about 1-2 hours. This initial freezing step will prevent the leaves from sticking together during long-term storage.
- Transfer to freezer bags or containers: Once the leaves are pre-frozen, carefully transfer them into airtight freezer bags or containers. Squeeze out any excess air from the bags or press down the leaves to remove any air pockets.
- Label and seal: Label the bags or containers with the date of freezing and the contents (e.g., whole mint leaves, chopped mint leaves). Make sure the bags or containers are properly sealed to prevent freezer burn or moisture from entering.
- Return to freezer: Place the sealed bags or containers of mint leaves back into the freezer, ensuring they are stored flat and not stacked on top of each other. This will help prevent the leaves from getting crushed or damaged.
Properly freezing mint leaves ensures their long-term preservation and easy access whenever you need them. Now that you have successfully frozen the mint leaves, let’s move on to the next step: storing them in the freezer.
Continue to the next step to discover the best practices for storing frozen mint leaves.
Step 6: Storing the Frozen Mint Leaves
Once you have frozen the mint leaves, it’s important to store them properly to maintain their quality and prevent freezer burn. Here are some guidelines for storing frozen mint leaves:
- Choose the right storage containers: Use airtight containers or freezer bags specifically designed for freezing to store the mint leaves. These containers will help prevent freezer burn and moisture from entering.
- Label the containers: Clearly label the containers or bags with the date of freezing and the contents. This will help you keep track of the freshness and ensure that you use the oldest leaves first.
- Organize and stack: Place the labeled containers in a freezer-friendly, organized manner. Stack them neatly to save space and make it easier to locate the mint leaves when needed.
- Store in the coldest part of the freezer: It’s important to store the frozen mint leaves in the coldest part of your freezer to maintain their quality. This is usually the back of the freezer or the bottom shelf.
- Maintain a consistent temperature: Keep the freezer temperature at a constant level to ensure the mint leaves stay frozen and avoid any thawing and refreezing, which can affect their texture and flavor.
- Rotate and use within a reasonable timeframe: While frozen mint leaves can last for several months, it’s best to use them within 6 to 8 months for optimal flavor and quality. Rotate the containers, using the oldest leaves first to maintain freshness.
Proper storage is crucial to preserve the flavor and aroma of the frozen mint leaves. Now that you have successfully stored the mint leaves in the freezer, let’s move on to the final step: thawing and using the frozen mint leaves.
Continue to the next step to learn how to thaw and utilize the frozen mint leaves in your recipes.
Read more: How To Store Dried Mint Leaves
Step 7: Thawing and Using Frozen Mint Leaves
When it comes time to use your frozen mint leaves, it’s important to thaw them properly to maintain their flavor and quality. Here’s how to thaw and use frozen mint leaves:
- Thaw in the refrigerator: The best method to thaw frozen mint leaves is to transfer them from the freezer to the refrigerator. Allow them to thaw slowly and gradually in the refrigerator for several hours or overnight. This gentle thawing process helps retain their texture and flavor.
- Avoid refreezing: Once the mint leaves have thawed, it’s recommended to use them immediately. Refreezing thawed mint leaves can impact their texture and flavor.
- Use as desired: Thawed mint leaves can be used in a variety of recipes, just like fresh ones. Add the leaves to beverages like tea, lemonade or infused water, or use them as a garnish for salads, desserts, or cocktails. They can also be used in cooking dishes such as soups, sauces, and stir-fries.
- Adjust quantities: Keep in mind that frozen mint leaves might be slightly softer than fresh leaves after thawing. Adjust the quantity you use in your recipes based on personal preference and taste.
- Store leftover thawed mint leaves: If you have any leftover thawed mint leaves, you can store them in the refrigerator for a few days in an airtight container or a resealable bag. However, it’s best to use them as soon as possible for optimal freshness.
Thawing the frozen mint leaves properly ensures that you can enjoy their fresh flavor and aroma in your recipes. Now that you know how to thaw and use the mint leaves, you can infuse your culinary creations with the delightful taste of mint all year round.
Congratulations! You have successfully completed all the steps to store and use mint leaves in the freezer. Enjoy the convenience and flavor of your frozen mint leaves!
Remember, freshly picked mint leaves are always ideal, but freezing them is a wonderful option to preserve their vibrancy and flavor. Whether you have a surplus of mint leaves from your garden or want to savor the taste of summer during the colder months, freezing mint leaves is an excellent way to ensure you always have this versatile herb on hand.
Happy cooking and enjoy the refreshing essence of mint in your culinary adventures!
Conclusion
Storing mint leaves in the freezer is a practical and efficient way to preserve their freshness, flavor, and aroma for an extended period. By following the steps outlined in this article, you can ensure that you always have a supply of vibrant green mint leaves on hand, ready to elevate your culinary creations.
From harvesting the mint leaves to washing, drying, and finally freezing them, each step plays a crucial role in maintaining the quality of the mint leaves. Properly prepared and frozen mint leaves can last for several months, allowing you to enjoy their delightful taste and aroma even during the off-season.
Freezing mint leaves offers numerous advantages, including extended shelf life, convenient access, versatility in usage, and reducing waste. Whether you’re adding a fresh twist to your cocktails, infusing flavor into your dishes, or garnishing your desserts, frozen mint leaves are a valuable addition to your kitchen arsenal.
Remember to thaw the frozen mint leaves properly before using them in your recipes. Slow and gentle thawing in the refrigerator preserves the texture and flavor of the leaves, ensuring you get the best out of them.
So, the next time you find yourself with an abundance of mint leaves, don’t let them go to waste. Freeze them using the steps outlined in this article and enjoy the taste of summer year-round.
Now that you are equipped with the knowledge and know-how, go ahead and start storing your mint leaves in the freezer. Explore the endless possibilities and let the delightful essence of mint elevate your culinary creations!
Frequently Asked Questions about How To Store Mint Leaves In Freezer
Was this page helpful?
At Storables.com, we guarantee accurate and reliable information. Our content, validated by Expert Board Contributors, is crafted following stringent Editorial Policies. We're committed to providing you with well-researched, expert-backed insights for all your informational needs.


0 thoughts on “How To Store Mint Leaves In Freezer”