Articles
How To Store Oil Paint Tubes
Modified: December 7, 2023
Learn the best way to store oil paint tubes with our helpful articles. Keep your art supplies organized and your paints fresh for longer.
(Many of the links in this article redirect to a specific reviewed product. Your purchase of these products through affiliate links helps to generate commission for Storables.com, at no extra cost. Learn more)
Introduction
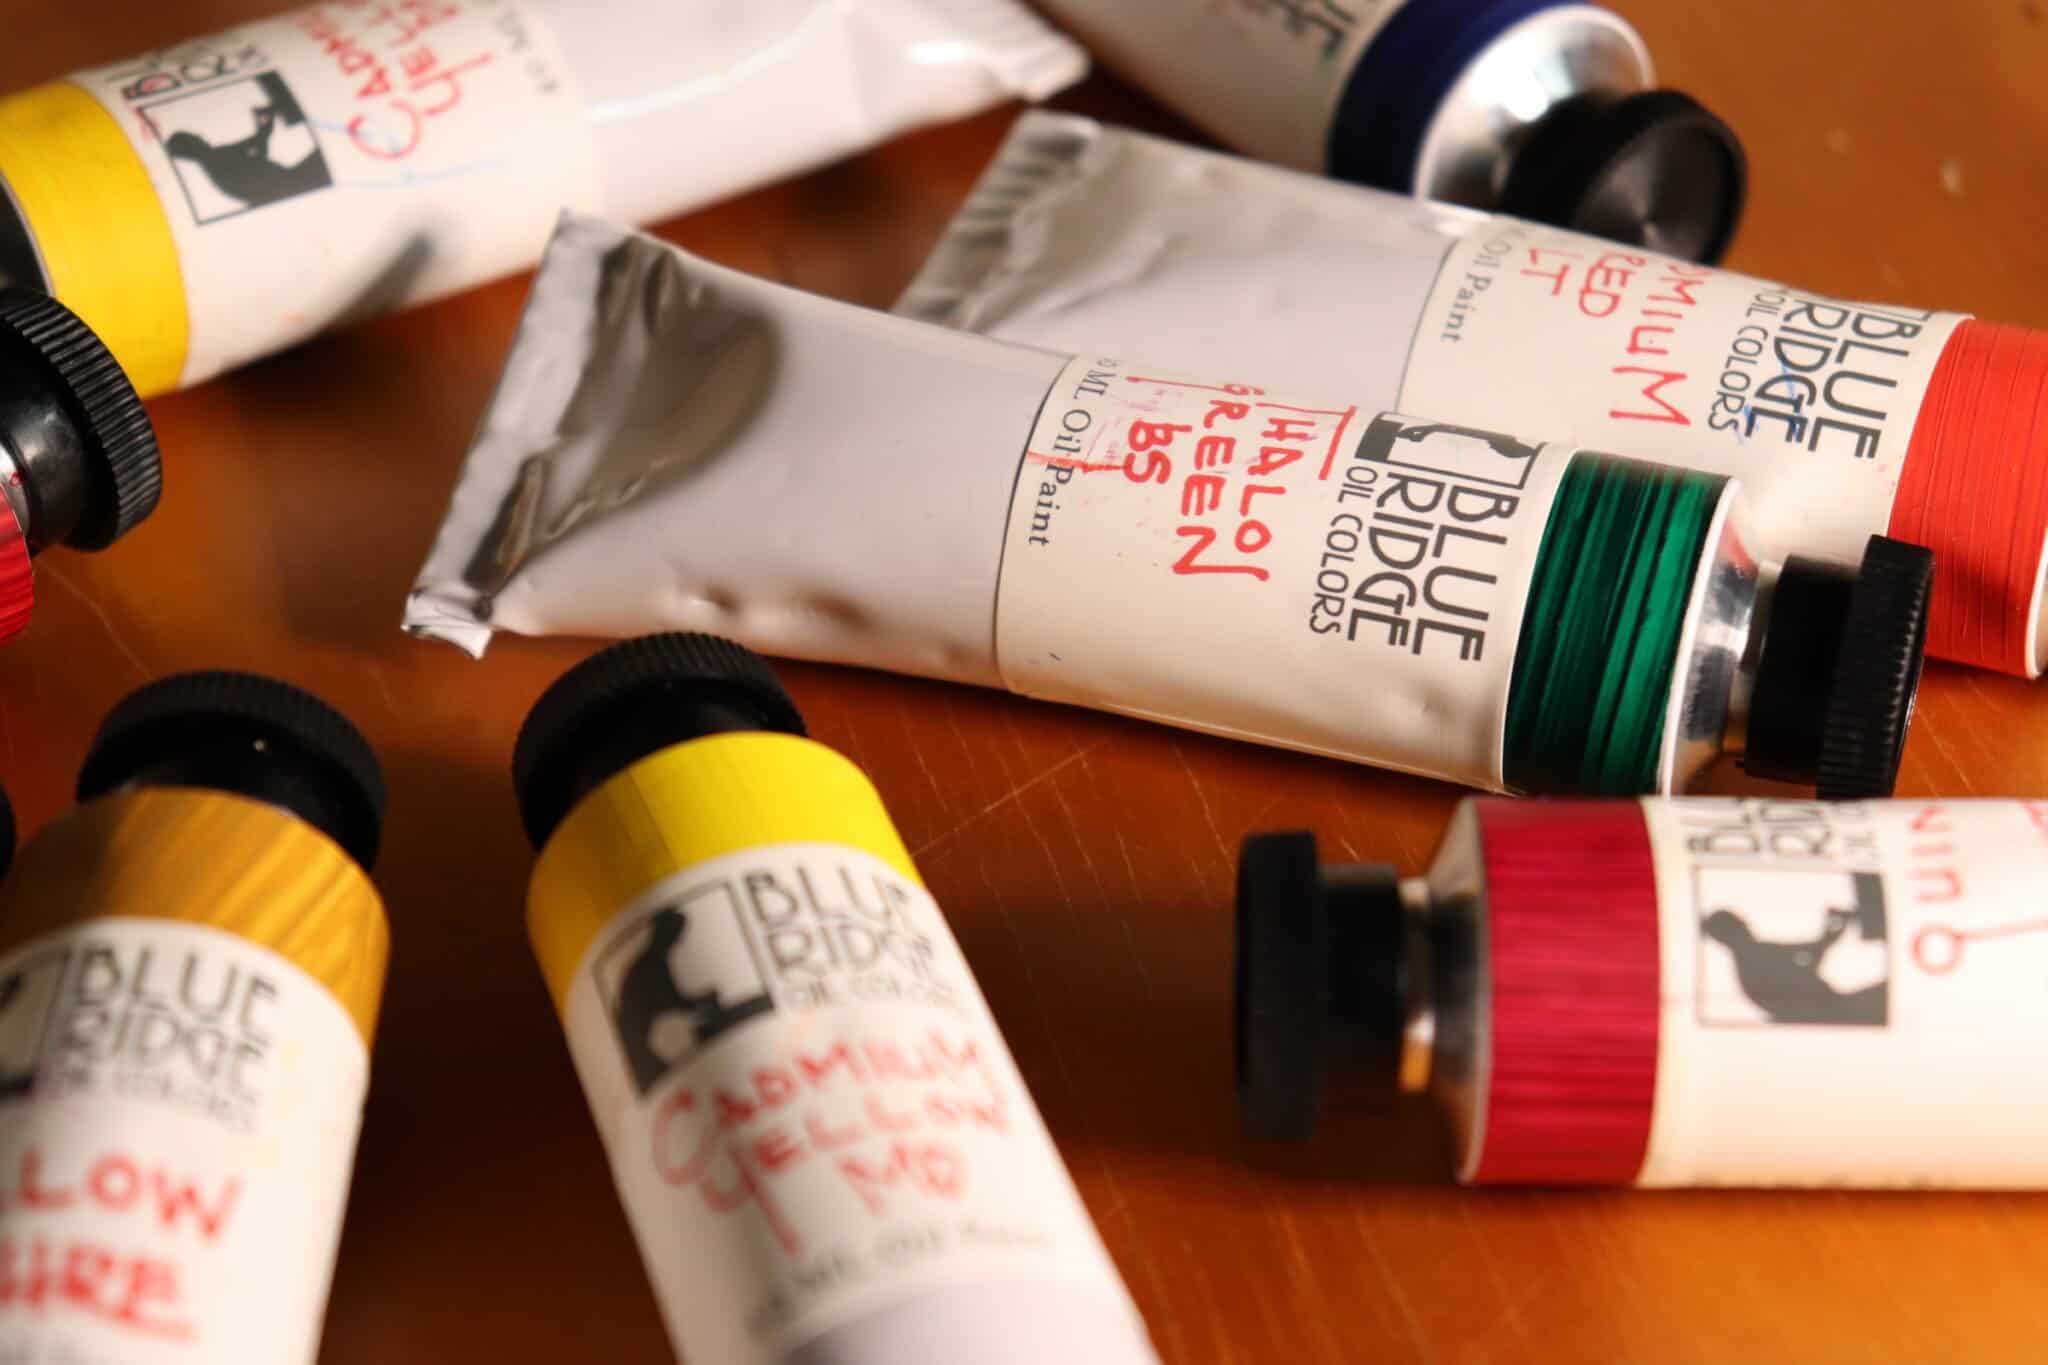
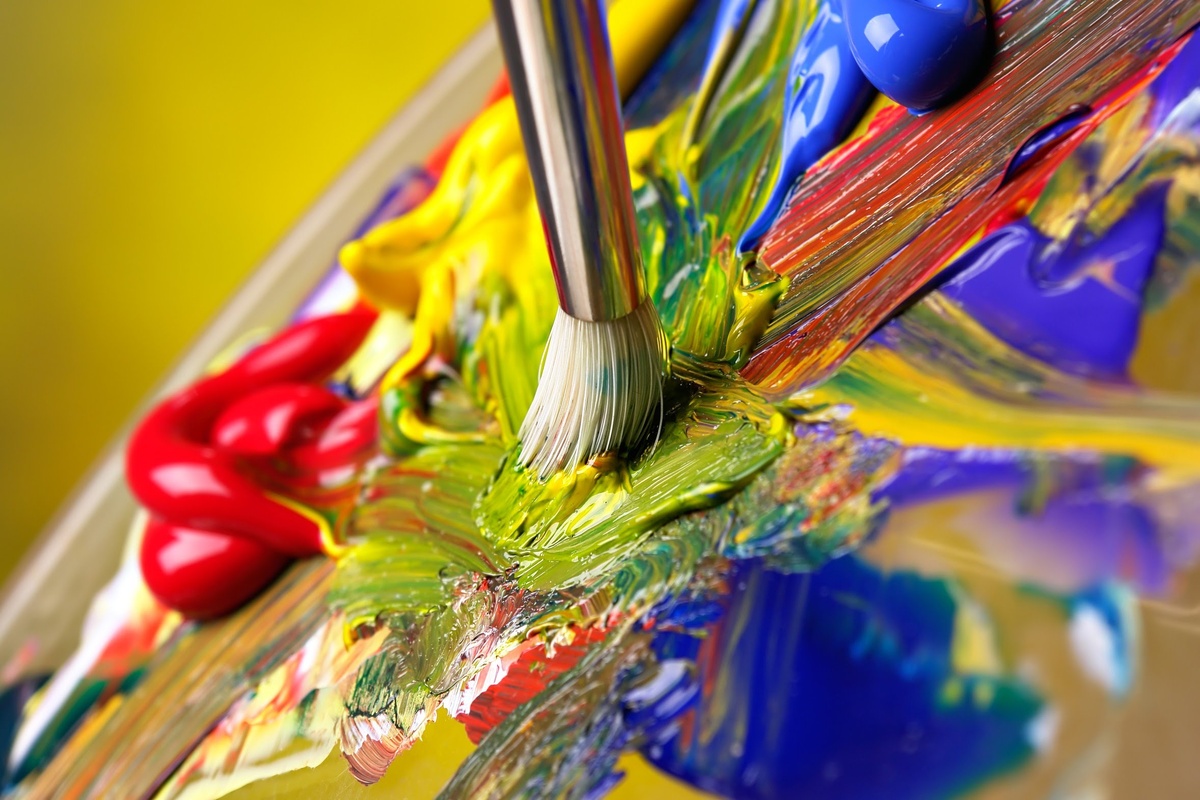
Welcome to the world of oil painting, where artists express their creativity through vibrant and richly textured masterpieces. As an oil painter, you understand the importance of quality materials, and one such crucial component is the oil paint tubes.
Oil paint tubes are not only a medium to hold the paint; they also play a vital role in preserving the quality and longevity of your artwork. Properly storing your oil paint tubes ensures that the paint remains fresh, vibrant, and ready to use whenever inspiration strikes.
In this article, we will delve into the world of oil paint tube storage and provide you with essential tips and techniques to keep your paints in pristine condition. From understanding the characteristics of oil paint tubes to choosing the right storage environment, organizing and labeling your tubes, and proper handling and maintenance, we’ve got you covered.
So, whether you are a seasoned artist looking to revamp your oil paint storage system or a beginner seeking guidance on how to maintain your supplies, read on to discover the best practices for storing oil paint tubes.
Key Takeaways:
- Properly storing oil paint tubes in a cool, dry environment with low humidity levels and labeling them by color ensures vibrant, long-lasting paint for your artistic endeavors.
- Utilizing tools like paint tube squeezers and palette knives, along with regular rotation and careful handling, extends the lifespan of oil paint tubes, saving money and preserving paint quality.
Read more: How To Store An Oil Painting
Understanding the Characteristics of Oil Paint Tubes
Before we dive into the intricacies of storing oil paint tubes, it’s important to understand their unique characteristics. Oil paint tubes are designed to hold oil-based paints, which consist of pigment particles suspended in a drying oil, typically linseed oil.
One crucial factor to consider when storing oil paint tubes is their susceptibility to drying out. Unlike acrylic paints that dry quickly, oil paints have a longer drying time due to their oil-based composition. However, if not stored properly, oil paint tubes can still dry out, resulting in wasted paint and hindered artistic endeavors.
Another characteristic to be mindful of is the possibility of color separation in oil paint tubes. Over time, the oil and pigment particles in the tubes can separate, with the oil rising to the top and the pigment settling at the bottom. This can lead to uneven color distribution and affect the quality of your paintings.
Furthermore, oil paint tubes are sensitive to temperature and humidity fluctuations. Extreme temperatures can cause the paint to become too thick or thin, making it challenging to work with. High humidity levels can also lead to mold growth, ruining both the tubes and the paint inside.
Now that we have a better understanding of the unique characteristics of oil paint tubes, let’s explore the steps you can take to ensure their proper storage and preservation.
Choosing the Right Storage Environment
Creating the ideal storage environment for your oil paint tubes is crucial to maintaining their quality and prolonging their lifespan. Here are some factors to consider when selecting the right storage environment:
- Temperature: Oil paint tubes are best stored in a cool, dry place with a consistent temperature. Avoid exposing them to extreme heat or cold, as this can affect the paint’s texture, consistency, and overall quality. Ideally, the temperature should be between 65°F and 75°F (18°C and 24°C).
- Humidity: High humidity levels can cause moisture buildup, leading to mold growth and deterioration of the paint tubes. Aim for a humidity level of around 40% to 50%. If the environment is excessively humid, consider using dehumidifiers or silica gel packets to absorb excess moisture.
- Light: UV light can be detrimental to oil paint, causing colors to fade and degrade over time. Therefore, it’s essential to store your oil paint tubes in a dark or low-light environment. Consider using opaque containers or cabinets to protect them from direct sunlight.
- Ventilation: While it’s crucial to protect your oil paint tubes from moisture, it’s equally important to ensure proper ventilation to prevent the buildup of harmful gases, such as solvents or fumes from other chemicals. Make sure the storage area has adequate airflow to maintain a healthy environment.
- Storage Containers: Choose storage containers that are specifically designed for oil paint tubes, such as airtight plastic or metal containers. These containers provide an extra layer of protection against moisture and outside contaminants. Avoid storing paint tubes directly on wooden shelves or surfaces, as wood can absorb moisture and transfer it to the tubes.
- Elevated Position: Store your oil paint tubes in an elevated position to avoid any potential water damage in case of leaks or spills. Placing them on a shelf or using a storage rack will help keep them safe and prevent any accidental damage from occurring.
- Separate Storage: It’s important to keep your oil paint tubes separate from other art supplies, such as brushes, solvents, or varnishes. This minimizes the risk of contamination and ensures that the paint tubes remain clean and free from any foreign substances.
By considering these factors and creating an environment that is conducive to the preservation of your oil paint tubes, you can ensure that your paints remain in optimal condition for years to come.
Preparing the Storage Area
Now that you’ve chosen the perfect storage environment for your oil paint tubes, it’s time to prepare the storage area to further protect and organize your supplies. Follow these steps to create an ideal storage area for your oil paint tubes:
- Clean and Dust: Before placing your oil paint tubes in storage, make sure the area is clean and free from dust and dirt. Wipe down shelves, storage containers, and any other surfaces with a clean cloth to ensure a dust-free environment.
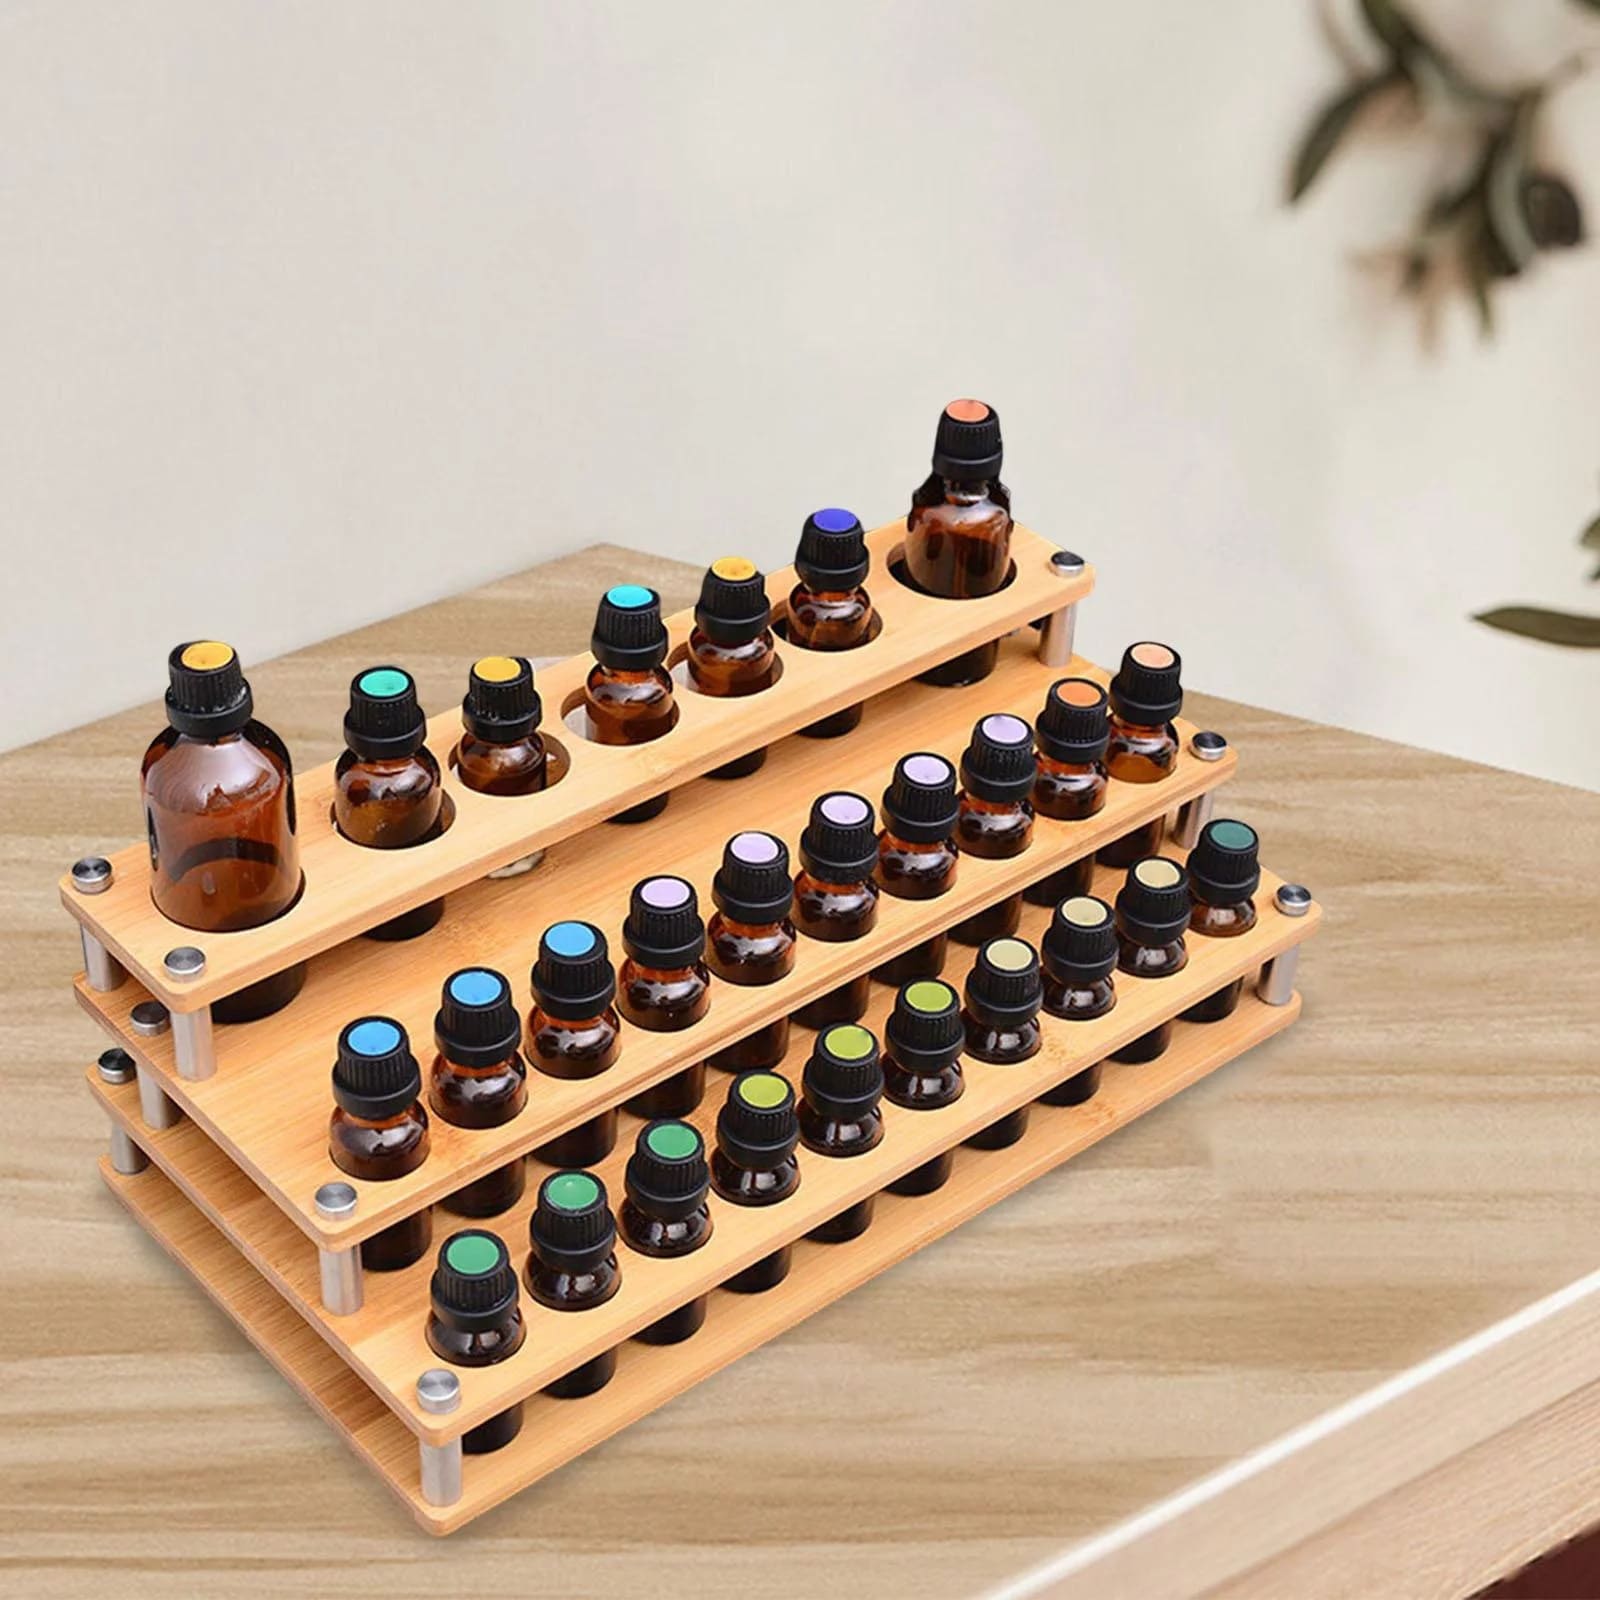
- Organize Shelf Space: If you’re using shelves to store your paint tubes, consider organizing them by color or brand. This makes it easier to locate specific tubes when you need them. You can also use dividers or separators to create sections for different paint tube sizes.
- Labeling System: Implementing a labeling system can greatly enhance the efficiency of your storage area. Label the containers or shelves with the names of the colors or the type of paint, such as “cadmium red” or “oil-based paints.” This makes it simple to find the desired tube without rummaging through multiple containers.
- Avoid Overcrowding: Allow sufficient space between the paint tubes to prevent damage or squeezing. Overcrowding can lead to accidental paint mixing or difficulty in accessing specific tubes. Adequate spacing also prevents tubes from getting stuck or difficult to remove from the storage area.
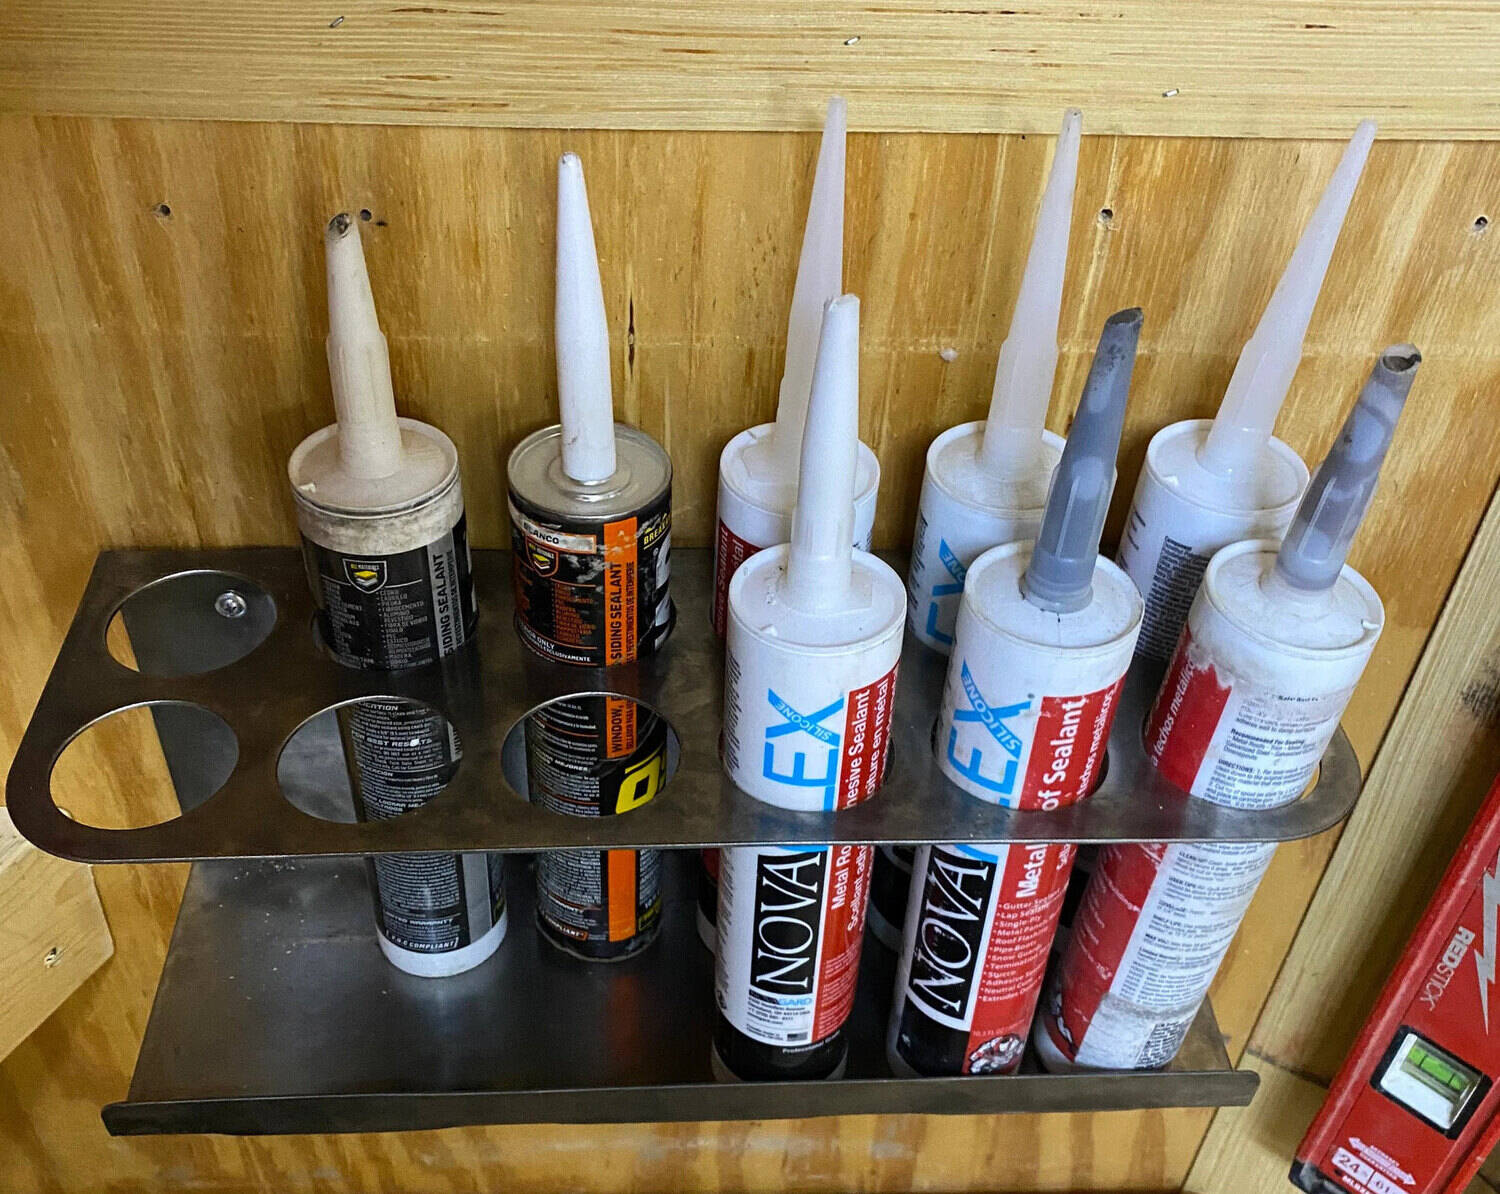
- Consider Vertical Storage: Depending on the size of your storage area and the number of paint tubes you have, consider utilizing vertical storage options, such as a wall-mounted organizer or a pegboard. This saves space and allows you to easily see and access each tube.
- Protective Layers: To provide an extra layer of protection, you may consider wrapping individual paint tubes in acid-free tissue paper or placing them in plastic sleeves before storing. This helps to prevent any potential contact between the tubes and the storage containers, reducing the risk of contamination.
- Regular Cleaning: Periodically clean and dust the storage area to maintain a clean and organized space. This ensures that your paint tubes remain in a pristine condition and are easily accessible when you need them.
By following these steps and preparing the storage area appropriately, you can create a well-organized and protected space for your oil paint tubes. This not only facilitates easy access to your supplies but also helps maintain the quality and longevity of your paints.
Store oil paint tubes in a cool, dry place away from direct sunlight and extreme temperatures. Keep them upright to prevent leakage and store them in a box or drawer to protect them from dust and damage.
Organizing and Labeling Oil Paint Tubes in Storage
Keeping your oil paint tubes organized and properly labeled in storage is essential for easy access and efficient usage. Here are some tips to help you organize and label your oil paint tubes:
- Group by Color: Organize your oil paint tubes by color to quickly find the shades you need. Keep all the reds together, yellows together, blues together, and so on. This arrangement allows you to easily identify and select the desired colors for your artwork.
- Label the Capped End: Instead of labeling the body of the paint tube, label the capped end. This way, when the tubes are stored upright, you can easily read the labels without having to tilt or handle them. Use a permanent marker or labels with color-coding to make identification even more effortless.
- Create a Color Index: Consider creating a color index to keep track of your collection. This can be a small notebook or a digital document where you list your paint colors, brands, and specific tube numbers. Referencing the color index will help you quickly locate and replace specific shades when needed.
- Use Dividers or Trays: To keep your oil paint tubes neatly organized, use dividers or trays within your storage containers. This helps to prevent the tubes from rolling or shifting, making it easier to access and retrieve the desired colors without disturbing others.
- Arrange by Size: If you have different sizes of paint tubes, arrange them by size within their respective color groups. Place the larger tubes at the back and the smaller ones at the front for better visibility and accessibility.
- Consider a Paint Tube Squeeze Key: A paint tube squeeze key is a handy tool that helps to squeeze out every last bit of paint from the tubes. Keep a few squeeze keys in your storage area to ensure that you make the most of your paint tubes without any wastage.
- Periodic Inventory Check: Regularly check your oil paint tube inventory to ensure that you have all the colors you need and replenish any tubes that are running low. This prevents any unexpected shortages during your creative process and ensures that your storage remains well-stocked.
By organizing and labeling your oil paint tubes in storage, you create an efficient system that allows you to easily locate, access, and maintain your art supplies. Not only does this save you time and effort, but it also ensures that your oil paint tubes stay in good condition and are ready to be utilized in your artistic endeavors.
Proper Handling and Maintenance of Oil Paint Tubes
Proper handling and maintenance of your oil paint tubes are essential to ensure their longevity and the quality of the paint within. Here are some tips to help you handle and maintain your oil paint tubes correctly:
- Cap the Tubes Tightly: After using the paint, make sure to cap the tubes tightly to prevent air from entering and drying out the paint. Squeezing the tube from the bottom while capping helps push out excess air and maintains a tight seal.
- Store Upright: Always store your oil paint tubes upright to prevent potential leakage and keep the paint evenly distributed within the tube. Storing them horizontally or at an angle can cause the paint to accumulate at one end, making it difficult to dispense properly.
- Avoid Cross-Contamination: Be cautious not to introduce contaminants to the paint tubes. Avoid using brushes directly in the tube and use a palette knife or separate container for mixing paints. This prevents cross-contamination and extends the shelf life of your oil paint tubes.
- Keep Tubes Clean: Wipe the outside of the tube clean after each use to prevent any paint residue from drying and hardening around the cap. This ensures that the cap fits tightly and minimizes the risk of the tube becoming difficult to open or close.
- Rotate Tubes Regularly: To prevent the oil and pigment from separating within the tube, rotate your oil paint tubes regularly. Simply flip the tubes upside down and back again every few months to keep the paint well-mixed and prevent color discrepancies.
- Check for Drying or Spoilage: Periodically inspect your oil paint tubes for any signs of drying or spoilage. If you notice dried or hardened paint around the opening or any unusual smells, it may indicate spoilage. In such cases, it’s best to discard the tube to prevent any negative impact on your artwork.
- Use Soft Pressure: When squeezing paint out of the tube, apply gentle and consistent pressure. Avoid squeezing too hard, as this can cause excess air to enter the tube or result in uncontrollable amounts of paint being dispensed. Take care to handle the tubes with a gentle touch to prevent any accidental damage.
- Pay Attention to Expiration Dates: Oil paint tubes generally have a shelf life of several years, but it’s important to check the expiration dates printed on the tubes. Using expired paint tubes can lead to changes in color, texture, and overall quality.
By following these guidelines for proper handling and maintenance, you can ensure that your oil paint tubes remain in optimal condition and provide you with the best painting experience. By safeguarding your paint tubes, you can create artwork with vibrant colors and achieve the desired effects without any hindrances.
Tips for Extending the Lifespan of Oil Paint Tubes
Extending the lifespan of your oil paint tubes not only saves you money but also ensures that your supplies are always ready for use. Here are some tips to help you prolong the life of your oil paint tubes:
- Use a Palette: Consider using a palette to squeeze out and mix your paint instead of directly from the tube. This minimizes the risk of contaminating the paint inside the tube and helps you control the amount of paint you need for your work.
- Don’t Squeeze Out More Than You Need: Try to only squeeze out the amount of paint you need for your current project. Avoid excess squeezing, as it exposes more paint to air, leading to faster drying and potential wastage.
- Keep Tubes Clean: Clean the tips of your oil paint tubes before resealing them. This prevents dried paint from accumulating and blocking the opening, ensuring a tight seal and smooth paint flow for future use.
- Store Tubes in a Cool Place: Heat can accelerate the drying of oil paint, so it’s important to store your tubes in a cool environment. Avoid keeping them near direct sunlight, radiators, or heating vents, as this can cause the paint to dry out faster.
- Use a Palette Knife: When extracting paint from the tube, consider using a palette knife or a small spatula instead of your fingers. This reduces the chance of introducing impurities or excess oil from your hands into the tube.
- Clean Brushes Before Closing Tubes: Before closing your paint tubes, make sure to clean your brushes thoroughly. This prevents any residual paint or contaminants from coming into contact with the paint inside the tube, maintaining its integrity.
- Store Opened Tubes Upside Down: If you have partially used oil paint tubes, store them upside down to prevent air from entering and drying out the paint. This technique helps maintain a tighter seal and preserves the freshness of the paint.
- Use a Paint Tube Squeezer: Consider investing in a paint tube squeezer or roller to extract every last drop of paint from the tube. These tools help maximize the paint’s usage and reduce waste, ensuring that you get the most out of your oil paint tubes.
- Regularly Rotate the Tubes: To prevent the pigment and oil from separating, rotate your oil paint tubes regularly. This ensures an even distribution of color and consistency throughout the tube, preventing any drying or clogging issues.
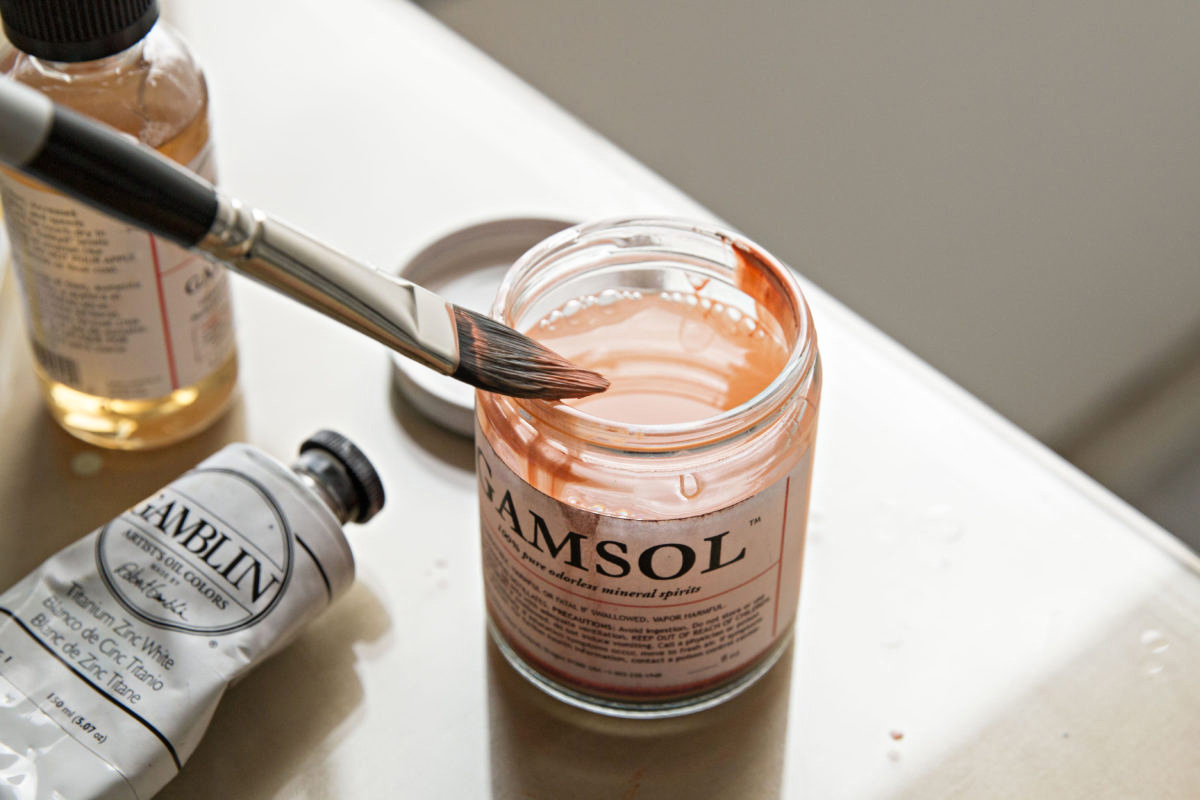
- Keep Tubes Away from Solvents: Avoid storing your oil paint tubes near solvents or other harsh chemicals. The fumes from solvents can degrade the paint quality and affect the tubes’ longevity. Maintain a separate storage area for solvents to prevent any accidental exposure.
By implementing these tips, you can extend the lifespan of your oil paint tubes, maintain the quality of the paint, and make the most out of your art supplies. These practices not only save you money but also ensure that you have a fresh and vibrant palette of colors for your artistic endeavors.
Conclusion
Proper storage and care of your oil paint tubes are essential for maintaining the quality and longevity of your supplies. By understanding the characteristics of oil paint tubes and choosing the right storage environment, you can ensure that your paint remains fresh and vibrant for a long time. Preparing the storage area, organizing and labeling the tubes, and handling them with care further contribute to their preservation.
Remember to store your oil paint tubes in a cool, dry place with a consistent temperature and low humidity levels. Properly label each tube, organize them by color, and create a system that helps you quickly locate the paints you need. Take care to cap the tubes tightly, store them upright, and avoid cross-contamination to maintain the integrity of the paint inside.
Regularly inspect your oil paint tubes for any signs of spoilage or drying, and rotate the tubes periodically to prevent pigment separation. Utilize tools such as paint tube squeezers and palette knives to maximize the usage of the paint and reduce waste. Following these best practices will not only save you money but also provide you with a reliable and vibrant palette of colors for your artwork.
By implementing these tips and techniques, you can extend the lifespan of your oil paint tubes, ensuring that they remain in optimal condition for your creative projects. Proper storage and maintenance allow you to focus on your art without worrying about the quality of your paint. So, invest a little time and effort in organizing and caring for your oil paint tubes, and unleash your creativity with confidence.
Frequently Asked Questions about How To Store Oil Paint Tubes
Was this page helpful?
At Storables.com, we guarantee accurate and reliable information. Our content, validated by Expert Board Contributors, is crafted following stringent Editorial Policies. We're committed to providing you with well-researched, expert-backed insights for all your informational needs.


0 thoughts on “How To Store Oil Paint Tubes”