Articles
How To Store Used Caulk Tube
Modified: February 22, 2024
Learn how to properly store used caulk tubes with these helpful articles.
(Many of the links in this article redirect to a specific reviewed product. Your purchase of these products through affiliate links helps to generate commission for Storables.com, at no extra cost. Learn more)
Introduction
Used caulk tubes can be a hassle to deal with. They are messy, sticky, and can easily dry out if not stored properly. However, with the right techniques, you can effectively store your used caulk tubes and keep them in good condition for future use. In this article, we will guide you through the steps of properly storing a used caulk tube to ensure its longevity and usability.
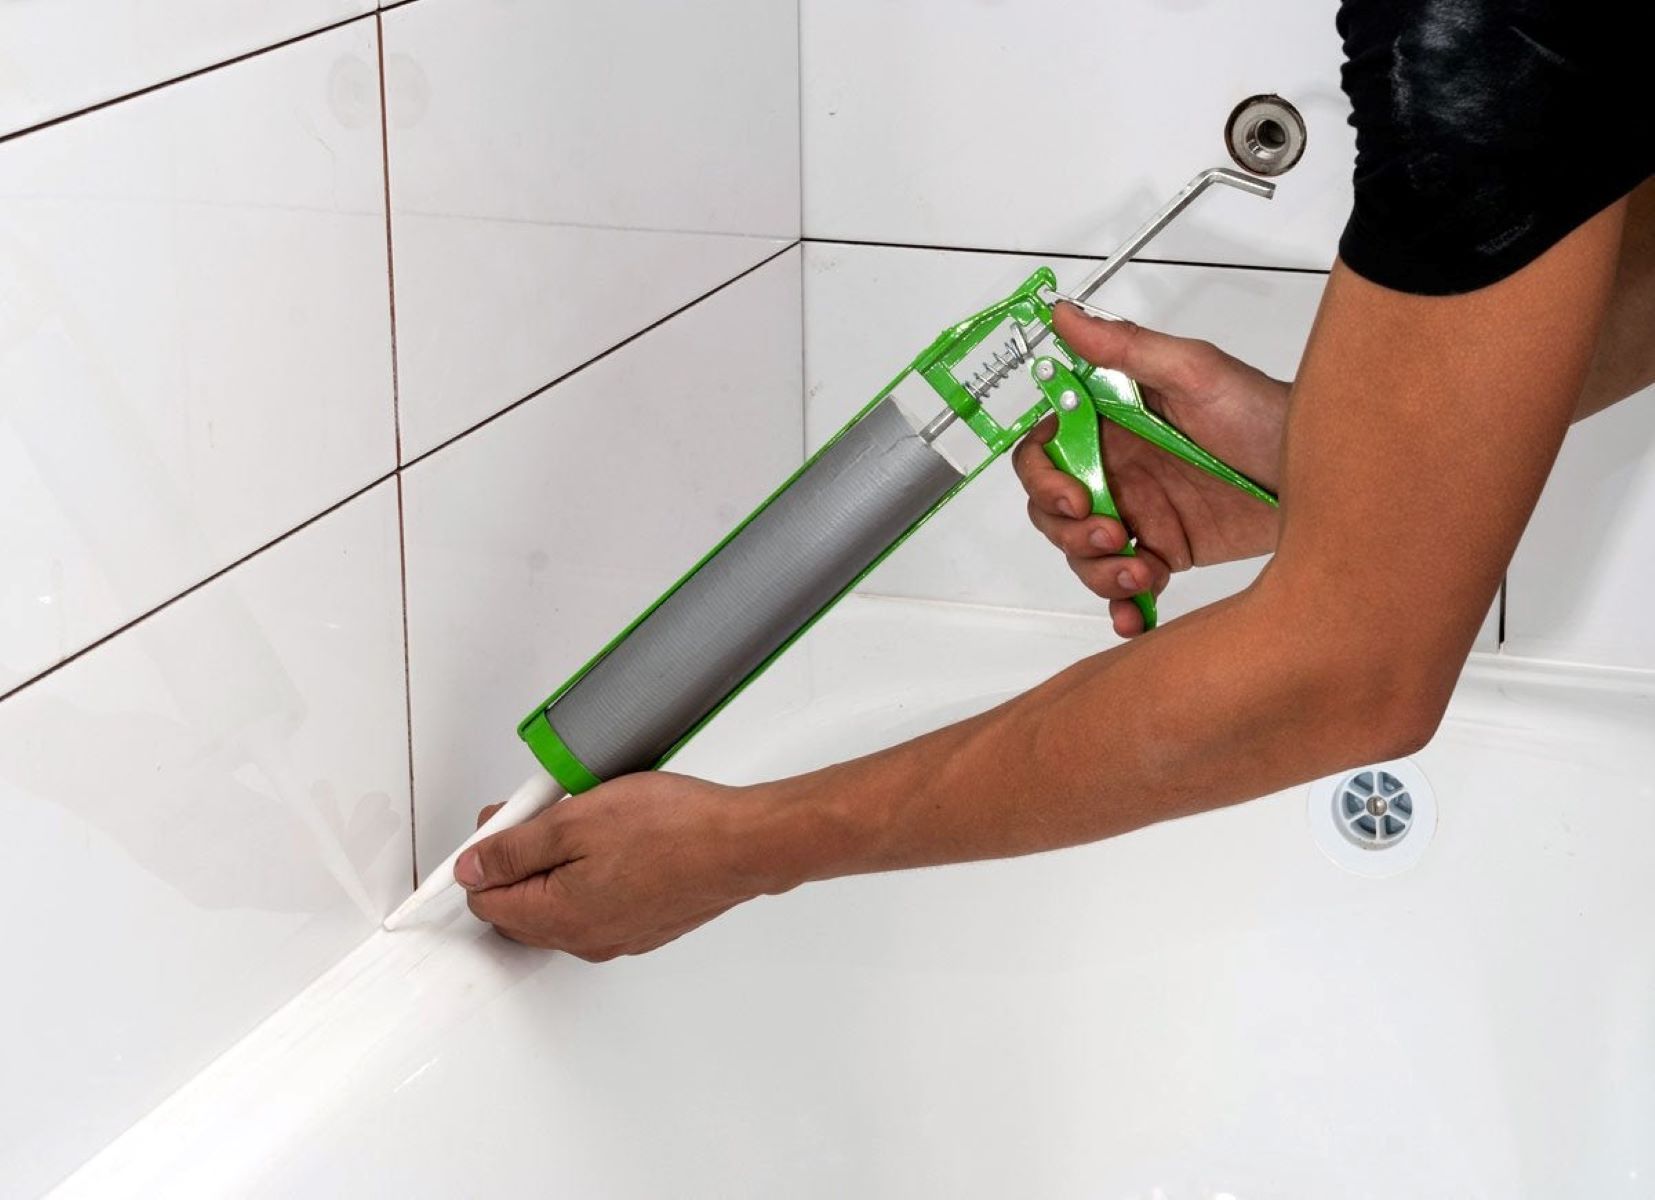
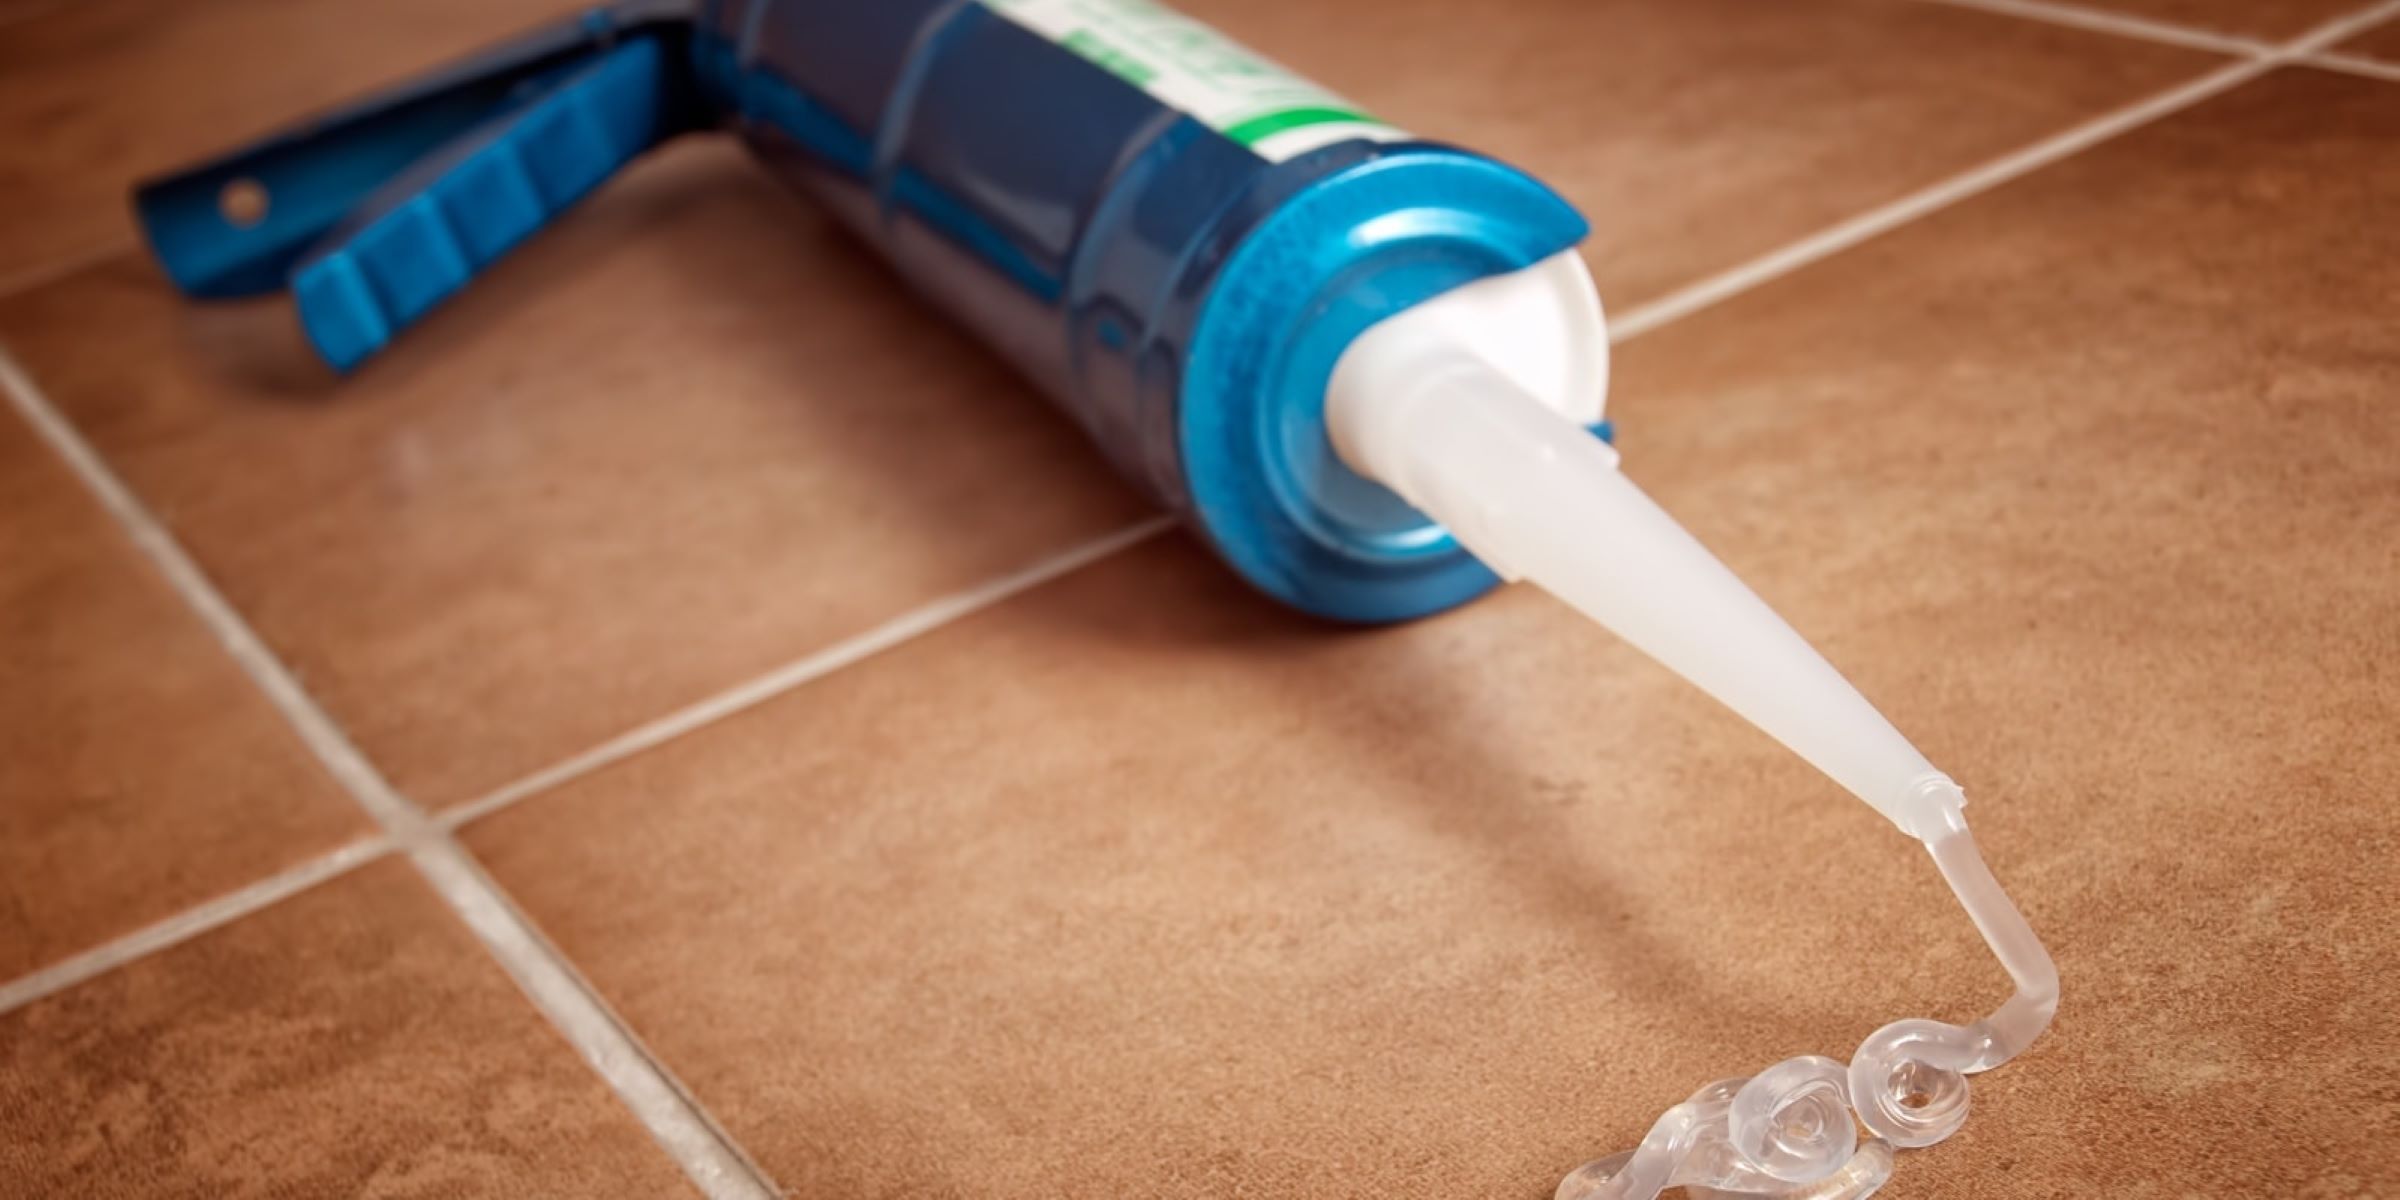
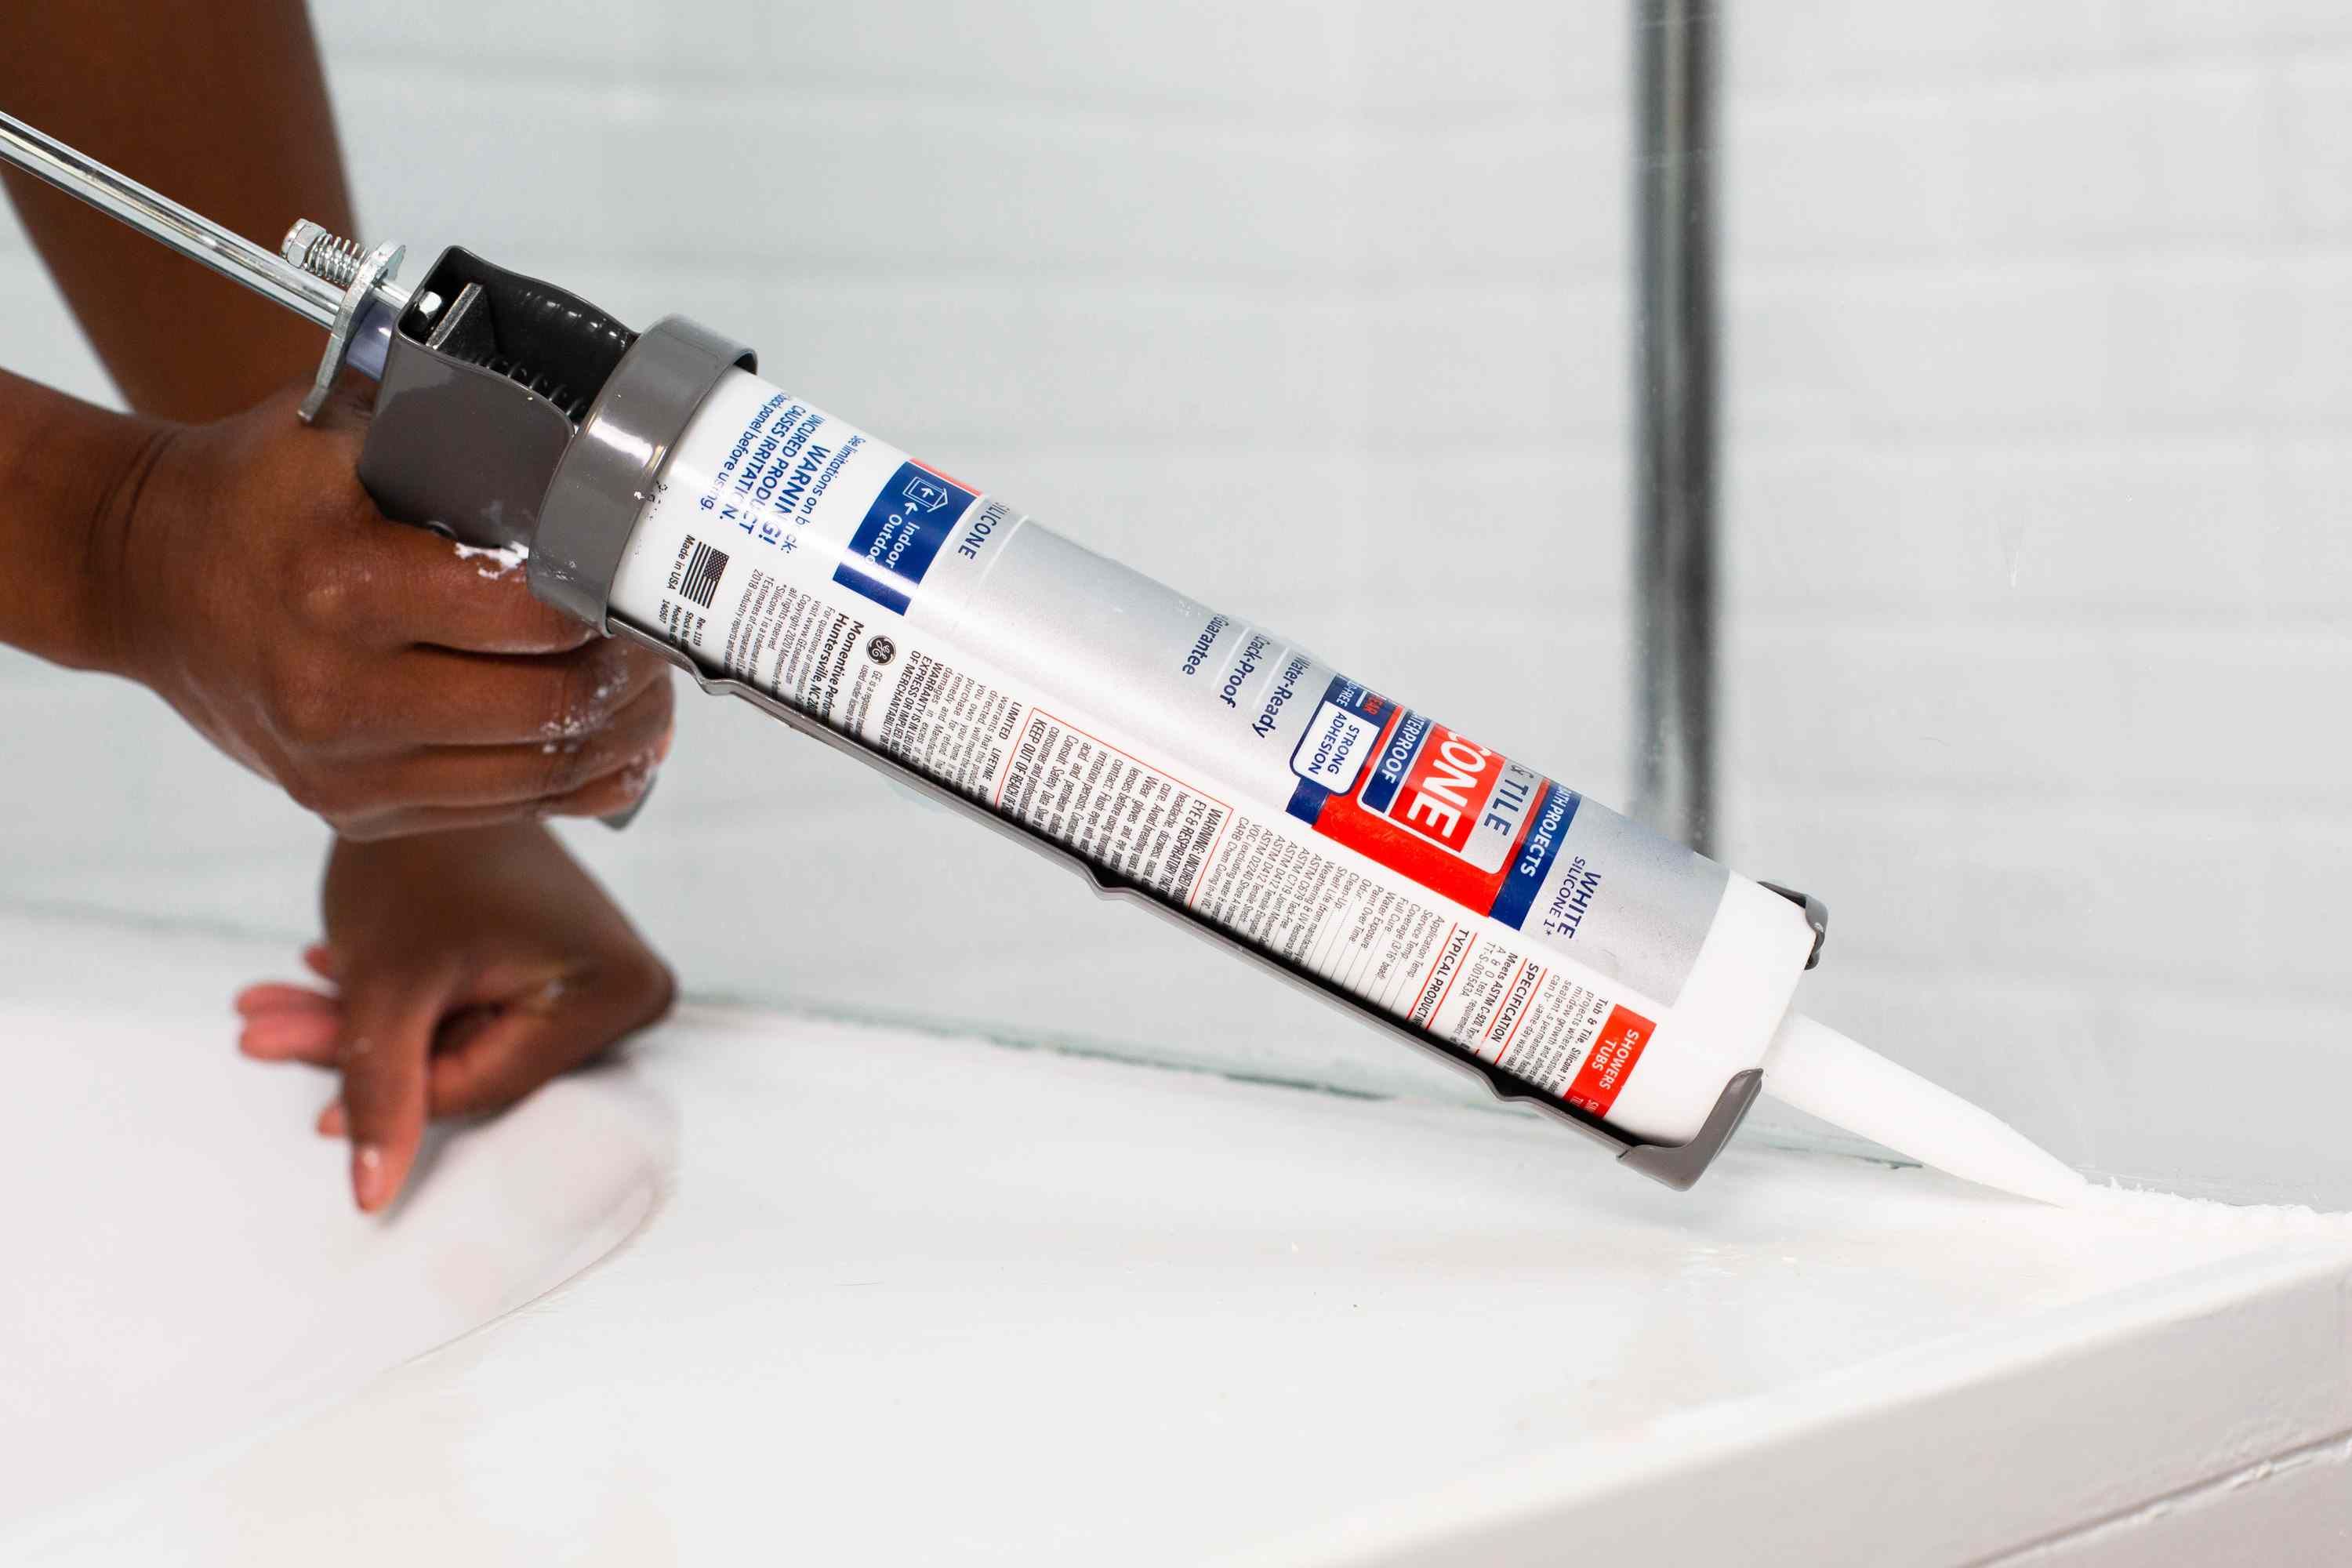
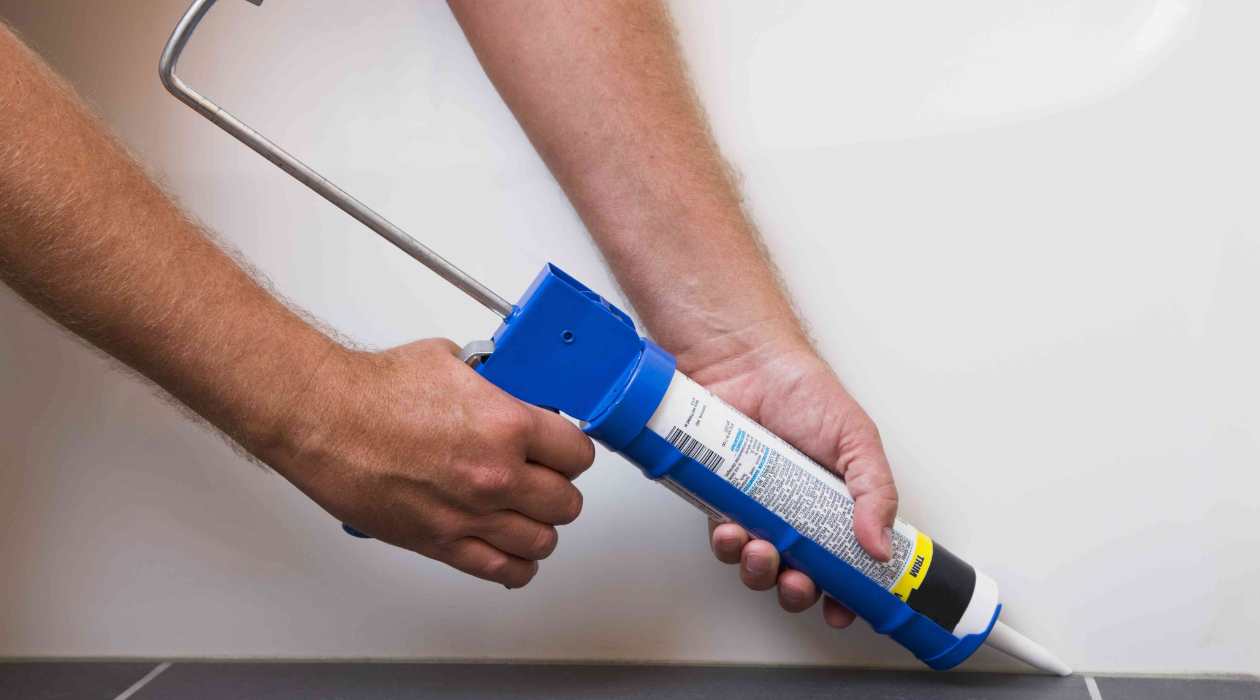
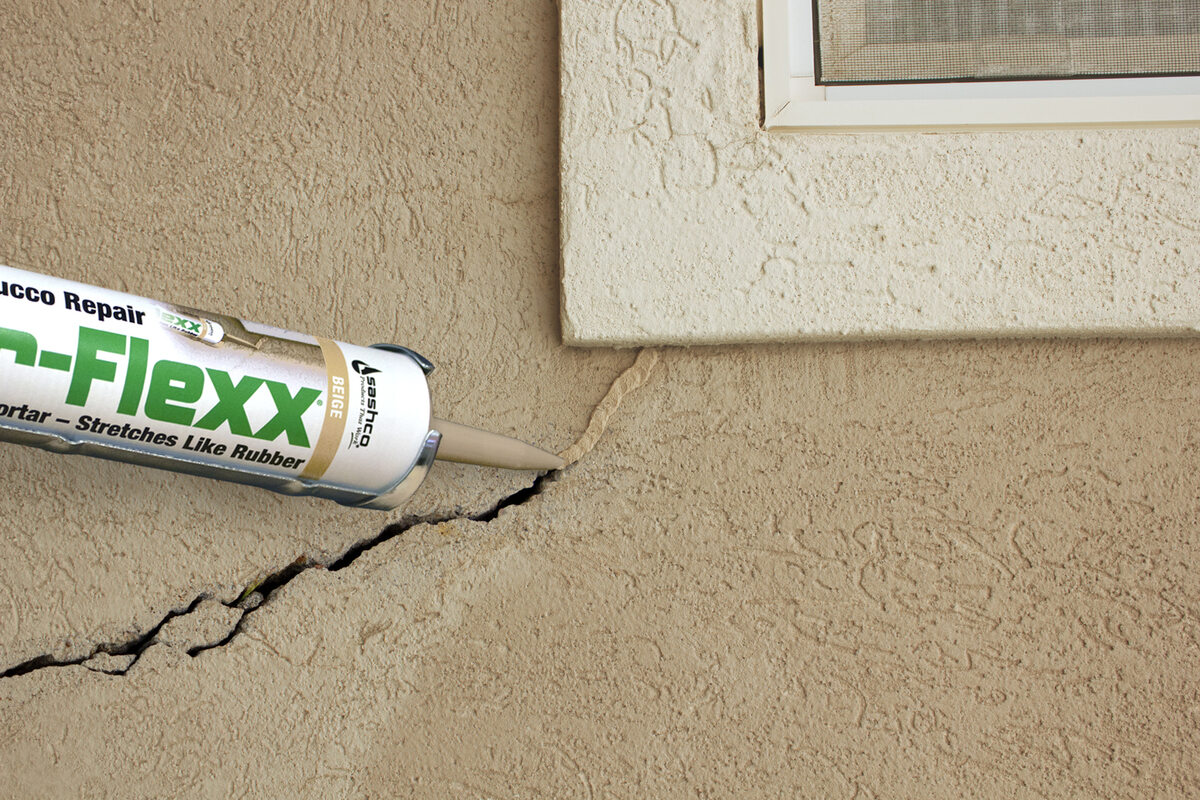
Whether you are a DIY enthusiast or a professional contractor, you know the importance of having a reliable and accessible supply of caulk. Caulk is commonly used for sealing gaps and cracks in various applications, such as around windows, doors, and plumbing fixtures. It provides an air and water-tight seal, preventing leaks, drafts, and moisture intrusion.
After using caulk, there is often some leftover in the tube. Discarding the remaining caulk would be a waste of money and resources. Additionally, caulk tubes are not biodegradable, which means they can contribute to environmental pollution if not disposed of properly. By properly storing the used caulk tube, you can save money, reduce waste, and have caulk readily available whenever you need it.
In the following sections, we will discuss the materials needed for this process and guide you through each step to store your used caulk tube effectively. Let’s get started!
Key Takeaways:
- Properly storing used caulk tubes saves money, reduces waste, and ensures readiness for future projects. Follow the steps to clean, seal, and label the tubes for extended usability.
- By storing caulk tubes in a dry place, labeling them, and checking expiration dates, you can be prepared for future projects while contributing to environmental sustainability.
Read more: How To Store Caulking Tube
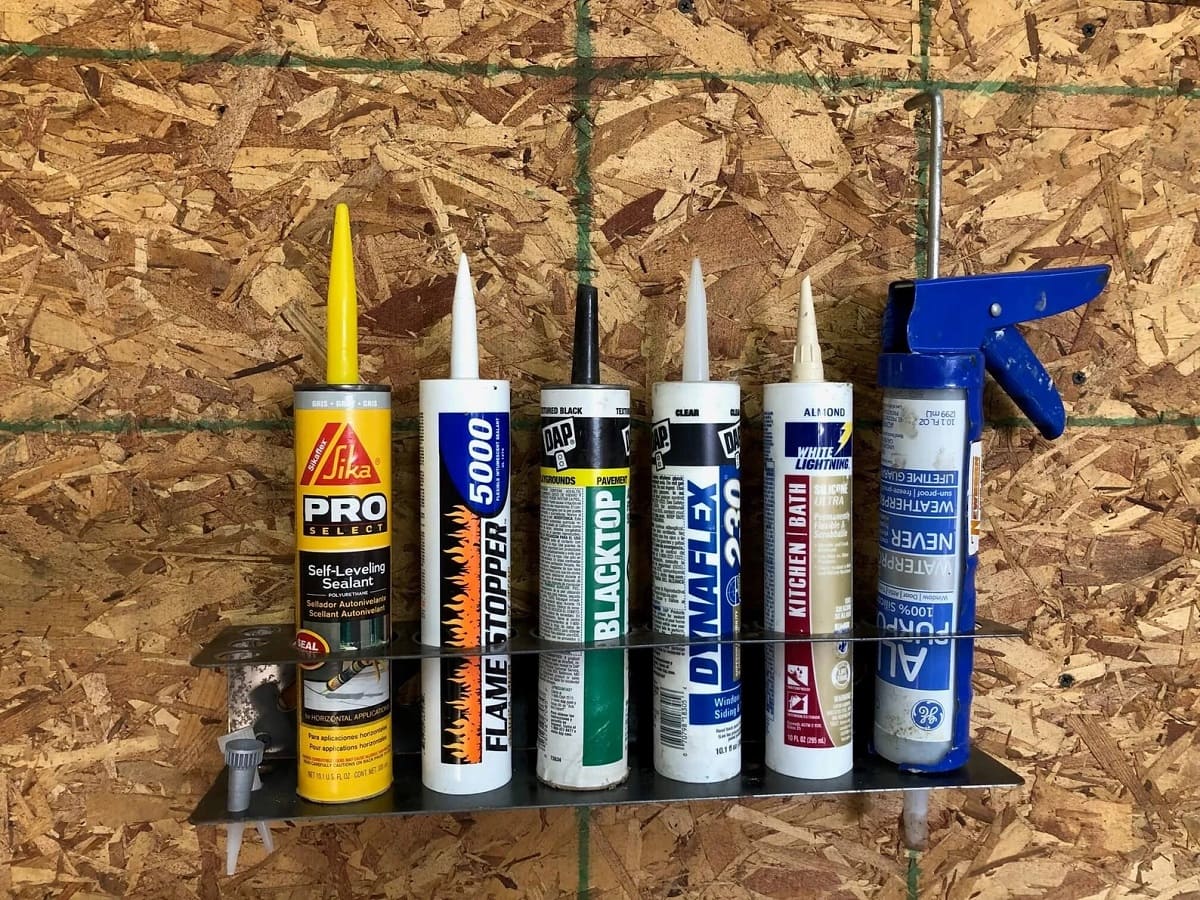
Materials Needed
Before you begin storing your used caulk tube, gather the following materials:
- A clean, dry cloth or rag
- Tape or a caulk tube cap
- Plastic wrap or a plastic bag
- A marker or pen
- A storage container or box
- Optional: silica gel packets or airtight containers
Having these materials on hand will make the process of storing your used caulk tube easier and more effective. Now that you have everything you need, let’s move on to the step-by-step instructions.
Step 1: Clean the Caulk Tube
Before storing your used caulk tube, it’s important to clean it thoroughly. Leftover caulk inside the tube can harden and make it difficult to use in the future. Follow these steps to clean the caulk tube:
- Use a clean, dry cloth or rag to wipe off any excess caulk from the outside of the tube. This will remove any dirt or debris that may have accumulated.
- Next, remove the caulk residue from the nozzle of the tube. Using a sharp object such as a toothpick or a small brush, gently scrape away any dried caulk that may be blocking the nozzle. Be careful not to damage the nozzle in the process.
- If the caulk residue is stubborn and difficult to remove, you can soak the nozzle in warm, soapy water for a few minutes. This will help to soften the caulk, making it easier to clean. After soaking, use a toothbrush or a scrub brush to remove the softened caulk.
- Once the tube and nozzle are clean, rinse them with warm water to remove any soap residue. Dry them thoroughly with a clean cloth or allow them to air dry completely.
Cleaning the caulk tube ensures that it will be in good condition for future use. It also prevents the nozzle from clogging, which can affect the performance of the caulk when you decide to use it again. With a clean caulk tube, you can proceed to the next step: removing the cap and nozzle.
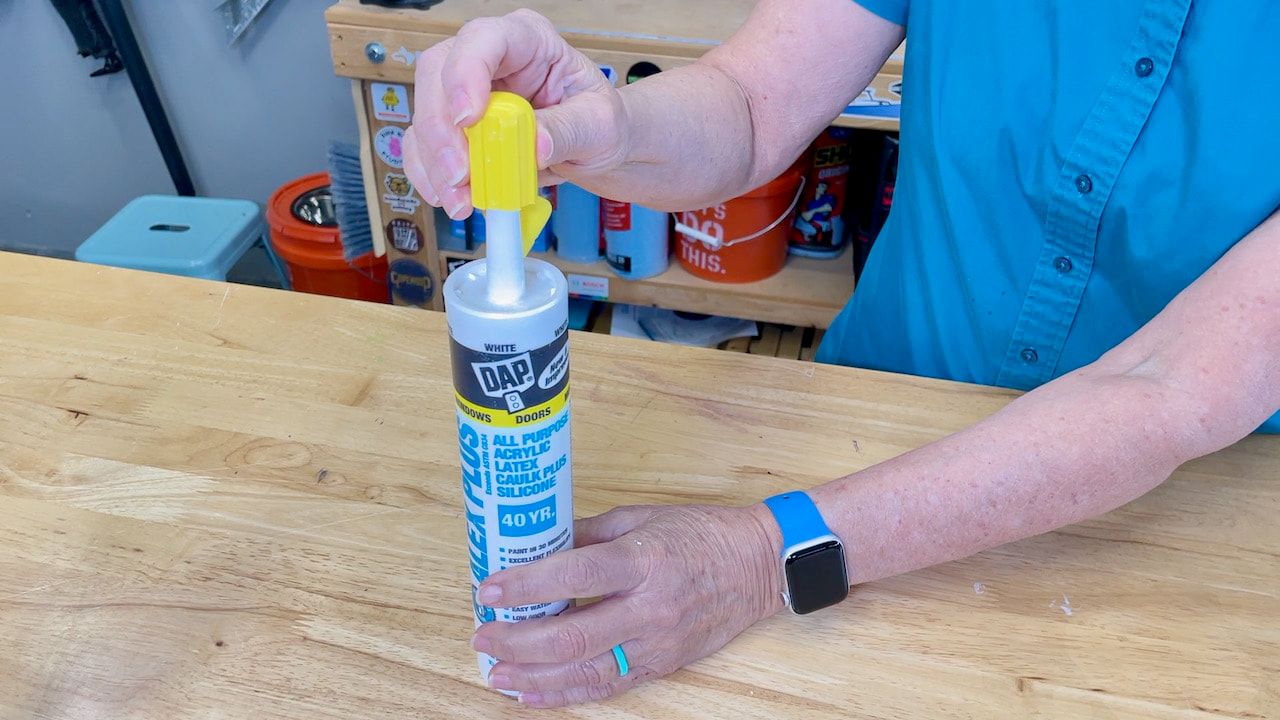
Step 2: Remove the Cap and Nozzle
Once you have cleaned the caulk tube, the next step is to remove the cap and nozzle. This step ensures that the caulk tube is properly sealed to prevent air from entering and causing the caulk to dry out. Follow these instructions to remove the cap and nozzle:
- First, twist off the cap from the top of the caulk tube. Some caulk tubes may have a cap that screws off, while others may have a cap that simply pulls off. Remove the cap gently to avoid damaging the tube or the cap itself.
- With the cap removed, locate the nozzle at the other end of the caulk tube. The nozzle is the tapered end that dispenses the caulk. Take hold of the nozzle firmly and twist it counterclockwise to unscrew it from the tube.
- If the nozzle is difficult to unscrew, you can use pliers or a wrench for extra leverage. Wrap a cloth around the nozzle to protect it from scratches, and then grip it with the pliers or wrench and turn counterclockwise until the nozzle comes off.
By removing the cap and nozzle, you ensure that the caulk tube is open and ready for storage. The next step is to seal the opening to maintain the freshness and usability of the caulk. Let’s move on to step 3.
After using caulk, remove any excess from the tip and cap tightly. Store the tube upside down in a cool, dry place to prevent drying out.
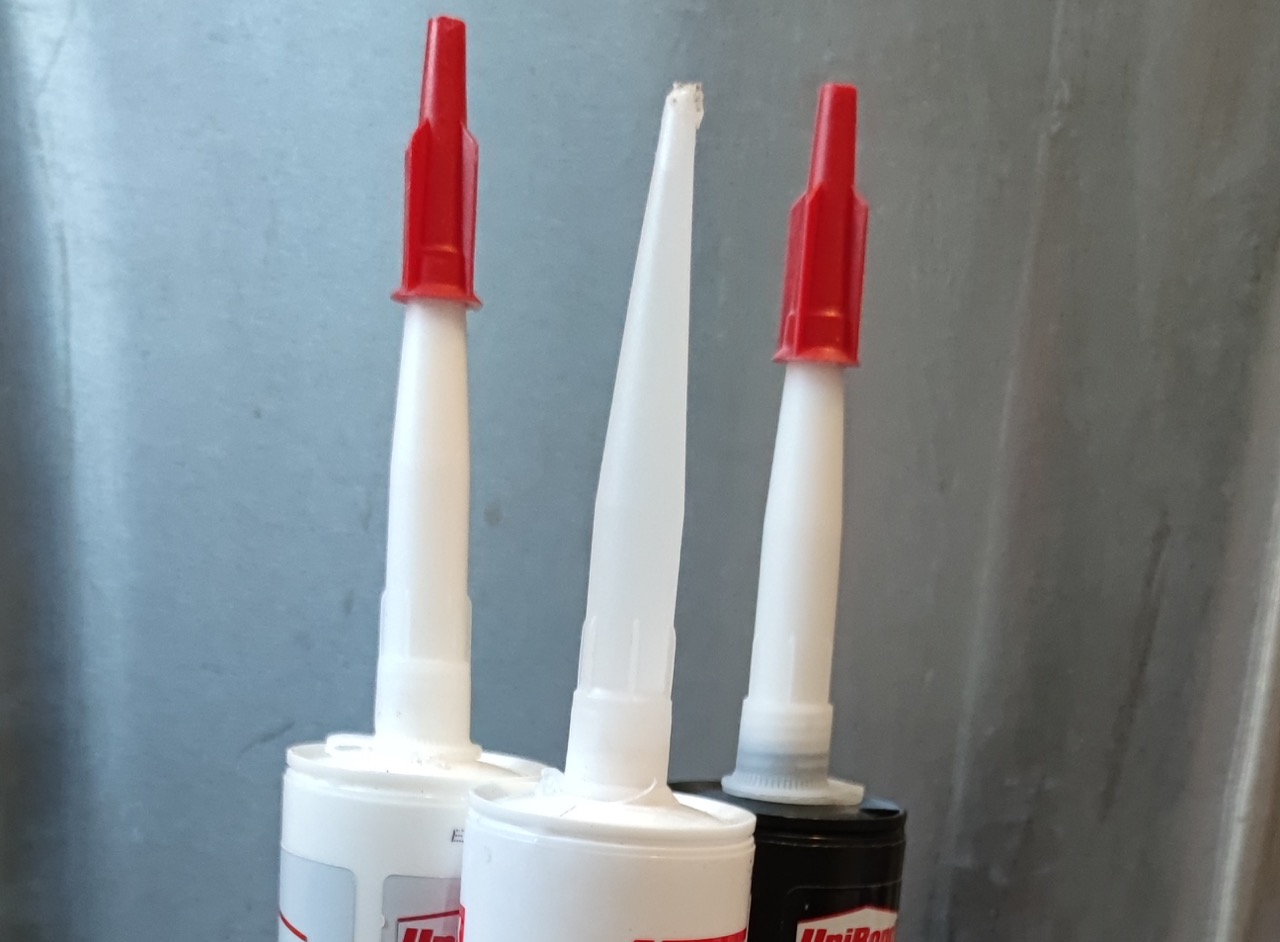
Step 3: Seal the Opening
After removing the cap and nozzle, it’s important to seal the opening of the caulk tube to prevent air from entering and drying out the caulk. There are a few methods you can use to effectively seal the opening:
- If you have the original cap that came with the caulk tube, simply twist it back onto the tube until it is snug. The cap will create a tight seal, keeping the caulk fresh and ready for future use.
- If you don’t have the original cap or it is damaged, you can use tape to seal the opening. Wrap a few layers of adhesive tape tightly around the threaded part of the tube, ensuring that it covers the opening completely. Make sure the tape is secure and tightly sealed to prevent any air from getting in.
- Another option is to use a dedicated caulk tube cap. These caps are specifically designed to fit onto caulk tubes and provide airtight sealing. Simply place the cap onto the tube and twist it until it is tightly sealed.
Whichever method you choose, make sure the opening of the caulk tube is sealed securely. This will help to preserve the freshness and usability of the caulk for an extended period of time. Now that the tube is properly sealed, let’s move on to step 4: storing the caulk tube in a dry place.
Read more: How To Store Caulk Tubes
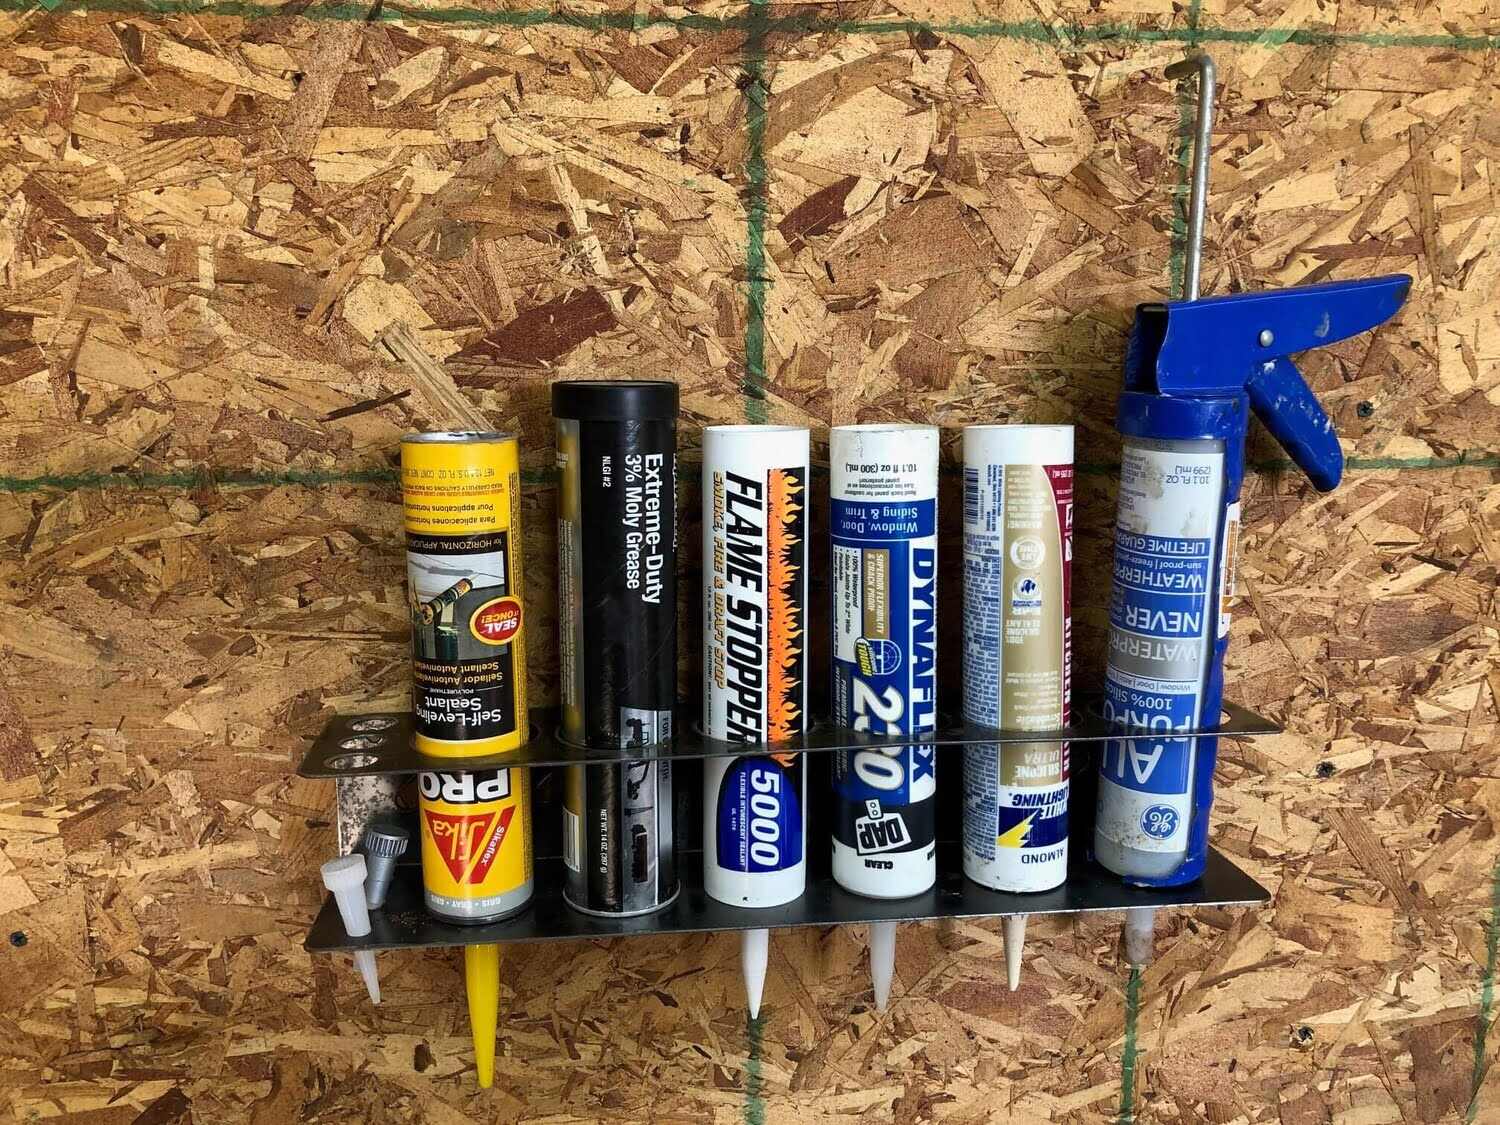
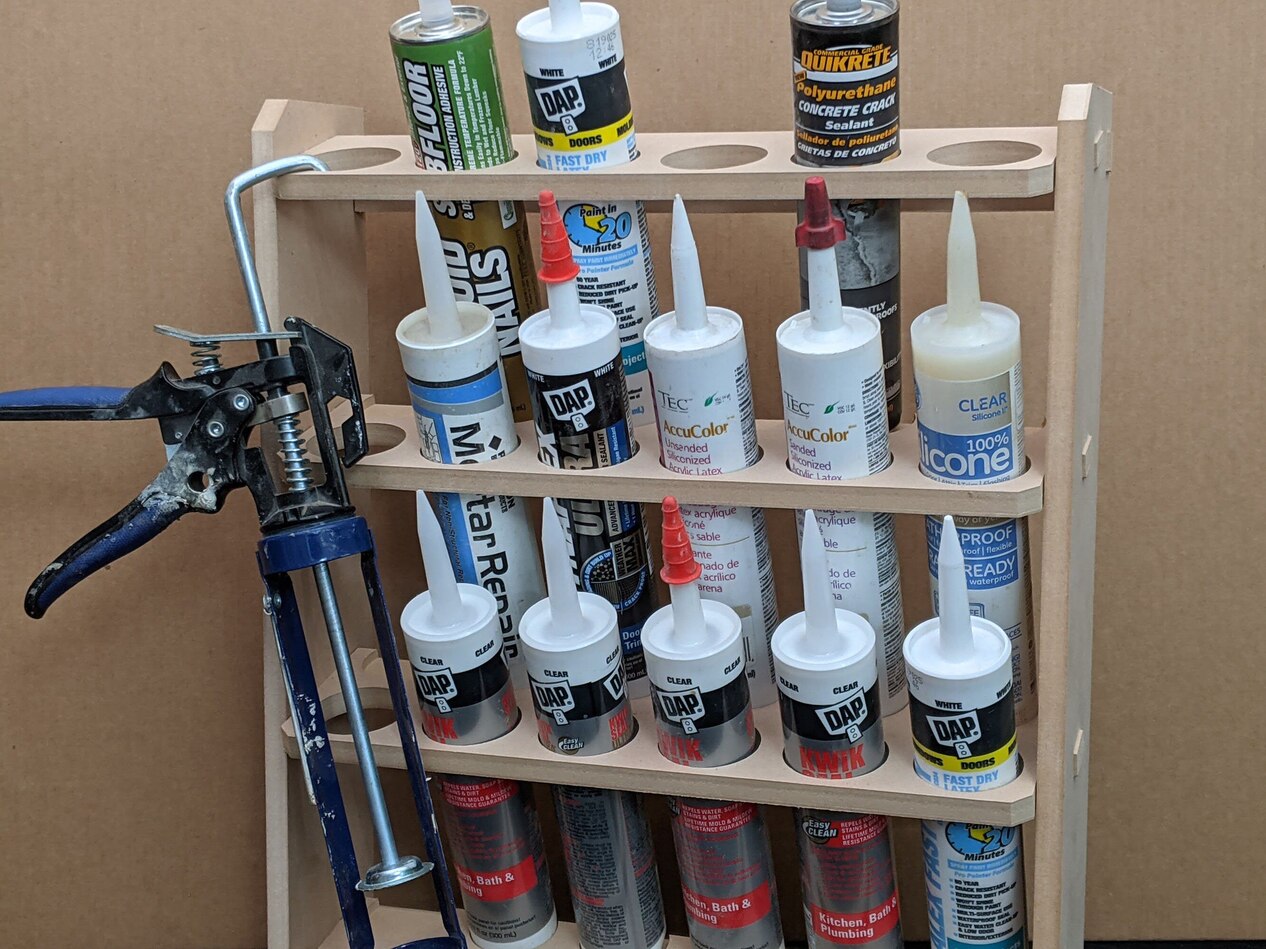
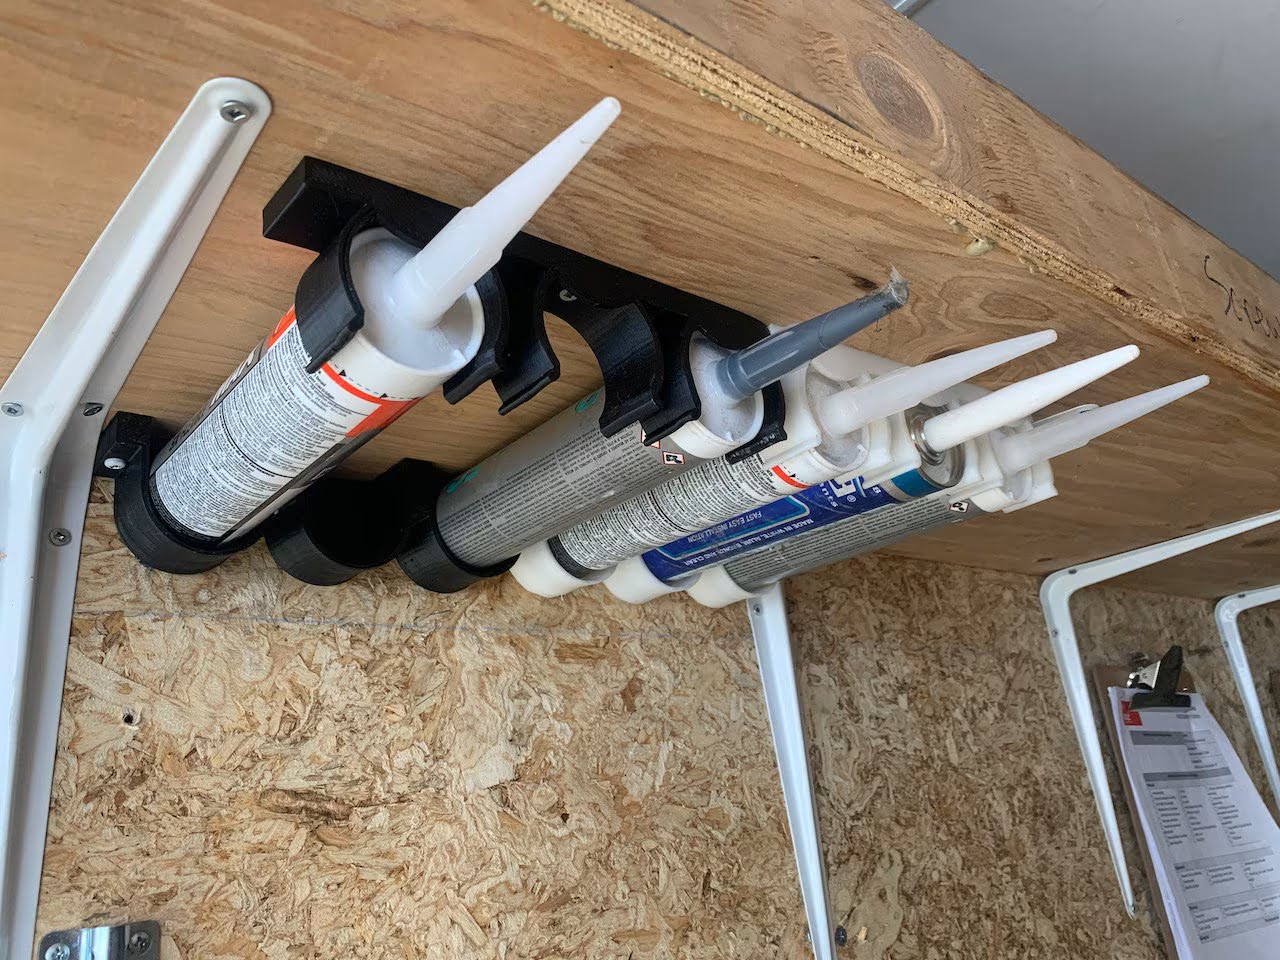
Step 4: Store in a Dry Place
Now that your caulk tube is cleaned and sealed, it’s time to store it in a dry place. Moisture can cause the caulk to harden and become unusable, so it’s important to choose a storage location that is dry and cool. Follow these guidelines to properly store your caulk tube:
- Find a storage container or box that is clean and dry. It should be large enough to accommodate the caulk tube and prevent it from being squished or damaged.
- Place the caulk tube in the storage container with the sealed end facing upward. This will help to prevent any leakage or accidental opening of the tube.
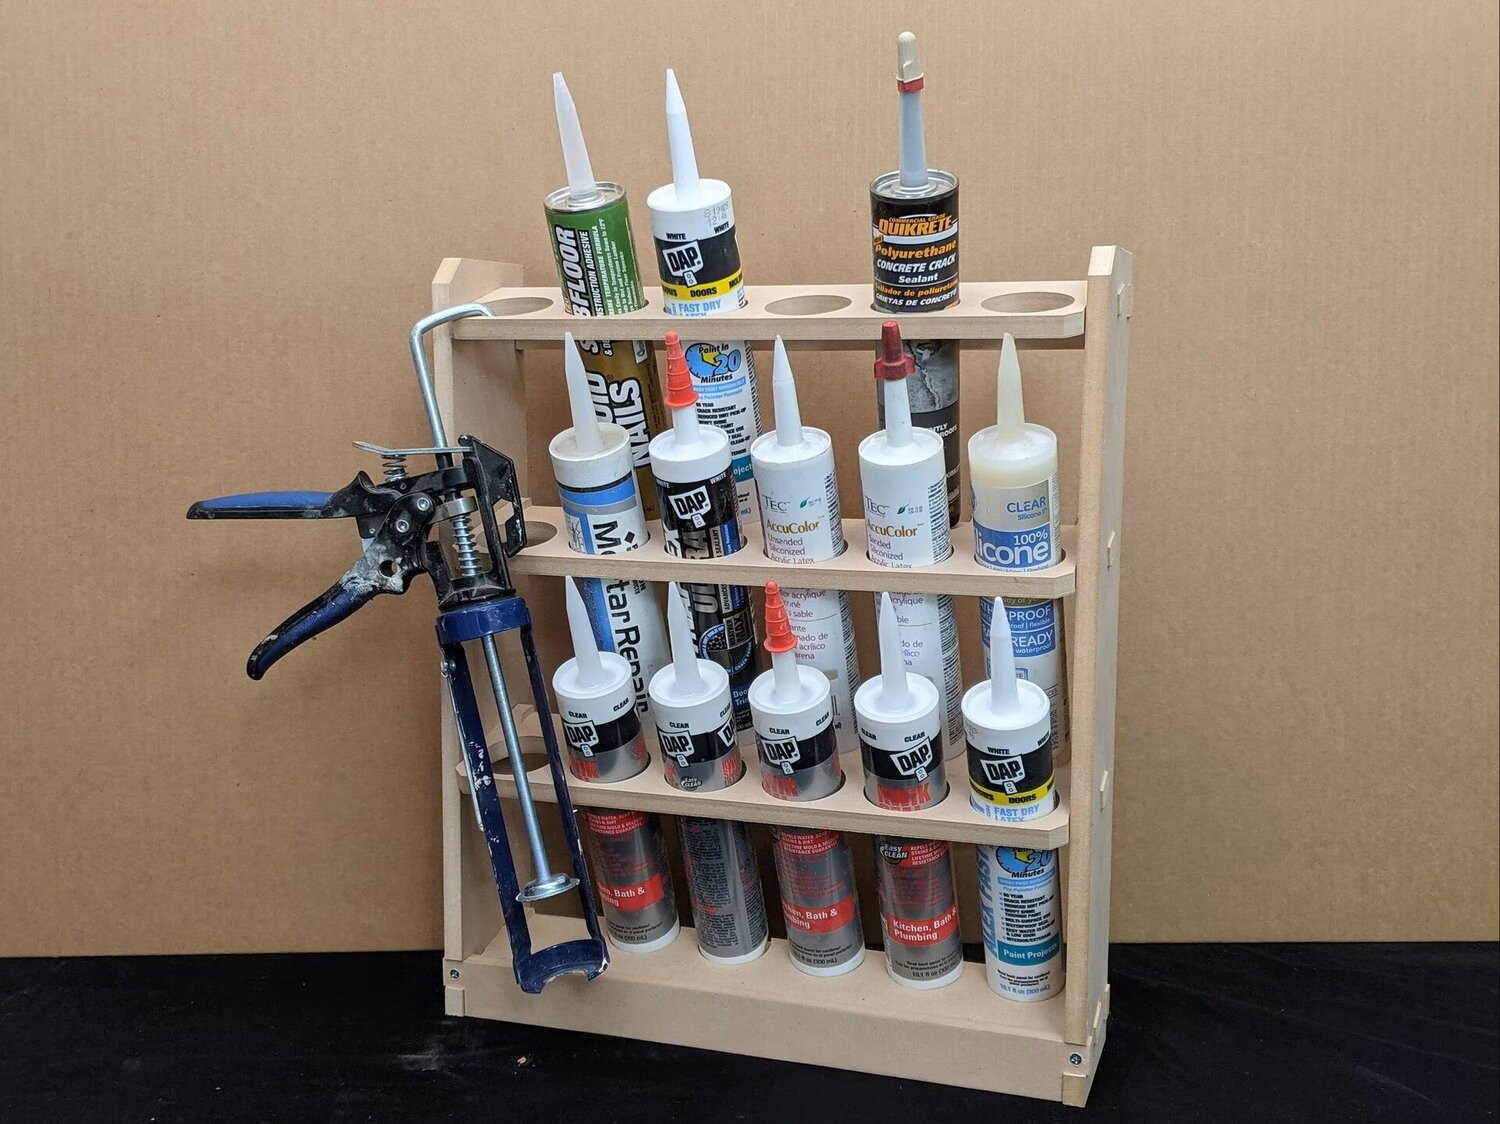
- If you have a large number of caulk tubes, consider using dividers or compartments within the storage container to keep them organized and separate from one another.
- Avoid storing the caulk tube near sources of heat or direct sunlight, as this can cause the caulk to dry out or deteriorate. Instead, choose a cool, dark area that is away from any extreme temperatures.
- If possible, place silica gel packets or airtight containers within the storage container to absorb any moisture and keep the environment dry.
By storing the caulk tube in a dry place, you ensure that it remains in good condition and ready for future use. Keeping it away from moisture and extreme temperatures will help to extend its shelf life and maintain its usability. The final step is to label and date the tube for easy identification.
Step 5: Label and Date the Tube
To keep track of your stored caulk tubes and ensure their freshness, it is important to label and date each tube. This will help you easily identify the caulk type and the date it was stored. Follow these steps to label and date your caulk tube:
- Take a marker or pen and write the name or type of caulk on the tube. This will help you quickly identify the caulk when you need to use it.
- Next, write the date of storage on the tube. This is crucial for tracking the age of the caulk and determining its usability. You can write the date on the side of the tube or on a small label that you affix to the tube.
- If you have multiple caulk tubes, consider organizing them by labeling them and storing them together based on their type or date of storage. This will simplify the process of locating a specific caulk tube when you need it.
By labeling and dating your caulk tubes, you ensure that you have a clear record of when the caulk was stored and what type it is. This will help you prioritize the use of the caulk tubes based on their age and prevent you from using caulk that may have expired or become less effective over time.
With the caulk tube properly labeled and dated, you have completed the final step in storing your used caulk tube. Now, you can confidently store your caulk tubes for future use, knowing that they are properly sealed, organized, and ready to tackle your next project!
Conclusion
Storing used caulk tubes properly is essential for preserving their usability and preventing unnecessary waste. By following the steps outlined in this article, you can effectively store your caulk tubes and have them ready for future use. Here’s a recap of the steps:
- Clean the caulk tube to remove any excess caulk and debris.
- Remove the cap and nozzle from the caulk tube.
- Seal the opening of the caulk tube using the original cap, tape, or a dedicated caulk tube cap.
- Store the caulk tube in a dry place, away from heat and direct sunlight, in a clean and organized storage container.
- Label and date the caulk tube to easily identify its type and storage date.
Properly storing your used caulk tubes not only saves you money by prolonging their usability but also reduces waste and contributes to environmental sustainability. By having a supply of sealed and organized caulk tubes, you’ll be prepared for any future projects that require caulking.
Remember to check the expiration date of the caulk and its manufacturer’s recommendations for storage. If the caulk has expired or shows signs of degradation, it’s best to dispose of it properly and acquire a fresh tube.
So, the next time you use caulk and have some leftovers in the tube, don’t throw it away. Follow these storage steps and keep your caulk tubes in excellent condition. When you’re ready to use them again, you’ll have reliable and effective caulk at your fingertips, saving you time, money, and the hassle of purchasing new tubes.
Happy caulking!
Frequently Asked Questions about How To Store Used Caulk Tube
Was this page helpful?
At Storables.com, we guarantee accurate and reliable information. Our content, validated by Expert Board Contributors, is crafted following stringent Editorial Policies. We're committed to providing you with well-researched, expert-backed insights for all your informational needs.


0 thoughts on “How To Store Used Caulk Tube”