
Articles
How To Store Peach Pits For Planting
Modified: January 6, 2024
Learn the best way to store peach pits for planting and grow your own peach trees with our informative articles.
(Many of the links in this article redirect to a specific reviewed product. Your purchase of these products through affiliate links helps to generate commission for Storables.com, at no extra cost. Learn more)
Introduction
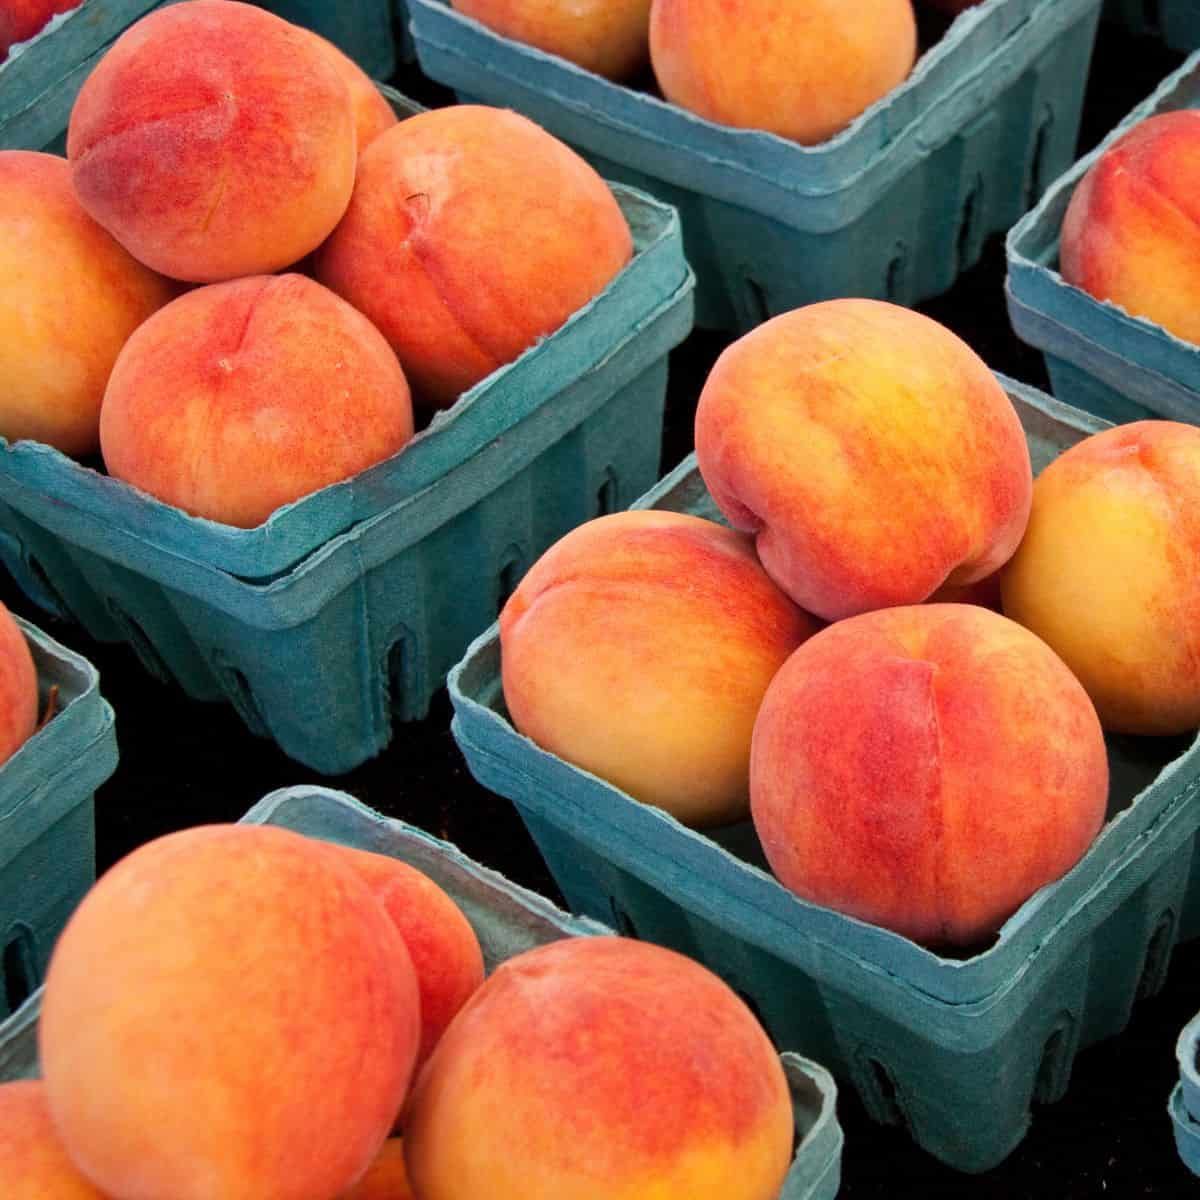
Do you have a love for peaches? Growing your own peach trees can be a rewarding experience, and one way to get started is by planting peach pits. Peach pits, or seeds, are the small, hard kernels found inside peach fruits. By properly storing peach pits, you can ensure their viability for future planting and increase your chances of successfully growing your own peach tree.
The process of storing peach pits may seem simple, but there are a few essential steps you need to follow to ensure optimal seed viability. In this article, we will guide you through the process of choosing, preparing, and storing peach pits for planting. By following these steps, you will be well on your way to nurturing your very own peach tree.
Key Takeaways:
- Properly storing and preparing peach pits is crucial for successful peach tree cultivation. Choose ripe, healthy peaches, dry and store pits in optimal conditions, and focus on planting the most viable seeds.
- Embrace the journey of growing your own peaches from the very beginning. With patience and care, your peach pits will develop into beautiful trees, rewarding you with delicious fruits for years to come.
Read more: How To Plant Peach Seeds
Choosing and Preparing Peach Pits
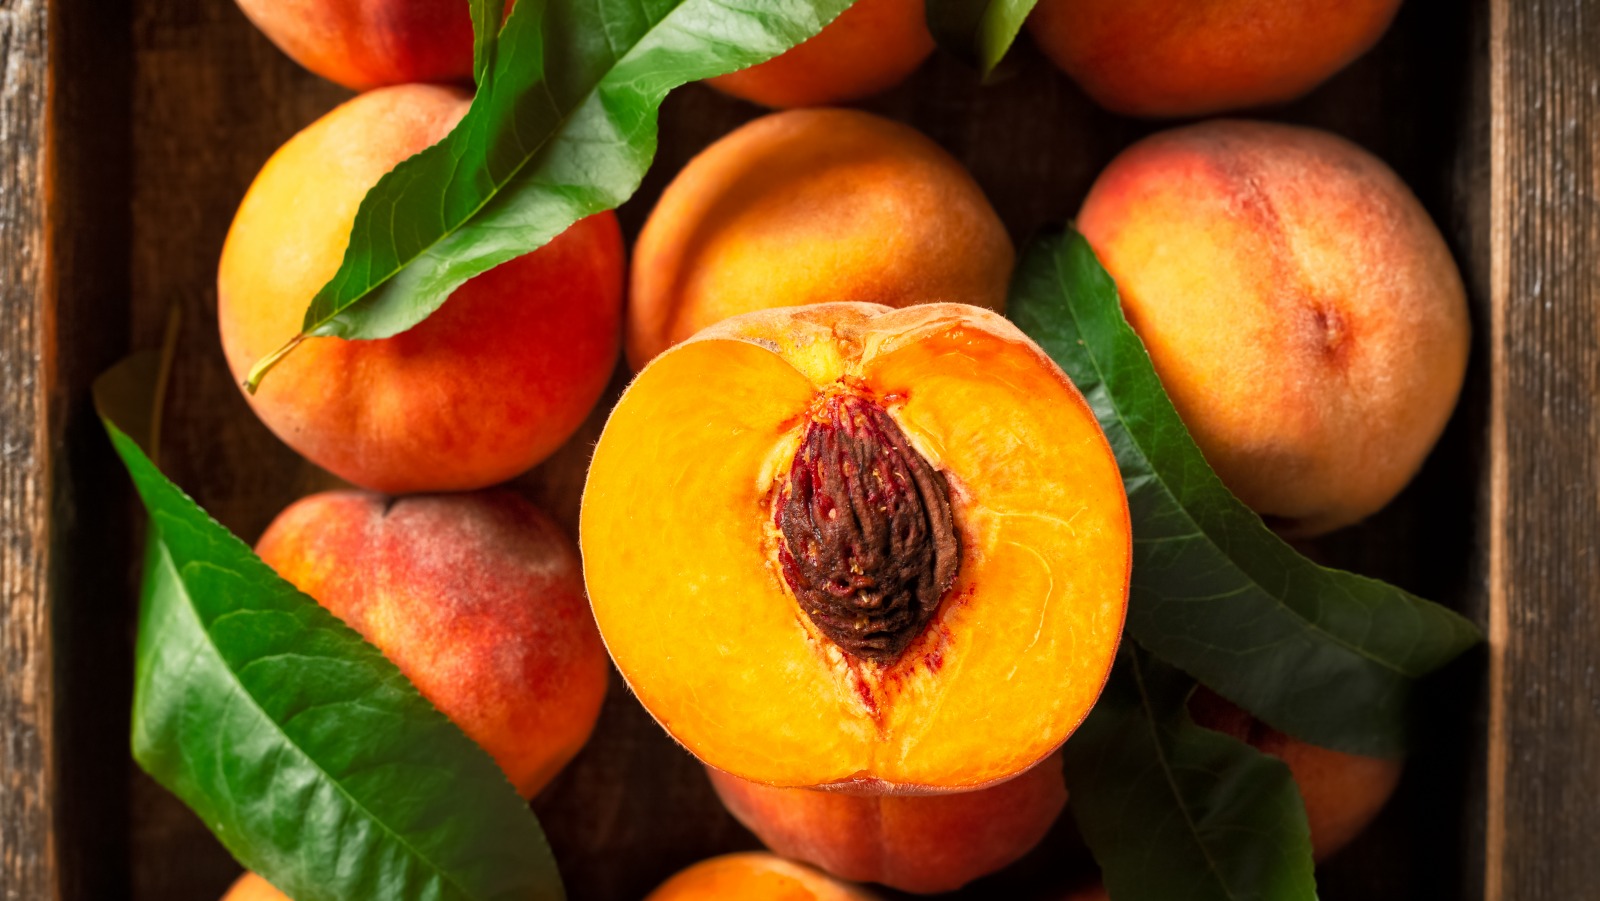
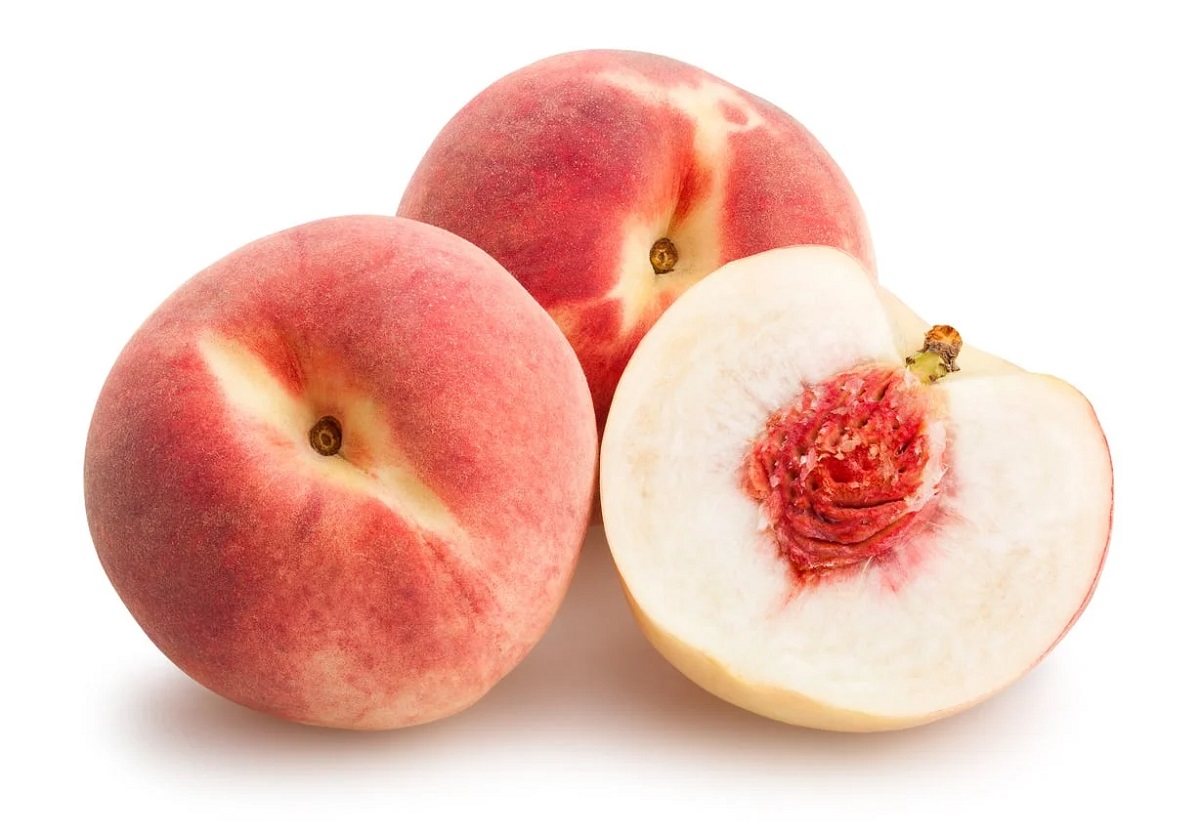
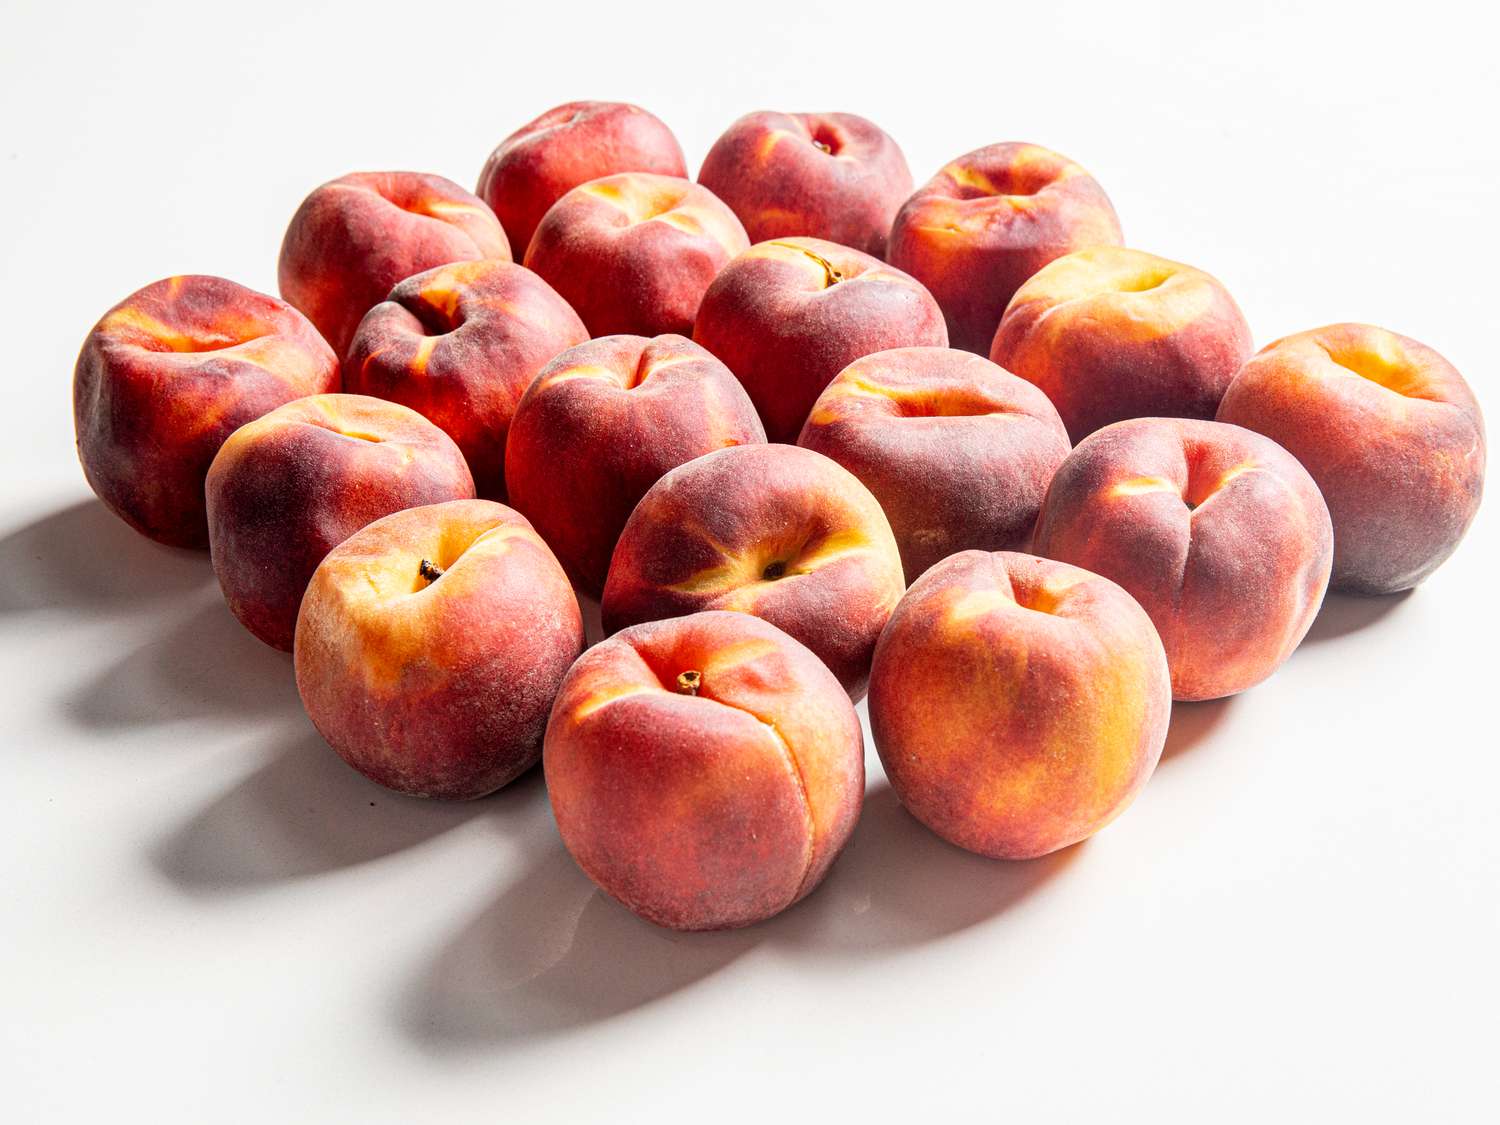
When it comes to choosing peach pits for planting, it’s important to select ones from a healthy and ripe peach. Look for peaches that are free from any signs of disease or damage. The pit should be intact, without any cracks or splits. Additionally, choose a peach variety that is well-adapted to your climate and growing conditions to increase your chances of success.
Once you have chosen the peach, it’s time to prepare the pit for storage. Start by carefully removing the pit from the fruit. Gently wash off any flesh or debris from the surface of the pit using water. Avoid using any cleaning agents or chemicals as they can interfere with the seed’s viability.
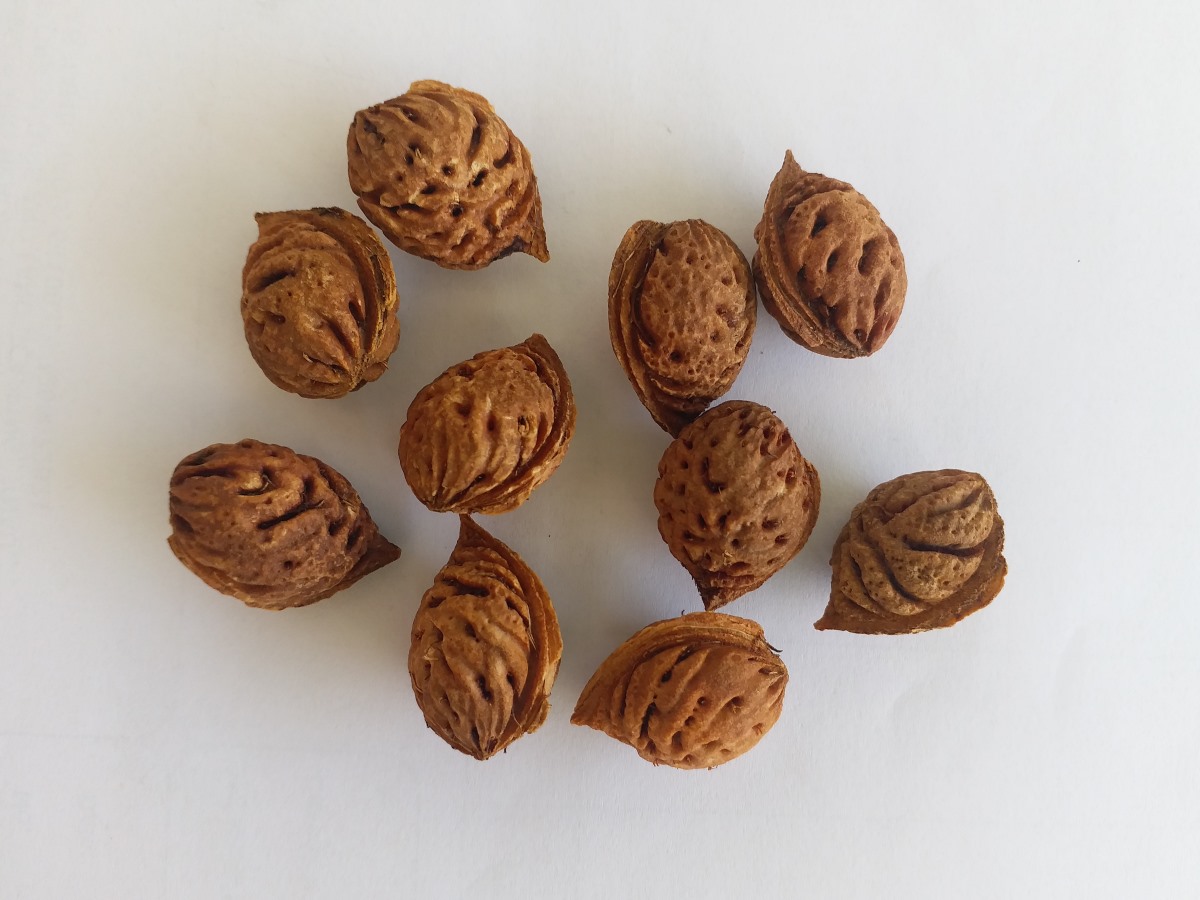
Next, it’s important to break the pit open to expose the seed within. You can do this by using a hammer or nutcracker. Apply gentle pressure to crack the pit open, being careful not to damage the seed inside. Once cracked, carefully remove the seed from the pit.
After removing the seed, it’s time to clean it. Fill a bowl with water and place the seed inside. Gently swirl the seed around in the water to remove any remaining flesh or debris. Once the seed is clean, pat it dry with a clean towel.
Now that you have chosen and prepared the peach pit, it’s time to move on to the next step—storing.
Storing Peach Pits
Proper storage is crucial to maintain the viability of peach pits for future planting. Here are the steps to ensure you store your peach pits correctly:
- Drying: Before storing peach pits, it’s important to dry them thoroughly. Place the clean and dry peach pits on a paper towel or a mesh drying rack in a well-ventilated area. This will allow any moisture to evaporate and prevent the growth of mold or fungus. Allow the pits to dry for about a week, or until they are completely hard and brittle.
- Container: Once the peach pits are dry, it’s time to choose a suitable storage container. Look for a container that is clean, dry, and airtight. Mason jars or zip-lock bags are excellent options. Ensure that the container is large enough to hold all the pits without overcrowding them. Overcrowding can lead to mold and can affect seed viability.
- Desiccant: To prevent moisture build-up and maintain seed quality, consider adding a desiccant to the container. Silica gel packets, which are commonly found in packaging, are excellent desiccants. Place a few packets inside the container to absorb excess moisture.
- Labeling: It’s essential to label your storage container with the date and variety of the peach pits. This information will help you keep track of the storage time and identify the specific variety you stored. Use a permanent marker or adhesive labels to ensure clarity.
- Storage Location: Find a cool, dark, and dry location to store your peach pits. Avoid places with direct sunlight or high humidity, as they can affect seed viability. A pantry or a basement storage area is usually suitable for seed storage.
By following these storing guidelines, you can maximize the chances of your peach pits remaining viable for future planting.
Optimal Storage Conditions
Providing the optimal storage conditions for your peach pits is essential for their long-term viability. Here are the key factors to consider:
- Temperature: The ideal temperature range for storing peach pits is between 32°F (0°C) and 50°F (10°C). This cool temperature prevents premature germination and helps to maintain seed dormancy. Avoid storing the pits in areas where temperatures fluctuate dramatically, such as near radiators or windows.
- Humidity: Peach pits require low humidity levels to prevent mold growth and maintain seed quality. Aim for a relative humidity of around 60% or lower. If the storage area is particularly humid, using a dehumidifier or adding a desiccant, such as silica gel packets, can help absorb excess moisture.
- Light: Keep your stored peach pits in a dark location. Exposure to light can stimulate premature germination, reducing the viability of the seeds. Store them in a closed container or a dark closet to protect them from light.
- Airtight Containers: Store your peach pits in airtight containers to prevent moisture and air exchange. This helps maintain the optimal humidity levels and protects the seeds from drying out. Mason jars with tightly sealed lids or zip-lock bags are ideal for this purpose.
By ensuring the right temperature, humidity, darkness, and airtightness, you can create the best possible storage conditions for your peach pits, maximizing their chances of successful planting in the future.
After eating a peach, rinse the pit to remove any remaining fruit. Dry the pit thoroughly and store it in a cool, dry place until ready for planting.
Checking Seed Viability
Before planting your stored peach pits, it’s important to check their viability. Not all stored seeds will remain viable, so conducting a simple viability test can help you determine which ones are worth planting. Here’s how you can check the viability of your peach seeds:
- Water Test: Fill a bowl or glass with water and place the peach pits inside. Allow them to soak for 24 to 48 hours. After this period, viable seeds will sink to the bottom of the container, while non-viable seeds will float to the top. Discard any seeds that float as they are unlikely to germinate.
- Germ Test: Take the viable seeds that sank to the bottom of the water and prepare them for germination. Moisten a paper towel or paper napkin and place the seeds on top. Fold the towel over the seeds to create a moist, enclosed environment. Keep the towel in a warm location, around 70°F (21°C), for a few days. Check regularly for signs of germination, such as the emergence of a small root (radicle) or tiny sprouts. These are indicators of seed viability.
- Germination Rate: If a seed is viable, it will germinate within a few days to a couple of weeks under favorable conditions. After conducting the germ test, count the number of seeds that have germinated. This will give you an idea of the germination rate for your stored peach pits. The higher the germination rate, the more likely the seeds are to grow when planted.
By checking seed viability, you can identify which peach pits have the best chance of success and focus your efforts on planting those that are most likely to germinate.
Read more: How To Store Peaches
Preparing Peach Pits for Planting
Once you have determined the viability of your stored peach pits, it’s time to prepare them for planting. Follow these steps to ensure the best possible start for your peach tree:
- Stratification: Peach pits have a natural dormancy period that needs to be broken before they can germinate. This can be achieved through a process called stratification. Place the viable peach pits in a moistened paper towel or in a container with damp sand or vermiculite. Seal the container and refrigerate it for a period of 8 to 12 weeks. This cold stratification process mimics the natural winter conditions and allows the seeds to break dormancy.
- Planting Medium: Choose a well-draining planting medium for your peach pits. A mix of equal parts potting soil, perlite, and vermiculite is a suitable option. Fill small pots or seed trays with the planting medium, leaving about an inch of space at the top for watering.
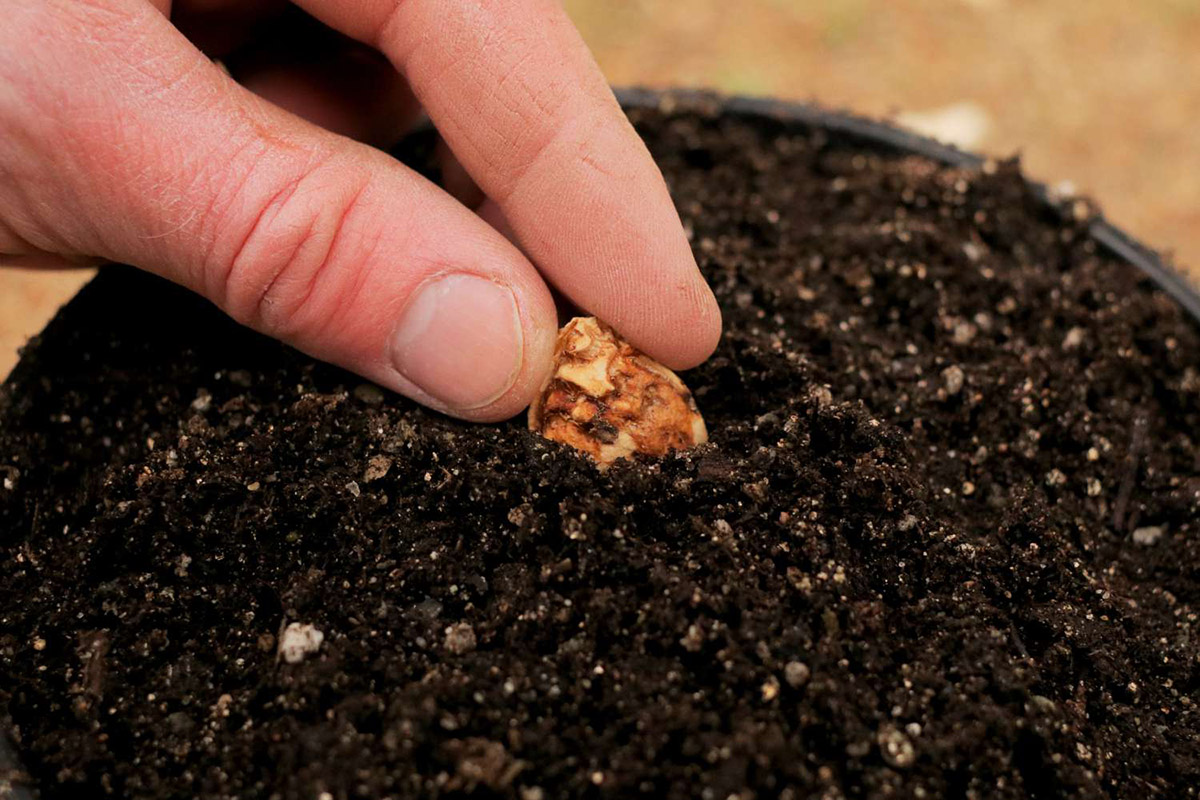
- Planting: Make a small indentation in the planting medium and place the stratified peach pit inside, pointed end facing down. Cover the pit with a thin layer of the planting medium, ensuring that it is fully submerged but still visible.
- Watering: After planting, water the pots or trays thoroughly until moisture drains out from the bottom. Avoid overwatering, as excessive moisture can lead to rotting of the seed. Keep the soil consistently moist but not waterlogged during the germination period.
- Germination: Place the pots or trays in a warm and sunny location, preferably with temperatures around 70°F (21°C). Keep them protected from cold drafts and extreme temperature fluctuations. Germination can take anywhere from a few weeks to a couple of months, so be patient and continue to provide adequate moisture and sunlight.
- Transplanting: Once the seedlings have developed a few sets of true leaves, they are ready to be transplanted into individual pots or into a larger container. Choose a location in your garden with full sun exposure and well-drained soil. Transplant the seedlings carefully, ensuring the roots are intact and covered with soil.
By following these steps, you will give your peach pits the best chance of successful germination and growth as you embark on your journey to cultivating your own peach tree.
Conclusion
Growing your own peach trees from peach pits can be a gratifying and exciting venture. Properly storing and preparing peach pits is essential to ensure their viability for planting. By following the steps outlined in this article, you can increase your chances of success and enjoy the satisfaction of nurturing your very own peach tree.
Remember to choose ripe and healthy peaches, carefully remove and clean the pits, and dry them thoroughly before storing. Store the peach pits in a cool, dark, and dry location in airtight containers with desiccants to maintain optimal conditions. Check the viability of the seeds using water and germ tests, and focus on planting the most viable ones.
When preparing the peach pits for planting, undergo stratification by mimicking winter conditions, and use a well-draining planting medium. Be patient during germination, providing adequate moisture, warmth, and sunlight. Once the seedlings have grown, transplant them to a suitable location in your garden with full sun exposure and well-drained soil.
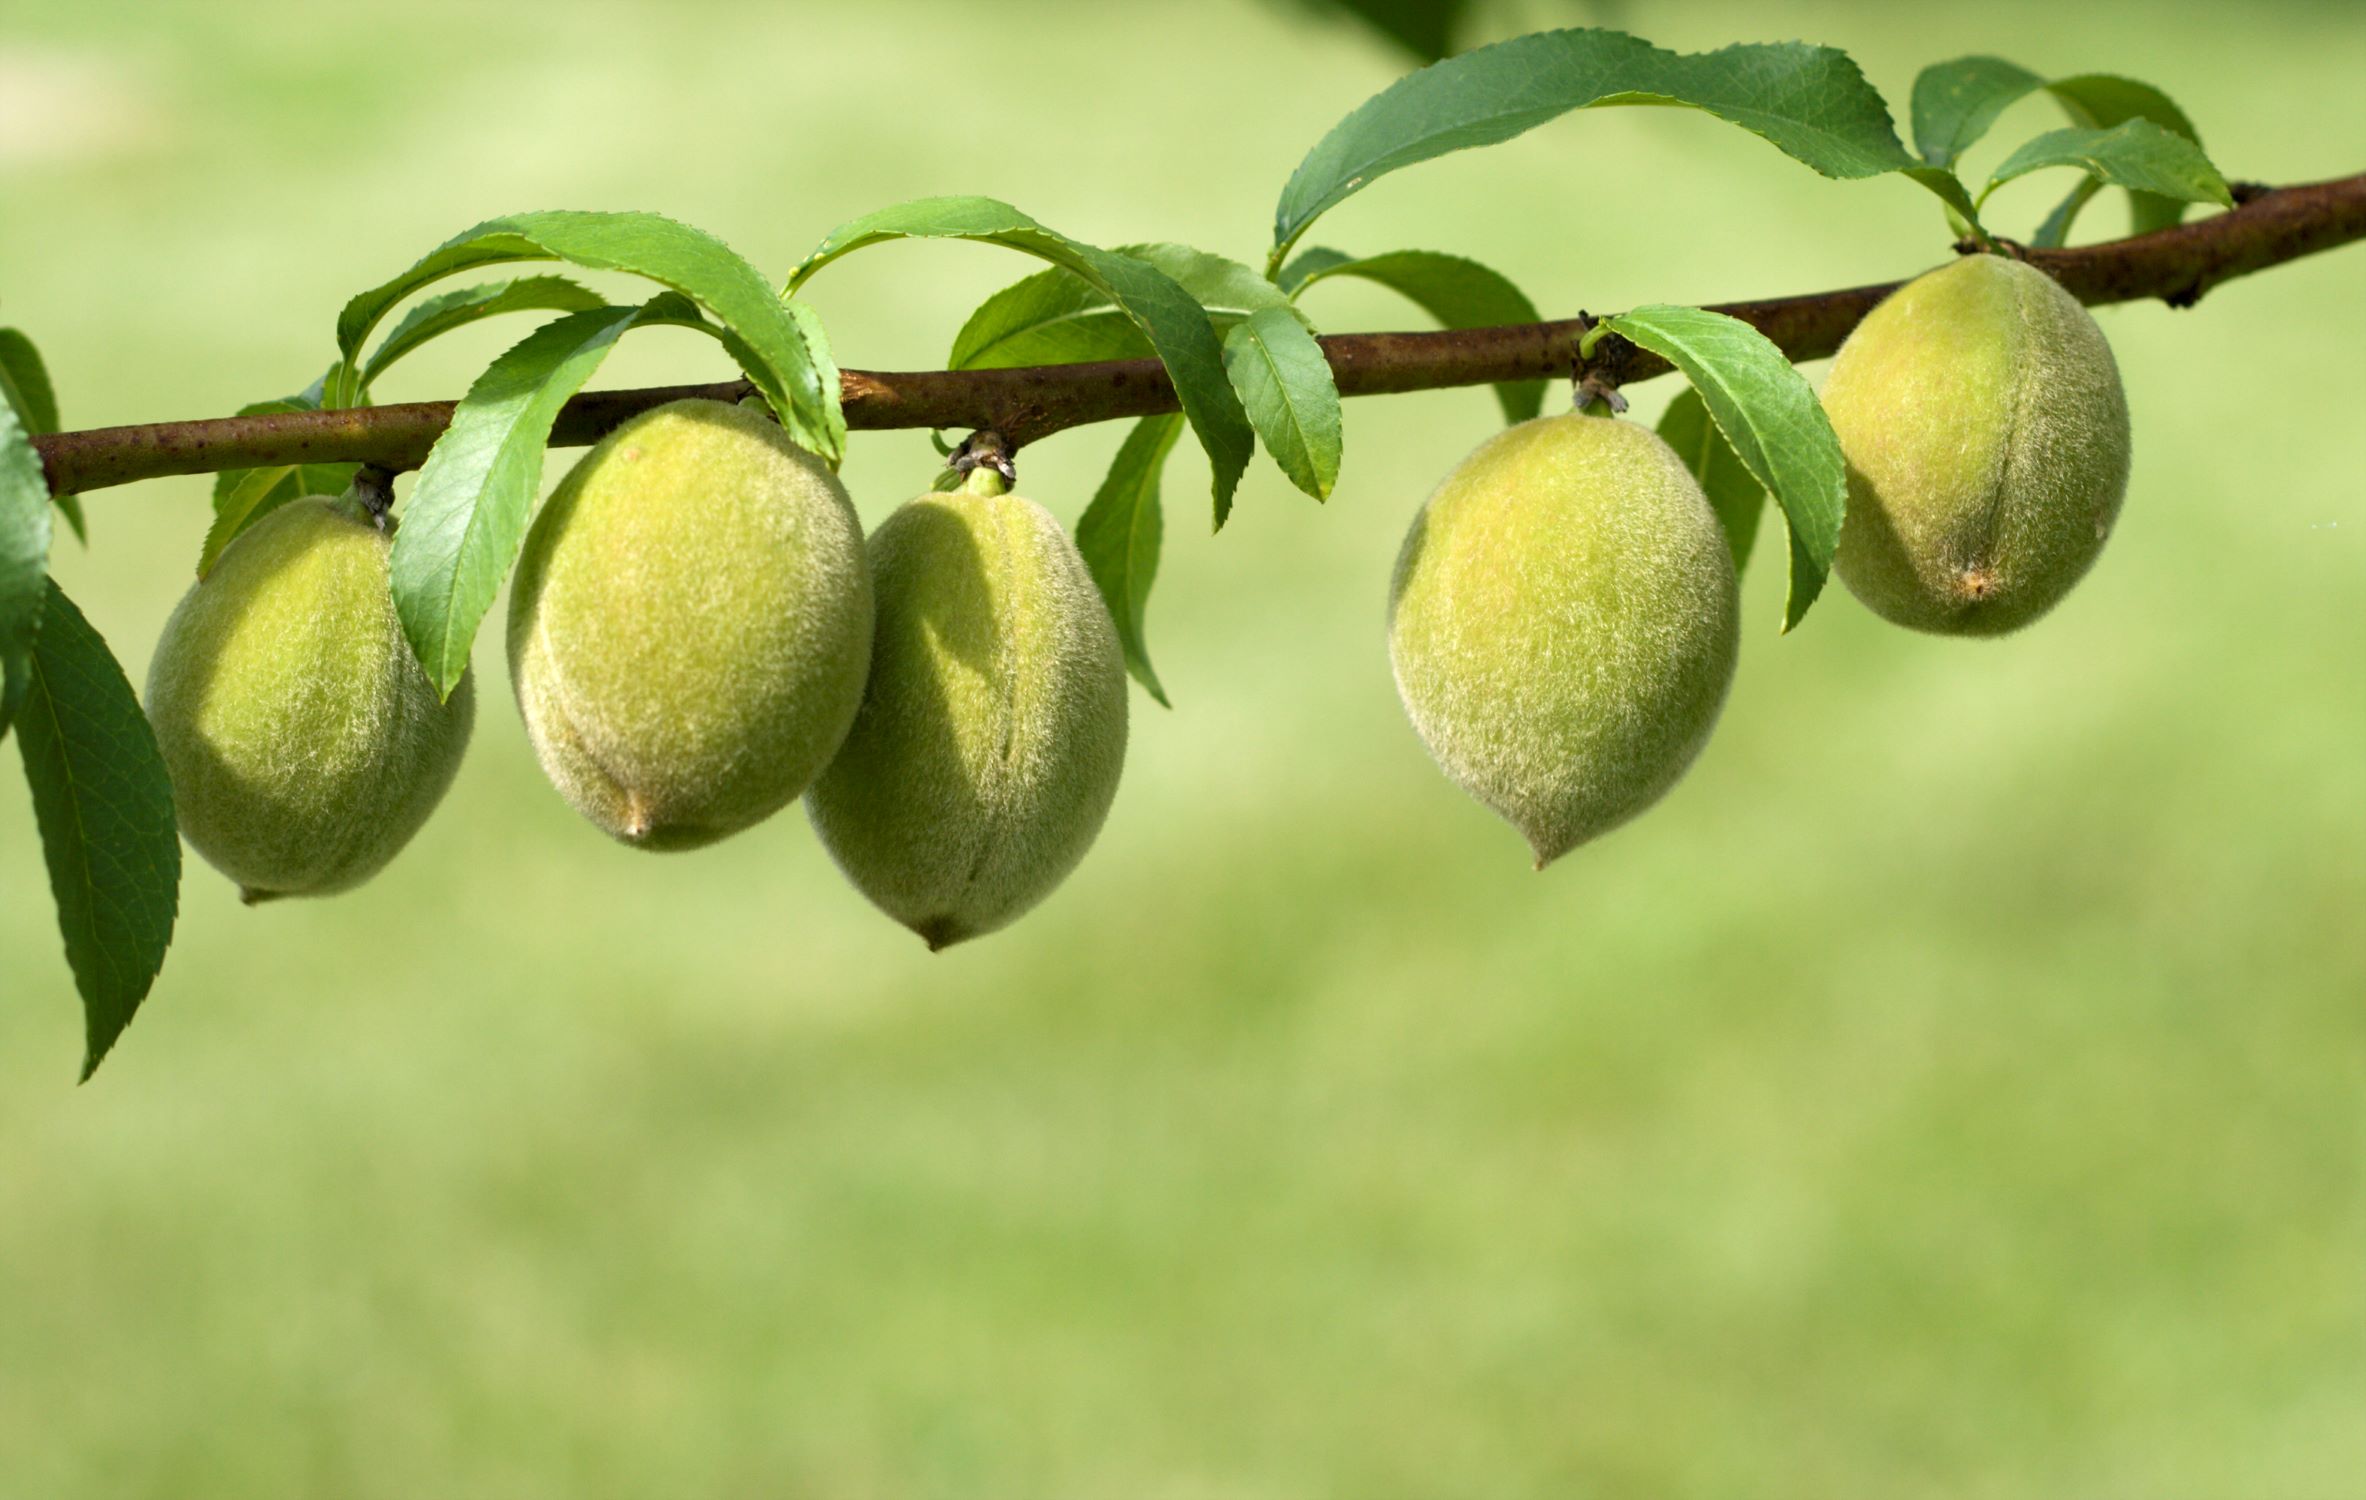
With proper care and patience, your peach pits will develop into beautiful peach trees that will reward you with delicious fruits for years to come. Embrace the journey of growing your own peaches from the very beginning, and savor the satisfaction of enjoying the fruits of your labor.
So, start collecting those ripe peaches, prepare your peach pits, and get ready to embark on an amazing journey of peach tree cultivation!
Frequently Asked Questions about How To Store Peach Pits For Planting
Was this page helpful?
At Storables.com, we guarantee accurate and reliable information. Our content, validated by Expert Board Contributors, is crafted following stringent Editorial Policies. We're committed to providing you with well-researched, expert-backed insights for all your informational needs.


0 thoughts on “How To Store Peach Pits For Planting”