Home>Garden Essentials>How To Plant Peach From Seed
Garden Essentials
How To Plant Peach From Seed
Modified: March 15, 2024
Learn how to plant peach from seed in your garden with our easy step-by-step guide. Start growing your own delicious peaches today!
(Many of the links in this article redirect to a specific reviewed product. Your purchase of these products through affiliate links helps to generate commission for Storables.com, at no extra cost. Learn more)
Introduction
Welcome to the world of gardening, where wonders await you at every turn. If you have ever bitten into a juicy, sweet peach and felt a rush of satisfaction, you might have wondered if you could grow your own peach tree at home. Well, I have good news for you – it is indeed possible! While many people opt to buy young peach trees from nurseries, there is another option that allows you to start from scratch – planting a peach seed.
Planting a peach from a seed can be an exciting and rewarding experience. Not only does it give you the satisfaction of growing a tree from scratch, but it also allows you to witness the full life cycle of a peach tree, from seed to fruit-bearing. While growing a peach tree from a seed does take a bit more time and patience compared to planting a young tree, the process can be incredibly fulfilling.
In this comprehensive guide, we will walk you through the step-by-step process of planting a peach seed and nurturing it into a thriving tree. We will cover everything from selecting the right seed to harvesting delicious, homegrown peaches. So, grab your gardening gloves and let’s dive in!
Key Takeaways:
- Growing a peach tree from a seed is a rewarding journey that requires patience and nurturing. From selecting a high-quality seed to caring for the seedling and harvesting delicious fruits, every step plays a crucial role in the tree’s development.
- Providing proper care, including watering, sunlight, protection, and regular fertilization, is essential for the healthy growth of a peach tree. Implementing pruning and training techniques helps maintain a productive tree structure and ensures a bountiful harvest of sweet, juicy peaches.
Read more: How To Plant Peach Seeds
Step 1: Selecting a High-Quality Peach Seed
The first and most crucial step in planting a peach tree from a seed is selecting a high-quality seed. Choosing a healthy and viable seed increases your chances of successfully growing a strong and productive peach tree.
When selecting a peach seed, look for a fully ripened peach that is firm, juicy, and free from any signs of rot or disease. Avoid using seeds from processed or cooked peaches, as they may not be viable for planting.
Once you have your ripe peach, carefully remove the seed. Rinse the seed under cold water to remove any pulp or debris. It’s important to handle the seed gently to avoid damaging it.
Next, you’ll want to perform a simple test to determine if the seed is viable. Fill a bowl with water and place the seed in it. If the seed sinks to the bottom and remains submerged, it is likely viable. If the seed floats to the top or doesn’t sink completely, it may not be viable and should be discarded.
Additionally, you can perform the “squeeze test” to check the viability of the seed. Gently squeeze the seed between your fingers. If it feels plump and firm, it is more likely to be viable. If it feels hollow or mushy, it may not be suitable for planting.
It’s worth noting that planting a seed from a hybrid peach variety may result in a tree that differs from the parent tree. Hybrid peach trees are created by crossbreeding different varieties to achieve specific traits, such as disease resistance or larger fruit. If you want to grow a peach tree that closely resembles the parent tree, it’s best to choose a seed from a non-hybrid or heirloom variety.
Once you have selected a high-quality peach seed, you are ready to move on to the next step – preparing the soil for planting.
Step 2: Preparing the Soil for Planting
The success of your peach tree largely depends on the quality of the soil it is planted in. Before you start planting the peach seed, it’s essential to prepare the soil to create an optimal growing environment for the tree.
Peach trees thrive in well-drained soil with a slightly acidic pH level between 6.0 and 6.5. Start by choosing a location in your garden that receives full sunlight for at least 6-8 hours a day. This will ensure that your peach tree receives the necessary sunlight to grow and produce fruit.
Clear the area of any weeds, rocks, or debris that may hinder the growth of the tree. Loosen the soil using a garden fork or tiller to a depth of about 12-18 inches. This will help improve the drainage and allow the roots to penetrate easily.
Depending on your soil’s composition, you may need to amend it with organic matter to improve its fertility and drainage. Incorporate well-decomposed compost, aged manure, or peat moss into the soil. This will help retain moisture and provide essential nutrients for the young peach tree.
Before planting the seed, perform a soil pH test to ensure it falls within the preferred range for peach trees. You can use a soil testing kit, available at many garden centers, to determine the pH level. If the soil is too acidic, you can add lime to raise the pH. Conversely, if the soil is too alkaline, you can add sulfur to lower the pH.
Once you have prepared the soil, it’s important to ensure proper drainage. Peach trees do not tolerate waterlogged soil, as it can lead to root rot and other diseases. If your soil tends to be heavy and poorly draining, you can improve its drainage by amending it with sand or pebbles.
Now that your soil is properly prepared, you are ready to move on to the next step – preparing the peach seed for planting.
Step 3: Preparing the Peach Seed for Planting
Now that you have selected a high-quality peach seed and prepared the soil, it’s time to get the seed ready for planting. Properly preparing the seed will help ensure successful germination and the healthy growth of your peach tree.
Start by gently cleaning the peach seed by removing any remaining pulp or debris. You can use a soft cloth or paper towel to wipe off the seed carefully. Avoid damaging the outer protective layer of the seed while cleaning.
Next, you’ll want to mimic the natural process of stratification, which is essential for breaking the seed’s dormancy and promoting germination. Peach seeds need a period of cold temperature to signal the arrival of winter and prepare for spring growth. This process can be replicated by storing the seed in moist conditions at a cool temperature.
Moisten a paper towel or a bed of damp sphagnum moss and place the cleaned peach seed on it. Fold or wrap the towel or moss to create a small parcel that encloses the seed. Place the parcel in a sealed plastic bag or container to maintain moisture.
Store the peach seed parcel in a refrigerator, where the temperature ranges between 32°F (0°C) and 45°F (7°C). This cold stratification period typically lasts for about 8-12 weeks, so be patient and let nature take its course. Make sure to check the moisture level periodically and remoisten the paper towel or moss if needed.
After the cold stratification period, the peach seed is ready for planting. Remove the seed from the refrigerator and unwrap it from the paper towel or moss. Be gentle while handling the seed to avoid any damage.
Inspect the seed to see if it developed signs of germination during the stratification period. Look for a small root or shoot emerging from the seed. If you see signs of germination, congratulations! You have a viable seed that is eager to grow. If not, don’t worry – sometimes germination can take a bit longer.
Now that you have prepared the peach seed, it’s time for the exciting part – planting it and watching it grow into a beautiful peach tree. Let’s move on to the next step of the process – planting the peach seed.
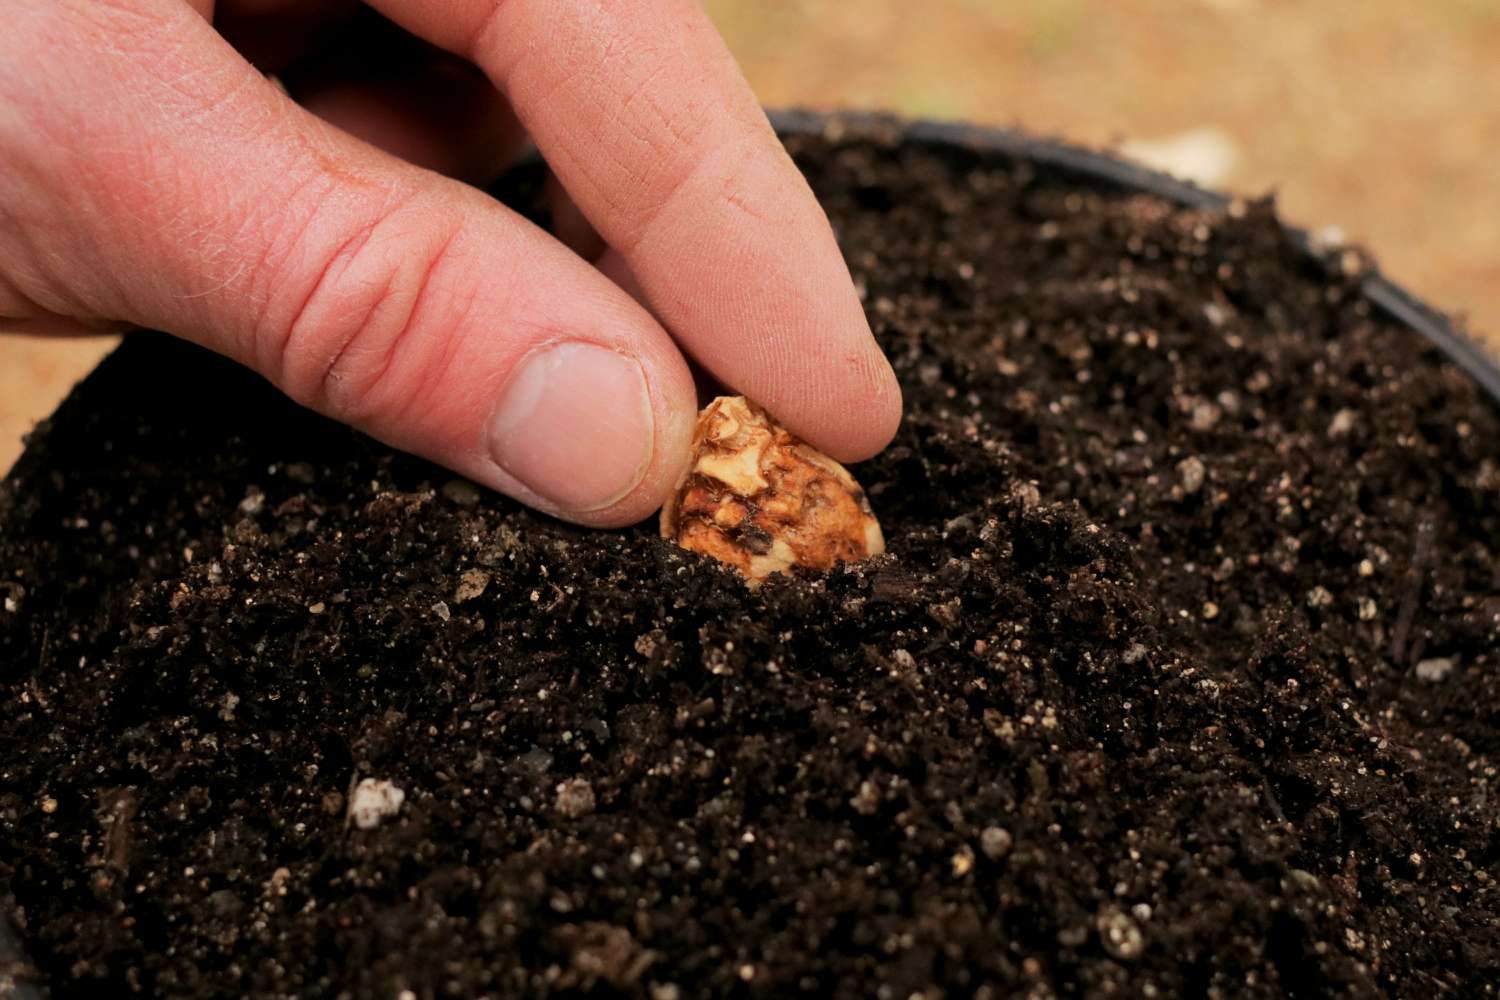
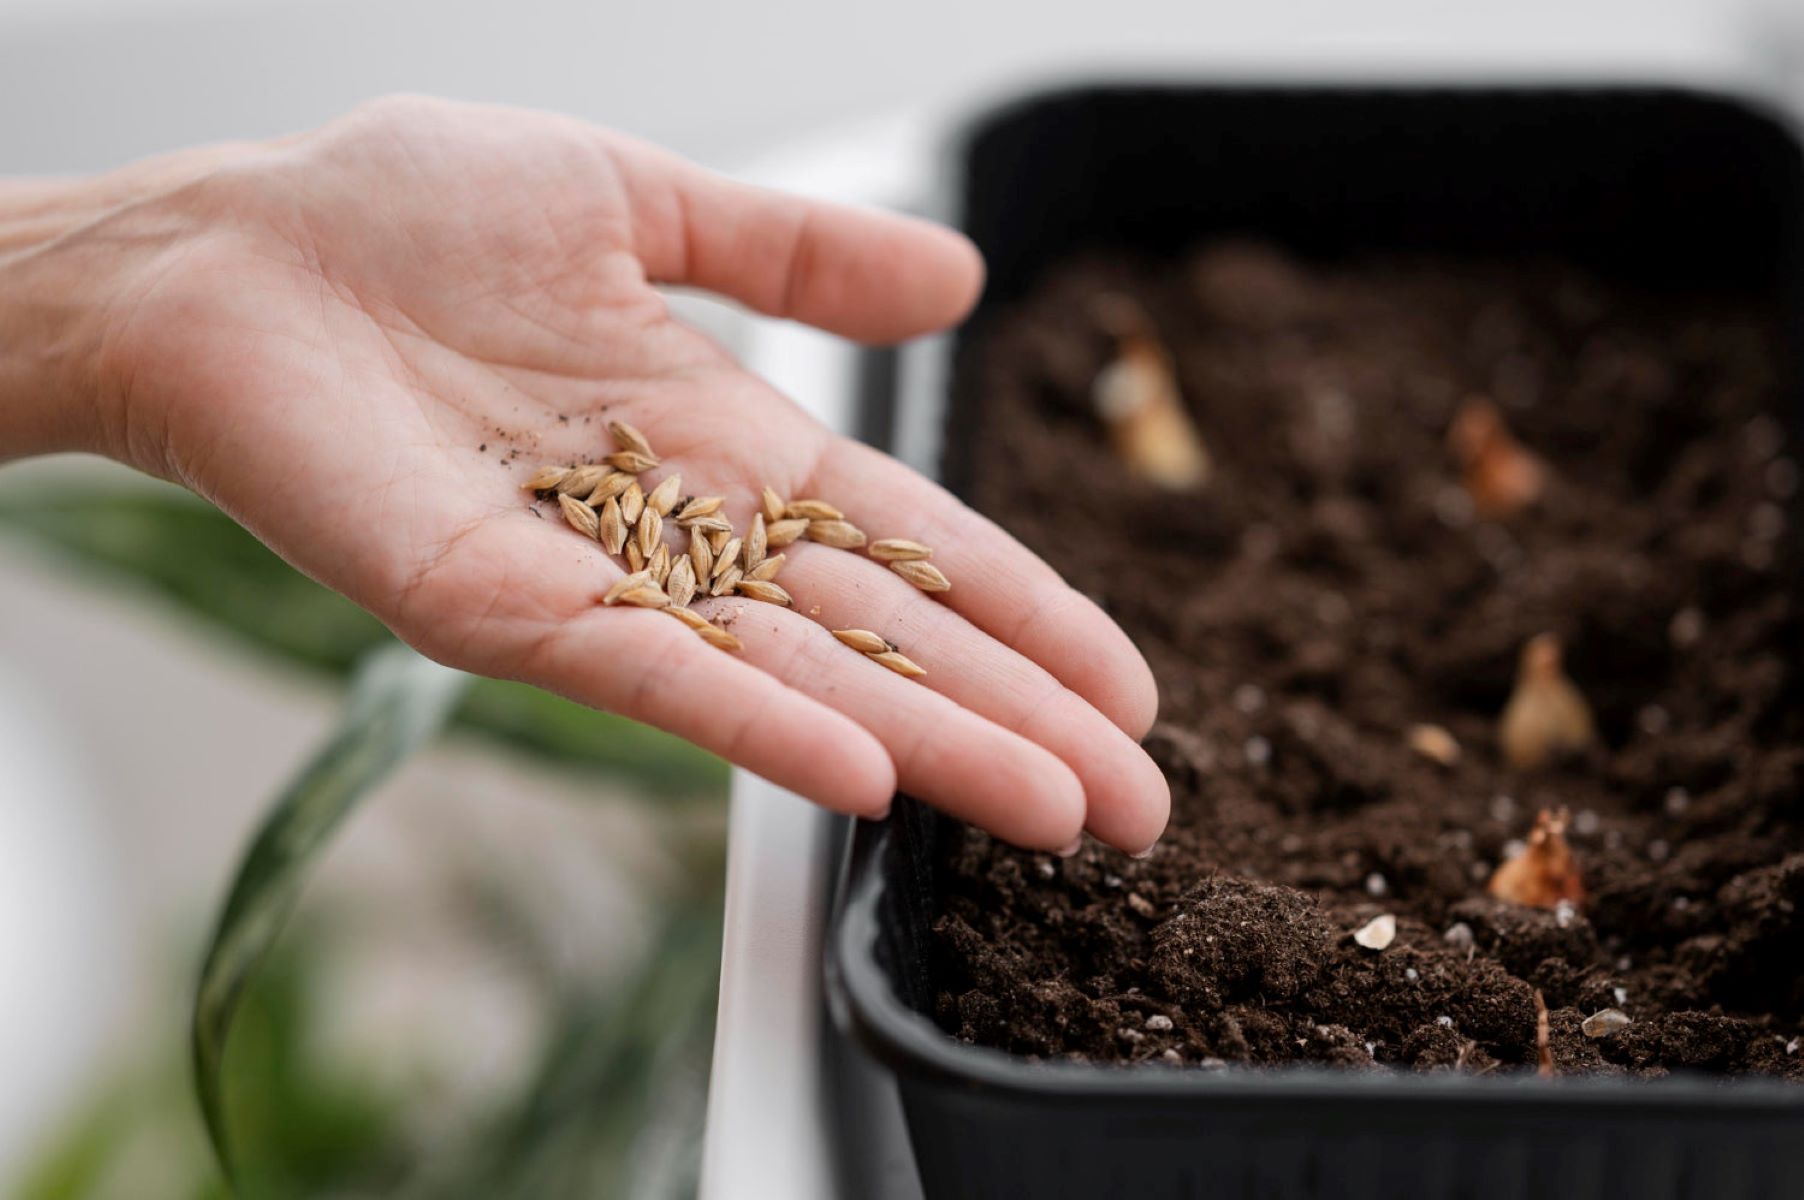
Step 4: Planting the Peach Seed
Now that you have prepared the peach seed, it’s time to plant it and bring your peach tree to life. Planting the seed properly will provide the optimal conditions for germination and the establishment of a healthy root system.
Start by selecting a planting location that receives full sunlight and has well-drained soil. Dig a hole in the prepared soil that is deep enough to accommodate the peach seed with some room to spare. The hole should be about 2-3 inches deep.
Place the peach seed in the hole with the pointed end facing down and the rounded end facing up. The pointed end is where the future roots will emerge, while the rounded end is where the shoot will develop. Gently cover the seed with soil, ensuring that it is completely submerged and doesn’t protrude above the soil surface.
Water the planted seed thoroughly, moistening the soil but being careful not to soak it. The soil should remain consistently moist during the germination process, so keep an eye on the moisture levels and water as needed.
Consider creating a protective covering around the planted seed to provide a warm and moist environment. You can use a clear plastic bag or a plastic dome over the planted seed to trap humidity and create a mini greenhouse effect. This will help promote germination and ensure the seedling gets off to a good start.
Keep the planting area consistently warm, ideally around 70°F (21°C), to encourage germination. You can place the pot or container near a heat source or use a seedling heat mat to maintain a stable temperature. Check the covering regularly for condensation and adjust ventilation if necessary to prevent excessive moisture buildup.
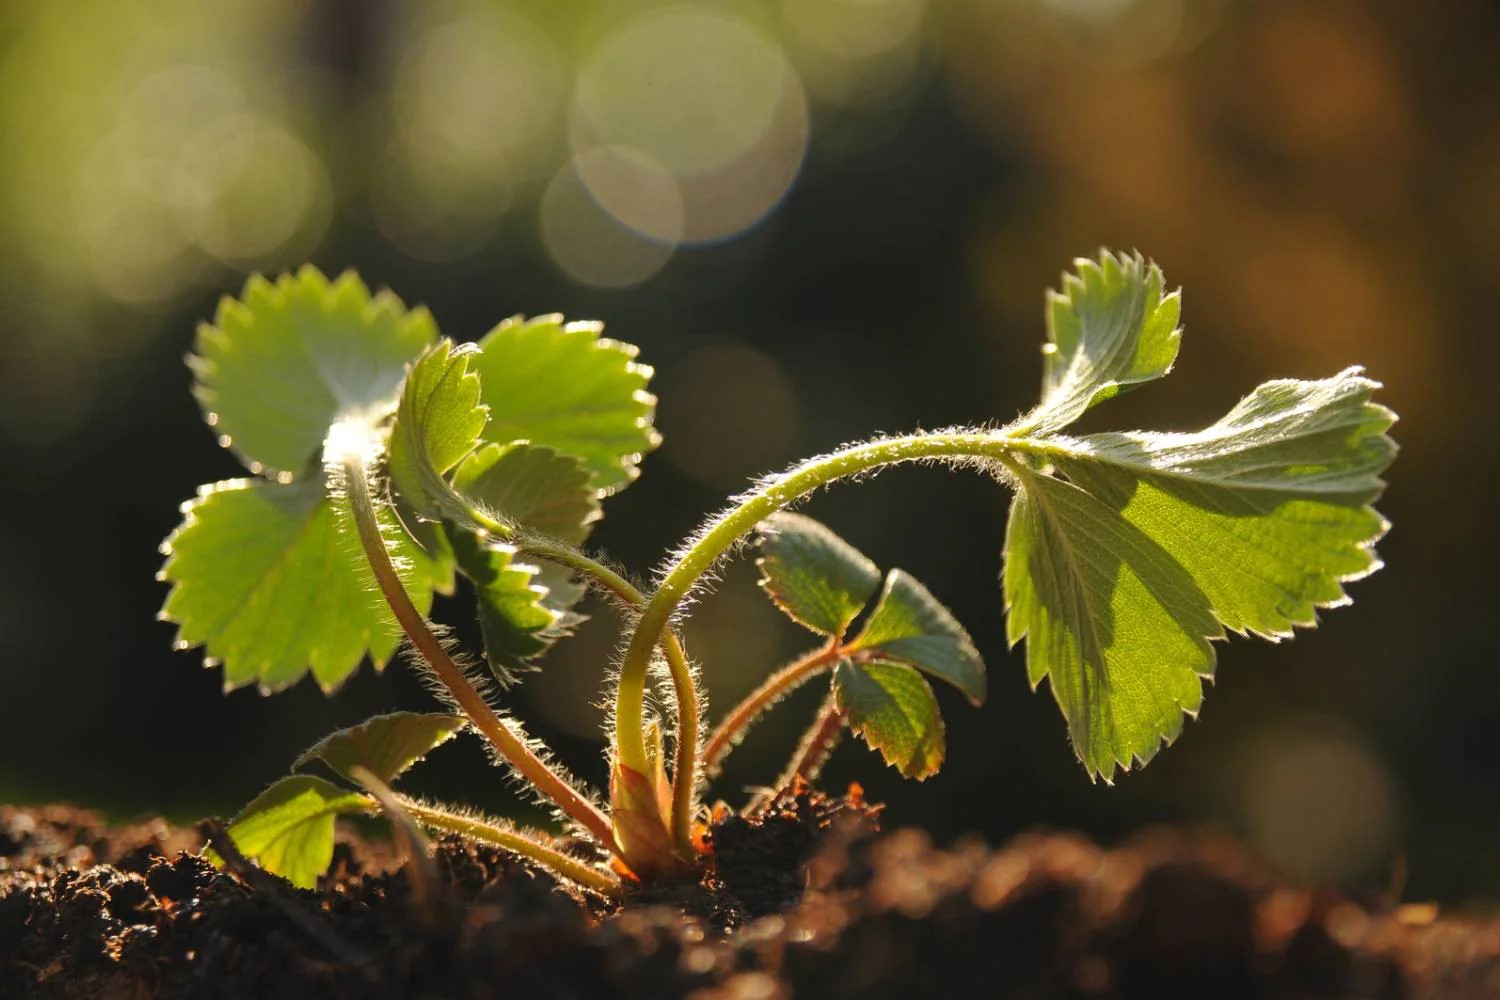
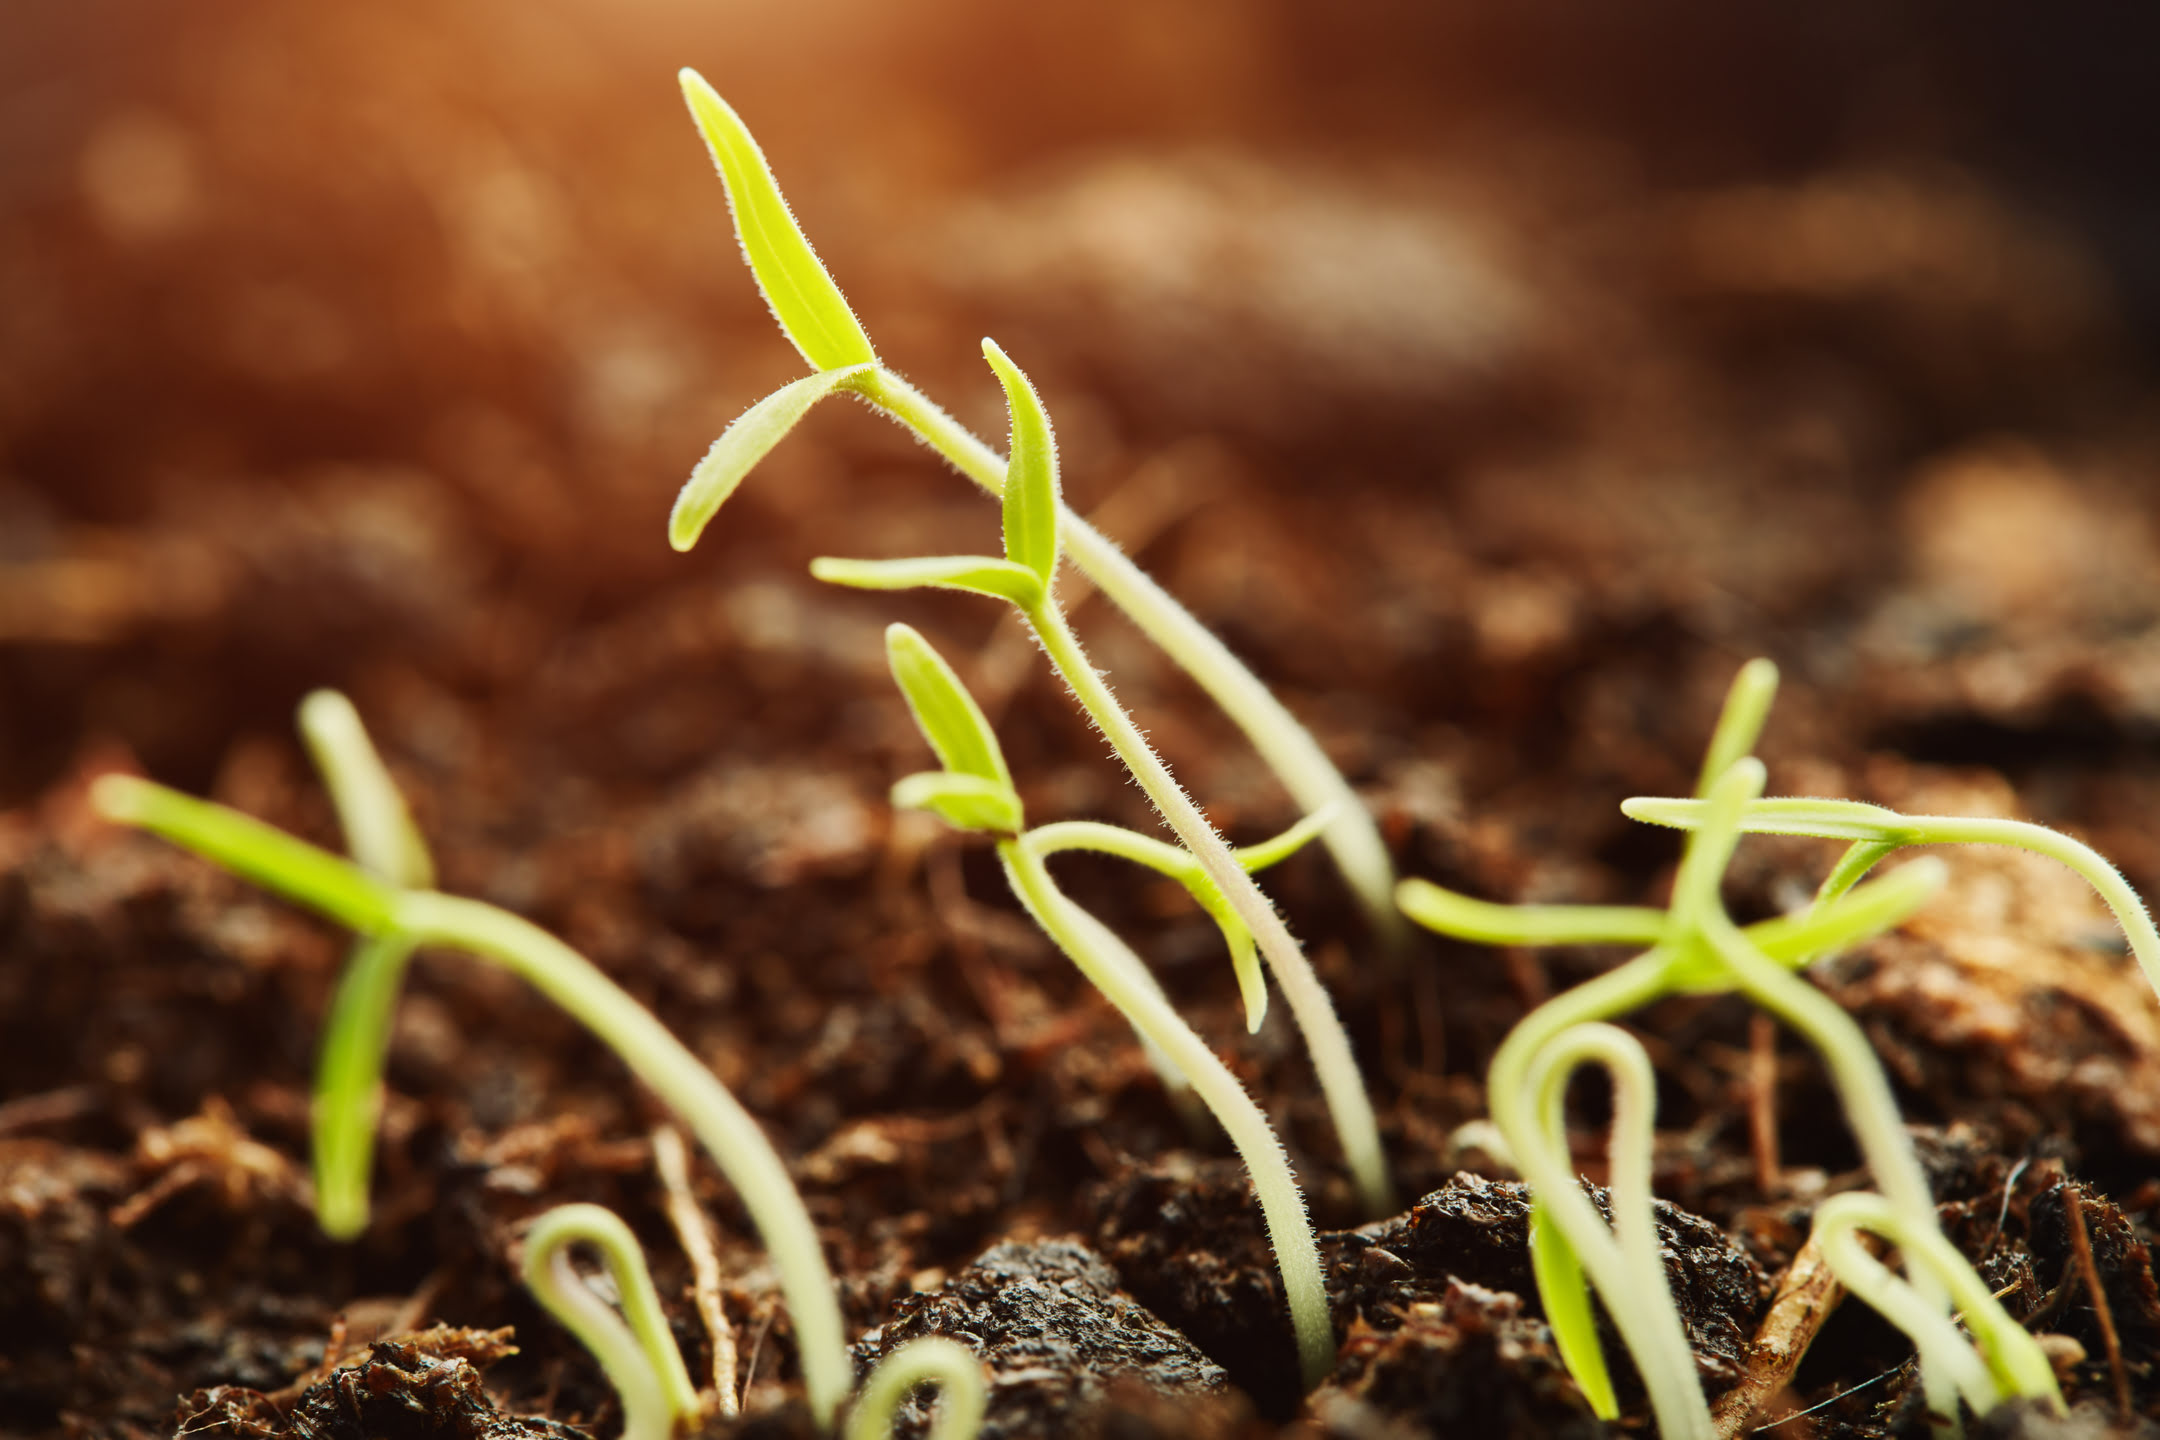
Now comes the waiting game. Germination can take anywhere from a few weeks to a couple of months, so be patient and monitor the progress of the seedling. Once the seed germinates and the young peach tree seedling emerges, it’s time to move on to the next step – caring for the peach seedling.
Congratulations on successfully planting your peach seed! The journey to growing your own peach tree is well underway. In the next step, we will guide you through the essential tasks of caring for the peach seedling and ensuring its healthy growth.
After removing the seed from the peach, place it in a damp paper towel inside a plastic bag. Store it in the refrigerator for 8-10 weeks to simulate winter conditions. Then, plant the seed in well-draining soil and keep it moist.
Read more: How To Grow A Peach Seed
Step 5: Caring for the Peach Seedling
Now that your peach seedling has emerged, it’s time to provide it with the proper care and attention it needs to grow into a healthy and robust peach tree. Caring for the seedling involves ensuring adequate water, sunlight, protection, and nutrients.
Water is essential for the growth of your peach seedling. Keep the soil consistently moist, but avoid overwatering, as excessive moisture can lead to root rot. Water the seedling deeply, allowing the water to penetrate the soil and reach the root system. Check the moisture level regularly and adjust the watering frequency based on the weather conditions.
Sunlight is crucial for the development of your peach seedling. Make sure it receives full sunlight for at least 6-8 hours a day. If you are growing the seedling indoors, place it near a sunny window or provide supplemental grow lights to ensure it receives adequate light. Rotate the seedling occasionally to prevent it from leaning towards the light source.
Consider providing protection for the seedling during extreme weather conditions. If you anticipate frost or a cold snap, cover the seedling with a frost cloth or bring it indoors temporarily. This will help protect it from potential damage and ensure its continued growth.
As the seedling grows, it will benefit from regular fertilization. Apply a balanced organic fertilizer, such as a 10-10-10 NPK (nitrogen, phosphorus, potassium) formula, every 4-6 weeks during the growing season. Follow the manufacturer’s instructions for application rates and frequency. This will provide the necessary nutrients for the seedling’s healthy growth and development.
Monitor the seedling for any signs of pests or diseases. Common pests that may affect peach trees include aphids, peach tree borers, and scale insects. If you notice any signs of infestation, take appropriate measures to control and eradicate the pests. Prompt action will help protect the seedling and prevent potential damage.
Regularly inspect the seedling for proper growth and development. Prune any dead or diseased branches to promote a strong and well-shaped tree. As the seedling grows taller, consider staking it to provide support and prevent it from bending or breaking in strong winds.
Continue caring for your peach seedling with patience and dedication. With proper care, your seedling will grow into a beautiful peach tree that will reward you with delicious fruit in the future.
Next, we will explore the optional step of transplanting the peach seedling once it has outgrown its container.
Step 6: Transplanting the Peach Seedling (Optional)
Transplanting the peach seedling is an optional step that you can consider once the seedling has outgrown its container or initial planting location. Transplanting allows the seedling to have more space to grow and develop a stronger root system.
Before transplanting, it’s important to choose the right location in your garden for the peach tree. Find a spot that receives full sunlight for at least 6-8 hours a day and has well-drained soil. The soil should also be amended with organic matter to provide adequate nutrients for the tree.
Transplant the seedling in early spring or fall when the weather is mild. Avoid transplanting in the heat of summer or during freezing temperatures, as extreme weather conditions can stress the young tree.
Start by preparing the new planting hole in the selected location. Dig a hole that is wider and deeper than the seedling’s root ball. The hole should be large enough to comfortably accommodate the seedling’s roots without bending or overcrowding them.
Remove the seedling from its current container, taking care not to damage the roots. Gently loosen the root ball with your hands, teasing out any circling or tangled roots. This will encourage the roots to grow outward into the new soil.
Place the seedling in the prepared hole, ensuring that it is at the same depth it was previously growing. Backfill the hole with soil, gently firming it around the roots to remove any air pockets. Water the transplanted seedling deeply to help it settle into its new home.
Provide regular watering for the transplanted seedling to ensure its roots establish in the new location. Monitor the soil moisture and adjust the watering frequency as needed, keeping the soil consistently moist but not waterlogged.
Continue caring for the peach tree as outlined in Step 5, providing adequate sunlight, protection, and fertilization. As the tree grows, it may require staking or training to shape its growth and prevent any leaning or weak branches.
Keep in mind that it may take a few years for the transplanted seedling to reach fruit-bearing age. Be patient and continue to care for the tree, and you will eventually be rewarded with a bountiful harvest of sweet, juicy peaches.
Next, we will explore the important step of pruning and training the peach tree for optimal growth and fruit production.
Step 7: Pruning and Training the Peach Tree
Pruning and training your peach tree are crucial steps in maintaining its health, shape, and productivity. Pruning helps to remove dead or diseased branches, improve airflow, and shape the tree for optimal fruit production.
The first pruning should be done in late winter or early spring while the tree is still dormant. Start by removing any broken, dead, or crossing branches. These branches can hinder the tree’s overall growth and potentially harbor pests and diseases. Use clean, sharp pruning shears to make clean cuts just above a bud or branching point.
Next, thin out the tree’s canopy to improve airflow and sunlight penetration. Remove any crowded branches to allow for better air circulation, reducing the risk of fungal diseases. Additionally, selectively thinning the branches helps redirect the tree’s energy into producing larger, high-quality peaches.
Pay attention to the tree’s central leader, which is the main upward-growing branch. Encourage a strong central leader by pruning any competing branches that may overshadow or hinder its growth. This helps to establish a well-balanced structure for the tree.
Peach trees tend to produce fruit on the previous year’s growth, known as “one-year-old wood.” To encourage fruit production and maintain a manageable tree size, selectively prune back some of the older, non-productive branches. This will promote the growth of new, fruit-bearing shoots.
As your peach tree grows, consider implementing a training system to help manage its size and shape. Popular training systems for peach trees include open-center or vase pruning and the modified central leader system. These systems provide a framework for the tree to grow and support the weight of the fruit.
Regularly inspect your peach tree throughout the growing season for any additional pruning needs. Remove any diseased or damaged branches promptly to prevent the spread of infection. Remember to always use clean, sharp pruning tools to make smooth cuts and reduce the risk of introducing pathogens.
After pruning, be sure to clean up and discard any pruned branches or debris away from the tree. Proper sanitation practices help prevent the accumulation of fungal spores or pests.
As your peach tree continues to grow, maintain an annual pruning and training routine to keep it healthy and productive. Each year’s pruning will help shape the tree and promote abundant fruiting.
Next, we will explore the final step in the journey of growing your own peaches – harvesting the delicious fruits of your labor.
Step 8: Harvesting the Peaches
After months of nurturing and care, the time has finally come to reap the sweet rewards of your peach tree – harvest time! Harvesting peaches at the optimal stage of ripeness ensures the best flavor and texture. Here’s what you need to know:
Timing is crucial when it comes to harvesting peaches. Most peach varieties are ready to be harvested 90 to 120 days after the tree blossoms. The exact timing can vary depending on the specific variety and local climate. Keep a close eye on your peaches as they mature to ensure you harvest them at their peak.
To determine if a peach is ripe for picking, gently squeeze it. The fruit should yield slightly and feel firm yet slightly soft. Keep in mind that peaches continue to ripen after being picked, so a peach that is slightly underripe can still be enjoyed in a day or two. Avoid picking peaches that are overly soft, as they may be overripe and prone to rot.
When it’s time to harvest, hold the peach near the stem and give it a gentle twist or a slight upward and outward motion. Ripe peaches should separate easily from the tree without much force. Avoid pulling or tugging on the fruit, as this can cause damage to both the fruit and the tree.
Handle harvested peaches with care to prevent bruising or damage. Place them gently in a basket or shallow container, being careful not to stack them on top of each other. It’s best to avoid washing peaches until you’re ready to consume or use them, as excessive moisture can speed up spoilage.
If you have an abundance of peaches that you can’t consume immediately, you can store them in the refrigerator for a few days to extend their shelf life. Place them in a paper bag or loosely cover them to help maintain their moisture. Just be aware that refrigeration can affect the texture of peaches, so it’s best to enjoy them at room temperature for the best flavor.
Remember, nothing compares to the taste of a freshly picked peach! So, savor the fruits of your labor and enjoy the delicious flavors of homegrown peaches in your favorite recipes, or simply devour them as a sweet and juicy snack.
Congratulations on completing the journey of planting, caring for, and harvesting your very own peach tree! It’s a rewarding experience that allows you to enjoy the beauty of nature and the bountiful harvest it provides.
I hope this comprehensive guide has been helpful in your peach-growing journey. Happy gardening and enjoy your homegrown peaches!
Read more: How To Germinate Peach Seed
Conclusion
Congratulations on completing the journey of planting and growing your very own peach tree! From selecting a high-quality seed to caring for the seedling and finally harvesting the delicious fruits, you have embarked on a truly rewarding experience.
Growing a peach tree from a seed takes time, patience, and nurturing, but the process is incredibly fulfilling. Witnessing the transformation from a tiny seed to a thriving tree that produces flavorful peaches is truly a marvel of nature.
Throughout this comprehensive guide, we have covered every step of the journey, providing you with valuable insights and tips to ensure your success. From selecting the right seed and preparing the soil, to nurturing the seedling, pruning and training the tree, and finally harvesting the fruits, every step plays a crucial role in the growth and development of your peach tree.
Remember to provide your peach tree with the care it needs – water it properly, ensure adequate sunlight, protect it from extreme weather, and provide regular fertilization. Implement pruning and training techniques to maintain a healthy and productive tree structure.
As you harvest the luscious peaches from your tree, savor the rewards of your hard work and dedication. Whether you enjoy them fresh or use them in your favorite recipes, the taste of homegrown peaches will be truly unmatched.
Gardening is a continuous journey of learning and experimentation, so don’t be afraid to try new techniques and adapt to the unique characteristics of your peach tree. Each season brings new opportunities to refine your skills and deepen your understanding of the magical world of gardening.
Thank you for joining us on this exciting adventure. We hope that this comprehensive guide has equipped you with the knowledge and confidence to successfully grow your own peaches. May your garden be filled with the beauty and abundance of nature’s bounty.
Happy gardening and enjoy the delicious rewards of your homegrown peaches!
Frequently Asked Questions about How To Plant Peach From Seed
Was this page helpful?
At Storables.com, we guarantee accurate and reliable information. Our content, validated by Expert Board Contributors, is crafted following stringent Editorial Policies. We're committed to providing you with well-researched, expert-backed insights for all your informational needs.

0 thoughts on “How To Plant Peach From Seed”