Articles
How To Make Peanut Butter In A Food Processor
Modified: February 23, 2024
Learn the simple steps to make peanut butter in a food processor with this helpful article. Discover the delicious homemade alternative that you always craved!
(Many of the links in this article redirect to a specific reviewed product. Your purchase of these products through affiliate links helps to generate commission for Storables.com, at no extra cost. Learn more)
Introduction
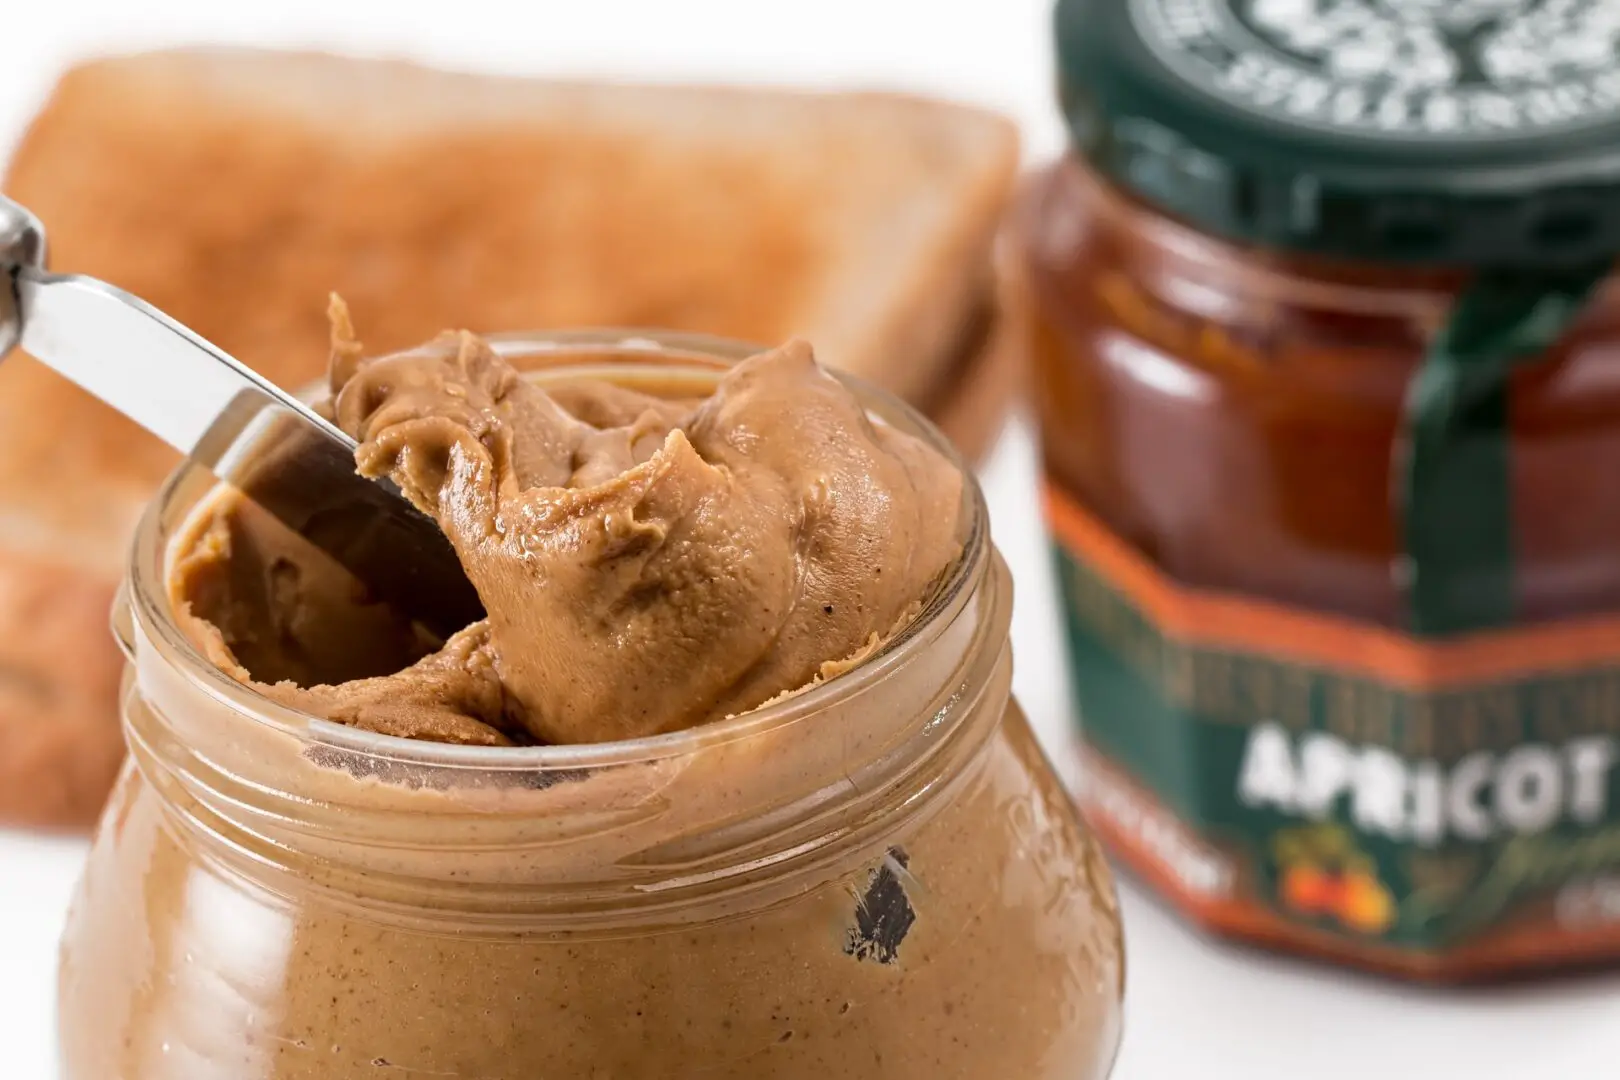
There’s something irresistible about the creamy, rich taste of peanut butter. Whether you spread it on toast, add it to your favorite smoothie, or use it as a base for baking, peanut butter is a versatile and delicious ingredient that adds a burst of flavor to any dish. While store-bought peanut butter is readily available, making your own homemade peanut butter in a food processor is not only economical but also allows you to customize it to suit your taste preferences.
In this article, we will guide you on how to make peanut butter using a food processor. We will start by listing the ingredients you will need and then take you through each step of the process. By the end, you’ll have a smooth and creamy homemade peanut butter that is sure to delight your taste buds.
Key Takeaways:
- Create your own creamy peanut butter at home by roasting and processing peanuts in a food processor. Customize the flavor and consistency to suit your taste preferences for a delicious and satisfying homemade spread.
- Store your homemade peanut butter in airtight containers, label with the date, and keep in a cool, dark place. Enjoy the satisfaction of creating a preservative-free pantry staple tailored to your unique flavor preferences.
Read more: How To Make Butter With Food Processor
Ingredients
To make peanut butter in a food processor, you will need the following ingredients:
- 2 cups of unsalted peanuts
- 1-2 tablespoons of oil (such as peanut oil, vegetable oil, or coconut oil)
- Optional ingredients:
- 1-2 tablespoons of honey or maple syrup for sweetness
- 1/2 teaspoon of salt for added flavor
- 1 teaspoon of vanilla extract for a hint of sweetness
- 1-2 tablespoons of cocoa powder for a chocolatey twist
Note: You can adjust the quantities of the optional ingredients according to your personal taste preferences.
Step 1: Roasting the Peanuts
The first step in making homemade peanut butter is roasting the peanuts. Roasting the peanuts adds a depth of flavor and enhances their natural oil content, which will result in a creamier texture. Here’s how to do it:
- Preheat your oven to 350°F (175°C).
- Spread the peanuts evenly on a baking sheet.
- Place the baking sheet in the preheated oven and roast the peanuts for about 10-15 minutes, or until they are golden brown. Stir the peanuts occasionally during the roasting process to ensure even browning.
- Once roasted, remove the peanuts from the oven and let them cool completely.
Roasting the peanuts not only brings out their natural flavors but also helps to loosen the skins, making it easier to remove them in the next step.
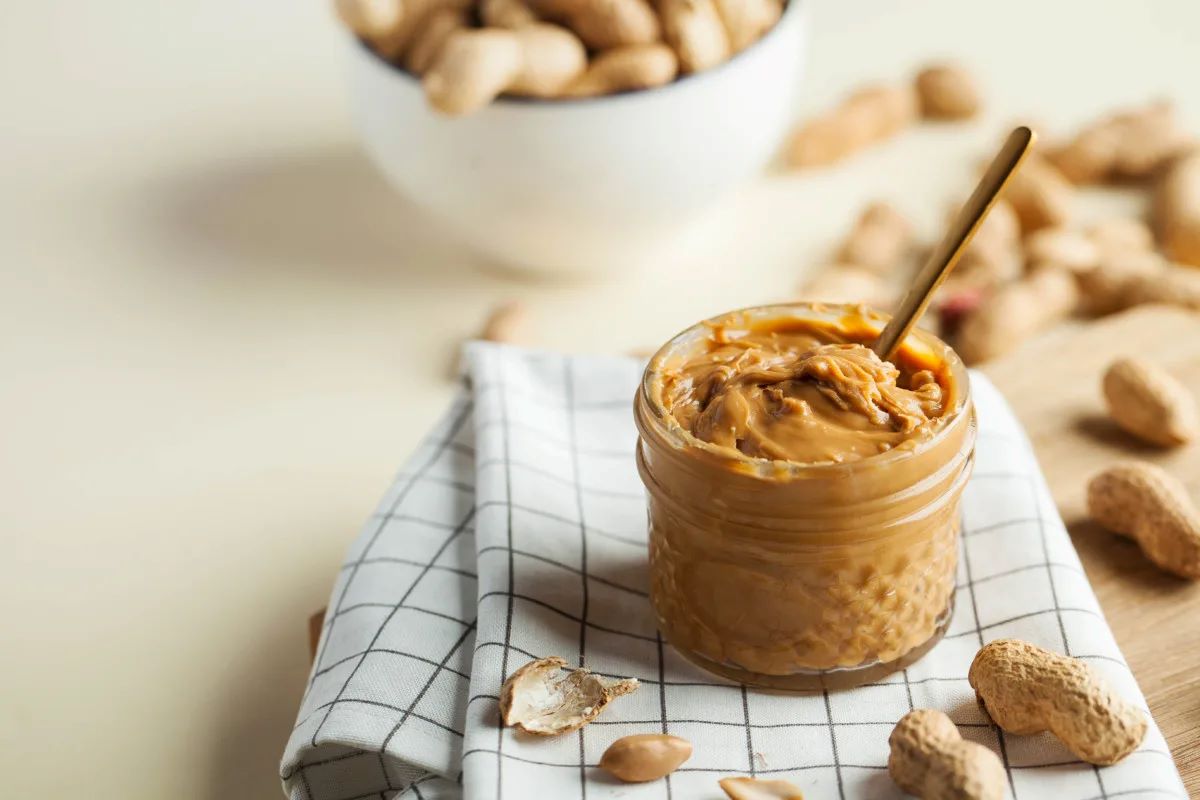
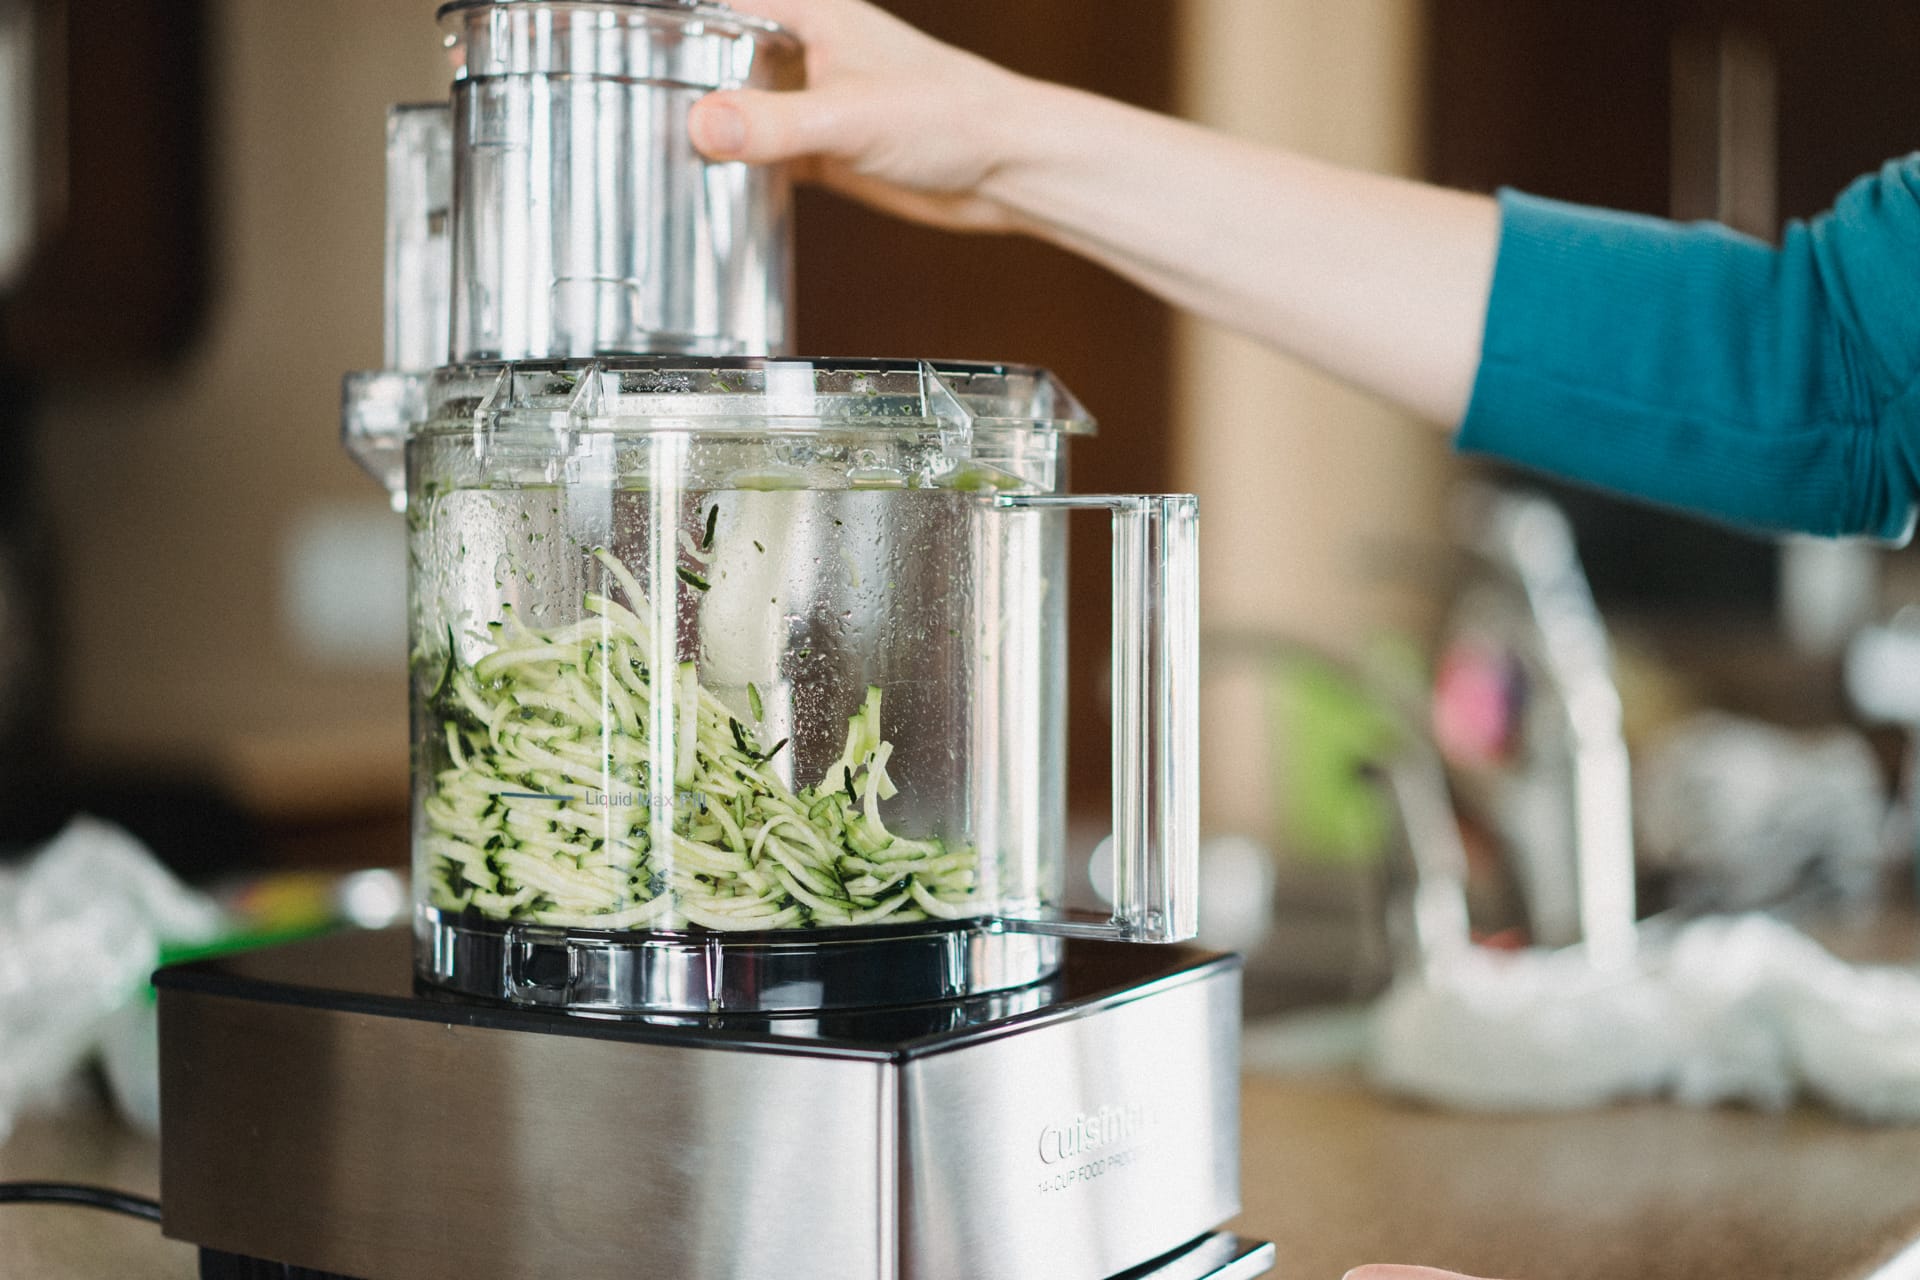
Step 2: Processing the Peanuts
After roasting the peanuts, it’s time to transform them into creamy peanut butter using a food processor. Follow these steps to achieve the desired consistency:
- Transfer the cooled roasted peanuts into the bowl of your food processor.
- Attach the lid securely to the food processor.
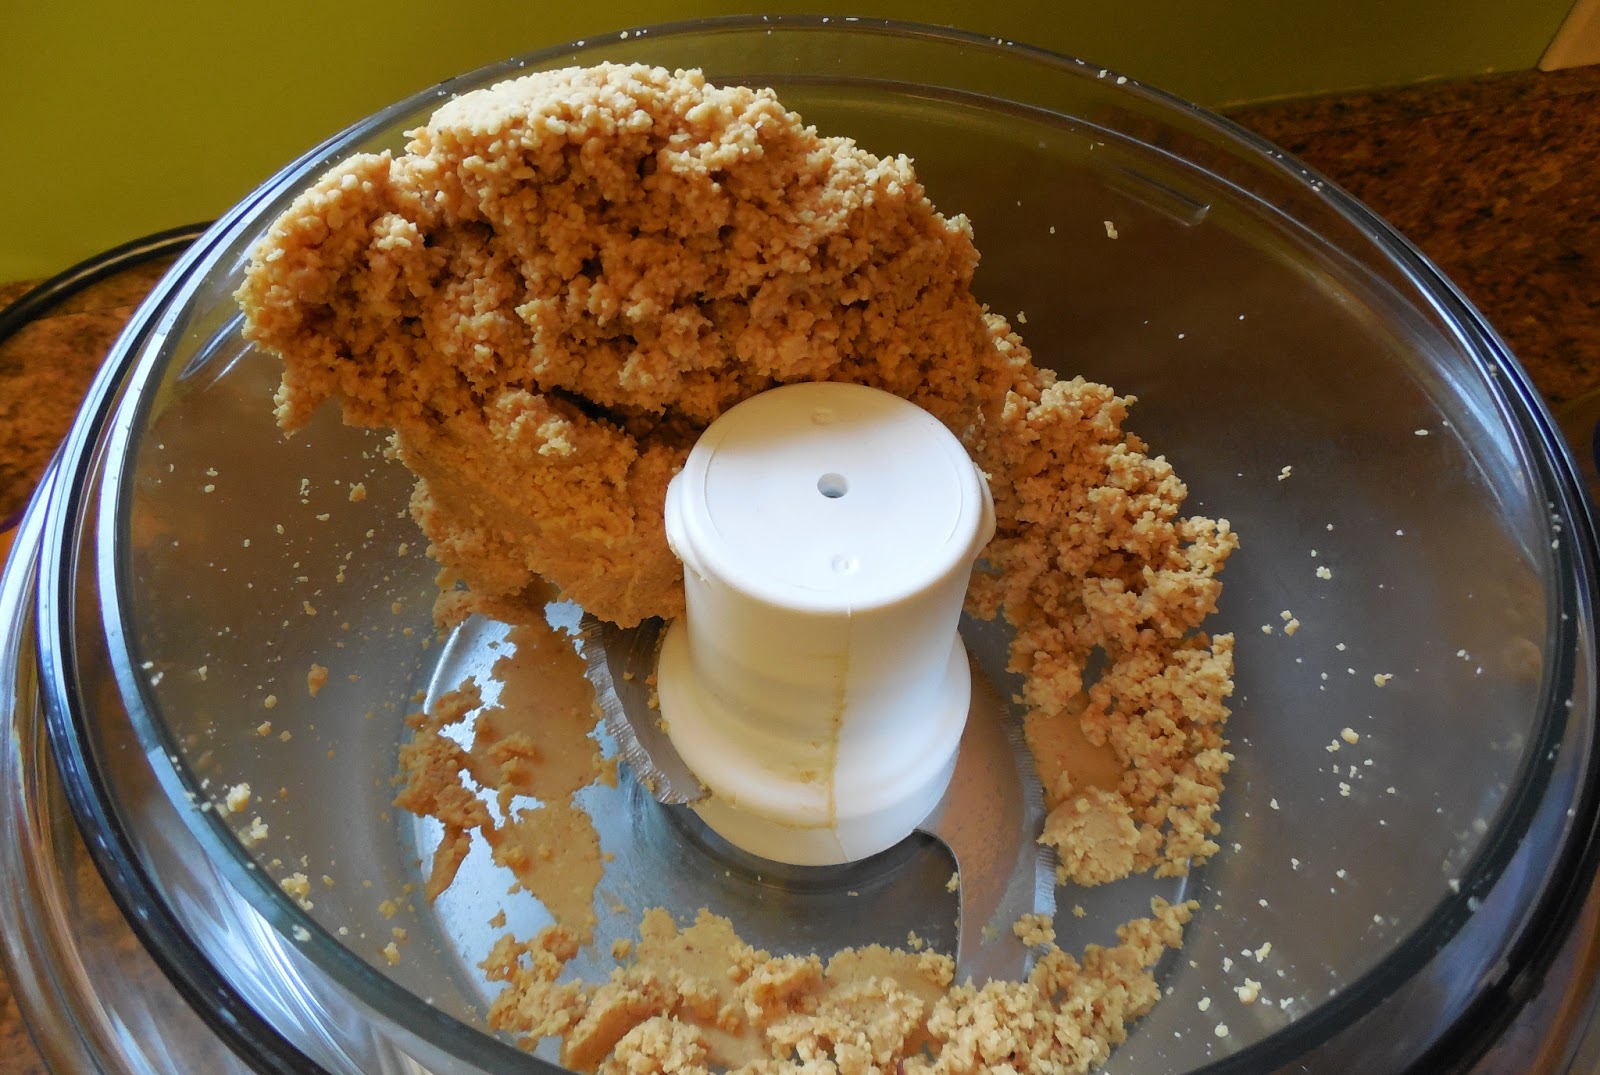
- Process the peanuts on high speed for about 1-2 minutes. Initially, the peanuts will be chopped into smaller pieces.
- Stop the food processor and scrape down the sides of the bowl with a spatula. This will help ensure even blending.
- Resume processing the peanuts. As you continue, the peanuts will start to clump together and form a thick paste.
- Stop the food processor again and scrape down the sides of the bowl. This step is crucial to achieve a smooth texture.
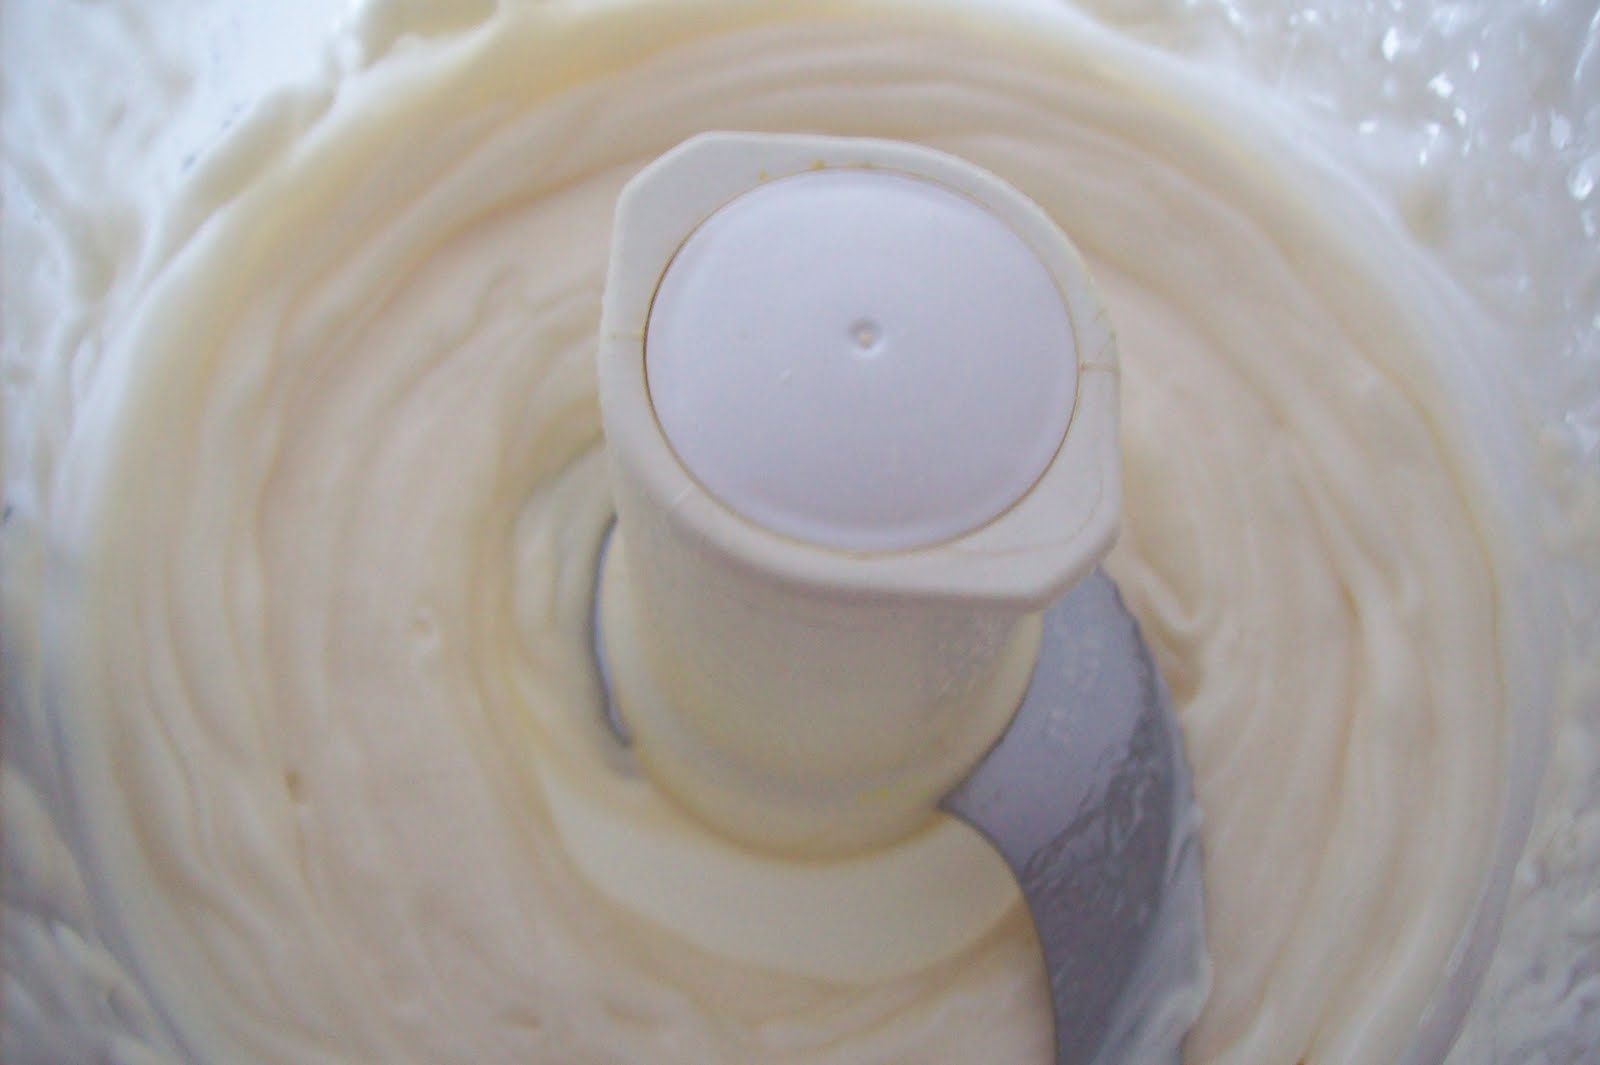
- Continue processing the peanuts until the mixture transforms into a creamy and spreadable consistency. Depending on the power of your food processor, this may take an additional 2-4 minutes.
Be patient during the processing stage as it takes time for the peanuts to release their natural oils and reach the desired creaminess. Remember to scrape down the sides of the bowl periodically to ensure an evenly blended and smooth consistency.
Add a pinch of salt to enhance the flavor of your homemade peanut butter.
Step 3: Adding Optional Ingredients
Now that you have achieved the desired creamy texture for your peanut butter, it’s time to add some optional ingredients to enhance the flavor. While these ingredients are not necessary, they can add a delicious twist to your homemade peanut butter. Here’s how:
- If you want to add sweetness to your peanut butter, you can add 1-2 tablespoons of honey or maple syrup. Start with a smaller amount and adjust according to your taste preference.
- If you prefer a hint of saltiness, add 1/2 teaspoon of salt. This will help balance the flavors and bring out the nuttiness of the peanuts.
- For a touch of sweetness and aroma, incorporate 1 teaspoon of vanilla extract into the mixture. This will give your peanut butter a delightful fragrance.
- If you’re a fan of chocolate, you can mix in 1-2 tablespoons of cocoa powder for a chocolatey twist. This will give your peanut butter a rich and indulgent flavor.
Remember to add these optional ingredients in small amounts and taste as you go. This will allow you to personalize the flavors and ensure that your homemade peanut butter matches your preferences.
Read more: How To Store Peanut Butter
Step 4: Adjusting the Consistency
Once you have added the optional ingredients and achieved the desired flavor profile, you may find that the consistency of your peanut butter needs some adjustments. Whether you prefer a thick and spreadable peanut butter or a thinner and more pourable consistency, you can easily make the necessary adjustments. Here’s how:
- If your peanut butter is too thick and dense for your liking, you can add a tablespoon of oil to loosen it up. Peanut oil, vegetable oil, or coconut oil work well for this purpose. Start with a small amount and gradually add more as needed until you reach the desired consistency.
- On the other hand, if your peanut butter is too runny, you can add a small amount of dry ingredients to thicken it. This can include additional ground peanuts or even a tablespoon of oats. Mix it well and continue blending until you achieve a thicker consistency.
- Remember to stop the food processor intermittently and scrape down the sides of the bowl to ensure that all the ingredients are evenly mixed and incorporated.
By adjusting the consistency, you can ensure that your homemade peanut butter is just the way you like it – whether you prefer it thick and creamy or thin and pourable.
Step 5: Storing the Peanut Butter
Once you have achieved the perfect consistency and flavor for your homemade peanut butter, it’s important to store it properly to maintain its freshness and flavor. Here are some tips on how to store your peanut butter:
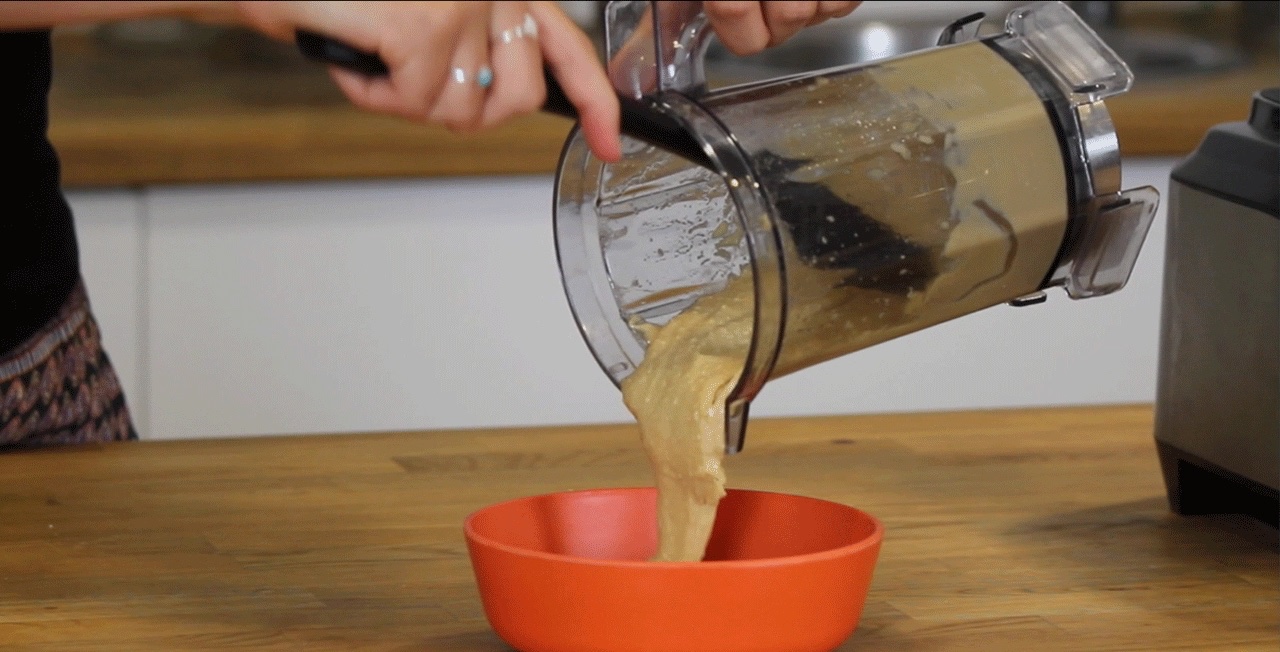
- Transfer the peanut butter into a clean and airtight container. Glass jars with a tight-fitting lid are ideal for this purpose.
- Label the container with the date of preparation to keep track of its freshness.
- Store the peanut butter in a cool and dark place, such as a pantry or a kitchen cabinet. Avoid exposure to heat and direct sunlight, as this can cause the oil to separate and spoil the peanut butter.
- If you live in a hot climate and find that your peanut butter becomes too soft or oily, you can refrigerate it to firm it up. However, keep in mind that refrigeration may cause it to become slightly harder and less spreadable.
- Peanut butter stored at room temperature can typically last for several weeks, while refrigerated peanut butter can remain fresh for up to three months.
Remember to give your homemade peanut butter a good stir before using it, as the oil may separate and rise to the top during storage. Enjoy your homemade peanut butter as a delicious spread, in recipes, or simply by the spoonful!
Conclusion
Congratulations! You have now learned how to make homemade peanut butter using a food processor. By following the simple steps outlined in this article, you can create a smooth and creamy peanut butter that is tailored to your taste preferences. Roasting the peanuts brings out their natural flavors, and processing them in a food processor allows you to customize the consistency and incorporate optional ingredients for added flavor. Storing your homemade peanut butter properly will help maintain its freshness and ensure its deliciousness for weeks to come.
Making peanut butter at home is not only cost-effective but also allows you to avoid any preservatives or additives commonly found in store-bought varieties. Plus, the satisfaction of creating a homemade pantry staple is truly unmatched.
So, go ahead and give it a try! Experiment with different flavors and find the perfect balance of sweetness, saltiness, and any other ingredients that you love. Enjoy your homemade peanut butter on toast, in sandwiches, in baking, or simply by the spoonful.
Remember, the key to making the best peanut butter is using high-quality peanuts, having a powerful food processor, and adding your personal touch. Get creative, have fun, and enjoy the rewarding process of making your own delicious peanut butter!
Frequently Asked Questions about How To Make Peanut Butter In A Food Processor
Was this page helpful?
At Storables.com, we guarantee accurate and reliable information. Our content, validated by Expert Board Contributors, is crafted following stringent Editorial Policies. We're committed to providing you with well-researched, expert-backed insights for all your informational needs.
0 thoughts on “How To Make Peanut Butter In A Food Processor”