Articles
How To Store Peanut Butter Blossom Cookies
Modified: December 7, 2023
Discover the best way to store your delicious peanut butter blossom cookies with this informative article. Find useful tips and tricks to keep them fresh for longer!
(Many of the links in this article redirect to a specific reviewed product. Your purchase of these products through affiliate links helps to generate commission for Storables.com, at no extra cost. Learn more)
Introduction
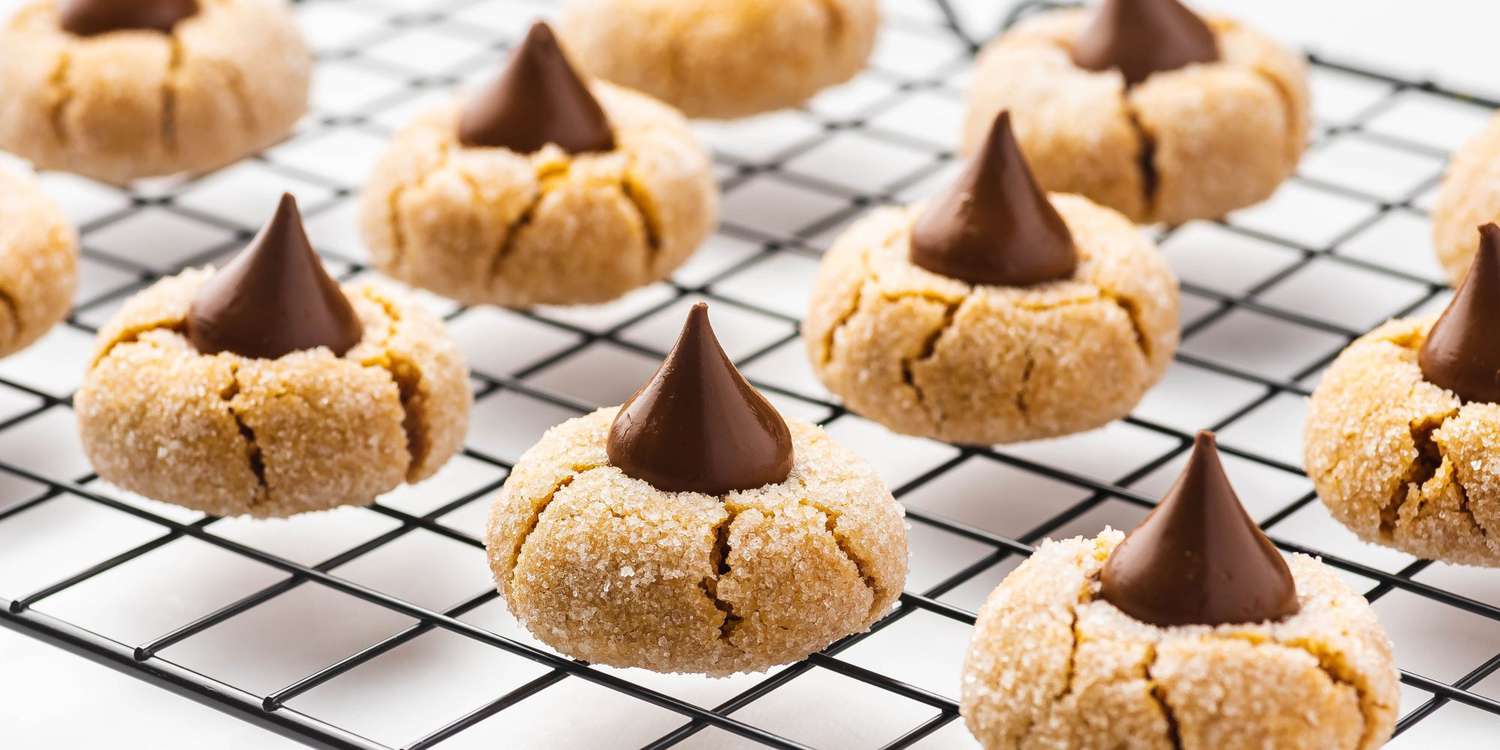
When it comes to delicious homemade treats, there’s nothing quite like the irresistible combination of peanut butter and chocolate. One classic recipe that perfectly showcases this marriage of flavors is the beloved Peanut Butter Blossom Cookies. These delectable cookies feature a soft and chewy peanut butter base topped with a chocolate Kiss candy, creating a delightful combination that is sure to satisfy any sweet tooth.
Whether you’re making these cookies for a special occasion or simply to enjoy as a sweet indulgence at home, it’s important to know how to store them properly to ensure their freshness and flavor are preserved. In this article, we will guide you through the steps of making these scrumptious Peanut Butter Blossom Cookies and provide you with helpful tips on how to store them for maximum enjoyment.
Key Takeaways:
- Indulge in the perfect blend of peanut butter and chocolate with homemade Peanut Butter Blossom Cookies. Follow our guide to ensure they stay fresh and delicious for up to 1 week, or freeze for up to 2 months.
- From shaping the dough to adding the iconic chocolate Kisses, every step is crucial in creating the perfect Peanut Butter Blossom Cookies. Store them in an airtight container for lasting freshness and enjoy anytime!
Read more: How To Store Peanut Butter Blossoms
Ingredients
Before you begin making your Peanut Butter Blossom Cookies, gather the following ingredients:
- 1/2 cup unsalted butter, softened
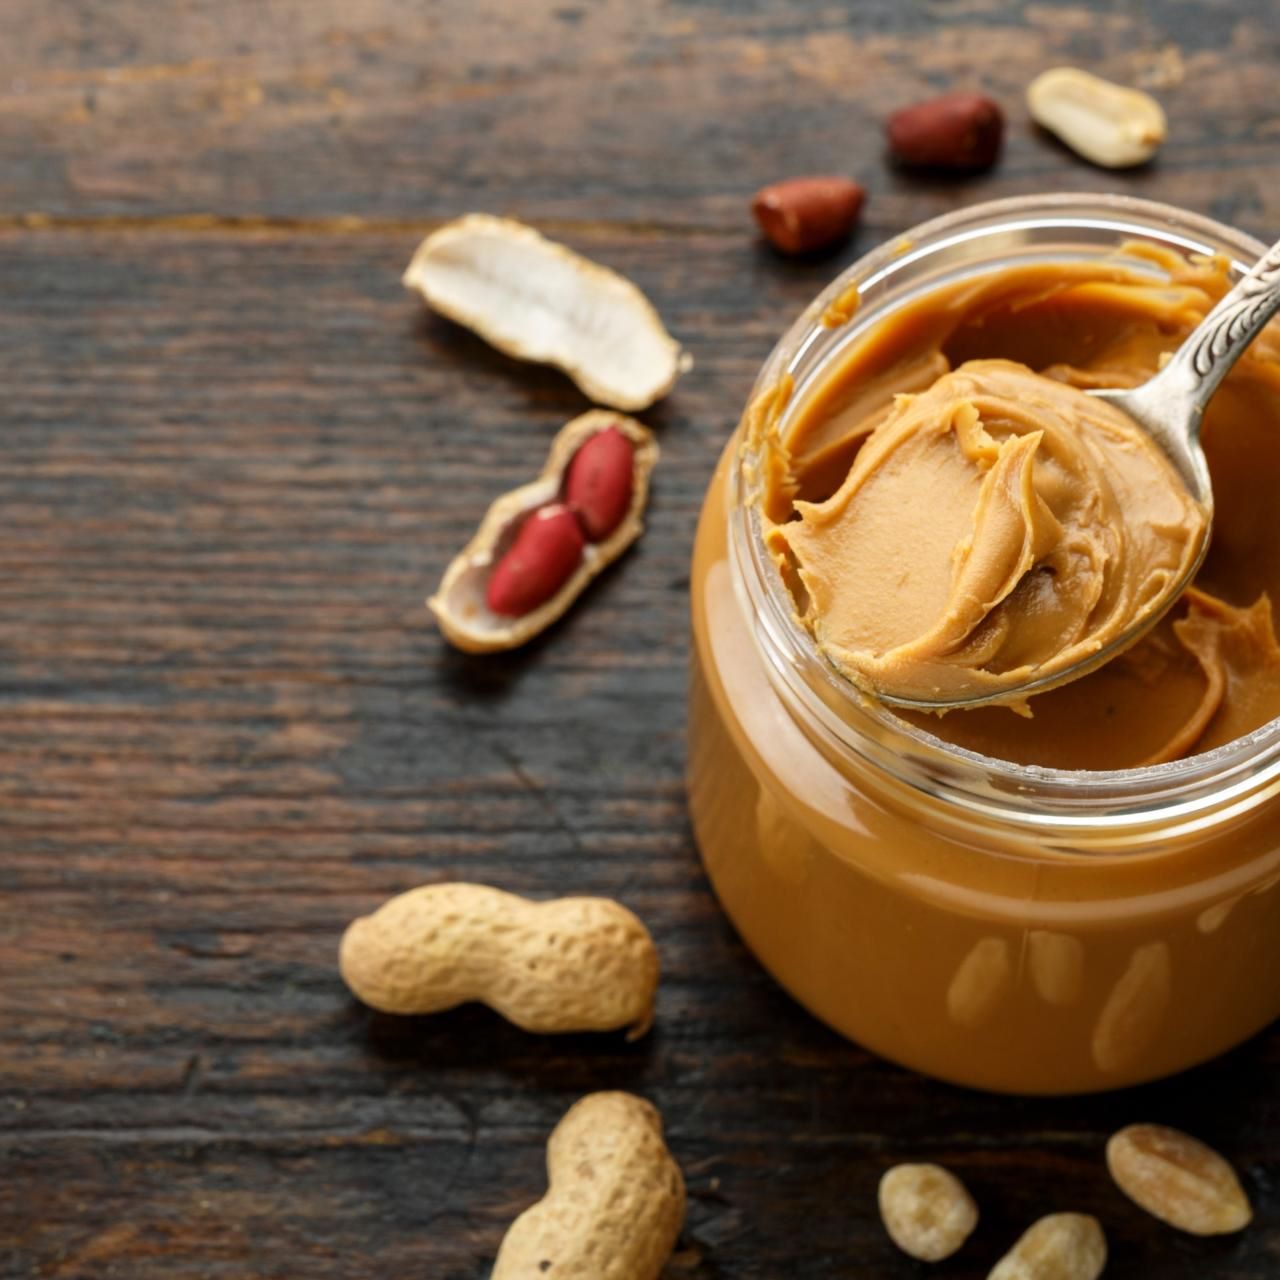
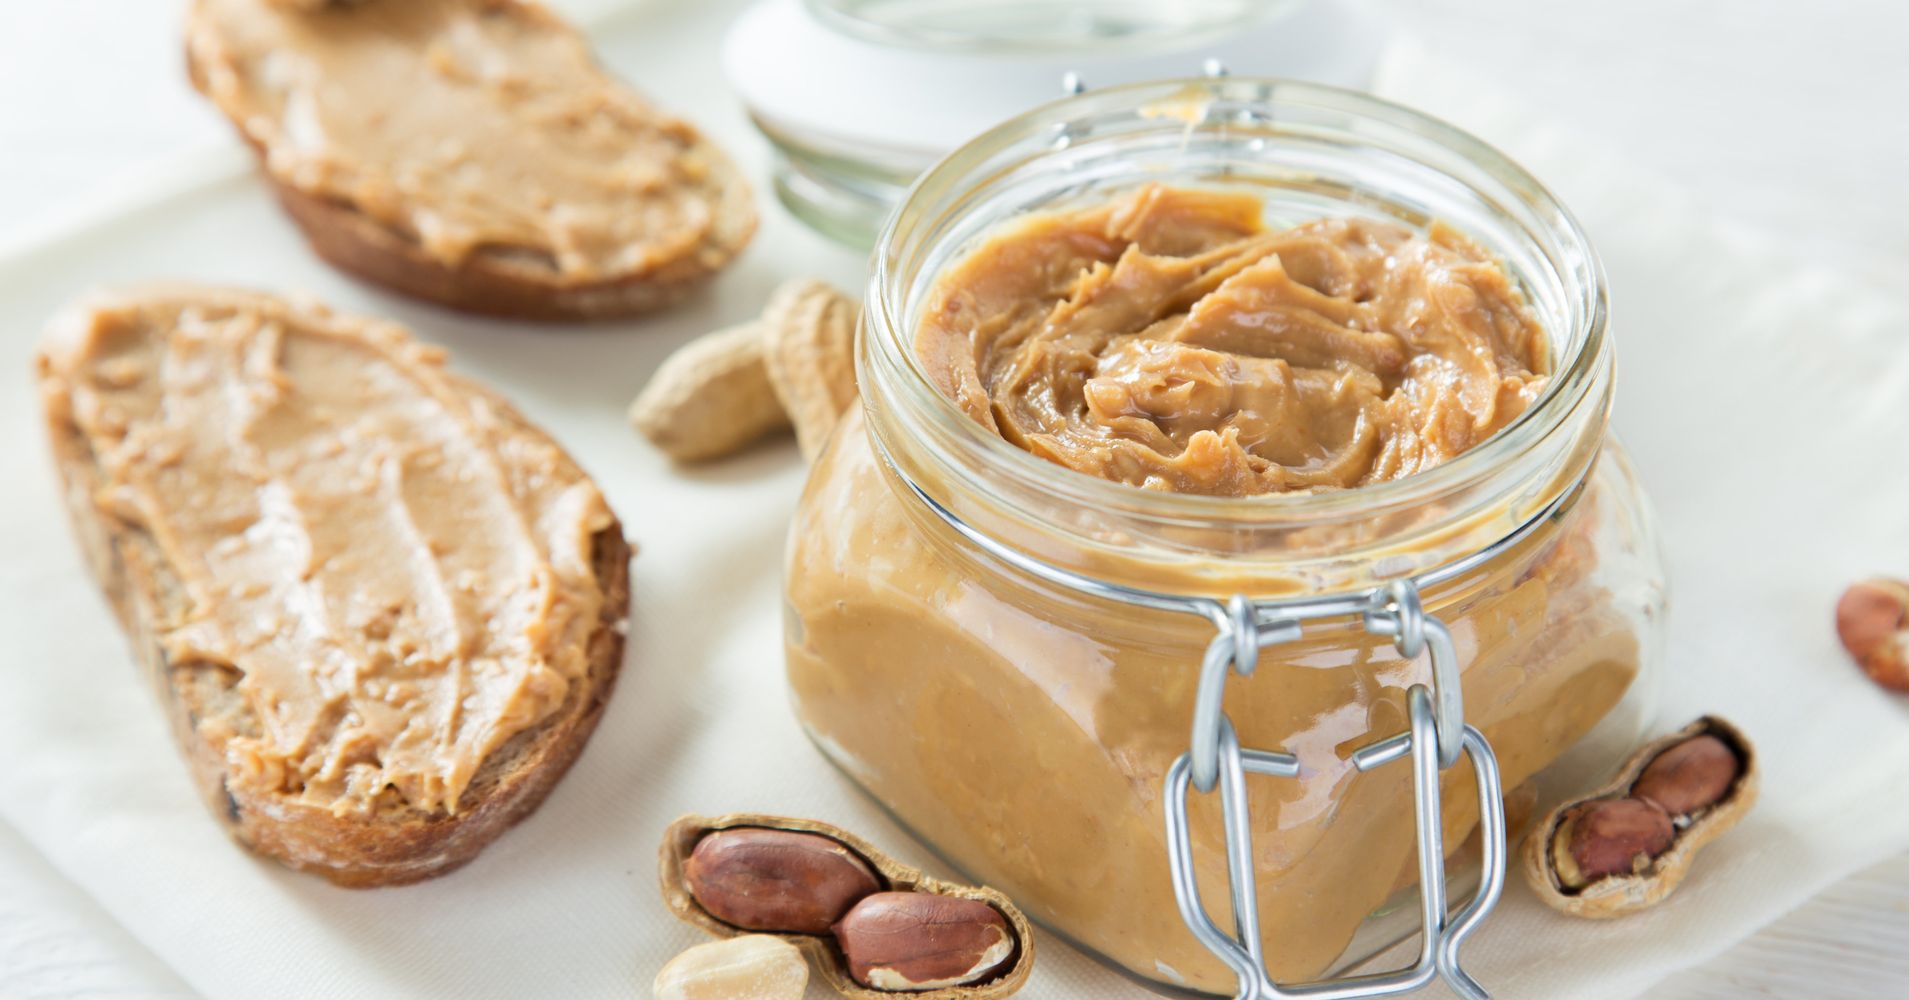
- 1/2 cup creamy peanut butter
- 1/2 cup granulated sugar
- 1/2 cup packed light brown sugar
- 1 large egg
- 1 teaspoon pure vanilla extract
- 1 and 3/4 cups all-purpose flour
- 1 teaspoon baking soda
- 1/2 teaspoon salt
- 1/4 cup granulated sugar (for rolling)
- 40 Hershey’s Kisses chocolates, unwrapped
These simple but essential ingredients can be easily found in your pantry or local grocery store. Make sure to have everything pre-measured and ready before you begin to streamline the baking process.
Step 1: Preparing the Dough
To start making the Peanut Butter Blossom Cookies, follow these simple steps to prepare the dough:
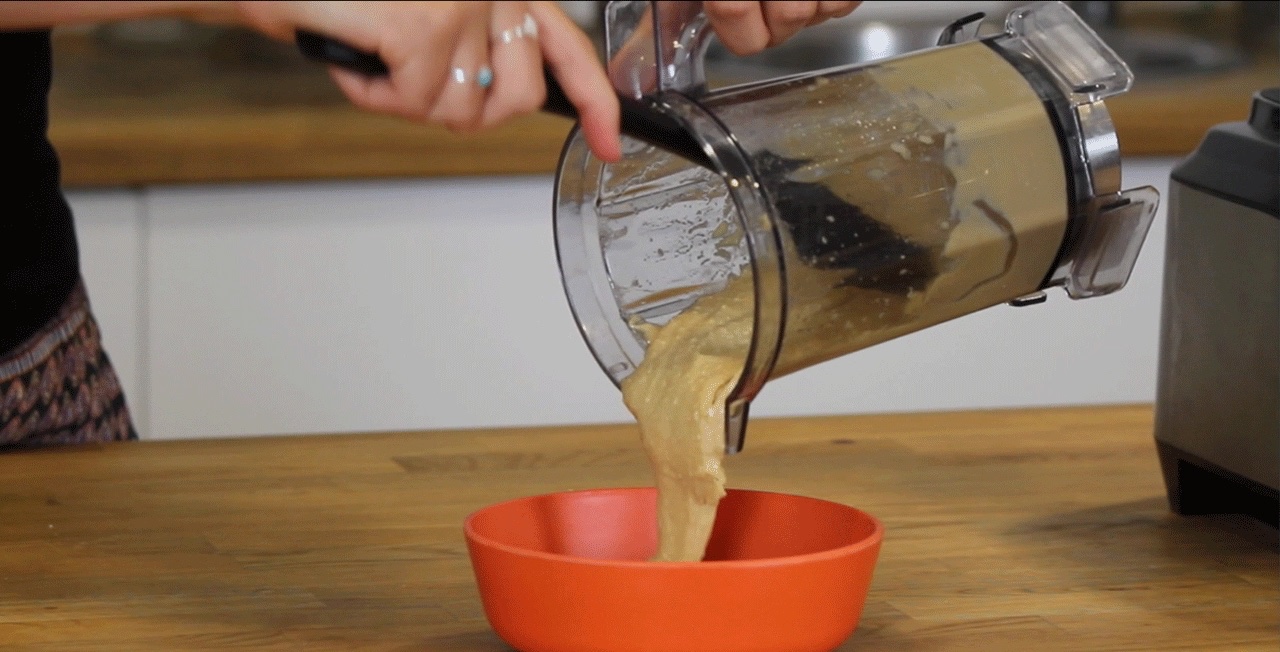
- In a large bowl, cream together the softened butter, creamy peanut butter, granulated sugar, and light brown sugar until well combined. An electric mixer or stand mixer works best for this step, but you can also use a wooden spoon if needed.
- Add in the egg and vanilla extract to the butter mixture. Beat until the ingredients are fully incorporated and the mixture is creamy and smooth.
- In a separate bowl, whisk together the all-purpose flour, baking soda, and salt. Gradually add this dry mixture to the peanut butter mixture, mixing until just combined. Be careful not to overmix, as this can lead to tough cookies.
- Cover the bowl with plastic wrap and refrigerate the dough for at least 1 hour. This chilling time allows the dough to firm up, making it easier to handle and shape.
By following these steps, you’ll have a rich and flavorful cookie dough ready to be transformed into delicious Peanut Butter Blossom Cookies.
Step 2: Shaping the Cookies
Once the dough has chilled, it’s time to shape the Peanut Butter Blossom Cookies. Follow these steps for perfectly formed cookies:
- Preheat your oven to 375°F (190°C) and line a baking sheet with parchment paper.
- Remove the dough from the refrigerator and using a cookie scoop or your hands, portion the dough into small balls, approximately 1 inch in diameter.
- Roll each ball of dough in the 1/4 cup of granulated sugar until fully coated. This sugar coating will give the cookies a beautiful sparkle and a slightly crisp texture.
- Place the sugar-coated dough balls on the prepared baking sheet, spacing them about 2 inches apart to allow room for spreading.
- Using the back of a fork, gently press down on each dough ball to create a crisscross pattern. This not only adds a touch of visual appeal but also helps the cookies bake evenly.
As you shape the cookies, remember not to overcrowd the baking sheet, as the cookies will spread as they bake. If necessary, bake the cookies in batches for optimal results.
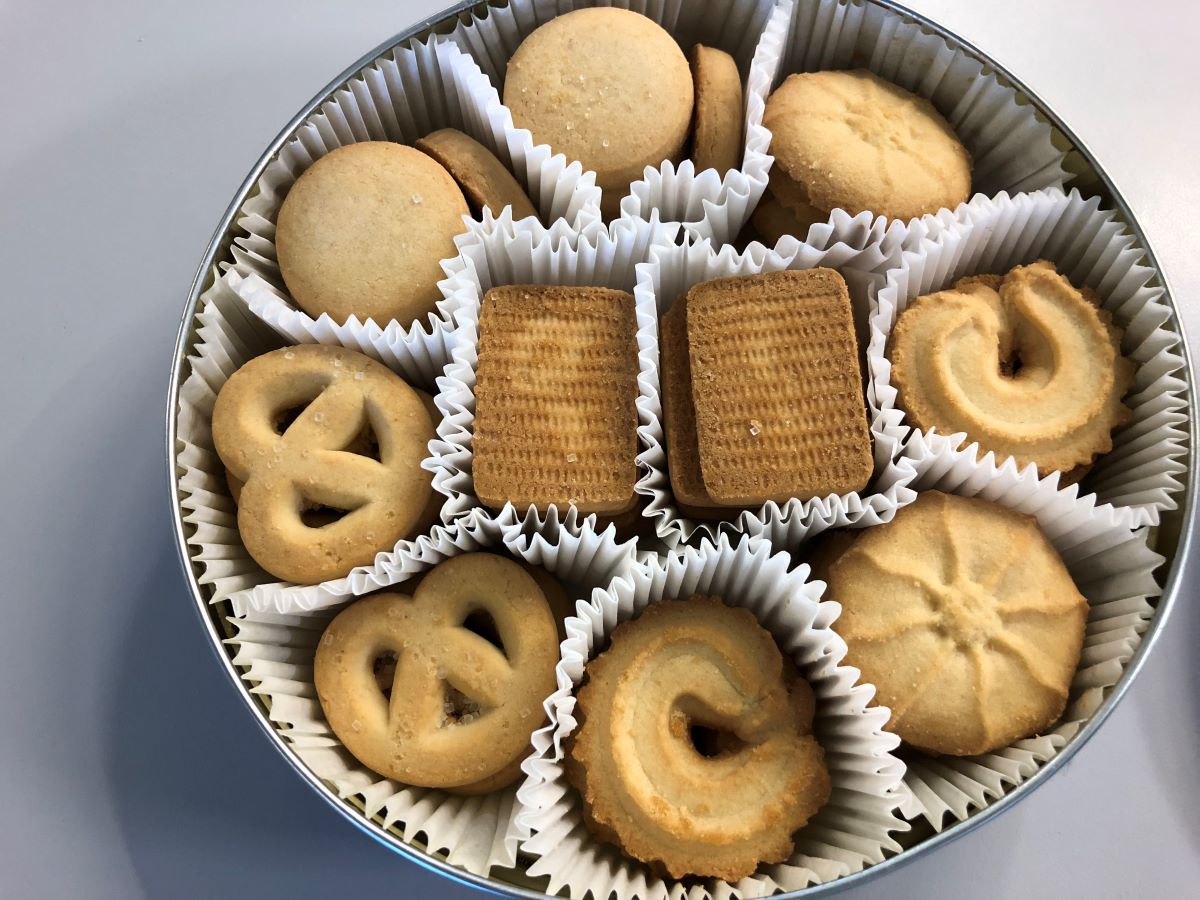
Store peanut butter blossom cookies in an airtight container at room temperature for up to 1 week. Layer cookies with parchment paper to prevent sticking. Avoid storing in direct sunlight or near heat sources.
Step 3: Adding the Chocolate Kisses
The next step in creating Peanut Butter Blossom Cookies is to add the iconic chocolate Kisses on top. Follow these steps to achieve that signature look:
- Place the prepared baking sheet with the shaped cookie dough balls into the preheated oven.
- Bake the cookies for 8-10 minutes, or until they are just set and lightly golden around the edges. Be careful not to overbake, as this can result in dry cookies.
- Remove the baking sheet from the oven and immediately press a Hershey’s Kiss chocolate into the center of each cookie. Gently press down until the cookie slightly cracks around the edges and the chocolate is secure.
- Allow the cookies to cool on the baking sheet for 5 minutes before transferring them to a wire rack to cool completely.
The heat from the freshly baked cookies will slightly soften the chocolate Kisses, creating a perfect melt-in-your-mouth combination when you take a bite. The appearance of the chocolate nestled in the center of each cookie is both visually appealing and a delightful surprise when enjoyed.
Read more: How To Store Peanut Butter Cookies
Step 4: Baking
The baking process is a crucial step in achieving perfectly baked Peanut Butter Blossom Cookies. Follow these steps for optimal results:
- Preheat your oven to 375°F (190°C) and ensure that the oven rack is positioned in the center.
- Place the prepared cookie dough balls on a parchment-lined baking sheet, spacing them about 2 inches apart.
- Place the baking sheet in the preheated oven and set a timer for 8 to 10 minutes.
- As the cookies bake, keep a close eye on them. They should be lightly golden around the edges when they’re done. If you prefer a softer and chewier texture, remove them from the oven as soon as they’re set.
- Once the cookies are baked to perfection, carefully transfer them to a wire rack to cool.
Remember that baking times may vary depending on your oven and the size of the dough balls. It’s always a good idea to set a timer and check on the cookies a minute or two before the suggested baking time to ensure they don’t overbake.
With a little bit of patience and attention to detail, you’ll end up with deliciously baked Peanut Butter Blossom Cookies that are sure to impress.
Step 5: Cooling and Storage
After your Peanut Butter Blossom Cookies have finished baking, it’s important to properly cool and store them to maintain their freshness and flavor. Follow these steps for optimal results:
- Allow the baked cookies to cool on the baking sheet for 5 minutes. This allows them to firm up slightly before transferring them to a wire rack to cool completely. Cooling them on the wire rack ensures proper airflow and helps prevent residual heat from making the cookies soggy.
- Once the cookies have cooled completely, you can enjoy them immediately or store them for later indulgence. To store the cookies, place them in an airtight container. Layer the cookies between sheets of parchment paper or wax paper to prevent them from sticking together or getting crushed.
- Keep the container of cookies in a cool, dry place, away from direct sunlight or heat sources. Avoid storing them in the refrigerator, as this can make them dry out or absorb unwanted odors.
- Peanut Butter Blossom Cookies can stay fresh for up to 1 week when stored properly. If you want to extend their shelf life, you can also freeze them. Just make sure to wrap the cookies tightly in plastic wrap or place them in a freezer-safe container before freezing. They can be stored in the freezer for up to 2 months.
When you’re ready to enjoy the stored cookies, simply take them out of the container or freezer and let them come to room temperature before serving. The cookies should still maintain their delicious flavor and texture, making them a delightful treat anytime you crave a sweet and nutty indulgence.
Conclusion
Creating and storing Peanut Butter Blossom Cookies is a delightful experience that allows you to enjoy the irresistible combination of peanut butter and chocolate in a homemade treat. By following the steps outlined in this article, you can confidently make these delectable cookies and ensure they stay fresh and flavorful.
From preparing the dough to shaping the cookies and adding the signature chocolate Kisses, each step plays a crucial role in achieving the perfect texture and taste. Remember to bake the cookies with care, keeping a close eye on them to prevent overbaking. Properly cooling and storing the cookies in an airtight container will help preserve their freshness and allow you to enjoy them for days to come.
Whether you choose to make these cookies for a special occasion, to share with friends and family, or simply as a sweet treat for yourself, Peanut Butter Blossom Cookies are sure to bring joy and satisfaction to any cookie lover. So, grab your ingredients and get ready to savor the irresistible combination of peanut butter and chocolate in the form of these delightful cookies.
Happy baking and enjoy your Peanut Butter Blossom Cookies!
Frequently Asked Questions about How To Store Peanut Butter Blossom Cookies
Was this page helpful?
At Storables.com, we guarantee accurate and reliable information. Our content, validated by Expert Board Contributors, is crafted following stringent Editorial Policies. We're committed to providing you with well-researched, expert-backed insights for all your informational needs.

0 thoughts on “How To Store Peanut Butter Blossom Cookies”