Home>Garden Essentials>How To Plant Seed Potatoes In Grow Bags

Garden Essentials
How To Plant Seed Potatoes In Grow Bags
Modified: March 24, 2024
Learn how to plant seed potatoes in grow bags and transform your garden into a thriving potato patch. Step-by-step guide and tips for successful potato cultivation.
(Many of the links in this article redirect to a specific reviewed product. Your purchase of these products through affiliate links helps to generate commission for Storables.com, at no extra cost. Learn more)
Introduction
Growing your own potatoes can be a rewarding experience, and if you’re short on space or have limited access to a traditional garden bed, planting seed potatoes in grow bags is a fantastic alternative. Whether you have a small balcony, a patio, or even a sunny window sill, grow bags provide a convenient and efficient way to cultivate potatoes.
In this article, we will discuss the benefits of growing potatoes in grow bags, as well as provide you with a step-by-step guide on how to plant and care for your seed potatoes, and eventually harvest a bountiful crop.
So, if you want to enjoy the scrumptious taste of homegrown potatoes and have limited garden space, let’s dive into the world of grow bags!
Key Takeaways:
- Grow bags offer space-saving, portable, and controlled environments for growing potatoes. They provide improved drainage, aeration, and easier harvesting, making them ideal for limited garden spaces.
- Select certified, healthy seed potatoes and sturdy, breathable grow bags. Prepare the bags and seed potatoes before planting, and provide proper care to ensure healthy growth and a bountiful harvest.
Read more: How To Grow Potato Seeds
Benefits of Growing Potatoes in Grow Bags
Growing potatoes in grow bags offers several advantages that make it a popular choice among gardeners, regardless of their gardening space limitations. Here are some of the key benefits:
- Space Efficiency: One of the biggest advantages of using grow bags is their space-saving design. Whether you have a small balcony or a tiny patio, you can easily fit several grow bags without the need for a large garden bed.
- Portability: Grow bags are lightweight and portable, allowing you to move them around as needed. This means you can position them in the sunniest spots or protect them from extreme weather conditions.
- Improved Drainage: Grow bags have drainage holes at the bottom, ensuring proper drainage and preventing waterlogged soil. This promotes healthier root development and reduces the risk of disease caused by excess moisture.
- Aeration: The fabric material of grow bags allows for excellent airflow, promoting better aeration and reducing the chances of developing rot or fungal diseases. This helps to keep the plants healthy and encourages optimal growth.
- Easier Harvesting: Harvesting potatoes is a breeze with grow bags. Simply empty the contents of the bag, and you’ll have easy access to the potatoes without having to dig through the soil. This makes it ideal for gardeners with physical limitations or those who prefer a hassle-free harvest.
- Controlled Environment: Grow bags provide the opportunity to create a controlled environment for your potato plants. You can easily monitor and adjust factors such as sunlight exposure, watering, and soil quality, allowing you to optimize growth conditions for better yields.
- Reduced Pest and Disease Risk: By using grow bags, you can minimize the risk of pests and diseases that are typically found in garden soil. This is especially beneficial if you’ve had previous issues with pests or diseases in your garden area.
With all these advantages, it’s no wonder that growing potatoes in grow bags has gained popularity among both beginner and experienced gardeners. So, let’s move on to the next step – selecting the right seed potatoes for your grow bags.
Selecting Seed Potatoes
Choosing the right seed potatoes is a crucial step in successfully growing potatoes in grow bags. Here are some tips to help you select the best seed potatoes:
- Choose Certified Seed Potatoes: It is recommended to use certified seed potatoes, which are certified disease-free and have undergone quality control. This ensures that you start with healthy potatoes and reduces the risk of introducing diseases into your garden.
- Consider Variety: There are numerous potato varieties to choose from, each with its own unique flavor and characteristics. Consider whether you prefer a waxy potato for salads or a floury one for baking and choose a variety that suits your culinary needs.
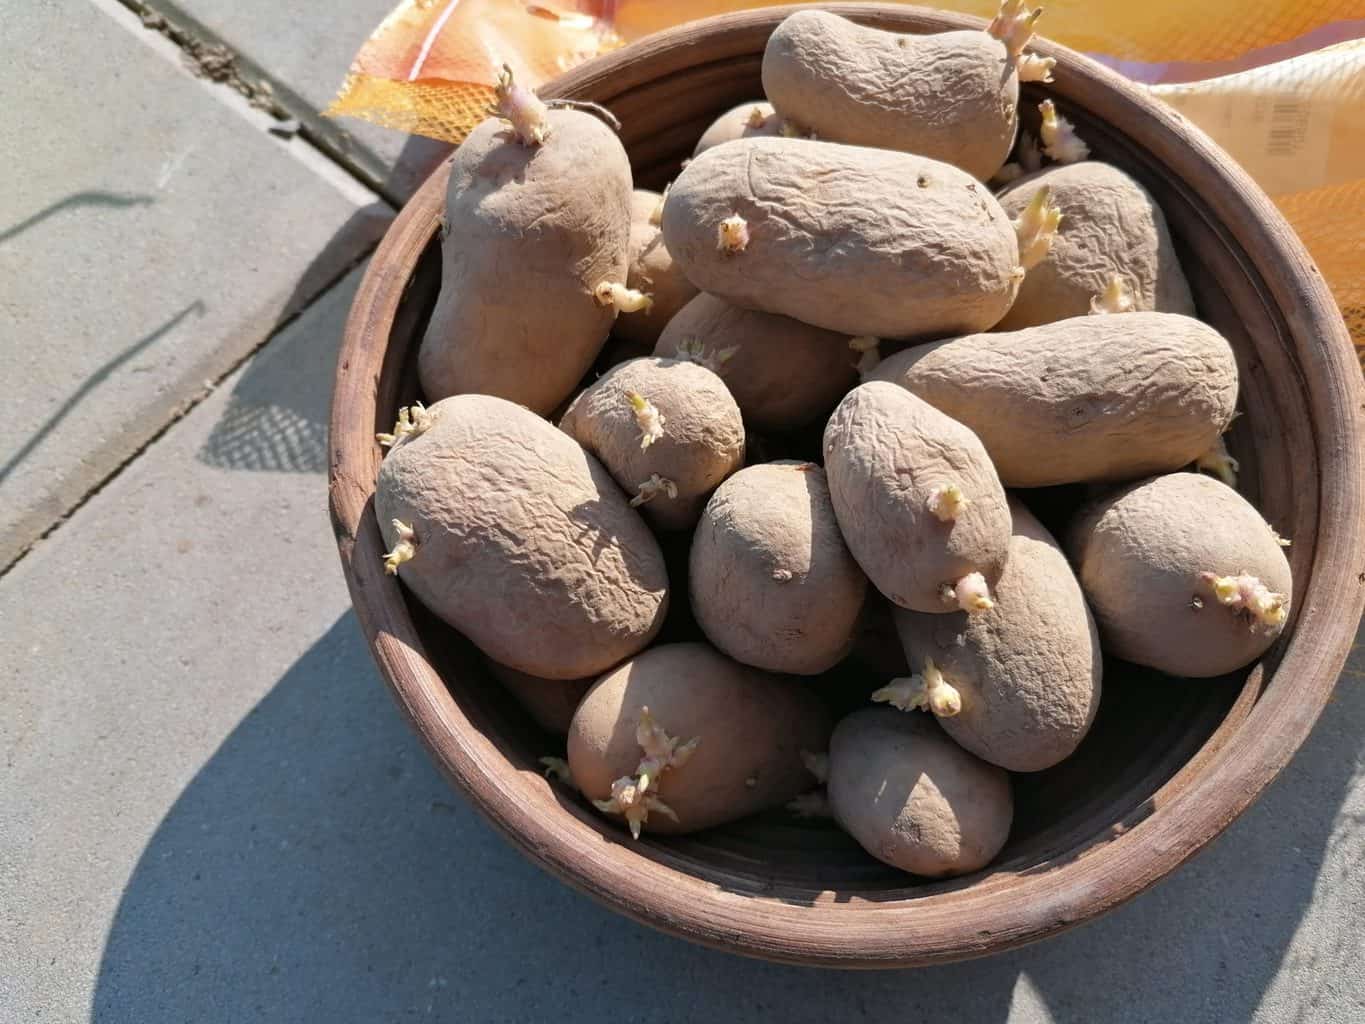
- Size and Condition: Select seed potatoes that are about the size of an egg or slightly bigger. Avoid sprouting or shriveled potatoes, as they may have been stored improperly or could be prone to disease.
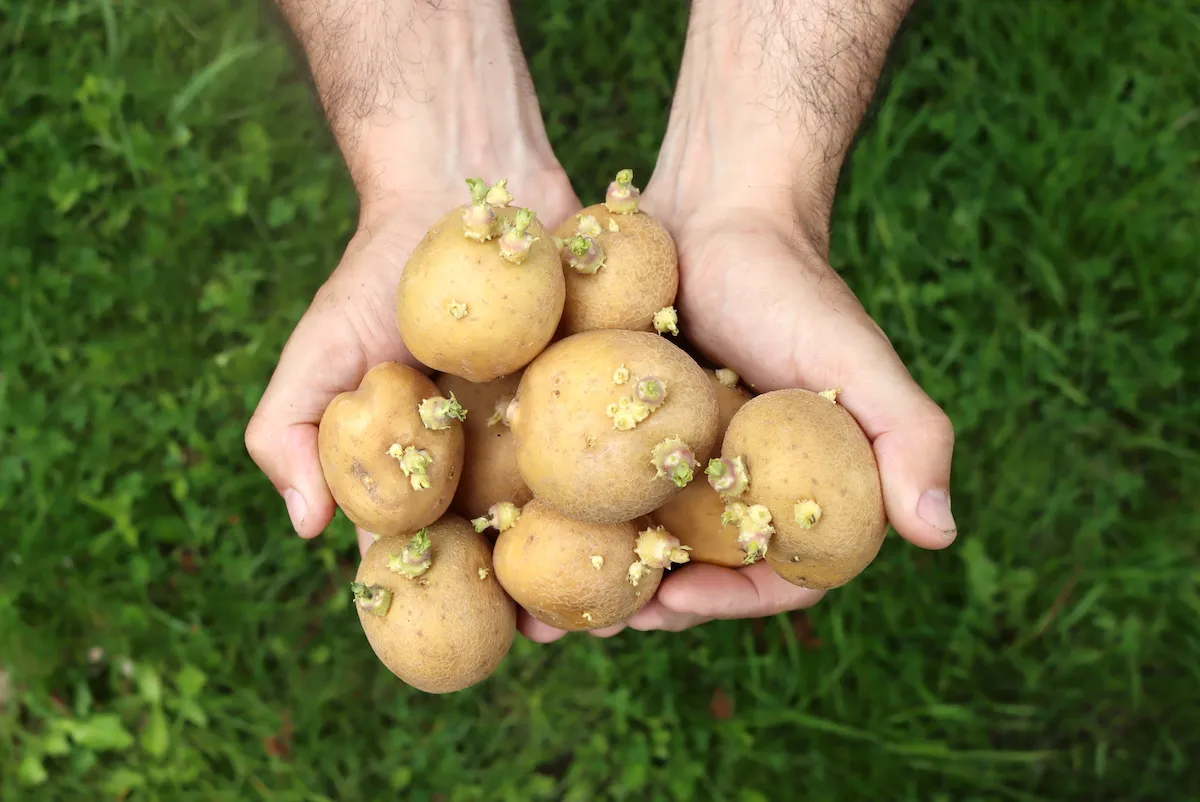
- Eyes and Sprouts: Look for potatoes that have multiple eyes or small sprouts. These indicate that the potato is mature and ready for planting.
- Avoid Green Potatoes: Green potatoes contain high levels of solanine, a naturally occurring toxic compound. Choose potatoes that are not green or have minimal green patches.
- Local Climate: Consider the climate in your area and choose varieties that are suitable for your region. Some potatoes thrive in cooler climates, while others are more heat-tolerant.
When purchasing seed potatoes, it’s advisable to buy them from reputable sources, such as garden centers or online suppliers. They will have a wide selection of varieties and can provide information on the specific qualities of each variety.
Now that you have your seed potatoes, let’s move on to the next step – selecting the right grow bags for your potato plants.
Selecting the Right Grow Bags
Choosing the right grow bags is essential for the successful growth of your potatoes. Here are some factors to consider when selecting grow bags:
- Size and Capacity: The size of the grow bags will depend on how many potatoes you want to grow and the available space. Most grow bags come in sizes ranging from 5 to 15 gallons. A 7 to 10-gallon size is typically sufficient for each potato plant.
- Material: Look for grow bags made from sturdy, breathable, and durable materials, such as fabric or geotextile. These materials allow for proper aeration and drainage, preventing waterlogging and promoting healthy root growth.
- Handles: Choose grow bags with sturdy handles for easy transportation and repositioning. This will make it easier to move the bags to sunnier or sheltered locations, as needed.
- UV Resistance: Ensure that the grow bags you choose have some level of UV resistance. This helps to prevent the bags from deteriorating or degrading under prolonged sun exposure.
- Color: Dark-colored grow bags absorb more heat, which can be beneficial in cooler climates. Light-colored bags reflect sunlight and help to keep the soil temperature cooler in warmer climates.
- Reusable: Look for grow bags that are reusable and easy to clean. This allows you to use them for multiple growing seasons and maintain good hygiene for your plants.
When purchasing grow bags, it’s important to read customer reviews and choose reputable brands known for their quality. This will ensure that you invest in grow bags that will last and provide the optimal growing conditions for your potatoes.
Now that you have your seed potatoes and grow bags ready, let’s move on to the next steps – preparing the grow bags and seed potatoes before planting.
Preparing the Grow Bags
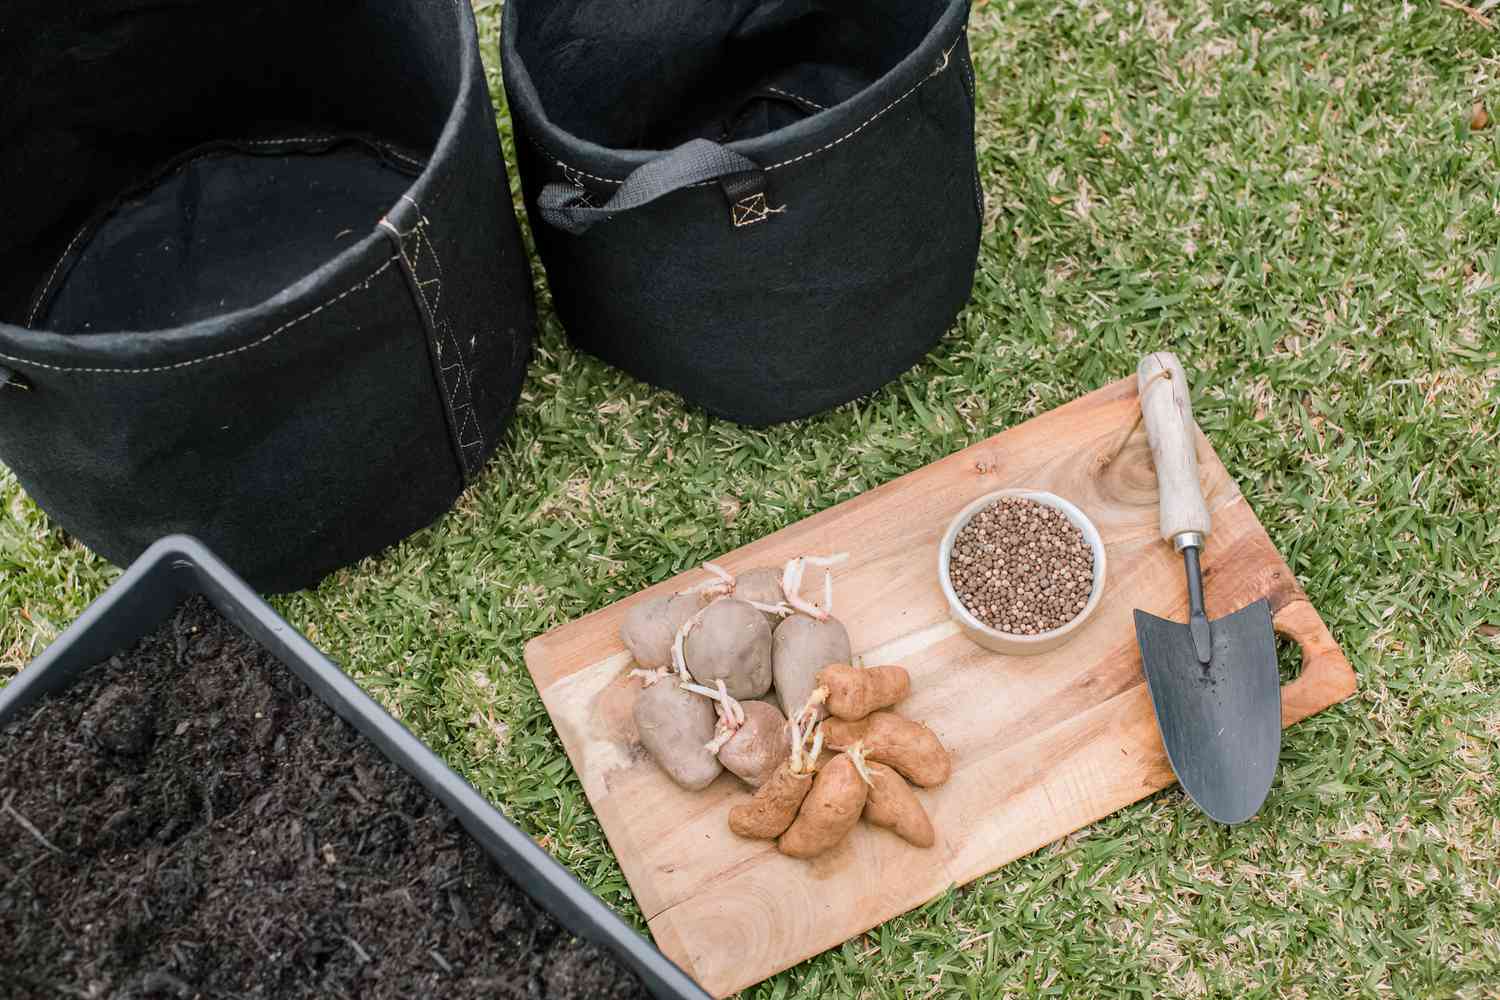
Before planting your seed potatoes, it’s important to properly prepare the grow bags to create an optimal growing environment. Here are the steps to prepare your grow bags:
- Clean the Bags: Start by ensuring that the grow bags are clean and free from any dirt or debris. If the bags are reusable from a previous season, give them a thorough rinse and let them dry before use.
- Fill with Potting Mix: Fill the grow bags with a quality potting mix, specifically formulated for vegetables or container gardening. Avoid using garden soil, as it may contain pests, diseases, or drainage issues. Fill the bags about two-thirds full, leaving enough space for the seed potatoes and to allow for soil settling.
- Amend the Soil: Depending on the type of potting mix you’re using, you may need to amend it with compost or organic matter to improve its nutrient content. This will provide a rich growing medium for your potato plants.
- Moisten the Soil: Before planting the seed potatoes, lightly moisten the potting mix in the grow bags. This will ensure that the soil is evenly hydrated and ready for planting.
- Place the Bags: Position the filled grow bags in a location that receives at least 6-8 hours of sunlight per day. Ensure that the bags are stable and won’t tip over as they grow. If necessary, you can use stakes or other supporting materials to secure the bags.
Once you have prepared the grow bags, the next step is to prepare the seed potatoes before planting. This will ensure a healthy start for your potato plants. Let’s dive into the process of preparing the seed potatoes.
Read more: How To Plant Seed Potatoes
Preparing the Seed Potatoes
Properly preparing the seed potatoes before planting is crucial for their growth and overall success. Follow these steps to prepare your seed potatoes:
- Inspect and Sort: Start by inspecting each seed potato for any signs of rot, damage, or disease. Remove any potatoes that show signs of spoilage or are soft and mushy. Sort the remaining potatoes by size, choosing those that are uniform in size for more consistent growth.
- Cut into Chunks: If your seed potatoes are larger than an egg, you can cut them into smaller pieces. Each piece should have at least one or two sprouts (referred to as “eyes”). Use a clean and sharp knife or garden pruners to make smooth cuts, ensuring that each section has some flesh attached to the sprouts.
- Allow for Healing: After cutting the seed potatoes, allow them to heal and form a callus before planting. This helps to prevent rot and allows the potato to develop a protective layer. Place the cut potatoes in a cool and dry location with good airflow for a few days to allow for healing.
- Dust with Fungicide: To further protect the seed potatoes from fungal or bacterial infections, you can dust the cut sides with a fungicide powder specifically designed for seed treatment. This helps to minimize the risk of diseases that can affect potato tubers.
- Label the Varieties: If you are planting multiple varieties of potatoes, label each section or container with the corresponding variety name. This will help you keep track of the different potato types during the growing and harvesting stages.
By properly preparing your seed potatoes, you are setting them up for success and ensuring healthier and more vigorous growth. Now that your seed potatoes are prepared, it’s time to plant them in the grow bags and watch them grow!
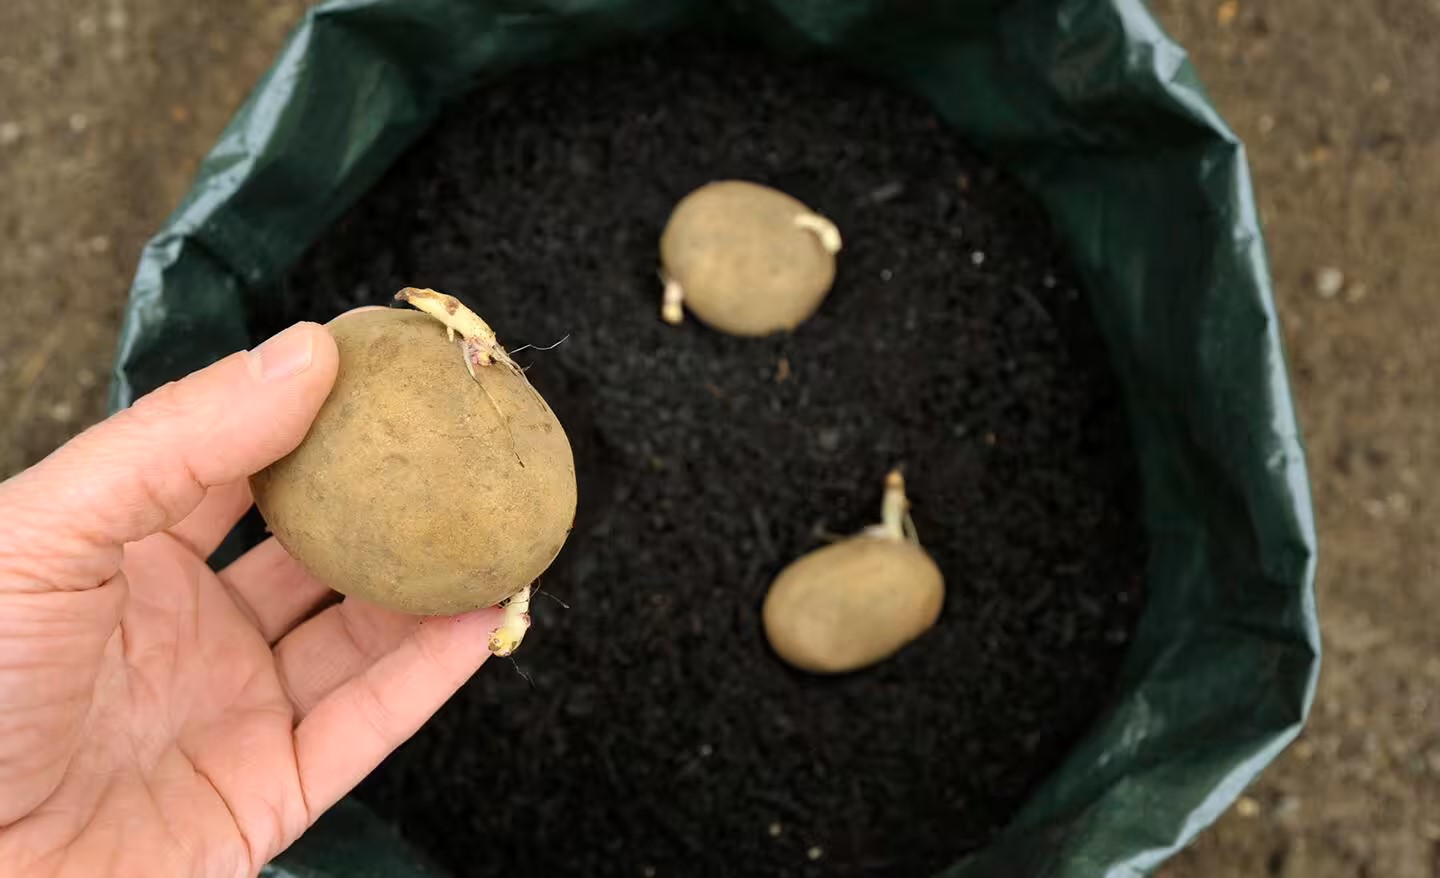
When planting seed potatoes in grow bags, make sure to choose a sunny spot, fill the bag with 4-6 inches of soil, and place the seed potatoes on top. Cover with more soil and water regularly. Keep adding soil as the plants grow.
Planting the Seed Potatoes in Grow Bags
Now that you have prepared your seed potatoes and grow bags, it’s time to plant the potatoes in the grow bags. Follow these steps for successful planting:
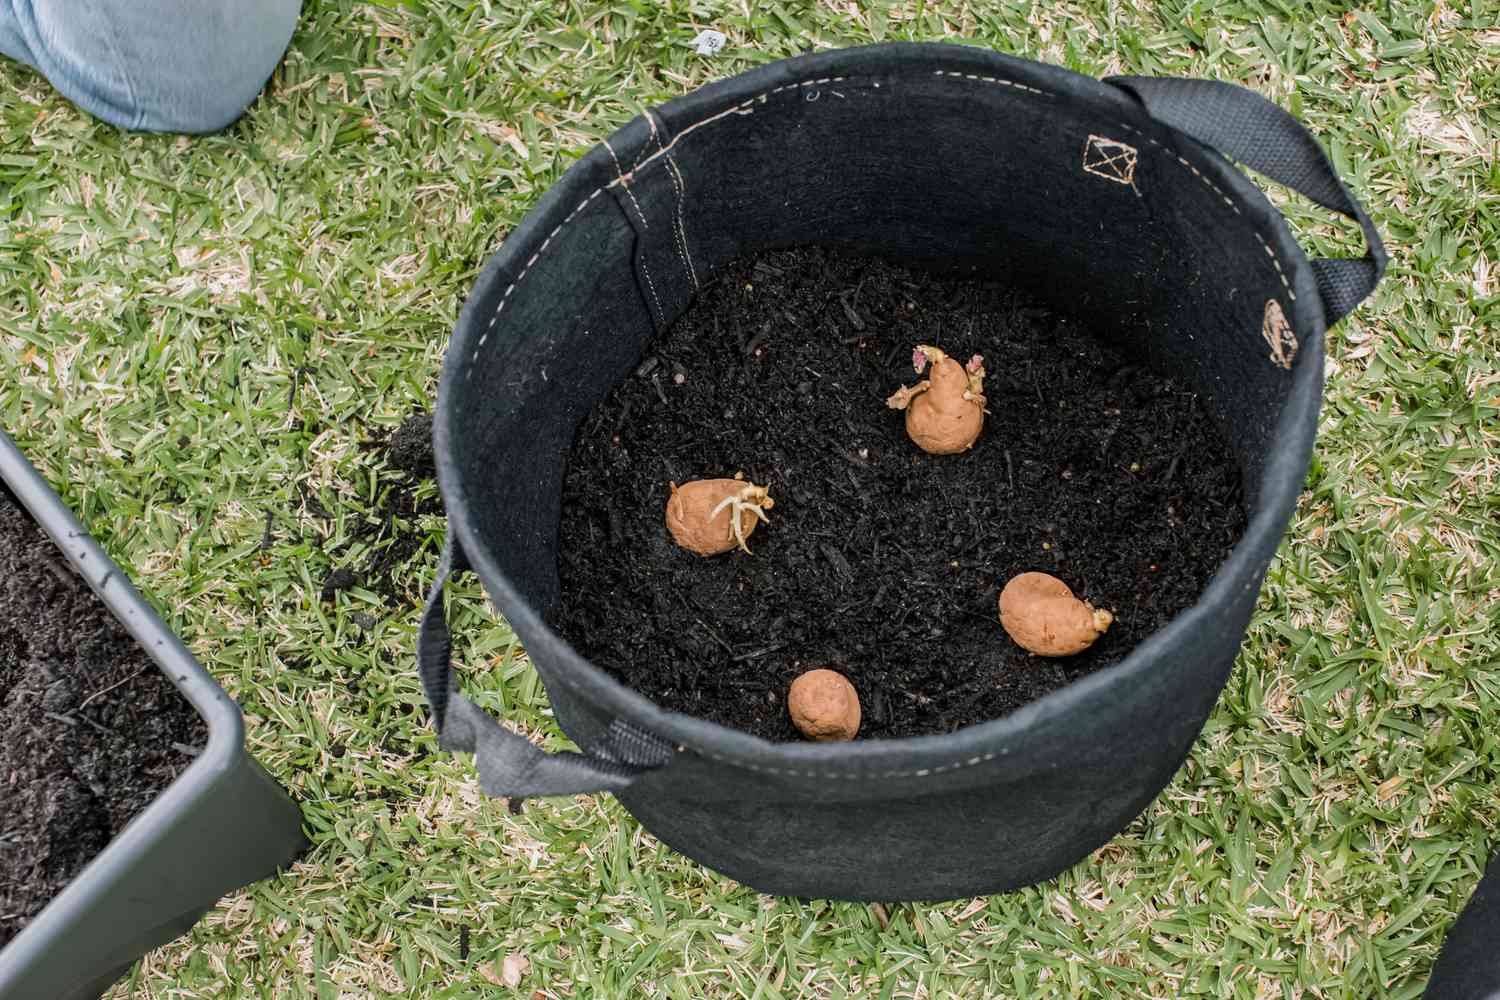
- Add Soil: Start by adding a few inches of potting mix to the bottom of the grow bag. This will provide a protective layer for the seed potatoes and encourage their initial growth.
- Space the Potatoes: Place the prepared seed potatoes on top of the soil, making sure the cut sides are facing up. Space the potatoes evenly in the grow bag, leaving a few inches of space between them to allow for growth and airflow.
- Add Soil and Cover: Gently cover the seed potatoes with a layer of potting mix, ensuring that they are completely covered and there is about an inch of soil above them. Press the soil lightly to secure the potatoes in place.
- Water Thoroughly: After planting, thoroughly water the grow bags until water starts to drain through the bottom. This helps to settle the soil and ensure proper moisture for the newly planted potatoes.
- Place in Sunlight: Position the grow bags in a location that receives full sunlight. Potatoes thrive in sunny areas, so make sure the plants get at least 6-8 hours of direct sunlight each day.
As the potato plants grow, continue to add more soil or potting mix gradually to cover the emerging stems and leaves. This gradual process, known as “hilling,” promotes more tuber development along the stem and prevents the potatoes from turning green when exposed to sunlight.
Now that you have planted the seed potatoes in the grow bags, it’s important to provide proper care to ensure the healthy growth of your potato plants. Let’s explore the essential care steps in the next section.
Caring for Seed Potatoes in Grow Bags
Proper care is essential for the successful growth and development of seed potatoes planted in grow bags. Follow these care guidelines to ensure healthy potato plants:
- Watering: Keep the soil in the grow bags consistently moist but not waterlogged. Check the moisture level regularly and water whenever the top inch of soil feels dry. Avoid overwatering, as it can lead to rot or fungal diseases. Water at the base of the plant to prevent wetting the foliage.
- Fertilizing: Potatoes are heavy feeders, so regular fertilization is important. Use a balanced organic fertilizer or a slow-release granular fertilizer formulated for vegetables. Follow the package instructions for proper application and frequency of fertilization.
- Hilling: As the potato plants grow, continue to add more soil or potting mix to the grow bags, gradually covering the lower stems and leaves. Hilling helps to encourage more tuber formation and protects the developing potatoes from sunlight exposure, which can cause them to turn green and be potentially toxic.
- Weed Control: Keep the area around the grow bags free from weeds to prevent competition for nutrients and water. Regularly inspect the bags and remove any weeds that may sprout in or around the grow bags.
- Pest and Disease Management: Monitor your potato plants for any signs of pests or diseases. Common potato pests include aphids, potato beetles, and wireworms. If necessary, use organic pest control methods to manage infestations. Keep an eye out for common potato diseases like late blight, early blight, and potato scab. If you observe any signs of disease, promptly take appropriate measures to prevent the spread and treat the affected plants.
- Supporting the Plants: As the potato plants grow taller, provide support to prevent them from falling over. Use stakes or trellises to help keep the plants upright and stable. This is especially important for grow bags placed in exposed or windy areas.
- Monitor Sun Exposure: Ensure that the potato plants receive adequate sunlight. If necessary, adjust the position of the grow bags to maximize sun exposure. If the plants receive insufficient sunlight, they may have stunted growth and reduced tuber development.
- Regular Inspection: Regularly inspect the plants for any signs of stress, disease, or nutrient deficiencies. Early intervention can prevent further damage and ensure the health and vitality of your potato plants.
By providing proper care to your seed potatoes in grow bags, you will promote healthy growth, strong yields, and delicious homegrown potatoes. Now, let’s move on to the exciting moment of harvesting your potatoes!
Harvesting Potatoes from Grow Bags
Harvesting your potatoes from grow bags is an exciting and rewarding culmination of your hard work and dedication. Follow these steps to harvest your potatoes:
- Monitor Plant Maturity: Potatoes can be harvested at different stages depending on your preference. For “new” or “baby” potatoes, harvest when the plants are still green and the tubers are small, usually around 2-3 months after planting. For mature potatoes, wait until the foliage starts to turn yellow and die back, typically around 3-4 months after planting.
- Prepare for Harvest: Before harvesting, stop watering the grow bags for a week or two. This allows the soil to dry out slightly and makes it easier to extract the potatoes without excess moisture clinging to them.
- Empty the Grow Bags: Gently tip over or dump the contents of the grow bags onto a tarp or a large container. Be careful not to damage the potatoes or bruise them during the process. You can also carefully remove the potatoes by hand if the soil is loose enough.
- Inspect and Cure: Inspect the harvested potatoes for any signs of damage, rot, or disease. Set aside any damaged or diseased tubers to prevent them from spoiling the rest. Cure the harvested potatoes by placing them in a cool, well-ventilated area with low humidity for about a week. This helps toughen the skin and improves their shelf life.
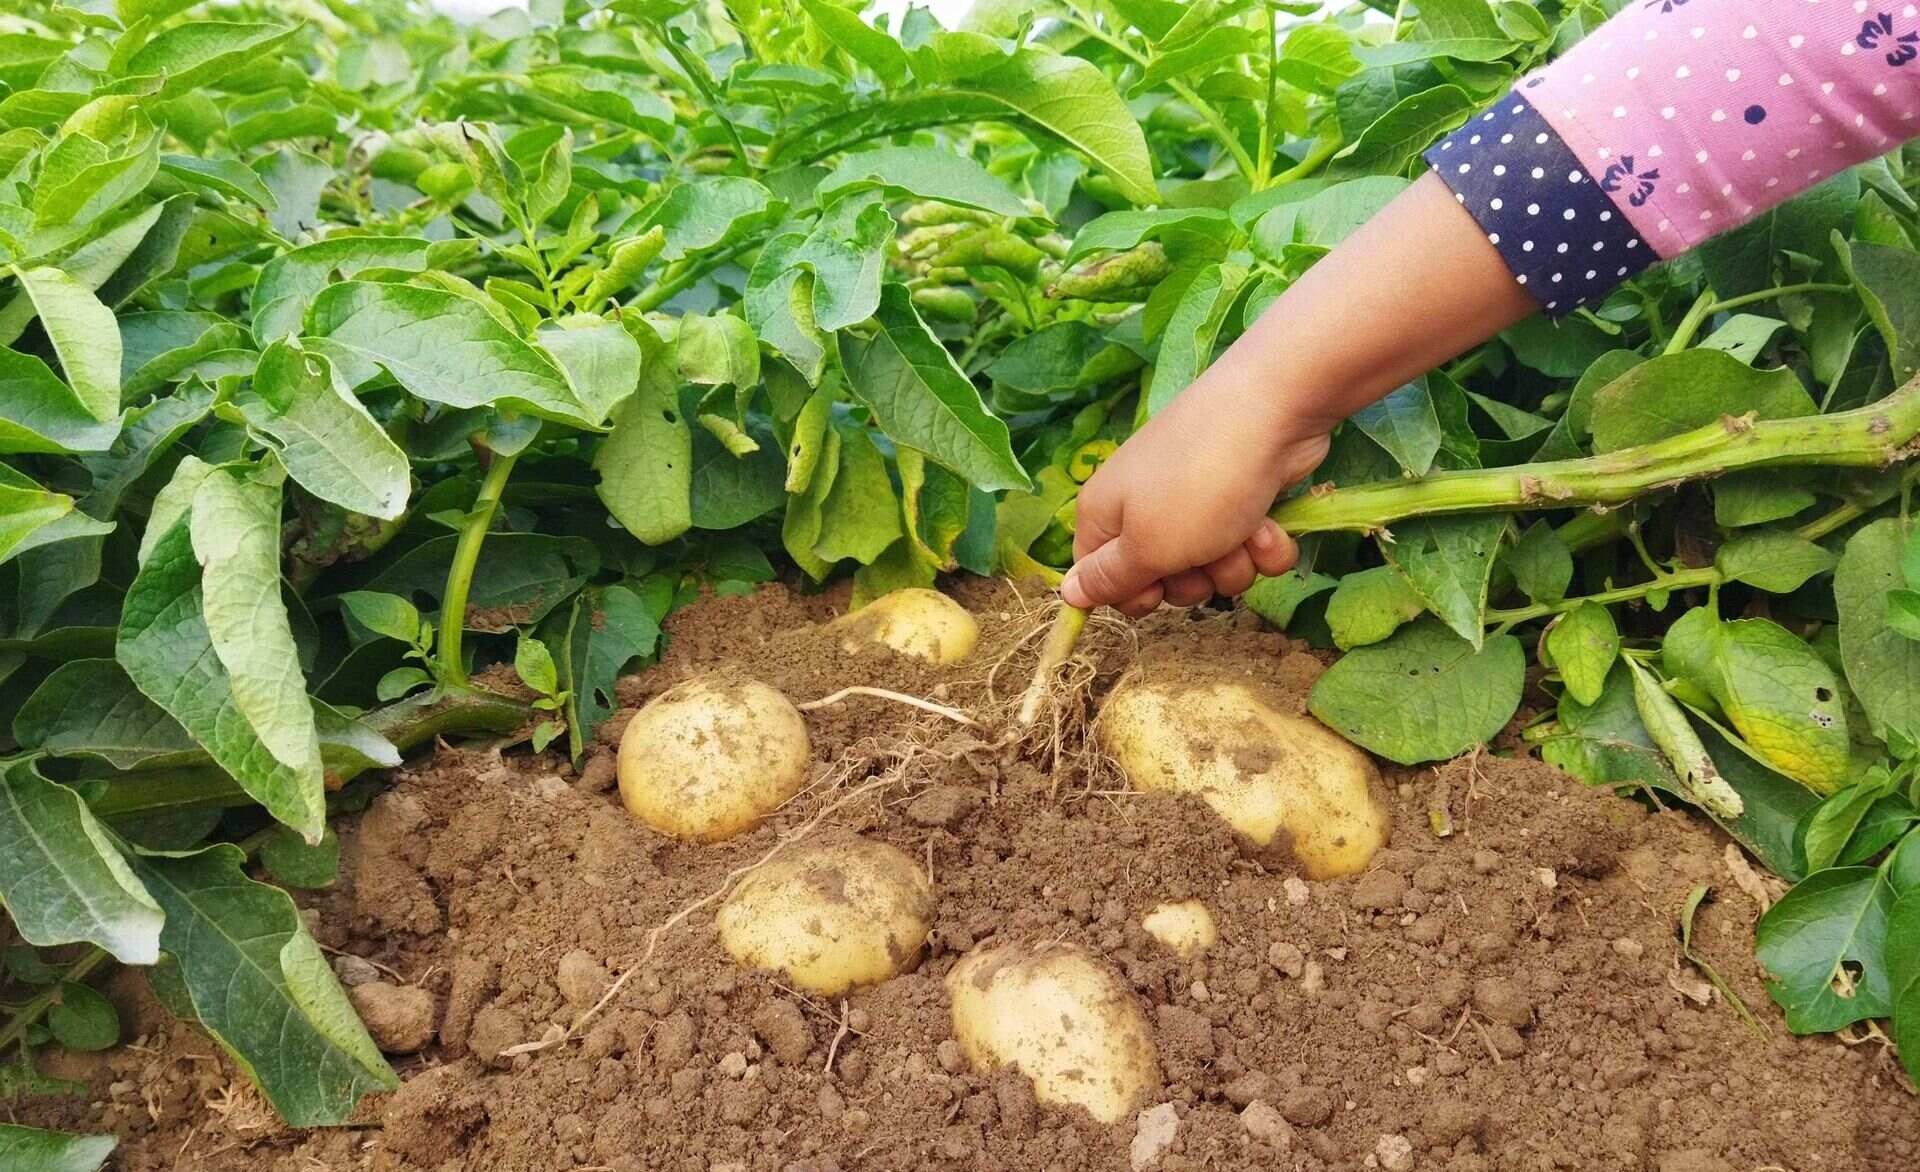
- Store or Enjoy: Once the potatoes are cured, you can either store them in a cool, dark, and well-ventilated space for long-term storage or enjoy them fresh from the harvest. Homegrown potatoes are delicious in a wide range of dishes, from mashed potatoes to roasted potatoes and everything in between!
Remember to save a few healthy potatoes from your harvest for next year’s seed potatoes. Store them in a cool and dark place until it’s time for planting.
Congratulations on harvesting your homegrown potatoes! It’s a satisfying accomplishment that showcases the rewards of your gardening efforts. Now that you’ve mastered the potato-growing process, you can continue to enjoy the bounty from your grow bags year after year.
Read more: How Many Potatoes Grow From One Seed Potato
Troubleshooting Common Issues
While growing potatoes in grow bags is a relatively easy and rewarding process, you may encounter some common issues along the way. Here are a few troubleshooting tips for common potato-growing problems:
- Poor Growth or Small Potatoes: Inadequate sunlight or improper nutrition can lead to poor growth or small potatoes. Ensure that your potato plants are receiving at least 6-8 hours of direct sunlight each day. Additionally, regularly fertilize with a balanced organic fertilizer to provide essential nutrients.
- Yellowing Leaves: Yellowing leaves can indicate a nutrient deficiency, particularly nitrogen. Apply a high-nitrogen fertilizer to promote healthy leaf growth. Ensure that the plants are not overwatered or underwatered, as both can cause yellowing leaves.
- Pest Infestation: If you notice pests such as aphids or potato beetles on your plants, remove them by hand or spray with organic insecticides. Additionally, practicing crop rotation and removing any plant debris after harvesting can help reduce the risk of recurring pest issues.
- Disease Outbreak: Common potato diseases such as late blight or early blight can decrease plant health and reduce yields. To prevent diseases, ensure proper spacing between plants for adequate airflow, avoid overhead watering that can promote disease spread, and promptly remove and dispose of any infected plant material.
- Potato Tuber Damage: Damage to the potato tubers can occur during harvesting or storage. Handle harvested potatoes carefully to avoid bruising or cuts, as these can lead to rot or spoilage. During storage, keep the potatoes in a cool, dark, and well-ventilated area to prevent sprouting or decay.
- Waterlogging: Overly wet soil can lead to waterlogging, which can cause root rot and hinder plant growth. Ensure that your grow bags have adequate drainage holes and avoid overwatering. Monitor the soil moisture levels and only water when the top inch of soil feels dry.
If you encounter any other specific issues or concerns not mentioned here, it’s always beneficial to consult with local gardening resources, such as cooperative extension offices or experienced gardeners in your area. They can provide valuable insight and guidance tailored to your specific growing conditions.
By identifying and addressing these common issues early on, you can ensure the health and productivity of your potato plants and enjoy a successful harvest from your grow bags.
With these troubleshooting tips in mind, you’re now equipped to overcome common challenges and maintain thriving potato plants in your grow bags. Happy gardening!
Conclusion
Growing potatoes in grow bags is a fantastic option for gardeners with limited space or those who want to enjoy homegrown potatoes without the need for a traditional garden bed. By utilizing these portable and efficient containers, you can cultivate a bountiful crop of delicious potatoes right on your balcony, patio, or even in a small sunny corner of your home.
In this article, we explored the benefits of growing potatoes in grow bags, including space efficiency, portability, improved drainage, aeration, easier harvesting, controlled environments, and reduced pest and disease risks. We discussed the importance of selecting the right seed potatoes and choosing the appropriate grow bags for optimal growth. We also went through the step-by-step process of preparing the grow bags, preparing the seed potatoes, planting them in the grow bags, and providing proper care throughout the growing season.
Throughout the journey, we highlighted the significance of regular watering, fertilizing, hilling, pest and disease management, as well as the importance of monitoring plant health and ensuring proper sunlight exposure. We also touched upon troubleshooting common issues such as poor growth, pest infestation, disease outbreaks, and waterlogging.
Now, armed with the knowledge, tips, and techniques provided in this article, you are well-prepared to embark on your own potato-growing adventure in grow bags. Enjoy the satisfaction of watching your potato plants thrive, anticipating the moment when you can harvest the fresh, homegrown potatoes that will grace your kitchen table with their delicious flavor.
Remember to experiment with different potato varieties, try new recipes, and share your gardening successes with others. And don’t forget to save some seed potatoes for future plantings, ensuring that the cycle of growing and harvesting continues year after year.
So, whether you’re a seasoned gardener looking to maximize your productivity or a beginner seeking a simple and rewarding gardening project, growing potatoes in grow bags is an excellent choice. Get started today and savor the joy of growing your own potatoes, no matter the size of your gardening space!
Frequently Asked Questions about How To Plant Seed Potatoes In Grow Bags
Was this page helpful?
At Storables.com, we guarantee accurate and reliable information. Our content, validated by Expert Board Contributors, is crafted following stringent Editorial Policies. We're committed to providing you with well-researched, expert-backed insights for all your informational needs.


0 thoughts on “How To Plant Seed Potatoes In Grow Bags”