Articles
How To Store Pressed Flowers
Modified: October 27, 2024
Learn how to store pressed flowers with our informative articles. Preserve your beautiful blooms and keep them looking fresh for years to come.
(Many of the links in this article redirect to a specific reviewed product. Your purchase of these products through affiliate links helps to generate commission for Storables.com, at no extra cost. Learn more)
Introduction
Welcome to the world of preserving the delicate beauty of flowers through the art of pressing. Whether you’re a gardening enthusiast looking to treasure your favorite blooms or a crafty individual seeking an eco-friendly way to add elegance to your projects, learning how to store pressed flowers is a wonderful skill to have.
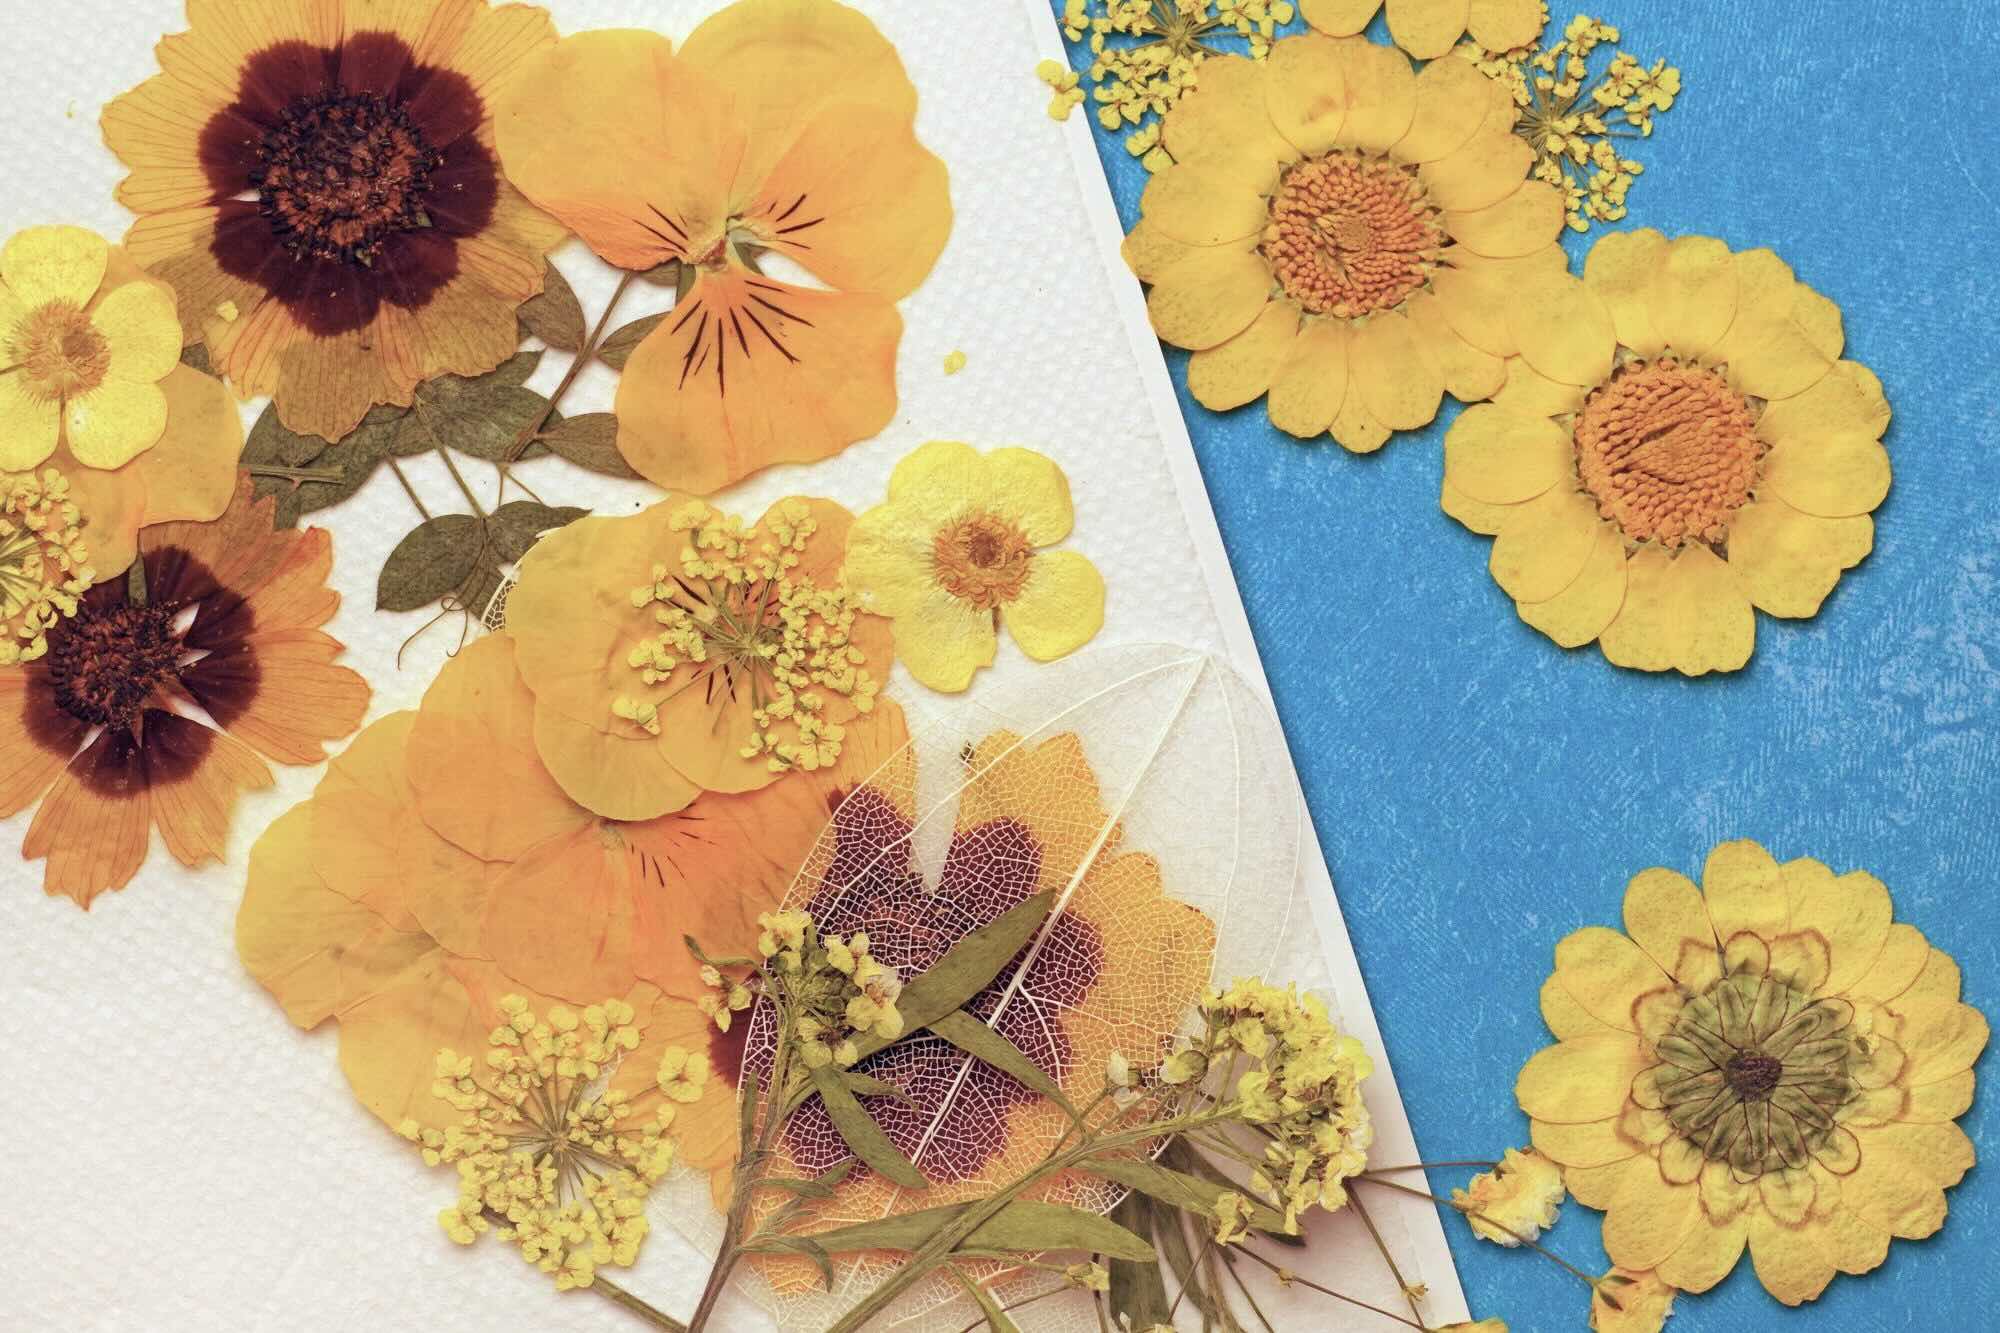
Pressed flowers have been cherished for centuries as mementos, decorative elements, and even ingredients for making natural skincare products. They captivate us with their intricate details, vibrant colors, and nostalgic charm. By carefully preserving these floral treasures, we can extend their lifespan and enjoy their beauty for years to come.
In this article, we’ll guide you through the step-by-step process of storing pressed flowers. From the materials you’ll need to the techniques for pressing and storing, we’ve got you covered. So, let’s get started on this fascinating journey of preserving nature’s beauties!
Key Takeaways:
- Preserve the delicate beauty of flowers by learning how to store pressed flowers. From selecting the right flowers to displaying them creatively, this article guides you through the fascinating process.
- With the right materials and techniques, you can extend the lifespan of your favorite blooms. Store, preserve, and display pressed flowers to add timeless elegance to your creative projects.
Read more: How To Press Flowers In Glass Frame
Materials Needed
Before you begin the process of storing pressed flowers, it’s important to gather the necessary materials. Here’s a list of items you’ll need:
- Flowers: Choose fresh flowers with vibrant colors and undamaged petals. If possible, select flowers that are relatively flat in shape to make the pressing process easier.
- Garden scissors: Use sharp, clean scissors or pruning shears to cut the flowers. This will ensure a clean cut and minimize damage to the petals.
- Books or a flower press: To press the flowers, you’ll need a flat and heavy object. Traditional flower presses are specifically designed for this purpose. Alternatively, you can use heavy books with smooth pages, such as phone books or dictionaries.
- Paper or blotting sheets: Place sheets of absorbent paper or blotting sheets between the flowers to help extract moisture during the pressing process. You can use parchment paper, newsprint, or even coffee filters as long as they are porous and won’t add color to the flowers.
- Weights: In addition to books or a flower press, you’ll need additional weights to apply pressure evenly and ensure the flowers dry flat. Heavy objects like bricks, stones, or even more books can be used as weights.
- Airtight container: To store the pressed flowers, choose a container that’s airtight to protect them from moisture and damage. Glass jars or plastic containers with tight-fitting lids work well for this purpose.
- Silica gel or desiccant: Optional but highly recommended for longevity, silica gel or desiccant packets can help to absorb any remaining moisture and prevent the flowers from becoming brittle or discolored.
Now that you have all the necessary materials, you’re ready to delve into the process of pressing and storing your beautiful flowers.
Step 1: Preparation
Before you start pressing and storing your flowers, it’s important to prepare your workspace and materials. Follow these steps to ensure a successful preservation process:
- Clean your workspace: Start by clearing a clean and dry area where you can work. Remove any clutter or debris that could potentially interfere with the pressing process.
- Gather your materials: Double-check that you have all the materials mentioned in the previous section. Having everything at hand will make the process more efficient.
- Prepare the flower press or books: If you’re using a flower press, ensure that the plates or boards are clean and dry. If you’re using books, open them to the middle to create a flat and stable surface for pressing.
- Prepare the paper or blotting sheets: Cut the paper or blotting sheets to the size of the press or the pages of the book you’re using. Make sure they are large enough to accommodate the flowers.
- Preheat your iron (optional): If you’re using an iron to speed up the drying process, preheat it to a low setting. This can help remove excess moisture from the petals before pressing.
By taking the time to prepare your workspace and materials, you’ll ensure a smooth pressing process and prevent any potential mishaps along the way. Now that you’re ready, let’s move on to the next step: choosing the flowers for pressing.
Step 2: Choosing Flowers
When it comes to selecting flowers for pressing, there are a few factors to consider. By choosing the right flowers, you’ll increase the chances of successfully preserving their beauty. Here are some tips to guide you:
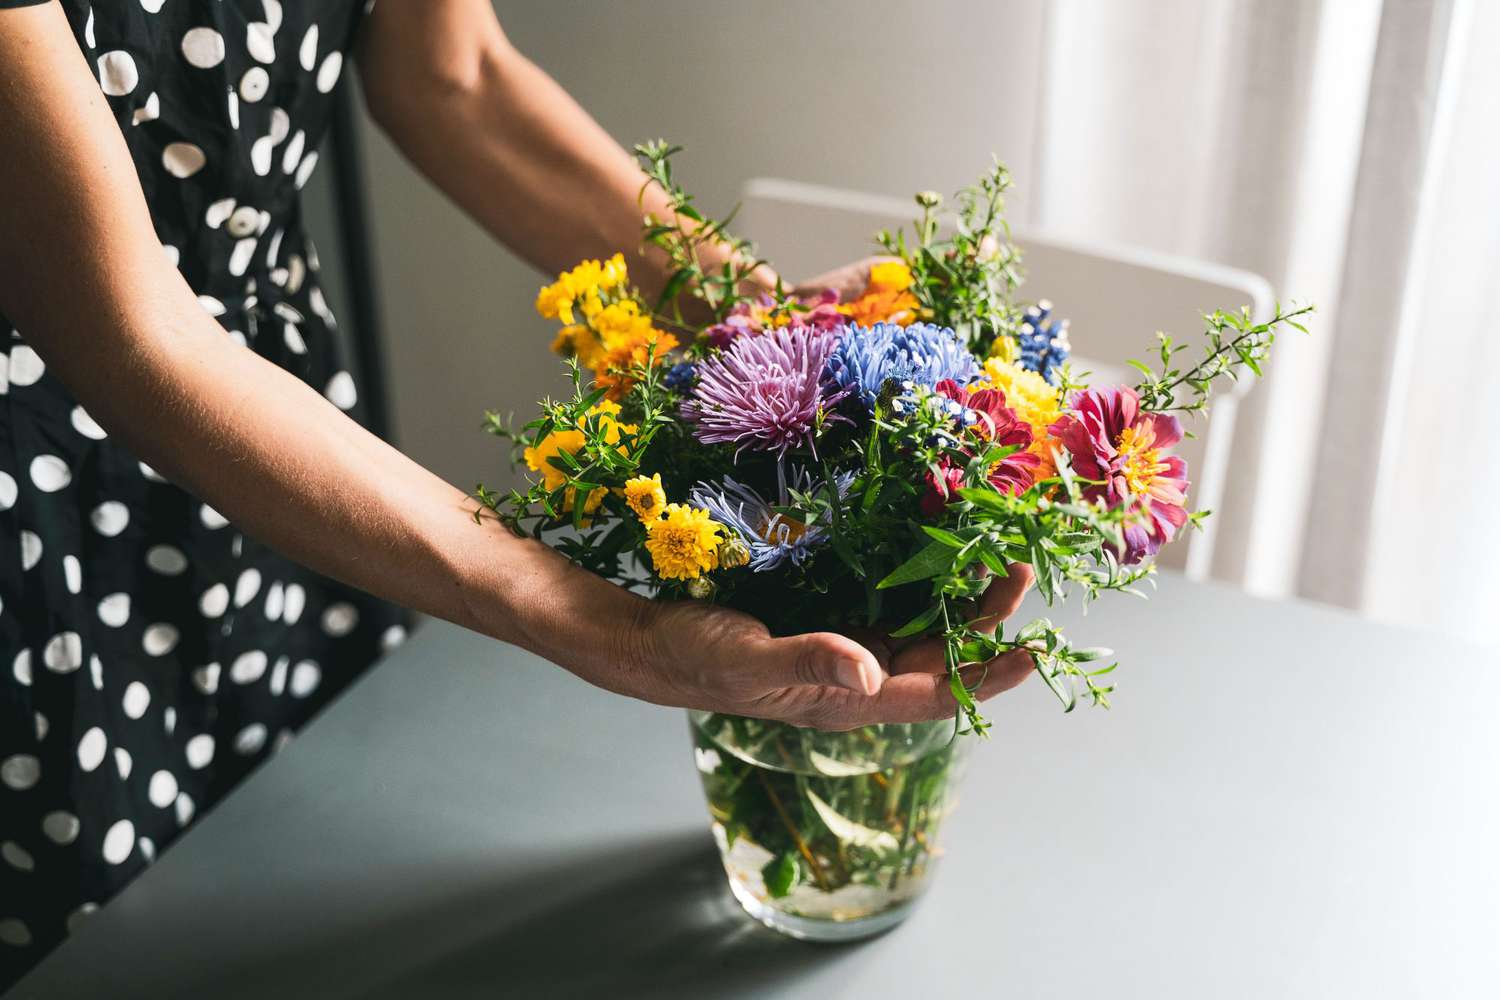
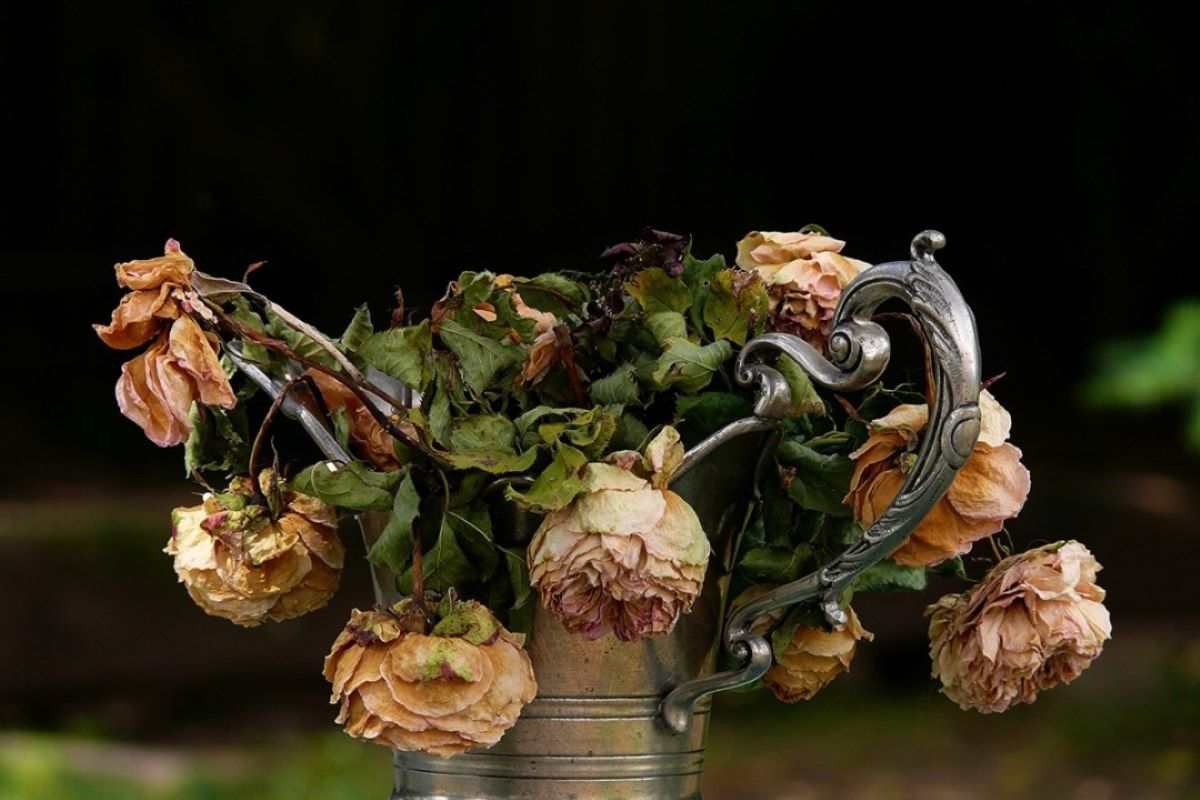
- Choose fresh flowers: Select flowers that are in their prime, preferably ones that have just fully bloomed. Avoid flowers that are wilted or have started to decay, as they won’t press well.
- Look for flat or thin petals: Flowers with flat or thin petals, such as pansies, daisies, or cosmos, are ideal for pressing. They press more easily and result in flatter, more detailed blooms.
- Consider the size: Keep in mind the size of your press or the book pages you’ll be using. Choose flowers that fit comfortably within the dimensions without overlapping or extending beyond the pages.
- Experiment with different flower types: Don’t limit yourself to just one type of flower. Explore a variety of options to add visual interest and create beautiful pressed flower compositions.
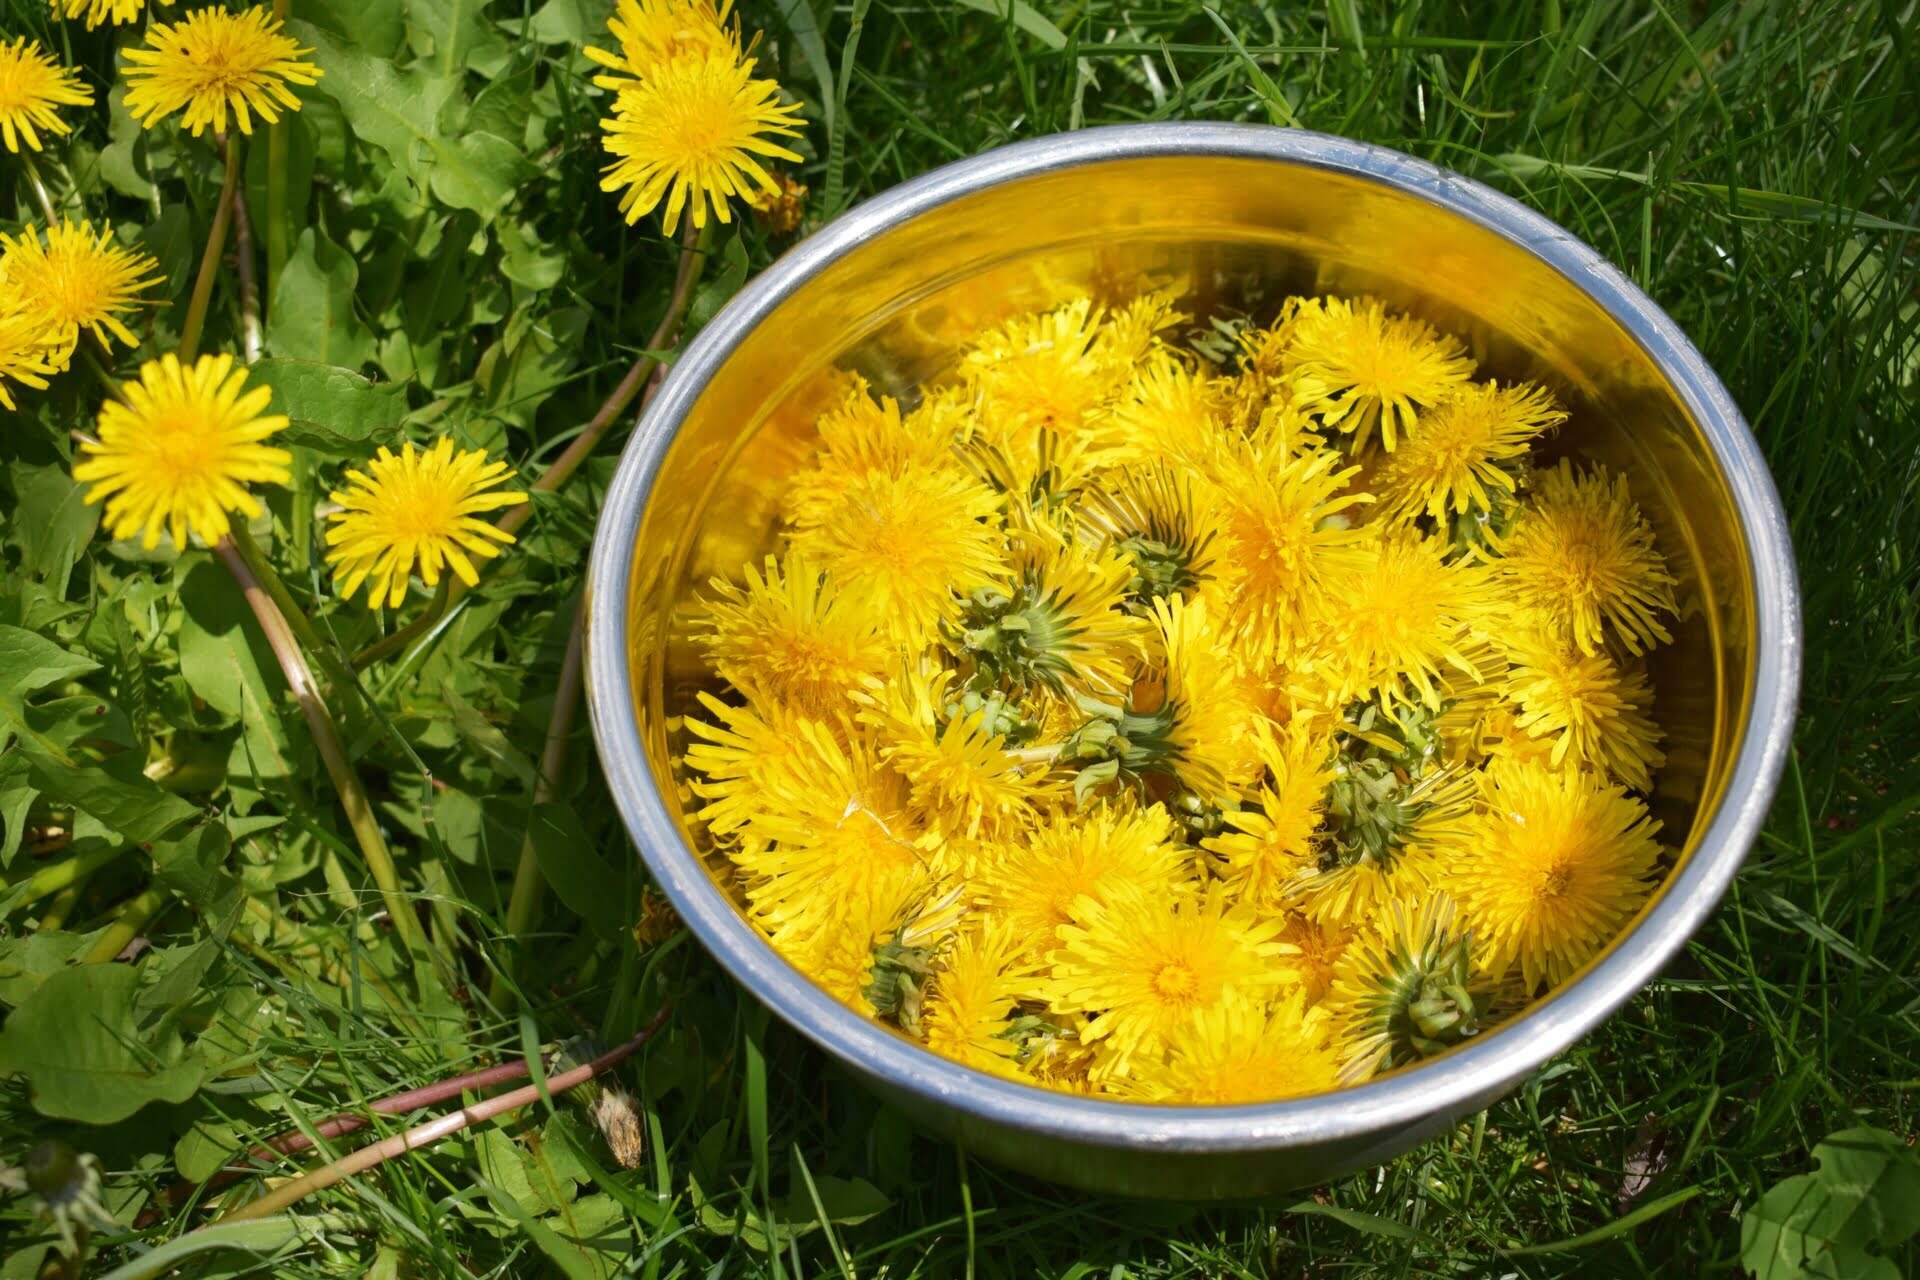
- Focus on vibrant colors: Vibrant colors tend to retain their beauty even after the pressing process. Look for flowers with intense pigmentation to achieve stunning results.
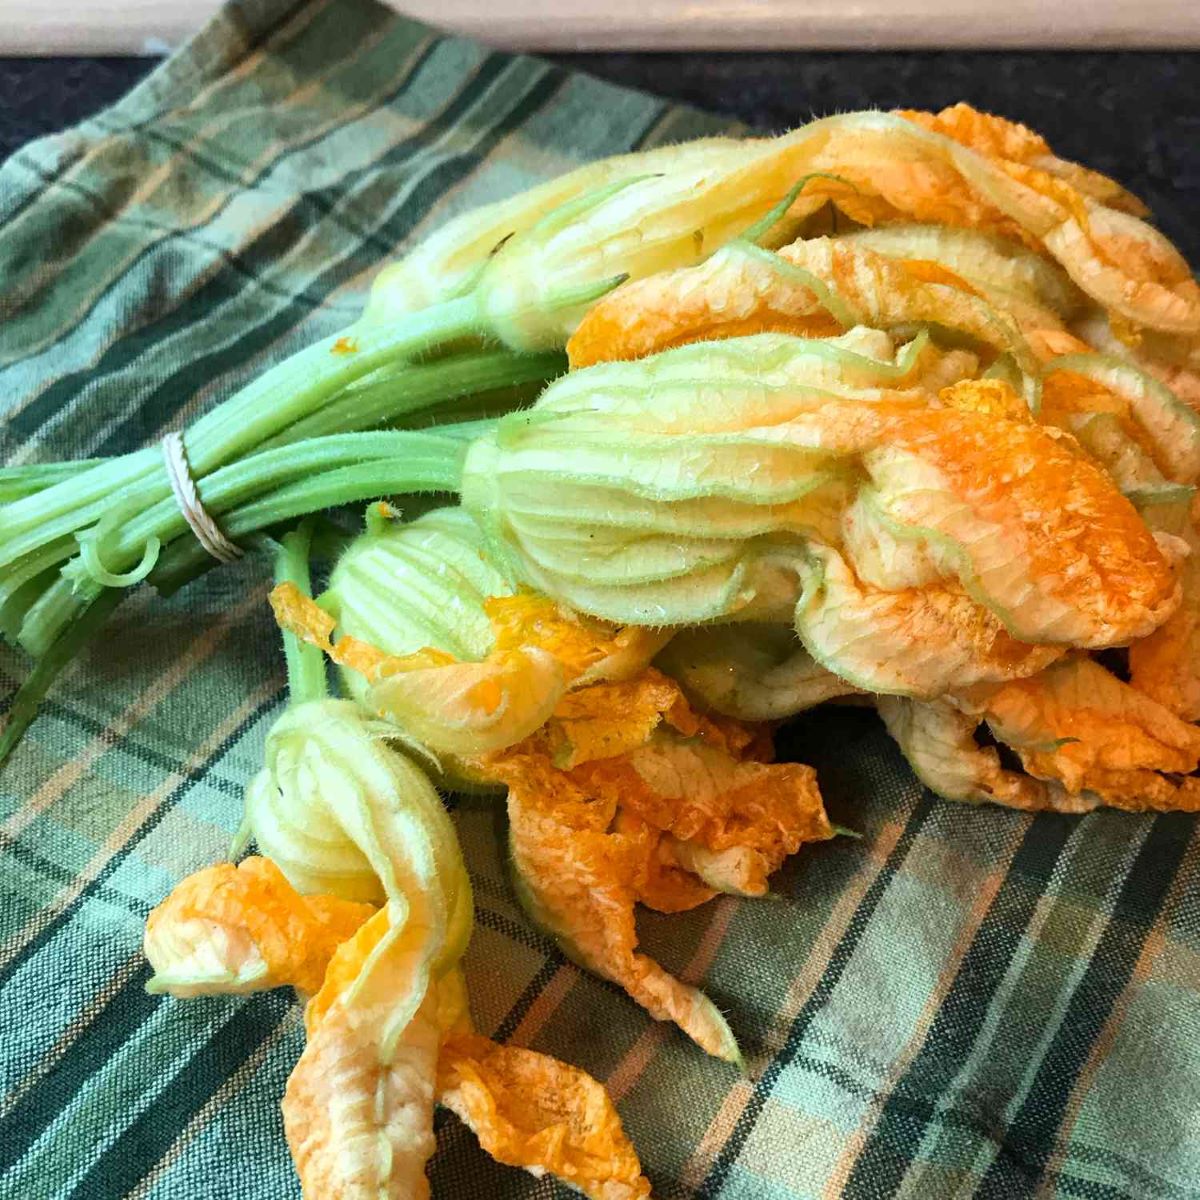
- Avoid flowers with a high moisture content: Flowers with high water content, such as succulents or tropical flowers, may not press well and can become moldy during the drying process.
Remember to always ask for permission before picking flowers from other people’s gardens or public spaces. Additionally, be mindful of any protected or endangered species that should not be disturbed.
Now that you have a clearer idea of the types of flowers that are best suited for pressing, let’s move on to the next step: the actual pressing process itself.
Store pressed flowers in a dry, dark place to prevent fading. Place them between layers of parchment paper and store in a heavy book or a flower press to maintain their shape.
Step 3: Pressing Flowers
Pressing flowers is the key to preserving their delicate and enchanting beauty. This process involves removing moisture from the flowers while maintaining their shape and color. Follow these steps to press your flowers effectively:
- Trim the stems: Using clean garden scissors, carefully trim the stems of the flowers, leaving about an inch or two. This makes it easier to handle and press the flowers.
- Prepare the flower press or books: If you’re using a flower press, place a sheet of absorbent paper or blotting sheet on the bottom plate. If you’re using books, open them to the middle and place a sheet between two pages.
- Arrange the flowers: Lay your flowers on the paper or blotting sheet, making sure they don’t overlap. Press larger flowers individually, while smaller ones can be grouped together.
- Add more paper and repeat: Once you’ve placed your first layer of flowers, add another sheet of paper or blotting sheet on top. Continue layering flowers and paper until you’ve used up all your flowers.
- Add weights: If you’re using a flower press, secure the top plate and tighten the screws. If you’re using books, close them and place additional weights evenly on top to apply pressure.
- Optional: Ironing (low heat): If you want to accelerate the drying process, place a cloth over the top layer of paper and gently iron it on a low heat setting. Be careful not to scorch or damage the flowers.
- Leave the press undisturbed: Place the flower press or books in a dry and well-ventilated area where they won’t be disturbed. Leave them for at least two to three weeks to allow the flowers to dry completely.
During the pressing process, avoid opening the press or books as this could disrupt the drying process and potentially damage the flowers. Once the flowers are fully dried and ready, it’s time to move on to the next step: storing them properly.
Read more: How To Press Flowers: A Step By Step Guide
Step 4: Storing Pressed Flowers
After successfully pressing your flowers, it’s crucial to store them properly to maintain their integrity and extend their lifespan. Follow these steps to ensure your pressed flowers stay in pristine condition:
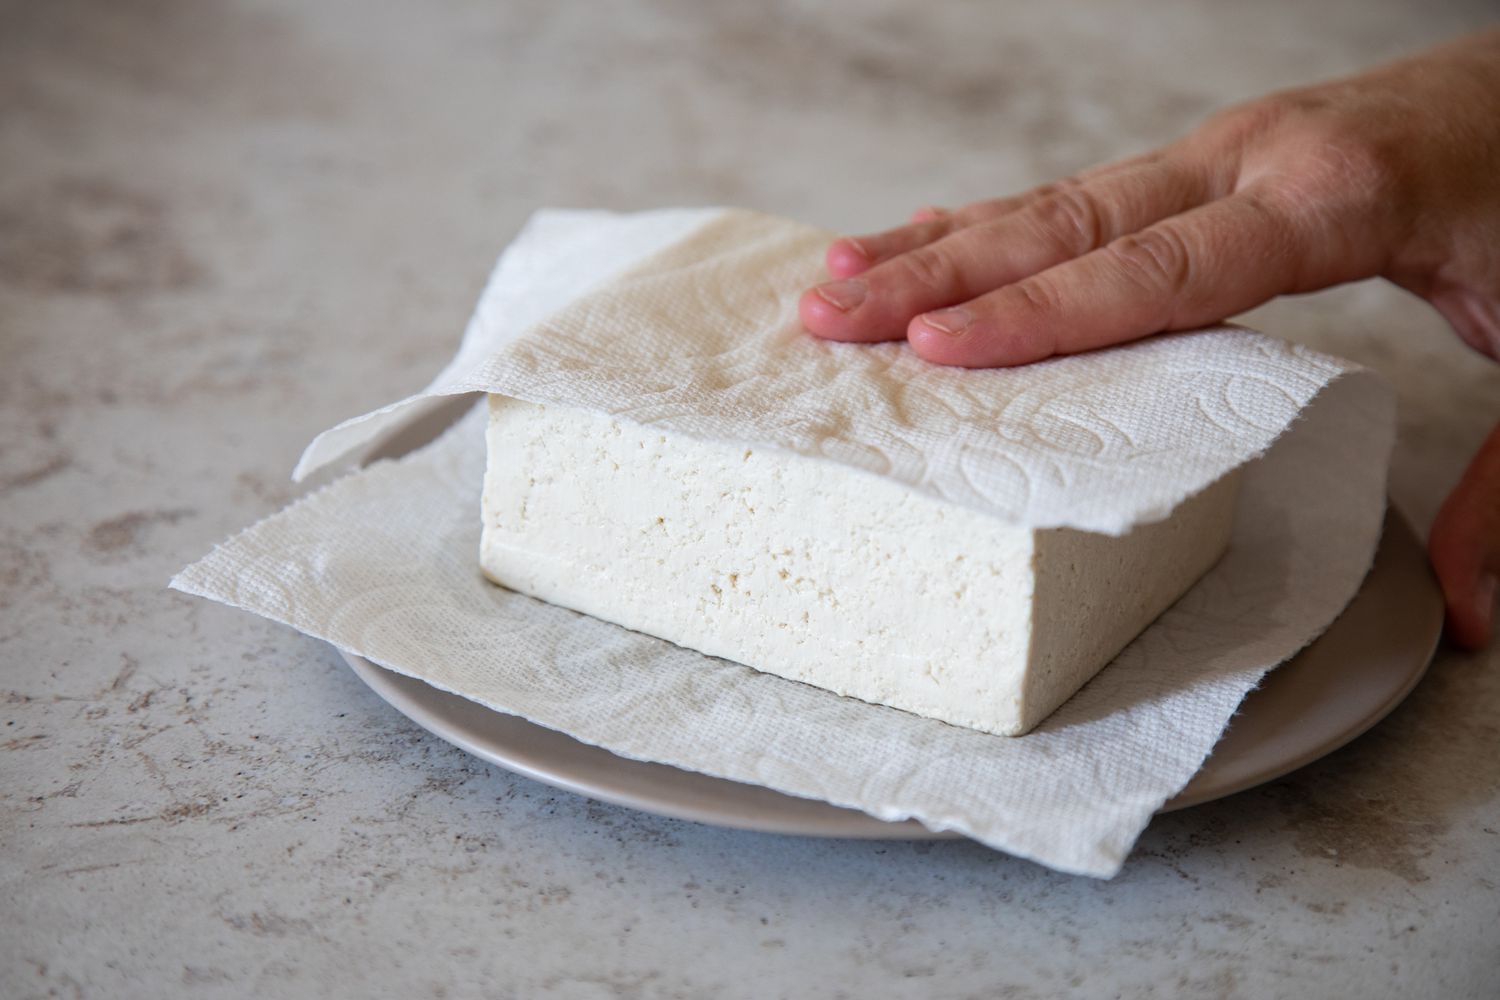
- Ensure the flowers are completely dry: Before storing the pressed flowers, double-check that they are fully dry. Any remaining moisture can lead to mold or discoloration.
- Select an airtight container: Choose a container that is airtight to protect the flowers from humidity and moisture. Glass jars with tight-fitting lids or plastic containers work well for this purpose.
- Use acid-free tissue paper: Place a layer of acid-free tissue paper or blotting sheets at the bottom of the container. This helps absorb any residual moisture and provides a neutral surface for the flowers to rest on.
- Arrange the flowers in layers: Carefully position the pressed flowers on top of the tissue paper in a single layer. Avoid overcrowding to prevent damage or creasing. If you have multiple layers, place tissue paper in between.
- Add silica gel or desiccant (optional): To further protect the flowers from moisture, you can place silica gel or desiccant packets in the container. This helps absorb any humidity and keeps the flowers dry.
- Seal the container: Once the flowers are arranged and any additional protective measures are in place, seal the container tightly to create an airtight environment.
- Store in a cool, dry place: Find a cool and dry location to store the container. Avoid areas that are exposed to direct sunlight or extreme temperature fluctuations, as this can cause the flowers to deteriorate.
By following these steps, you can ensure that your pressed flowers retain their color, shape, and vibrancy for an extended period. Storing them properly not only protects their beauty but also allows you to enjoy them in various creative projects.
Now that you have successfully stored your pressed flowers, it’s time to explore how to display and showcase them in all their preserved glory.
Step 5: Displaying Pressed Flowers
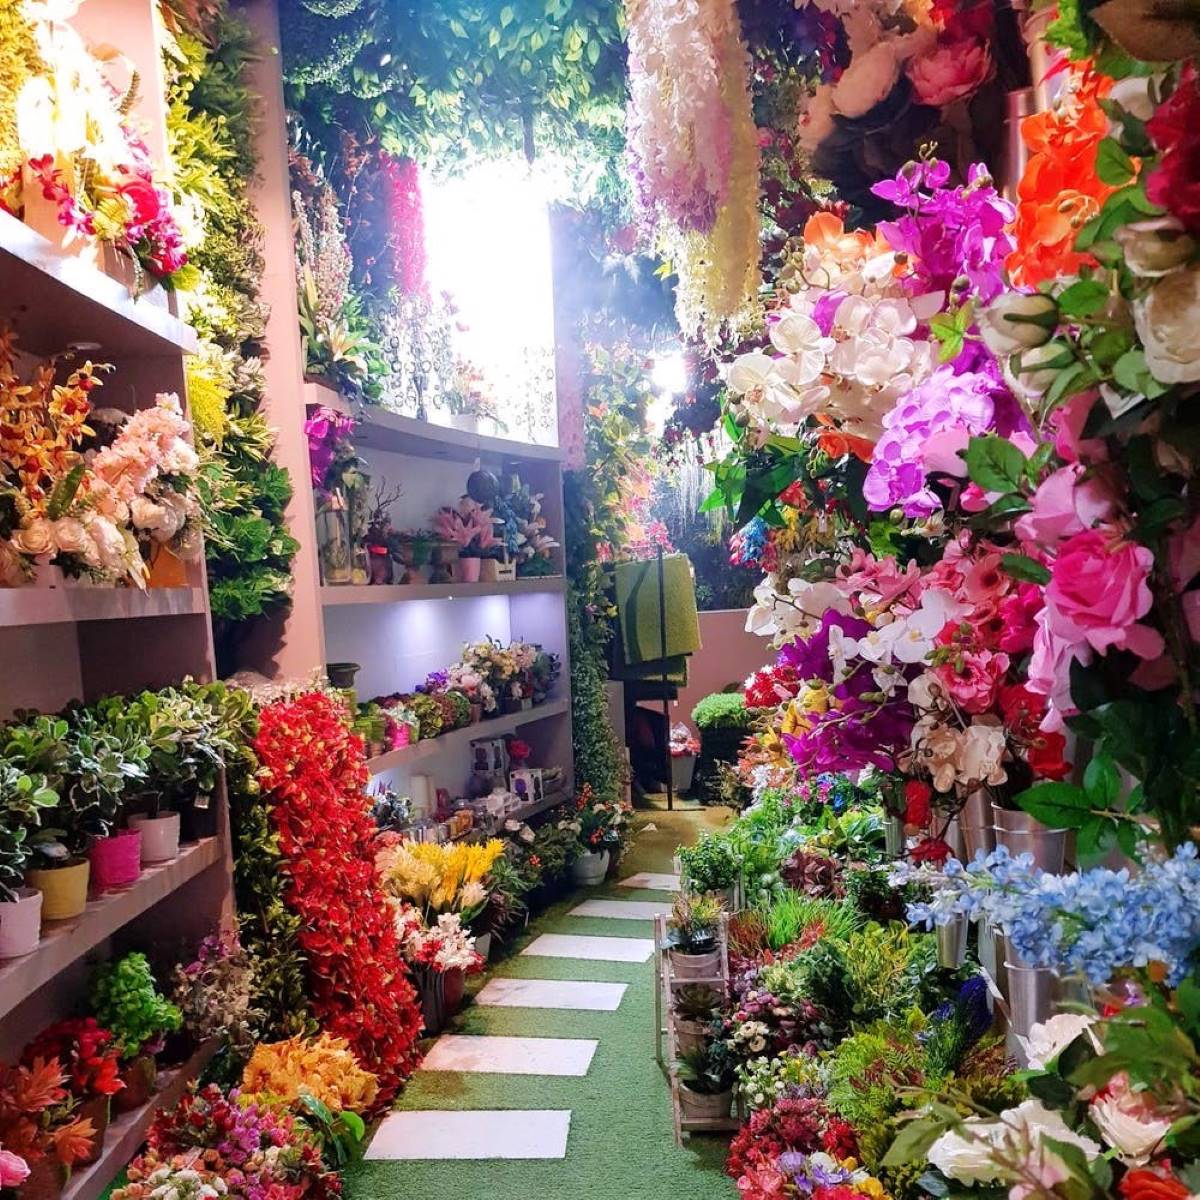
Displaying your pressed flowers is a wonderful way to showcase their beauty and add a touch of nature to your living space. Whether you choose to create artwork, decorate objects, or make personalized gifts, here are some ideas to inspire you:
- Create framed art: Arrange your pressed flowers on acid-free paper or cardstock and frame them in a shadow box or a traditional picture frame. This allows you to create unique and captivating floral art pieces.
- Make botanical bookmarks: Arrange a few pressed flowers and foliage on sturdy paper or laminating sheets. Cut them into bookmark-sized strips and laminate or cover them with clear adhesive sheets. These make lovely gifts for avid readers.
- Design pressed flower cards: Adorn plain greeting cards or stationery with pressed flowers. Use adhesive to attach the flowers to the cardstock and write personalized messages for various occasions.
- Decorate candles: Pressed flowers can add a touch of elegance to plain candles. Use heat-resistant adhesive to attach the flowers to the surface and create unique, customized candles for decorative purposes or as gifts.
- Create botanical jewelry: Use small, delicate pressed flowers to create unique jewelry pieces. Encase them in resin or glass pendants to create beautiful necklaces, earrings, or bracelets that allow you to carry a piece of nature with you.
- Make pressed flower coasters: Arrange pressed flowers between sheets of transparent adhesive and place them on ceramic or cork coasters. These vibrant and eye-catching coasters add a touch of nature to your tabletops.
- Decorate homeware items: Pressed flowers can be used to adorn various household items, such as frames, trays, or decorative containers. Just attach them using adhesive or decoupage techniques to enhance their aesthetic appeal.
These are just a few ideas to help you get started, but the possibilities for displaying pressed flowers are endless. Let your creativity soar and experiment with different techniques and mediums.
Remember, when displaying your pressed flowers, it’s important to keep them away from direct sunlight, heat, or excessive moisture to prevent fading or damage. Regularly check the items for any signs of deterioration and make necessary adjustments or replacements.
With these steps and ideas in mind, you are well-equipped to store, preserve, and display your pressed flowers, allowing you to enjoy their timeless beauty while adding a touch of nature to your life.
Conclusion
Learning how to store pressed flowers opens up a world of possibilities for preserving nature’s beauty and incorporating it into various creative projects. By following the steps outlined in this article, you can successfully press and store your favorite blooms, ensuring their longevity and timeless appeal.
From carefully selecting fresh flowers to pressing them with precision, every step in the process contributes to the overall success of preserving their delicate beauty. By choosing the right materials, creating an ideal pressing environment, and storing them properly, you can maintain the vibrancy and intricacy of your pressed flowers for years to come.
Additionally, exploring different ways to display your pressed flowers allows you to showcase their elegance and incorporate them into various artistic endeavors. Whether you choose to create framed artwork, design botanical jewelry, or adorn everyday items, the possibilities are endless.
Remember to handle the pressed flowers with care and keep them away from direct sunlight, excessive heat, and moisture. Regularly check for any signs of deterioration and make necessary adjustments to protect and preserve their beauty.
Now, armed with the knowledge and techniques, it’s time to embark on your own pressing and storing journey. Capture the essence of nature’s beauty and unleash your creativity with the art of storing pressed flowers.
Enjoy the process, and may your preserved blooms bring joy and inspiration to your life and those around you.
Frequently Asked Questions about How To Store Pressed Flowers
Was this page helpful?
At Storables.com, we guarantee accurate and reliable information. Our content, validated by Expert Board Contributors, is crafted following stringent Editorial Policies. We're committed to providing you with well-researched, expert-backed insights for all your informational needs.


0 thoughts on “How To Store Pressed Flowers”