Articles
How To Decorate Candles
Modified: August 27, 2024
Discover creative ways to decorate candles with our articles. Learn tips and techniques for adding a personal touch to your candles.
(Many of the links in this article redirect to a specific reviewed product. Your purchase of these products through affiliate links helps to generate commission for Storables.com, at no extra cost. Learn more)
Introduction
Welcome to the world of candle decorating! Whether you are a candle enthusiast looking to add a personal touch to your collection or someone looking for a creative and budget-friendly gift idea, decorating candles is a fun and satisfying activity for all. With a bit of creativity and some simple materials, you can transform ordinary candles into unique and eye-catching creations that will brighten up any space.
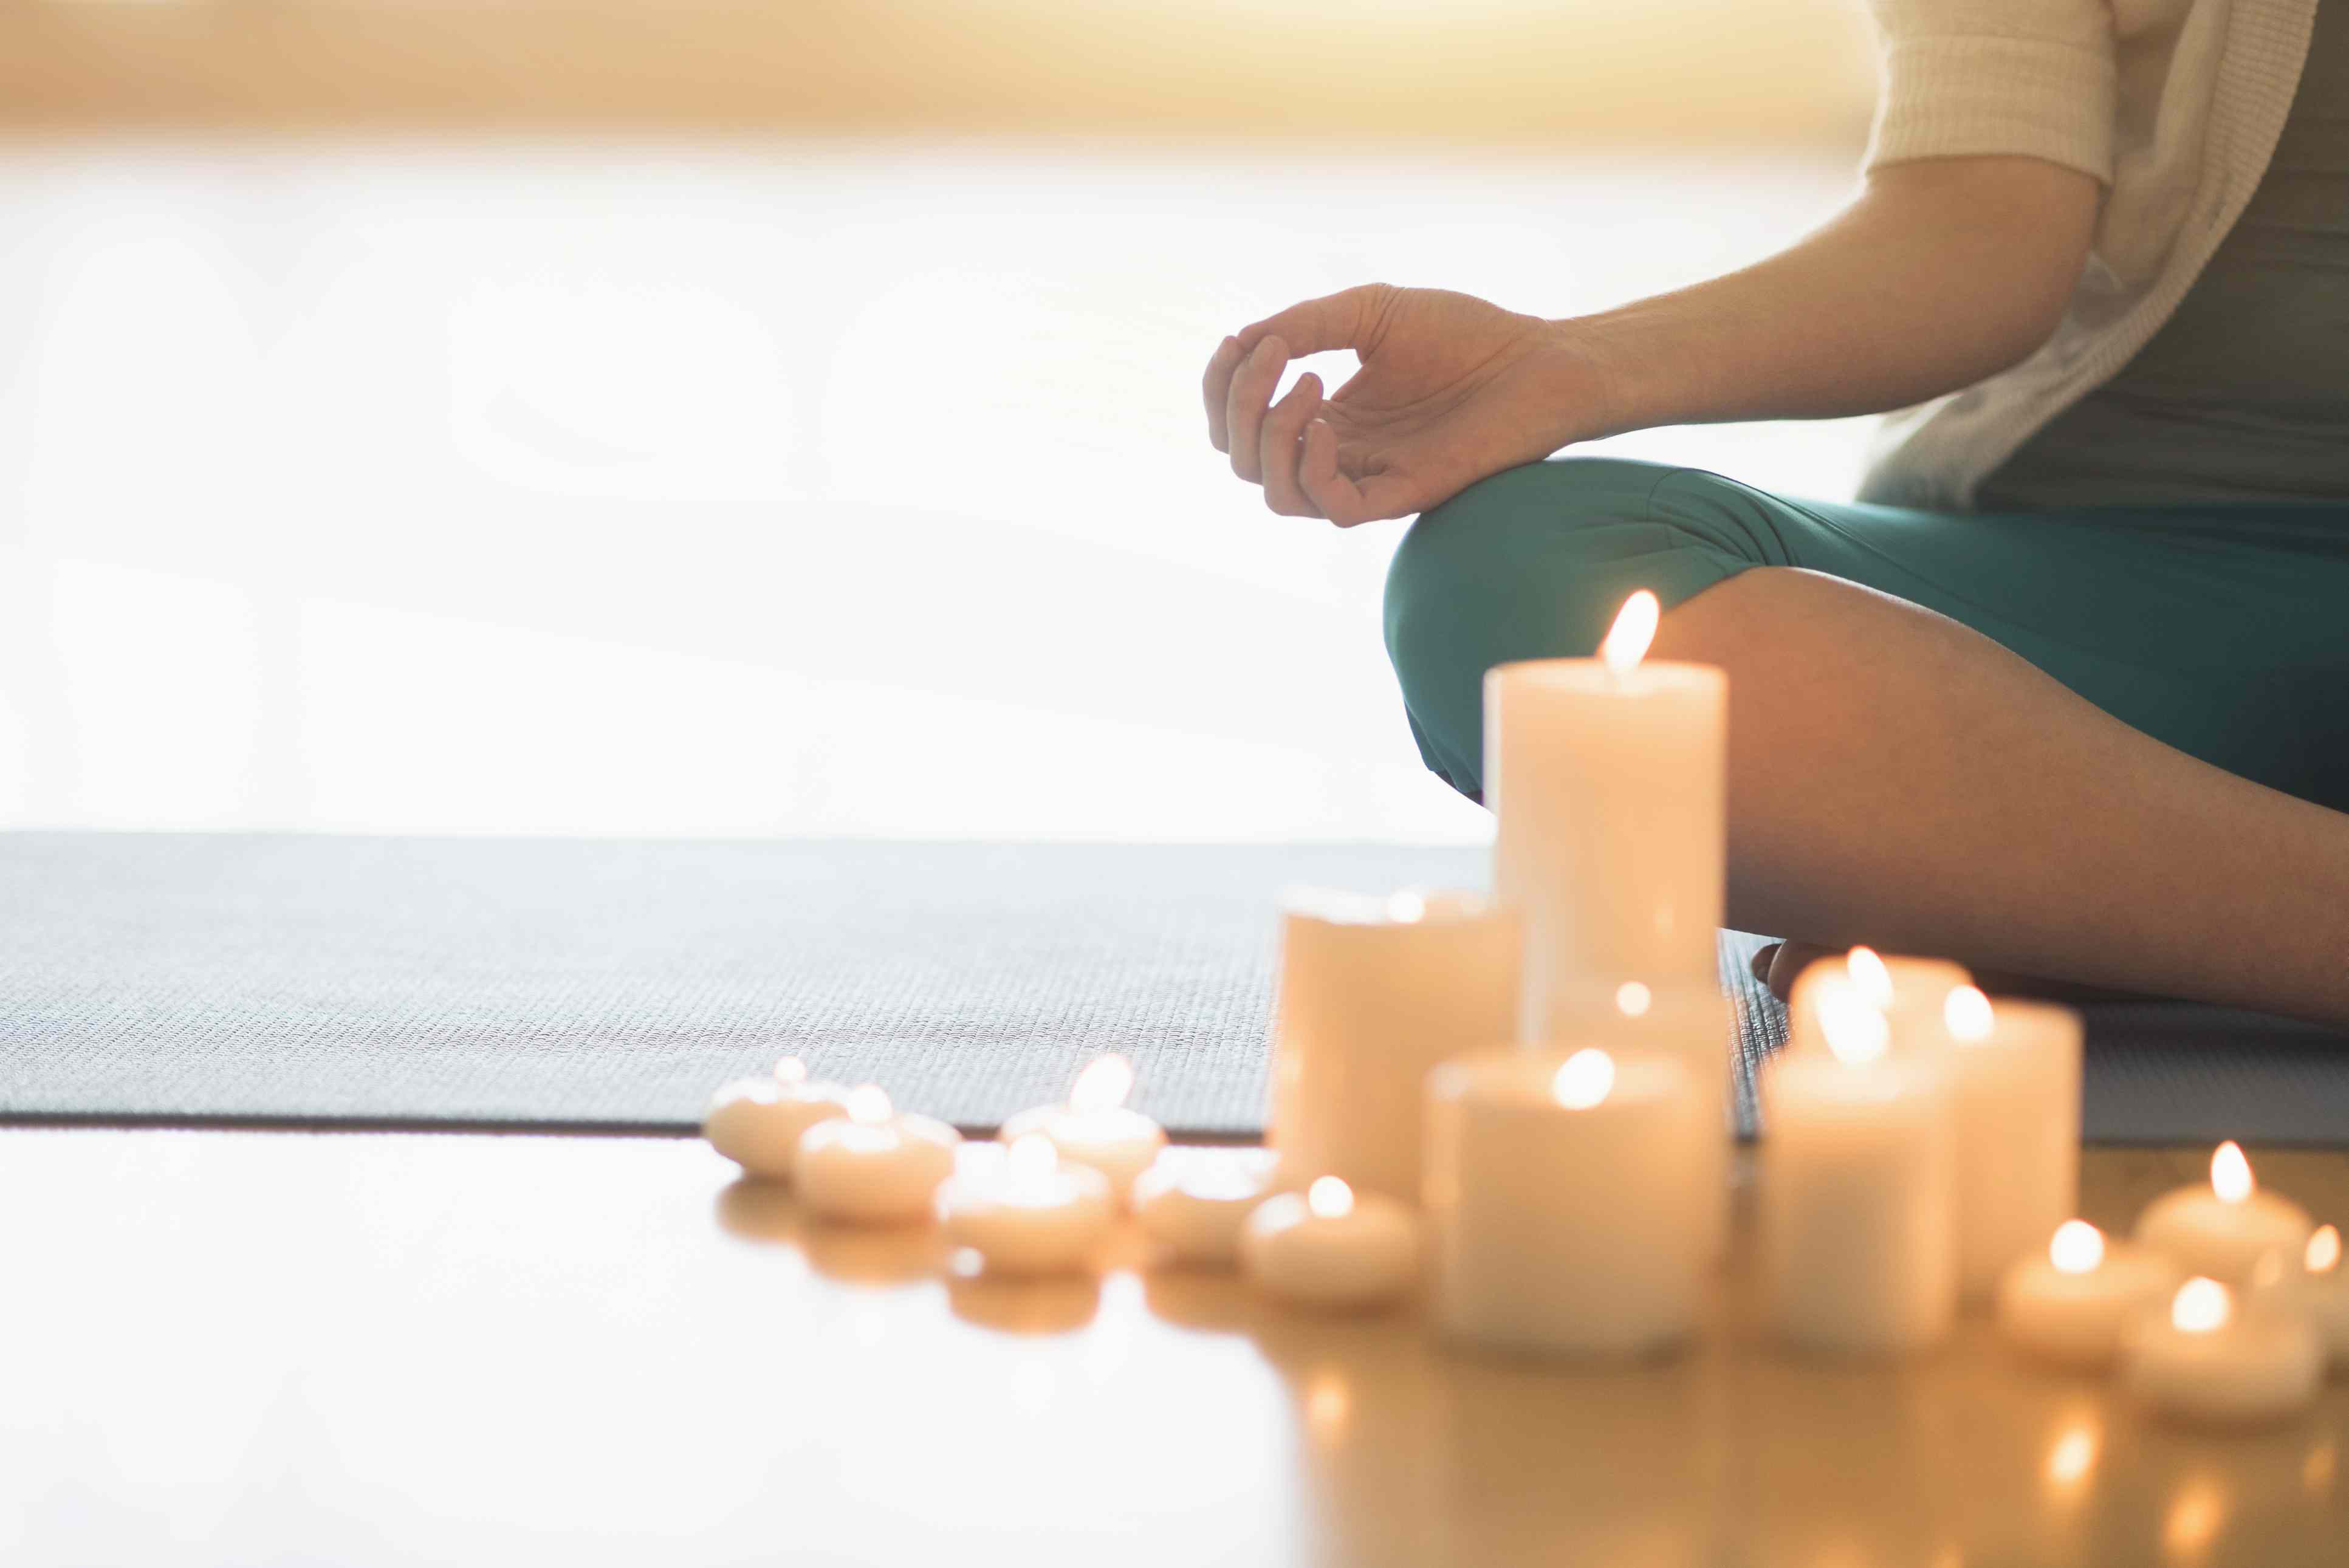
Decorated candles can serve many purposes, from providing ambient lighting to adding a pop of color and charm to your home decor. They can be customized to match any theme or style, making them ideal for special occasions, events, or simply for your own enjoyment. The best part is, you don’t need to be a professional artist or have previous experience to create stunning designs. With a few techniques and a little imagination, you can easily elevate your candles to a whole new level.
In this article, we will guide you through the process of decorating candles, step by step. We will explore different techniques, materials, and ideas that you can use to bring your candle decorating visions to life. Whether you prefer rustic, elegant, or whimsical designs, there is a decorating style for everyone.
Before we dive into the creative process, let’s talk about the importance of choosing the right candles to decorate. The type and quality of the candles you use will greatly impact the outcome of your designs. So, let’s explore the types of candles that are best suited for decorating.
Key Takeaways:
- Transform ordinary candles into unique, eye-catching creations with painting, glitter, ribbons, stencils, and natural elements. Let your creativity soar and bring joy and beauty to any space.
- Personalize candles with meaningful designs and explore various techniques to create stunning, one-of-a-kind decorations. Unleash your artistic side and infuse your personal touch into everyday objects.
Choosing the Right Candles
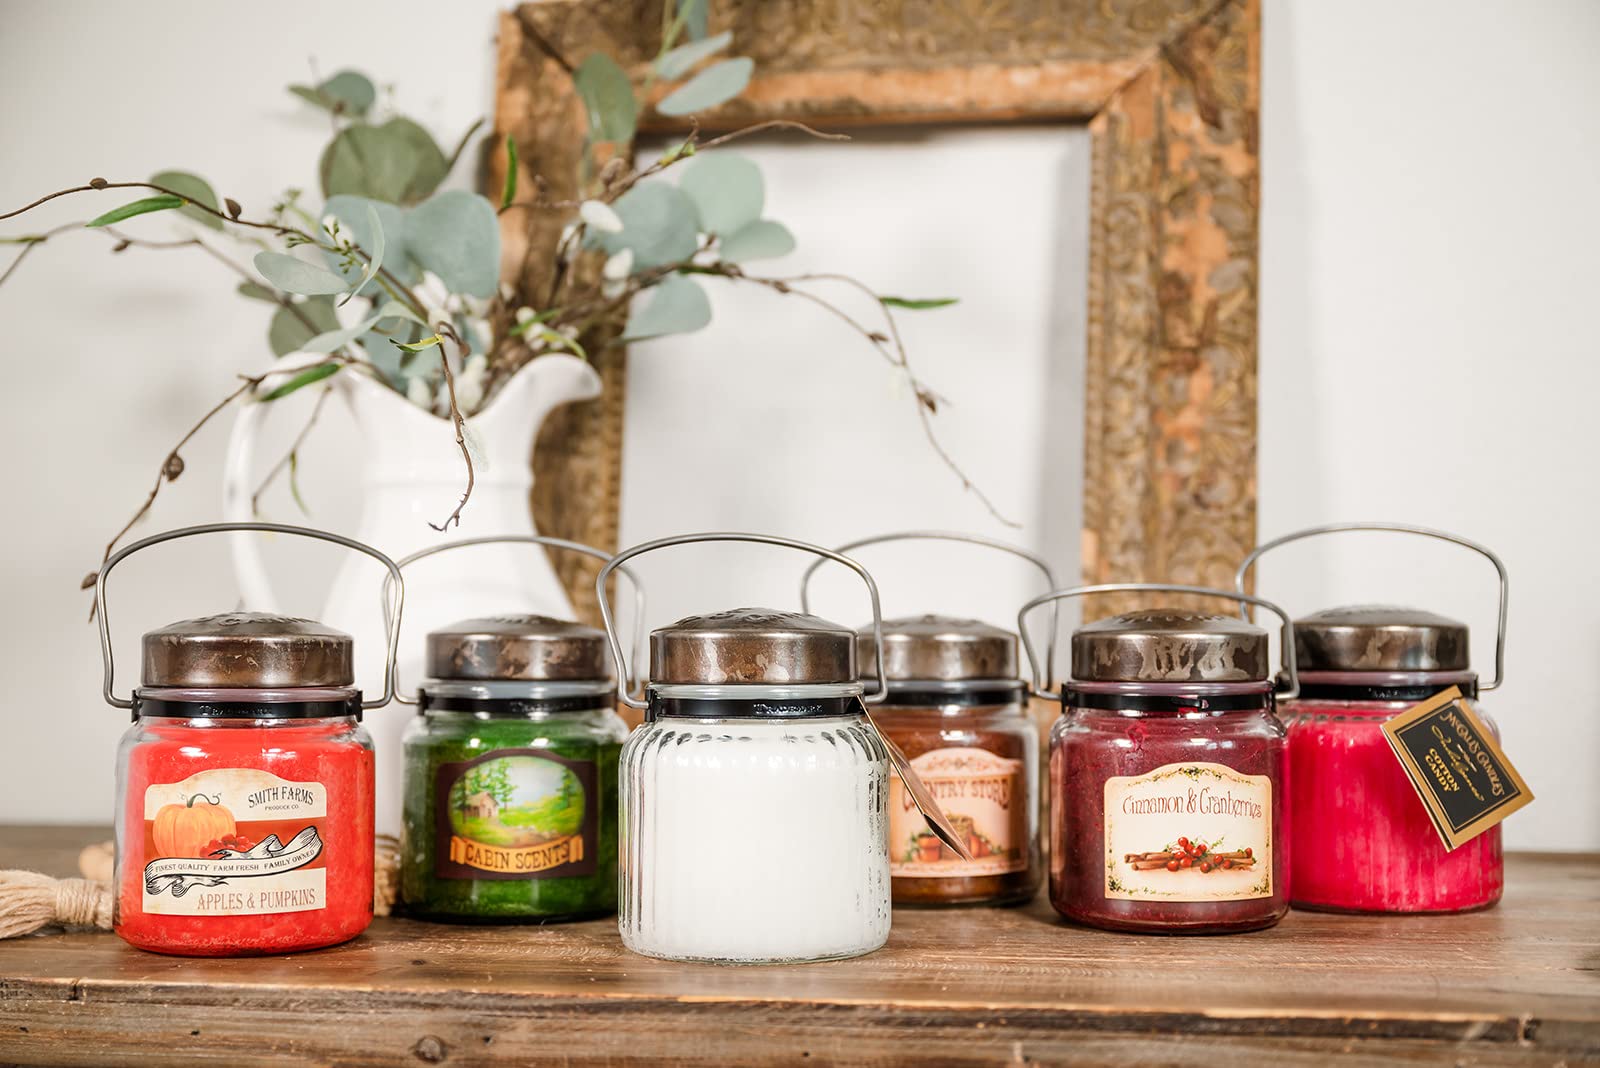
When it comes to decorating candles, choosing the right type of candle is crucial. Different candle materials and shapes offer various benefits and challenges for decoration. Here are some factors to consider when selecting candles:
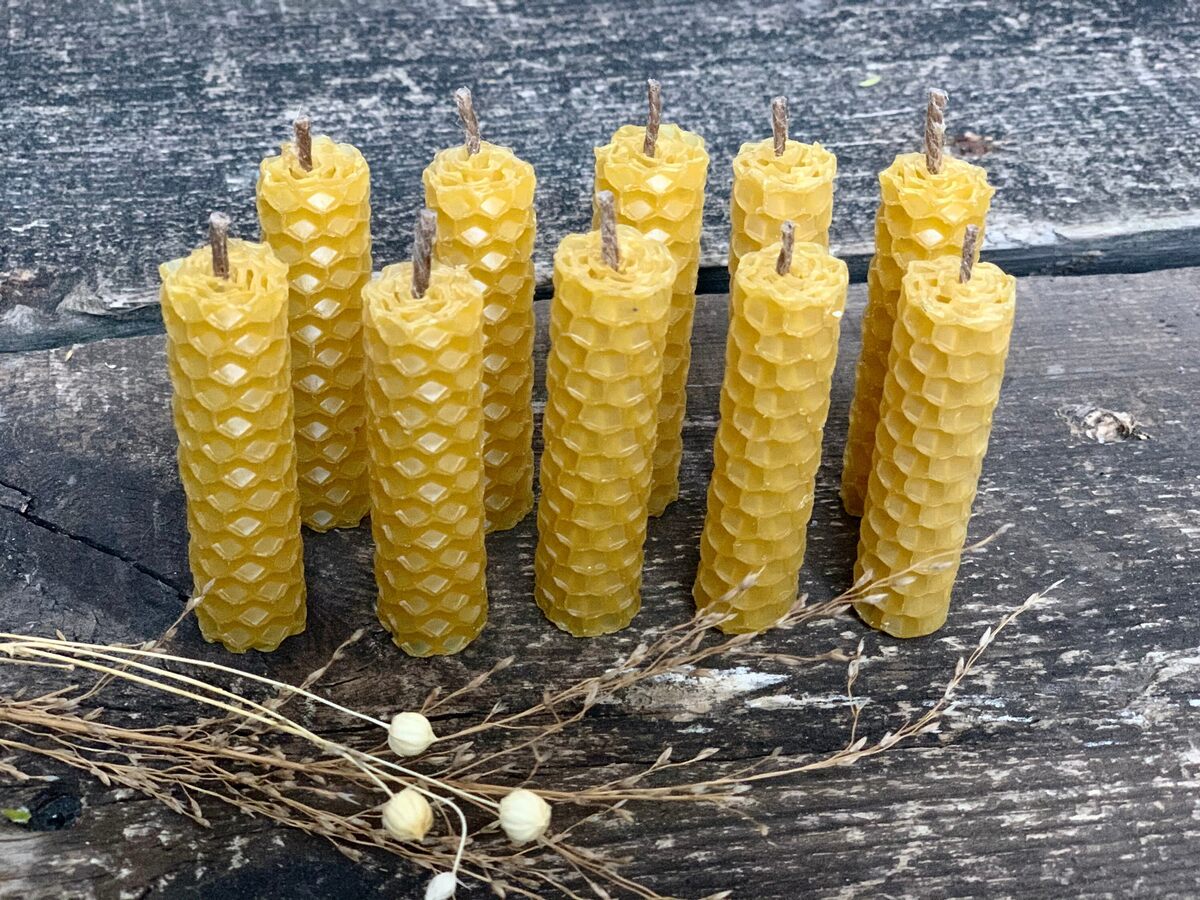
- Candle Material: Candles can be made from various materials, including paraffin, soy wax, beeswax, and even gel. Each material has its own unique characteristics that may affect how it can be decorated. Paraffin candles are a popular choice as they are readily available and affordably priced. However, if you prefer eco-friendly options, you may opt for soy or beeswax candles.
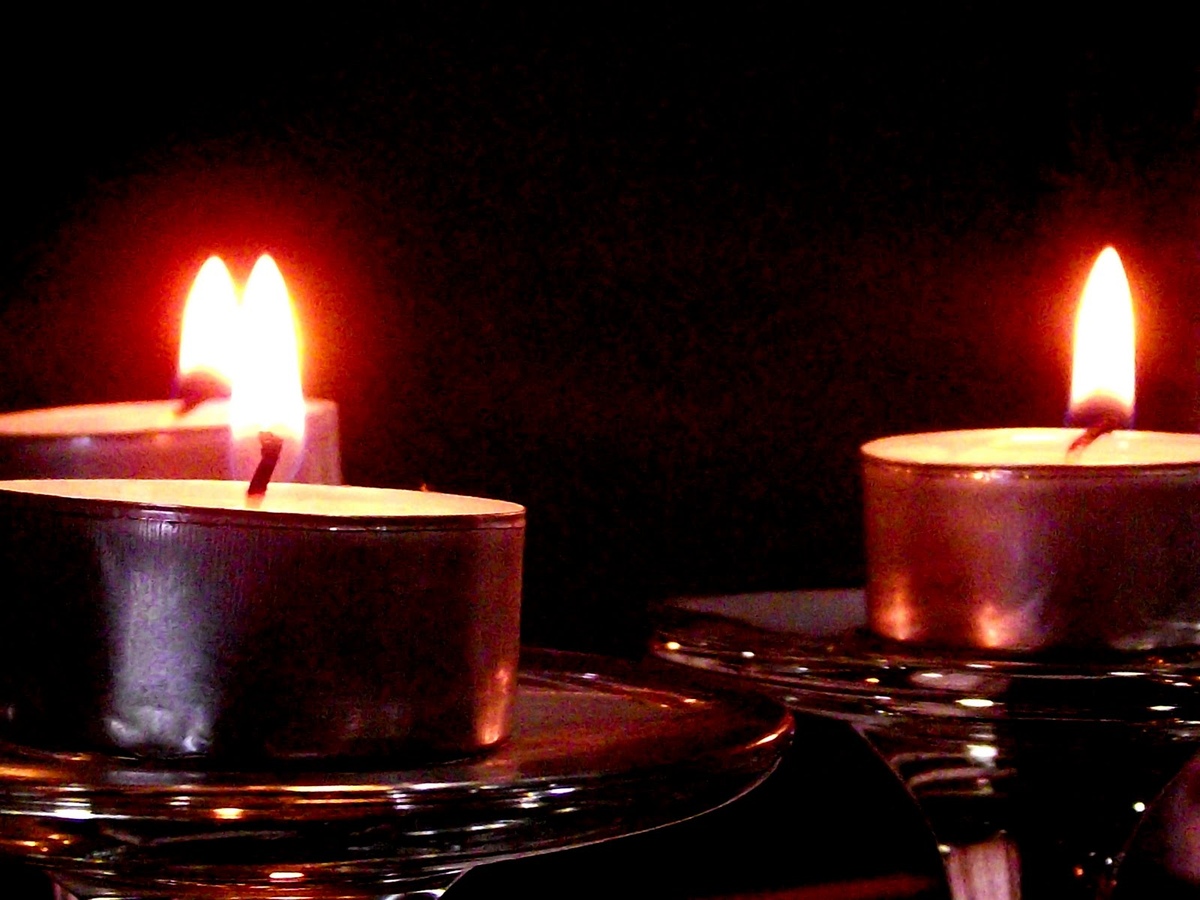
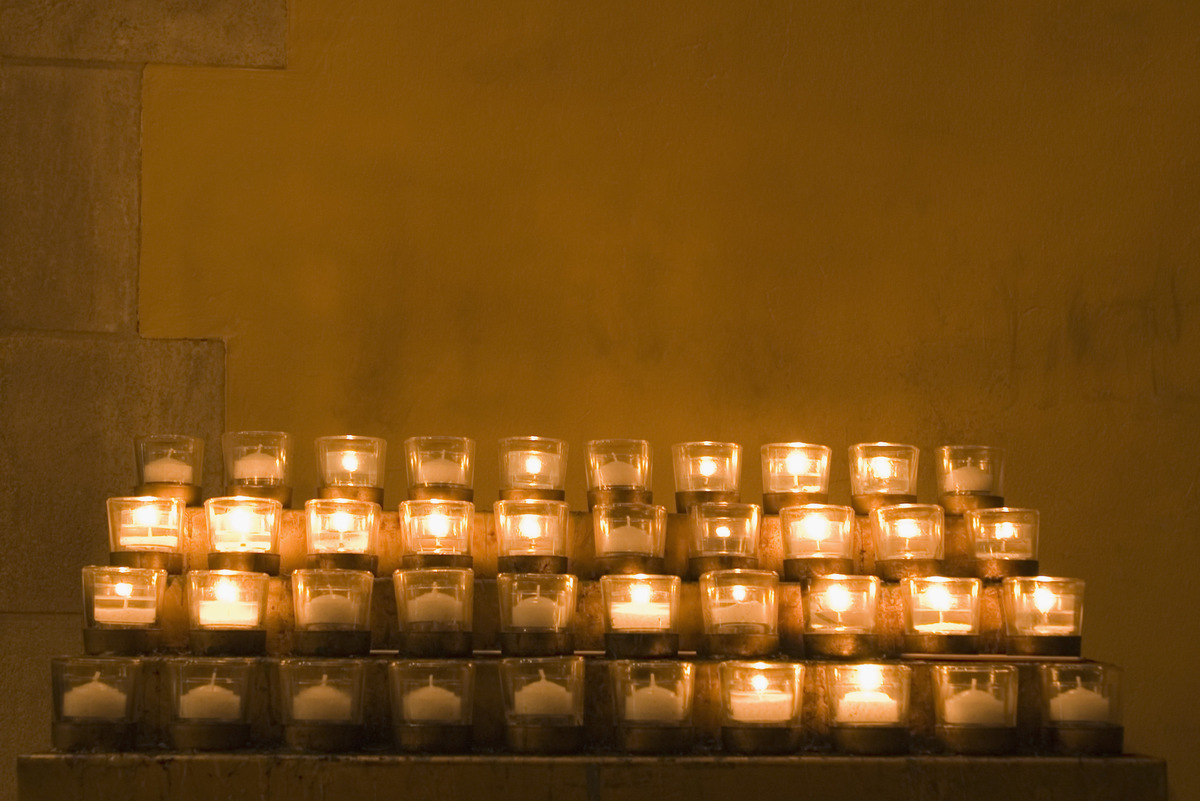
- Candle Shape and Size: Candles come in various shapes and sizes, such as pillars, votives, tapers, or tea lights. Consider the shape and size of the candle you want to decorate, as it will determine the available surface area for your artistic endeavors.
- Candle Color: The color of the candle will affect the overall look of your design. You can either choose candles in a specific color or opt for neutral white candles that can be easily customized with paint, glitter, or other decorative elements.
- Fragrance: Some candles come with scents, while others are unscented. Keep in mind that certain decorating techniques, such as painting or using decals, may not work well on scented candles as they can interfere with the fragrance.
- Safety Considerations: If you plan to burn the decorated candles, ensure that the materials used for decoration are flame-resistant and will not pose a safety hazard. Avoid using highly flammable materials or decorations that could easily catch fire.
When selecting candles for decoration, it’s essential to choose high-quality ones that will burn evenly and provide a long-lasting glow. Cheap or poorly-made candles may not give the desired results and could affect the overall appearance of your decorations.
Now that we’ve covered the basics of choosing the right candles, let’s move on to gathering the materials you’ll need to bring your creative candle ideas to life.
Gathering Materials
Before you begin decorating your candles, it’s important to gather all the necessary materials. Having everything on hand will make the process more efficient and enjoyable. Here is a list of common materials you may need for candle decoration:
- Candles: Choose the type, shape, and color of the candles you want to decorate. Ensure they are of good quality and suitable for the decorating techniques you have in mind.
- Decorative Elements: This can include paints, glitters, ribbons, bows, stencils, decals, natural elements (such as dried flowers or leaves), beads, crystals, or any other materials that you envision incorporating into your designs.
- Paintbrushes and/or Foam Brushes: Depending on the painting techniques you plan to use, you may need various sizes of brushes to apply paint or other decorations onto the candles.
- Adhesive: If you plan to attach embellishments like ribbons or decals, you’ll need adhesive such as craft glue, hot glue, or double-sided tape.
- Protective Covering: To protect your workspace from paint or glue spills, consider using newspaper, old cloth, or a craft mat.
- Optional Tools: Depending on the techniques you decide to use, you may need additional tools such as heat guns (for melting wax), scissors (for cutting ribbons or decals), or a hairdryer (for quick drying).
- Cleaning Supplies: Keep some damp cloths or paper towels nearby for any accidental spills or smudges during the decorating process.
It’s always a good idea to gather all the materials before you start decorating to avoid interruptions or delays. Take some time to organize your workspace and ensure that you have sufficient lighting to see the details of your designs clearly.
Remember, the beauty of candle decoration lies in your imagination and creativity, so don’t be afraid to experiment with different materials and techniques. Now that you have gathered all the necessary materials, let’s move on to preparing the candle surfaces for decorating.
Preparing the Candle Surface
Before you begin decorating your candles, it’s important to prepare the candle surface to ensure the best adhesion and longevity of your designs. Here are some steps to follow when preparing the candle surface:
- Clean the Surface: Start by wiping the candles with a clean cloth or paper towel to remove any dust, dirt, or residue. This will create a clean canvas for your decorations and help the adhesives and paints adhere better.
- Warm the Surface (Optional): In some cases, if you are planning to use techniques like wax painting or melting, you may want to warm the candle surface slightly using a hairdryer or a heat gun. This will make the wax more pliable and receptive to your designs, but be cautious not to overheat or melt the candle.
- Prime the Surface (Optional): If you are working with candles that have a glossy or slippery surface, you may want to use a candle primer or a layer of white paint to create a more receptive base for paints and other decorations. This step is especially helpful if you plan to use acrylic paints or markers.
- Test the Adhesives (If using): If you are using adhesive-based decorations like ribbons or decals, it’s a good idea to test a small area of the candle first to ensure that the adhesive won’t damage or stain the candle surface. Choose a discreet spot on the candle to conduct this test.
By taking the time to prepare the candle surface, you increase the chances of your decorations adhering well and lasting longer. It’s important to note that some candle surfaces may be more challenging to work with depending on the material or finish. So, it’s always a good idea to experiment on a small area or an extra candle before committing to a full design.
Now that you have a clean and prepared surface, it’s time to dive into the exciting part – decorating your candles! In the next sections, we will explore various techniques and ideas to help you create stunning designs that will truly make your candles stand out.
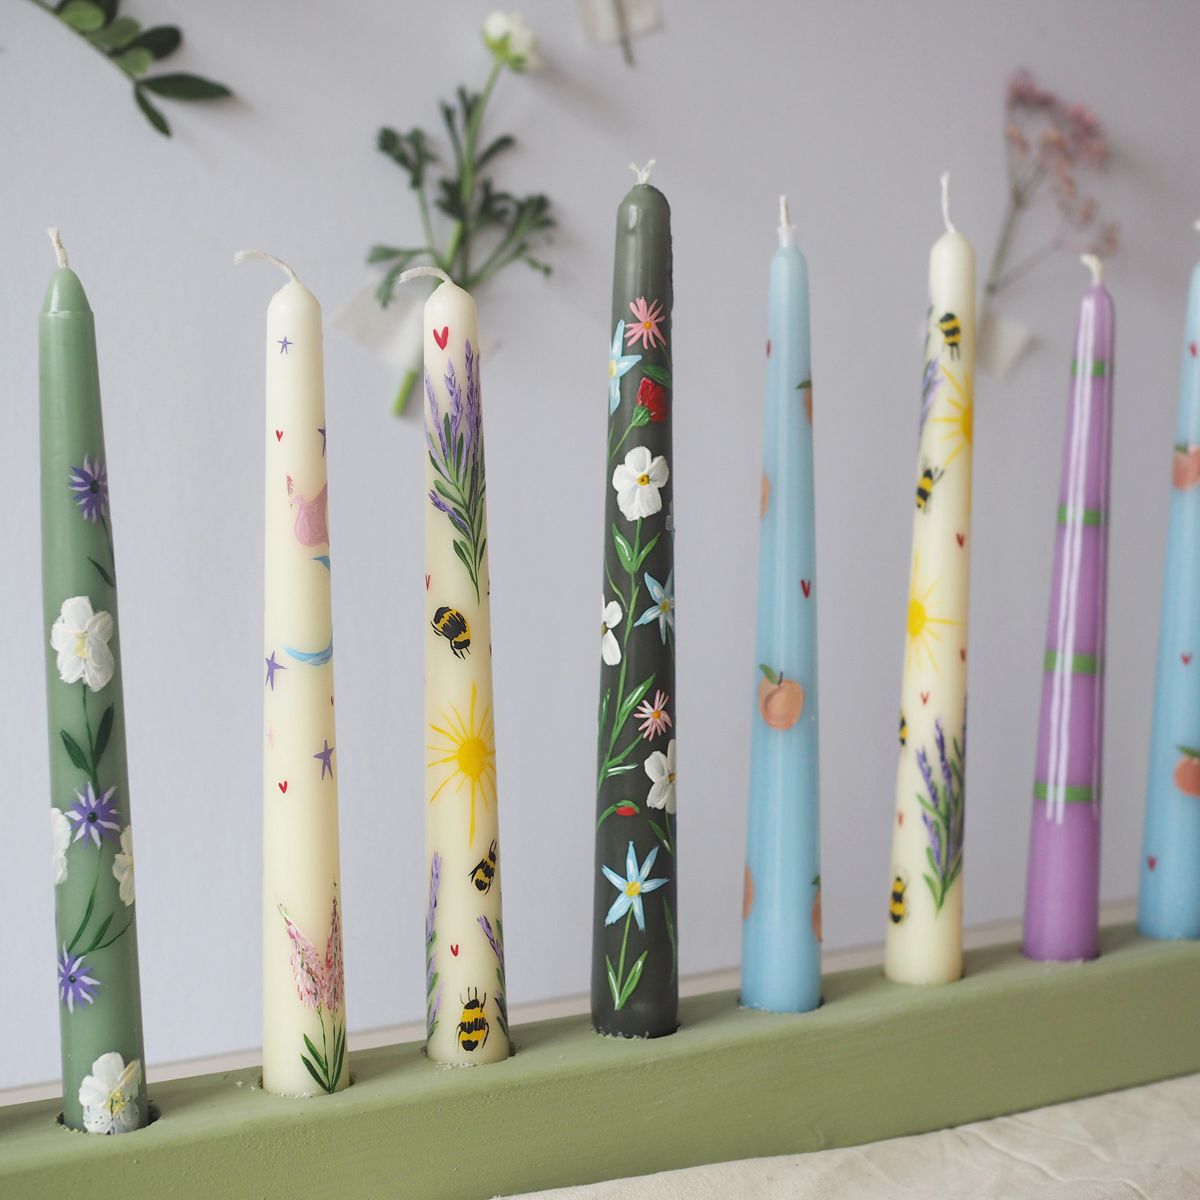
Decorating with Paint
Painting is a versatile and popular method for decorating candles. It allows you to express your creativity through various colors, patterns, and designs. Here are some steps to follow when decorating candles with paint:
- Select Your Paint: Choose a paint specifically designed for candle decoration, such as acrylic or enamel paint. These types of paint adhere well to candle surfaces and provide vibrant colors.
- Prepare Your Workstation: Lay out a protective covering to catch any spills or drips. Place your paints on a palette or disposable plate, and have your paintbrushes or foam brushes ready to go.
- Plan Your Design: Before you start painting, have a design in mind or sketch it out on the candle surface lightly with a pencil. This will help you stay focused and create a cohesive look.
- Start Painting: Dip your brush into the paint, and apply it to the candle surface using smooth and even strokes. You can create solid color designs, paint intricate patterns, or even try your hand at freehand art. Be patient and take your time for a neat and professional look.
- Allow the Paint to Dry: Let the paint fully dry before handling the candle to avoid smudging or smearing the design. Follow the manufacturer’s instructions for drying time, as it may vary depending on the type of paint used.
- Seal the Paint (Optional): To protect your painted design and ensure its longevity, you can seal it with a clear coat or candle sealer. This will help prevent the paint from chipping or fading over time.
Painting candles allows you to have full creative control over the designs and colors. You can experiment with different techniques, such as blending colors, creating gradients, or adding intricate details. Remember to let your imagination guide you and have fun with the process.
Once you have mastered the art of painting candles, you can move on to other decorative techniques such as adding glitter, using ribbons and bows, incorporating stencils and decals, or even personalizing designs with unique elements. The possibilities are endless!
Now that you have learned how to decorate candles with paint, let’s explore the magical world of glitter and discover how it can add a touch of sparkle to your creations.
Decorating with Glitter
If you want to add a touch of sparkle and glamour to your candles, decorating them with glitter is the perfect choice. Glitter creates a dazzling effect that catches the light and adds a vibrant and festive look to your candles. Here’s how you can incorporate glitter into your candle decorations:
- Gather Your Supplies: To start, you’ll need glitter in your desired colors and sizes. You can find glitter specifically designed for crafts and candle decoration at most craft stores. Additionally, you’ll need a brush or a foam brush, and adhesive to adhere the glitter to the candles.
- Prepare the Surface: Before applying glitter, make sure the candle surface is clean and dry. Remove any dust or residue that may prevent the glitter from adhering properly.
- Apply the Adhesive: There are a few options when it comes to adhesive. You can use a glue specifically designed for crafting or candle decoration, or you can use a clear-drying adhesive like mod podge or adhesive spray. Apply a thin and even layer of adhesive using a brush or foam brush.
- Add the Glitter: Sprinkle the glitter onto the adhesive-covered areas of the candle. You can either sprinkle it directly from the container or use a spoon to gently pour it onto the surface. Make sure to cover the adhesive completely for a sparkling effect.
- Remove Excess Glitter: Once the glitter has been applied, gently tap the candle to remove any excess glitter. You can also use a soft brush or a clean, dry cloth to brush off any loose glitter. This will help prevent glitter from falling off the candle later on.
- Allow the Glitter to Set: Let the adhesive and glitter dry completely before touching or moving the candle. Follow the manufacturer’s instructions for drying time, as it may vary depending on the adhesive used.
- Seal the Glitter (Optional): To ensure the longevity of your glitter decorations, you can seal them with a clear coat or glitter sealer. This will prevent the glitter from shedding or rubbing off over time.
Decorating candles with glitter adds a touch of glamour and elegance, making them perfect for special occasions, celebrations, or as a thoughtful gift. You can get creative with the placement of glitter, such as creating patterns, covering the entire candle, or even combining different colors for a dazzling effect.
Now that you’ve learned how to decorate candles with glitter, let’s move on to another popular method – adding ribbons and bows to create charming and decorative designs.
When decorating candles, consider using a variety of materials such as dried flowers, ribbons, or decorative tape to add texture and visual interest to the surface. Be sure to secure any embellishments tightly to prevent them from falling off when the candle is lit.
Adding Ribbons and Bows
One of the simplest yet most effective ways to decorate candles is by adding ribbons and bows. Ribbons instantly add a touch of elegance and charm to any candle, making them perfect for various occasions and home decor styles. Here’s how you can incorporate ribbons and bows into your candle decorations:
- Choose Your Ribbons: Select ribbons that complement your candle and match the desired theme or color scheme. You can opt for satin, organza, grosgrain, or sheer ribbons in various widths and patterns.
- Measure and Cut: Measure the height and circumference of your candle, and add a few extra inches for a better fit. Cut the ribbons into the desired length, ensuring they are long enough to wrap around the candle with a bit of overlap.
- Prepare the Ribbons: Heat-seal the ribbon ends using a lighter or a flame to prevent fraying. You can also use clear nail polish or fabric glue to seal the ends if you prefer a no-flame approach.
- Attach the Ribbon: Securely attach the ribbon to the candle by using double-sided tape, glue dots, or a small dab of hot glue at the back of the ribbon. Start at the desired position and wrap the ribbon around the candle, slightly overlapping each turn.
- Create a Bow: To add a bow, cut an additional piece of ribbon and form a loop, securing the ends with a small amount of adhesive or by tying them together. Attach the bow to the ribbon-wrapped candle using adhesive or by tying it firmly in place.
- Embellish (Optional): If you want to add some extra flair to your ribbon decorations, consider attaching small embellishments like beads, charms, or decorative pins to the ribbons or the bow.
Adding ribbons and bows to your candles instantly enhances their visual appeal and gives them a festive and celebratory vibe. You can customize the look further by using different ribbon colors, patterns, or even layering multiple ribbons for a more complex design.
Ribbon decorations are versatile and can be used all year round or for special occasions such as weddings, birthdays, or holidays. They can also be easily removed and replaced, allowing you to update the look of your candles whenever you desire.
Now that you’ve learned how to add ribbons and bows to your candles, let’s explore another creative method – using stencils and decals to create unique and intricate designs.
Using Stencils and Decals
If you’re looking to create intricate and professional-looking designs on your candles, using stencils and decals is a fantastic option. Stencils allow you to achieve precise patterns and shapes, while decals provide a wide range of pre-made designs for effortless decoration. Here’s how you can utilize stencils and decals to enhance your candle decorations:
- Choose Your Stencil or Decal: Look for stencils or decals that match your desired design or theme. Stencils are available in various materials such as plastic, metal, or adhesive-backed paper, while decals are usually made of water-slide paper.
- Prepare the Candle Surface: Ensure that the candle surface is clean and dry. You may want to lightly warm the surface with a hairdryer to improve adherence for adhesive-backed stencils or decals.
- Position the Stencil or Decal: Place the stencil or decal onto the candle surface using gentle pressure to ensure it sticks securely. If using a stencil, make sure it is flat against the candle surface to minimize any paint seepage.
- Apply Paint or Transfer: If using a stencil, use a sponge or brush to apply paint over the stencil openings. Be mindful of using thin layers of paint to prevent smudging. If using a decal, carefully follow the instructions to transfer the design onto the candle surface.
- Remove the Stencil or Decal: Take care when removing the stencil or decal to avoid smudging the design. Peel off adhesive-backed stencils slowly and gently lift water-slide decals as per their instructions.
- Allow the Design to Dry: Let the paint or decal adhere and dry completely before handling the candle. Follow the paint manufacturer’s instructions for drying time or allow decals to set for the recommended duration.
- Seal the Design (Optional): If desired, seal the design using a clear coat or candle sealer to protect the stencil or decal and ensure its longevity.
Using stencils and decals opens up endless possibilities for creating intricate and detailed designs on your candles. You can experiment with various patterns, shapes, and styles, ranging from delicate floral motifs to bold geometric shapes.
These techniques are particularly useful if you’re seeking a professional look but don’t have advanced artistic skills. Stencils and decals provide you with precise outlines and designs to easily enhance your candles’ appearance.
Now that you have explored using stencils and decals for your candle decorations, let’s discover how you can add a personal touch by creating your own unique designs.
Adding Personalized Designs
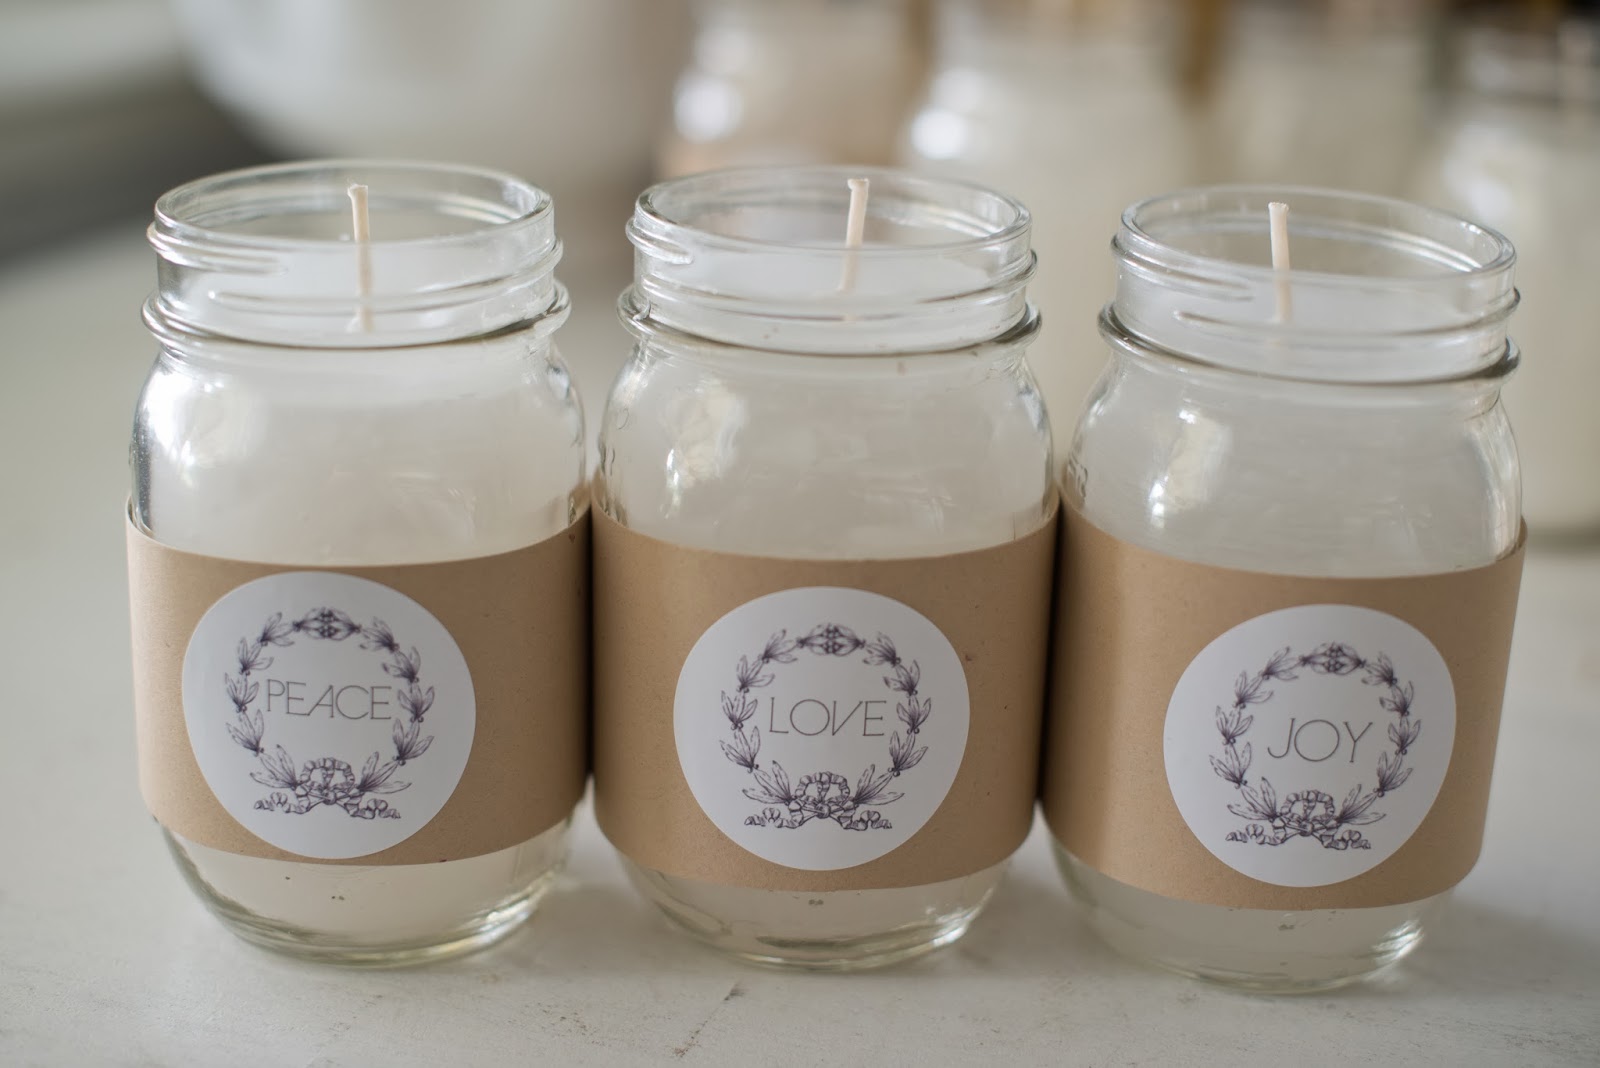
Adding personalized designs to your candles is a wonderful way to create meaningful and unique decorations. Whether it’s for a special occasion, a gift, or to express your own style, personalized designs add a personal touch that sets your candles apart. Here’s how you can add personalized designs to your candle decorations:
- Decide on the Design: Consider the purpose of the candle and the message or theme you want to convey. It can be initials, names, dates, symbols, or any other design that holds significance to you or the recipient.
- Gather Your Materials: Depending on the chosen design, you may need paint pens, permanent markers, letter stencils, alphabet stickers, or even custom-made decals.
- Prepare the Candle Surface (if necessary): Ensure the candle surface is clean and dry. If using markers or paint pens, make sure the surface is suitable for the specific type of marker or pen being used.
- Plan and Sketch (optional): If you’re not confident in your handwriting or drawing skills, it can be helpful to sketch the design lightly on the candle surface with a pencil before applying the permanent marker or paint pen.
- Apply the Design: Carefully apply the personalized design using your chosen method, such as freehand drawing, tracing with stencils, or sticking on alphabet stickers. Take your time and stay steady to achieve the desired results.
- Allow the Design to Dry: Let any paint or marker ink dry completely before handling the candle. Ensure the design is fully set to avoid smudging or smearing.
- Enhance the Design (optional): To further enhance the personalized design, you can embellish it with additional elements like small jewels, beads, or even tiny hand-painted details. Be creative and let your imagination guide you.
Adding personalized designs to your candles allows you to create truly one-of-a-kind pieces that hold sentimental value. It’s an opportunity to express your creativity and craft something meaningful for yourself or someone special.
Personalized designs can be as simple or intricate as you prefer. Whether it’s a monogram, a heartfelt message, or a custom drawing, each design adds a unique touch that makes the candle truly yours.
Now that you have learned how to add personalized designs to your candle decorations, let’s explore another creative approach using natural elements to create a rustic and organic aesthetic.
Read more: What Size Candles For Candle Holders
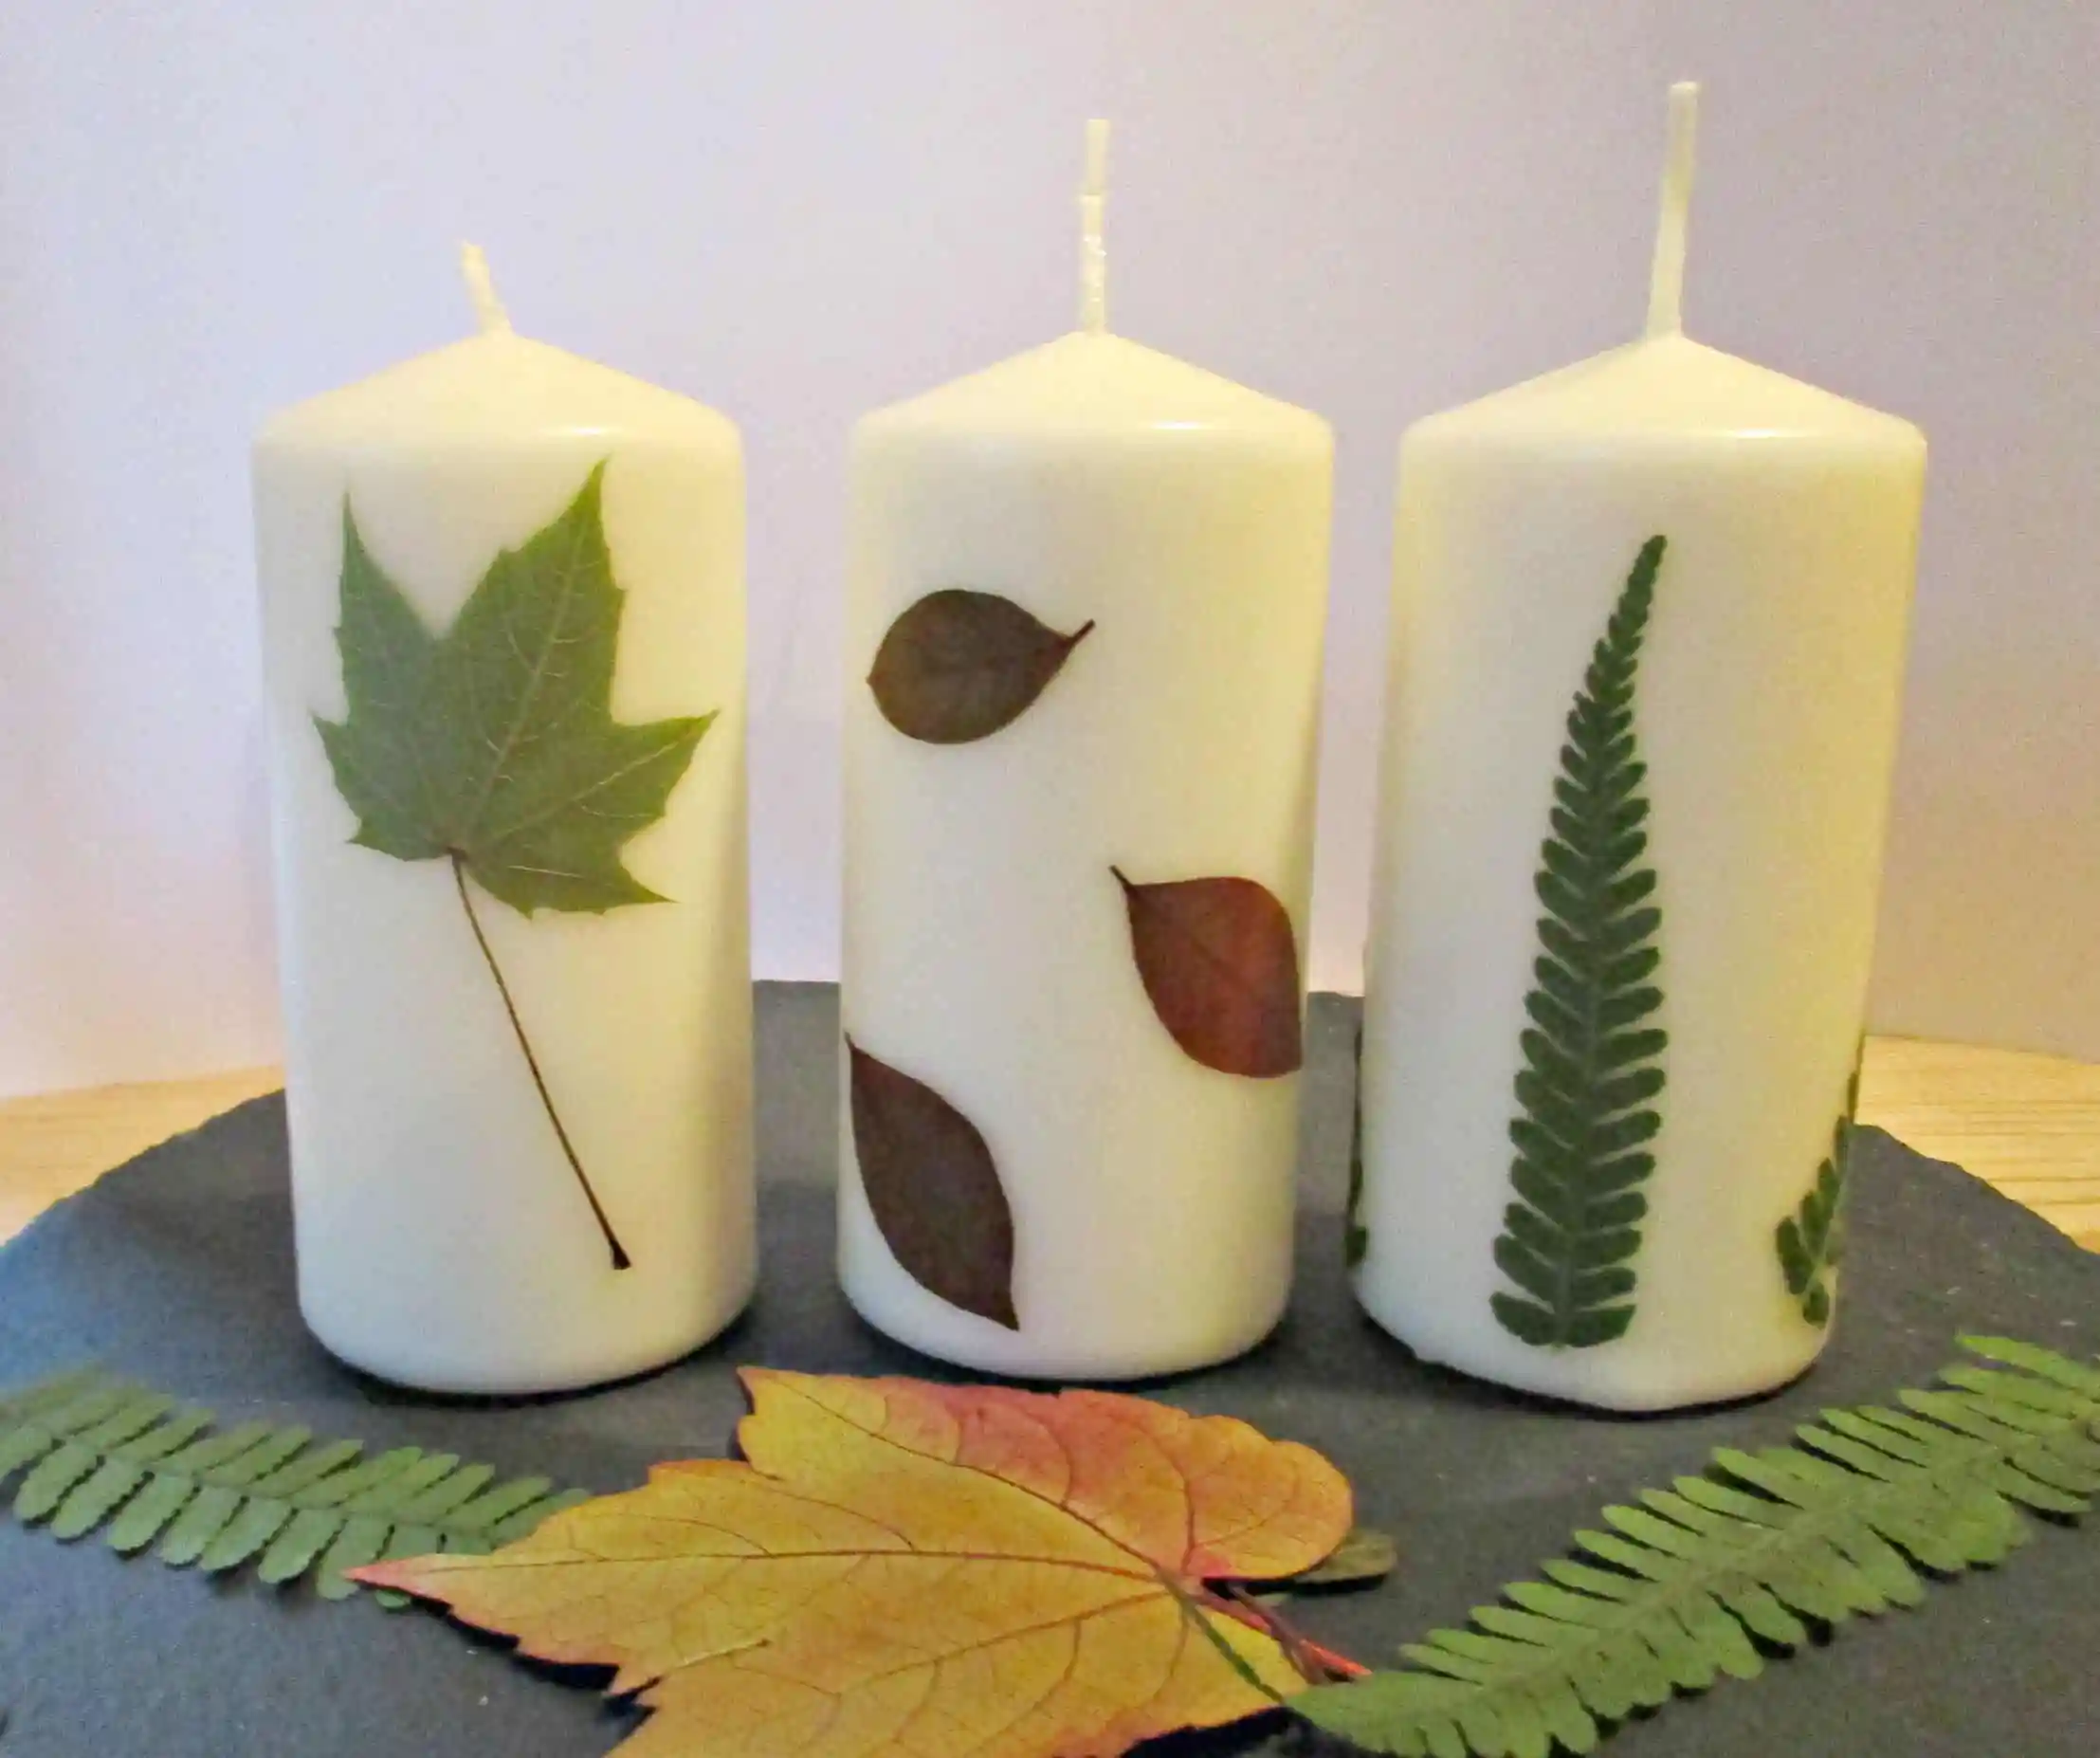
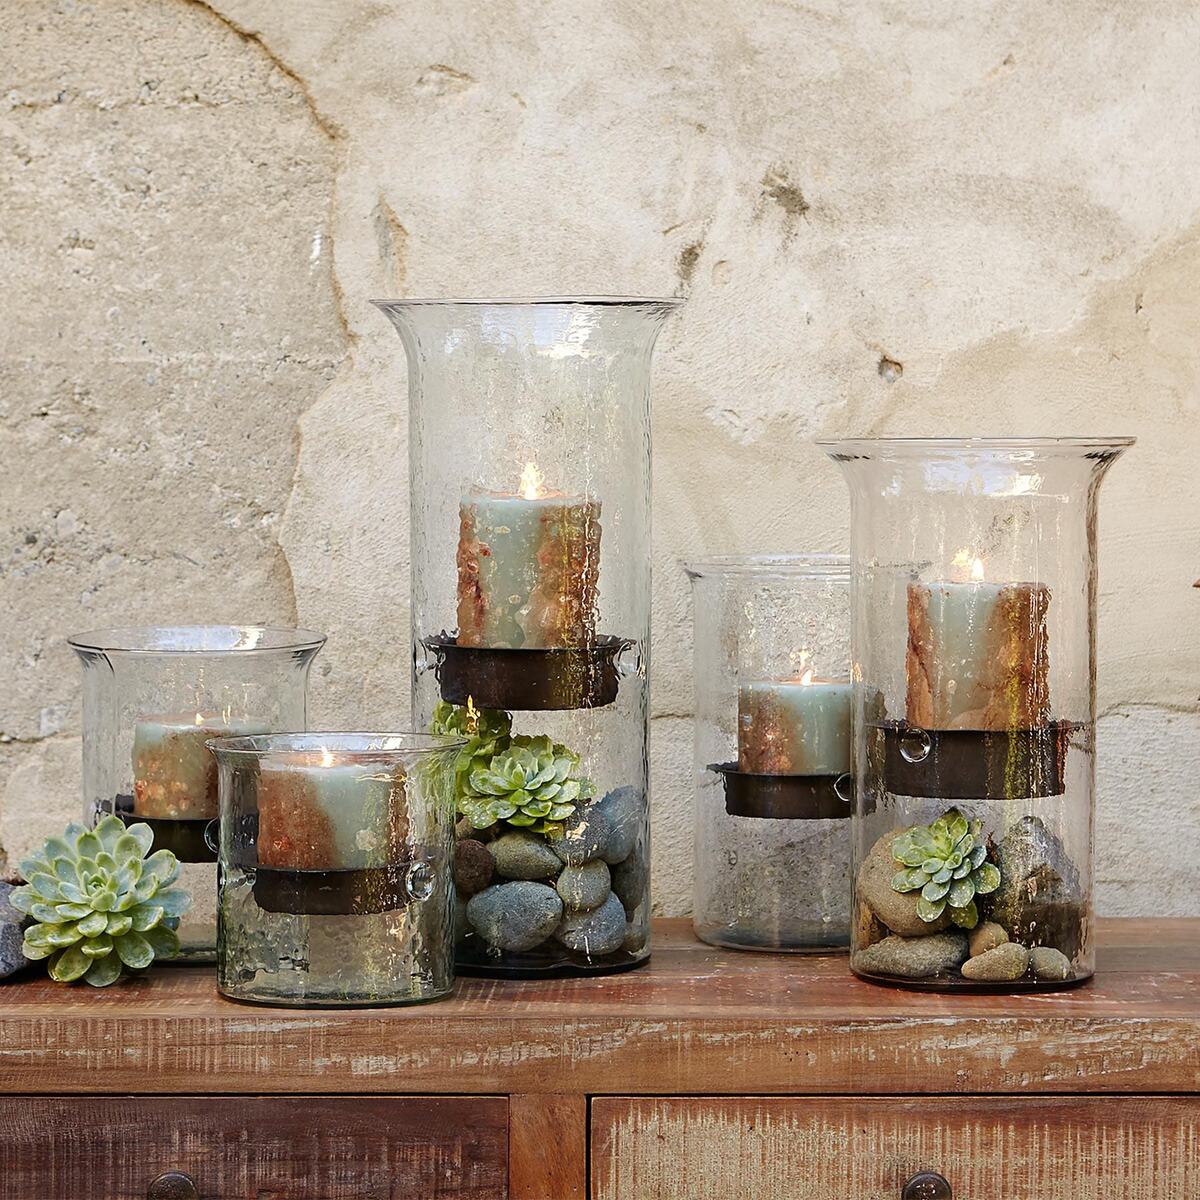
Using Natural Elements
If you’re looking to bring a touch of nature and a rustic vibe to your candle decorations, using natural elements can be a perfect choice. Adding dried flowers, leaves, or other organic materials can create a beautiful and unique aesthetic. Here’s how you can incorporate natural elements into your candle decorations:
- Gather Your Natural Elements: Collect dried flowers, leaves, twigs, pinecones, or any other natural materials of your choice. Ensure they are completely dry to prevent molding or damage to the candles.
- Prepare the Natural Elements (Optional): Trim the stems of the dried flowers or leaves to an appropriate length. You can also remove any excess petals or damaged parts to achieve a cleaner look.
- Secure the Natural Elements: Use craft glue or a hot glue gun to attach the natural elements to the candle surface. Be mindful of the placement and ensure they adhere firmly.
- Create a Collage Effect: Layer the natural elements, overlapping them for a collage-like effect. Mix and match different textures and colors to create an aesthetically pleasing arrangement.
- Consider Complementary Elements: To further enhance the natural theme, you can incorporate additional elements such as raffia, jute twine, or small decorative pieces like wooden beads or moss.
- Allow the Glue to Dry: Give ample time for the glue to dry and secure the natural elements in place. Avoid moving or handling the candles until the glue has fully set.
- Display with Caution: Keep in mind that natural elements are flammable, so when lighting the candle, ensure that the flame is not directly in contact with the organic materials. Monitor the candle and trim any excess materials if necessary.
Using natural elements in your candle decorations provides a charming and earthy aesthetic. The textures and colors of these elements bring a sense of warmth and a connection to nature, creating a soothing ambiance in any space.
These designs work well for rustic-themed weddings, outdoor events, or for creating an eco-friendly atmosphere in your home. The use of natural elements also adds a sense of sustainability and brings the beauty of the outdoors indoors.
Now that you have learned how to incorporate natural elements into your candle decorations, you can experiment with different combinations and create stunning designs that reflect your personal style.
As you embark on your candle decorating journey, remember that the joy lies in the process and the creation of something uniquely yours. Let your imagination and creativity guide you, and have fun exploring different techniques, materials, and designs. Happy candle decorating!
Conclusion
Decorating candles is a rewarding and creative endeavor that allows you to infuse your personal touch into everyday objects. Whether you’re looking to add a decorative flair to your home or create thoughtful gifts for loved ones, the possibilities are endless. Throughout this article, we’ve explored various techniques and ideas to inspire your candle decorating journey.
From choosing the right candles and gathering materials to preparing the candle surface and exploring different decoration methods, each step plays a crucial role in creating beautifully adorned candles. Whether you opt for painting, adding glitter, incorporating ribbons and bows, using stencils and decals, personalizing designs, or utilizing natural elements, the end result will be a unique and eye-catching masterpiece.
The key to successful candle decoration lies in balancing your creativity with a keen eye for detail. By taking the time to gather the necessary materials, prepare the candle surface, and execute your chosen techniques with care, you can create stunning designs that bring joy and beauty to any space.
Remember to let your imagination soar and don’t be afraid to experiment with different colors, textures, and designs. The more you explore and practice, the more confident you’ll become in creating personalized candles that reflect your unique style and taste.
Whether you’re creating decorations for a special occasion or simply enjoying the process of transforming plain candles into works of art, candle decorating is a delightful and enjoyable activity that allows you to tap into your artistic side.
So, gather your supplies, unleash your creativity, and immerse yourself in the world of candle decorating. With each beautifully adorned candle, you’ll bring warmth, charm, and a touch of your own magic into your surroundings.
Now that you’re equipped with the knowledge and inspiration, it’s time to dive in and start crafting your own beautifully decorated candles. Happy decorating!
Frequently Asked Questions about How To Decorate Candles
Was this page helpful?
At Storables.com, we guarantee accurate and reliable information. Our content, validated by Expert Board Contributors, is crafted following stringent Editorial Policies. We're committed to providing you with well-researched, expert-backed insights for all your informational needs.

0 thoughts on “How To Decorate Candles”