Articles
How To Store Press On Nails
Modified: December 7, 2023
Learn how to properly store your press on nails with these helpful articles. Keep your nails looking great for longer!
(Many of the links in this article redirect to a specific reviewed product. Your purchase of these products through affiliate links helps to generate commission for Storables.com, at no extra cost. Learn more)
Introduction
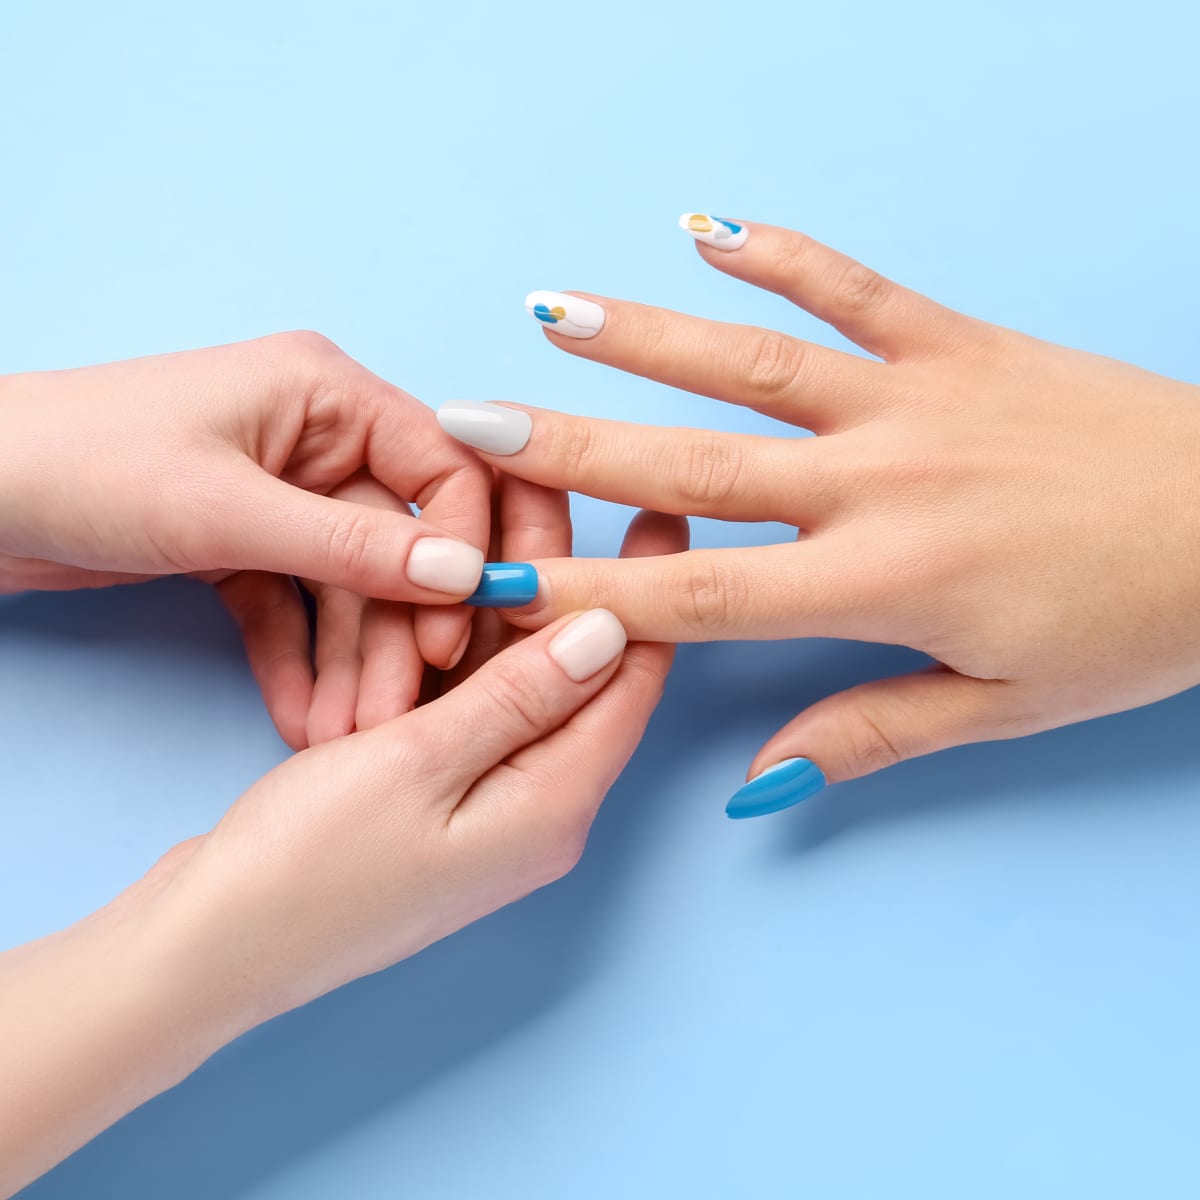
Press-on nails have become increasingly popular in recent years as a convenient and affordable way to achieve beautiful, salon-worthy nails from the comfort of your own home. Not only do they offer a wide range of designs and styles to suit any occasion, but they also provide the flexibility to change your look without the commitment of a traditional manicure.
However, if you’ve invested in a collection of press-on nails or have just purchased a new set, you may be wondering how to store them properly to maintain their quality and longevity. In this article, we will guide you through the steps to store your press-on nails effectively, ensuring that they stay in pristine condition for future use.
By following these simple tips and techniques, you can ensure that your press-on nails remain intact, free from damage, and ready to be used whenever you desire a stunning manicure. So, let’s jump right in and learn how to store press-on nails like a pro!
Key Takeaways:
- Properly prepping and storing press-on nails is essential for maintaining their quality and longevity, ensuring beautiful and long-lasting manicures at home.
- From cleaning and prepping natural nails to selecting the right press-on nails and applying them securely, each step is crucial for achieving flawless and durable results.
Read more: How To Store Pressed Flowers
Step 1: Clean and Prep Your Nails
The first step in storing your press-on nails is to ensure that your natural nails are clean and properly prepped. This will help the press-on nails adhere smoothly and stay in place for an extended period. Here’s how you can clean and prep your nails:
- Remove any existing nail polish: If you have any nail polish on your nails, use a gentle nail polish remover to clean them thoroughly. Make sure to remove all traces of polish to create a clean canvas for the press-on nails.
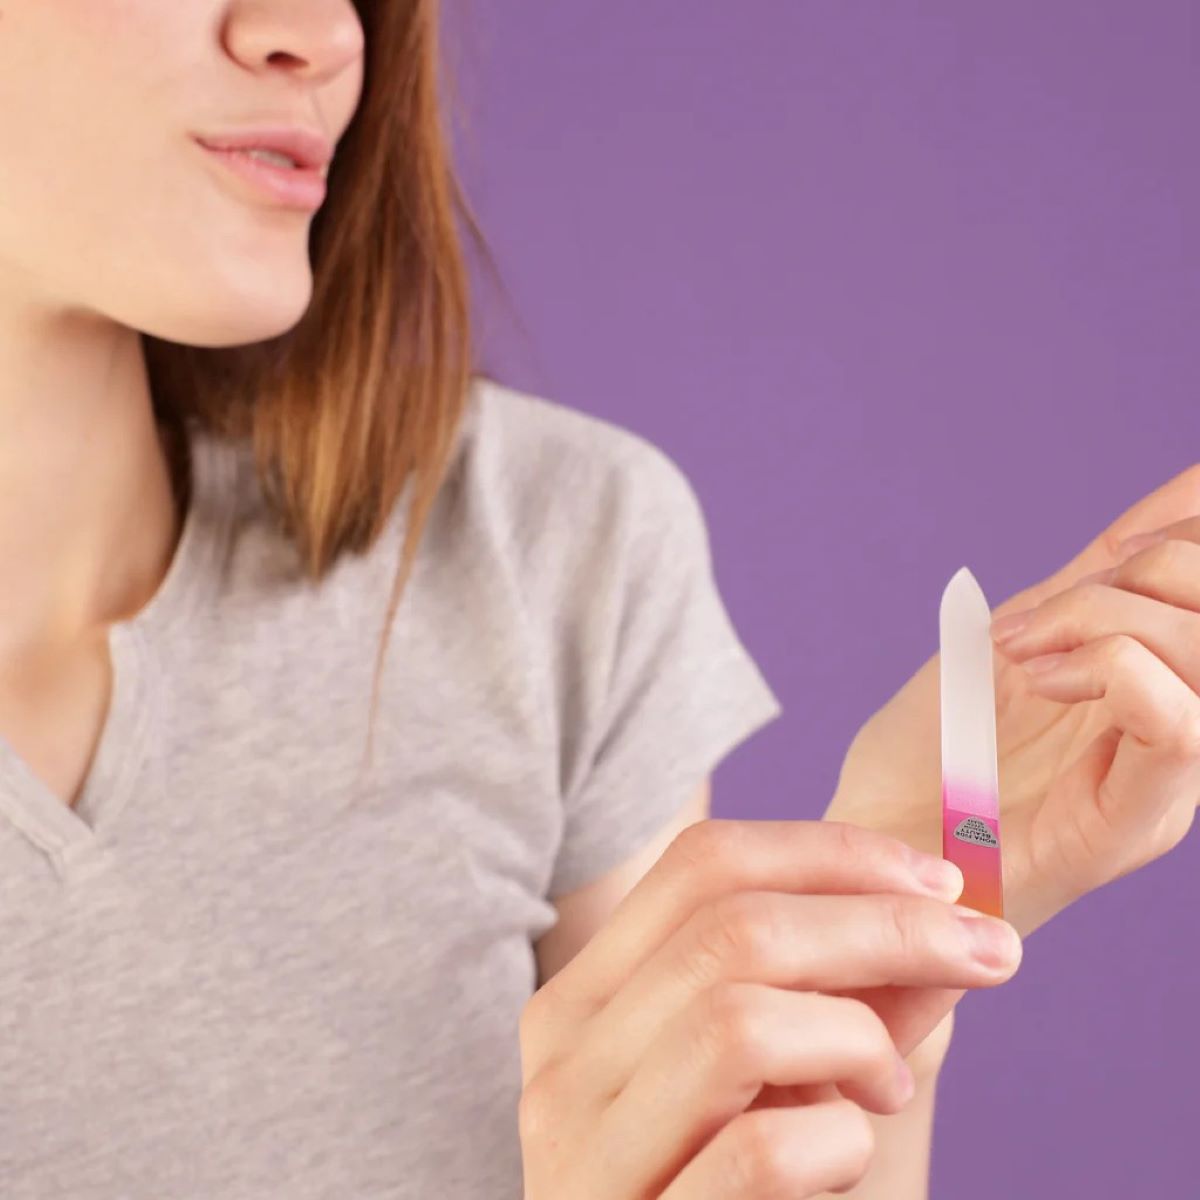
- Trim and shape your nails: Use a nail clipper to trim your nails to the desired length. Then, use a nail file to shape them into your preferred shape, whether it’s square, round, or almond-shaped. Be careful not to file too aggressively as this can weaken your nails.
- Push back your cuticles: Gently push back the cuticles using a cuticle pusher or a wooden stick. This will create a smooth surface for the press-on nails to adhere to and prevent any gaps between the natural nails and the press-ons.
- Buff the surface of your nails: Use a nail buffer or a gentle nail file to lightly buff the surface of your nails. This will remove any ridges or bumps, making the surface smooth and allowing better adhesion for the press-on nails.
- Clean your nails: Finally, clean your nails with a gentle nail cleanser or rubbing alcohol to remove any dirt, oil, or residue. This will ensure that your nails are free from any barriers that could impede the adhesive properties of the press-on nails.
By following these simple steps, you can ensure that your natural nails are properly prepped and ready for the application of press-on nails. Taking the time to clean and prep your nails will not only optimize the adhesion but also help maintain the hygiene and longevity of your press-on nails.
Step 2: Remove Any Existing Nail Polish
Before applying press-on nails, it is essential to remove any existing nail polish from your nails. Removing old polish ensures a clean surface for better adhesion and prevents any color bleeding or discoloration. Here’s how you can effectively remove nail polish:
- Gather your supplies: To remove the nail polish, you will need cotton pads or balls, acetone-based nail polish remover, and a cuticle pusher or wooden stick for any stubborn residue.
- Apply the nail polish remover: Moisten a cotton pad or ball with the nail polish remover, making sure it is not dripping wet. Place the pad or ball on your nail and hold it firmly for a few seconds. This allows the remover to penetrate the polish and make it easier to remove.
- Remove the nail polish: Slowly and gently swipe the cotton pad or ball across your nail, starting from the base to the tip. Repeat this process until all the nail polish is removed. Take care not to scrub too hard, as it can damage your nails.
- Clean up any residue: If there is any stubborn residue left on your nails, use a cuticle pusher or wooden stick to gently scrape it off. Be gentle to avoid any damage to your nails.
- Repeat for all nails: Follow the same process for each nail, ensuring that all nails are completely free from polish and residues.
- Wash and dry your hands: Once all the nail polish has been removed, wash your hands with mild soap and water to remove any traces of the nail polish remover. Dry your hands thoroughly before proceeding to the next step.
By properly removing any existing nail polish, you create a clean surface for the press-on nails, allowing them to adhere securely and last longer. This step ensures a smooth and flawless application, giving you the best results with your press-on nails.
Step 3: Select the Appropriate Press-On Nails
Choosing the right press-on nails is crucial for achieving a natural and seamless look. With various shapes, lengths, colors, and designs available, it’s important to consider your personal style and preferences. Here are some tips on selecting the appropriate press-on nails:
- Consider your nail shape: Choose press-on nails that match your natural nail shape or the shape you desire. Whether you prefer square, round, oval, or almond-shaped nails, selecting the appropriate shape will ensure a more natural and comfortable fit.
- Choose the right size: Press-on nails typically come in various sizes to accommodate different nail widths. Before applying, it’s essential to select nails that closely match the width of your natural nails. Using nails that are too small or too large can result in an unnatural appearance and decreased durability.
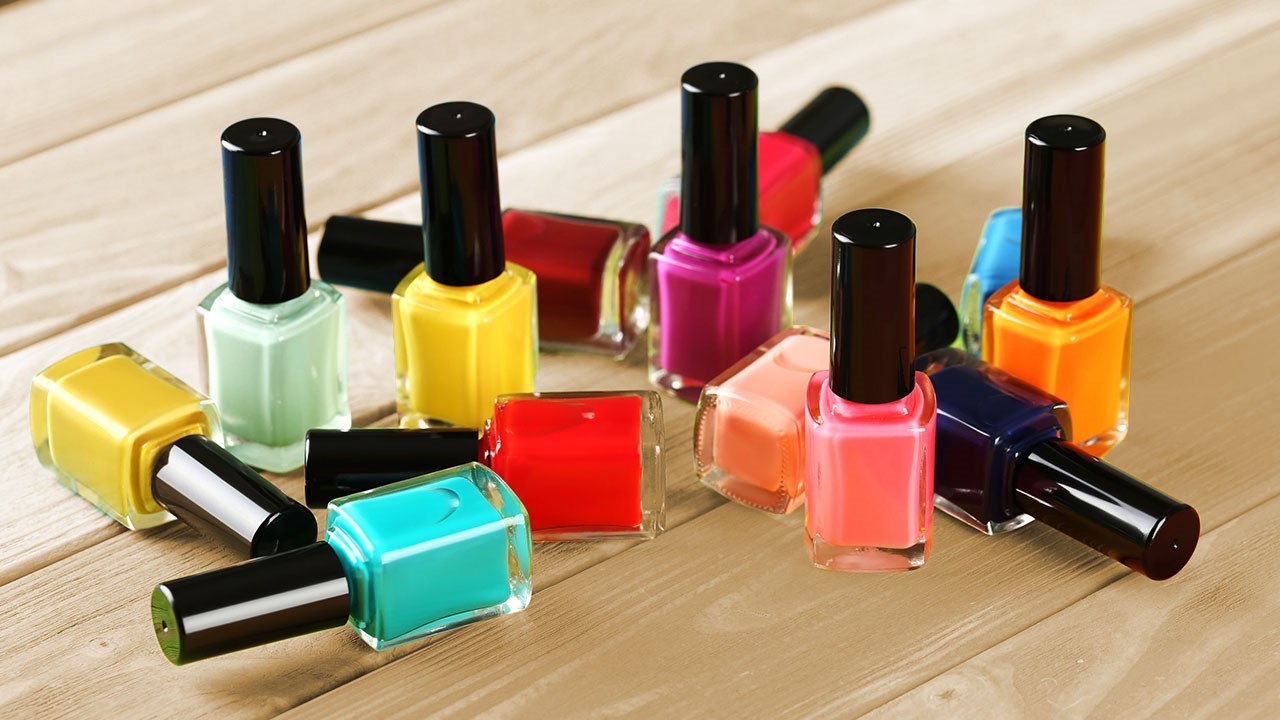
- Experiment with colors and designs: Press-on nails offer a wide range of colors, patterns, and designs to suit your preferences and style. Consider the occasion or event you’re attending and choose colors or designs that complement your outfit or express your creativity.
- Assess the length: Decide whether you prefer shorter, medium, or longer nails. Keep in mind your daily activities and lifestyle when choosing the length. If you lead an active lifestyle or work with your hands, shorter nails may be more practical and comfortable.
- Quality and durability: Opt for press-on nails made from high-quality materials to ensure durability and longevity. Look for reputable brands that offer nails that can withstand daily activities and retain their shape and color for an extended period.
By considering these factors, you can select press-on nails that complement your style, fit comfortably, and provide a natural appearance. Remember, the right choice of press-on nails sets the foundation for a flawless manicure that you’ll love to show off!
Step 4: Apply Glue or Adhesive Tabs
Once you have selected the perfect set of press-on nails, it’s time to apply adhesive to ensure they stay in place. There are two common options for attaching press-on nails: glue or adhesive tabs. Here’s how you can apply them:
- Glue:
- Start by applying a small drop of nail glue onto your natural nail, near the cuticle. Be careful not to use too much glue as it can overflow when you press on the nail.
- Carefully place the press-on nail onto your natural nail, aligning it with the cuticle and sidewalls.
- Gently press down on the nail, holding it in place for a few seconds to allow the glue to bond.
- Repeat this process for each nail, ensuring that all nails are securely attached.
- Adhesive tabs:
- Peel off the backing from the adhesive tab.
- Align the tab with the back of the press-on nail and firmly press it onto the nail.
- Remove the remaining protective film from the adhesive tab.
- Place the press-on nail onto your natural nail, starting at the cuticle and pressing down firmly.
- Repeat these steps for each nail, making sure all nails are securely attached with the adhesive tabs.
When applying glue or adhesive tabs, it’s important to be precise and ensure that the press-on nails are properly aligned with your natural nails. Take your time and make any necessary adjustments before the adhesive dries.
Additionally, keep in mind that glue provides a more long-lasting hold compared to adhesive tabs, which are typically easier to remove without causing damage to your natural nails. Choose the option that best suits your preferences and needs.
With the appropriate adhesive method, your press-on nails will stay in place throughout your daily activities, providing you with beautiful and durable nails.
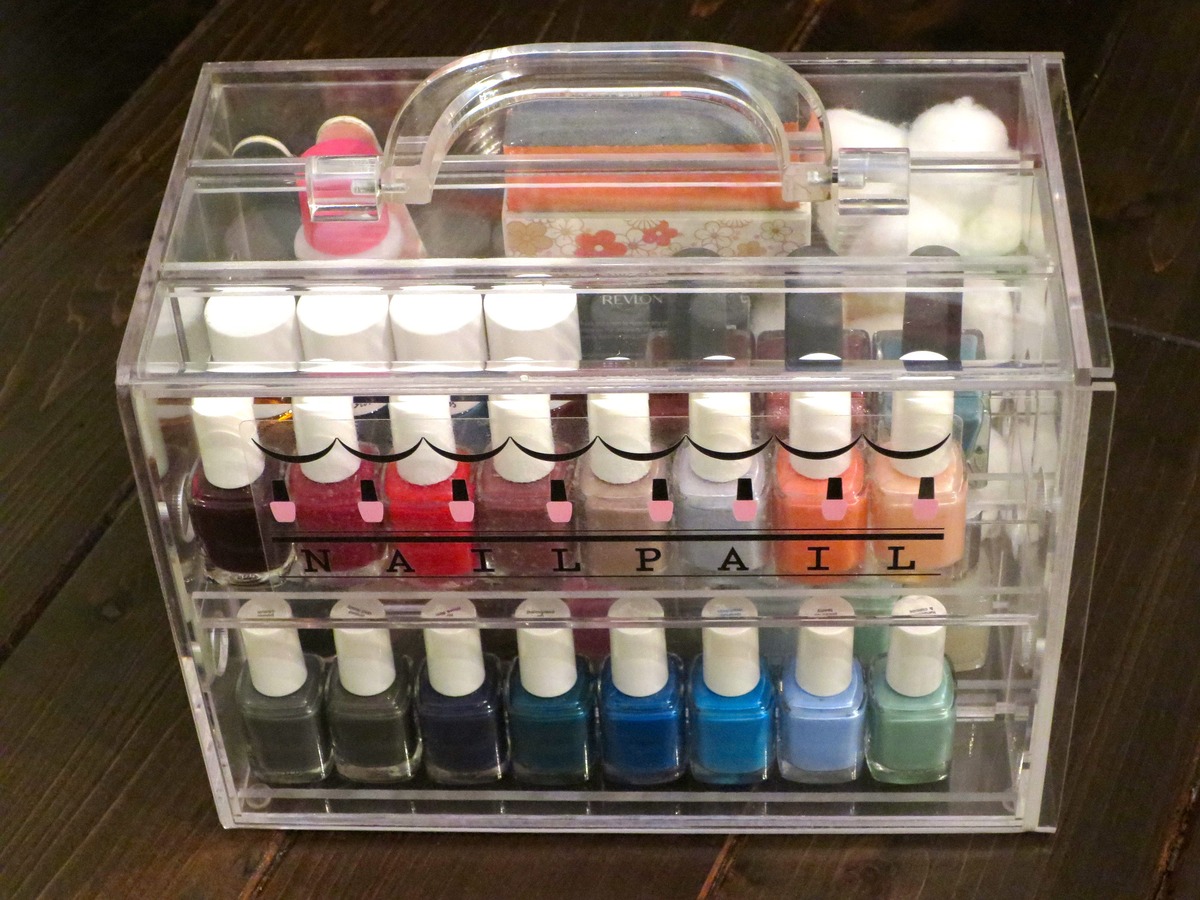
Store press on nails in a cool, dry place away from direct sunlight to prevent them from warping or losing their shape. A small plastic container or a resealable bag can help keep them organized and protected.
Read more: How To Store Nail Supplies
Step 5: Attach the Press-On Nails
Now that you have prepped your nails and applied the adhesive, it’s time to attach the press-on nails to achieve a flawless manicure. Here’s how you can attach the press-on nails:
- Start with one nail: Begin by selecting one press-on nail and aligning it with your natural nail, ensuring a proper fit.
- Press down firmly: Gently press down on the press-on nail, starting from the cuticle area and moving towards the tip. Apply firm but gentle pressure to ensure that the nail adheres properly.
- Secure the sides: Pay attention to the sidewalls of the press-on nail and make sure they are securely attached to your natural nail. Press down on both sides to create a tight seal.
- Repeat for remaining nails: Follow the same procedure for each nail, attaching the press-on nails one by one. Take your time to ensure that each nail is properly aligned and fully adhered.
- Check for any gaps or lifting: After attaching all the press-on nails, inspect them closely to check for any gaps or lifting. If you notice any, gently press down on those areas to secure the adhesion.
- Give it some time to set: Allow the press-on nails to set and bond with your natural nails for a few minutes before moving on to the next step.
By following these steps, you can ensure that your press-on nails are securely attached and provide a natural-looking manicure. Taking the time to properly attach the nails ensures that they will stay in place and withstand daily activities without any worries.
Step 6: Shape and Trim the Nails
After attaching the press-on nails, it’s time to shape and trim them to achieve your desired look. This step allows you to customize the length and shape to suit your preferences. Follow these steps to shape and trim your press-on nails:
- Determine the desired length: Decide on the length you prefer for your press-on nails. You can opt for a shorter length for practicality or a longer length for a more glamorous look. Use a nail clipper to trim the nail to your desired length.
- File the edges: Use a nail file to shape the edges of the press-on nails. You can choose from various shapes, such as square, round, oval, or almond. File in one direction only to avoid damaging the nails.
- Smooth the surface: After shaping the edges, use the nail file to gently smooth the surface of the press-on nails. This step helps to blend the edges and create a seamless transition between the natural and press-on nails.
- Check for unevenness: Inspect each nail to ensure they are all even in length and shape. If you notice any uneven edges, use the nail file to make the necessary adjustments until you achieve a uniform look.
- Buff the nails (optional): If desired, you can use a buffer to gently buff the surface of the press-on nails. This will provide a smooth and polished finish, enhancing the overall appearance of your manicure.
Taking the time to shape and trim your press-on nails not only allows you to customize the look to your liking but also ensures a comfortable and natural feel. Remember to be cautious while trimming and filing to avoid any accidental damage to the nails.
Once you’re satisfied with the length and shape, your press-on nails are ready to be further enhanced with a top coat or nail polish, if desired.
Step 7: Add a Top Coat for Extra Durability
To ensure the longevity of your press-on nails and to enhance their appearance, applying a top coat is a crucial step. A top coat provides an additional layer of protection, increasing the durability and resistance of the press-on nails. Here’s how you can add a top coat:
- Gather your supplies: You will need a clear top coat nail polish and a clean, small nail brush.
- Ensure dry nails: Make sure that your press-on nails are completely dry before applying the top coat. This ensures that the top coat adheres properly and helps prevent smudging or bubbling.
- Apply the top coat: Dip the nail brush into the clear top coat nail polish, ensuring that it is not overloaded with product. Start from the base of the press-on nail and apply a thin layer of the top coat, covering the entire surface of the nail. Be careful to avoid contact with the cuticles or skin.
- Seal the edges: To ensure long-lasting adhesion and prevent any lifting or chipping, brush the top coat along the edges of the press-on nails. This helps to create a seal and provides extra protection.
- Allow to dry: Let the top coat dry completely. This may take a few minutes, depending on the product used. Avoid touching or applying pressure to the nails during this time to prevent any smudging or imperfections.
By adding a top coat to your press-on nails, you provide an extra layer of protection against chipping, scratching, and general wear and tear. The top coat also helps to enhance the shine and overall appearance of your manicure, giving it a professional and salon-like finish.
If desired, you can reapply the top coat every few days to maintain the durability and shine of your press-on nails. This will help prolong the lifespan of your manicure and keep your nails looking fresh and beautiful.
Step 8: Remove Press-On Nails Safely
When you’re ready to remove your press-on nails, it’s important to do so safely and with care to avoid any damage to your natural nails. Here’s a step-by-step guide on how to remove press-on nails:
- Prepare your tools: Gather the necessary tools, including acetone-based nail polish remover, cotton balls or pads, aluminum foil, a cuticle pusher or wooden stick, and a nail buffer.
- Soak the nails: Soak a cotton ball or pad in the acetone-based nail polish remover and place it onto your first press-on nail.
- Wrap with foil: Wrap the soaked cotton ball or pad around the nail, then wrap the foil tightly around the entire finger. Repeat this process for each finger.
- Wait for the acetone to work: Allow the acetone to work its magic by leaving the wrapped fingers for approximately 10-15 minutes. This will soften the adhesive and make it easier to remove the press-on nails.
- Remove the foil wraps: Carefully remove the foil wraps from your fingers, one finger at a time.
- Gently push off the press-on nails: Use a cuticle pusher or wooden stick to gently push off the softened press-on nails. Start from the base of the nails and work your way towards the tips, applying gentle pressure to detach them from your natural nails. Avoid forcing or prying them off, as this can damage your nails.
- Smooth and buff the nails: After removing the press-on nails, use a nail buffer to gently smooth the surface of your natural nails. This helps to remove any residue and create a clean, smooth canvas for future manicures.
- Moisturize your nails: Finish by applying a nourishing cuticle oil or hand cream to rehydrate and moisturize your nails and cuticles.
By following these steps, you can safely remove your press-on nails without causing any harm to your natural nails. It’s important to be patient and gentle throughout the process to avoid any unnecessary damage or discomfort.
Remember, properly caring for your natural nails after removing press-on nails is essential to maintain their health and strength. Keep them well-moisturized and give them time to rest before applying another set of press-on nails or engaging in any nail treatments.
With these instructions for safe removal, you can enjoy your press-on nails and easily switch up your manicure whenever you desire!
Read more: How To Store Cold Pressed Juice
Conclusion
Storing your press-on nails properly is key to maintaining their quality and ensuring that they last for multiple uses. By following the steps outlined in this article, you can store your press-on nails like a pro, ensuring that they remain in pristine condition and ready for future use.
From cleaning and prepping your nails to selecting the right press-on nails and applying them securely, each step plays a crucial role in achieving a flawless and long-lasting manicure. Adding a top coat for extra durability and removing the press-on nails safely are essential practices to enhance the lifespan of your press-on nails.
Remember to take your time and make careful choices when selecting press-on nails that match your style, nail shape, and length preferences. Properly prepped nails and securely attached press-on nails will provide a natural-looking and comfortable manicure.
Lastly, don’t forget to remove your press-on nails with care, following the recommended steps to protect your natural nails from damage. Giving your nails time to breathe and recover between applications will help maintain their strength and health.
Now that you have learned how to store press-on nails effectively, you can enjoy the ease and versatility they offer for achieving beautiful manicures. With the right techniques and proper storage, your press-on nails will continue to provide you with salon-worthy nails in the comfort of your own home.
Frequently Asked Questions about How To Store Press On Nails
Was this page helpful?
At Storables.com, we guarantee accurate and reliable information. Our content, validated by Expert Board Contributors, is crafted following stringent Editorial Policies. We're committed to providing you with well-researched, expert-backed insights for all your informational needs.

0 thoughts on “How To Store Press On Nails”