Articles
How To Store Pumpkin Puree
Modified: February 21, 2024
Learn how to store pumpkin puree for later use in this informative article. Find tips and techniques for keeping your homemade pumpkin puree fresh and flavorful.
(Many of the links in this article redirect to a specific reviewed product. Your purchase of these products through affiliate links helps to generate commission for Storables.com, at no extra cost. Learn more)
Introduction
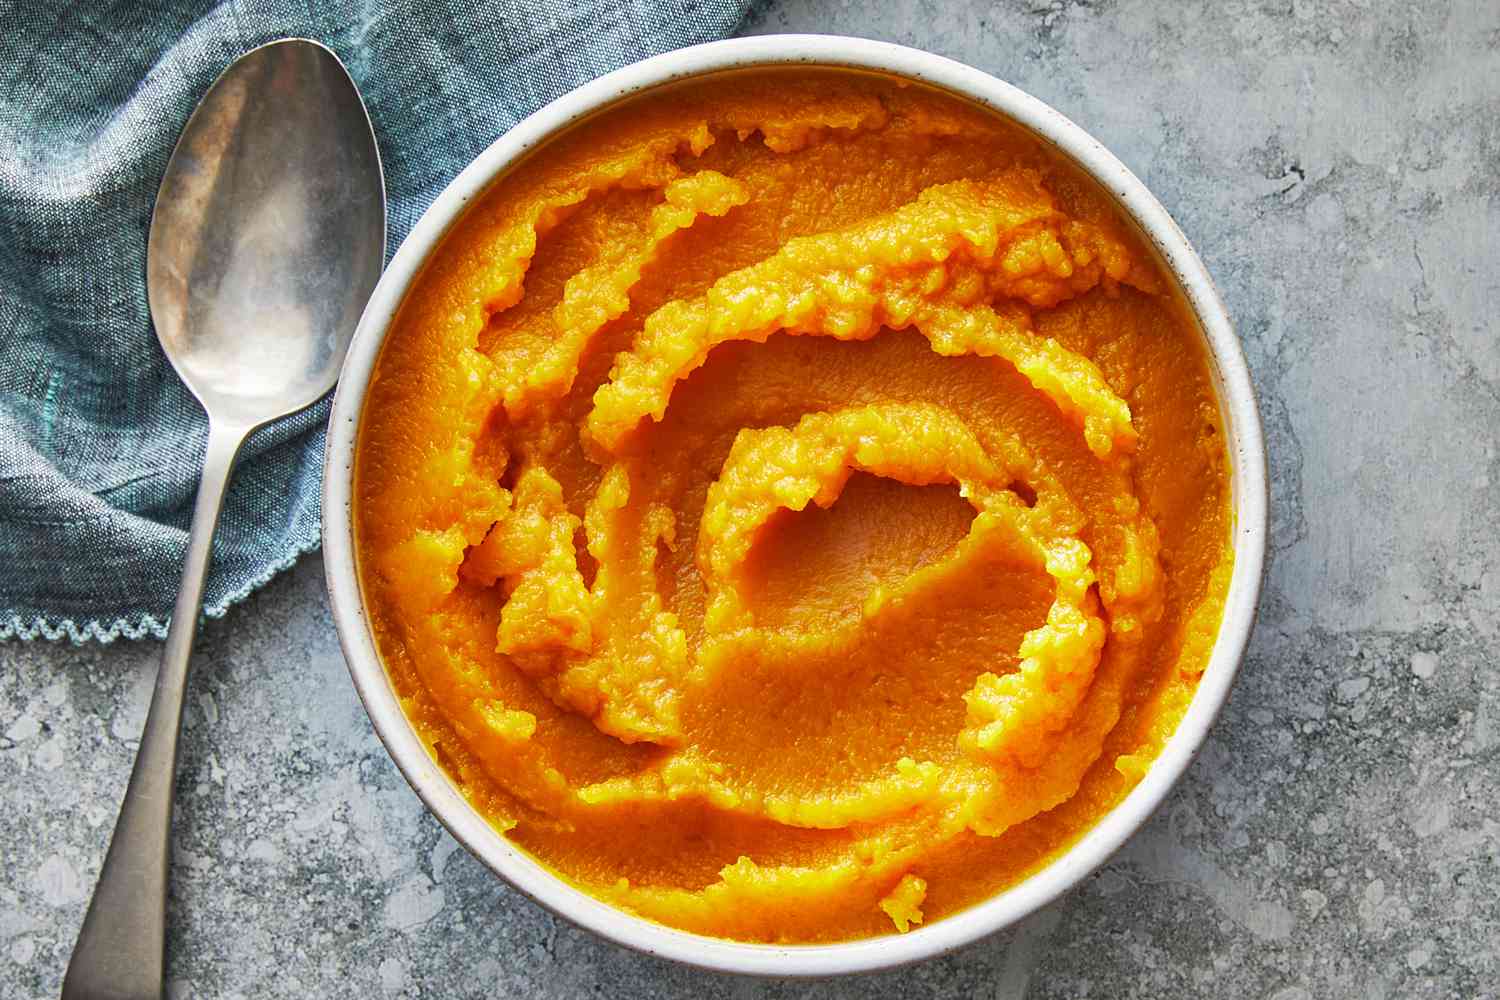
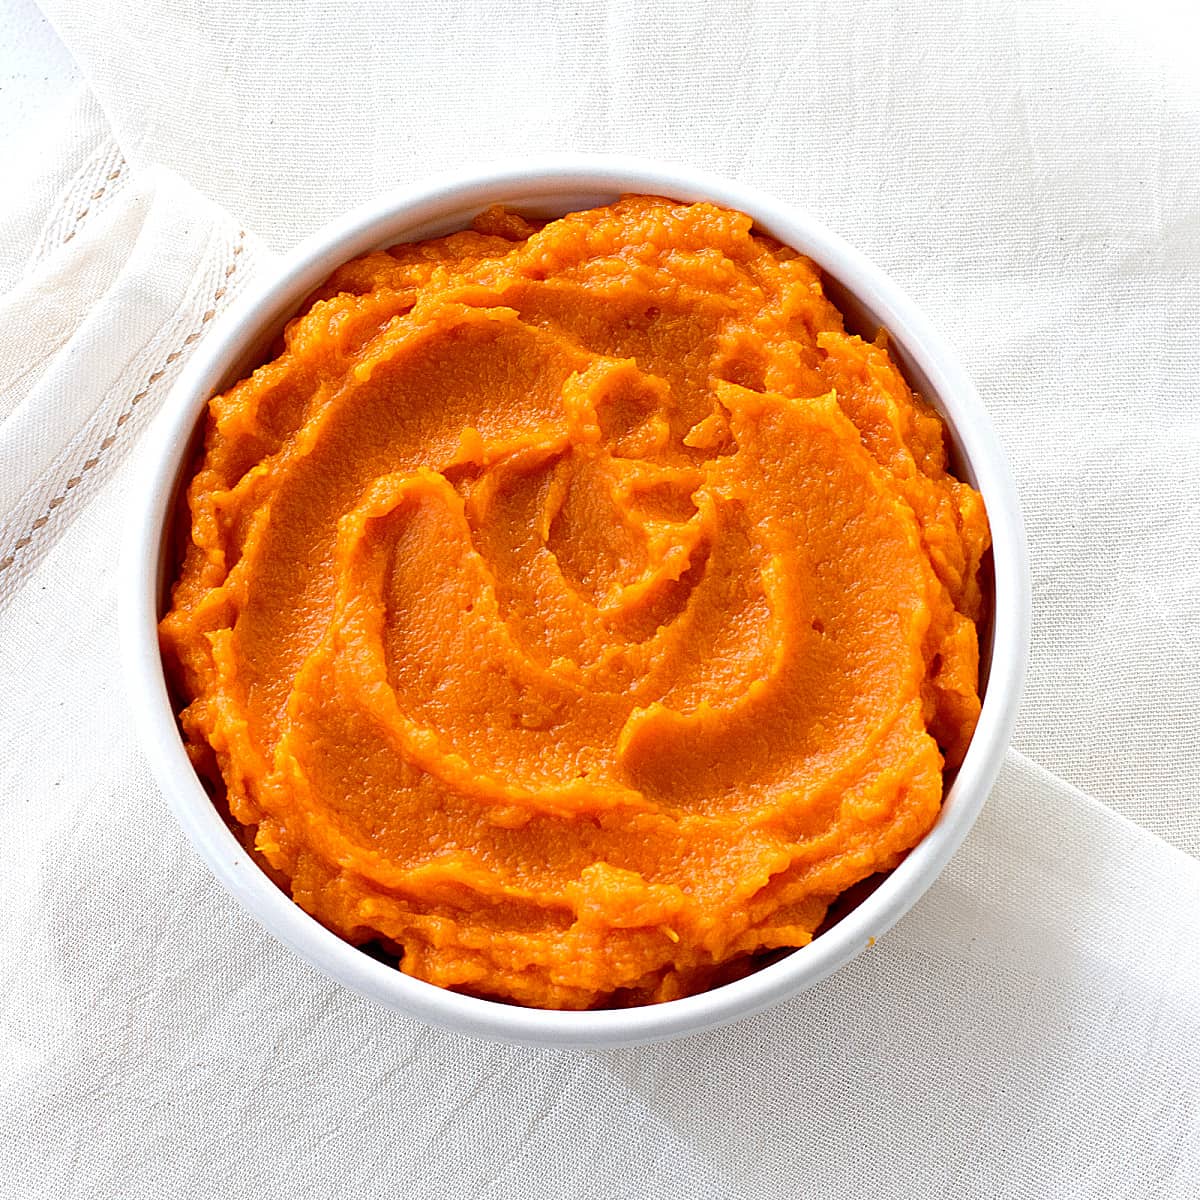
When autumn rolls around, pumpkins are not only lovely decorations, but they also make a delicious ingredient for a variety of recipes. One of the most versatile ways to use pumpkins is by making homemade pumpkin puree. With its smooth texture and rich flavor, pumpkin puree adds a delightful touch to baked goods, soups, and even beverages.
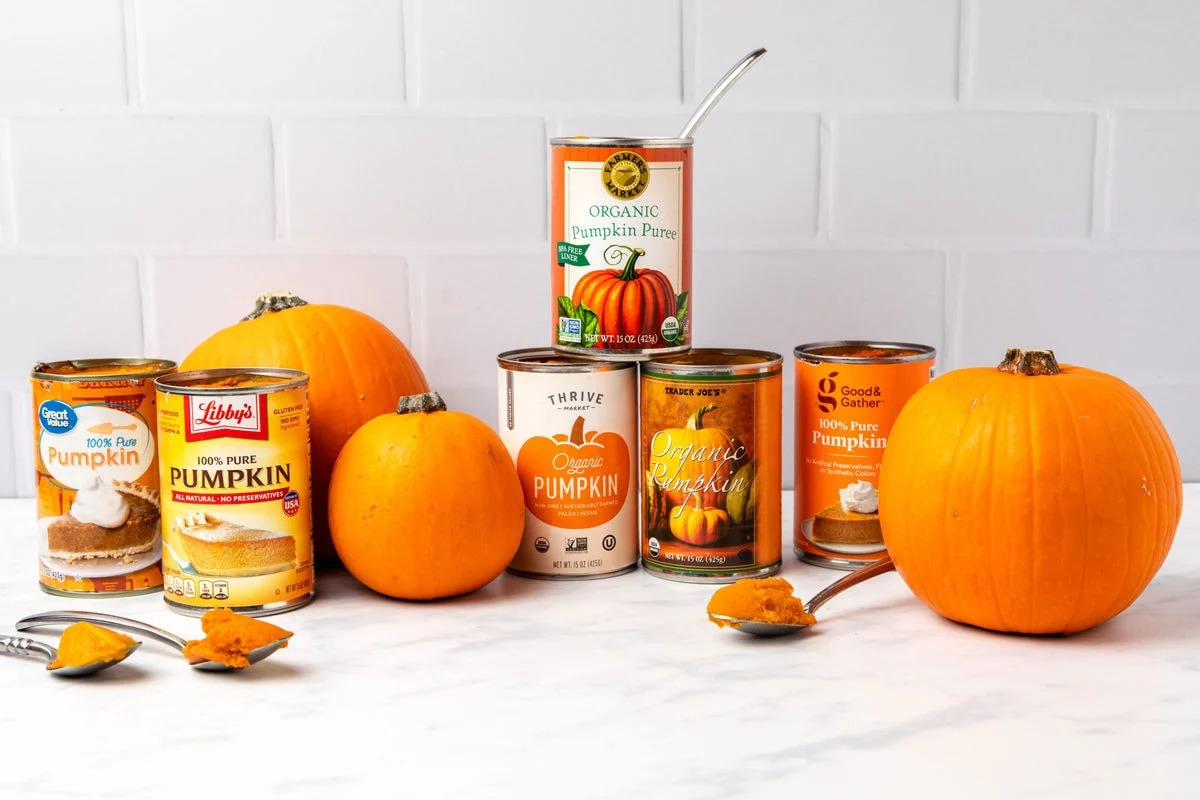
While you can find canned pumpkin puree at your local grocery store, there’s something special about making it from scratch. Not only does homemade pumpkin puree taste fresher and more vibrant, but it also allows you to control the quality and consistency of the final product. Plus, it’s surprisingly easy to make!
In this article, we will explore the benefits of making your own pumpkin puree, learn how to choose the right pumpkin for puree, discover various cooking methods, and explore the best ways to store your homemade pumpkin puree.
So, grab your favorite pumpkin and let’s dive into the world of homemade pumpkin puree!
Key Takeaways:
- Elevate your recipes with homemade pumpkin puree, enjoying the vibrant flavor and smooth texture of fresh pumpkins. Store it in airtight containers or freezer bags, labeling and portioning for easy use within recommended timeframes.
- Embrace the flavors of fall and savor the joys of homemade pumpkin puree in your culinary creations. From classic pumpkin pies to comforting soups, explore endless possibilities with properly stored frozen puree.
Read more: How To Store Opened Pumpkin Puree
Benefits of Homemade Pumpkin Puree
Making homemade pumpkin puree offers a range of benefits that go beyond just the delicious taste. Let’s explore some of the advantages of making your own puree:
- Fresher and more flavorful: Store-bought canned pumpkin puree can be convenient, but it often lacks the rich, fresh flavor of homemade puree. By using fresh pumpkins and making your own puree, you can enjoy the vibrant and authentic taste of pumpkin in your recipes.
- Control over ingredients: When you make your own pumpkin puree, you have complete control over the ingredients. You can ensure that no preservatives or additives are added, allowing you to create a healthier and more natural product.
- Cost-effective: Pumpkins are abundant during the fall season, making them an economical choice for homemade puree. By purchasing pumpkins and making your own puree, you can save money compared to buying canned options.
- Customizable consistency: Depending on the recipe, you may prefer a thick or a thin puree. Making your own allows you to adjust the consistency to suit your needs. Whether you’re making a smooth soup or a dense pumpkin pie, you can tailor the puree to achieve the desired texture.
- Versatile use: Homemade pumpkin puree is incredibly versatile and can be used in a wide range of recipes. From classic pumpkin pies and muffins to savory soups and stews, the possibilities are endless. Plus, you can experiment with spices and seasonings to add your own personal touch.
These benefits demonstrate that making homemade pumpkin puree is worth the effort. Not only will you enjoy a fresher and more flavorful ingredient for your recipes, but you’ll also have the satisfaction of creating something from scratch. So, let’s explore how to choose the right pumpkin for your puree.
Choosing the Right Pumpkin for Puree
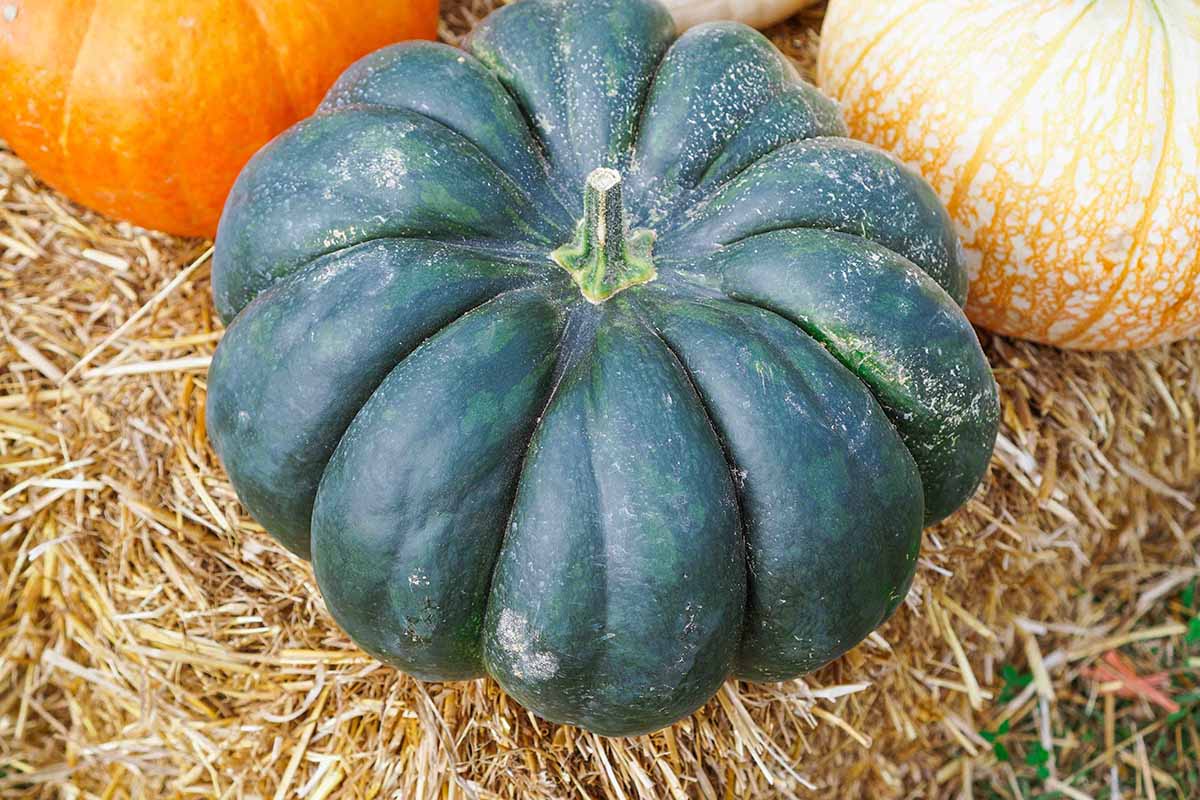
When it comes to making homemade pumpkin puree, not all pumpkins are created equal. While you might be tempted to grab any pumpkin from the patch, choosing the right variety will ensure the best flavor and texture for your puree. Here are some tips for selecting the perfect pumpkin:
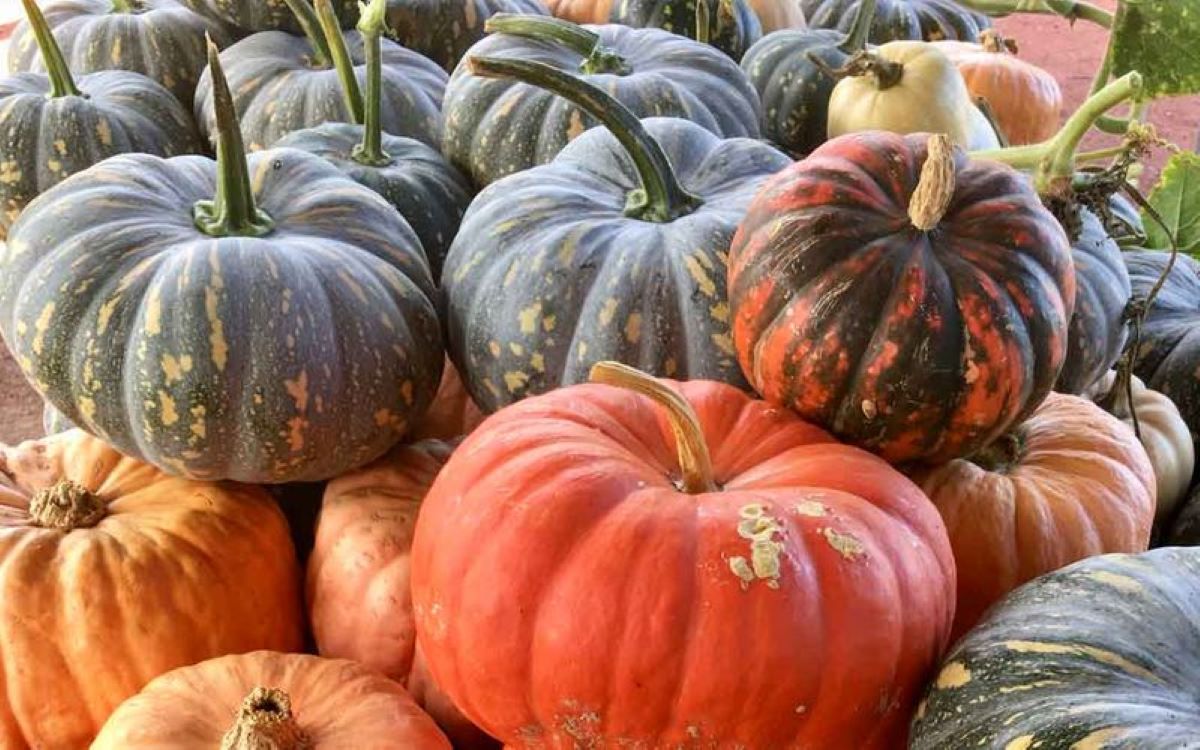
- Sugar or pie pumpkins: Look for small to medium-sized pumpkins specifically labeled as “sugar” or “pie” pumpkins. These varieties have a dense and sweet flesh that is ideal for pureeing. Avoid using large carving pumpkins, as they tend to be watery and less flavorful.
- Firm and heavy: Pick pumpkins that feel firm and heavy for their size. This indicates that they are fresh and have a higher moisture content, resulting in a smooth and creamy puree.
- Uniform color: Choose pumpkins with a consistent color, whether it’s orange, beige, or even green. Avoid any with patches of green or signs of mold as they may not be fully ripe.
- No soft spots: Inspect the pumpkin for any soft spots or blemishes. A healthy pumpkin should have a firm and intact skin.
- Stem intact: Check that the stem is still attached to the pumpkin and is not broken. A sturdy stem indicates a fresh pumpkin.
Once you’ve selected the perfect pumpkin, it’s time to prepare it for pureeing. Let’s explore the steps involved in getting the pumpkin ready for the next stage of the process.
Preparing the Pumpkin for Puree
Before you can turn your chosen pumpkin into a smooth and creamy puree, it’s important to prepare it properly. The following steps will guide you through the process of preparing the pumpkin:
- Wash the pumpkin: Start by washing the exterior of the pumpkin under cold running water. This will remove any dirt or debris that may be present.
- Remove the stem: Use a sharp knife to carefully cut off the stem of the pumpkin. Take caution to avoid cutting into the flesh of the pumpkin itself.
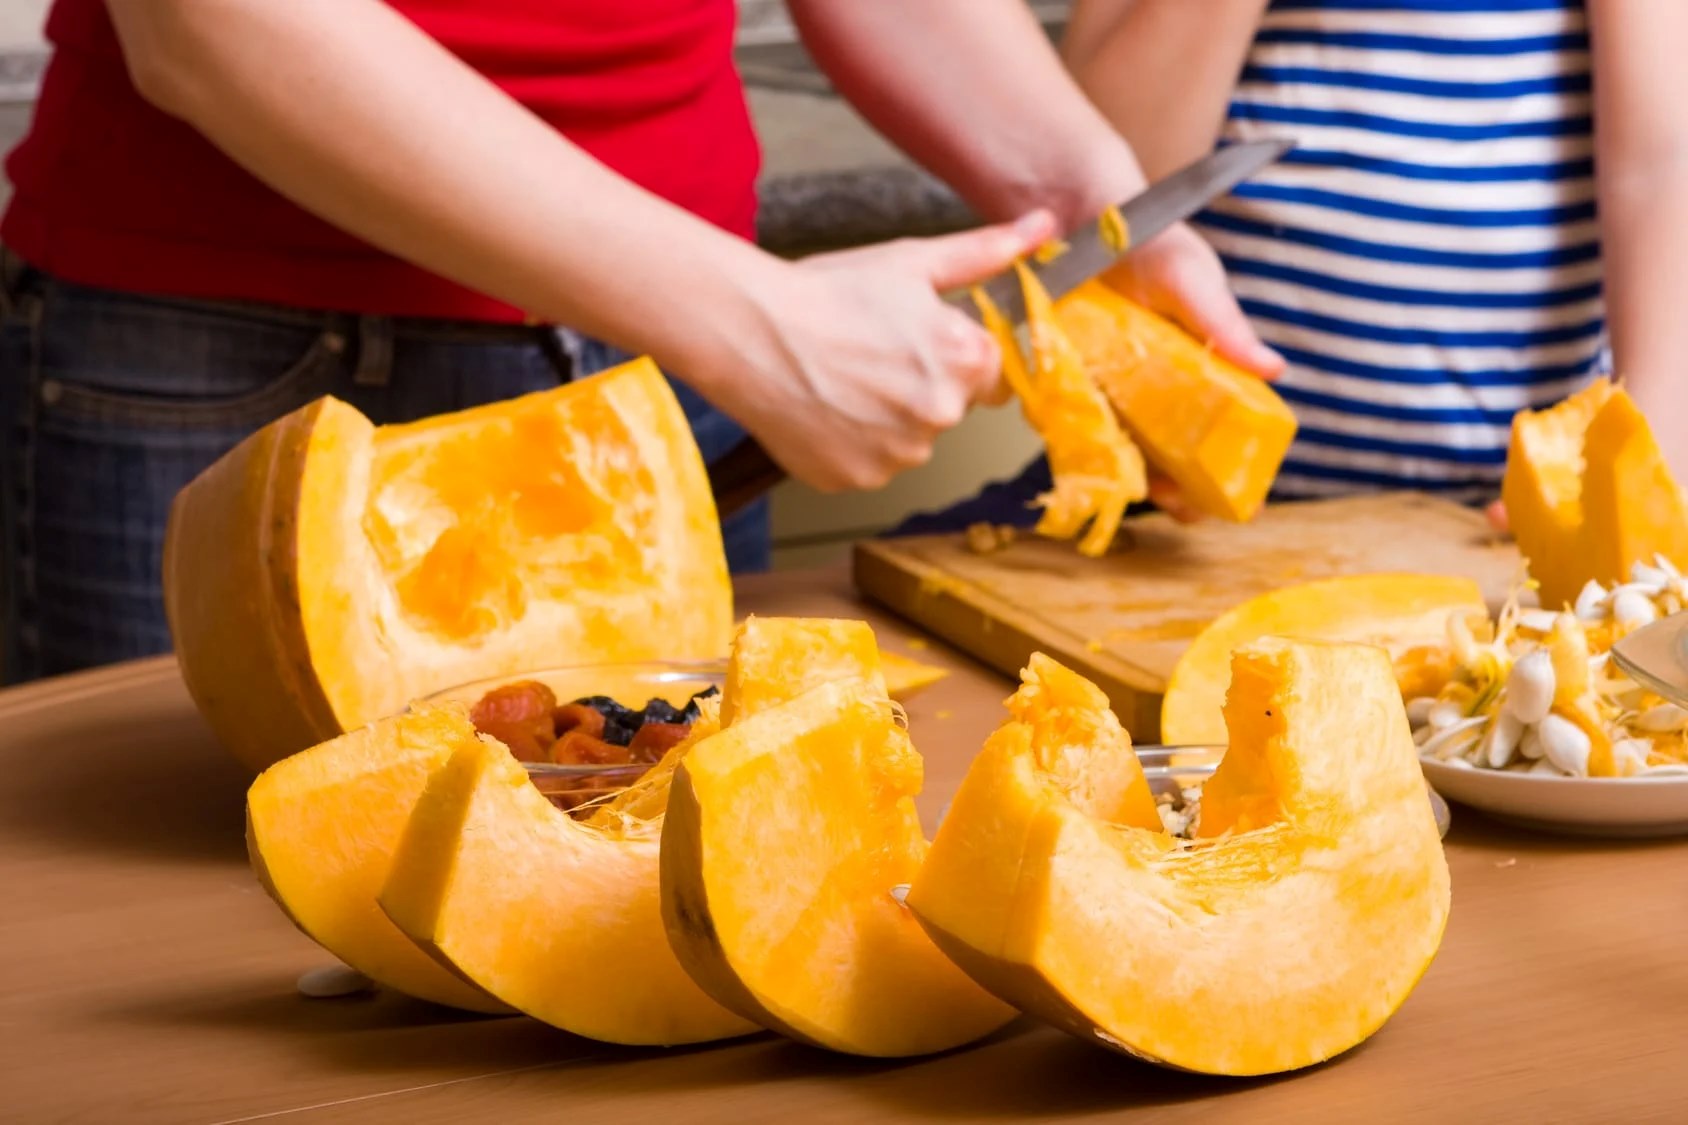
- Cut the pumpkin: Place the pumpkin on a cutting board and carefully cut it in half vertically. If the pumpkin is too large, you can also start by cutting it into quarters.
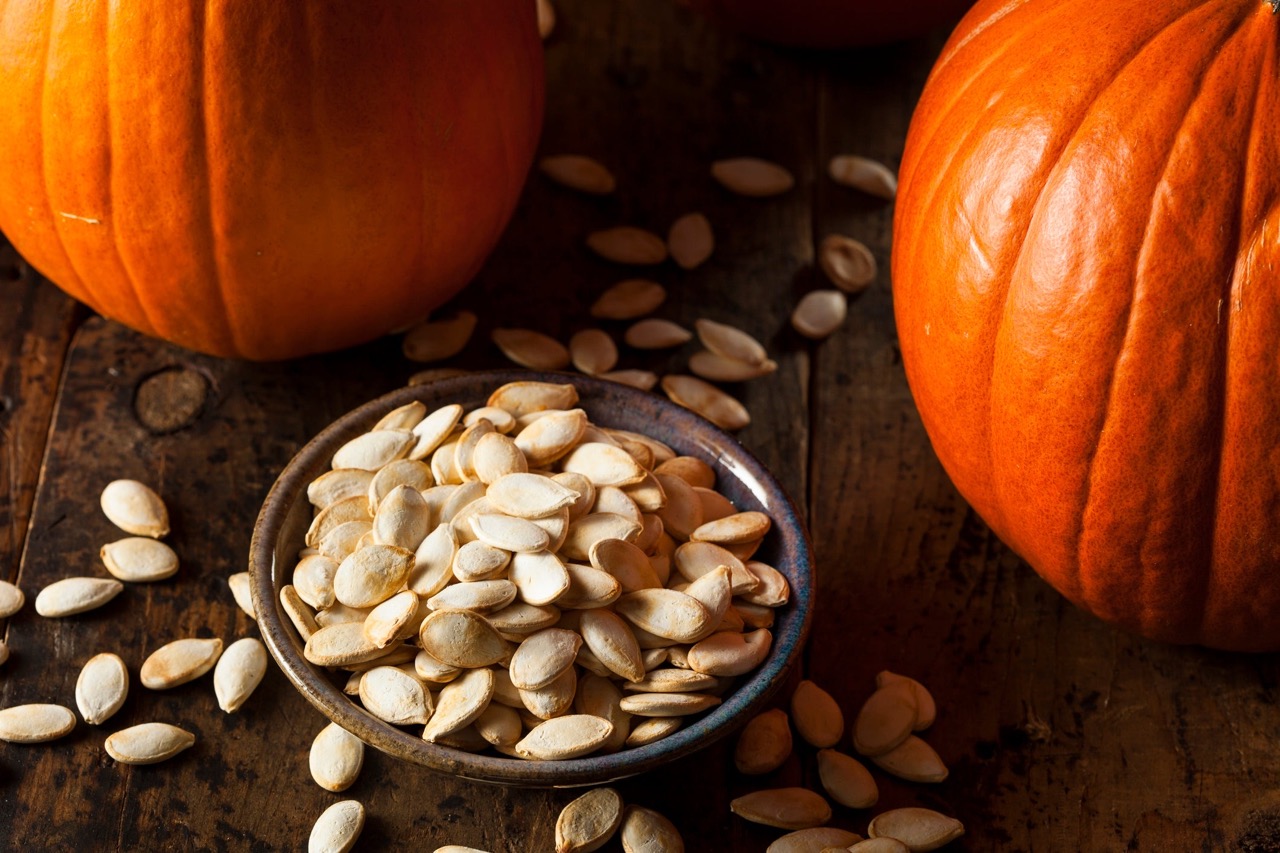
- Scrape out the seeds and fibers: Use a sturdy spoon or an ice cream scoop to scrape out the seeds and fibers from the center of each pumpkin half. Set the seeds aside if you wish to roast them later.
- Save the pumpkin innards: Don’t let the fibers and seeds go to waste! You can save the pumpkin innards to make homemade broth or compost them for your garden.
- Peel the skin (optional): If you prefer a smoother puree without any bits of skin, you can peel the pumpkin before cooking. Use a vegetable peeler or a sharp knife to remove the skin from each pumpkin half.
- Cut the pumpkin into chunks: Once the pumpkin is cleaned and peeled (if desired), cut each half or quarter into smaller chunks. This will help ensure even cooking and easier pureeing.
Now that the pumpkin is prepared, you can choose from various cooking methods to transform it into a delicious puree. Let’s explore these methods in the next section.
Cooking Methods for Pumpkin Puree
After preparing the pumpkin, it’s time to cook it to turn it into a smooth and luscious puree. There are several cooking methods you can choose from, depending on your preference and the equipment you have available. Here are three common methods for cooking pumpkin puree:
- Oven method: This method involves roasting the pumpkin in the oven, which enhances the natural flavors and caramelizes the sugars. To use this method, preheat your oven to 400°F (200°C) and place the pumpkin chunks on a lined baking sheet. Bake them for about 45-60 minutes, or until the flesh is tender. Let the pumpkin cool, then scoop out the flesh and puree it in a blender or food processor until smooth.
- Stovetop method: The stove is another great option for cooking pumpkin puree. Start by placing the pumpkin chunks in a large pot and adding enough water to cover them. Bring the water to a boil, then reduce the heat and simmer for about 20-30 minutes, or until the pumpkin is tender. Drain the pumpkin and let it cool before pureeing it in a blender or food processor.
- Slow cooker method: If you prefer a hands-off approach, using a slow cooker is perfect. Place the pumpkin chunks in the slow cooker and add a small amount of water or broth. Cover and cook on low for 6-8 hours or on high for 3-4 hours until the pumpkin is soft. Once cool, remove the pumpkin from the slow cooker and blend or process it into puree form.
Each cooking method has its own advantages, so choose the one that fits your schedule and preferences. No matter which method you choose, the end result will be a creamy and flavorful pumpkin puree that can be used in a variety of recipes.
Now that you know how to cook the pumpkin, let’s dive into the step-by-step process for making pumpkin puree using the oven method.
Read more: How To Store Fresh Pumpkin Puree
How to Make Pumpkin Puree Using an Oven
If you prefer the rich and caramelized flavors of oven-roasted pumpkin puree, here is a step-by-step guide to help you achieve the perfect result:
- Preheat the oven: Preheat your oven to 400°F (200°C) to ensure it’s hot enough for roasting the pumpkin.
- Cut and clean the pumpkin: Start by cutting the pumpkin into halves or quarters, depending on its size. Remove the seeds and fibers using a spoon or ice cream scoop. Set aside the seeds if desired for later use.
- Line a baking sheet: Line a baking sheet with parchment paper or aluminum foil to prevent the pumpkin from sticking and make cleanup easier.
- Place the pumpkin on the baking sheet: Lay the pumpkin pieces, flesh side down, on the prepared baking sheet. This allows the moisture to evaporate, resulting in a more concentrated flavor.
- Roast the pumpkin: Place the baking sheet with the pumpkin in the preheated oven and roast for about 45-60 minutes, or until the pumpkin flesh is tender. You should be able to easily insert a fork into the flesh.
- Cool the pumpkin: Once roasted, remove the pumpkin from the oven and let it cool for a few minutes until it’s safe to handle.
- Scoop out the flesh: Using a spoon, scoop out the roasted pumpkin flesh from the skin. The flesh should be soft and easily separable from the skin.
- Puree the pumpkin: Transfer the roasted pumpkin flesh to a blender or food processor and puree until smooth. You may need to do this in batches depending on the size of your appliance.
- Store or use the puree: At this point, you can either use the fresh pumpkin puree in your desired recipe or store it for later use. We’ll discuss proper storage methods in the next section.
Now that you know how to make delicious pumpkin puree using the oven, let’s explore alternative methods using the stovetop and slow cooker.
How to Make Pumpkin Puree Using a Stovetop
If you prefer using the stovetop to make pumpkin puree, here is a step-by-step guide to help you achieve smooth and flavorful results:
- Cut and clean the pumpkin: Start by cutting the pumpkin into halves or quarters, depending on its size. Remove the seeds and fibers using a spoon or ice cream scoop.
- Peel the pumpkin (optional): If you prefer a puree without any bits of skin, you can peel the pumpkin using a vegetable peeler or a sharp knife. This step is optional, as the skin will soften during the cooking process and can be easily blended.
- Chop the pumpkin: Cut the pumpkin into smaller chunks for faster and more even cooking.
- Boil the pumpkin: Place the pumpkin chunks in a large pot and add enough water to cover them. Bring the water to a boil over medium-high heat.
- Simmer until tender: Reduce the heat to low, cover the pot, and simmer for about 20-30 minutes, or until the pumpkin chunks are fork-tender. The exact cooking time will depend on the size and thickness of the pumpkin pieces.
- Drain and cool: Once the pumpkin is tender, drain it in a colander and let it cool for a few minutes until it’s safe to handle.
- Puree the pumpkin: Transfer the cooked pumpkin chunks to a blender or food processor and puree until smooth. You may need to do this in batches depending on the size of your appliance. If desired, you can also use an immersion blender directly in the pot.
- Store or use the puree: Once pureed, the pumpkin is ready to be used in your favorite recipes. If you’re not using it immediately, proceed to the next section to learn how to store the puree properly.
With these simple steps, you can easily make pumpkin puree on your stovetop. Whether you use it for baking, cooking, or simply enjoy it on its own, you’ll love the homemade goodness of freshly made pumpkin puree.
Now, let’s explore how to make pumpkin puree using a slow cooker.
Store pumpkin puree in an airtight container in the refrigerator for up to 5 days, or freeze it in a freezer-safe container for up to 3 months. Be sure to label the container with the date.
How to Make Pumpkin Puree Using a Slow Cooker
If you prefer a hands-off approach to making pumpkin puree, using a slow cooker is a convenient option. Follow these steps to create smooth and delicious pumpkin puree:
- Cut and clean the pumpkin: Start by cutting the pumpkin into halves or quarters, depending on its size. Remove the seeds and fibrous strands using a spoon or ice cream scoop.
- Chop the pumpkin: Cut the pumpkin into smaller chunks that will easily fit into the slow cooker. This allows for more even cooking.
- Place the pumpkin in the slow cooker: Transfer the pumpkin chunks to the slow cooker and arrange them in an even layer.
- Add liquid: Add a small amount of liquid to the slow cooker, such as water or vegetable broth. This helps create steam and prevent the pumpkin from sticking to the bottom of the pot.
- Cook on low or high: Cover the slow cooker and cook the pumpkin on low heat for 6-8 hours or on high heat for 3-4 hours. The cooking time will depend on the size of the pumpkin chunks, so check for tenderness by piercing them with a fork.
- Cool the pumpkin: Once the pumpkin is cooked and tender, remove the slow cooker from the heat and allow the pumpkin to cool slightly before handling.
- Remove the flesh: Using a spoon, scoop out the cooked pumpkin flesh from the skin. The flesh should be soft and easily separable from the skin.
- Puree the pumpkin: Transfer the cooked pumpkin flesh to a blender or food processor and puree until smooth. You may need to puree the pumpkin in batches depending on the size of your appliance.
- Store or use the puree: Your homemade pumpkin puree is now ready to be used in a variety of recipes. If you’re not using it immediately, proceed to the next section to learn how to store the puree properly.
Making pumpkin puree in a slow cooker is a great option for those who prefer a set-it-and-forget-it method. You’ll be rewarded with flavorful and tender pumpkin to use in all your favorite fall recipes.
Now that you know how to make pumpkin puree using a slow cooker, let’s explore the best storage methods to ensure your puree stays fresh and delicious.
Storing Freshly Made Pumpkin Puree
After putting in the effort to make homemade pumpkin puree, you’ll want to ensure it stays fresh and flavorful for future use. Here are some tips for storing your freshly made pumpkin puree:
- Cool the puree: Allow the freshly made pumpkin puree to cool completely before storing. This helps prevent the buildup of condensation inside the storage container, which can lead to spoilage.
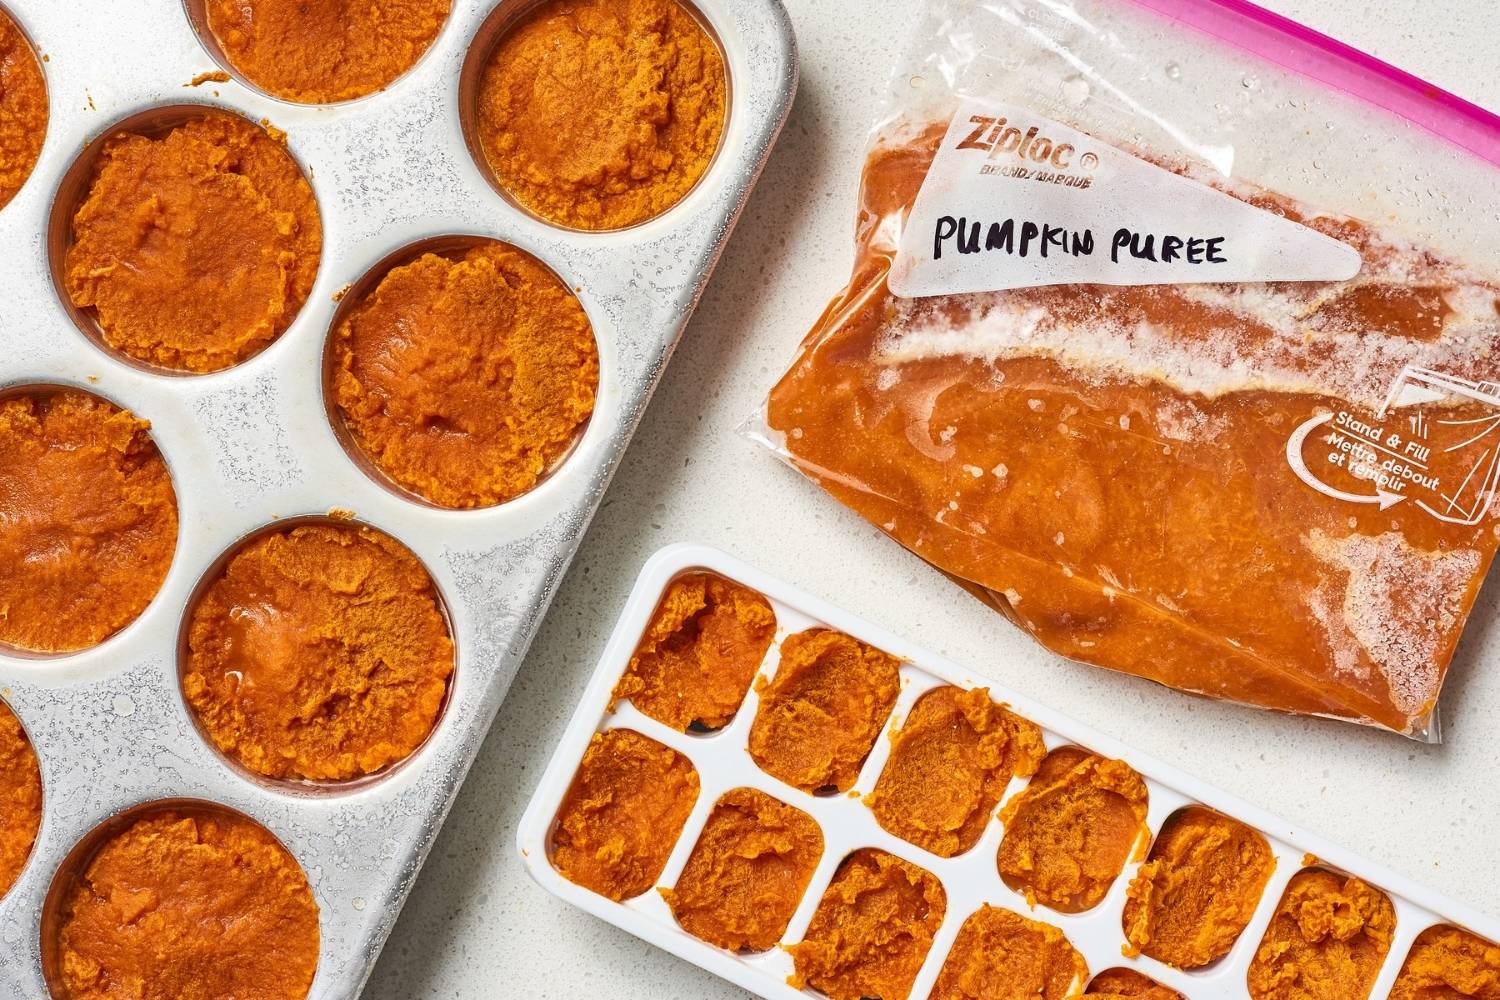
- Choose suitable containers: Transfer the cooled puree to airtight containers or resealable freezer bags. Glass jars with tight-fitting lids, plastic containers, or silicone freezer trays are all good options. Make sure the containers are clean and dry to maintain the quality of the puree.
- Portion the puree: Consider portioning the puree into smaller containers or freezer bags. This allows you to thaw only the amount you need for a particular recipe, avoiding unnecessary waste.
- Label and date the containers: Don’t forget to label each container or bag with the contents and the date of preparation. This will help you keep track of freshness and know when to use it by.
- Refrigerator storage: If you plan to use the pumpkin puree within a few days, store it in the refrigerator. It will stay fresh for up to 4-5 days. Remember to place it in the coolest part of the refrigerator to maintain optimal freshness.
- Freezer storage: Pumpkin puree freezes exceptionally well, allowing you to enjoy it even months later. To freeze the puree, make sure it has cooled completely, then transfer it to your chosen freezer-safe containers or bags. Remove as much air as possible from the containers to prevent freezer burn. For longer-term storage, freeze the puree in separate portions to conveniently thaw as needed.
- Thawing the frozen puree: When you’re ready to use the frozen pumpkin puree, transfer the desired portion from the freezer to the refrigerator. Allow it to thaw overnight. For quicker thawing, you can also place the sealed container in a bowl of cold water, changing the water every 30 minutes until it’s thawed.
- Quality check before use: Before using the thawed pumpkin puree, give it a quick visual and sniff test. Look for any signs of spoilage, such as mold or an off smell. If everything appears and smells normal, it is safe to use in your recipes.
By following these storage tips, you can keep your homemade pumpkin puree fresh and delicious for extended periods, ensuring you have a stockpile of pumpkin goodness all year long.
Now that you know how to store pumpkin puree, let’s explore how to freeze it for longer-term storage and discover the various ways to use it.
Read more: How To Store Leftover Pumpkin Puree
Freezing Pumpkin Puree
Freezing pumpkin puree is a fantastic way to preserve it for long-term use. By following a few simple steps, you can store your homemade puree in the freezer and enjoy its fresh flavor even months later. Here’s how to freeze pumpkin puree:
- Cool the puree: Allow the freshly made pumpkin puree to cool completely before freezing. This ensures that it freezes evenly and maintains its quality.
- Choose freezer-safe containers: Transfer the cooled puree into freezer-safe containers or resealable freezer bags. Ensure that the containers or bags are made to withstand freezing temperatures and are airtight to prevent freezer burn.
- Portion the puree: Consider portioning the puree into smaller containers or bags. This allows you to thaw only the amount you need for a specific recipe, minimizing waste. It’s helpful to measure and label the containers with the portion size for easy reference.
- Fill the containers: Leave about half an inch of headspace in each container or bag to allow for expansion during freezing. This prevents the containers from cracking or bursting and ensures that the puree stays contained.
- Remove air from containers: After filling each container or bag with the pumpkin puree, press gently to remove any excess air. This helps prevent freezer burn and maintains the quality of the puree.
- Seal and label: Make sure to seal the containers or bags tightly to prevent any air or moisture from entering. Additionally, label each container with the date of freezing for easy reference later on.
- Freeze flat: If using freezer bags, lay them flat on a baking sheet or cooling rack before placing them in the freezer. This allows them to freeze in a thin, stackable shape, saving space in the freezer. Once frozen, you can rearrange them as needed.
- Store in the freezer: Place the containers or bags of pumpkin puree in the coldest part of your freezer, ideally away from the freezer door. This ensures a consistently low temperature and minimizes temperature fluctuations.
- Use within recommended timeframe: Pumpkin puree can be safely stored in the freezer for up to 3-4 months. However, for the best flavor and quality, it is advisable to use it within 1-2 months.
Now that you’ve successfully frozen your pumpkin puree, you have a convenient stash of homemade goodness to use in a variety of recipes whenever the craving strikes. Let’s explore some delicious ways to use frozen pumpkin puree.
But before we do that, don’t forget to properly defrost the frozen puree before using it.
Using Frozen Pumpkin Puree
When it comes to using frozen pumpkin puree, the possibilities are endless. From classic pumpkin pies to savory soups and creamy lattes, you can incorporate this versatile ingredient into a wide range of recipes. Here are some ideas on how to use frozen pumpkin puree:
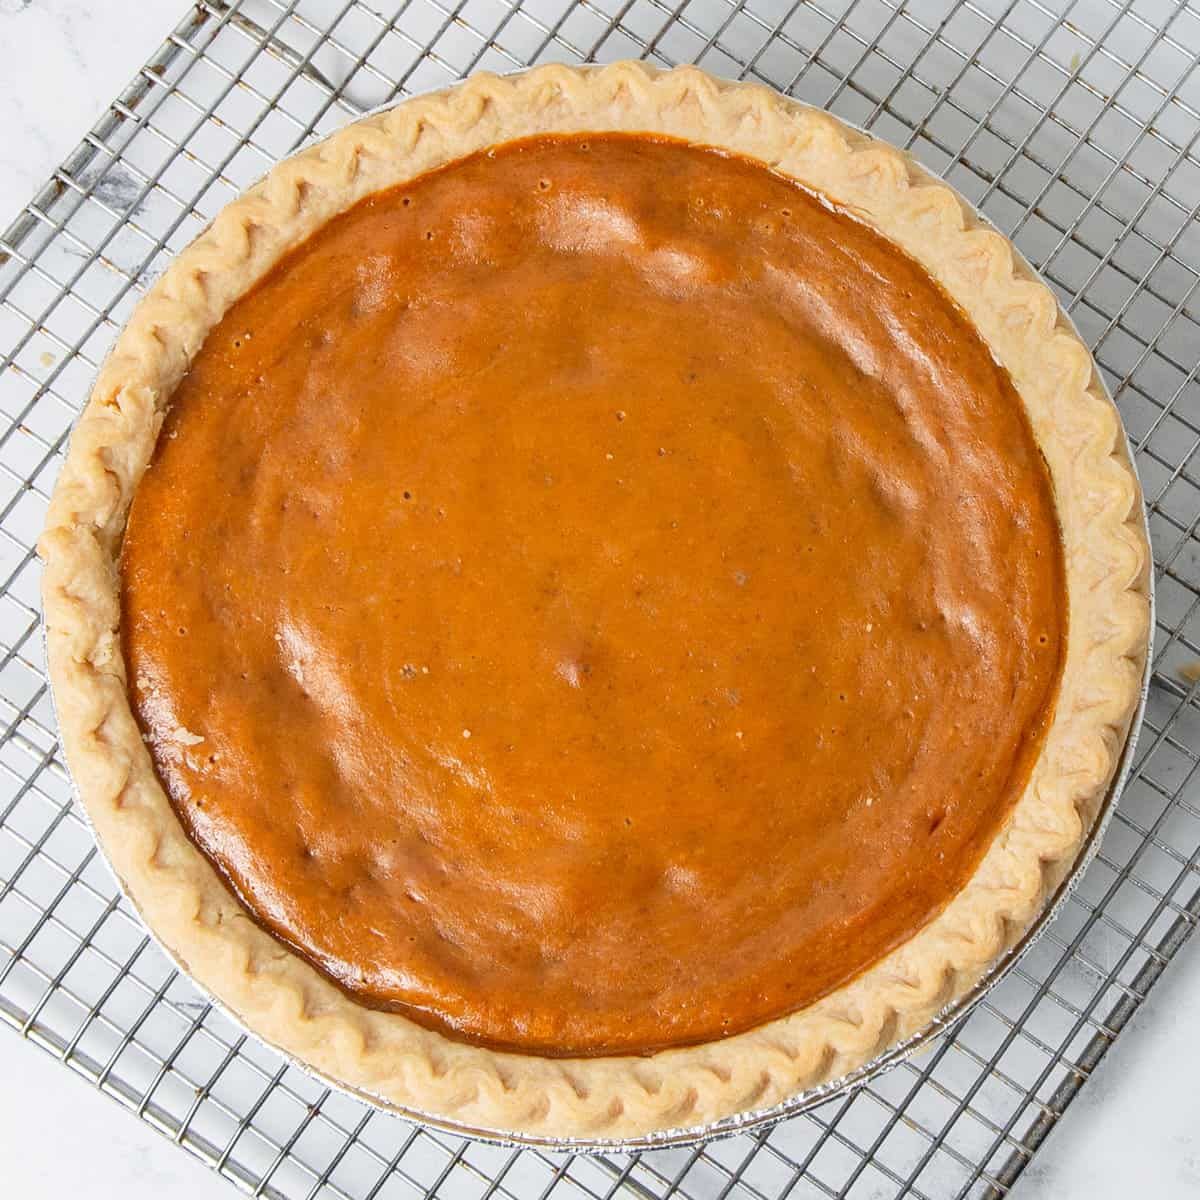
- Pumpkin Pie: Thaw the frozen puree in the refrigerator overnight and use it in your favorite pumpkin pie recipe. The smooth and creamy texture of the puree will create a delectable filling.
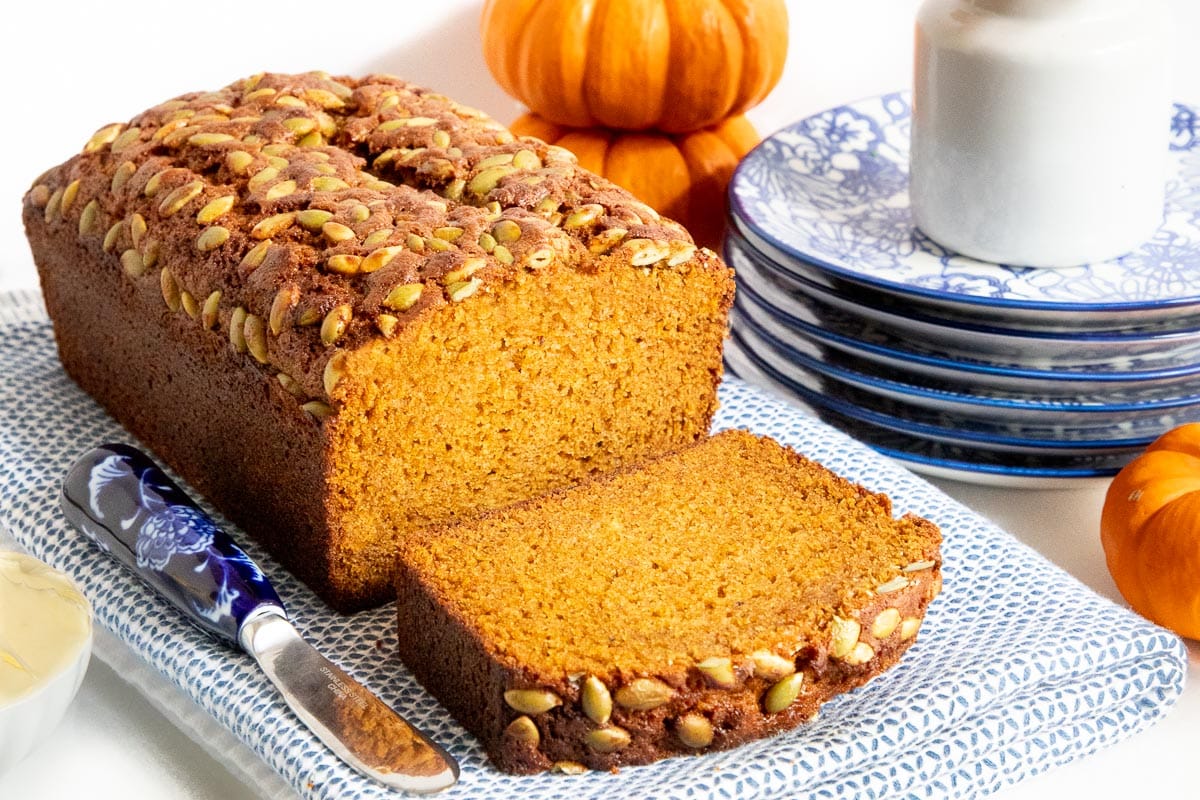
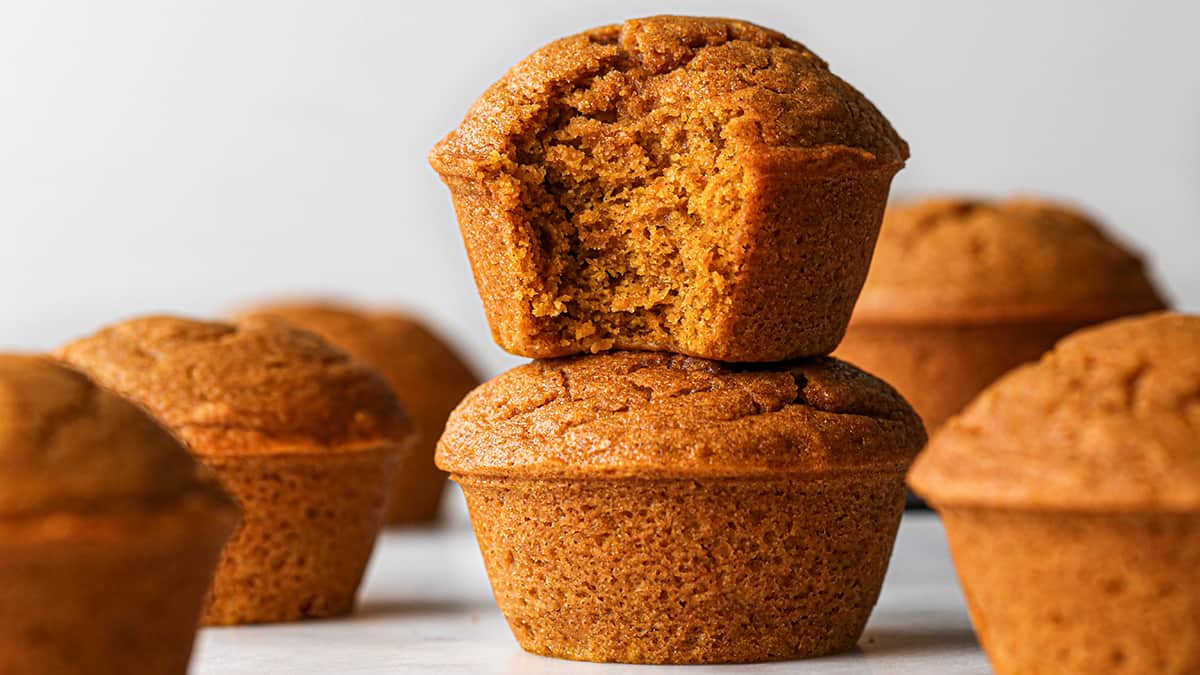
- Pumpkin Bread or Muffins: Add a burst of autumn flavor to your baked goods by incorporating thawed pumpkin puree into recipes for pumpkin bread, muffins, or scones. The puree will impart moisture and a delightful pumpkin taste.
- Pumpkin Soup: Create a comforting and velvety pumpkin soup by defrosting the puree and combining it with vegetable broth, spices, and cream. Simmer until heated through, and enjoy a warm bowl of goodness.
- Pumpkin Pancakes or Waffles: Add a seasonal twist to your breakfast routine by incorporating thawed pumpkin puree into pancake or waffle batter. The puree will infuse a subtle sweetness and a vibrant orange hue.
- Pumpkin Spice Latte: Recreate your favorite fall beverage at home by adding a spoonful or two of thawed pumpkin puree to your coffee, along with spices like cinnamon, nutmeg, and cloves. Blend well and top with whipped cream and a sprinkle of cinnamon for a cozy treat.
- Pumpkin Pasta Sauce: Thawed pumpkin puree can be transformed into a creamy and flavorful pasta sauce. Simply sauté some onions and garlic, add the puree, along with herbs and seasonings of your choice, and simmer until heated through. Toss with cooked pasta for a delicious autumn-inspired meal.
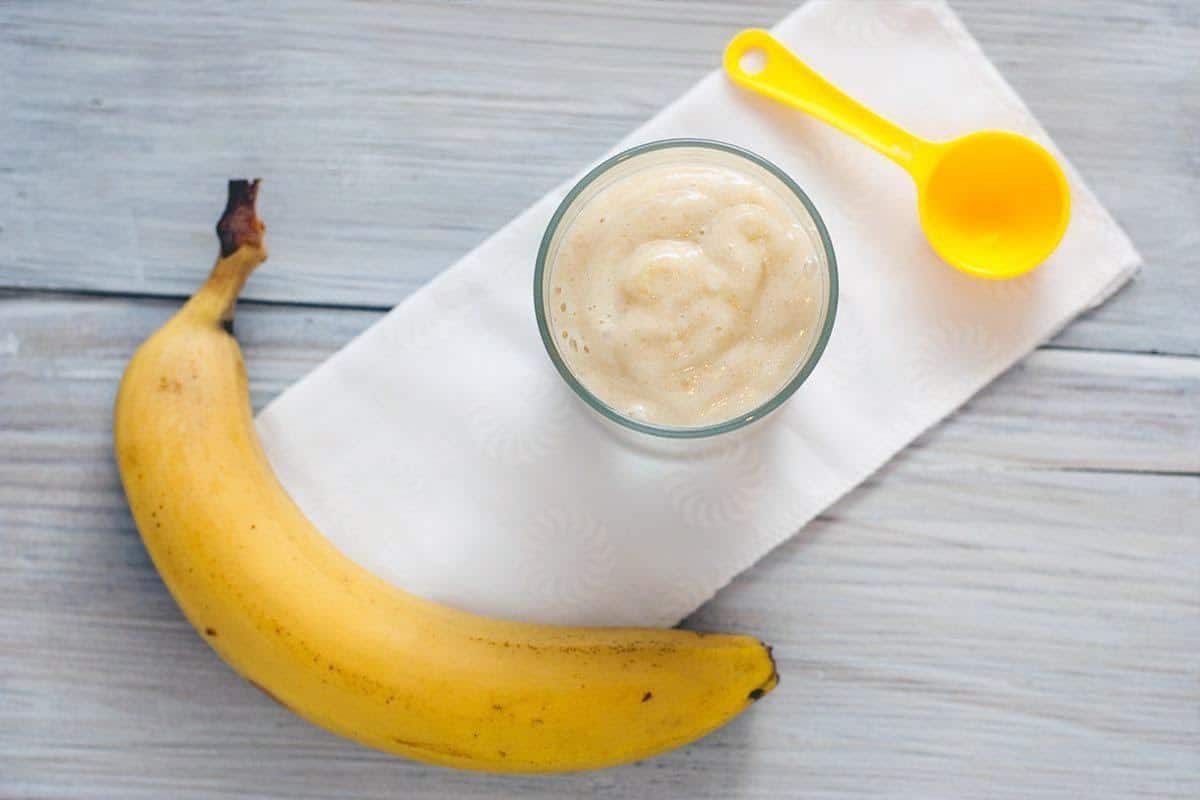
- Pumpkin Smoothie: Start your day with a nutritious and filling pumpkin smoothie by blending thawed pumpkin puree with yogurt, banana, honey, and your choice of spices. This smoothie is packed with vitamins and fiber to start your day off right.
Remember to adjust the amount of liquid in your recipes when using thawed pumpkin puree, as it may contain some moisture from the freezing process. Additionally, feel free to experiment and get creative with your own pumpkin-inspired dishes.
With these ideas, you can make the most of your frozen pumpkin puree and enjoy the flavors of fall all year round.
Before we wrap up, let’s explore some useful tips for storing pumpkin puree to ensure its freshness and quality.
Tips for Storing Pumpkin Puree
To ensure the freshness and quality of your pumpkin puree, it’s essential to follow these tips for proper storage:
- Use airtight containers: Whether you’re storing pumpkin puree in the refrigerator or freezer, always use airtight containers or resealable bags. This helps prevent air exposure and reduces the risk of spoilage.
- Label and date: Clearly label each container or bag with the contents and the date of preparation. This will help you keep track of its freshness and use it within appropriate timeframes.
- Portion control: Consider portioning the puree into smaller containers or freezer bags before storing. This allows you to thaw only the amount you need for a specific recipe, minimizing waste.
- Avoid overcrowding: If storing in the freezer, make sure to leave enough room for the liquid to expand as it freezes. Overcrowding can lead to containers cracking or bursting.
- Thaw properly: When you’re ready to use the frozen puree, thaw it in the refrigerator overnight. This gradual thawing method helps maintain the texture and quality of the puree. Avoid thawing at room temperature, as it may lead to the growth of bacteria.
- Quality check: Before using the thawed pumpkin puree, check for any signs of spoilage, such as off smells or molds. If it appears or smells abnormal, discard it and do not use it in your recipes.
- Storage duration: Pumpkin puree can be stored in the refrigerator for up to 4-5 days and in the freezer for up to 3-4 months. However, it’s recommended to use it within 1-2 months for the best flavor and quality.
- Consider freezing in smaller portions: If you frequently use small amounts of pumpkin puree in your recipes, freezing it in ice cube trays or silicone molds can be a convenient option. Once frozen, transfer the portions to a freezer-safe bag for easier storage and portioning.
- Keep track of your supply: If you regularly make pumpkin puree, it’s helpful to keep track of your supply. This way, you can plan your recipes accordingly and use up the oldest batches first before they lose their freshness.
By following these storage tips, you can ensure that your homemade pumpkin puree stays fresh, flavorful, and ready to add a burst of autumn goodness to your recipes, no matter the time of year.
Now that you have all the information you need, go ahead and make some delicious pumpkin puree at home. Enjoy the delightful flavors and versatility it brings to your culinary adventures!
Happy cooking!
Conclusion
Congratulations! You’ve learned all about making homemade pumpkin puree and how to store it for future use. By harnessing the vibrant flavor and smooth texture of fresh pumpkin, you can elevate your recipes and add a touch of autumn to your culinary creations.
From the benefits of homemade pumpkin puree to selecting the right pumpkin variety, preparing it, and exploring different cooking methods, you now have all the tools necessary to create your own delicious puree at home. Whether you choose to roast it in the oven, simmer it on the stovetop, or utilize the hands-off convenience of a slow cooker, the end result will be a silky and rich puree that can be used in a multitude of dishes.
Remember to store your freshly made pumpkin puree in airtight containers or freezer bags, labeling them adequately to ensure easy identification and use within the recommended timeframes. Whether you choose to refrigerate it for short-term use or freeze it for longer preservation, proper storage techniques are key to maintaining its freshness and quality.
By following the tips outlined in this article, you can confidently store your pumpkin puree and have it readily available whenever inspiration strikes. From classic pumpkin pie and comforting soups to delectable breads and smoothies, the possibilities for using your frozen puree are endless.
So, embrace the flavors of fall and enjoy the homemade goodness of pumpkin puree in your favorite recipes. Let your creativity shine and explore the numerous ways you can incorporate this versatile ingredient into your cooking and baking endeavors.
Now go forth and savor the joys of homemade pumpkin puree with the knowledge and skills you’ve acquired. Happy cooking!
Frequently Asked Questions about How To Store Pumpkin Puree
Was this page helpful?
At Storables.com, we guarantee accurate and reliable information. Our content, validated by Expert Board Contributors, is crafted following stringent Editorial Policies. We're committed to providing you with well-researched, expert-backed insights for all your informational needs.

0 thoughts on “How To Store Pumpkin Puree”