Articles
How To Store Pumpkin Seeds
Modified: September 1, 2024
Learn how to store pumpkin seeds with these helpful articles. Discover the best methods for preserving pumpkin seeds for future use.
(Many of the links in this article redirect to a specific reviewed product. Your purchase of these products through affiliate links helps to generate commission for Storables.com, at no extra cost. Learn more)
Introduction
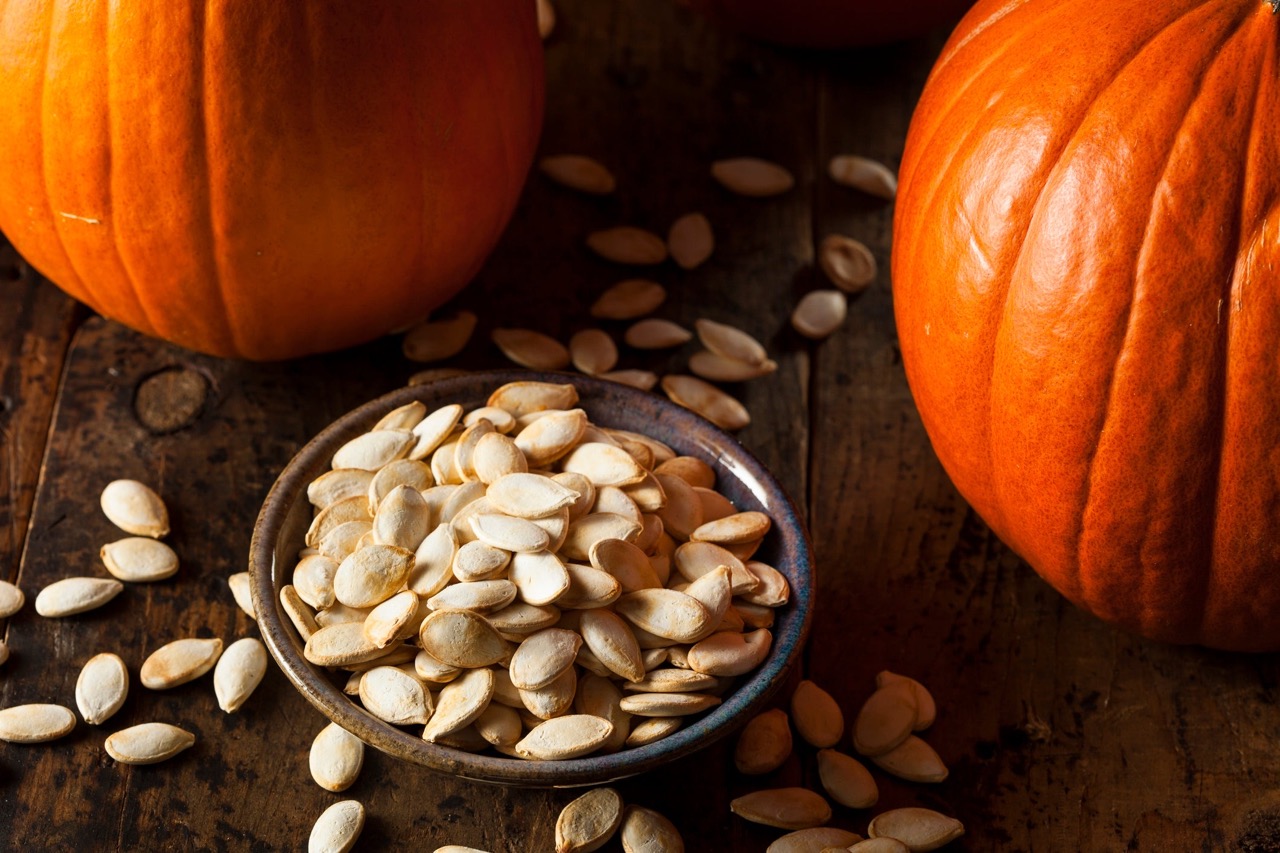
As the fall season approaches, one of the distinct joys of this time of year is carving pumpkins. But did you know that pumpkin seeds can be more than just a tasty snack? With a little bit of effort, you can store and preserve pumpkin seeds to enjoy them long after the pumpkin carving season is over.
Not only are pumpkin seeds delicious and nutritious, but they are also incredibly versatile. You can use them in a variety of culinary creations, from adding a crunch to salads and soups to using them as a topping for baked goods. However, if you want to enjoy pumpkin seeds throughout the year, it’s essential to know how to store them properly.
In this article, we will guide you through the process of storing pumpkin seeds. You will learn how to choose the right pumpkins, harvest and clean the seeds, dry them effectively, and finally, store them for long-term use.
So, if you are ready to make the most of your pumpkin carving experience and savor the deliciousness of pumpkin seeds all year round, let’s get started with the first step – choosing the right pumpkins.
Key Takeaways:
- Choose mature, organic pumpkins for flavorful seeds. Harvest, clean, and dry seeds thoroughly. Store in airtight containers in a cool, dry place for up to a year of deliciousness.
- Enjoy pumpkin seeds year-round by following simple steps. From choosing the right pumpkins to proper storage, savor the delightful crunch in your favorite recipes.
Read more: How Many Seeds Are In A Pumpkin
Choosing the Right Pumpkins
When it comes to storing pumpkin seeds, the first step begins with selecting the right pumpkins. Choosing the right pumpkins not only ensures that you have good quality seeds but also plays a role in determining the flavor and texture of the seeds.
Here are a few essential tips to keep in mind when choosing pumpkins for seed storage:
- Choose mature pumpkins: It’s crucial to select pumpkins that have fully ripened. Look for pumpkins that have a hard, tough skin and a deep, rich color. Avoid pumpkins that have bruises, soft spots, or signs of mold.
- Opt for heirloom or non-hybrid varieties: Heirloom or non-hybrid pumpkin varieties tend to produce seeds that are more true to their parent plant. These varieties have been passed down for generations, preserving their unique characteristics.
- Consider the pumpkin size: The size of the pumpkin also matters when it comes to seed quality. While small to medium-sized pumpkins typically yield more flavorful seeds, larger pumpkins may produce a higher quantity of seeds. Choose pumpkins based on your personal preference and intended use.
- Look for organic pumpkins: Whenever possible, opt for organic pumpkins. Organic pumpkins are grown without the use of synthetic pesticides and fertilizers, making them a healthier option for both you and the environment.
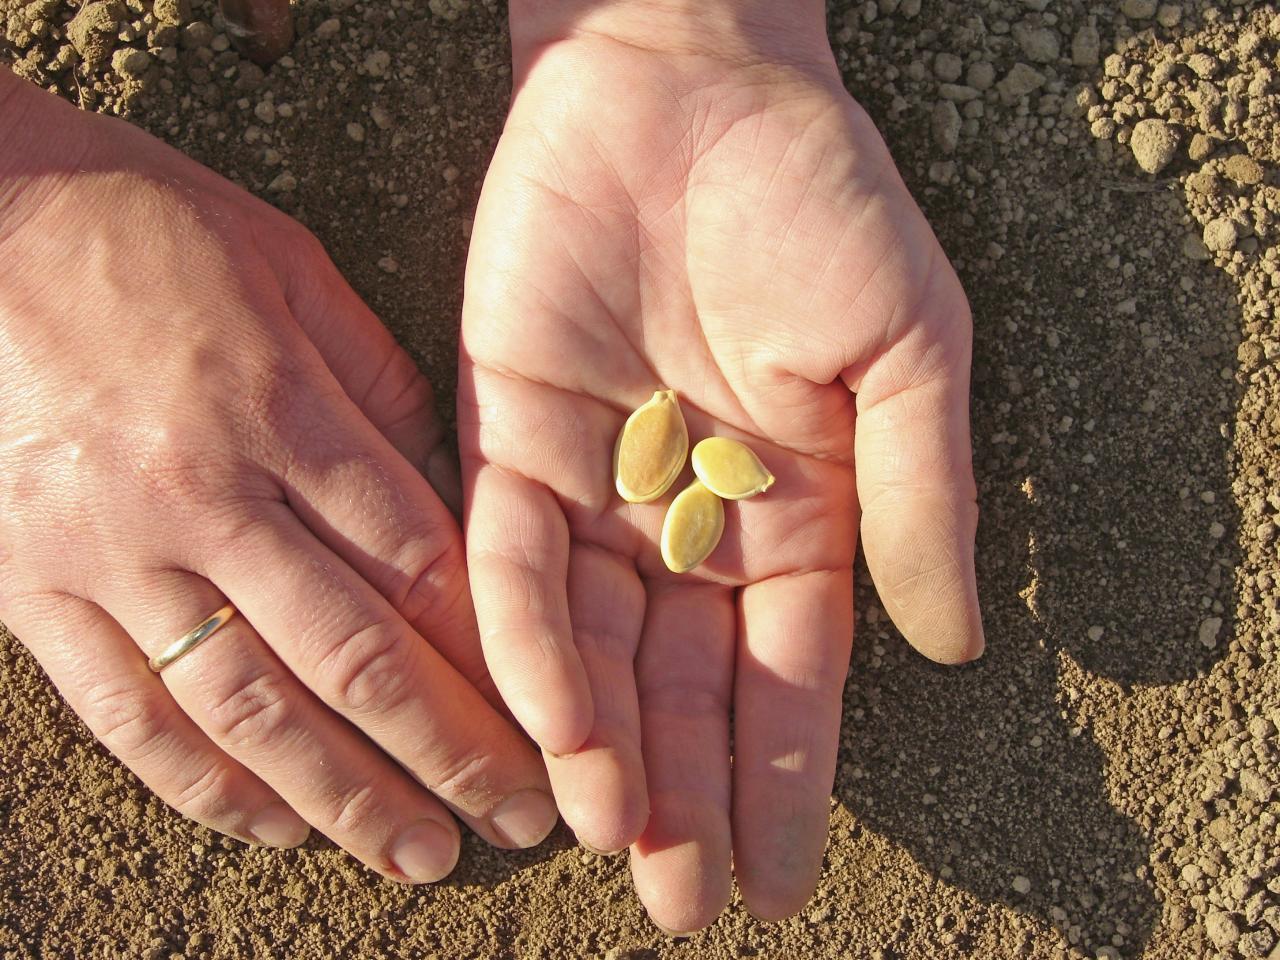
- Check for seeds within the pumpkin: Give the pumpkin a gentle shake or tap on its side to see if you can hear the sound of seeds rattling inside. This is an indication that the pumpkin is likely to have mature seeds ready for harvesting.
By following these tips, you will have a better chance of selecting pumpkins that yield high-quality and flavorful seeds. Once you have chosen the perfect pumpkin, it’s time to move on to the next step – harvesting the pumpkin seeds.
Harvesting Pumpkin Seeds
Now that you have chosen the right pumpkins, it’s time to harvest the seeds. Harvesting pumpkin seeds requires a bit of patience and attention to detail, but it is a relatively simple process.
Follow these steps to harvest pumpkin seeds:
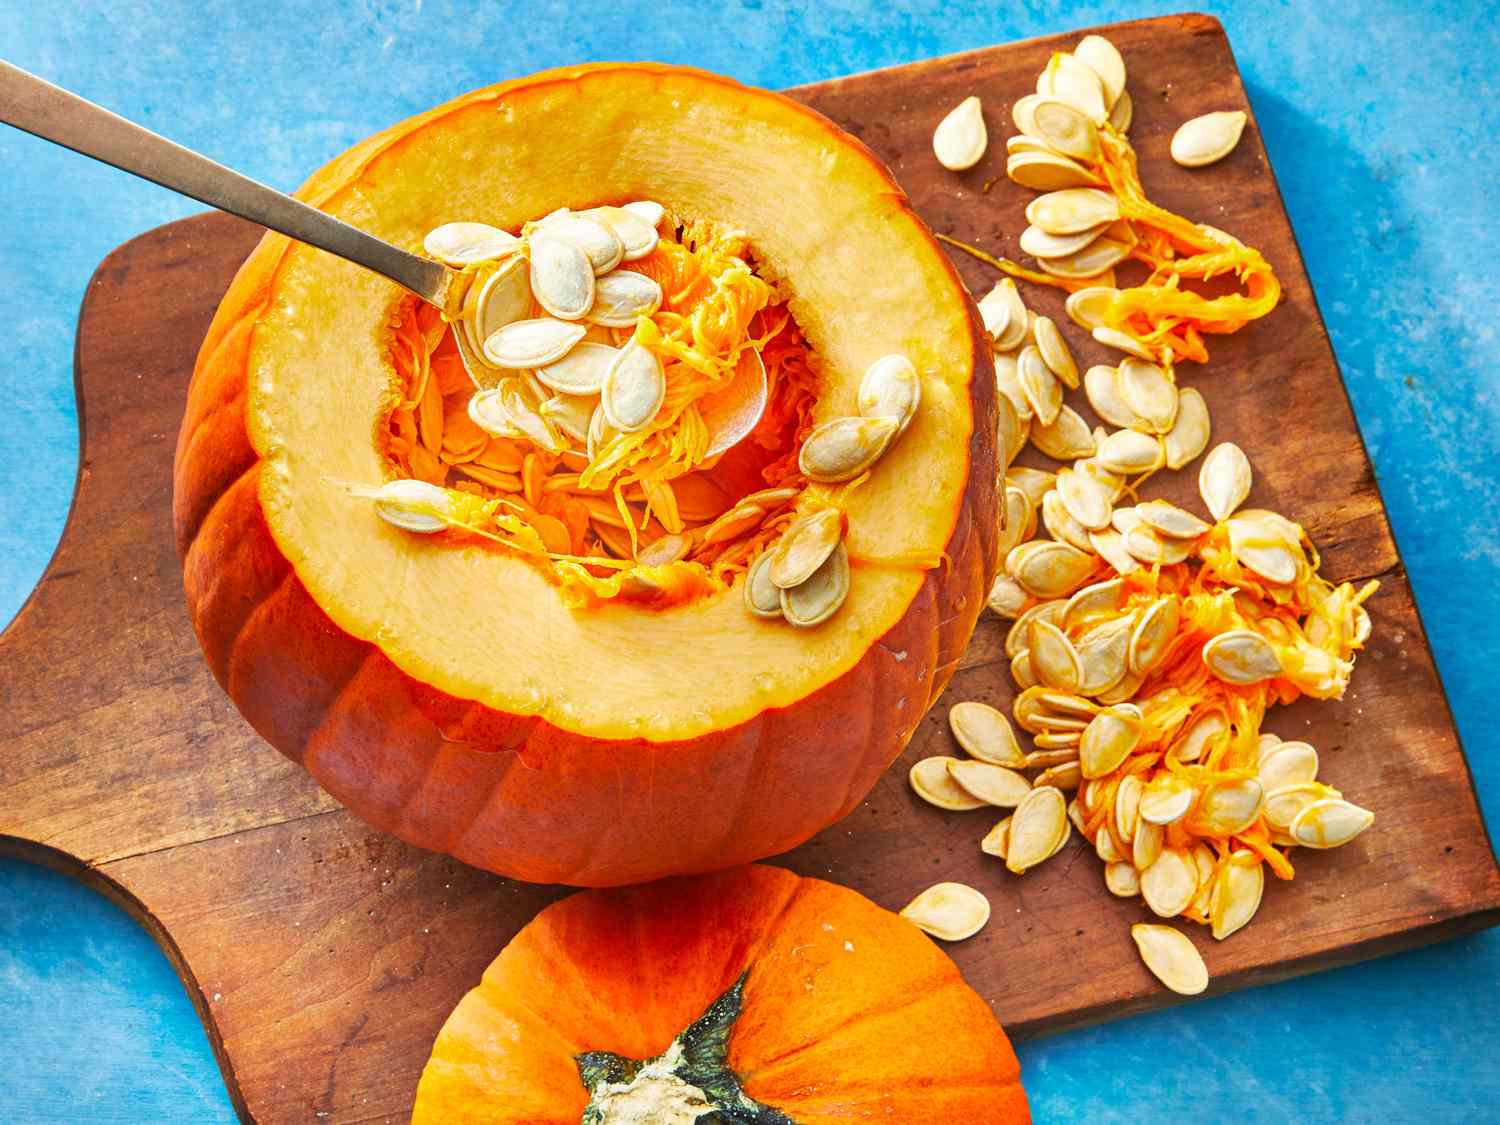
- Cut open the pumpkin: Start by cutting open the pumpkin using a sharp knife. Carefully remove the top or stem of the pumpkin and slice it in half from top to bottom.
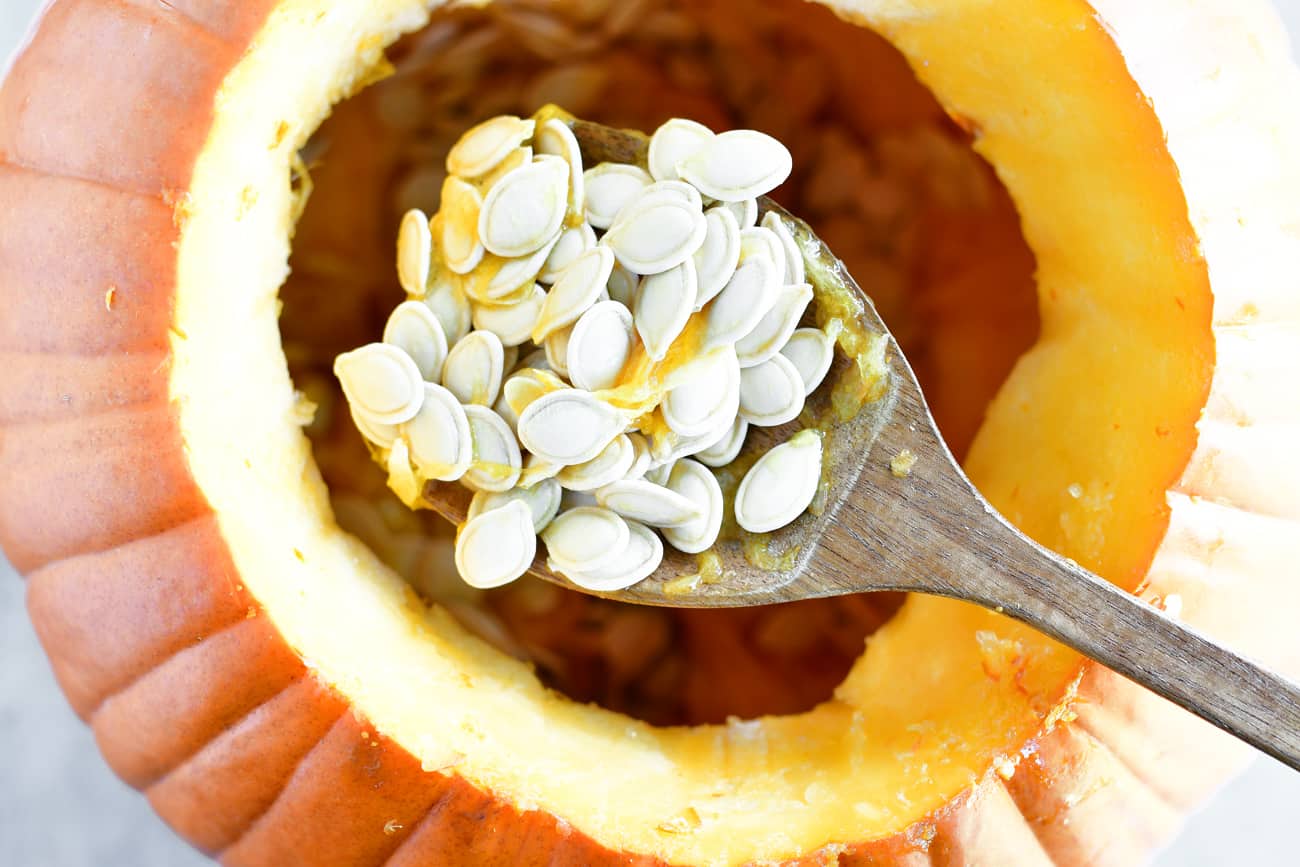
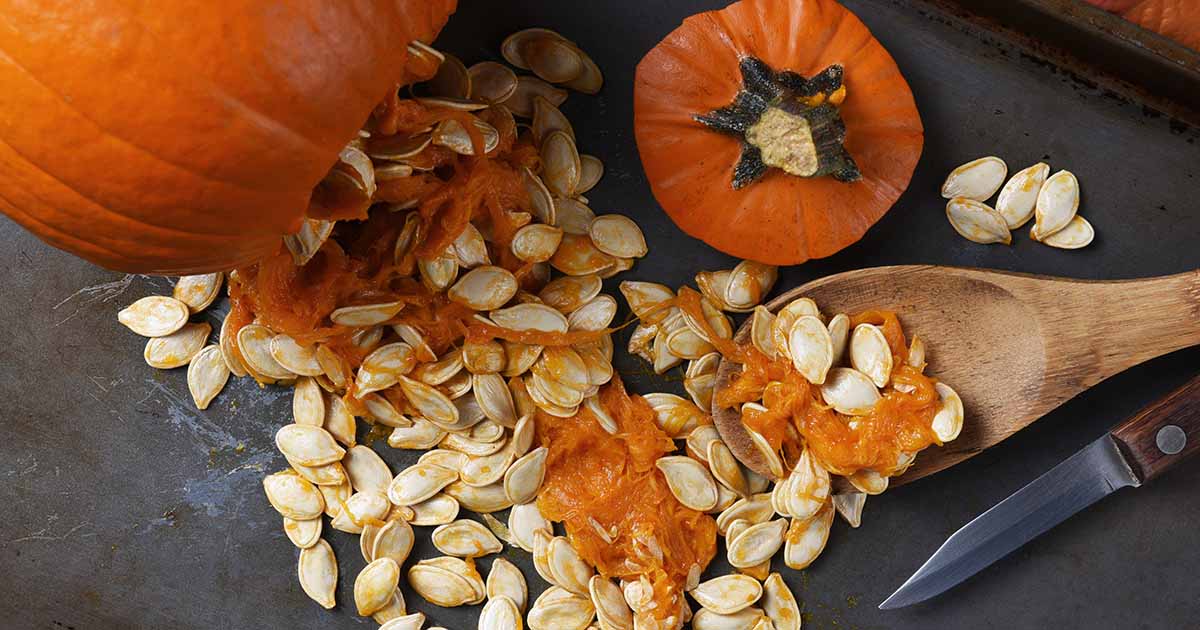
- Scoop out the seeds: Using a spoon or scoop, gently scrape out the seeds and fibrous pulp from the pumpkin’s cavity. Place the seeds and pulp in a bowl or colander.
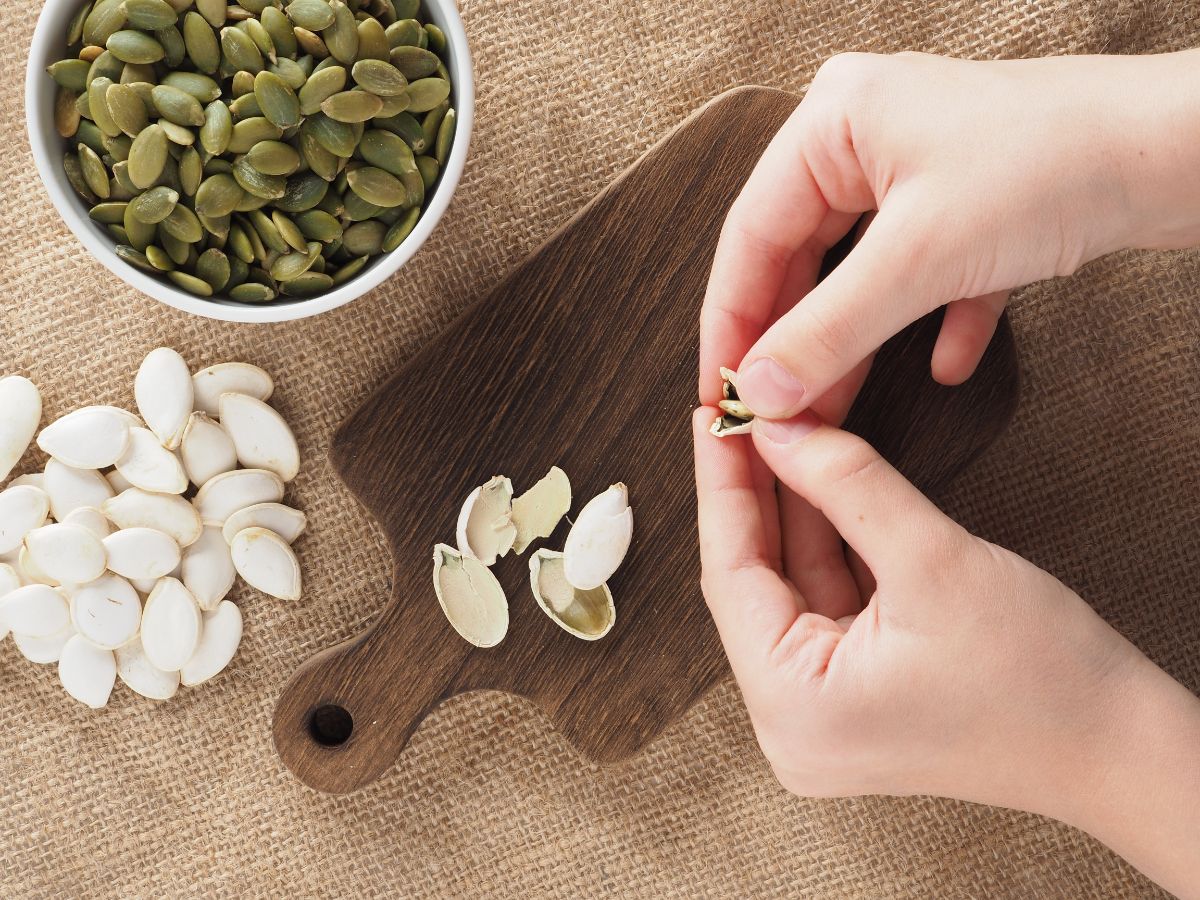
- Separate the seeds from the pulp: Once you have removed all the seeds, separate them from the pulp. You can do this by hand-picking the seeds or by placing them in a colander and rinsing them under cold water. The water will help remove any remaining pulp attached to the seeds.
- Discard any damaged seeds: As you separate the seeds, discard any seeds that appear damaged, discolored, or shriveled. It’s important to keep only healthy seeds for storage.
- Pat dry the seeds: After separating the seeds from the pulp, pat them dry using a clean towel or paper towel. Avoid rubbing the seeds too vigorously, as this can damage them.
Once you have successfully harvested and prepared the pumpkin seeds, you can move on to the next step – cleaning and preparing the seeds for storage.
Cleaning and Preparing the Seeds
After harvesting the pumpkin seeds, it’s important to clean and prepare them before storing. This step ensures that the seeds are free from any remaining pulp or debris, which can affect their freshness and longevity.
Follow these steps to clean and prepare the pumpkin seeds:
- Rinse the seeds: Place the harvested seeds in a colander or strainer and rinse them under cold water. Use your fingers to gently rub the seeds, ensuring that any remaining pulp is washed away.
- Remove excess pulp: If there are still residual bits of pulp on the seeds, you can lightly scrub them with a soft brush or sponge. Be gentle to avoid damaging the seeds.
- Use a saltwater solution: To further clean the seeds and ensure they are free from any potential pathogens, you can soak them in a saltwater solution. Prepare a mixture of water and salt, using approximately 1-2 tablespoons of salt per 4 cups of water. Soak the seeds in the solution for about 10-15 minutes before rinsing them again with cold water.
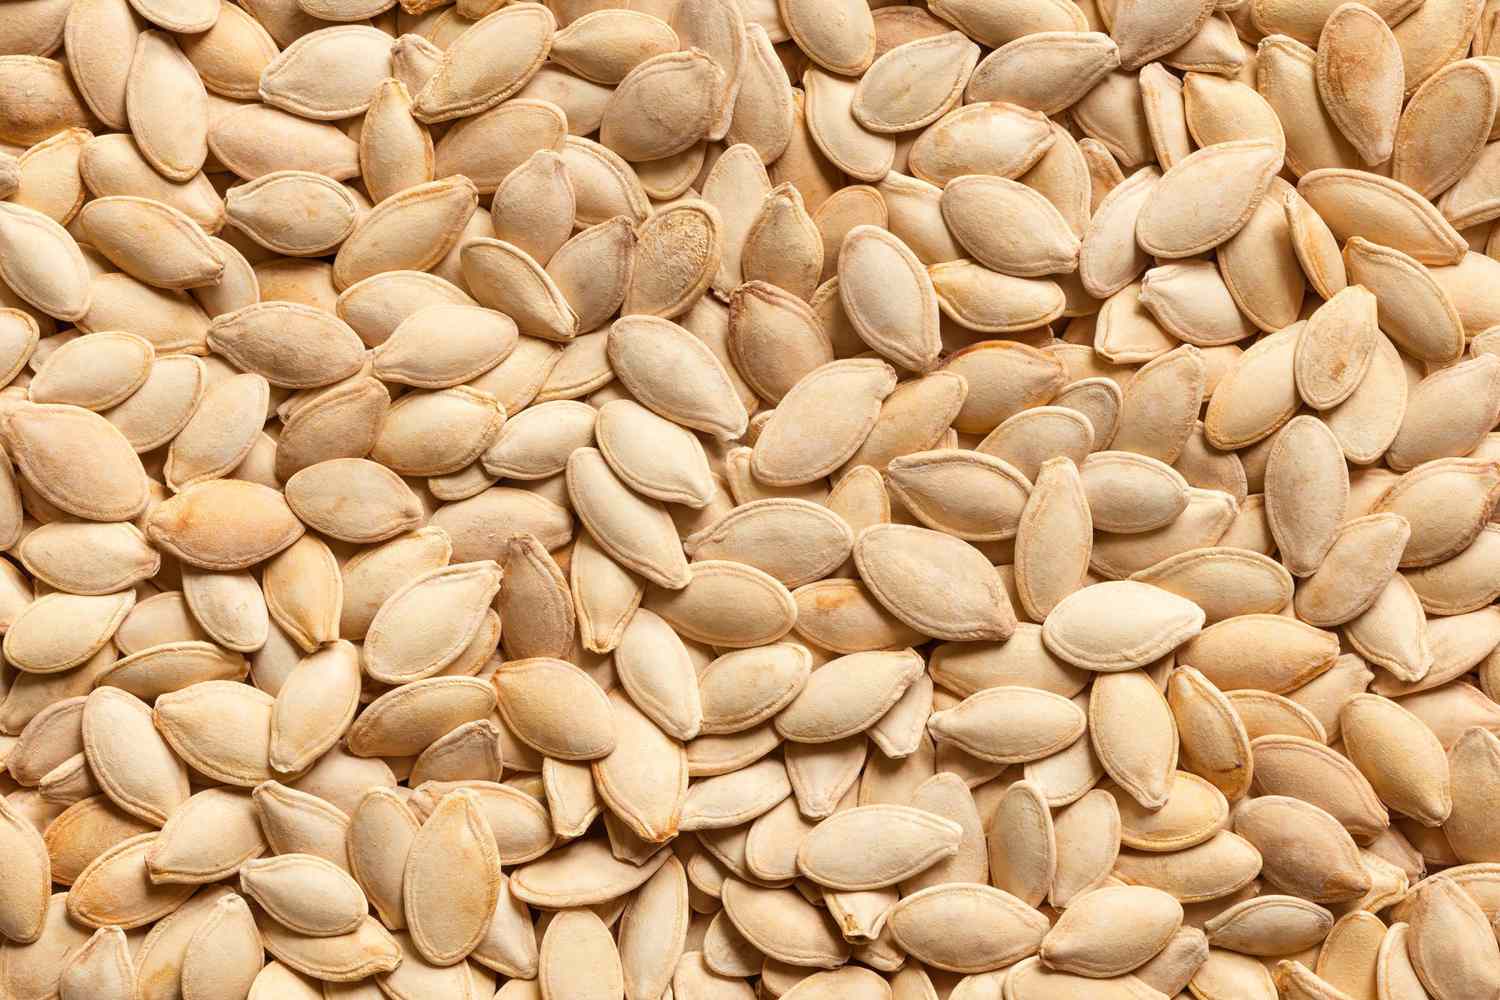
- Spread the seeds to dry: After rinsing, spread the seeds in a single layer on a baking sheet or a clean towel. Allow them to air dry completely. This process may take a few hours or overnight, depending on the humidity level.
- Inspect the seeds: Once the seeds are dry, carefully examine them for any remaining debris or damaged seeds. Remove any undesirable seeds or foreign particles that you come across.
By following these steps, you can ensure that the pumpkin seeds are thoroughly cleaned and ready for the next stage – drying.
After removing pumpkin seeds, rinse them and pat dry. Store in an airtight container in a cool, dry place for up to 3 months or in the freezer for up to a year.
Drying the Pumpkin Seeds
Properly drying the pumpkin seeds is a critical step in storing them for the long term. Drying helps remove any residual moisture, which, if present, can lead to mold or spoilage.
Here’s how to effectively dry the pumpkin seeds:
- Preheat the oven (optional): Preheating the oven to a low temperature, around 150°F (65°C), can help expedite the drying process. However, this step is optional as you can air-dry the seeds as well.
- Spread the seeds: Whether you choose to use the oven or air-drying method, spread the cleaned seeds in a single layer on a baking sheet or a clean, dry surface. Make sure the seeds are evenly distributed and not overlapping.
- Oven method: If using the oven, place the baking sheet with the seeds in the oven. Keep the oven door slightly ajar to allow air circulation. Let the seeds dry in the oven for about 1-2 hours, checking periodically to ensure they do not burn or become overly toasted.
- Air-drying method: If air-drying, find a well-ventilated and dry area in your home. Place the baking sheet or tray with the seeds in this location. Allow the seeds to air dry for 2-3 days, turning them occasionally to ensure even drying.
- Test for dryness: To check if the seeds are fully dried, take a few seeds and break them. If they snap or crack instead of bending, they are dry and ready for storage. If they are still pliable or soft, continue drying them until they reach the desired consistency.
Once the pumpkin seeds are properly dried, it’s time to move on to the final step – storing them to ensure their long-term freshness and flavor preservation.
Read more: How To Plant Pumpkin Seeds
Storing Pumpkin Seeds
Now that you have harvested, cleaned, and dried the pumpkin seeds, it’s time to store them properly to maintain their freshness and quality. Correct storage conditions will help prevent the seeds from becoming rancid or losing their flavor over time.
Follow these guidelines to store pumpkin seeds:
- Choose the right containers: Use airtight containers such as glass jars or plastic containers with tight-fitting lids to store the pumpkin seeds. Avoid using bags or paper containers as they may not provide adequate protection from moisture or pests.
- Label and date the containers: Before storing the seeds, label the containers with the variety of pumpkin seeds and the date of storage. This will help you keep track of the age of the seeds and ensure you use the oldest ones first.
- Store in a cool, dry place: Find a cool and dry location in your home for storing the pumpkin seeds. A pantry or cupboard away from direct sunlight and heat sources is ideal. Exposure to heat, moisture, or light can decrease the shelf life of the seeds.
- Avoid temperature fluctuations: Ensure that the storage area is free from drastic temperature changes, as this can also affect the quality of the seeds. Consistent conditions will help maintain their taste and texture.
- Keep away from moisture and pests: Moisture and pests, such as insects or rodents, can be detrimental to the longevity of the stored seeds. Make sure the containers are tightly sealed and store them away from areas prone to moisture or pest infestation.
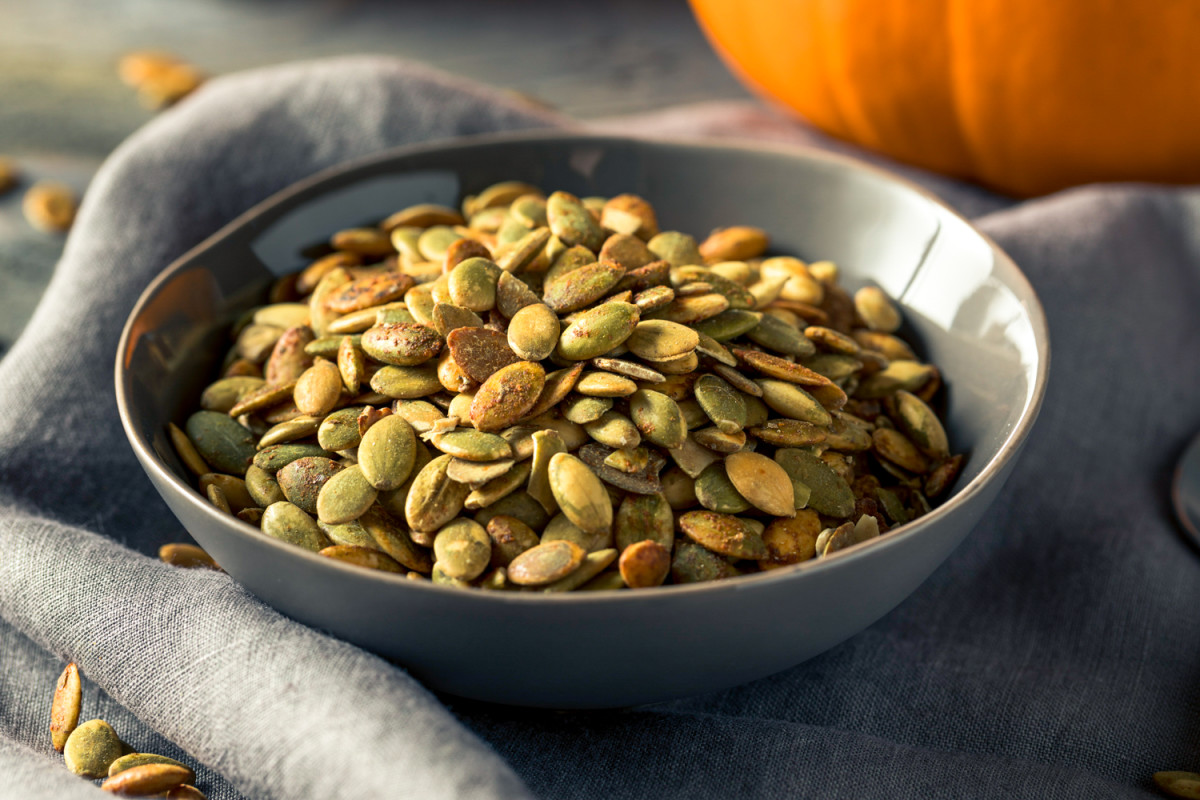
When stored properly, pumpkin seeds can be kept for up to a year. However, for the best flavor and freshness, it is advisable to use them within six months.
Now that you have mastered the art of storing pumpkin seeds, you can enjoy their deliciousness and nutritional benefits all year round. Whether you use them in recipes or enjoy them as a healthy snack, the time and effort invested in storing the seeds will be well worth it!
Conclusion
Storing pumpkin seeds allows you to extend the enjoyment of these nutritious and versatile seeds long after the pumpkin carving season has ended. By carefully choosing the right pumpkins, harvesting the seeds, and properly cleaning and drying them, you can ensure that the seeds retain their flavor and quality for months to come.
Remember to select mature pumpkins with vibrant colors and opt for heirloom or non-hybrid varieties for the best results. Harvest the seeds by scraping them from the pumpkin and separating them from the pulp. Clean the seeds thoroughly by rinsing and removing any remaining debris. Drying the seeds either in the oven or through air-drying guarantees their longevity and crispness.
When it comes to storing pumpkin seeds, use airtight containers in a cool, dry place, away from moisture and pests. Label and date the containers to keep track of their freshness. By following these storage guidelines, you can enjoy the delightful crunch of pumpkin seeds for up to a year, knowing that your efforts have paid off.
So, the next time you carve a pumpkin, don’t let those seeds go to waste. With these steps and a little bit of patience, you can savor the deliciousness of pumpkin seeds in a variety of culinary creations throughout the year.
Get ready to sprinkle them on salads, toast them as a snack, and incorporate them into your favorite recipes. With the knowledge and techniques shared in this article, you can confidently store and preserve pumpkin seeds, adding a crunchy and nutritious element to your meals even when pumpkin season is over.
Happy pumpkin seed storage and bon appétit!
Frequently Asked Questions about How To Store Pumpkin Seeds
Was this page helpful?
At Storables.com, we guarantee accurate and reliable information. Our content, validated by Expert Board Contributors, is crafted following stringent Editorial Policies. We're committed to providing you with well-researched, expert-backed insights for all your informational needs.


0 thoughts on “How To Store Pumpkin Seeds”