Articles
How To Store Fresh Pumpkin Puree
Modified: February 28, 2024
Learn how to store fresh pumpkin puree to keep it fresh and flavorful for future recipes. Read our informative articles for helpful tips and tricks to preserve your homemade pumpkin puree.
(Many of the links in this article redirect to a specific reviewed product. Your purchase of these products through affiliate links helps to generate commission for Storables.com, at no extra cost. Learn more)
Introduction:
Welcome to the world of fresh pumpkin puree, where you can elevate your culinary creations with the delicious flavors of autumn. Whether you’re a fan of pumpkin pies, soups, or smoothies, having homemade pumpkin puree on hand can take your dishes to a whole new level. In this article, we will guide you through the process of making fresh pumpkin puree and share some tips on storing it for future use.
Using fresh pumpkin puree not only adds a vibrant orange hue to your dishes but also allows you to control the quality and taste of your creations. So, let’s dive in and learn how to make and store this delightful ingredient.
Subtitle: Choosing the Right Pumpkins
When it comes to making fresh pumpkin puree, not all pumpkins are created equal. Some pumpkins are better suited for carving and decorating, while others are ideal for cooking. The best pumpkins for puree are small to medium-sized ones, known as “sugar” or “pie” pumpkins. They have a sweeter and smoother flesh, perfect for making puree.
When selecting pumpkins for puree, look for ones that are heavy for their size and have a firm, unblemished skin. Avoid pumpkins with soft spots or moldy patches, as they may affect the quality of the puree.
Subtitle: Preparing the Pumpkins for Puree
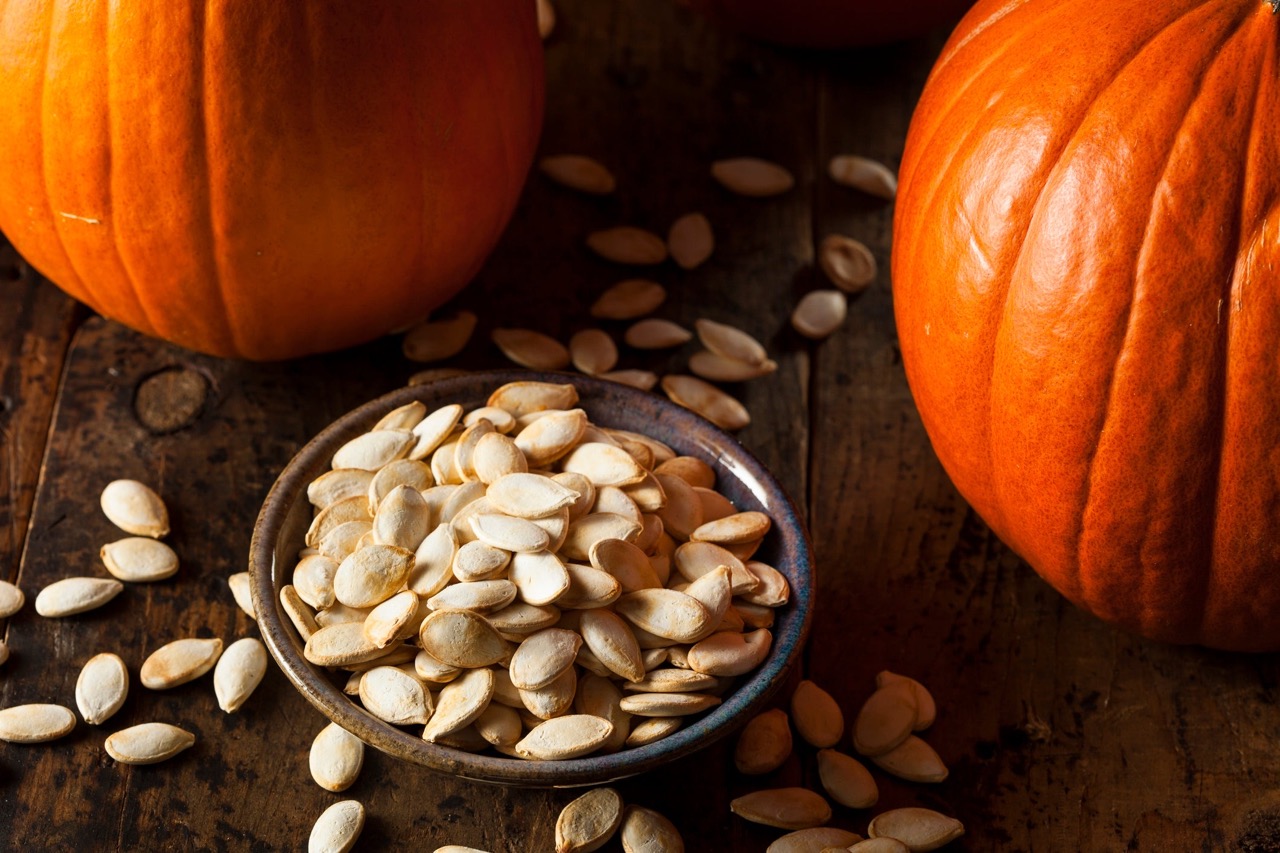
Start by washing the pumpkin thoroughly under running water to remove any dirt or debris. Then, using a sharp knife, carefully cut off the stem and slice the pumpkin in half. Scoop out the seeds and membrane from the center of the pumpkin, reserving the seeds for roasting if desired.
Once the pumpkin is cleaned and halved, it’s ready for cooking.
Subtitle: Cooking the Pumpkin
There are several methods for cooking the pumpkin, depending on your preference and kitchen equipment. One popular method is roasting the pumpkin in the oven. Preheat the oven to 375°F (190°C). Place the pumpkin halves, cut side down, on a baking sheet lined with parchment paper. Roast them for about 45-60 minutes, or until the flesh is soft and easily pierced with a fork.
Alternatively, you can steam the pumpkin by placing the halves, cut side down, in a steamer basket over boiling water. Steam for about 20-30 minutes until the flesh is tender. Another option is to microwave the pumpkin halves, cut side down, in a microwave-safe dish for about 10-15 minutes, or until the flesh is soft.
Key Takeaways:
- Elevate your culinary creations with homemade pumpkin puree, using small to medium-sized “sugar” or “pie” pumpkins for the best flavor and texture. Store it in the fridge for up to 7 days or freeze for longer shelf life.
- Embrace the versatility of pumpkin puree in sweet and savory recipes, from baked goods to soups, sauces, smoothies, and more. Experiment with different flavor combinations and enjoy the taste of fall year-round.
Read more: How To Store Opened Pumpkin Puree
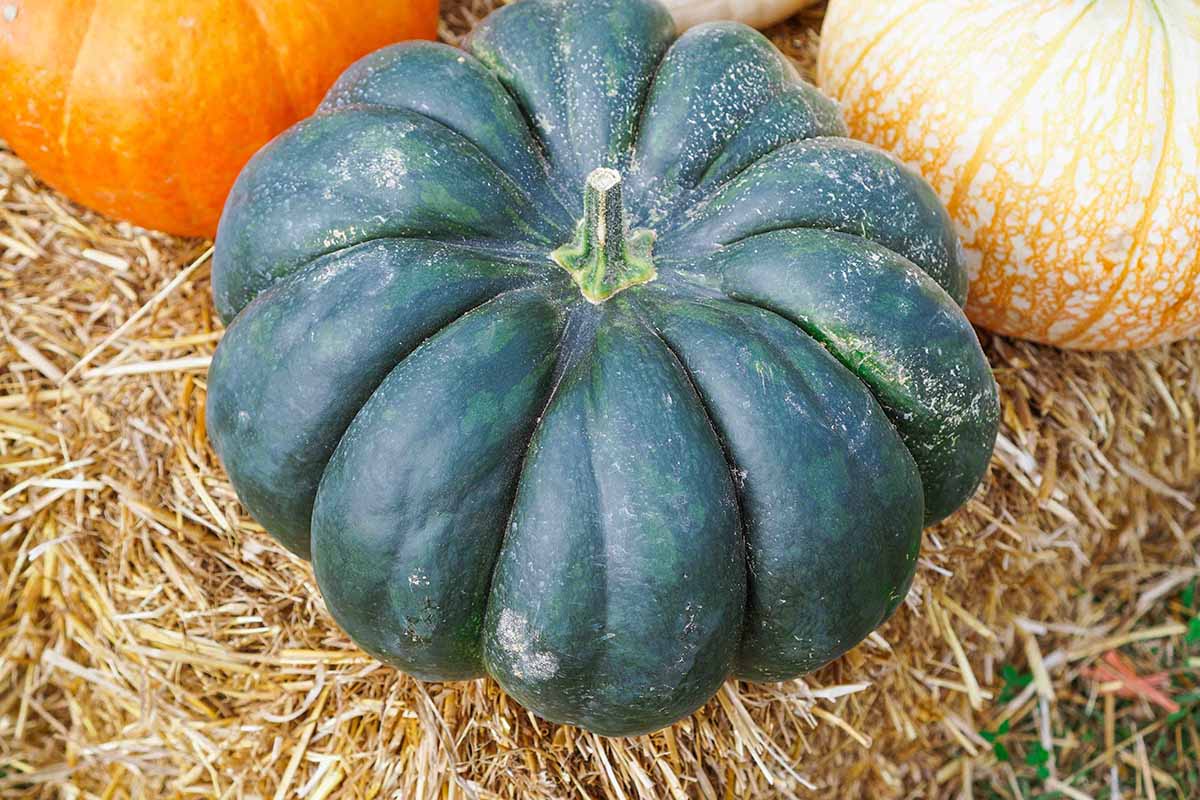
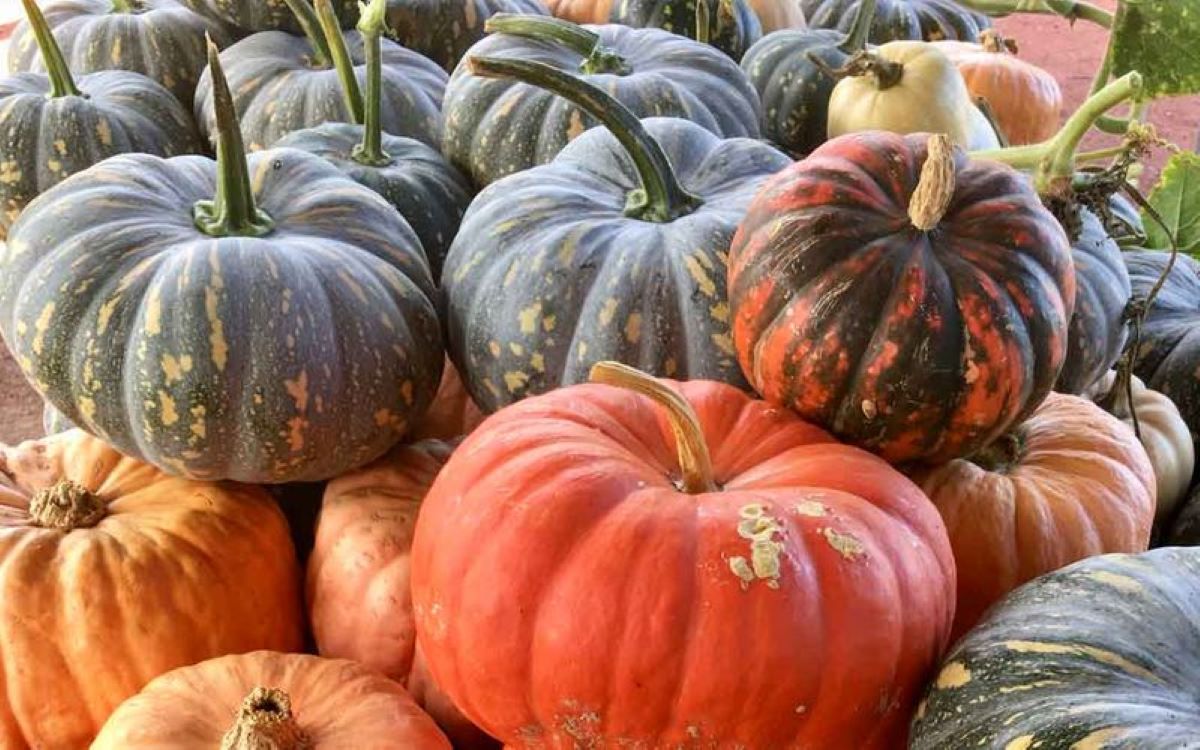
Choosing the Right Pumpkins
When it comes to making fresh pumpkin puree, not all pumpkins are created equal. Some pumpkins are better suited for carving and decorating, while others are ideal for cooking. The best pumpkins for puree are small to medium-sized ones, known as “sugar” or “pie” pumpkins. They have a sweeter and smoother flesh, perfect for making puree.
Sugar pumpkins are typically about 6-8 inches in diameter and have a deep orange or golden color. They are more flavorful and have a denser, less watery texture compared to larger carving pumpkins, making them the preferred choice for cooking and baking.
When selecting pumpkins for puree, look for ones that are heavy for their size and have a firm, unblemished skin. Avoid pumpkins with soft spots or moldy patches, as they may affect the quality of the puree. Additionally, it’s best to choose pumpkins that have a stem intact, as this indicates freshness.
While sugar pumpkins are the top choice for puree, there are other pumpkin varieties you can consider. Some popular options include “Cinderella” pumpkins, which have a flattened shape and vibrant color, and “Marina di Chioggia” pumpkins, which are known for their rich flavor and unique wrinkled appearance.
If you can’t find sugar pumpkins or other specialty varieties, you can still use larger carving pumpkins for puree. However, be prepared for slightly watery puree and a milder flavor. It’s recommended to drain the excess water from the puree by placing it in a fine-mesh sieve or cheesecloth before using it in recipes.
Remember, the quality and taste of your pumpkin puree will largely depend on the pumpkin you choose. Opting for the right variety will ensure a more flavorful and satisfying result in your culinary endeavors.
Preparing the Pumpkins for Puree
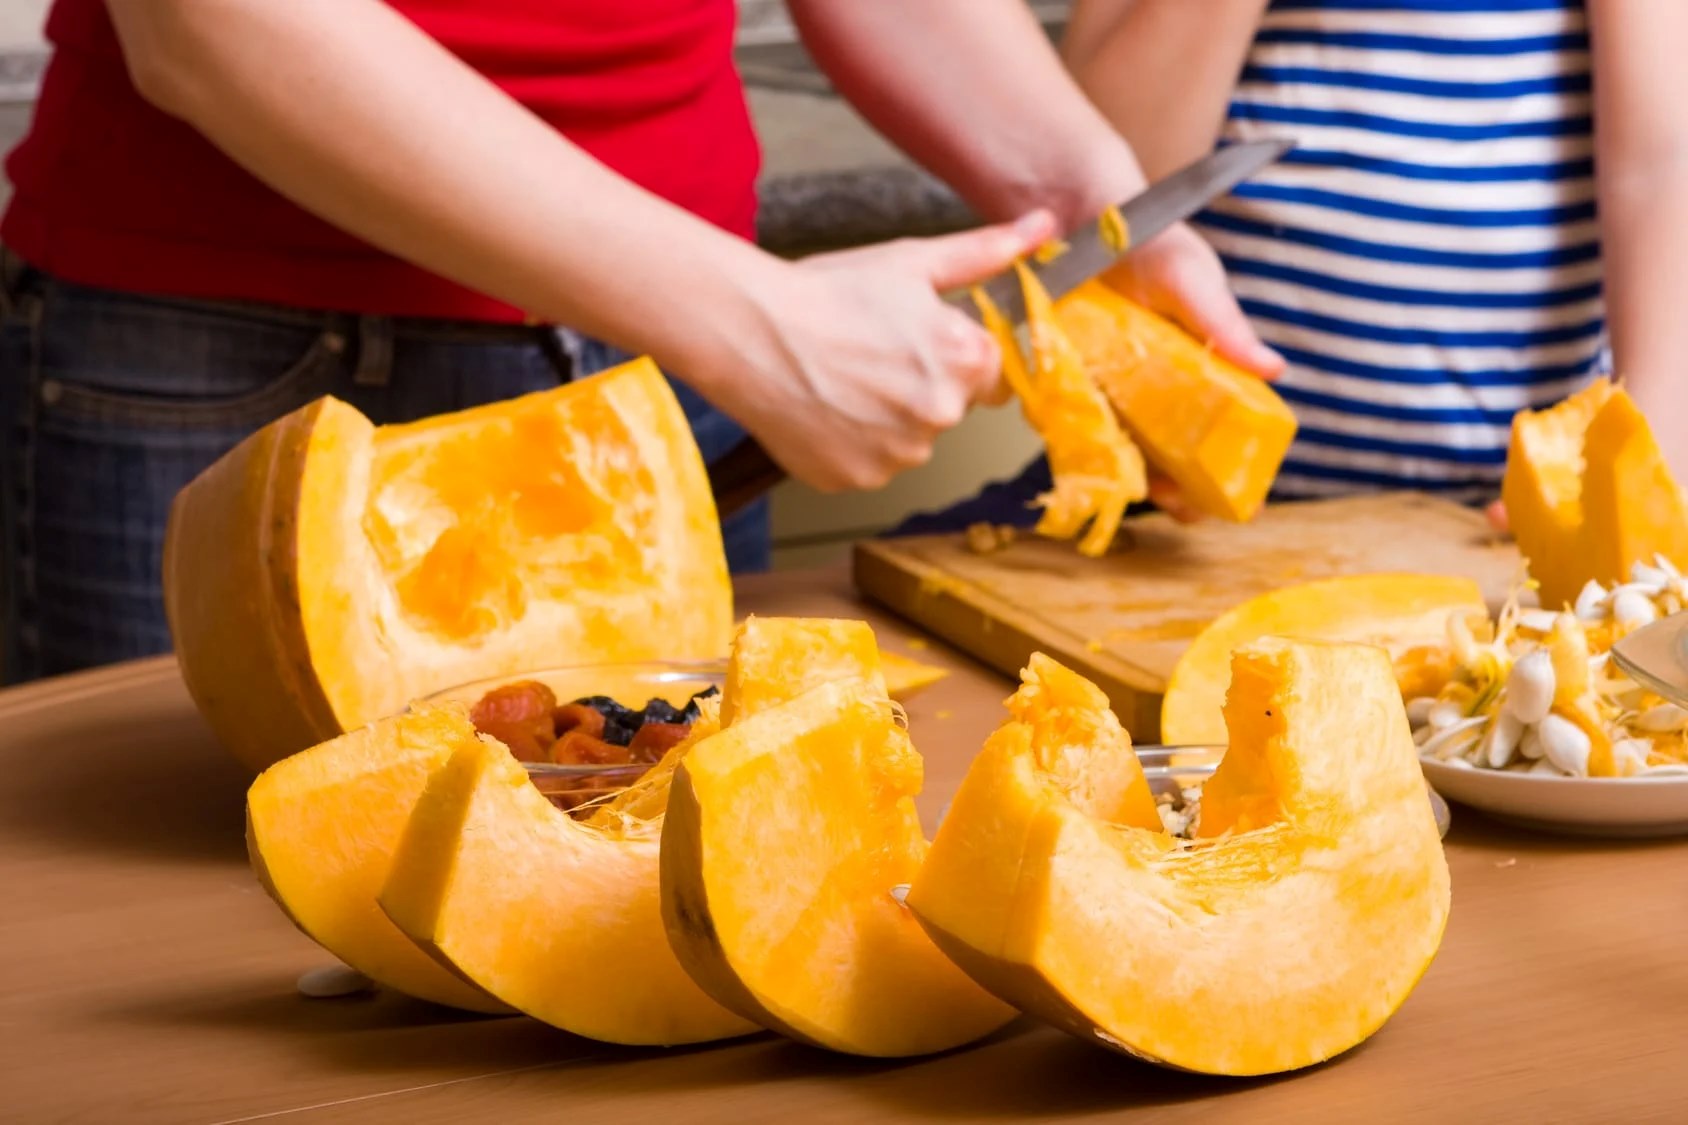
Now that you have chosen the perfect pumpkins for making fresh puree, it’s time to prepare them for the process. Follow these steps to ensure your pumpkins are ready to be transformed into a smooth and creamy puree.
Start by washing the pumpkin thoroughly under running water to remove any dirt or debris. This step is essential, especially if you purchased the pumpkins from a farm or pumpkin patch. Cleaning the outer skin will help prevent any dirt or bacteria from transferring to the puree.
Once the pumpkin is clean, use a sharp knife to carefully cut off the stem. This will make it easier to slice the pumpkin in half and remove the seeds and membrane from the center. To do this, position the pumpkin on a stable surface and carefully cut downward, using a sawing motion, until the stem is completely detached.
After removing the stem, proceed to slice the pumpkin in half from top to bottom. This will expose the interior of the pumpkin and allow for easy scooping of the seeds and membrane. Use a large spoon or an ice cream scoop to scrape out the seeds and stringy flesh from the center of the pumpkin. To make this task easier, you can also use your hands to remove any stubborn bits.
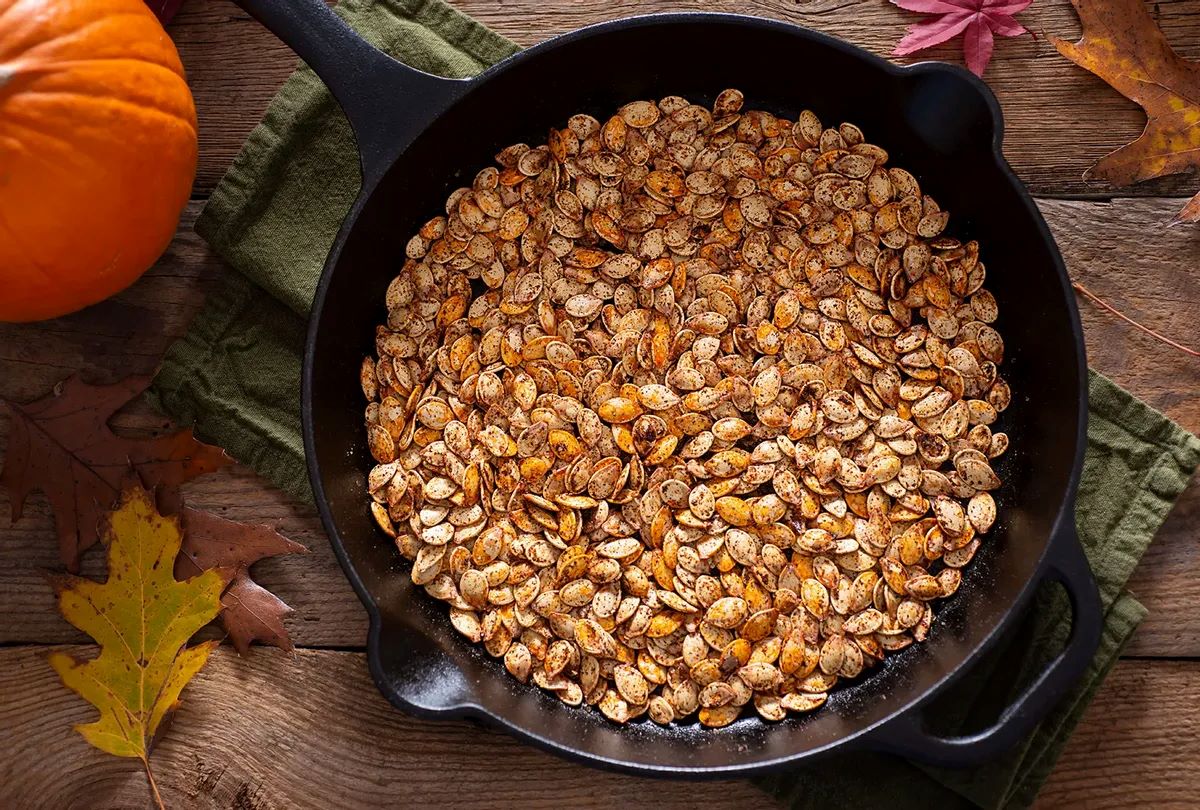
As you remove the seeds and membrane, set them aside if you wish to roast the seeds later for a tasty snack. Simply rinse the seeds to remove any excess pumpkin flesh, pat them dry, season with your favorite spices, and roast them in the oven until golden and crispy.
Once the pumpkin halves are free of seeds and membrane, they are ready for cooking. At this stage, you can further cut the pumpkin into smaller pieces, if desired, to speed up the cooking process. However, leaving them as halves is also perfectly fine.
With your pumpkins clean and hollowed out, you are now one step closer to creating homemade pumpkin puree. The next step is to cook the pumpkin until it becomes tender and easy to puree. Whether you choose to roast, steam, or microwave the pumpkin, the cooking method will bring out the natural sweetness and enhance the flavors of the flesh.
Stay tuned for the following section where we will guide you through the cooking process and provide tips for achieving the perfect pumpkin puree.
Cooking the Pumpkin
Cooking the pumpkin is a crucial step in the process of making fresh pumpkin puree. It’s during this stage that the pumpkin flesh softens and develops its sweet, earthy flavors. There are several methods you can choose from to cook your pumpkin, so let’s explore each one.
Roasting: Roasting the pumpkin in the oven is a popular method that brings out the natural sweetness and caramelizes the flesh. Preheat your oven to 375°F (190°C) and line a baking sheet with parchment paper. Place the pumpkin halves, cut side down, on the baking sheet and bake them for about 45-60 minutes, or until the flesh is soft and easily pierced with a fork. Once they are done, remove the pumpkin from the oven and let it cool before proceeding to the next step.
Steaming: Steaming the pumpkin is another excellent option that helps retain the flavors and nutrients. Fill a pot with a few inches of water and bring it to a boil. Place the pumpkin halves, cut side down, in a steamer basket and carefully lower them into the pot, making sure the water doesn’t touch the pumpkin. Cover the pot with a lid and steam the pumpkin for about 20-30 minutes, or until the flesh is tender. Once steamed, remove the pumpkin from the pot and let it cool before moving on to the blending stage.
Microwaving: If you’re short on time, microwaving the pumpkin can be a convenient option. Place the pumpkin halves, cut side down, in a microwave-safe dish. Add a little water to the dish to create steam, which helps cook the pumpkin evenly. Microwave the pumpkin on high for about 10-15 minutes, or until the flesh is soft. The cooking time may vary depending on the size of the pumpkin and the wattage of your microwave. After microwaving, carefully remove the dish from the microwave and allow the pumpkin to cool.
No matter which cooking method you choose, the key is to ensure that the pumpkin flesh is soft and easily mashed or pureed. This will make it easier when it’s time to blend the pumpkin and transform it into smooth and creamy puree. Allow the cooked pumpkin to cool completely before moving on to the next step.
Now that your pumpkin is cooked and cooled, it’s time to blend it into a velvety puree. In the next section, we will explore different techniques for blending the pumpkin and turning it into a versatile ingredient for a wide range of recipes.
After making fresh pumpkin puree, store it in an airtight container in the refrigerator for up to 5 days or freeze it in freezer-safe bags for up to 3 months.
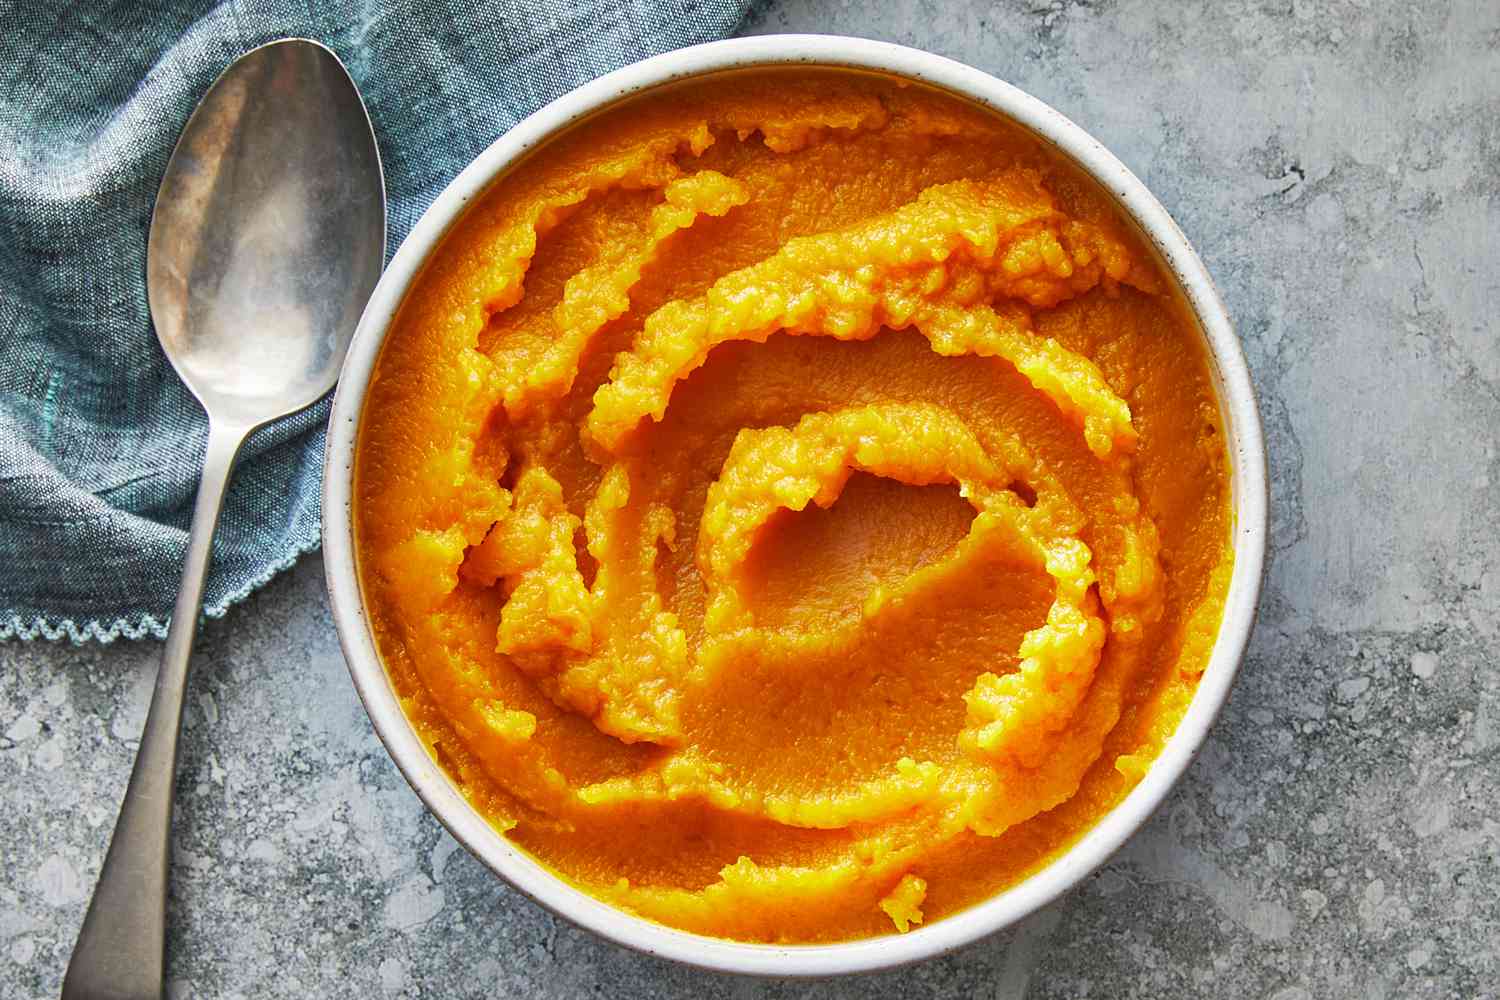
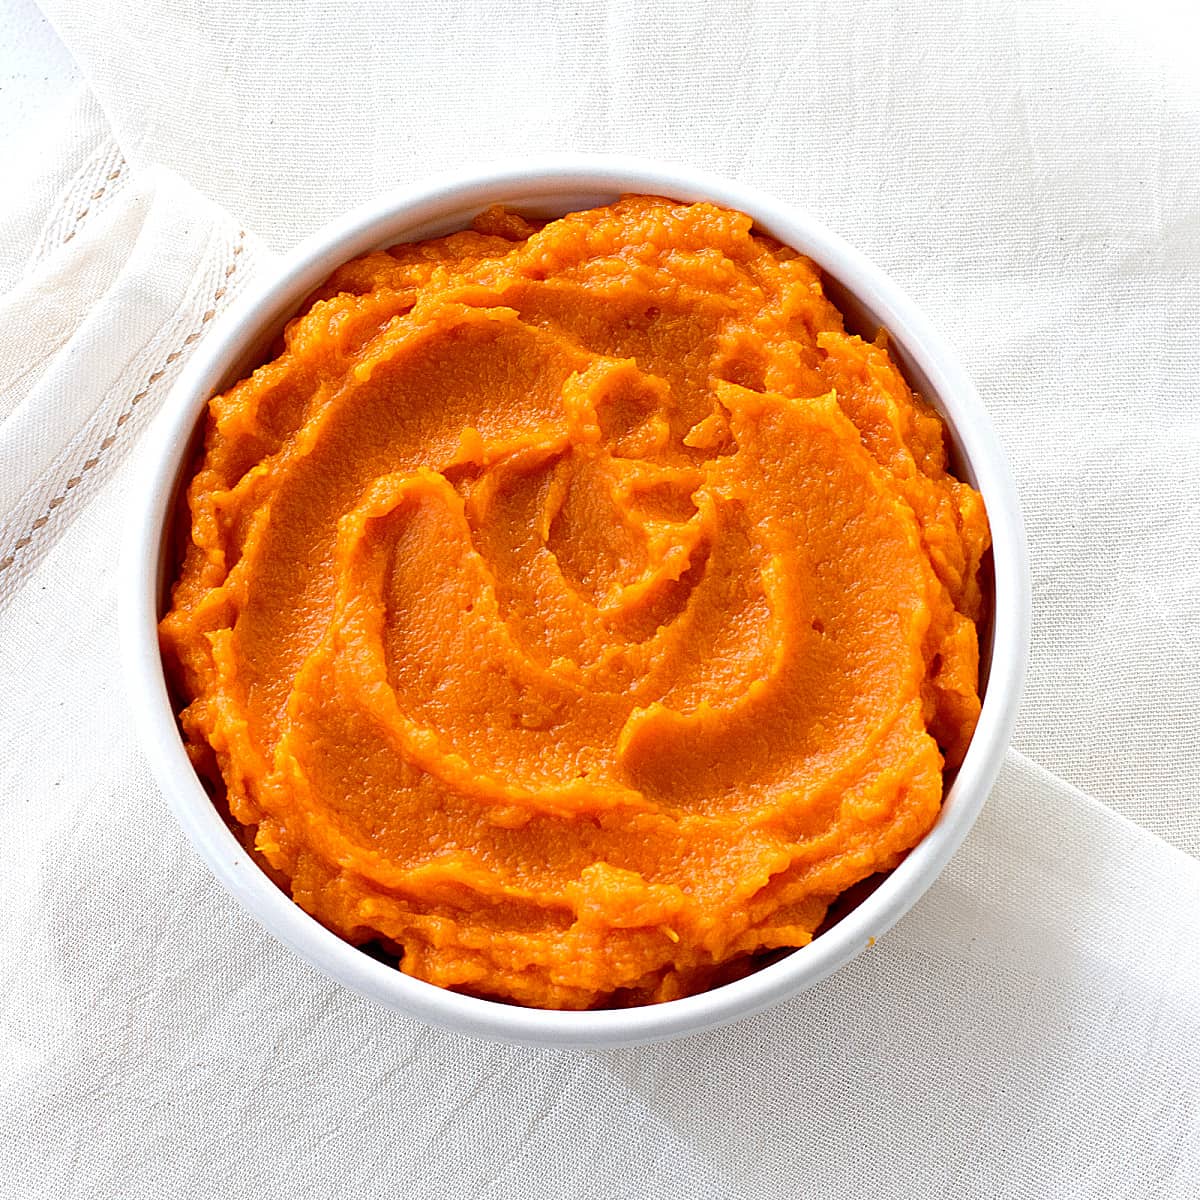
Blending the Pumpkin
After cooking and cooling the pumpkin, it’s time to transform it into a smooth and creamy puree. Blending the pumpkin is the key step that allows you to create a versatile ingredient that can be used in various recipes. Let’s explore the different methods for blending the pumpkin.
Hand Mashing: One of the simplest ways to blend the pumpkin is by using a potato masher or a fork to manually mash the cooked flesh. This method works well if you prefer a slightly chunky puree or if you enjoy a more rustic texture in your recipes. Simply place the cooked pumpkin in a large bowl and use the masher or fork to mash it until the desired consistency is achieved.
Food Processor: A food processor is a handy kitchen tool that can make quick work of blending the pumpkin into a smooth puree. Cut the cooked pumpkin into smaller chunks and place them in the bowl of the food processor. Process the pumpkin on high speed until it reaches a velvety texture, scraping down the sides of the bowl as needed. If necessary, add a small amount of water or vegetable broth to help achieve a smoother consistency.
Blender: If you don’t have a food processor, a blender can also be used to blend the pumpkin into a smooth puree. Like the food processor method, cut the cooked pumpkin into smaller chunks and place them in the blender. Blend on medium-high speed until the pumpkin reaches a silky smooth texture, stopping occasionally to scrape down the sides of the blender jar. If needed, add a small amount of liquid such as water or vegetable broth to facilitate blending.
Immersion Blender: An immersion blender, also known as a hand blender, is another great tool for blending the pumpkin. Place the cooked pumpkin in a large bowl or pot and use the immersion blender to blend it directly in the container. Move the immersion blender up and down until the pumpkin is thoroughly blended, and the desired consistency is achieved. This method is convenient because it eliminates the need to transfer the pumpkin to a separate blender or processor.
Regardless of the blending method you choose, make sure to blend the pumpkin until it is smooth and free of lumps. This will ensure a consistent texture in your recipes and make the pumpkin puree easier to incorporate into various dishes.
Now that you have successfully transformed the cooked pumpkin into a creamy puree, it’s time to explore some effective storage methods to preserve its freshness and flavor.
Read more: How To Store Pumpkin Puree
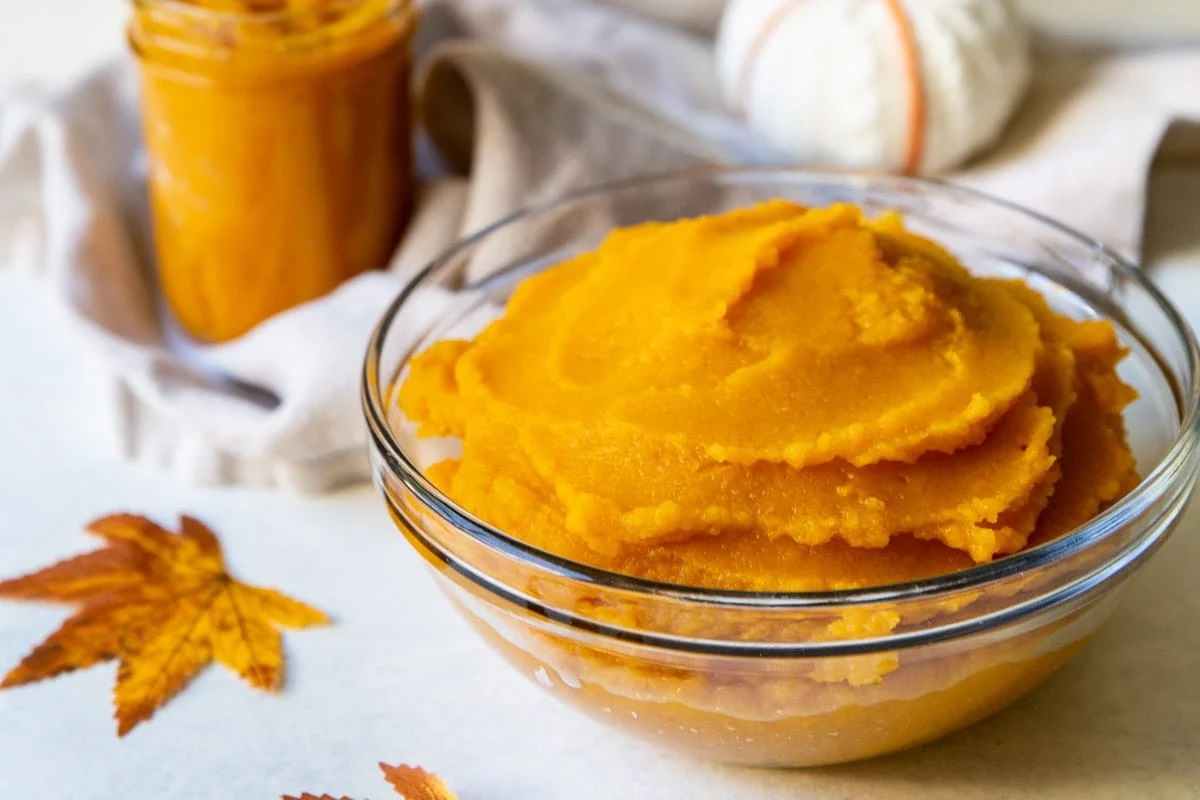
Storing the Fresh Pumpkin Puree
Now that you have created a beautiful batch of fresh pumpkin puree, you’ll want to make sure to store it properly to maintain its freshness and flavor. Here are some effective methods for storing your homemade pumpkin puree.
Refrigeration: If you plan to use the pumpkin puree within a week, storing it in the refrigerator is a convenient option. Allow the puree to cool completely before transferring it to an airtight container. Make sure the container is clean and dry to prevent any moisture from building up. Seal the container tightly and place it in the refrigerator. Pumpkin puree stored in the refrigerator can last for up to 5-7 days.
Freezing: Freezing is a popular method for preserving pumpkin puree for longer periods. To freeze the puree, allow it to cool completely and transfer it to freezer-safe containers or bags. Leave some space at the top of the container or bag to allow for expansion as the puree freezes. Seal the containers or bags tightly and label them with the date. Store the puree in the freezer for up to 3-4 months.
Ice Cube Trays: Another convenient way to store pumpkin puree is by using ice cube trays. Simply pour the puree into clean ice cube trays, filling each cube about halfway. Place the trays in the freezer and allow the puree to freeze completely. Once frozen, remove the pumpkin puree cubes from the trays and transfer them to a freezer-safe bag or container. This method is great for portioning out smaller amounts of puree for recipes that require a small quantity.
Blanched and Frozen: For a slightly different approach, you can blanch the pumpkin puree before freezing. Blanching involves briefly cooking the puree in boiling water or steam, then quickly chilling it in ice water. This process helps preserve the natural color and texture of the pumpkin. After blanching, strain and transfer the puree to freezer-safe containers or bags, leaving some space for expansion. Seal tightly and store in the freezer for up to 6-8 months.
Remember to always label your containers or bags with the date to keep track of the freshness of the pumpkin puree. Additionally, take note of the quantity in each container or bag, so you can easily grab the desired amount when needed.
When you’re ready to use the frozen pumpkin puree, allow it to thaw in the refrigerator overnight or defrost it in the microwave on low power. Once thawed, give the puree a thorough stir to reincorporate any separated liquids. It’s now ready to be used in your favorite pumpkin recipes.
By following these storage methods, you can enjoy the flavors of freshly made pumpkin puree throughout the year and make the most of your homemade creations.
Using the Pumpkin Puree
Now that you have a stash of delicious homemade pumpkin puree, let’s explore the many ways you can use it in your culinary creations. Pumpkin puree is a versatile ingredient that can be used in both sweet and savory recipes, adding a rich and earthy flavor to your dishes. Here are some creative ways to use your pumpkin puree:
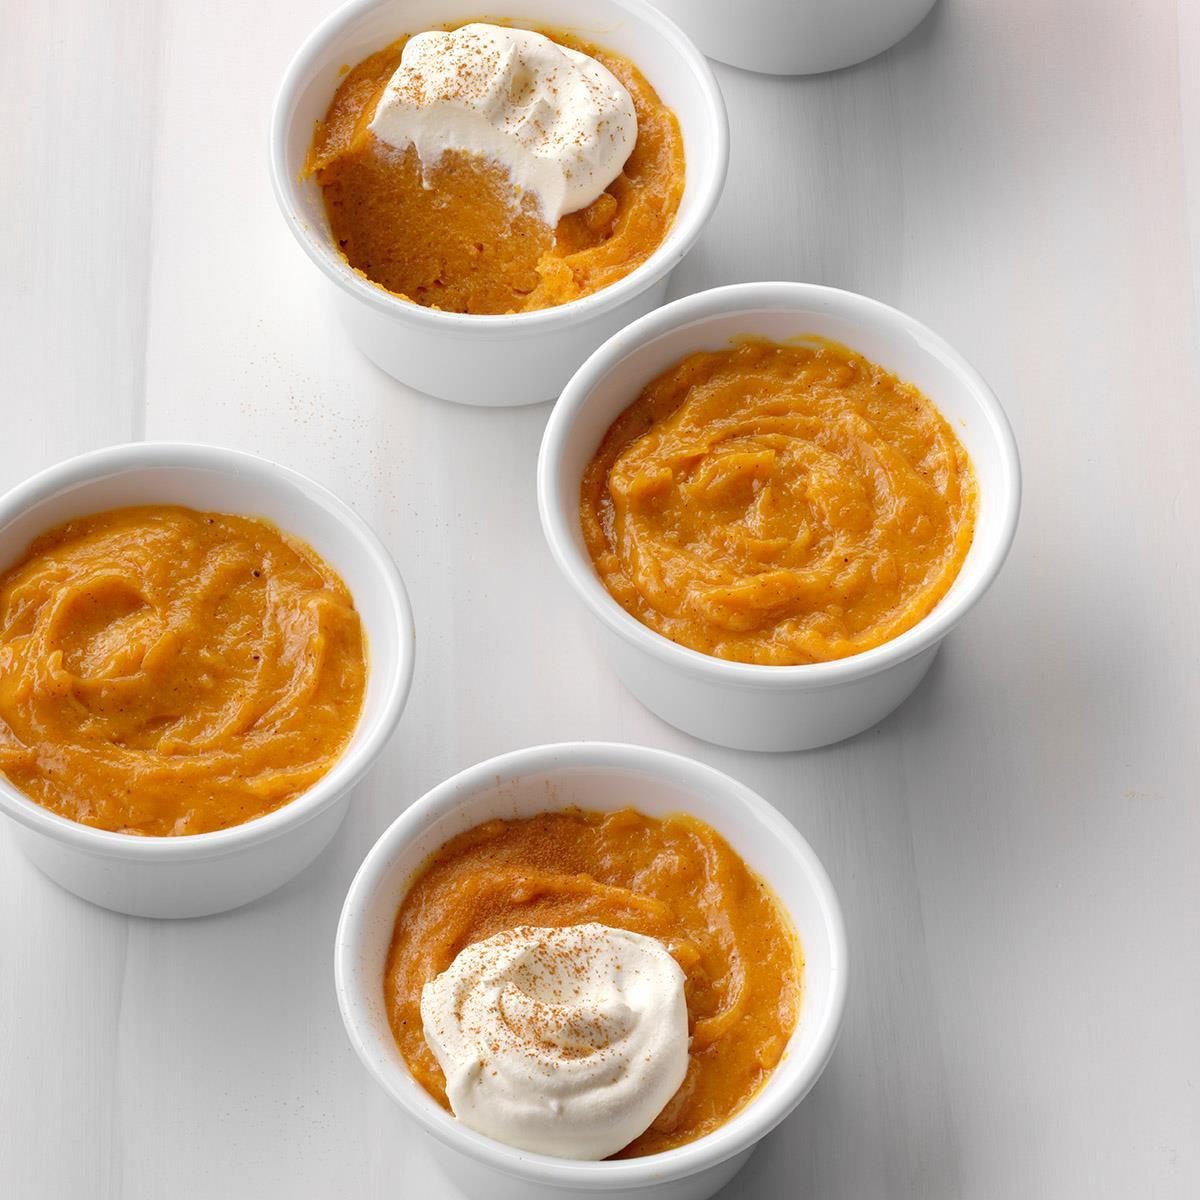
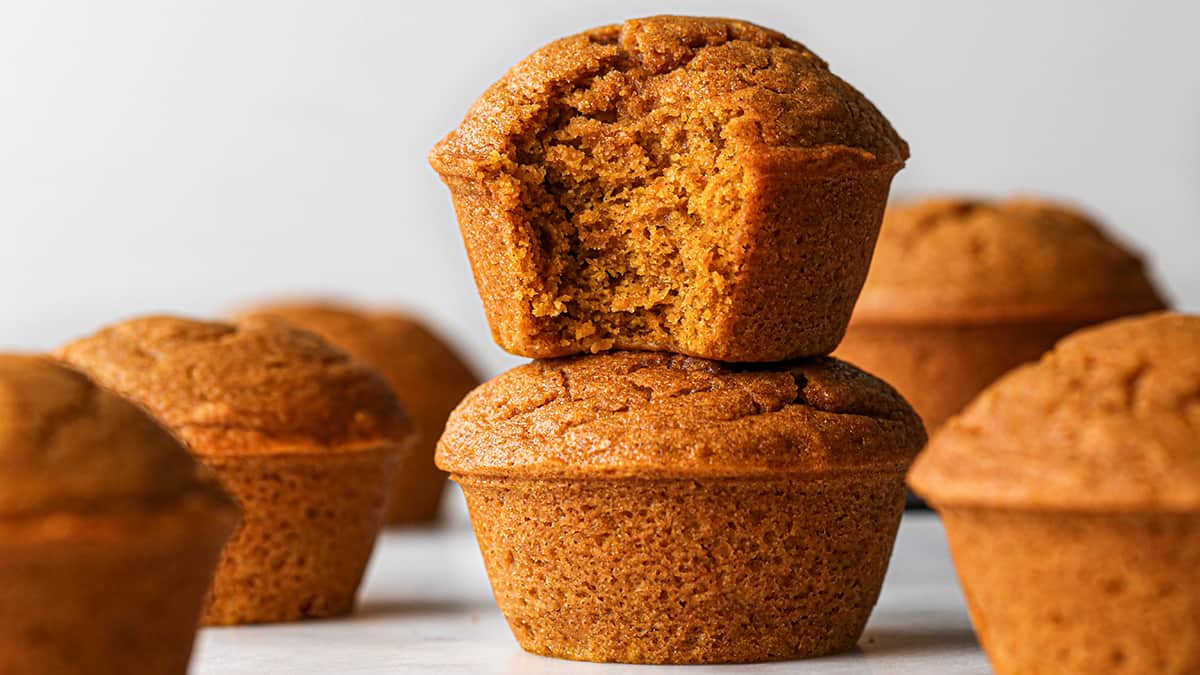
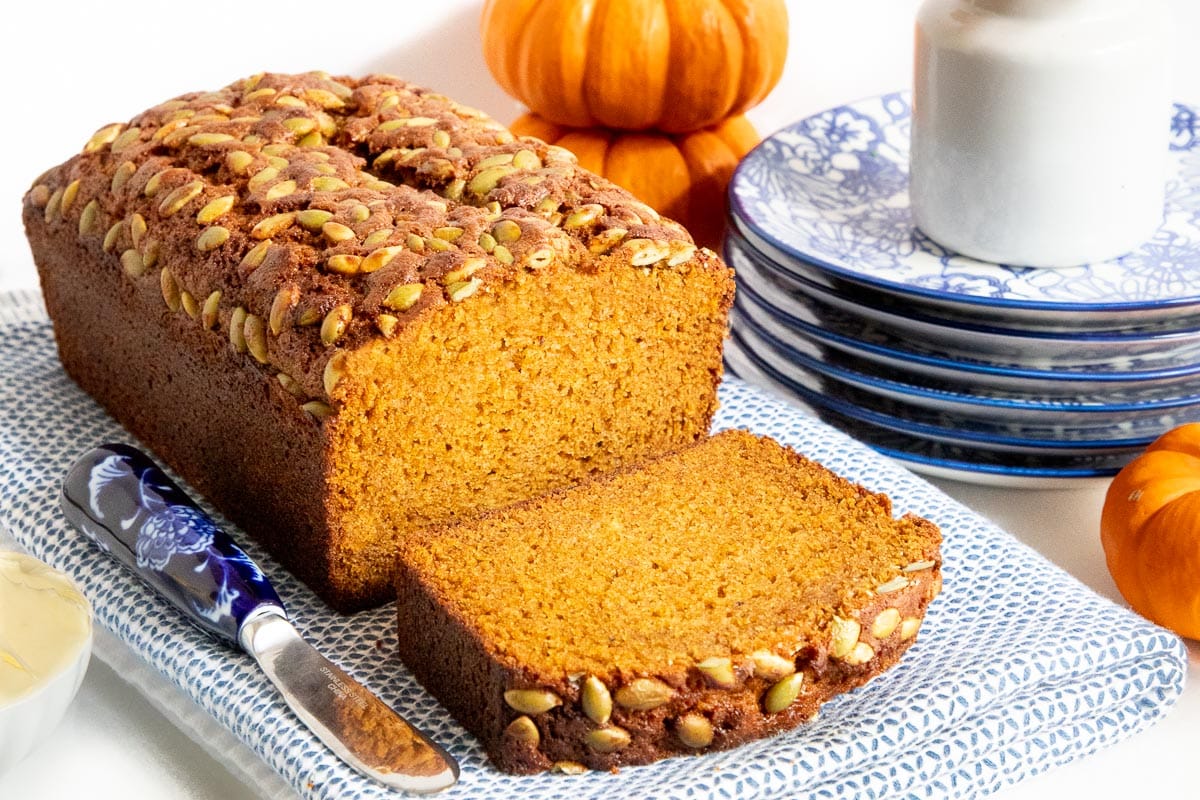
Baking: Pumpkin puree is a delightful addition to baked goods, adding moisture, flavor, and a lovely orange hue. Use it to make classic pumpkin pie, pumpkin bread, muffins, or even pumpkin-flavored cookies. You can also incorporate pumpkin puree into cakes, scones, and pancakes for a delightful autumn twist.
Soups and Stews: Pumpkin puree makes a fantastic base for creamy and comforting soups and stews. Add it to vegetable soups, lentil stews, or chili for an extra depth of flavor. It pairs well with other fall ingredients such as butternut squash, sweet potato, and spices like cinnamon, nutmeg, and ginger.
Pasta Sauces: Transform your pasta dishes by incorporating pumpkin puree into creamy sauces. Combine it with garlic, herbs, and Parmesan cheese for a delicious sauce that coats your pasta perfectly. You can also add cooked chicken, mushrooms, or spinach to create a hearty and satisfying meal.
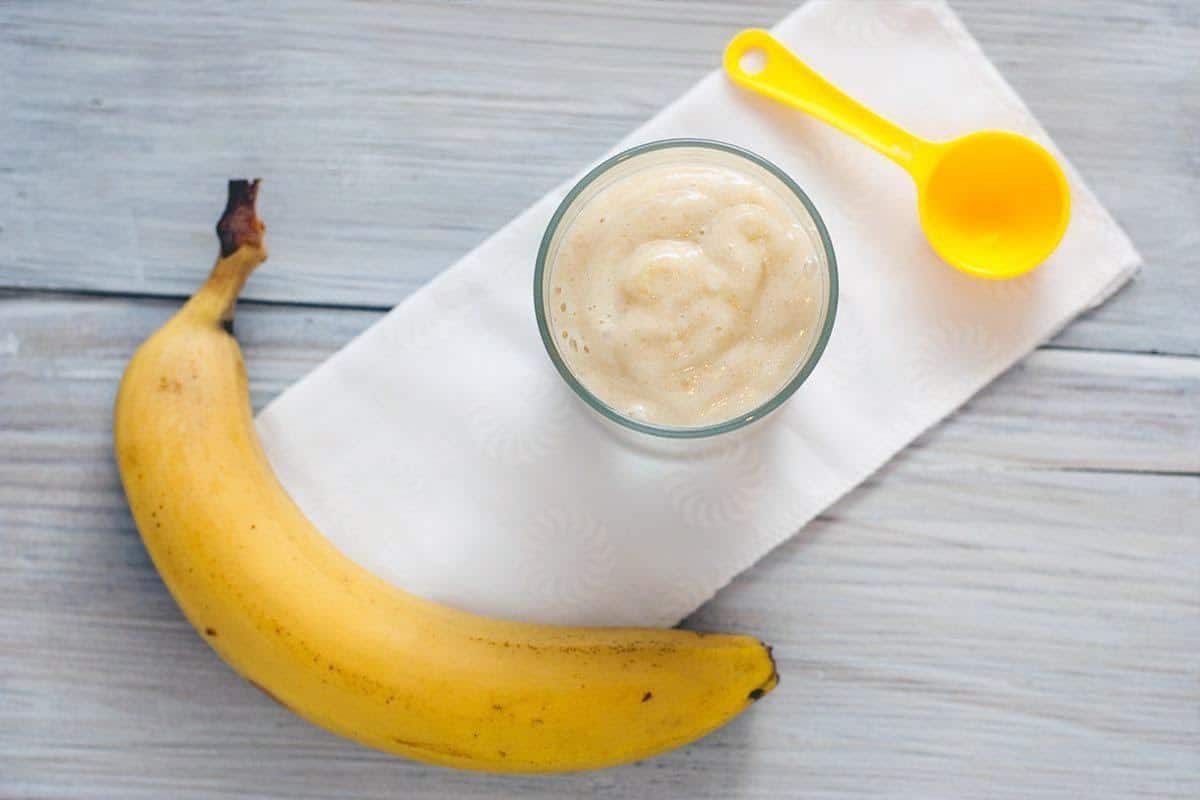
Smoothies and Sips: Get your daily dose of nutrients by adding pumpkin puree to your smoothies or beverages. Blend it with yogurt, bananas, and a dash of cinnamon for a flavorful and healthy smoothie. You can also mix pumpkin puree with milk, warm spices, and a sweetener of your choice to create a delicious pumpkin spice latte or a cozy pumpkin hot chocolate.
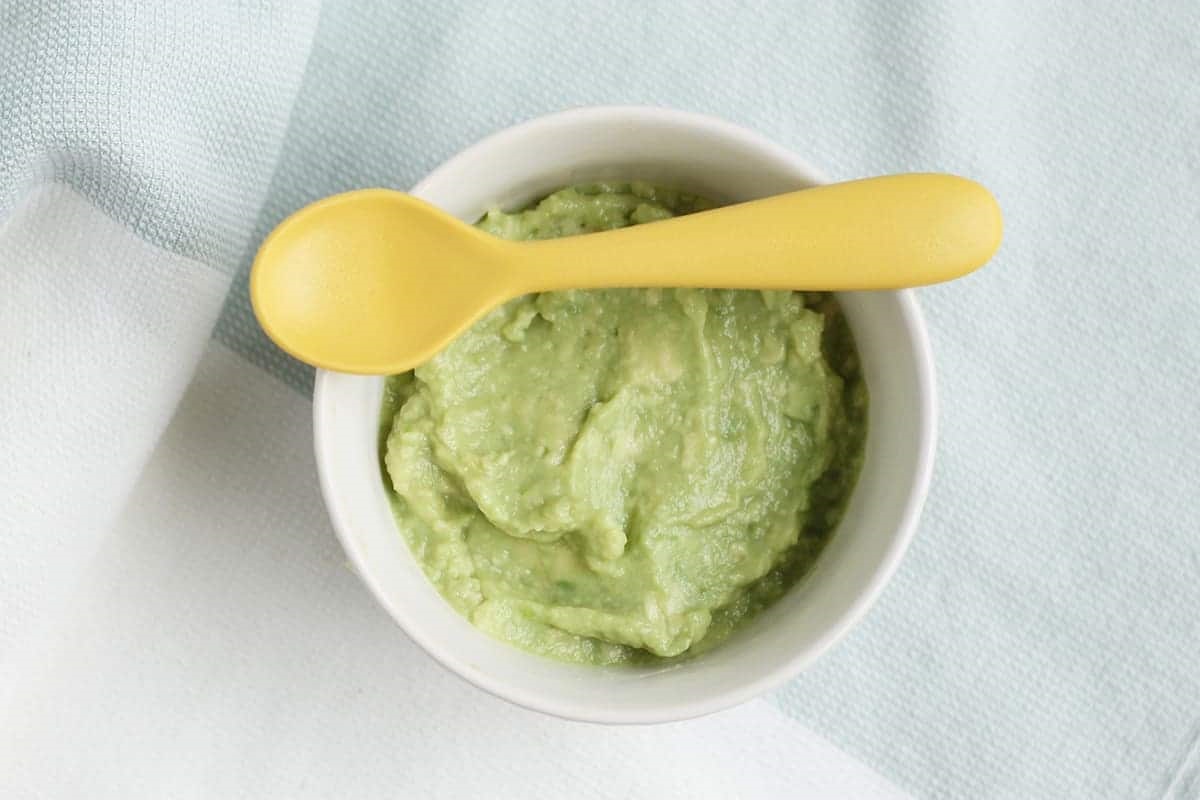
Dips and Spreads: Whip up a creamy pumpkin dip or spread to serve with crackers, bread, or fresh vegetables. Combine pumpkin puree with cream cheese, Greek yogurt, and seasonings like garlic, cumin, or paprika for a flavorful appetizer or snack. You can also use it as a base for hummus by blending it with chickpeas, tahini, and lemon juice.
Curries and Sauces: Add a touch of sweetness and depth to your curries or sauces by incorporating pumpkin puree. It blends well with Indian spices, coconut milk, and vegetables, creating a comforting and flavorful dish. Use it in Thai curries, tomato-based pasta sauces, or as a base for a creamy pumpkin alfredo sauce.
These are just a few ideas to get you started, but the possibilities are endless when it comes to using pumpkin puree in your recipes. Don’t be afraid to get creative and experiment with different flavor combinations and cuisines.
Remember to adjust the amount of pumpkin puree according to your taste preferences and the specific recipe you’re following. Start with smaller quantities and gradually add more until you achieve the desired flavor.
With your homemade pumpkin puree, you can savor the taste of fall year-round and delight your friends and family with a variety of delicious and innovative dishes. Enjoy your culinary adventures with the versatility of pumpkin puree!
Frequently Asked Questions about How To Store Fresh Pumpkin Puree
Was this page helpful?
At Storables.com, we guarantee accurate and reliable information. Our content, validated by Expert Board Contributors, is crafted following stringent Editorial Policies. We're committed to providing you with well-researched, expert-backed insights for all your informational needs.

0 thoughts on “How To Store Fresh Pumpkin Puree”