Articles
How To Store Quilting Fabric
Modified: August 17, 2024
Discover the best way to store your quilting fabric with our informative articles. Keep your fabrics organized and protected for your next project.
(Many of the links in this article redirect to a specific reviewed product. Your purchase of these products through affiliate links helps to generate commission for Storables.com, at no extra cost. Learn more)
Introduction
When it comes to quilting, fabric is the soul of every project. Building a beautiful and diverse fabric collection is an exciting journey for quilters, filled with endless possibilities and creative inspiration. However, without proper storage and organization, the fabric can quickly become a tangled mess, making it difficult to find the perfect prints and colors when you need them.
In this article, we will explore the essential steps to store quilting fabric effectively. By following these guidelines, you can ensure that your fabric is kept in pristine condition, easily accessible, and ready to be transformed into stunning quilts.
Before diving into the practical steps, let’s take a moment to assess why proper fabric storage is crucial. First and foremost, it helps protect the fabric from dust, sunlight, moisture, and other environmental factors that can cause damage or fading. Additionally, organizing your fabric collection allows you to maximize your creativity and productivity by enabling easy access to a wide range of fabrics for your quilting projects.
Now that we understand the importance of fabric storage, let’s explore the step-by-step process of storing quilting fabric. By following these guidelines, you will create a well-organized and inspiring fabric stash that will greatly enhance your quilting experience.
Key Takeaways:
- Proper fabric storage is crucial for maintaining the quality and accessibility of quilting fabrics. Assessing needs, organizing, and choosing suitable containers are key steps in creating an inspiring and efficient fabric stash.
- Creating a dedicated quilting workspace enhances creativity and productivity. Regular maintenance and refreshing of the fabric storage system ensure that fabrics remain in optimal condition, inspiring a fulfilling quilting journey.
Read more: How To Quilt With Minky Fabric
Step 1: Assessing your fabric storage needs
Before diving into organizing your quilting fabric, it’s essential to assess your fabric storage needs. Take some time to evaluate the size of your fabric collection and the space you have available for storage. Consider the types of fabric you typically use, the amount of each fabric you own, and any specific requirements they may have.
Start by gathering all your quilting fabric in one place. This will give you a better idea of the quantity and variety you’re working with. Sort them by color, print, or fabric type to make the assessment process easier.
Next, evaluate the space where you plan to store your fabric. This could be a dedicated room, a closet, or even a portion of a shelf. Take measurements and consider any shelving or storage units you may already have in place.
Once you have a clear understanding of your fabric collection and storage space, you can determine what type of storage solution will work best for you. Do you need a large, standalone shelving unit? Are stackable storage containers more suitable for your needs? Will you need additional storage options, such as hanging garment bags or fabric drawers?
Consider factors such as accessibility, visibility, and ease of use. You want a storage system that allows you to easily find and retrieve the fabric you need, while keeping it protected and organized.
Remember that your fabric collection may continue to grow over time, so it’s essential to plan for future expansion as well. Leave some empty space or consider modular storage solutions that can be easily adjusted or expanded as needed.
By carefully assessing your fabric storage needs upfront, you can make informed decisions about the type of storage solution that will work best for you. This will ultimately result in a more efficient and enjoyable quilting experience, as you’ll be able to easily locate and utilize your fabric collection for your next creative project.
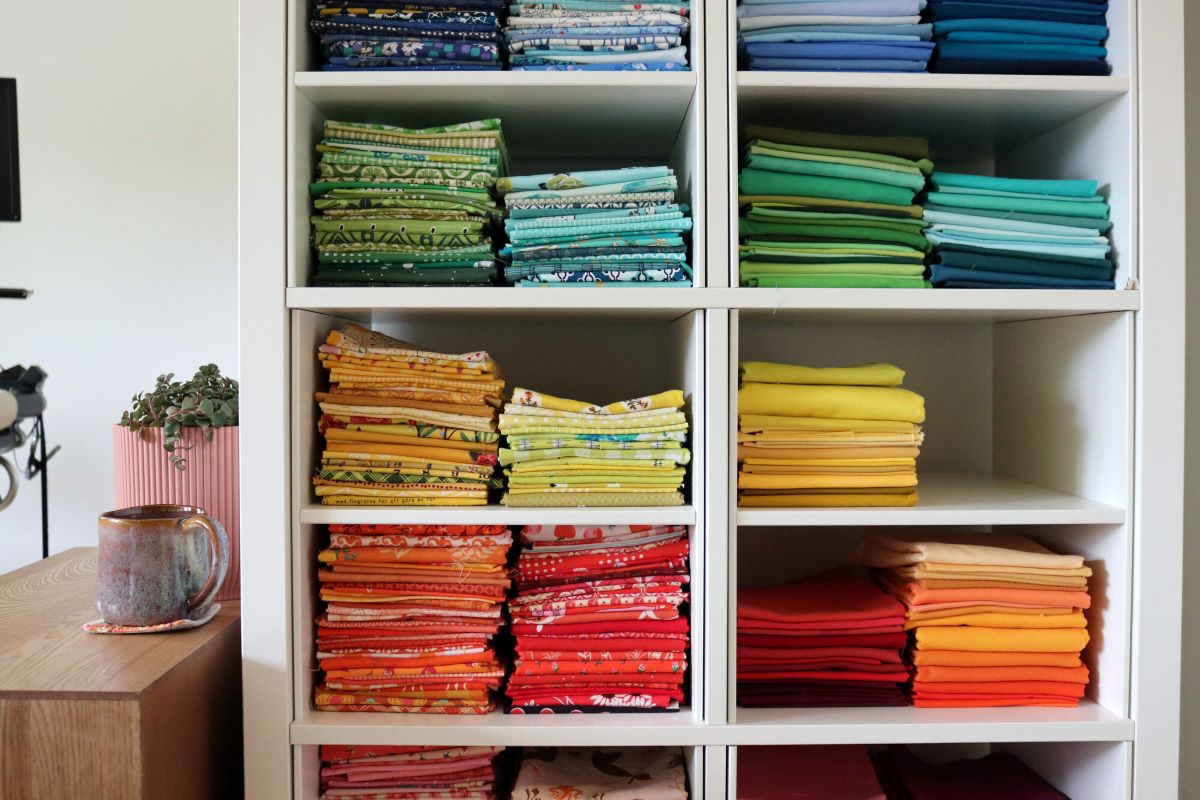
Step 2: Sorting and organizing your fabric collection
Now that you have assessed your fabric storage needs, it’s time to dive into the process of sorting and organizing your fabric collection. This step is essential to create a functional and visually appealing storage system.
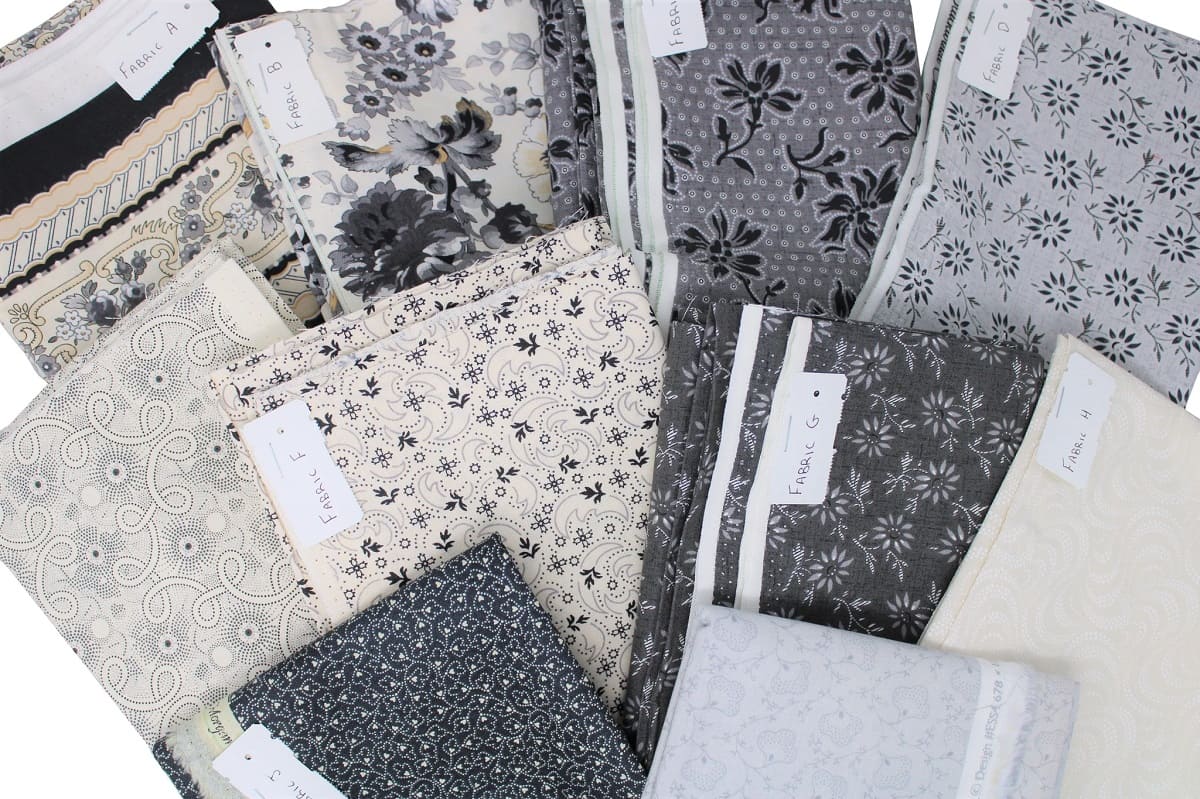
Start by sorting your fabric collection into categories that make sense for you. You can categorize by color, print, fabric type, or any other criteria that aligns with your quilting projects and personal preferences. This will help you easily locate specific fabrics when needed.
As you sort, take the opportunity to declutter your collection. Remove any fabrics that you no longer love or plan to use in future projects. Consider donating or giving away these fabrics to make room for new additions to your stash.
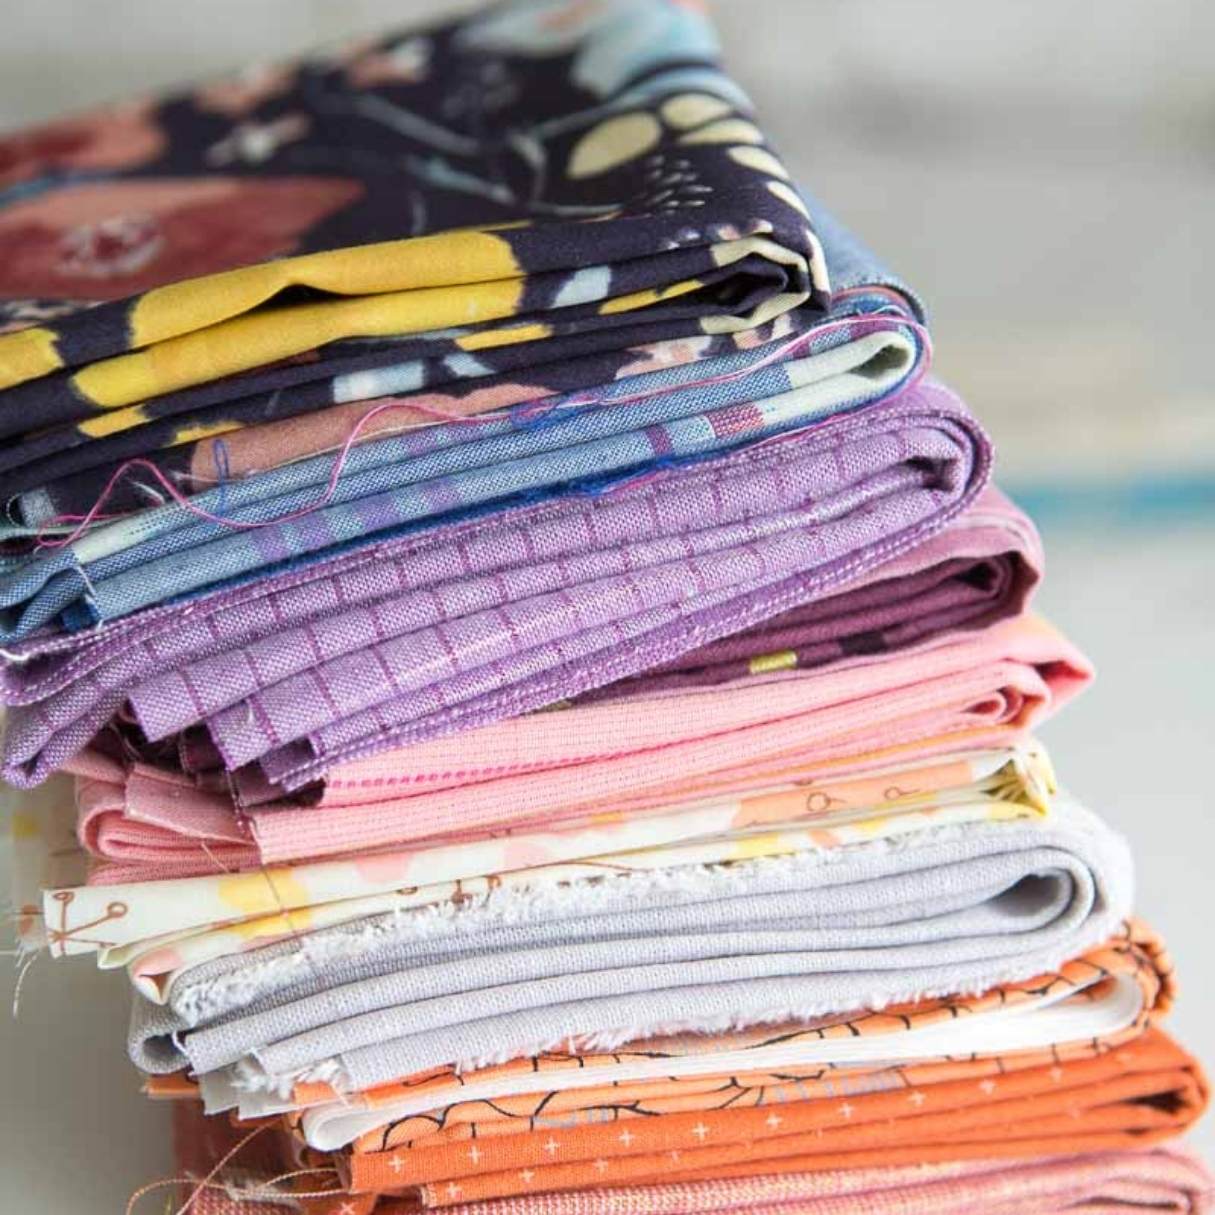
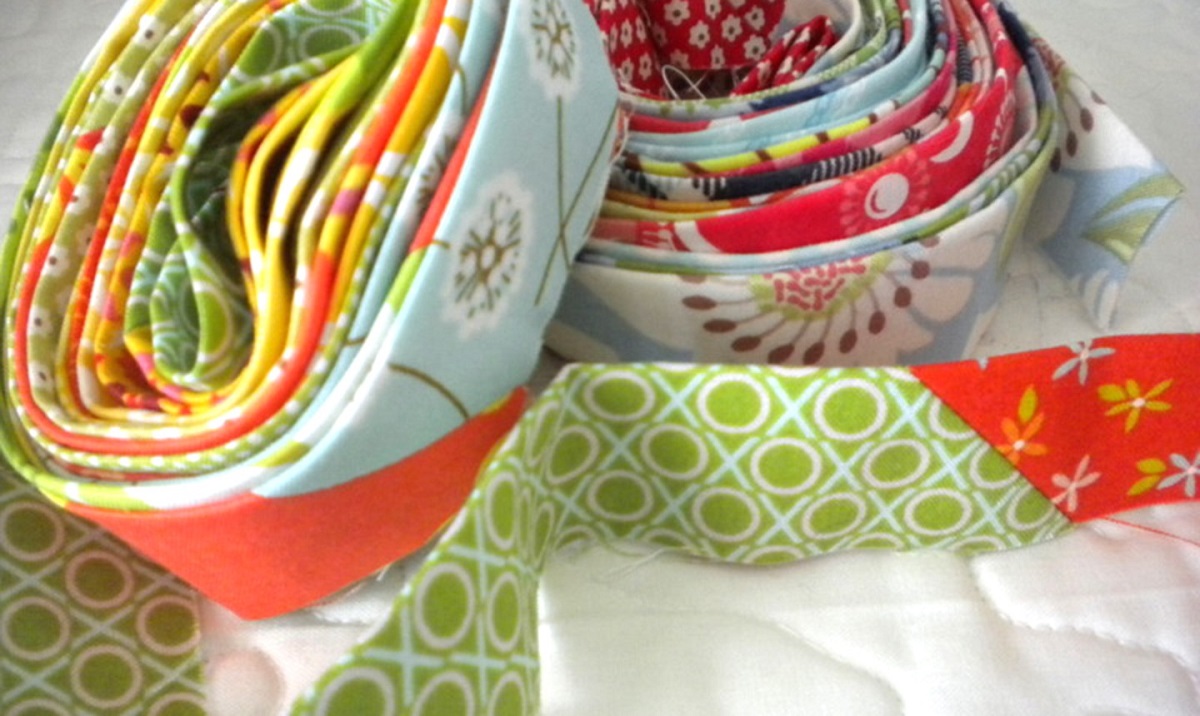
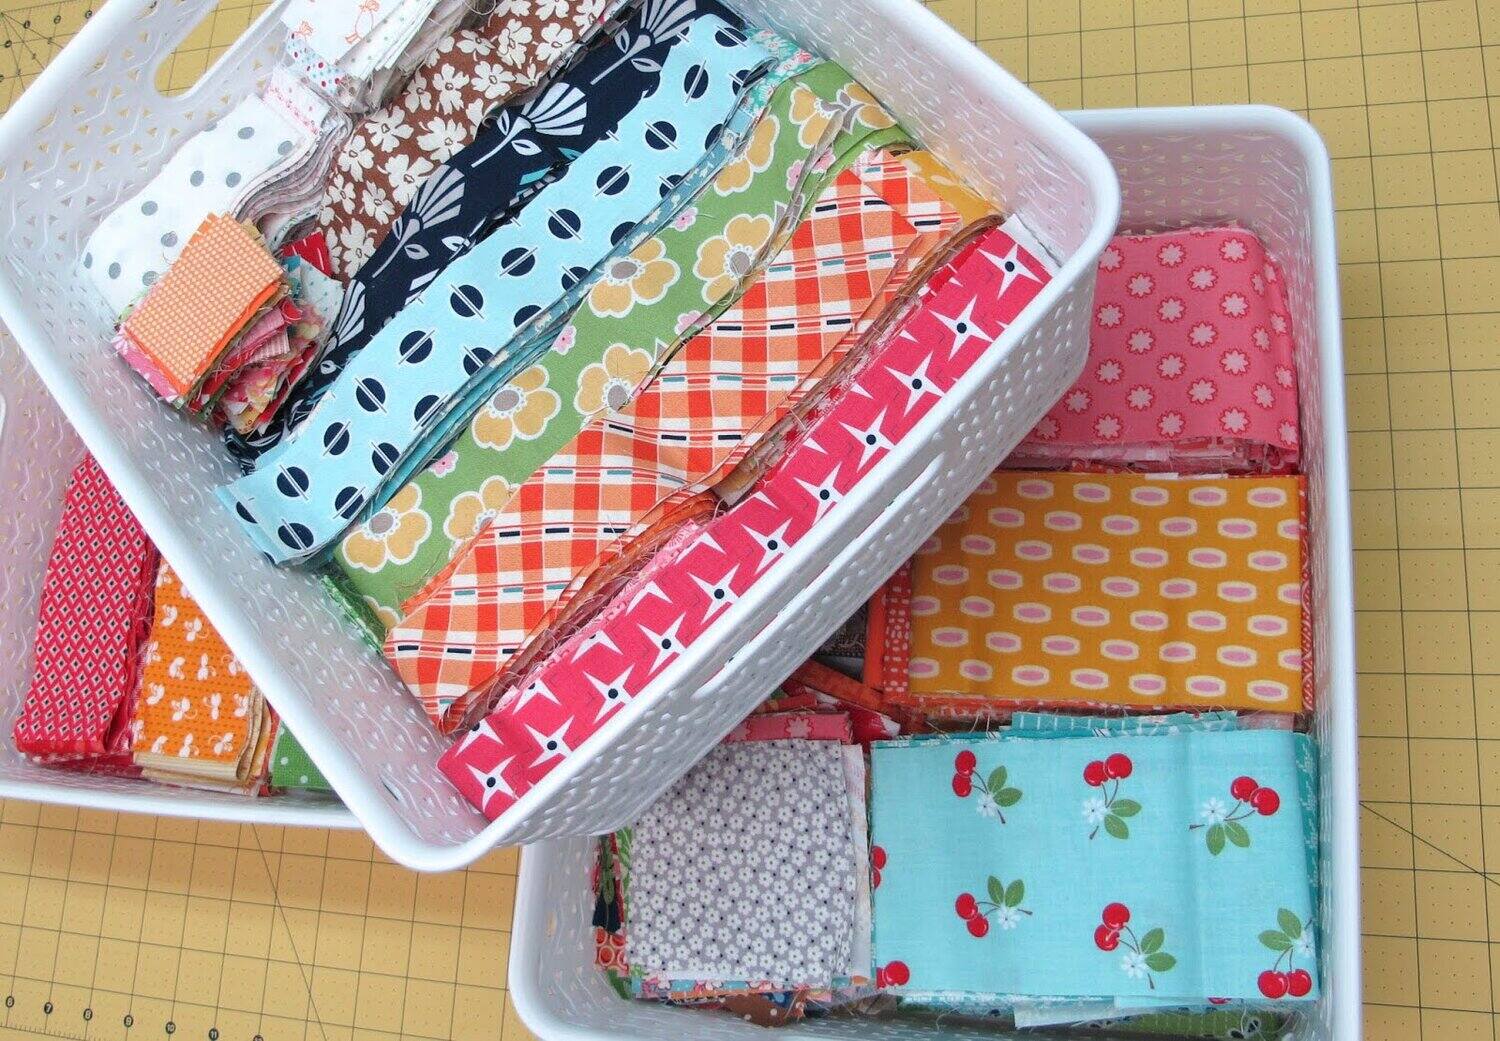
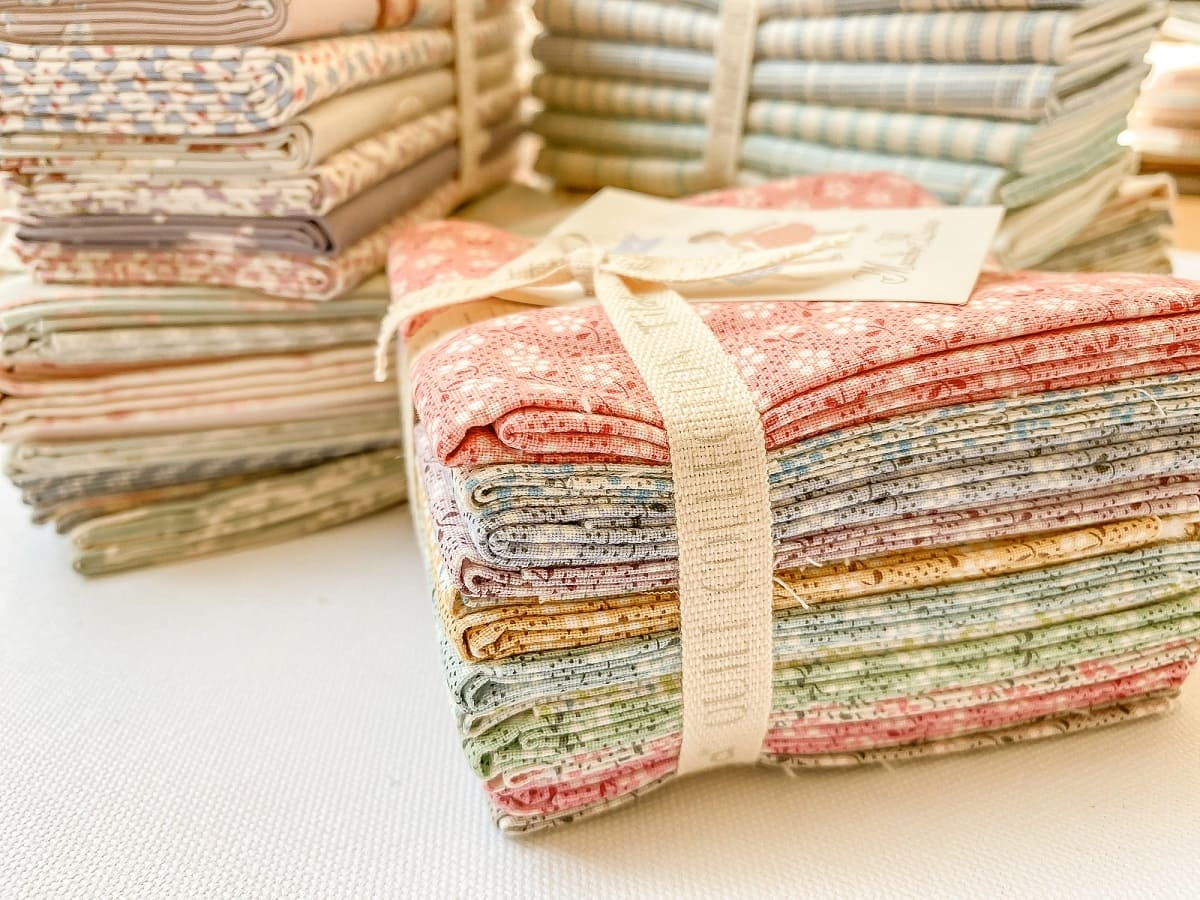
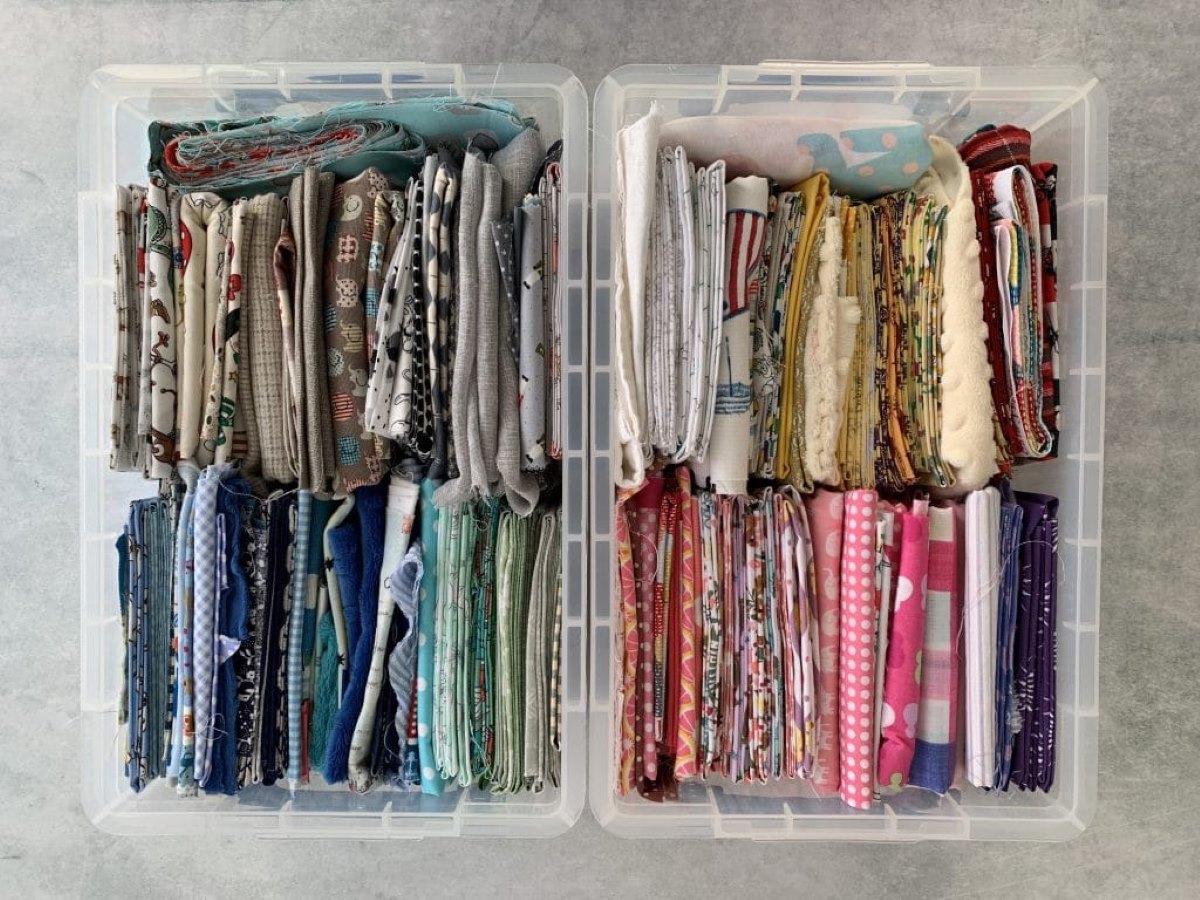
Once you have sorted your fabrics into categories, decide how you want to physically organize them. Some options include folding them neatly and stacking them on shelves, using clear plastic containers with dividers, or hanging them on specialty fabric organizers.
If you choose to fold and stack your fabrics, make sure to fold them uniformly to save space and prevent wrinkles. You can use a ruler or template to ensure consistent folding. It’s also helpful to fold them to a size that fits the containers or shelves you plan to use.
Consider labeling your fabric storage containers or shelves to indicate the categories or colors of the fabrics inside. This will make it easier to locate specific fabrics without having to go through each container or stack.
For small fabric scraps, consider using clear plastic bags or containers with dividers. Sort them by color or size and label each bag accordingly. This way, you can easily find and utilize these scraps for smaller projects or appliqué work.
Remember, the key to organizing your fabric collection is to create a system that is both functional and visually appealing. A well-organized fabric stash not only makes it easier to find the fabric you need but also provides inspiration and excitement for your quilting projects.
Step 3: Choosing suitable storage containers
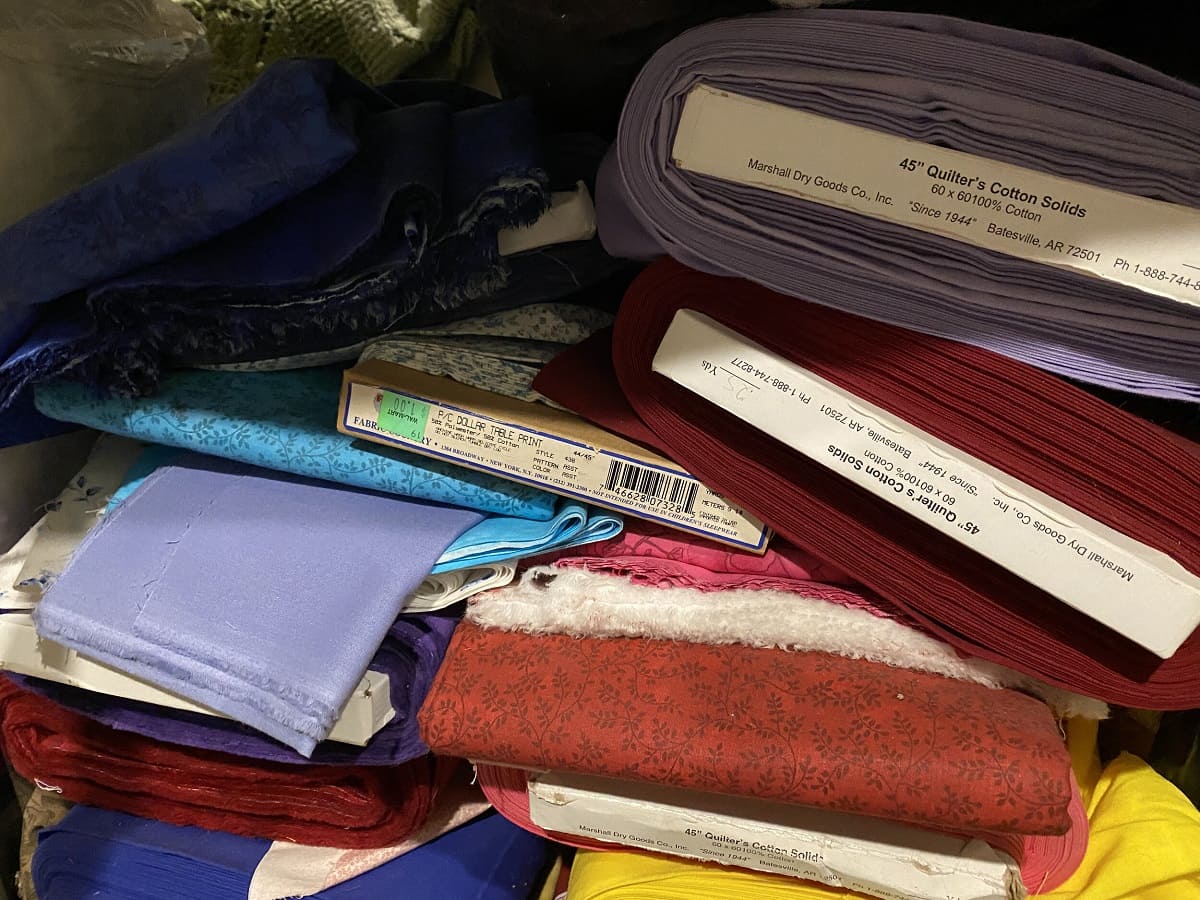
Now that you have sorted and organized your fabric collection, it’s time to select the right storage containers that will best protect and preserve your fabrics. The choice of storage containers is crucial as it directly impacts the longevity and condition of your quilting fabrics.
When choosing storage containers, there are a few factors to consider:
1. Material: Opt for containers made of high-quality, sturdy materials such as plastic or fabric. These materials are durable, moisture-resistant, and help protect your fabric from light and dust.
2. Size: Ensure that the containers are spacious enough to accommodate your largest fabric pieces without folding them too tightly. Avoid overcrowding the containers as this can cause creases and wrinkles in the fabric.
3. Transparency: Clear storage containers are preferable as they allow you to easily see what fabrics are inside without the need to open each container. This saves time and makes it easier to locate specific fabrics.
4. Accessibility: Consider how easily you can access your fabrics. Look for containers with lids that are easy to open and close, allowing you to retrieve your fabrics without hassle.
5. Stackability: If you have limited space, opt for containers that can be stacked safely without causing damage to the fabrics. Stackable containers will maximize your storage space while keeping your fabrics organized.
Another option to consider is hanging garment bags. These bags are ideal for storing larger pieces of fabric or fabric bolts. They protect the fabric from dust and allow for easy access and visibility.
Remember to assess your storage space and consider the dimensions and shapes of the containers. Ensure they fit well on your shelves or in the designated storage area. Measure the space beforehand to avoid purchasing containers that are too small or too large.
Lastly, make sure to invest in high-quality containers from reliable brands. This will ensure that the containers are durable, long-lasting, and capable of protecting your fabric collection over time.
By selecting suitable storage containers, you are taking an important step towards preserving the quality and accessibility of your quilting fabrics. With proper containers, your fabrics will remain in pristine condition and be readily available for your next quilting project.
Step 4: Properly folding and storing quilting fabric
Once you have chosen the suitable storage containers, it’s time to master the art of properly folding and storing your quilting fabric. Proper folding techniques not only save space but also help prevent wrinkles, creases, and damage to your fabrics.
Here are some guidelines to follow:
1. Start with a clean and flat surface: Before folding your fabric, make sure the surface is clean and free of dust and debris. This will help keep your fabric clean and prevent any dirt from transferring onto your fabrics during the folding process.
2. Avoid folding fabric along the selvage: Instead, fold your fabric width-wise or lengthwise, depending on the size and shape of the storage container. Folding along the selvage can cause strain on the fabric and lead to fraying over time.
3. Fold uniformly: To create a neat and organized fabric stash, fold your fabric uniformly to a specific size. This will help maximize space and make it easier to stack or store your fabrics in containers.
4. Use templates or rulers: To ensure consistent folding, use templates or rulers to guide the folding process. This will help create uniform folds and prevent fabric from becoming uneven or lopsided.
5. Opt for stackable storage: When stacking your folded fabrics, place the larger and heavier fabrics at the bottom, gradually working your way up to the lighter and smaller fabrics. This will help prevent crushing or damaging the fabrics at the bottom of the stack.
6. Protect your fabric: If you have fragile or delicate fabrics that require extra care, consider storing them individually in acid-free tissue paper or fabric storage bags. This will provide an added layer of protection against dust, light, and potential damage.
7. Consider fabric organization: Depending on your preferred organization method, you can store fabrics by color, print, or fabric type. Choose a system that works best for you and will allow for easy identification and retrieval of specific fabrics.
Remember to avoid overstuffing your storage containers as this can lead to wrinkles and difficulty in finding and retrieving fabrics. It’s important to strike a balance between utilizing storage space efficiently and allowing some breathing room for the fabrics.
By mastering the art of folding and storing your quilting fabric properly, you are ensuring that your fabrics remain in excellent condition and are easily accessible for future quilting projects.
Store quilting fabric in a cool, dry place away from direct sunlight to prevent fading and damage. Consider using plastic bins or fabric organizers to keep fabric neatly folded and easily accessible.
Read more: How To Make A Fabric Yo-Yo Quilt
Step 5: Labeling and cataloging your fabric stash
Labeling and cataloging your fabric stash is an essential step in ensuring easy and efficient access to your fabrics. By organizing and documenting your collection, you can quickly locate specific fabrics for your quilting projects without the need for rummaging through stacks or containers.
Here’s how to effectively label and catalog your fabric stash:
1. Label your storage containers: Use adhesive labels or masking tape to label each storage container. Include relevant information such as fabric type, color, print, and any other details that will help you identify the contents of the container without opening it.
2. Create a fabric inventory: Keep a written or digital inventory of your fabrics. This can be done using a spreadsheet, notebook, or even a dedicated fabric management app. Note down details such as fabric type, color, print, yardage, and any special characteristics or notes you want to add.
3. Use software or online tools: There are various software and online tools available specifically designed for managing fabric collections. These tools allow you to catalog and track your fabrics, including details such as yardage, purchase date, and project potential. Explore different options and choose one that suits your needs and preferences.
4. Take photos: To further enhance your fabric cataloging, consider taking photos of your fabrics. This visual reference can be helpful when planning projects or matching fabrics. You can store the photos alongside your inventory or in a separate folder for easy reference.
5. Update regularly: Keep your fabric inventory and labeling system up to date. Add new fabrics as you acquire them and remove fabrics that you no longer have. This will ensure that your catalog remains current and accurate.
6. Organize by project or theme: If you have specific projects or themes in mind, you can create separate sections within your fabric inventory. This will help you easily find fabrics that match a particular project or theme when needed.
7. Explore digital fabric swatches: Some fabric management tools allow you to create digital fabric swatches. These swatches allow you to visualize your fabrics digitally, making it easy to plan and audition fabrics for your quilting projects.
The key to effective labeling and cataloging is to find a system that works for you. Whether it’s a simple handwritten inventory or a robust digital tool, the goal is to create a system that helps you quickly and easily locate the fabrics you need for your quilting projects.
By taking the time to label and catalog your fabric stash, you’ll save time and frustration in the long run, allowing you to focus on the joy of quilting and creating beautiful projects.
Step 6: Creating a dedicated quilting workspace
Creating a dedicated quilting workspace is essential for any quilter who wants to fully immerse themselves in their craft. Having a designated area for quilting helps to enhance your creativity, productivity, and overall quilting experience. Here’s how to create your perfect quilting workspace:
1. Choose the right location: Select a space in your home that is well-suited for quilting. Ideally, you want an area with ample natural light, good ventilation, and enough room to accommodate your quilting essentials, such as your sewing machine, cutting table, and storage for fabric and supplies.
2. Set up your sewing machine: Find a sturdy table or desk for your sewing machine. Ensure that it is at a comfortable height and has sufficient workspace for your fabric. A well-positioned sewing machine will make your quilting process smooth and enjoyable.
3. Organize your tools and materials: Create storage solutions for your quilting tools, including rulers, cutting mats, rotary cutters, and scissors. Consider using wall-mounted pegboards, clear plastic bins, or drawer organizers to keep everything within reach and nicely organized.
4. Designate cutting and ironing areas: Set up a separate area for cutting fabric, complete with a large cutting mat and a rotary cutter. Ensure that you have enough horizontal space to lay out your fabric comfortably. Additionally, allocate space for an ironing board and iron to press your fabric as needed.
5. Incorporate storage solutions: Utilize shelves, storage cabinets, or bookcases to store your quilting fabrics, patterns, books, and other sewing supplies. Consider storing your fabrics in a way that allows you to easily see and access different prints and colors.
6. Personalize your space: Add a personal touch to your quilting workspace to make it feel welcoming and inspiring. Hang artwork, display quilts on the wall, or use decorative storage containers to infuse your personality into the space.
7. Ensure comfort: Invest in a comfortable chair with good back support to prevent strain during long quilting sessions. Consider adding proper lighting to your workspace to reduce eye strain and improve visibility while working on intricate quilting projects.
8. Create a design wall: If you have space, dedicate an empty wall in your quilting area for a design wall. This can be a felt-covered board or a pegboard where you can temporarily pin and arrange fabric pieces to visualize your quilt design before sewing them together.
A dedicated quilting workspace not only helps you stay organized but also serves as a creative sanctuary where you can escape into the world of quilting. It enhances your focus, productivity, and enjoyment of the quilting process while providing a space that reflects your passion for the craft.
Step 7: Maintaining and refreshing your fabric storage system
Once you’ve set up your fabric storage system and quilting workspace, it’s important to establish a routine for maintaining and refreshing your storage system. Regular maintenance will help keep your fabrics in good condition and ensure that your workspace remains organized and conducive to creativity. Here are some steps to follow:
1. Regularly assess and declutter: Set aside time periodically to assess and declutter your fabric collection. Remove any fabrics that you no longer love or plan to use in future projects. This will help keep your storage system organized and prevent it from becoming overcrowded.
2. Rearrange and rotate fabrics: Every so often, consider rearranging or rotating your fabrics. This can help you rediscover forgotten fabrics or inspire new creative ideas. Mix up the order or switch the location of fabrics within your storage containers to breathe new life into your collection.
3. Check for damage or fading: Inspect your fabrics regularly for any signs of damage, such as moth holes or fading. If you notice any issues, take appropriate steps to address them immediately. Consider storing delicate or vintage fabrics separately or in acid-free tissue paper to ensure their preservation.
4. Maintain cleanliness: Keep your fabric storage area clean and free from dust, as it can accumulate over time and affect the quality of your fabrics. Regularly dust the shelves, storage containers, and surfaces in your quilting workspace to maintain a clean and pleasant environment.
5. Revisit and update your catalog: Periodically review and update your fabric inventory and cataloging system. Remove fabrics that are no longer in your collection and add any new additions. This will help keep your catalog current and ensure that it remains a helpful tool for locating specific fabrics when needed.
6. Stay inspired: Keep your quilting workspace fresh and inspiring by adding new elements or decor. Display favorite quilts, inspirational quotes, or artwork to infuse your space with creativity and motivation. Consider rearranging the layout of your workspace for a renewed sense of energy.
7. Embrace change: Allow yourself to evolve and adapt your fabric storage system as needed. As your quilting journey progresses, your preferences and needs may change. Be open to reevaluating and adjusting your storage system to accommodate any shifts in your fabric collection or quilting style.
By incorporating these steps into your regular fabric storage maintenance routine, you’ll ensure that your fabrics remain in optimal condition and your quilting workspace continues to be a source of inspiration and creativity.
Remember, maintaining and refreshing your fabric storage system is an ongoing process. Embrace the journey and enjoy the benefits of a well-organized and inspiring quilting space.
Conclusion
In conclusion, proper fabric storage is essential for maintaining the quality, accessibility, and longevity of your quilting fabrics. By following the steps outlined in this article, you can create a well-organized and inspiring fabric stash that enhances your quilting experience.
Assessing your fabric storage needs allows you to choose suitable storage containers and create a system that works for you. Sorting and organizing your fabric collection by color, print, or fabric type makes it easier to locate specific fabrics when needed.
Properly folding and storing your quilting fabric helps prevent wrinkles, creases, and damage, ensuring that your fabrics stay in pristine condition. Labeling and cataloging your fabric stash, whether through physical labels or digital tools, allows for easy identification and retrieval of fabrics.
Creating a dedicated quilting workspace provides a space where you can fully immerse yourself in your craft, with everything you need within reach. Regular maintenance and refreshing of your fabric storage system help keep your fabrics in good condition and ensure your workspace remains organized and inspiring.
By following these steps, you’ll have a well-organized fabric stash that sparks creativity and enhances your quilting journey. So go ahead, dive into your fabric collection, create a storage system that suits your needs, and enjoy the endless possibilities that quilting has to offer!
Frequently Asked Questions about How To Store Quilting Fabric
Was this page helpful?
At Storables.com, we guarantee accurate and reliable information. Our content, validated by Expert Board Contributors, is crafted following stringent Editorial Policies. We're committed to providing you with well-researched, expert-backed insights for all your informational needs.


0 thoughts on “How To Store Quilting Fabric”