Articles
How To Quilt Fabric
Modified: January 5, 2024
Learn how to quilt fabric with our informative articles. Discover tips, techniques, and step-by-step guides for creating beautiful quilts.
(Many of the links in this article redirect to a specific reviewed product. Your purchase of these products through affiliate links helps to generate commission for Storables.com, at no extra cost. Learn more)
Introduction
Welcome to the world of quilting! Quilting is a versatile and rewarding craft that allows you to create beautiful and functional fabric masterpieces. Whether you are a beginner or an experienced quilter, this article will guide you through the process of quilting fabric.
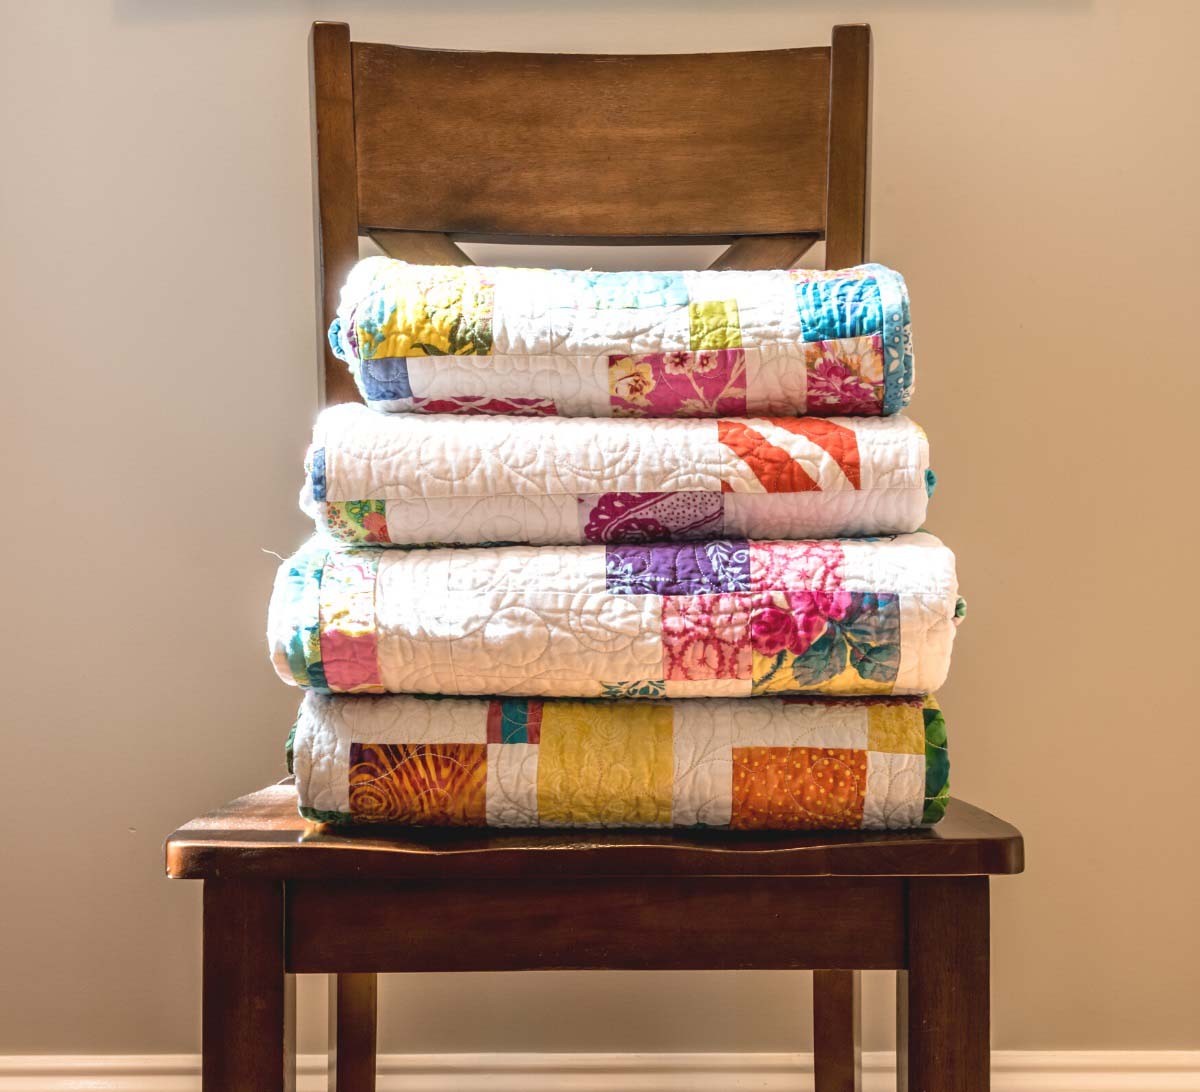
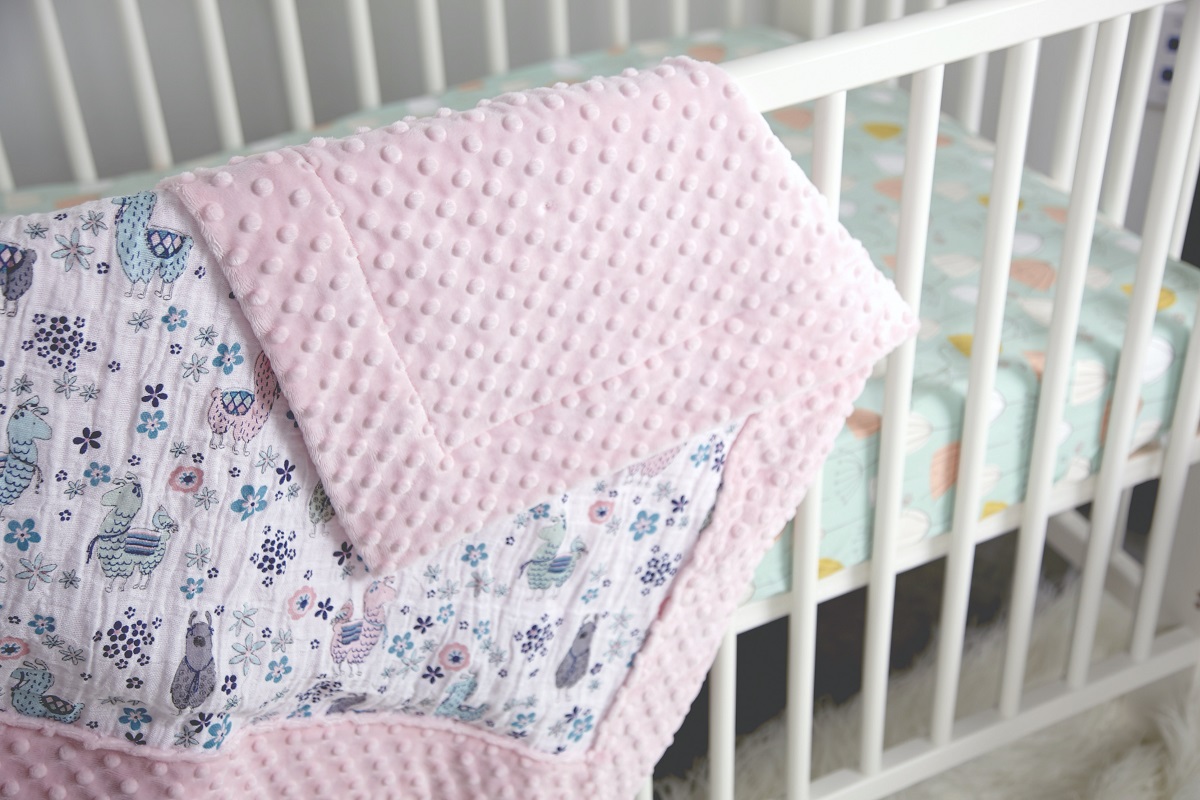
Quilting involves sewing multiple layers of fabric together to create a quilt. Quilts can be used as blankets, wall hangings, or decorative pieces. They can be made in various sizes, patterns, and designs, making quilting a truly customizable and unique art form.
In this article, we will walk you through the step-by-step process of quilting fabric, from gathering supplies to adding the final touches. So, grab your sewing machine and let’s dive into the world of quilting!
Key Takeaways:
- Dive into the world of quilting and create unique fabric masterpieces by carefully selecting fabrics, piecing them together, and adding the finishing touches. Let your creativity soar and enjoy the rewarding process of quilting!
- Transform ordinary fabric into beautiful and functional quilts by gathering the right supplies, preparing your sewing machine, and adding borders and binding. Each stitch tells a story, so embrace the joy of quilting and create something truly remarkable!
Read more: How To Store Quilting Fabric
Gathering Supplies
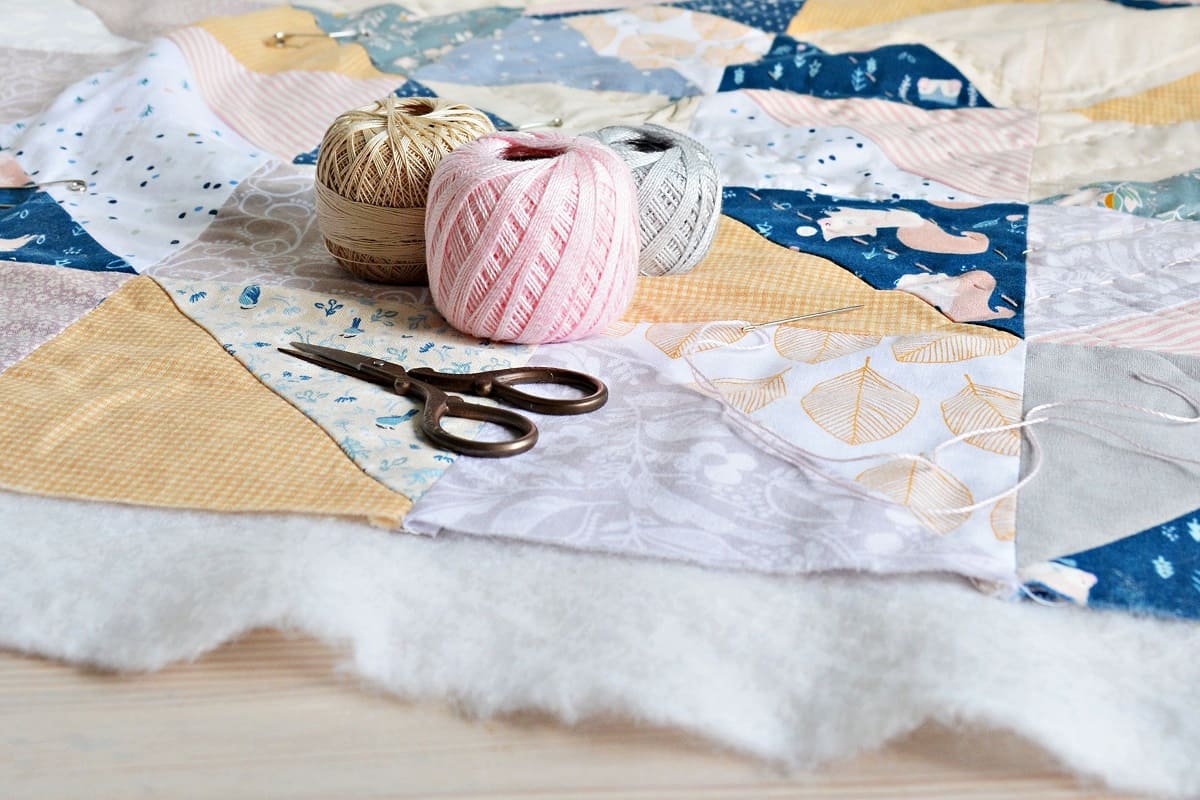
Before you start quilting, it’s important to gather all the necessary supplies. Here’s a list of essential items you will need:
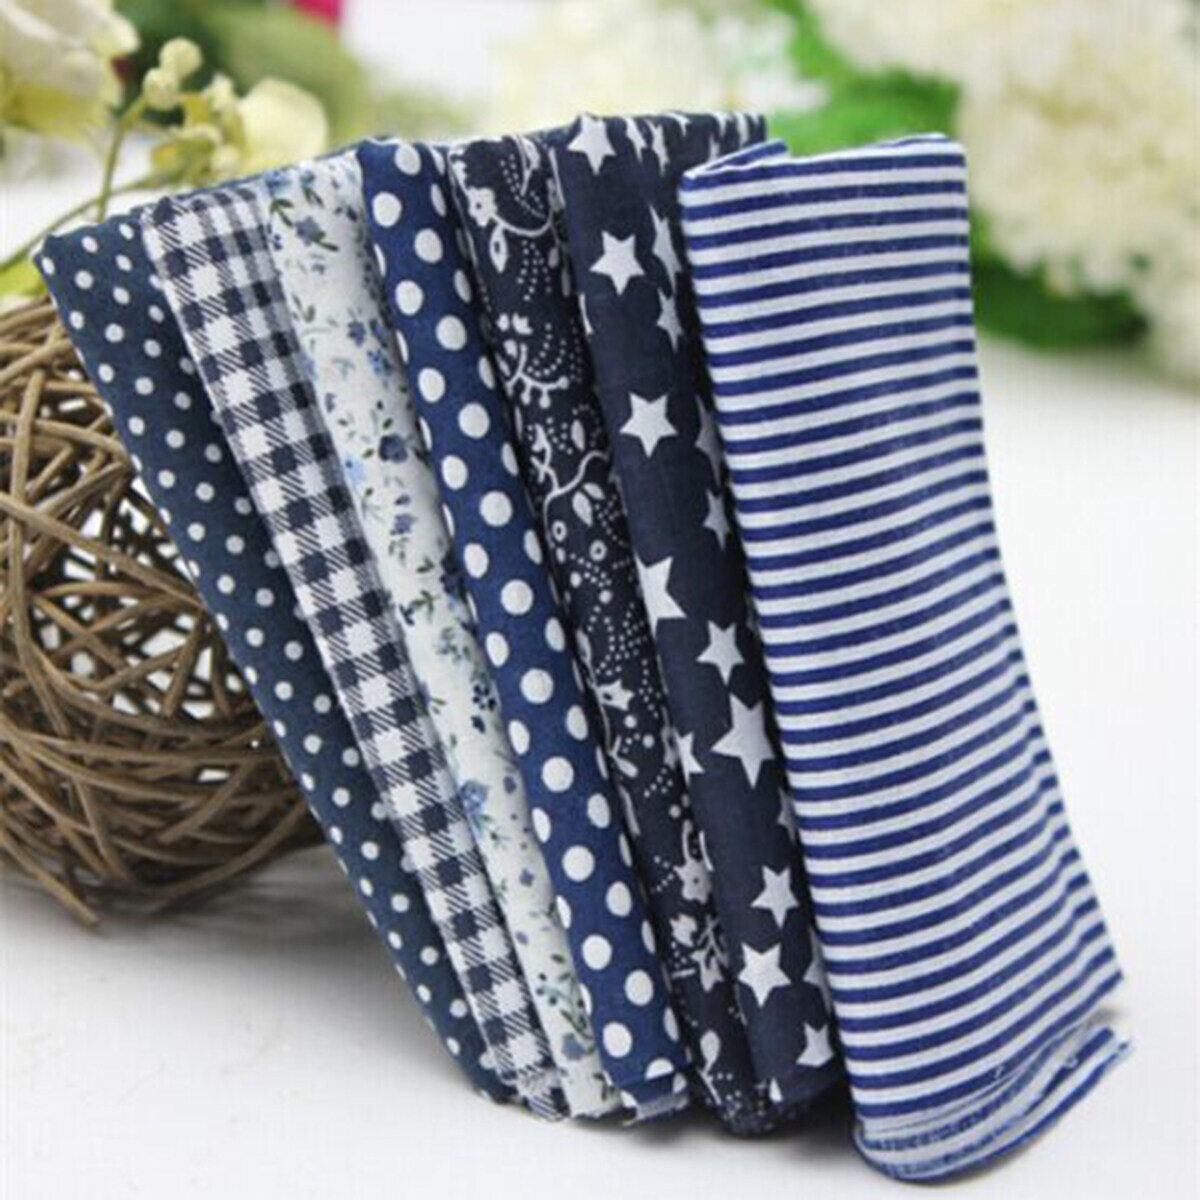
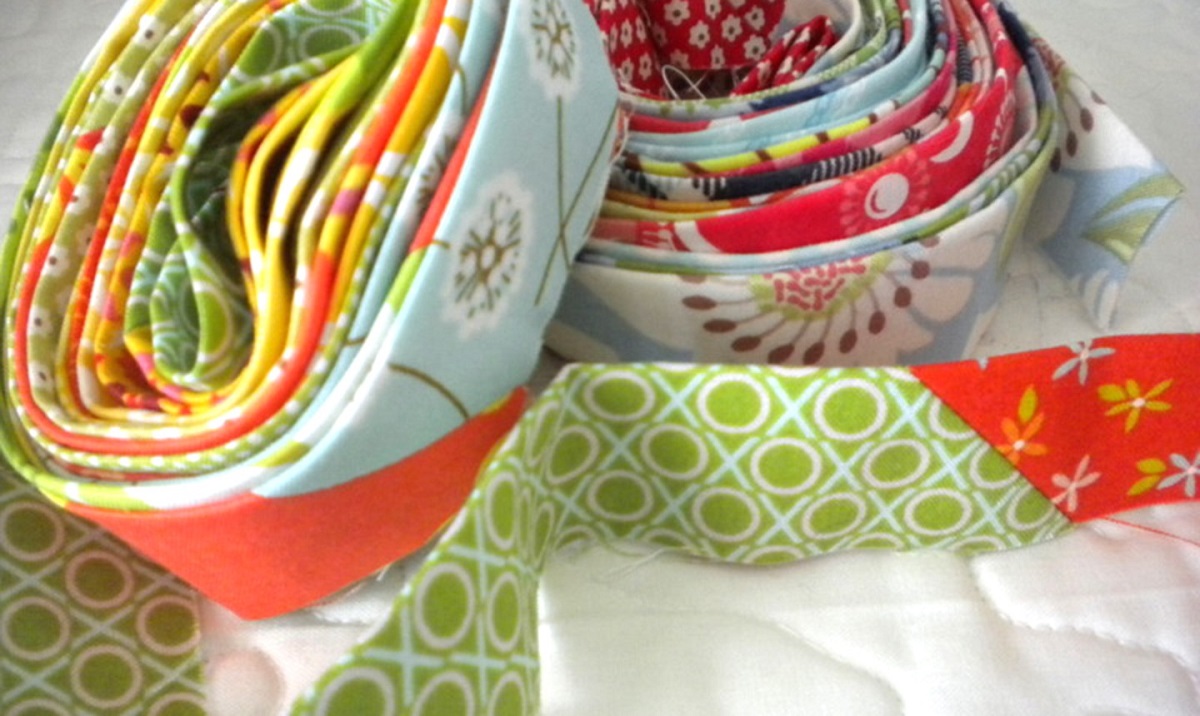
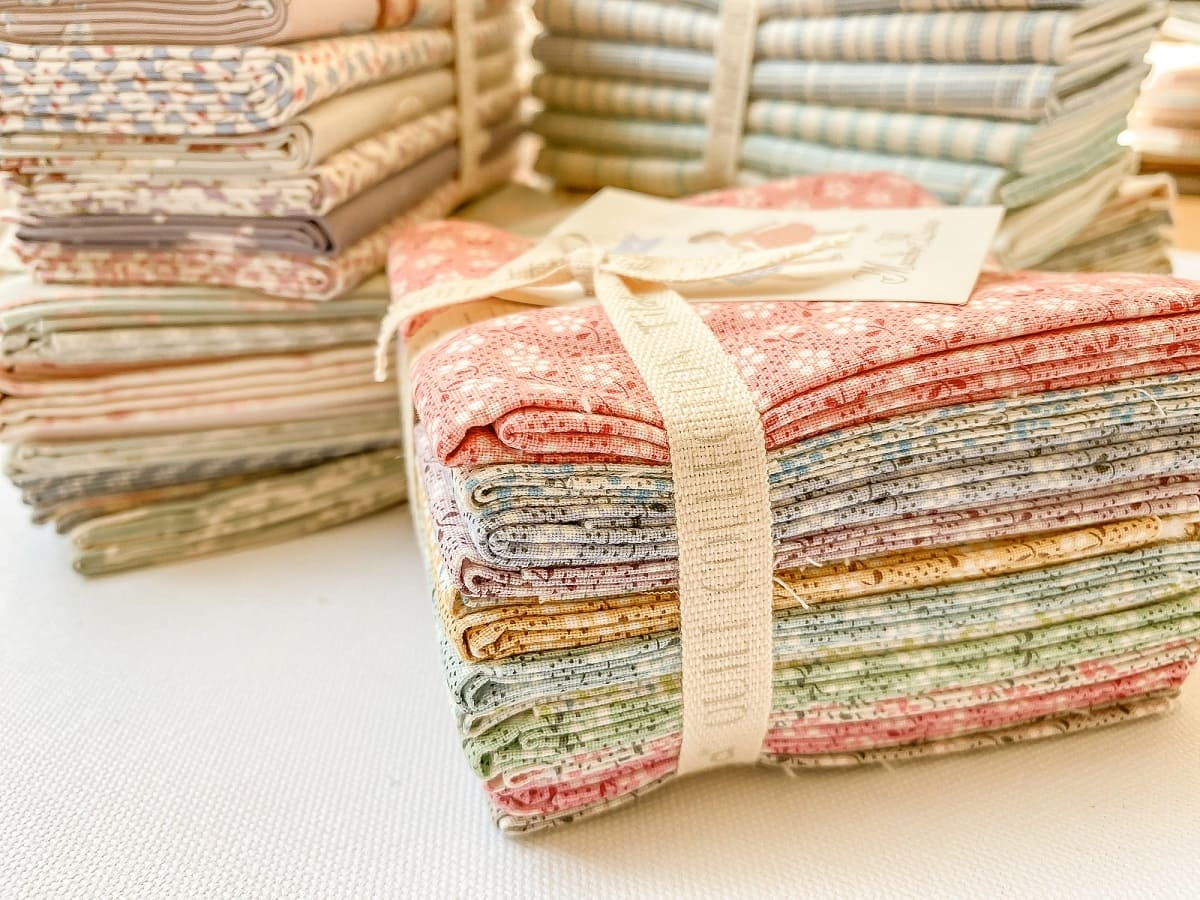
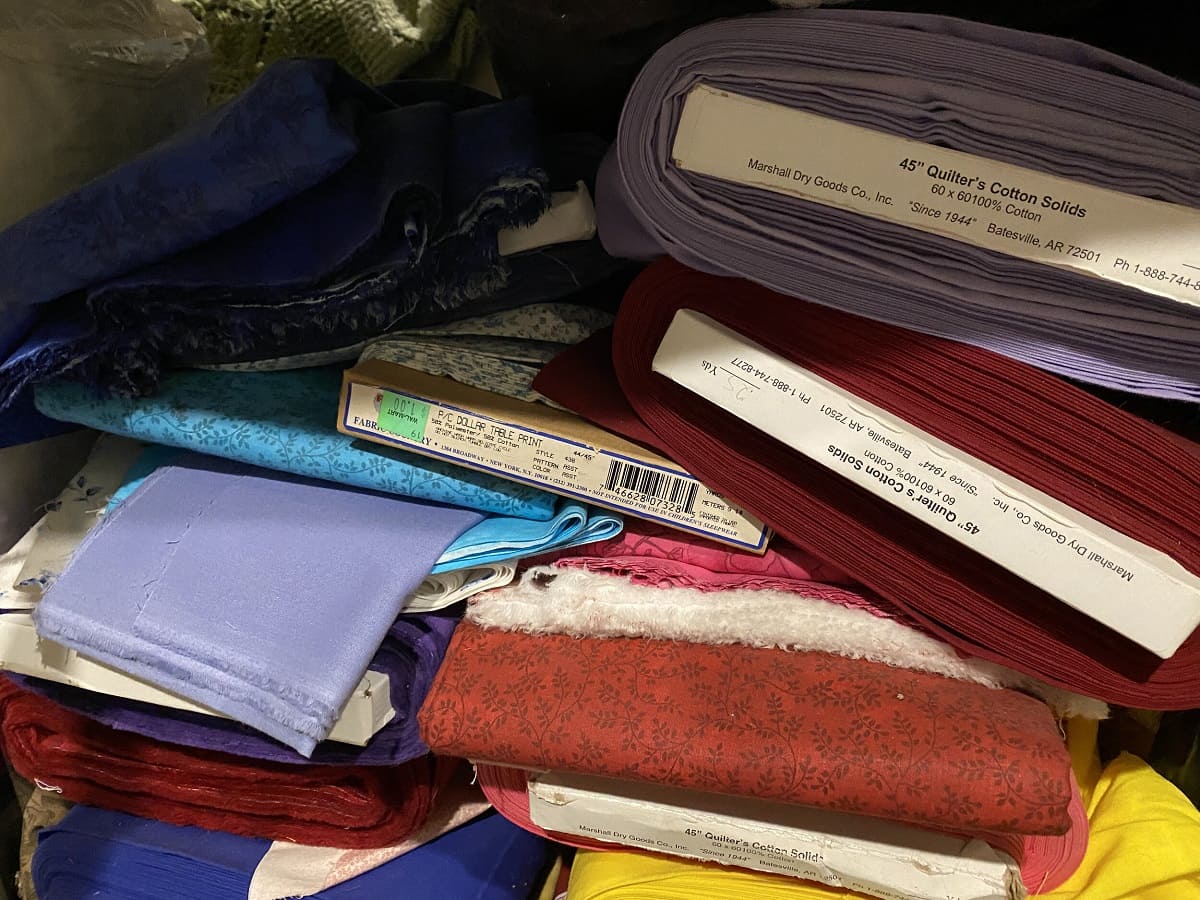
- Fabric: Choose a variety of fabrics in different colors and patterns that complement each other. Consider the size of your quilt and the desired design.
- Rotary Cutter and Cutting Mat: These tools will help you accurately cut the fabric into the desired shapes and sizes.
- Ruler: A quilting ruler with clear markings is essential for precise measurements and straight lines.
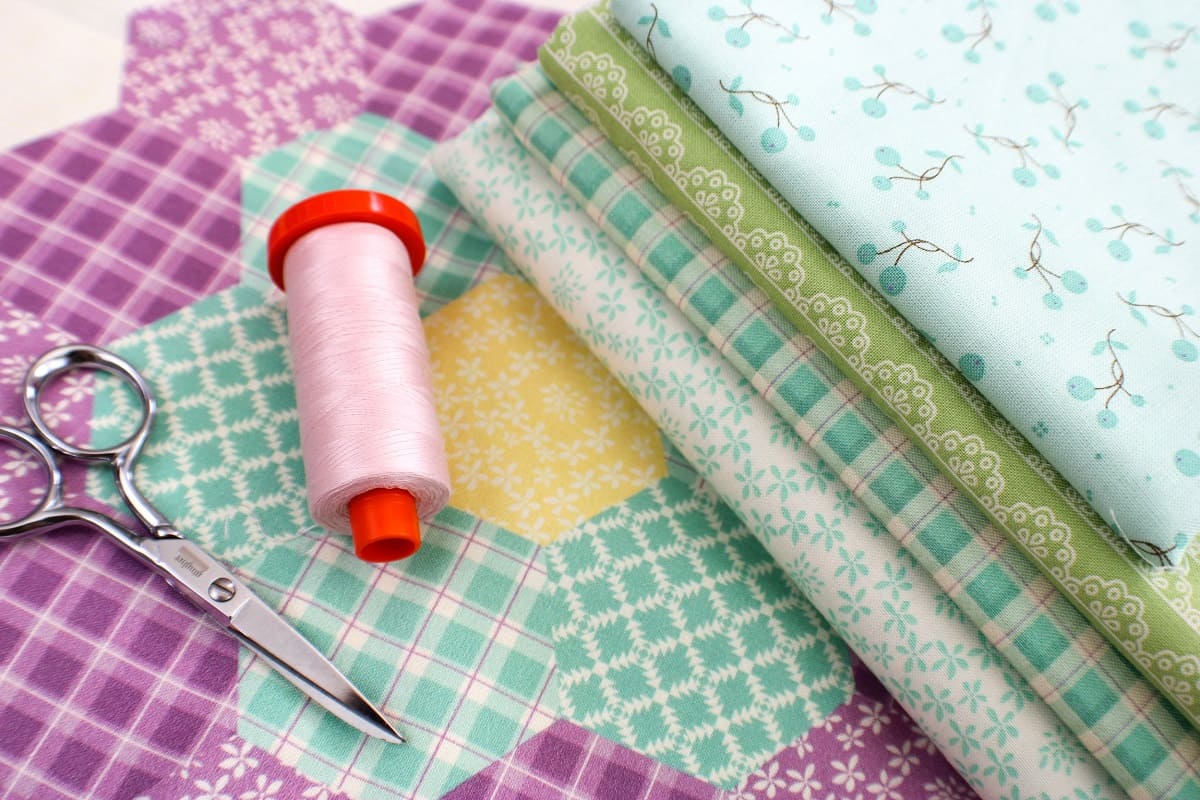
- Thread: Select a high-quality thread that matches or blends well with the fabric colors.
- Pins: Use straight pins to hold the fabric layers together during the quilting process.
- Quilting Needles: These needles have a larger eye and a sharp point, making them ideal for stitching through multiple layers of fabric.
- Sewing Machine: Invest in a reliable sewing machine that offers different stitching options for quilting.
- Iron and Ironing Board: Pressing the fabric before and during quilting ensures precise seams and a professional finish.
- Batting: This is the soft, inner layer of the quilt that provides warmth and loftiness. Choose batting based on the desired thickness and warmth of the finished quilt.
- Backing Fabric: The backing fabric is the final layer of the quilt sandwich. Select a fabric that complements the front design.
- Quilting Marking Tools: These tools help you create guidelines or patterns on the fabric for quilting.
- Scissors: A sharp pair of fabric scissors is essential for cutting threads and snipping fabric.
Make sure to have all these supplies on hand before you start quilting. Having the right tools will make the process smoother and more enjoyable.
Choosing Fabric
Choosing the right fabric is a crucial step in creating a visually stunning quilt. Here are some tips to help you select the perfect fabrics for your project:
- Consider the Project: Think about the purpose and use of the quilt. If you’re making a cozy blanket, opt for soft and warm fabrics like flannel or cotton. If it’s a wall hanging or decorative piece, you can experiment with different textures and materials.
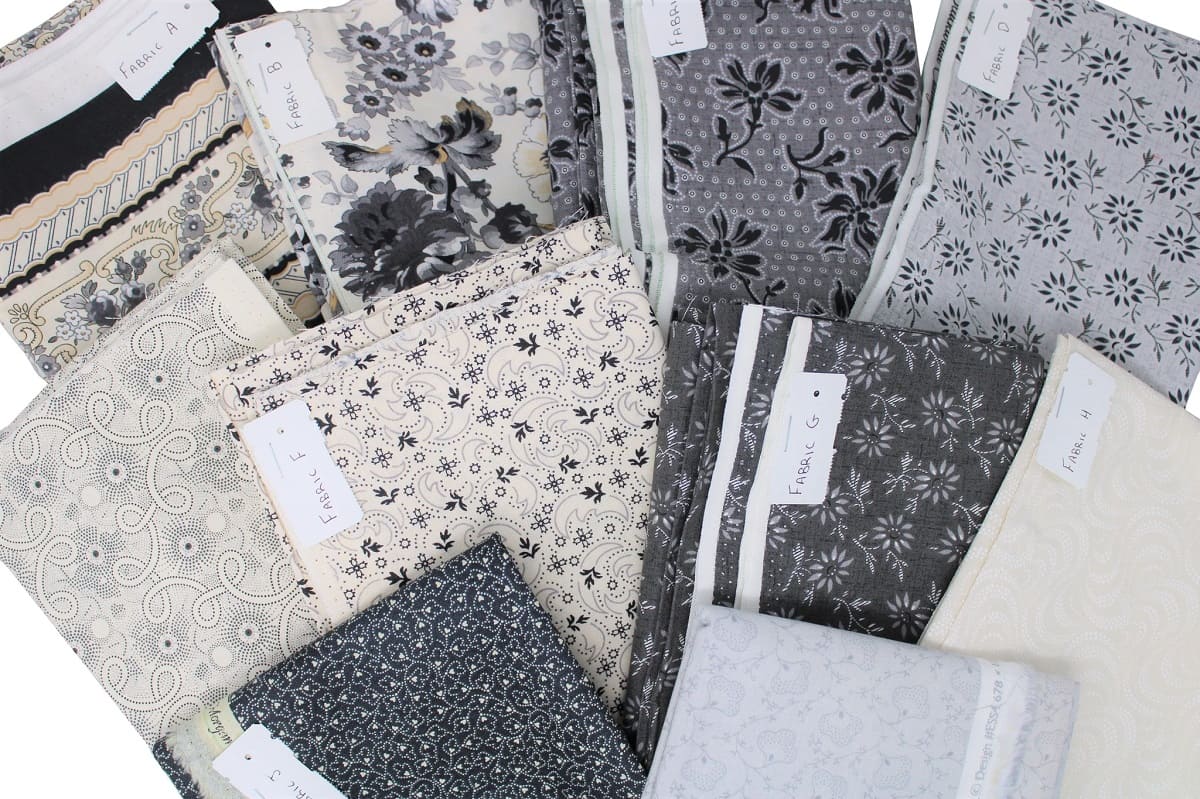
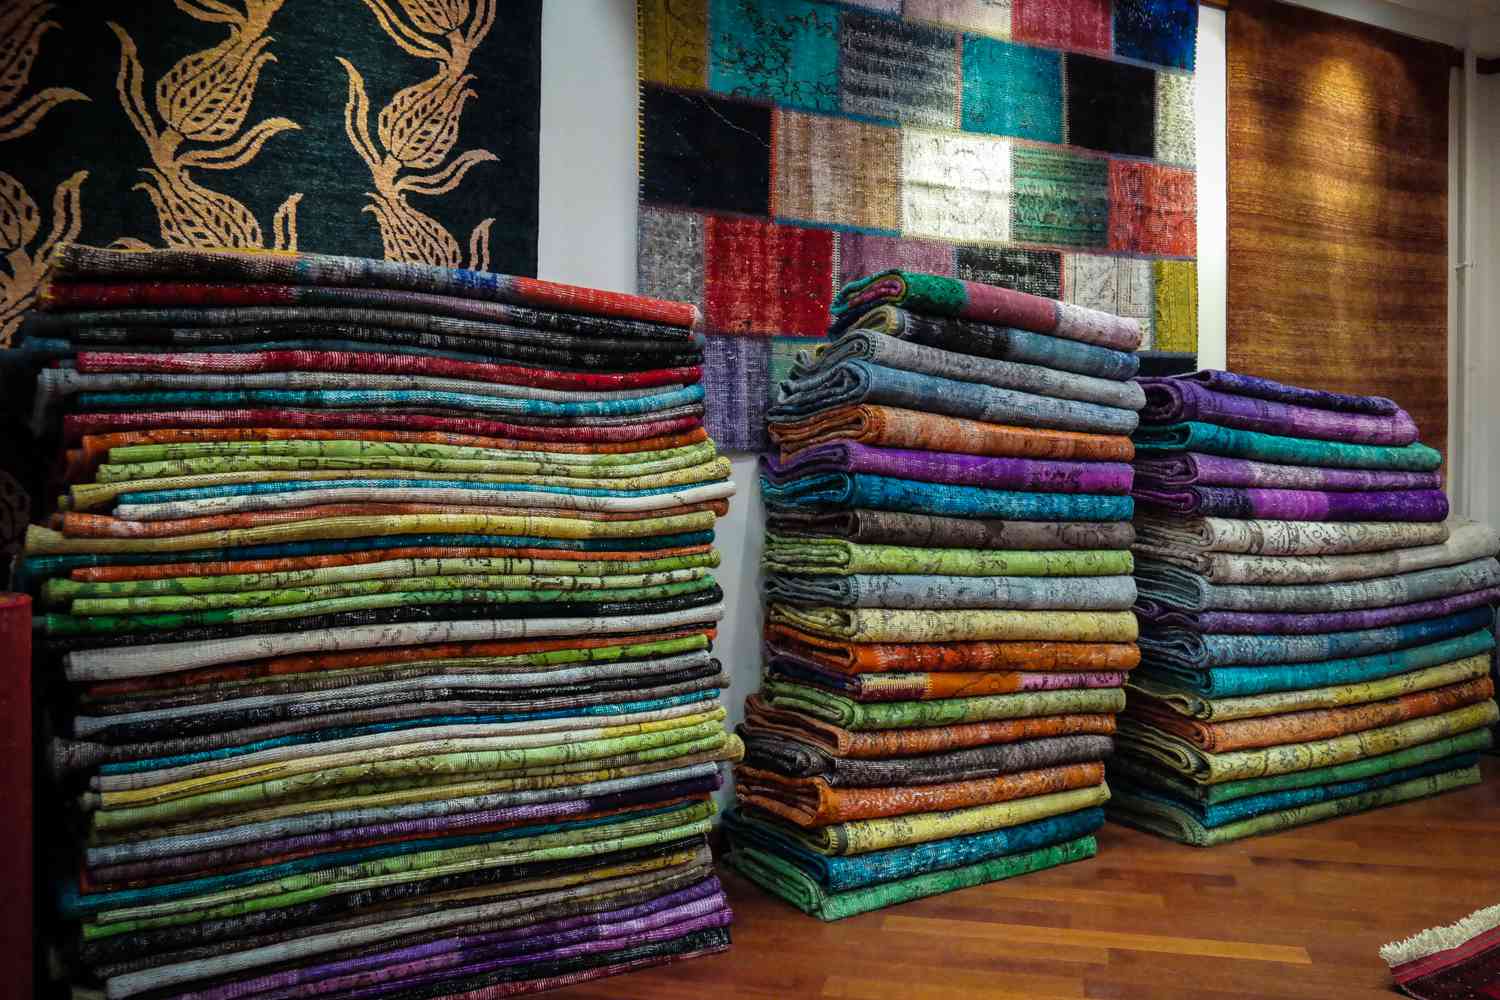
- Color Palette: Decide on a color scheme that harmonizes with your overall design. You can choose a monochromatic palette for a sleek and sophisticated look, or go for a mix of complementary colors for a vibrant and lively quilt.
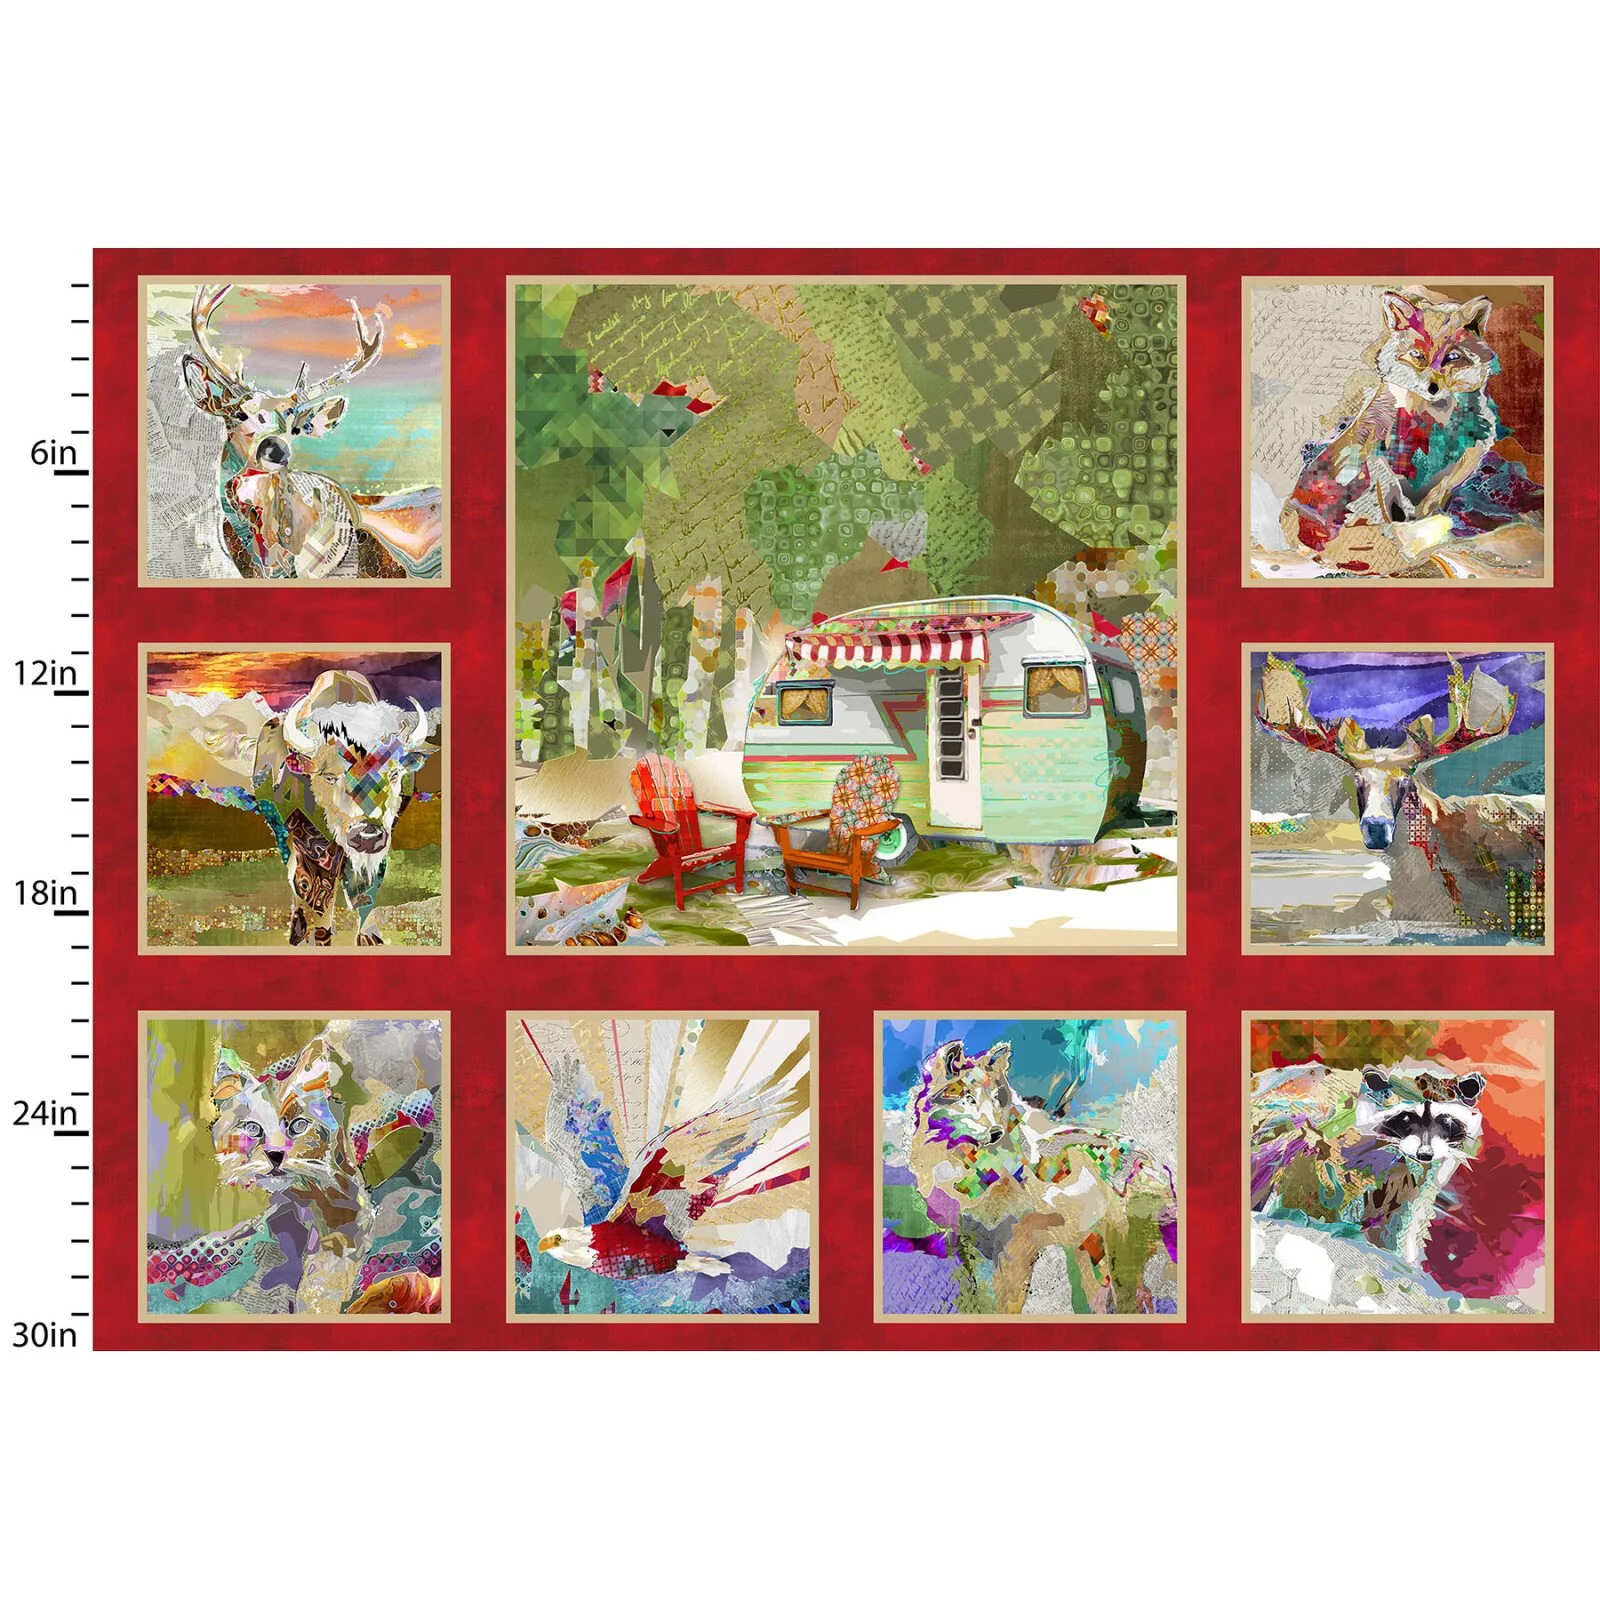
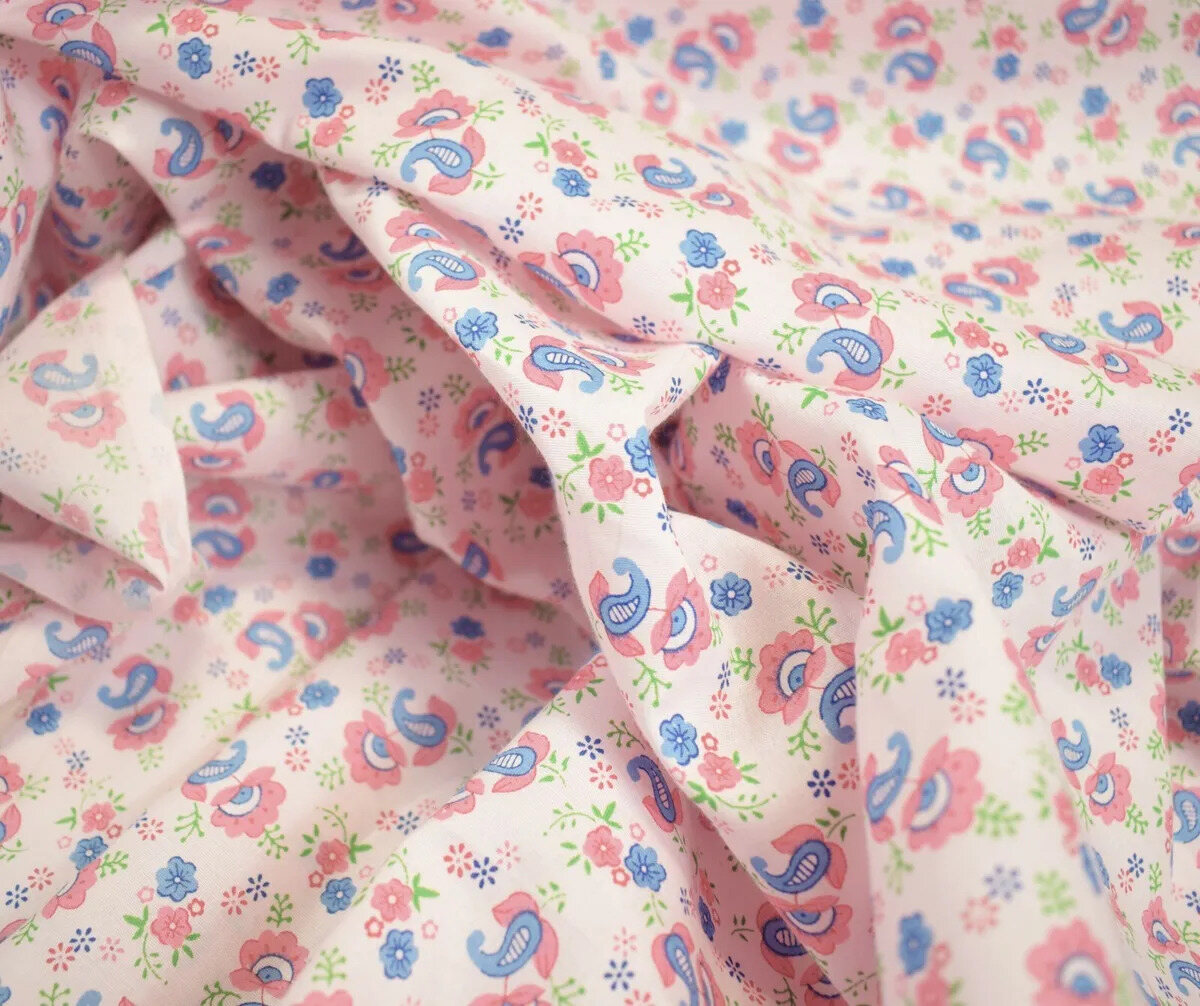
- Prints and Patterns: Mix and match different prints and patterns to add visual interest to your quilt. Consider using a variety of scales, such as large-scale florals with small-scale geometric prints, to create contrast and balance.
- Texture and Tone: Take into account the texture and weight of the fabric. Some fabrics have a smooth and crisp texture, while others are soft and textured. Think about the effect you want to achieve and how the fabrics will work together.
- Value and Contrast: Pay attention to the value of the fabrics, which refers to the lightness or darkness. Incorporate a mix of light, medium, and dark fabrics to create depth and contrast in your quilt.
- Pre-washing: Consider pre-washing your fabrics before quilting. This will remove any sizing or chemicals and prevent shrinkage later on. It will also help you determine how the fabrics will behave after washing.
When choosing fabric, trust your instincts and go with what speaks to you. It’s your quilt, and your creative choices will make it unique and personal. Don’t be afraid to experiment and try new combinations!
Once you have selected your fabrics, you can move on to the next step: cutting the fabric.
Cutting Fabric
Now that you have gathered your fabrics, it’s time to cut them into the desired shapes and sizes for your quilt. Follow these steps to ensure accurate and precise cuts:
- Measurements: Begin by measuring and determining the dimensions of your quilt blocks or pieces. Use a quilting ruler and a rotary cutter for precise measurements.
- Prepare the Fabric: Before cutting, iron the fabric to remove any wrinkles or creases. This will ensure that the fabric lays flat and allows for accurate cutting.
- Orientation: Pay attention to the pattern direction and orientation of the fabric. If you want certain motifs or elements to be facing a particular way, make sure to align the fabric accordingly.
- Layering: Depending on the quilt design, you may need to layer multiple fabrics on top of each other before cutting. Ensure they are aligned correctly and use pins or fabric weights to hold them together, if necessary.
- Rotary Cutting: Place the quilting ruler on top of the fabric, ensuring it aligns with the desired measurements. Hold the ruler firmly in place and use a rotary cutter to make precise and straight cuts along the edge of the ruler.
- Repeat: Repeat the cutting process for all the pieces you need to complete your quilt design. Take your time and double-check your measurements to avoid any mistakes.
Remember to handle your rotary cutter with caution as it is a sharp tool. Always cut away from your body and keep your fingers away from the blade. It’s a good idea to use a self-healing cutting mat to protect your work surface.
Once you have cut all your fabric pieces, you are ready to move on to the next step: preparing the sewing machine.
Preparing the Sewing Machine
Before you start sewing your quilt, you’ll need to prepare your sewing machine to ensure smooth and efficient stitching. Follow these steps to get your machine ready:
- Clean and Oil: Start by cleaning your sewing machine and removing any dust or lint that may have accumulated. Refer to your machine’s manual for specific instructions on cleaning. After cleaning, apply a drop or two of sewing machine oil to the recommended areas to keep the machine running smoothly.
- Thread Selection: Choose a thread that matches or complements your fabric. Ensure that you have enough thread on the spool to avoid running out in the middle of sewing.
- Bobbin Winding: Wind a bobbin with the same thread you will be using on the top. Insert the bobbin into the bobbin case following your machine’s instructions.
- Thread the Machine: Thread your machine according to the instructions in your manual. Make sure the thread is properly inserted through the tension discs, thread guides, and needle. Test the stitching on a scrap piece of fabric to ensure the tension is set correctly.
- Sew a Sample: Sew a sample piece of fabric to check that the stitches are even and the tension is correct. Adjust the tension if needed.
- Presser Foot and Needle Selection: Select the appropriate presser foot for your quilting project. Choose a quilting foot or a walking foot for quilting layers of fabric together. Additionally, use a quilting needle that can handle the thickness of your fabric layers.
By properly preparing your sewing machine, you will minimize the chance of thread breakage, skipped stitches, and other sewing issues. Take the time to familiarize yourself with your machine’s features and settings for a smoother quilting experience.
With your sewing machine ready, you can now move on to the exciting part: piecing the fabric together to create your quilt top!
Read more: How To Quilt With Minky Fabric
Piecing the Fabric
Piecing the fabric is the process of sewing together individual fabric pieces to create the quilt top. This is where your design and creativity come into play. Follow these steps to piece your fabric:
- Layout: Arrange your fabric pieces according to the design and pattern you have in mind. Lay them out on a flat surface and experiment with different arrangements until you are satisfied with the overall look.
- Organize: Once you have finalized the layout, gather the pieces in order. You can use pins or fabric markers to indicate the order in which they should be sewn together.
- Seam Allowance: Determine the desired seam allowance for your project. The standard is usually 1/4 inch, but it can vary depending on personal preference or pattern instructions.
- Align and Pin: Take the first two fabric pieces that need to be sewn together. Place them right sides together, aligning the edges that need to be stitched. Pin them together to secure them in place.
- Sewing: Set your sewing machine to a straight stitch and start sewing along the pinned edge, using the designated seam allowance. Backstitch at the beginning and end of each seam for durability.
- Pressing: After sewing each seam, press the fabric open with an iron. This will flatten the seam and create a neater appearance.
- Continue: Repeat the process of aligning, pinning, sewing, and pressing for each fabric piece until you have completed piecing the entire quilt top.
Remember to take your time and be accurate in aligning and sewing the fabric pieces together. Precision and attention to detail in this step will ensure that your quilt top looks cohesive and well-crafted.
Once you have pieced all the fabric together, you can move on to the next step: sewing the quilt top.
Sewing the Quilt
Now that your quilt top is pieced together, it’s time to sew the layers of the quilt together. Follow these steps to sew your quilt:
- Prepare the Batting and Backing: Lay your quilt backing fabric right side down on a flat surface. Smooth out any wrinkles or creases. Place the batting on top of the backing fabric, ensuring it is centered and aligned correctly.
- Add the Quilt Top: Carefully place your quilt top on the batting and backing, right side up. Make sure it is centered and aligned with the backing fabric and batting.
- Pin or Baste: Use safety pins or basting stitches to secure the layers together. Work from the center outwards, smoothing out any wrinkles and ensuring the layers are taut.
- Quilting Method: Decide on the quilting method you want to use. You can opt for hand quilting, machine quilting, or a combination of both. Choose a quilting design that complements your quilt’s style and enhances its visual appeal.
- Start Quilting: Begin quilting in the center of the quilt and work your way towards the edges. Follow your chosen quilting design, stitching through all three layers – the quilt top, batting, and backing fabric. Take your time and ensure even stitches.
- Quilting Tools: If using a sewing machine, use a quilting foot or walking foot to help maneuver the layers smoothly. Adjust the tension and stitch length as needed. If hand quilting, use a quilting hoop or frame to hold the layers in place.
- Optional Quilting Techniques: You can incorporate additional quilting techniques such as stippling, free-motion quilting, or appliqué to add texture and interest to your quilt.
- Continue Quilting: Quilt across the entire surface of the quilt, securing the layers together. Take breaks as needed and rest your hands and wrists to avoid fatigue.
- Backstitch and Knot: Once you have completed the quilting, backstitch or secure the threads at the beginning and end of each quilting line. If hand quilting, knot the thread securely and hide the knot between the layers.
Quilting the layers together is a time-consuming process, but it’s an essential step to ensure durability and give your quilt its unique character. Take your time, enjoy the process, and embrace the beauty of your quilt taking shape.
Once you have finished quilting, you can move on to adding borders to your quilt.
When quilting fabric, always start with a clean and ironed piece of fabric to ensure a smooth and even stitching process. This will help prevent any wrinkles or puckering in the finished quilt.
Adding Borders
Adding borders to your quilt not only enhances its design but also provides a finished look. Follow these steps to add borders to your quilt:
- Measurements: Measure the sides of your quilt to determine the length of the border strips. Make sure to measure the quilt at multiple points to account for any inconsistencies.
- Fabric Selection: Choose a fabric for your borders that complements the colors and design of your quilt. Consider using a fabric that contrasts with the quilt top to make it stand out.
- Cutting Border Strips: Cut the fabric into border strips according to the measurements you took earlier. The width of the strips is entirely up to your preference and the desired look of your quilt.
- Attaching Borders: Starting with one side of the quilt, place the border strip right sides together along the edge of the quilt top. Pin it in place, aligning the raw edges.
- Sewing: Using a 1/4 inch seam allowance, sew the border strip to the quilt top. Backstitch at the beginning and end to secure the stitches.
- Pressing: After sewing each border strip, press the seam allowance away from the quilt top. This will help the border lay flat and create a crisp appearance.
- Repeat: Repeat the process for the remaining sides of the quilt. Measure, cut, pin, sew, and press each border strip, ensuring they are aligned and have consistent width.
Adding borders allows you to frame your quilt and give it a polished finish. The size and number of borders can vary depending on your design preference. You can opt for a single border or multiple borders to create a unique look.
Once you have added all the borders, your quilt is almost complete. The next step is to quilt the layers together.
Quilting the Layers
Quilting the layers together is an essential step that not only secures the quilt but also adds texture and visual interest. Follow these steps to quilt the layers of your quilt:
- Prepare the Quilt Sandwich: Lay your quilt backing fabric right side down on a flat surface. Smooth out any wrinkles or creases. Place the batting on top of the backing fabric, ensuring it is centered and aligned correctly. Finally, lay your quilt top right side up on top of the batting, aligning it with the backing fabric and batting.
- Pin or Baste: Use safety pins or basting stitches to secure the layers together. Work from the center outwards, smoothing out any wrinkles and ensuring the layers are taut. This will hold the layers in place during quilting.
- Select a Quilting Method: Decide whether you want to hand quilt or machine quilt your quilt. Hand quilting offers a traditional and personalized touch, while machine quilting provides speed and precision. Choose the method that suits your preference and skill level.
- Marking: If desired, mark a quilting design or pattern on your quilt top using quilting stencils, stenciling tools, or washable fabric markers. This will provide guidelines for your quilting stitches.
- Quilting Stitches: If hand quilting, thread a quilting needle with a length of quilting thread. Start stitching from the center of your quilt and work your way outwards, following the marked design or quilting in a freestyle pattern. If machine quilting, select the desired quilting stitch on your sewing machine and follow the marked design or quilt in straight or free-motion patterns.
- Tension and Stitches: Adjust the tension and stitch length on your sewing machine to achieve balanced and even stitches. Test on a scrap fabric first to ensure the settings are correct.
- Quilting Sections: Quilt small sections of your quilt at a time, gradually working your way across the entire quilt. This will prevent the layers from shifting or bunching during the quilting process.
- Take Breaks: Quilting can be a time-consuming process, so remember to take breaks to rest and avoid fatigue. This will ensure that your stitches remain consistent and your quilting remains enjoyable.
- Backstitch and Knot: Once you have completed quilting your entire quilt, backstitch or secure the threads at the beginning and end of each quilting line. If hand quilting, knot the thread securely and hide the knot between the layers.
Quilting the layers of your quilt adds both structural integrity and aesthetic appeal. Experiment with different quilting designs and techniques to create a finished quilt that reflects your personal style and creativity.
Once you have finished quilting, the final step is to add the binding to your quilt.
Read more: How To Cut Fabric For Quilt
Binding the Quilt
Binding is the finishing touch that gives your quilt a polished and professional look. Follow these steps to bind your quilt:
- Prepare the Binding Strips: Cut fabric strips for your binding. The width of the strips is typically 2.5 inches, but you can adjust the width based on your preference. Calculate the total length needed by measuring the perimeter of your quilt and adding a few extra inches for seam allowance and corners.
- Joining the Strips: Sew the binding strips together on the diagonal to create a continuous strip. This will ensure you have enough length for the entire quilt. Trim the excess fabric and press the seams open or to one side.
- Prepare the Quilt Edges: Trim the excess batting and backing fabric so they are flush with the quilt top. Make sure the corners are squared off for a clean finish.
- Attaching the Binding: Starting in the middle of one side, align the raw edges of the binding strip with the raw edges of the quilt. Leave a few inches of binding loose at the start and begin stitching with a 1/4 inch seam allowance.
- Corners: When you reach a corner, stop stitching a quarter-inch away from the edge. Fold the binding strip up, forming a 45-degree angle. Then, fold it back down, aligning the raw edges with the next side of the quilt. Continue stitching from the corner, sewing along the next side.
- Finishing the Binding: Once you’ve sewn around the entire quilt, leave around 8 inches of binding loose. Trim the excess binding, leaving some overlap. Open up the loose end and the beginning of the binding and place them right sides together. Sew across the diagonal from corner to corner, creating a diagonal seam. Trim the excess fabric and press the seam open or to one side.
- Hand Stitching: Fold the binding over the raw edges of the quilt to the backside. Secure the binding with pins or clips. Use a hand needle and coordinating thread to stitch the binding down using a whipstitch or ladder stitch. Take care to hide your stitches within the binding.
- Final Pressing: Once the binding is securely stitched in place, give the quilt a final press to ensure a crisp, professional finish.
Binding provides a neat and tidy edge to your quilt while also securing the layers together. Take your time with this step, as it adds the final touch to your quilt and enhances its overall appearance.
With the binding complete, your quilt is ready for the final touches.
Final Touches
After all the hard work you’ve put into quilting your fabric, it’s time to add the final touches to your quilt. Here are a few finishing steps to complete your masterpiece:
- Trimming: Use a ruler and rotary cutter to trim any excess batting or backing fabric that extends beyond the quilt top. This will give your quilt clean edges and a polished look.
- Labeling: Create a fabric label with your name, the date, and any other meaningful information about the quilt. Attach the label to the back of the quilt using a hand-sewing needle and thread.
- Washing and Blocking: If desired, give your quilt a gentle wash to remove any markings or dirt. Follow the fabric care instructions and air-dry or machine-dry as recommended. After washing, you can block your quilt to ensure it lays flat and square.
- Binding Embellishments: If you want to add a decorative element to your binding, consider attaching a trim or piping along the edge. This can add an extra pop of color or texture to your quilt.
- Quilt Sleeve: If you plan to hang your quilt, sew a fabric sleeve along the top edge of the quilt back. This will allow you to insert a hanging rod or dowel for display.
- Photographing: Capture the beauty of your finished quilt by taking high-quality photographs. Share your work on social media or create a portfolio to showcase your quilting accomplishments.
Remember to enjoy the process of finishing your quilt and take pride in your completed work. Whether you keep the quilt for yourself or gift it to someone special, it is a testament to your creativity and skill.
Congratulations on completing your quilt! Now it’s time to admire your handiwork and revel in the satisfaction of a job well done.
Creating a Masterpiece
Quilting fabric allows you to create one-of-a-kind pieces that showcase your artistic vision and craftsmanship. From gathering supplies to adding the final touches, each step in the quilting process contributes to the beauty and functionality of your fabric creation.
Remember to take your time, be meticulous in your measurements and cutting, and experiment with different techniques and designs. Whether you are a novice or an experienced quilter, each project offers an opportunity to learn and grow.
So, dive into your fabric collection, let your creativity soar, and create a quilt that will be treasured for generations to come.
Happy quilting!
Conclusion
Quilting fabric is a truly rewarding and creative endeavor. With the right supplies, techniques, and a dash of imagination, you can transform ordinary fabric into a beautiful and functional quilt. Throughout this article, we have explored the step-by-step process of quilting, from gathering supplies to adding the final touches.
By carefully selecting fabrics, cutting them into precise shapes, and piecing them together, you can create a quilt top that reflects your personal style and vision. Preparing your sewing machine and quilting the layers together adds structure and texture to your quilt, making it truly come to life.
The addition of borders and the finishing touch of binding give your quilt a polished and professional look. These final steps showcase your attention to detail and complete the overall design. Don’t forget the importance of the final touches, such as trimming, labeling, and preserving your quilt for years to come.
Quilting is not just a craft; it’s an art form that allows you to express your creativity and create something entirely unique. Whether you’re making a quilt for yourself, a loved one, or as a work of art, the process is both fulfilling and therapeutic. So take the time to choose beautiful fabrics, experiment with different patterns and techniques, and don’t be afraid to let your imagination run wild.
As you embark on your quilting journey, remember that every stitch tells a story. Each quilt you create becomes a part of your legacy, carrying with it memories, love, and warmth. So embrace the joy of quilting fabric and create something truly remarkable with your own two hands.
Happy quilting!
Frequently Asked Questions about How To Quilt Fabric
Was this page helpful?
At Storables.com, we guarantee accurate and reliable information. Our content, validated by Expert Board Contributors, is crafted following stringent Editorial Policies. We're committed to providing you with well-researched, expert-backed insights for all your informational needs.


0 thoughts on “How To Quilt Fabric”