
Articles
How To Store Cookie Sheets
Modified: March 25, 2024
Learn how to store and organize your cookie sheets with these helpful articles. Keep your kitchen tidy and maximize space with our tips and tricks.
(Many of the links in this article redirect to a specific reviewed product. Your purchase of these products through affiliate links helps to generate commission for Storables.com, at no extra cost. Learn more)
Introduction
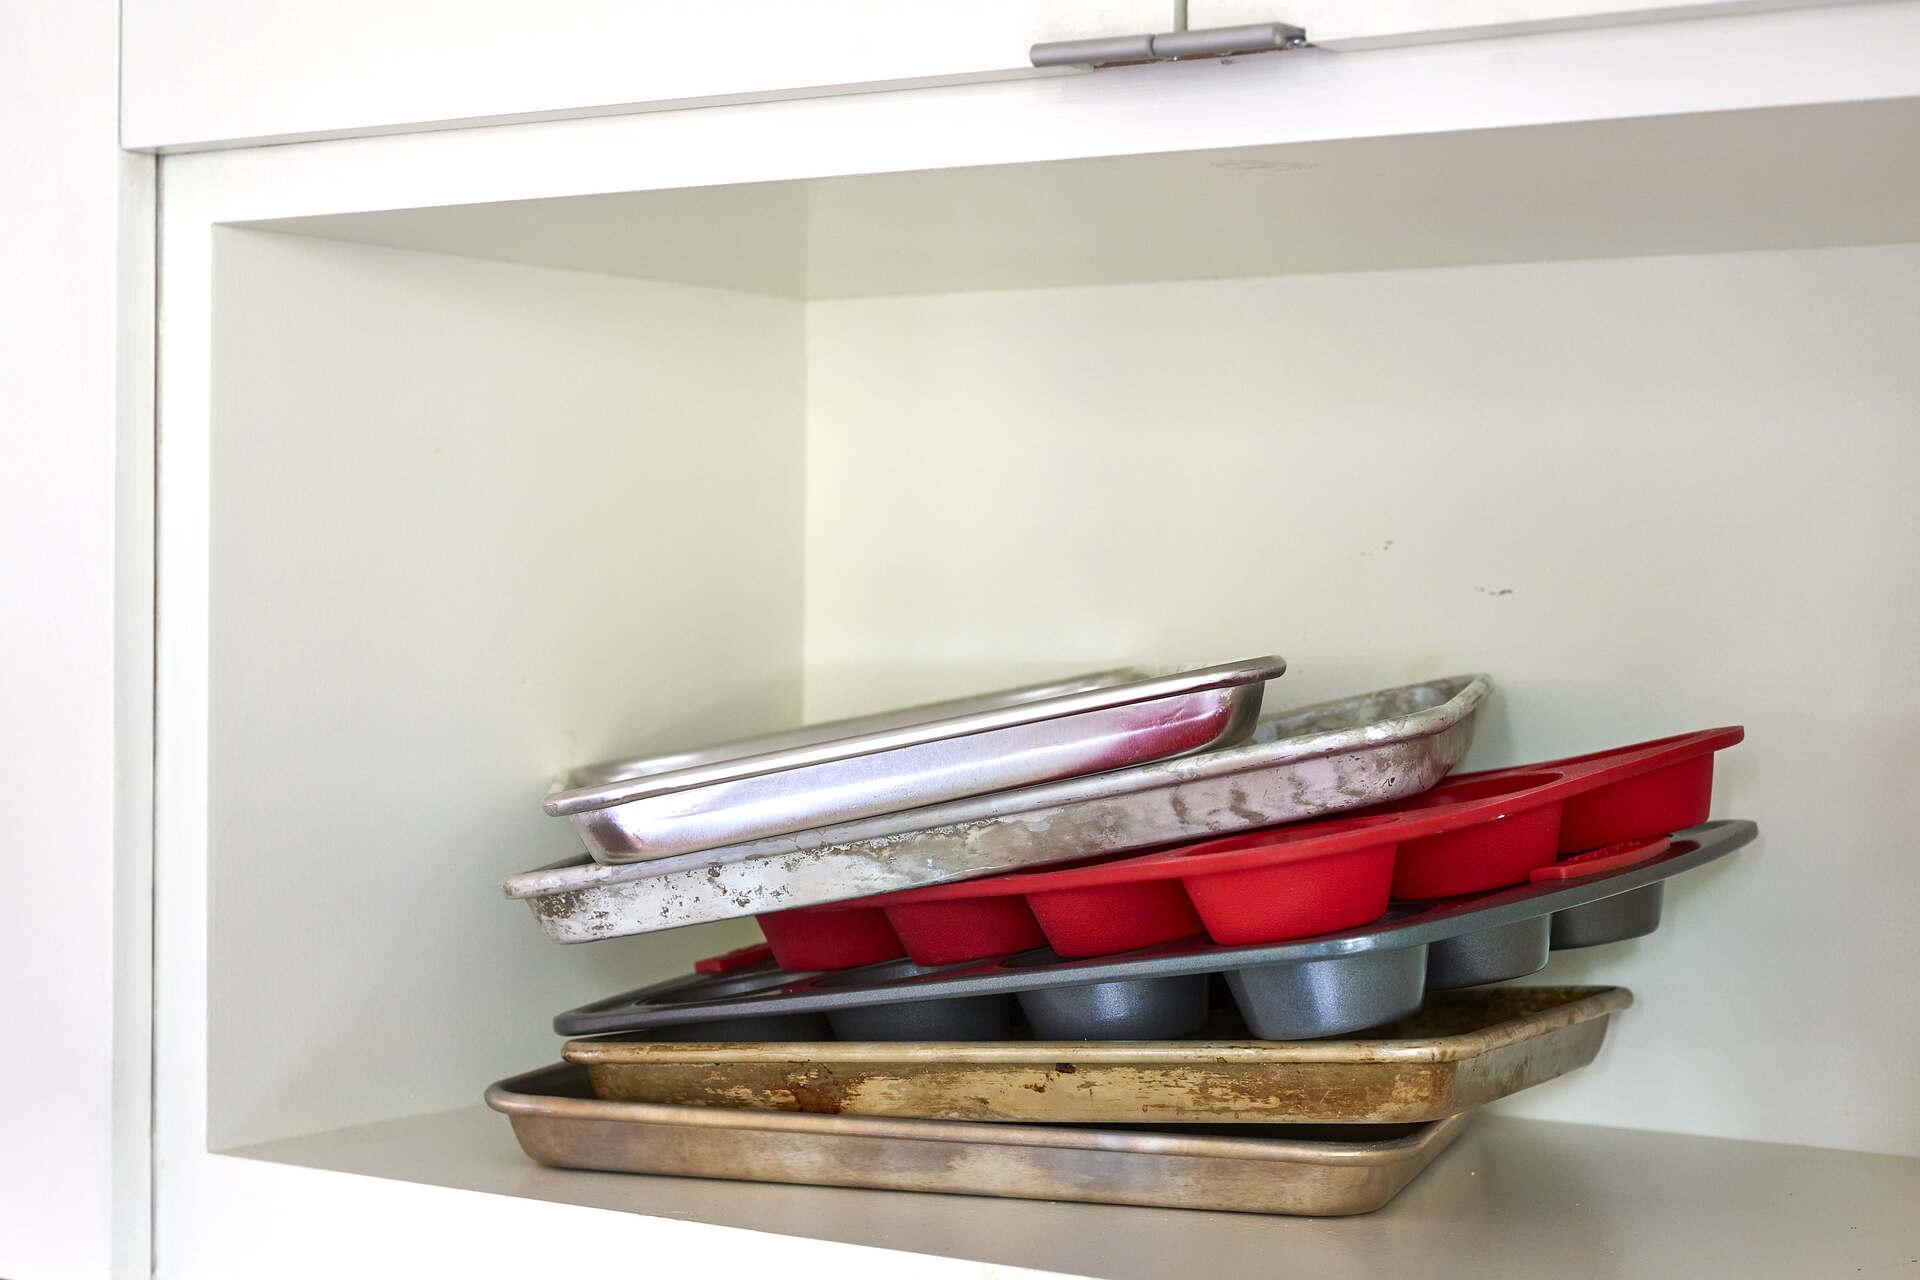
Cookie sheets are an essential tool in any baker’s kitchen. They allow us to bake delicious cookies, pastries, and other treats to perfection. However, storing these sheets can sometimes be a challenge. Many of us simply stack them in a messy pile in a kitchen cabinet, resulting in warped sheets, scratched surfaces, and wasted space. But fear not! In this article, we will explore the importance of proper cookie sheet storage and provide you with a step-by-step guide on how to store them efficiently.
Properly storing your cookie sheets not only helps to keep them in good condition but also makes your baking experience more convenient and enjoyable. By following these storage techniques, you can extend the lifespan of your cookie sheets, protect them from damage, and make it easier to find the right sheet when you need it.
In the following sections, we will discuss various tips and methods to store your cookie sheets effectively. From cleaning and organizing your storage space to using dividers and racks, we will cover everything you need to know. So, let’s get started and learn how to store your cookie sheets like a professional baker!
Key Takeaways:
- Properly storing cookie sheets is essential for maintaining their quality, preventing damage, and ensuring a seamless baking experience. Follow the step-by-step guide to protect your investment and enjoy perfectly baked treats.
- From cleaning and organizing your storage space to using dividers and racks, learn how to efficiently store your cookie sheets and enhance your overall baking experience. Happy baking!
Read more: How To Store Cookies
Why Proper Storage is Important
Properly storing your cookie sheets is not just about keeping your kitchen organized; it is crucial for the longevity and functionality of your baking tools. Here are a few reasons why proper storage is important:
- Prevents Warping: Cookie sheets are typically made of metal, which can warp when exposed to extreme temperatures or when stacked improperly. Storing your cookie sheets flat or vertically can help prevent warping and maintain their shape.
- Avoids Scratches and Damage: Stacking cookie sheets on top of one another without any protection can lead to scratches, dents, and other damage. This not only affects their appearance but can also impact their performance. Proper storage techniques can help protect your cookie sheets from unnecessary wear and tear.
- Makes Retrieval Easy: When you have multiple cookie sheets piled haphazardly in a cabinet, it can be frustrating to find the one you need. By organizing and storing your sheets properly, you can easily retrieve the one you want without wasting time or creating a mess.
- Maximizes Storage Space: Storing your cookie sheets in an organized manner allows you to maximize your storage space. By utilizing dividers, racks, or vertical storage options, you can make the most of your cabinet or pantry space and free up room for other kitchen essentials.
- Ensures Food Safety: Proper storage helps to keep your cookie sheets clean and free from any contaminants that can affect the taste and quality of your baked goods. Regularly cleaning and storing your sheets in a dry place reduces the risk of bacterial growth or cross-contamination.
Now that we understand why proper storage is important let’s dive into the step-by-step guide on how to store your cookie sheets effectively for optimal results.
Step 1: Clean and Dry the Cookie Sheets
Before storing your cookie sheets, it is essential to ensure that they are clean and dry. Leftover grease, crumbs, and residue from previous baking sessions can attract pests and cause unpleasant odors. Follow these steps to clean and dry your cookie sheets:
- Scrape off Excess Food: Use a spatula or a soft cloth to remove any remaining crumbs or stuck-on food particles from the cookie sheets.
- Soak in Warm Soapy Water: Fill a sink or basin with warm water and add a few drops of mild dish soap. Place the cookie sheets in the soapy water and let them soak for a few minutes to loosen any stubborn stains or residue.
- Scrub with a Non-Abrasive Sponge: Gently scrub the cookie sheets using a non-abrasive sponge or dishcloth. Focus on areas with stains or stuck-on food. Avoid using harsh cleaning tools or abrasive scrubbers, as they can scratch the surface of the sheets.
- Rinse Thoroughly: After scrubbing, rinse the cookie sheets with clean water to remove any soap residue. Ensure that all soap is washed off to prevent any unwanted flavors from transferring to your baked goods.
- Dry Completely: Once rinsed, dry the cookie sheets thoroughly using a clean towel or air-drying rack. Make sure there is no moisture left on the sheets, as it can lead to rust or other forms of damage.
By cleaning and drying your cookie sheets before storage, you ensure that they are ready for their next use and reduce the risk of any lingering odors or contamination. Now that your cookie sheets are sparkling clean, it’s time to move on to the next step – organizing your storage space.
Step 2: Organize Your Storage Space
Having an organized storage space for your cookie sheets not only makes it easier to find and retrieve them but also prevents unnecessary damage. Follow these steps to organize your storage space:
- Empty the Cabinet or Pantry: Begin by removing all items from the cabinet or pantry where you plan to store your cookie sheets. This will give you a clean slate to work with.
- Remove Unnecessary Items: Take this opportunity to declutter and remove any items that you no longer need or use. Donate or discard items that are taking up unnecessary space.
- Clean and Wipe Down: Thoroughly clean and wipe down the interior of the cabinet or pantry. Remove any dust, crumbs, or debris to create a clean environment for your cookie sheets.
- Consider Shelf Liners: If desired, line the shelves with shelf liners to protect them from scratches and create a smooth surface for your cookie sheets.
- Group Similar Items Together: Organize your storage space by grouping similar items together. For example, place baking pans, cookie sheets, and other bakeware in the same section for easy access.
- Utilize Vertical Space: If you have limited shelf space, consider utilizing the vertical space in your cabinet or pantry. Install wire racks or adjustable shelf dividers to create extra storage space for your cookie sheets.
- Keep Frequently Used Items Within Reach: Arrange your cookie sheets in a location that is easily accessible. Keep the ones you use frequently within reach to save time and effort during baking sessions.
By organizing your storage space, you not only create a visually pleasing and efficient environment but also reduce the risk of accidental damage to your cookie sheets. Now that your storage space is ready, let’s move on to the next step – using dividers or racks to separate your cookie sheets.
Step 3: Use Dividers or Racks to Separate Cookie Sheets
Using dividers or racks is a great way to keep your cookie sheets separated and prevent them from scratching or damaging each other. Follow these steps to effectively separate your cookie sheets:
- Select Dividers or Racks: Choose dividers or racks that are suitable for your storage space and the size of your cookie sheets. There are various options available, such as adjustable dividers, wire racks, or even repurposing file organizers.
- Measure and Adjust: Measure the width and height of your cabinet or pantry shelves so that you can adjust the dividers or racks accordingly to fit your specific space.
- Insert Dividers: Place the dividers vertically in your cabinet or pantry, creating individual slots for each cookie sheet. Adjust the dividers as needed to ensure a snug fit and to prevent the sheets from moving around.
- Stack Vertically: Slide your cookie sheets vertically into the slots created by the dividers. Place one sheet per slot to prevent them from scratching or damaging each other.
- Consider Using Rack Systems: If you prefer a rack system, you can place your cookie sheets horizontally on the rack. The rack will provide stability and ensure that the sheets are separated and easily accessible.
Using dividers or racks not only keeps your cookie sheets organized but also prevents them from getting scratched or damaged. This method is especially useful if you have limited storage space. Now that your cookie sheets are separated, let’s move on to the next step – stacking them vertically.
After cleaning, store cookie sheets vertically in a divider rack or use tension rods in a cabinet to keep them organized and easily accessible.
Read more: How To Store Cookie Cake
Step 4: Stack Cookie Sheets Vertically
Stacking your cookie sheets vertically is an effective way to save space and prevent warping or scratching. Follow these steps to stack your cookie sheets vertically:
- Arrange Sheets in Order of Size: Start by arranging your cookie sheets in order of size, from smallest to largest. This will make it easier to stack them in a stable and organized manner.
- Place the Largest Sheet at the Bottom: Begin the vertical stack by placing the largest cookie sheet at the bottom. This provides a sturdy base for the rest of the sheets.
- Stack Sheets Gradually: Place the next sheet on top of the base cookie sheet, followed by the next largest sheet, and so on. Make sure each sheet is aligned properly and centered on the one below it.
- Separate With Non-Slip Liners: For additional protection, consider placing non-slip liners or silicone baking mats between each cookie sheet to prevent them from sliding or scratching against each other.
- Avoid Overstacking: Be mindful not to overstack your cookie sheets, as this can put excessive weight and pressure on the lower sheets, potentially causing them to warp. Keep the stack within a manageable height.
Stacking your cookie sheets vertically not only saves space but also helps to maintain their shape and prevents any unnecessary damage. By following these steps, you can easily retrieve the desired sheet without having to shuffle through a messy pile. Now that your cookie sheets are neatly stacked, let’s explore the option of using silicone baking mats for added convenience.
Step 5: Consider Using Silicone Baking Mats
Using silicone baking mats is an excellent option to protect your cookie sheets and enhance your baking experience. Consider following these steps to incorporate silicone baking mats into your storage routine:
- Choose High-Quality Silicone Mats: Select silicone baking mats that are durable, heat-resistant, and of the appropriate size for your cookie sheets. Opt for mats that are FDA-approved and free from harmful chemicals.
- Place Silicone Mats on the Cookie Sheets: Before placing your dough or batter on the cookie sheet, lay a silicone baking mat on top. These mats provide a non-stick surface, eliminating the need for greasing or parchment paper.
- Store Cookie Sheets with Silicone Mats: When not in use, consider storing your cookie sheets with the silicone baking mats still attached. The mats act as a protective barrier, preventing direct contact between the sheets and other items, which reduces the risk of scratches or damage.
- Roll or Fold Mats to Save Space: If you need to save space, roll or fold the silicone baking mats before storing them along with the cookie sheets. Make sure they are dry and clean to avoid any moisture or odor buildup.
- Clean and Maintain Silicone Mats: Regularly clean your silicone baking mats according to the manufacturer’s instructions. They are typically dishwasher-safe, but hand washing with mild soap is also suitable. Ensure the mats are completely dry before storing them.
Using silicone baking mats not only helps to protect your cookie sheets from scratches and damage but also provides a convenient non-stick surface for baking. By incorporating these mats into your storage routine, you can save time and effort in greasing or cleaning the sheets. Now that you have considered using silicone baking mats, let’s move on to the next step – finding the ideal storage location for your cookie sheets.
Step 6: Store in a Cool and Dry Place
Properly storing your cookie sheets in a cool and dry place is essential to maintain their quality and prevent any potential damage. Follow these steps to find the ideal storage location:
- Avoid Humidity and Moisture: Choose a storage location that is free from high humidity or moisture. Excessive moisture can lead to rusting or warping of the cookie sheets.
- Avoid Extreme Temperatures: Avoid storing your cookie sheets near heat sources, such as stovetops or ovens, as extreme temperatures can affect the integrity of the sheets and cause warping.
- Utilize Cabinets or Pantries: Store your cookie sheets in a cabinet or pantry away from direct sunlight and heat sources. This way, they remain protected and are easily accessible when needed.
- Consider Vertical Storage: If you have limited space, storing your cookie sheets vertically can help maximize the available area and prevent any unnecessary stacking that may lead to damage.
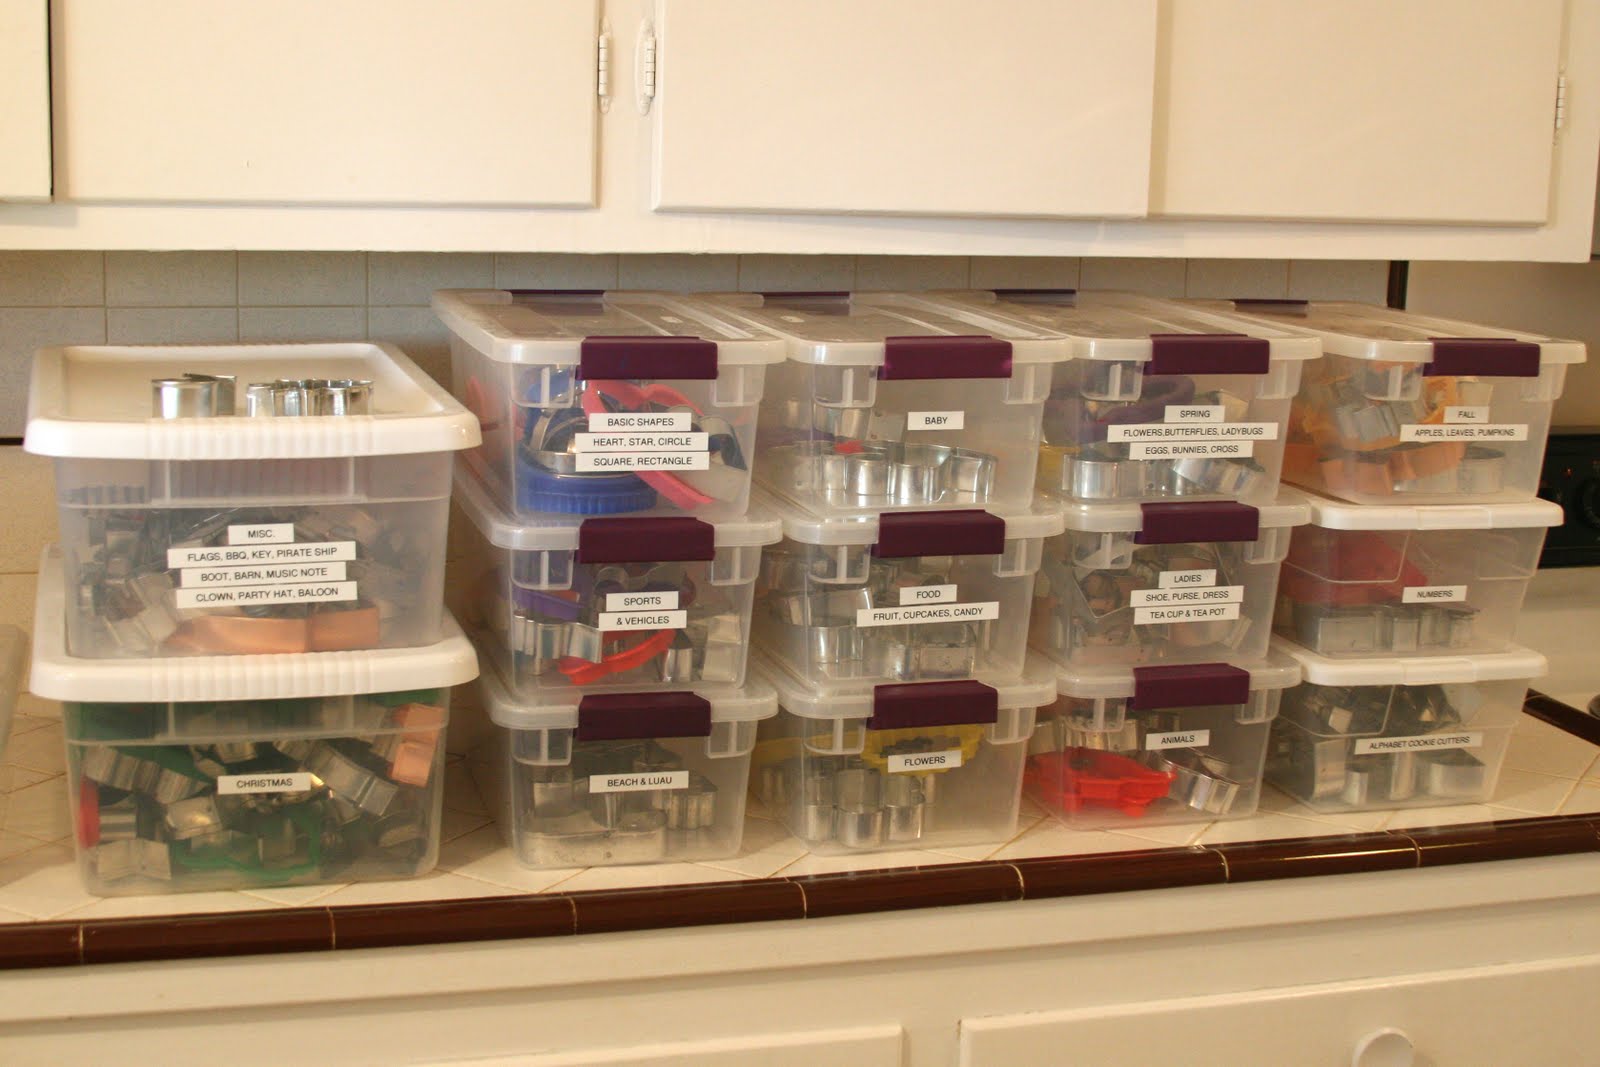
- Use Storage Containers: If desired, consider using storage containers specifically designed for baking sheets. These containers provide a safe and organized environment, protecting the sheets from dust, moisture, and potential damage.
- Regularly Inspect: Periodically check your storage location to ensure there are no signs of moisture, pests, or any other factors that may compromise the condition of your cookie sheets.
Storing your cookie sheets in a cool and dry place not only preserves their quality but also ensures they are ready for use whenever you crave a batch of freshly baked treats. By following these storage guidelines, you can maintain the functionality and longevity of your cookie sheets. Now that you have found the ideal storage location, let’s move on to the final step – labeling the storage container.
Step 7: Label the Storage Container
Labeling your storage container is the final step to ensure easy identification and access to your cookie sheets. Follow these steps to label your container:
- Choose a Clear Container: Select a storage container that is clear or has a transparent lid. This allows you to easily see the contents and identify your cookie sheets without the need to open the container.
- Label with a Descriptive Name: Use a permanent marker or label maker to write a descriptive name on the container. For example, “Cookie Sheets” or “Bakeware.” This helps you quickly locate the container when needed.
- Add Details if Needed: If you have different types or sizes of cookie sheets, consider adding additional information to the label, such as “Large Sheets” or “Non-Stick Sheets.” This provides further clarity when selecting the desired sheet.
- Place the Label: Attach the label to a visible area on the container, such as the front or top. Ensure that the label is secure and easy to read.
- Store in an Accessible Location: Place the labeled container in an easily accessible area of your storage space, such as a lower shelf or a designated baking supplies section. This makes it convenient to retrieve your cookie sheets whenever you need them.
Labeling your storage container allows you to quickly identify and retrieve your cookie sheets without the hassle of searching through various containers or shelves. It adds a final touch of organization and efficiency to your baking routine. With your cookie sheets neatly stored and properly labeled, you can now enjoy easier access to your baking essentials.
Congratulations! You have successfully completed all the steps to store your cookie sheets efficiently. By following these guidelines, you can protect your cookie sheets from damage, maintain their quality, and enjoy a more organized and enjoyable baking experience. Happy baking!
Read more: How To Store Ricotta Cookies
Conclusion
Properly storing your cookie sheets is crucial for maintaining their quality, extending their lifespan, and ensuring a seamless baking experience. By following the step-by-step guide outlined in this article, you can store your cookie sheets efficiently and protect them from scratches, warping, and other forms of damage.
Remember to start by cleaning and drying the cookie sheets thoroughly before storing them. Organize your storage space by decluttering, cleaning, and grouping similar items together. Use dividers or racks to separate the cookie sheets and stack them vertically to save space and prevent damage. Consider using silicone baking mats for added protection and convenience. Store your cookie sheets in a cool, dry place away from extreme temperatures and moisture.
Labeling your storage container adds the final touch by allowing for easy identification and access to your cookie sheets. With a well-organized and labeled storage system in place, finding the right sheet for your baking needs becomes a breeze.
Properly storing your cookie sheets not only protects your investment but also enhances your overall baking experience. You can enjoy fresh, perfectly baked treats without the frustration of damaged or misplaced sheets. So, take the time to implement these storage techniques and enjoy the benefits of a well-organized and efficient kitchen.
Now that you have a comprehensive understanding of how to store your cookie sheets, it’s time to put these tips into practice. Happy baking!
Frequently Asked Questions about How To Store Cookie Sheets
Was this page helpful?
At Storables.com, we guarantee accurate and reliable information. Our content, validated by Expert Board Contributors, is crafted following stringent Editorial Policies. We're committed to providing you with well-researched, expert-backed insights for all your informational needs.









0 thoughts on “How To Store Cookie Sheets”