Articles
How To Store Thumbprint Cookies
Modified: December 7, 2023
Learn how to store thumbprint cookies and keep them fresh for longer with these helpful articles. Discover the best tips and tricks for preserving the deliciousness of your favorite treats!
(Many of the links in this article redirect to a specific reviewed product. Your purchase of these products through affiliate links helps to generate commission for Storables.com, at no extra cost. Learn more)
Introduction
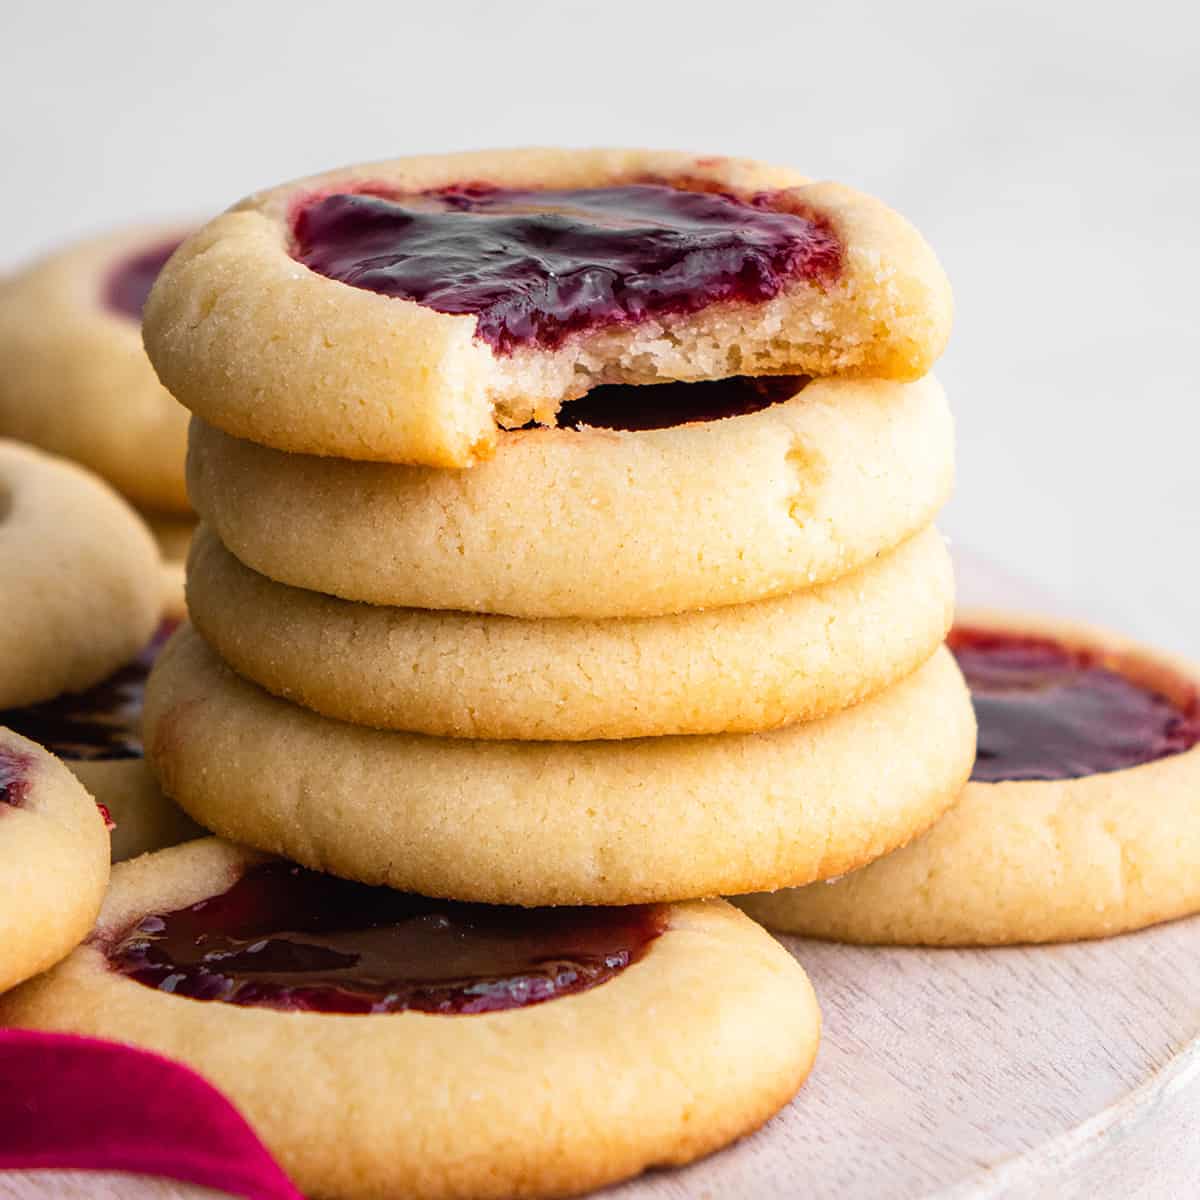
Welcome to the delicious world of thumbprint cookies! These delightful treats are a favorite among cookie lovers for their buttery base, sweet filling, and iconic thumbprint indentation. Whether you’re a seasoned baker or just starting out, making thumbprint cookies is a fun and satisfying experience that will surely impress your family and friends.
In this article, we will guide you through the step-by-step process of making, baking, and storing thumbprint cookies. We will provide you with helpful tips and techniques to ensure your cookies turn out perfect every time. So, grab your apron and let’s get started!
Thumbprint cookies are versatile and can be customized with a variety of fillings. From classic jam fillings like strawberry or raspberry to indulgent options like chocolate ganache or caramel, the filling choices are endless. You can even get creative and experiment with unique flavors for an extra special touch.
But before we dive into the delicious details, let’s make sure we have everything we need to bake these scrumptious cookies.
Key Takeaways:
- Master the art of making and storing thumbprint cookies with versatile fillings and proper storage techniques for delicious treats that impress friends and family.
- Enjoy the delightful and satisfying experience of creating buttery thumbprint cookies, customized with various fillings, and stored to maintain their freshness for days to come.
Read more: How To Store Cookie Cutters
Step 1: Gather ingredients and equipment
Before you start baking, it’s important to gather all the necessary ingredients and equipment. Here’s a list of what you’ll need:
- 2 ½ cups all-purpose flour
- 1 cup unsalted butter, softened
- ¾ cup granulated sugar
- 1 teaspoon vanilla extract
- ¼ teaspoon salt
- Assorted fillings (e.g., jam, chocolate ganache, caramel)
- Baking sheets lined with parchment paper
- Measuring cups and spoons
- Mixing bowls
- Electric mixer or stand mixer
- Spatula
- Thumb or spoon for making indentations
Once you have gathered all your ingredients and equipment, it’s time to move on to the next step, which is preparing the dough. Let’s get started!
Step 2: Prepare the dough
To make the perfect thumbprint cookies, it’s essential to start with a well-prepared dough. Follow these simple steps to prepare the dough:
- In a mixing bowl, cream together the softened butter and granulated sugar until light and fluffy. You can use an electric mixer or a stand mixer for this step.
- Add the vanilla extract and salt to the butter-sugar mixture and mix until well combined.
- Sift the all-purpose flour into the bowl and mix until a soft dough forms. Be careful not to overmix, as it can result in tough cookies.
- Once the dough has come together, divide it into small portions and roll them into 1-inch balls. Place the dough balls on a baking sheet lined with parchment paper, making sure to leave some space between them.
Now that the dough is prepared and shaped, it’s time to move on to the next step: shaping the cookies. Let’s continue!
Step 3: Shape the cookies
Now that the dough is prepared, it’s time to shape the cookies. Follow these steps to shape your thumbprint cookies:
- Take one of the dough balls and roll it between your palms to form a smooth ball. Repeat this process with the remaining dough balls.
- Place the dough balls on a baking sheet lined with parchment paper, spacing them evenly apart.
- Using your thumb or the back of a spoon, gently press down on each dough ball to create an indentation in the center. Make sure not to press too hard, as you don’t want the cookie to flatten completely.
- Take this opportunity to ensure the indentations are deep enough to hold the filling but not too deep that they break through the bottom of the cookie.
Once you have shaped all the cookies, it’s time to move on to the next step: making the thumbprint indentations. Let’s continue!
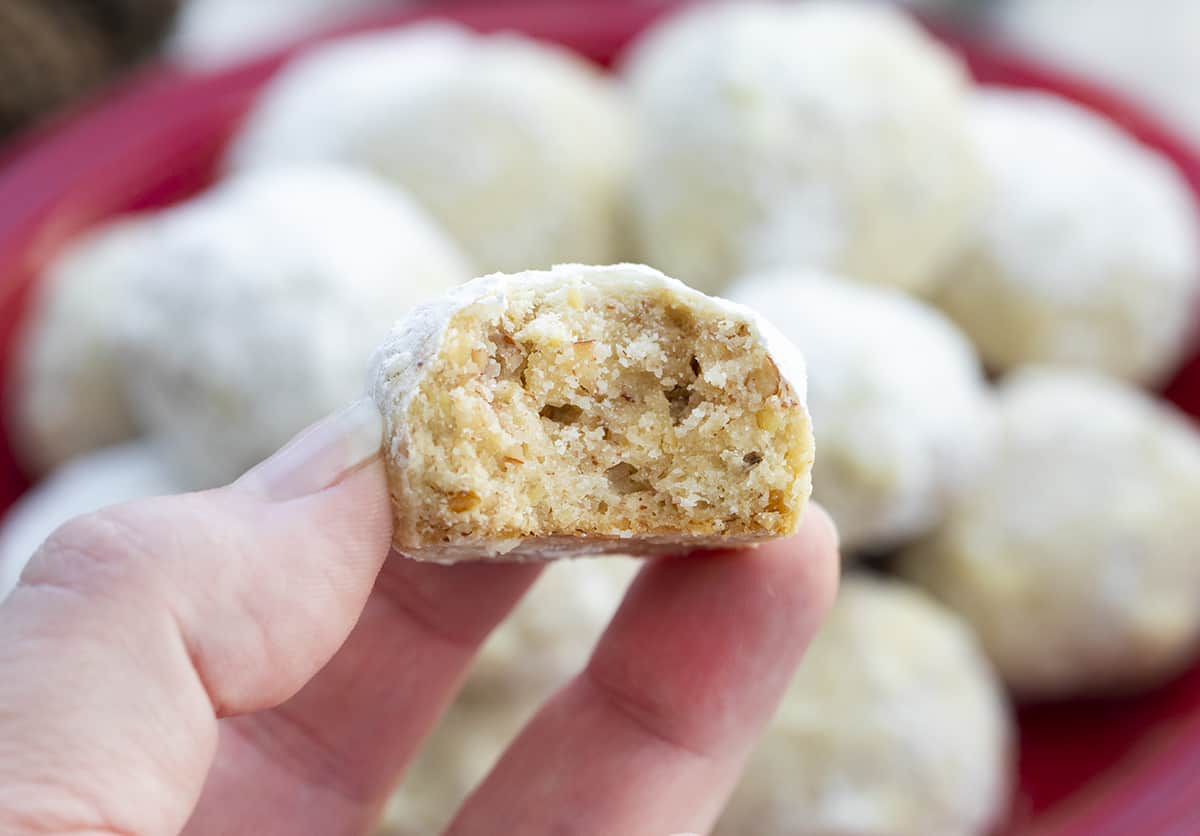
Step 4: Make thumbprint indentations
With the cookies shaped and ready, it’s time to make the iconic thumbprint indentations. Here’s how you can do it:
- Using your thumb or the back of a spoon, gently press down in the center of each cookie where you made the initial indentation. Apply gentle but even pressure to create a well for the filling.
- Make sure to reshape the edges of the cookies if they slightly crack or lose their round shape during the indenting process.
- Repeat this process for all the cookies, ensuring that the indentations are uniform in size and shape.
Now that the thumbprint indentations are complete, it’s time to move on to the exciting part: filling the thumbprints with your desired fillings. Let’s move on to the next step!
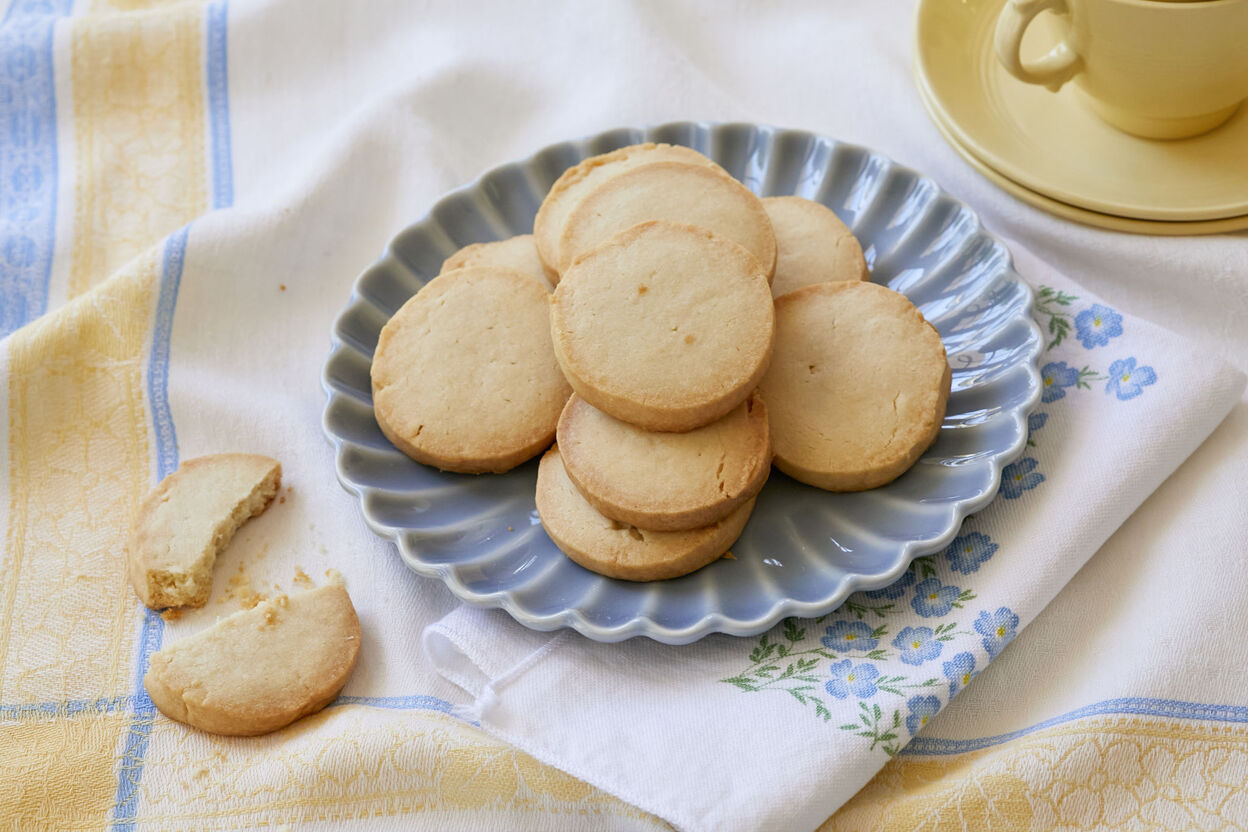
Store thumbprint cookies in an airtight container at room temperature for up to 1 week. Layer them with parchment paper to prevent sticking together.
Read more: How To Store Rosette Cookies
Step 5: Fill the thumbprints
Now that you have perfectly shaped thumbprint indentations, it’s time to fill them with delicious fillings of your choice. Here’s what you need to do:
- Choose your favorite fillings, such as jam, chocolate ganache, caramel, or any other sweet filling you prefer. Get creative and mix and match fillings to add variety to your cookies.
- Using a teaspoon or a piping bag, carefully fill each thumbprint indentation with your chosen filling. Be sure not to overfill the cookies, as the filling may spread during baking.
- For neat and precise filling, you can use the back of a small spoon to smooth out the filling and create an even surface.
Once you have filled all the thumbprints with your desired fillings, it’s time to move on to the final step: baking the cookies to golden perfection. Let’s proceed!
Step 6: Bake the cookies
After all the hard work and preparations, it’s finally time to bake the thumbprint cookies to golden perfection. Here’s the process:
- Preheat your oven to the recommended temperature, usually around 350°F (175°C).
- Place the baking sheet with the filled thumbprint cookies into the preheated oven and bake for the specified time, typically around 10-12 minutes. Keep a close eye on them and rotate the baking sheet halfway through baking to ensure even browning.
- When the cookies are baked to a light golden color around the edges, remove them from the oven and allow them to cool for a few minutes on the baking sheet before transferring them to a wire rack to cool completely
- It’s important to remember that baking times can vary depending on your oven, so keep an eye on the cookies to avoid over-baking. You want the cookies to be just firm to the touch and slightly golden.
Once the cookies are baked to perfection and have cooled down, it’s time to move on to the final step: cooling and storing the thumbprint cookies. Let’s proceed!
Step 7: Cooling and storing the cookies
After baking and letting the thumbprint cookies cool on a wire rack, it’s time to prepare them for storage. Here’s what you need to do:
- Allow the cookies to cool completely on the wire rack. This ensures that they firm up and become easier to handle.
- Once the cookies have cooled, transfer them to an airtight container or a cookie jar with a tight-fitting lid. This will help preserve their freshness and keep them from drying out.
- If you’re stacking the cookies in layers, place a sheet of parchment paper or wax paper between each layer to prevent them from sticking together.
- Store the thumbprint cookies in a cool, dry place, away from direct sunlight and moisture. They can last for up to a week when stored properly.
- If you want to extend the shelf life of the cookies, you can also store them in the refrigerator. Just remember to bring them back to room temperature before serving to ensure maximum flavor and enjoyment.
Now that your thumbprint cookies are all cooled and stored, you can enjoy them whenever you have a craving or share them with your loved ones. Remember, freshly baked cookies are always a treat, so enjoy them within the recommended timeframe for the best taste and texture!
Congratulations! You have successfully learned how to store thumbprint cookies. Now, go ahead and indulge in these delightful treats whenever you desire!
Happy baking and enjoy your delicious thumbprint cookies!
Conclusion
Congratulations on mastering the art of making and storing thumbprint cookies! With their buttery dough, sweet fillings, and iconic thumbprint indentations, these cookies are sure to delight your taste buds and impress your friends and family.
Throughout this article, we have taken you through the step-by-step process of creating these delectable treats. From gathering the ingredients and equipment to shaping the cookies, making thumbprint indentations, filling them, and finally baking and storing them, each step is crucial in achieving the perfect thumbprint cookie.
Remember to have fun with the process and get creative with your fillings. Whether you prefer traditional jam fillings or want to try something unique like chocolate ganache or caramel, the choice is yours. Thumbprint cookies can be customized to suit your personal preferences, making them a versatile and crowd-pleasing treat.
Once your cookies are baked and cooled, proper storage is essential to maintain their freshness. By following the steps outlined in the article, you can ensure that your thumbprint cookies stay delicious for days to come.
So, the next time you’re craving a sweet and satisfying treat, don’t hesitate to whip up a batch of mouthwatering thumbprint cookies. With their irresistible combination of textures and flavors, they are guaranteed to satisfy your cookie cravings.
Thank you for joining us on this delightful baking journey. We hope you enjoyed learning how to make and store thumbprint cookies. Happy baking!
Frequently Asked Questions about How To Store Thumbprint Cookies
Was this page helpful?
At Storables.com, we guarantee accurate and reliable information. Our content, validated by Expert Board Contributors, is crafted following stringent Editorial Policies. We're committed to providing you with well-researched, expert-backed insights for all your informational needs.


0 thoughts on “How To Store Thumbprint Cookies”