Articles
How To Store Sanitized Baby Bottles
Modified: February 24, 2024
Learn the best methods for storing sanitized baby bottles to ensure your little one's health and safety. Read our informative articles on proper storage techniques and keep your baby's bottles clean and ready for use.
(Many of the links in this article redirect to a specific reviewed product. Your purchase of these products through affiliate links helps to generate commission for Storables.com, at no extra cost. Learn more)
Introduction
Welcome to this comprehensive guide on how to store sanitized baby bottles! As a parent, you know how important it is to maintain a clean and safe environment for your little one. After diligently sanitizing your baby’s bottles, it is crucial to properly store them to ensure that they remain hygienic and ready for use.
In this article, we will take you through a step-by-step process on how to store sanitized baby bottles effectively. We will cover everything from cleaning and drying the bottles to choosing the right storage method and organizing your storage area. So, let’s dive right in and learn how to store your baby’s bottles like a pro!
Key Takeaways:
- Properly cleaning, drying, and sanitizing baby bottles is crucial for maintaining hygiene. Organize and store bottles in the right way to ensure they remain safe and ready for use.
- Whether storing in the refrigerator, cabinet, or for travel, following proper steps ensures your baby’s bottles are kept clean, hygienic, and readily accessible.
Read more: How To Store Sanitized Bottles
Step 1: Cleaning the Baby Bottles
The first and most important step in storing sanitized baby bottles is to ensure they are thoroughly cleaned. Here’s a step-by-step guide to help you clean your baby’s bottles properly:
- Disassemble the bottles: Start by separating all the parts of the baby bottles, including the bottle itself, nipple, collar, and any other removable parts. This will make it easier to clean each component thoroughly.
- Rinse in warm water: Rinse all the bottle parts with warm water to remove any residue or milk remnants. This initial rinse will help loosen any debris before moving on to the next cleaning steps.
- Use a bottle brush: Apply a small amount of dish soap to a clean bottle brush and scrub the bottle, nipple, and collar. Pay special attention to hard-to-reach areas, such as the bottom of the bottle and the inside of the nipple. Rinse each part thoroughly with warm water after scrubbing.
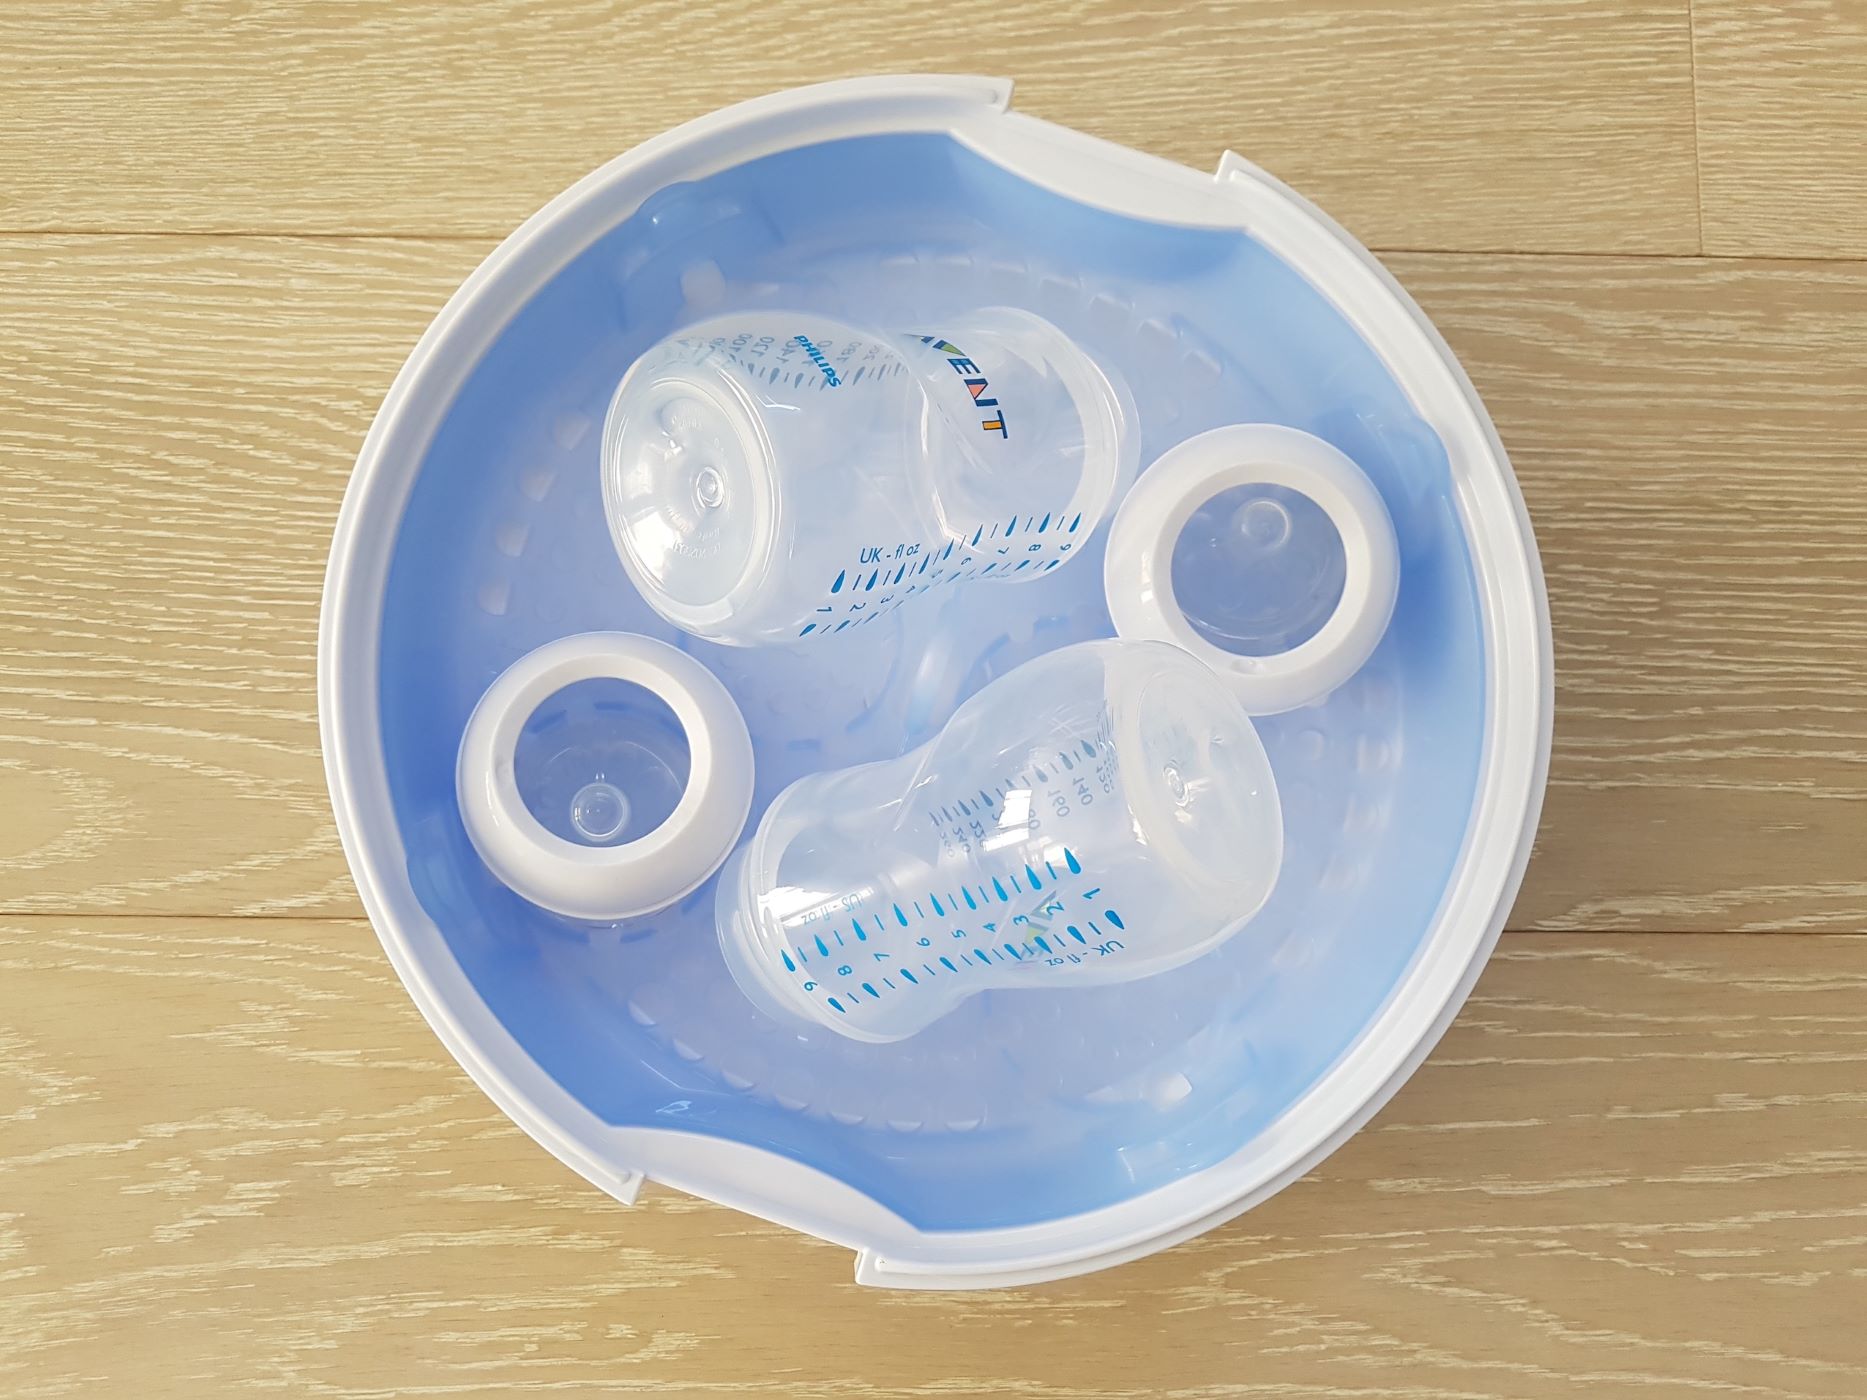
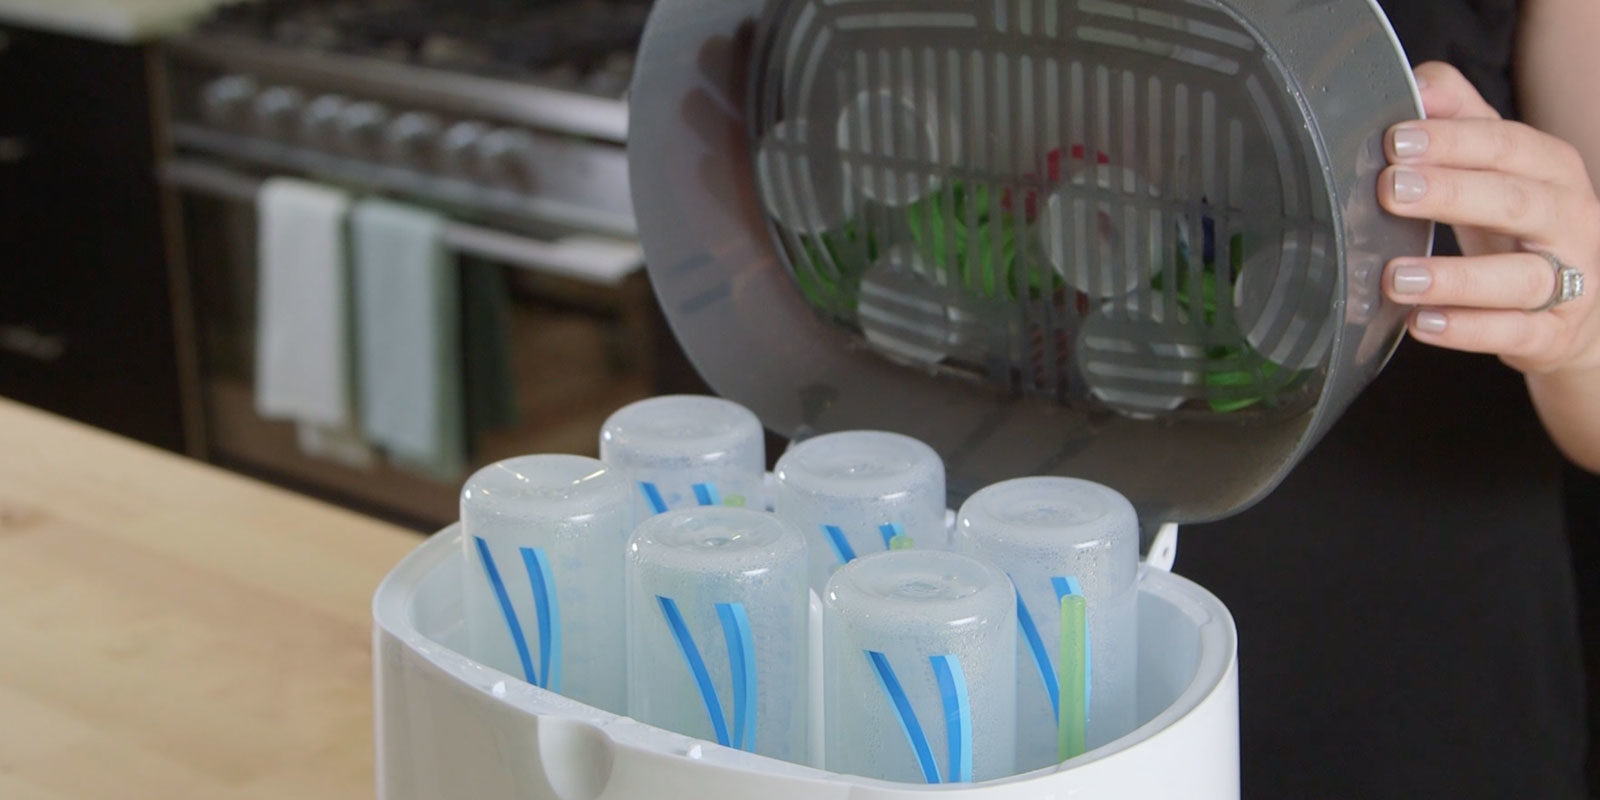
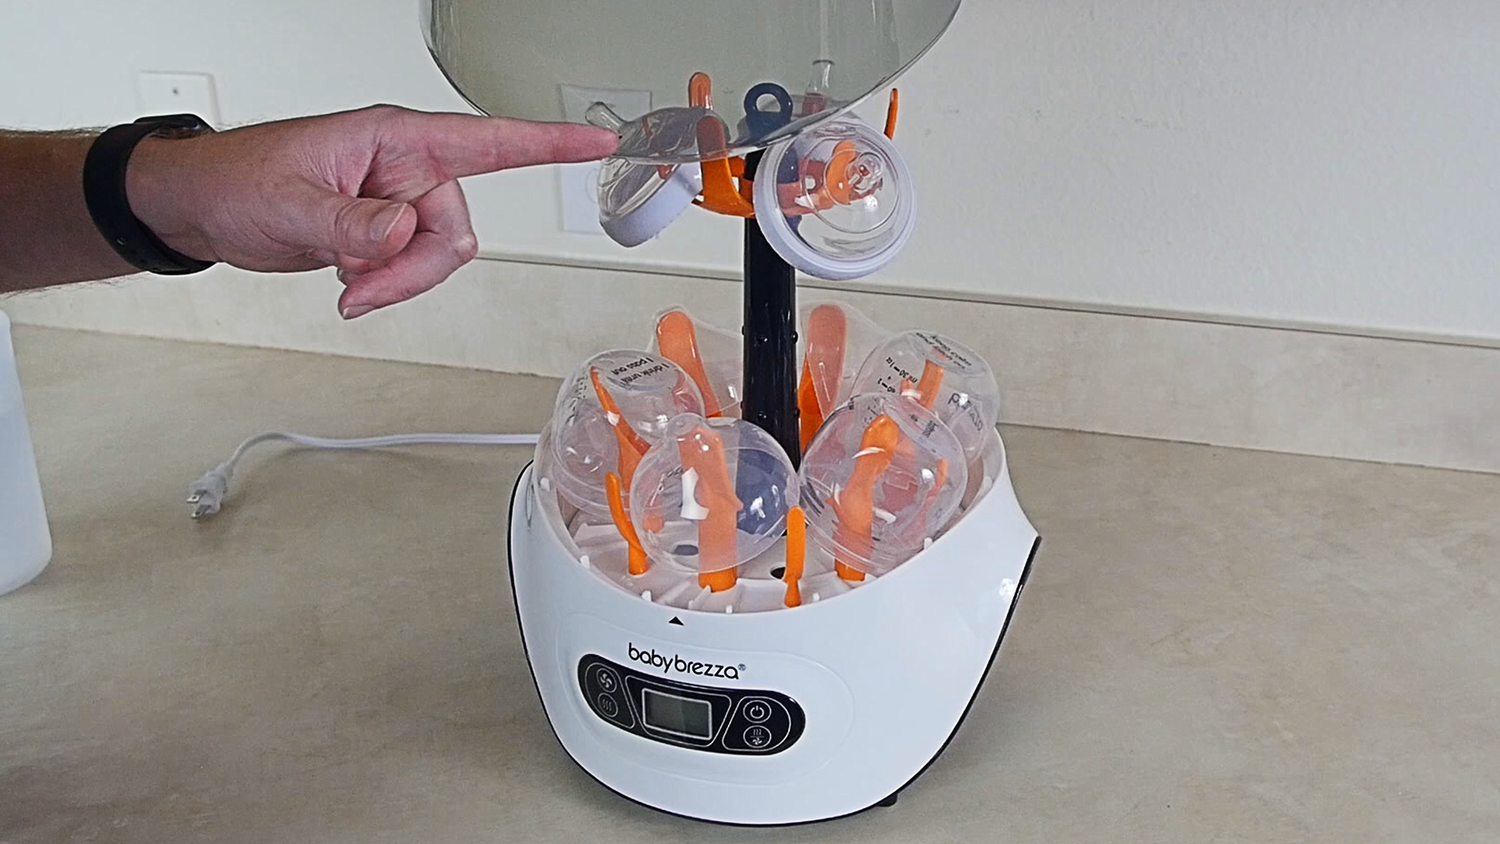
- Sanitize the bottles: Once the bottles are clean, it’s time to sanitize them. There are a few different methods you can choose from, such as boiling the bottles in water for 5 minutes, using a steam sterilizer, or using a baby bottle sterilizing solution. Follow the manufacturer’s instructions for your chosen method to ensure effective sanitization.
- Dry the bottles: After sanitizing the bottles, it’s essential to let them air dry completely. Place each part on a clean dishcloth or drying rack, making sure they are spread out to allow for air circulation. Avoid using a towel to dry the bottles, as it may introduce bacteria or lint.
By following these steps, you can ensure that your baby’s bottles are thoroughly cleaned and ready for safe storage. Now, let’s move on to the next step: drying the bottles.
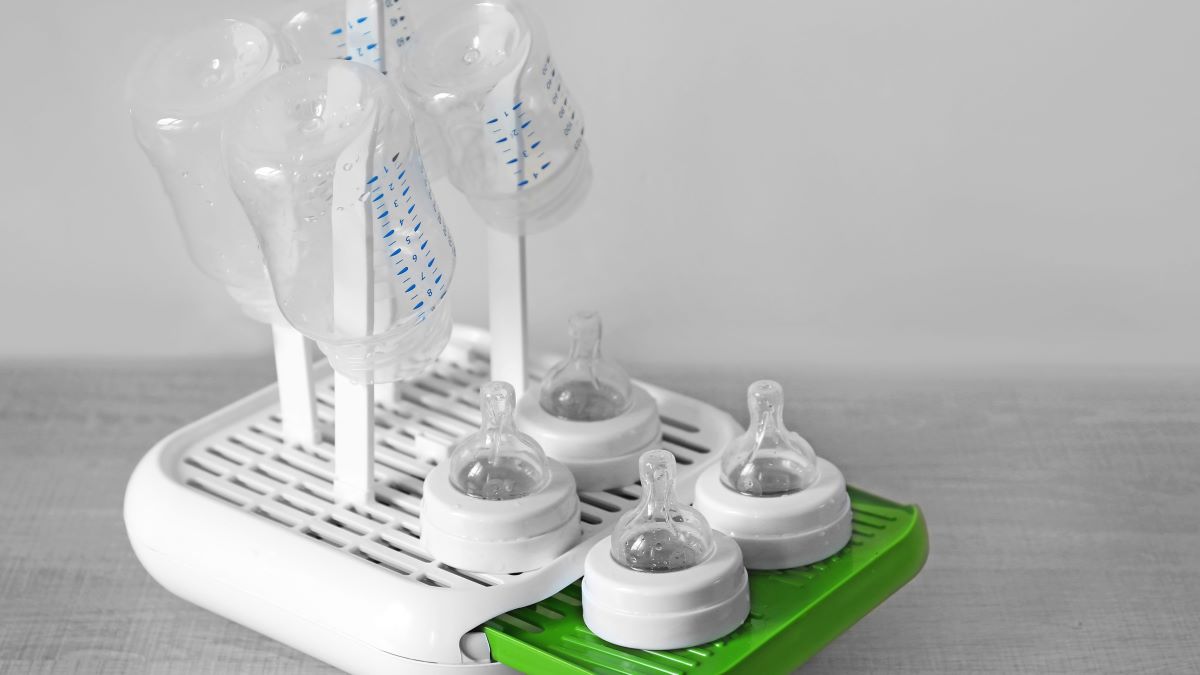
Step 2: Drying the Bottles
After cleaning and sanitizing the baby bottles, it is important to ensure that they are completely dry before storing them. Moisture can promote the growth of bacteria, so proper drying is crucial. Here’s how you can effectively dry your baby’s bottles:
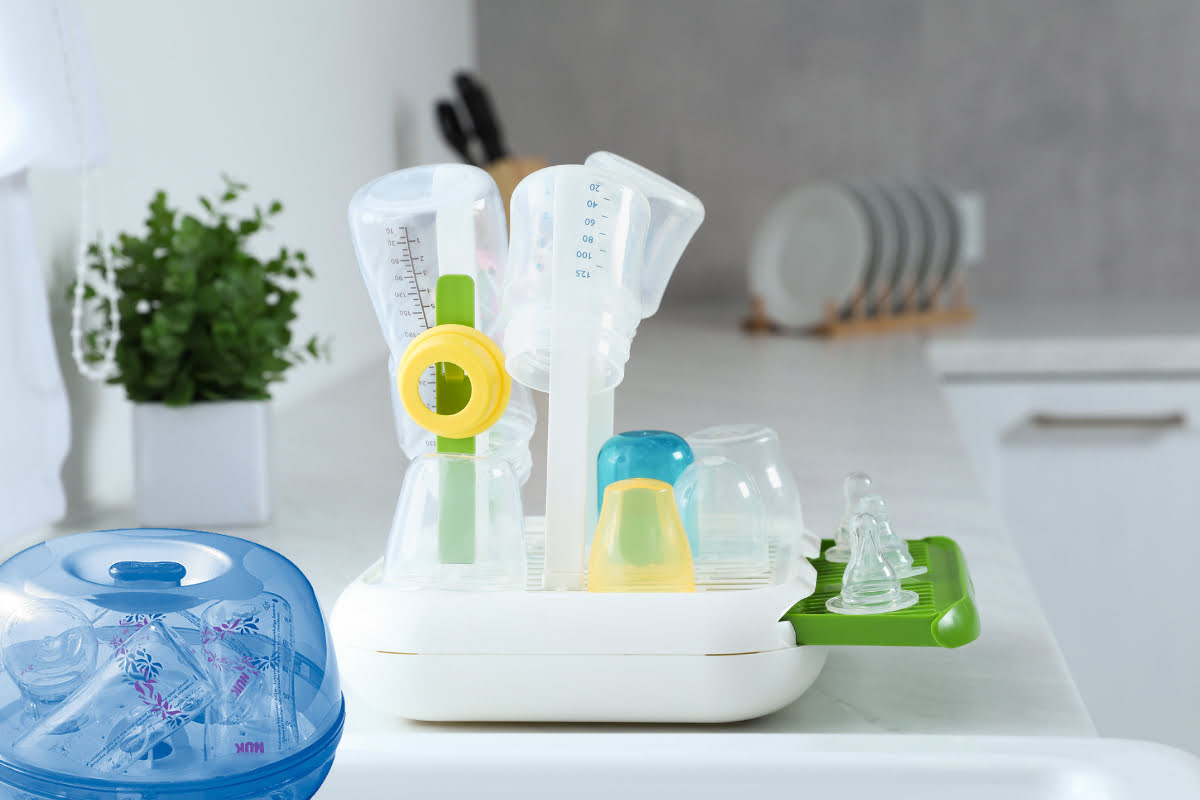
- Air drying: The best way to dry baby bottles is to let them air dry naturally. After washing and sanitizing the bottles, place them upside down on a clean, dry dish rack or towel. This allows any excess water to drain out and enables air circulation, facilitating the drying process.
- Use a drying rack: If you prefer a more organized approach, consider using a bottle drying rack specifically designed for baby bottles. These racks have pegs or slots to hold the bottles in an inverted position, allowing water to drip out. Make sure the drying rack is clean and dry before placing the bottles on it.
- Check for moisture: Before storing the bottles, make sure they are completely dry. Inspect each component, including the bottle, nipple, and collar, for any signs of moisture. If you notice any dampness, leave the bottles to dry for a little longer.
- Avoid using towels or cloth: While it may be tempting to speed up the drying process by using a towel or cloth, it is best to avoid this. Towels and cloth can introduce bacteria or lint to the bottles, which can compromise their cleanliness. Stick to air drying or using a drying rack for optimal results.
By ensuring that your baby’s bottles are thoroughly dry before storing them, you can minimize the risk of bacterial growth and maintain their hygiene. Now that you know how to properly dry the bottles, let’s move on to the next step: choosing a storage method.
Step 3: Choosing a Storage Method
When it comes to storing sanitized baby bottles, there are several options to choose from. The right storage method will depend on your specific needs and the available space in your home. Here are a few popular storage methods to consider:
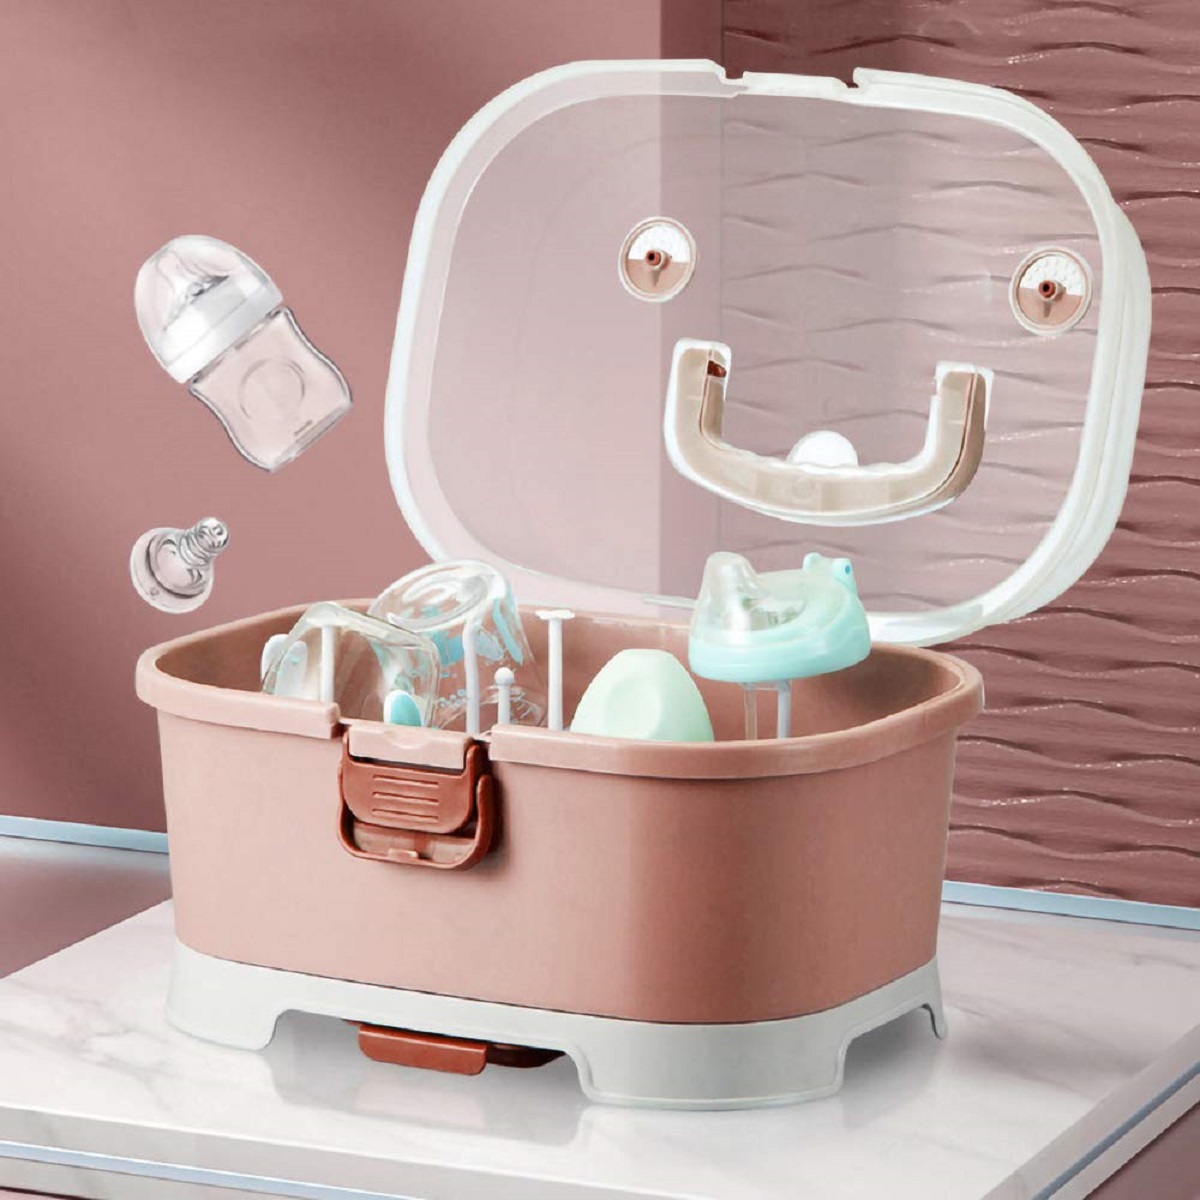
- Refrigerator storage: Storing the baby bottles in the refrigerator is a common choice, especially if you want to keep the bottles chilled for feeding. To do this, make sure the bottles are completely dry and then place them in a designated area of your refrigerator, away from raw food items. It’s best to use a covered container or a plastic bag to keep the bottles protected from any potential contamination.
- Cabinet or pantry storage: If refrigeration is not necessary, you can opt for storing the bottles in a clean, dry cabinet or pantry. Choose a cabinet or shelf that is away from direct sunlight and any potential contaminants. Make sure the bottles are in an upright position, with the nipples and collars secured to prevent them from getting lost or damaged.
- Travel storage: If you need to store baby bottles for travel purposes, consider using specialized travel bottle containers or bags. These are designed to keep the bottles upright and protected during transportation. Look for options that provide insulation to maintain the temperature of the bottles, especially if you need to keep them warm for an extended period.
When selecting a storage method, take into account factors such as convenience, cleanliness, and the specific requirements of your baby. Remember to regularly clean and sanitize the storage containers or bags used to store the bottles, as they can also harbor bacteria if not properly maintained.
Now that you know the different storage options available, it’s time to move on to the next step: organizing the storage area.
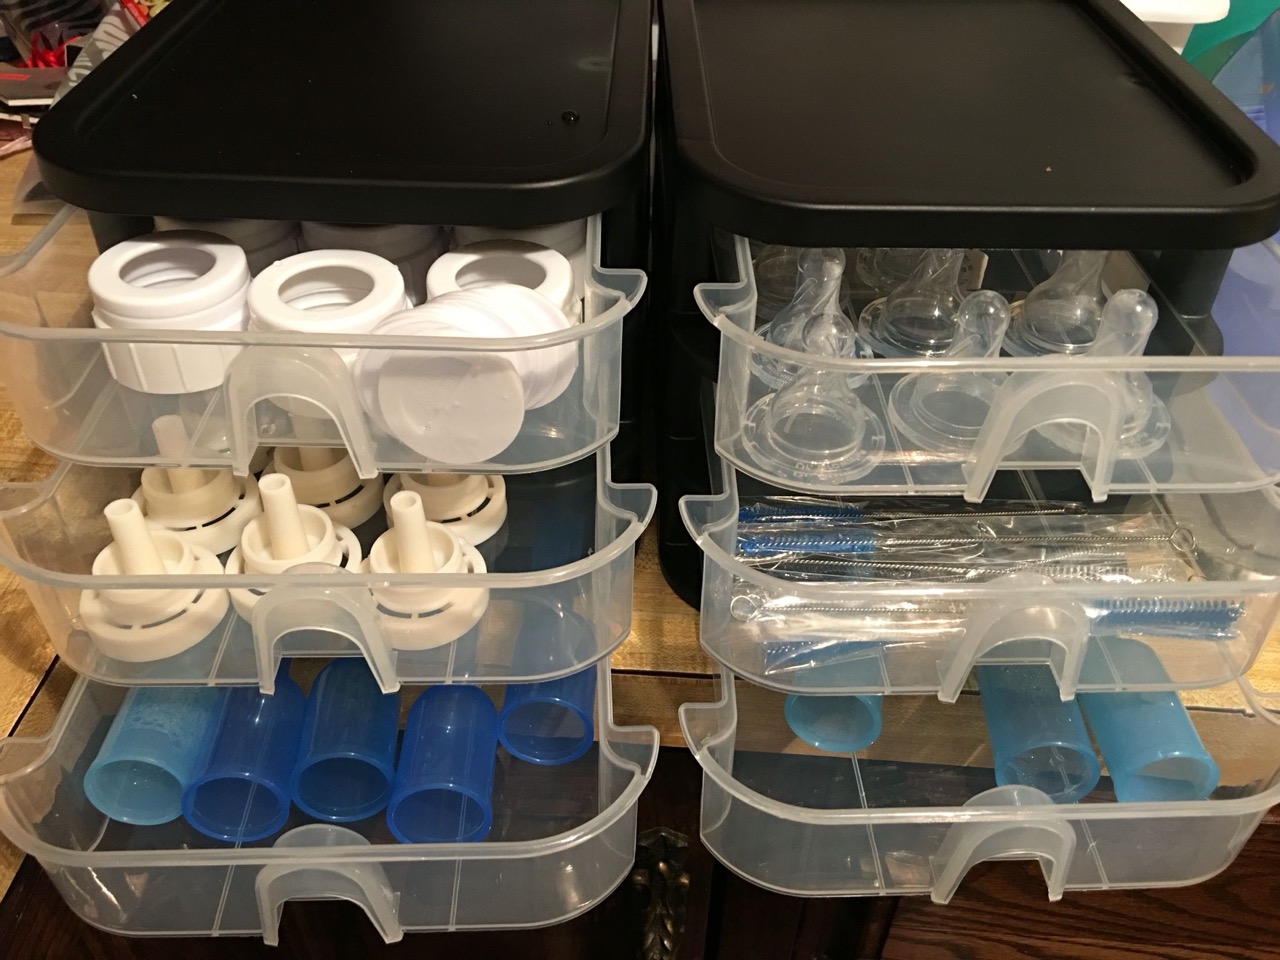
Step 4: Organizing the Storage Area
Having an organized storage area for your baby’s bottles not only ensures easy access but also helps maintain cleanliness and hygiene. Here are some tips to help you organize the storage area effectively:
- Dedicate a space: Designate a specific area or shelf in your refrigerator, cabinet, or pantry for storing the baby bottles. This will make it easier to keep track of them and avoid mixing them with other items.
- Keep it clean: Before placing the bottles in the storage area, clean and sanitize the space. Wipe down the shelves, remove any food spills or debris, and ensure the area is dry. This will help prevent contamination and maintain the bottles’ cleanliness.
- Arrange by size or age: If you have multiple sizes or types of baby bottles, consider organizing them by size or age. This will make it easier to grab the right bottle for your baby’s needs without rummaging through the storage area.
- Label or color-code: To further enhance organization, you can label or color-code the bottles and their corresponding parts. This can be especially helpful if you have bottles with different flow rates or if multiple caregivers are involved in feeding your baby.
- Regularly check for expired bottles: Keep an eye out for expiration dates on bottles or nipples and discard any that have passed their expiration date. This ensures that your baby is using bottles that are safe and in optimal condition.
By maintaining an organized and clean storage area, you can easily locate the specific bottles you need when it’s time to feed your baby. This step helps streamline your routine and ensure that your baby’s bottles are always in good condition. Now, let’s move on to the next step: storing bottles in the refrigerator.
After sanitizing baby bottles, store them in a clean, covered container to protect them from dust and germs. Avoid stacking wet bottles to prevent bacterial growth.
Read more: How To Sanitize Glass Bottles
Step 5: Storing Bottles in the Refrigerator
If you prefer to keep your baby’s bottles chilled, storing them in the refrigerator is a convenient option. Here’s how you can properly store the bottles in the refrigerator:
- Ensure cleanliness: Before placing the bottles in the refrigerator, make sure the refrigerator shelves or designated storage area are clean and free from any potential contaminants. Wipe down the area if necessary.
- Use a covered container: To keep the bottles protected and separate from other items in the refrigerator, place them in a covered container. This helps prevent any potential contamination from raw food or other items.
- Position bottles upright: When placing the bottles in the container, keep them in an upright position. This helps to prevent any leakage and keeps the bottle parts intact.
- Label and date: To ensure that you use the oldest bottles first, consider labeling and dating them. This way, you can keep track of the bottles’ storage duration and use them within the recommended time frame.
- Optimal storage time: It’s important to note that breastmilk or formula should not be stored in the refrigerator for more than 24 hours. If you plan to store bottles for longer periods, consider freezing them instead.
By following these steps, you can safely store your baby’s bottles in the refrigerator, ensuring they remain chilled and ready for feeding. Now, let’s move on to the next step: storing bottles in a cabinet or pantry.
Step 6: Storing Bottles in a Cabinet or Pantry
If refrigeration is not necessary, you can opt to store your baby’s bottles in a clean and dry cabinet or pantry. Here’s how you can properly store the bottles in this type of storage area:
- Clean and dry: Before placing the bottles in the cabinet or pantry, ensure that the area is clean and dry. Remove any food debris or spills and wipe down the shelves if necessary.
- Upright position: Store the bottles in an upright position, with the nipples and collars securely attached. This prevents any potential leaks and keeps the bottle parts organized.
- Separate from other items: To maintain hygiene, keep the baby bottles separate from other food items or household products. This helps to prevent any cross-contamination and keeps the bottles in a clean environment.
- Avoid sunlight: Choose a storage area that is away from direct sunlight. Sunlight exposure can affect the quality of the bottles and may degrade the materials over time.
- Check expiration dates: Regularly check the expiration dates on the bottles and nipples. Discard any that have surpassed their expiration dates to ensure that your baby is using bottles that are safe and in optimal condition.
By following these steps, you can safely store your baby’s bottles in a cabinet or pantry, keeping them clean and readily accessible for feeding time. Now, let’s move on to the last step: storing bottles for travel.
Step 7: Storing Bottles for Travel
When it comes to traveling with your baby, proper storage of the bottles is essential to ensure convenience and hygiene. Here’s how you can store your baby’s bottles effectively for travel:
- Use specialized travel containers: Invest in travel bottle containers or bags designed specifically for storing baby bottles. These containers are typically insulated and help maintain the temperature of the bottles, whether you need to keep them cool or warm.
- Secure the bottles: When placing the bottles in the travel container, make sure they are securely sealed and upright to prevent any leaks. Double-check that the nipples and collars are properly attached, and close the container tightly.
- Pack an ice pack: If you need to keep the bottles cool during travel, consider packing an ice pack in the insulated container. This helps to maintain a lower temperature inside and keeps the bottles fresh.
- Label and date: Just like with other storage methods, labeling and dating the bottles can help you keep track of their storage duration. This ensures that you use the bottles within the recommended time frame.
- Keep separate from other items: When packing the travel container, make sure to keep the baby bottles separated from other items in your bag. This prevents cross-contamination and maintains the cleanliness of the bottles.
By following these steps, you can effectively store your baby’s bottles for travel, whether it’s a short outing or a long trip. Proper storage ensures that your little one has safe and readily accessible bottles wherever you go.
With the completion of this step, you have successfully learned how to store sanitized baby bottles. By following the steps outlined in this guide, you can ensure that your baby’s bottles remain clean, hygienic, and ready for use. Remember to regularly clean and sanitize the bottles and their storage areas to maintain optimal cleanliness. Happy bottle storing!
Conclusion
Properly storing sanitized baby bottles is crucial for maintaining a clean and safe environment for your little one. By following the steps outlined in this comprehensive guide, you can ensure that your baby’s bottles remain hygienic and ready for use whenever you need them.
From cleaning and drying the bottles to choosing the right storage method and organizing the storage area, each step plays a vital role in maintaining the bottles’ cleanliness and usability. By disassembling the bottles, rinsing them thoroughly, and using a bottle brush, you can effectively clean the bottles. Sanitizing the bottles further ensures their hygiene.
Drying the bottles properly, either through air drying or using a drying rack, is essential to prevent bacterial growth. Choosing the right storage method, whether it’s in the refrigerator, a cabinet, or for travel, ensures that the bottles are properly stored and easily accessible.
Organizing the storage area and regularly checking for expired bottles helps you maintain an organized and safe environment for storing baby bottles. Whether you choose the convenience of refrigeration or the simplicity of a cabinet or pantry, proper storage keeps the bottles in optimal condition.
Lastly, when traveling with your baby, using specialized travel containers and keeping the bottles separate from other items ensures convenience and continued cleanliness.
By following these guidelines and incorporating good hygiene practices, you will be confident that your baby’s bottles are safe and ready for use. Remember, regular cleaning, sanitizing, and storage maintenance are key to keeping your baby healthy and happy.
Now that you have gained a comprehensive understanding of how to store sanitized baby bottles, put these steps into practice and enjoy the peace of mind that comes with knowing your baby’s feeding essentials are stored safely and hygienically.
Frequently Asked Questions about How To Store Sanitized Baby Bottles
Was this page helpful?
At Storables.com, we guarantee accurate and reliable information. Our content, validated by Expert Board Contributors, is crafted following stringent Editorial Policies. We're committed to providing you with well-researched, expert-backed insights for all your informational needs.


0 thoughts on “How To Store Sanitized Baby Bottles”