
Articles
How To Store Sanitized Bottles
Modified: January 18, 2024
Learn the best way to store sanitized bottles and keep them clean for longer. Read our informative articles for helpful tips and tricks.
(Many of the links in this article redirect to a specific reviewed product. Your purchase of these products through affiliate links helps to generate commission for Storables.com, at no extra cost. Learn more)
Introduction
Properly storing sanitized bottles is crucial to maintain their cleanliness and prevent contamination. Whether you’re storing baby bottles, water bottles, or glass bottles for homemade beverages, following the right storage procedures will help keep the bottles safe and ready for use.
In this article, we will guide you through the steps to effectively store sanitized bottles. By following these guidelines, you can ensure that your bottles remain clean, free from harmful bacteria, and ready for use whenever you need them.
So let’s dive in and learn how to store sanitized bottles properly!
Key Takeaways:
- Properly storing sanitized bottles involves thorough cleaning, complete drying, and safe storage to prevent contamination. Choose the right storage method and maintain a clean environment for hygienic bottle storage.
- Regularly check and maintain the storage area to ensure cleanliness and safety. Dispose of expired products, sanitize the bottles as needed, and create a hygienic environment for storing sanitized bottles.
Read more: How To Store Sanitized Baby Bottles
Step 1: Clean the Bottles
The first step in storing sanitized bottles is to clean them thoroughly. This is important to remove any dirt, debris, or residue that may be present on the bottles.
Start by rinsing the bottles with warm water to get rid of any loose particles. Then, use a bottle brush along with dish soap or a specialized bottle cleaner to scrub the inside and outside of the bottles. Pay extra attention to the areas around the bottle’s mouth, as this is where residue can often accumulate.
Rinse the bottles thoroughly to make sure that all the soap or cleaner is removed. Residual soap can affect the taste of beverages and even pose health hazards. Give the bottles a final rinse with hot water to ensure they are clean and ready for sanitization.
After cleaning the bottles, inspect them for any signs of damage, such as cracks or chips. Damaged bottles should not be used for storage, as they may compromise the integrity of the container and lead to leakage or contamination.
Once you have ensured that the bottles are clean and in good condition, it’s time to move on to the next step: drying.
Step 2: Dry the Bottles
After cleaning the bottles, it’s important to ensure that they are completely dry before storing them. Moisture can create an environment for mold and bacteria to thrive, which can contaminate the bottles.
To dry the bottles, you can use a clean dish towel or place them upside down on a clean drying rack. This will allow any remaining water to drip out and for air to circulate inside the bottles, helping them dry more quickly.
Avoid using paper towels or cloth towels that may leave behind lint or fibers, as these can also contaminate the bottles. If you’re in a hurry, you can use a bottle dryer or a hairdryer on a low heat setting to speed up the drying process.
Make sure to give the bottles enough time to dry completely. This will help ensure that no moisture is left inside the bottles, reducing the risk of bacterial growth.
Once the bottles are dry, it’s time to choose the most suitable storage method for your needs. Let’s move on to the next step and explore the options available.
Step 3: Choose the Storage Method
When it comes to storing sanitized bottles, there are several options to consider. The choice of storage method will depend on the type of bottles you have and the available space in your home.
If you have limited space or are storing a small number of bottles, a cabinet or cupboard can be a suitable storage option. Make sure that the area is clean, dry, and away from direct sunlight, as exposure to sunlight can affect the quality of the bottles and the contents inside.
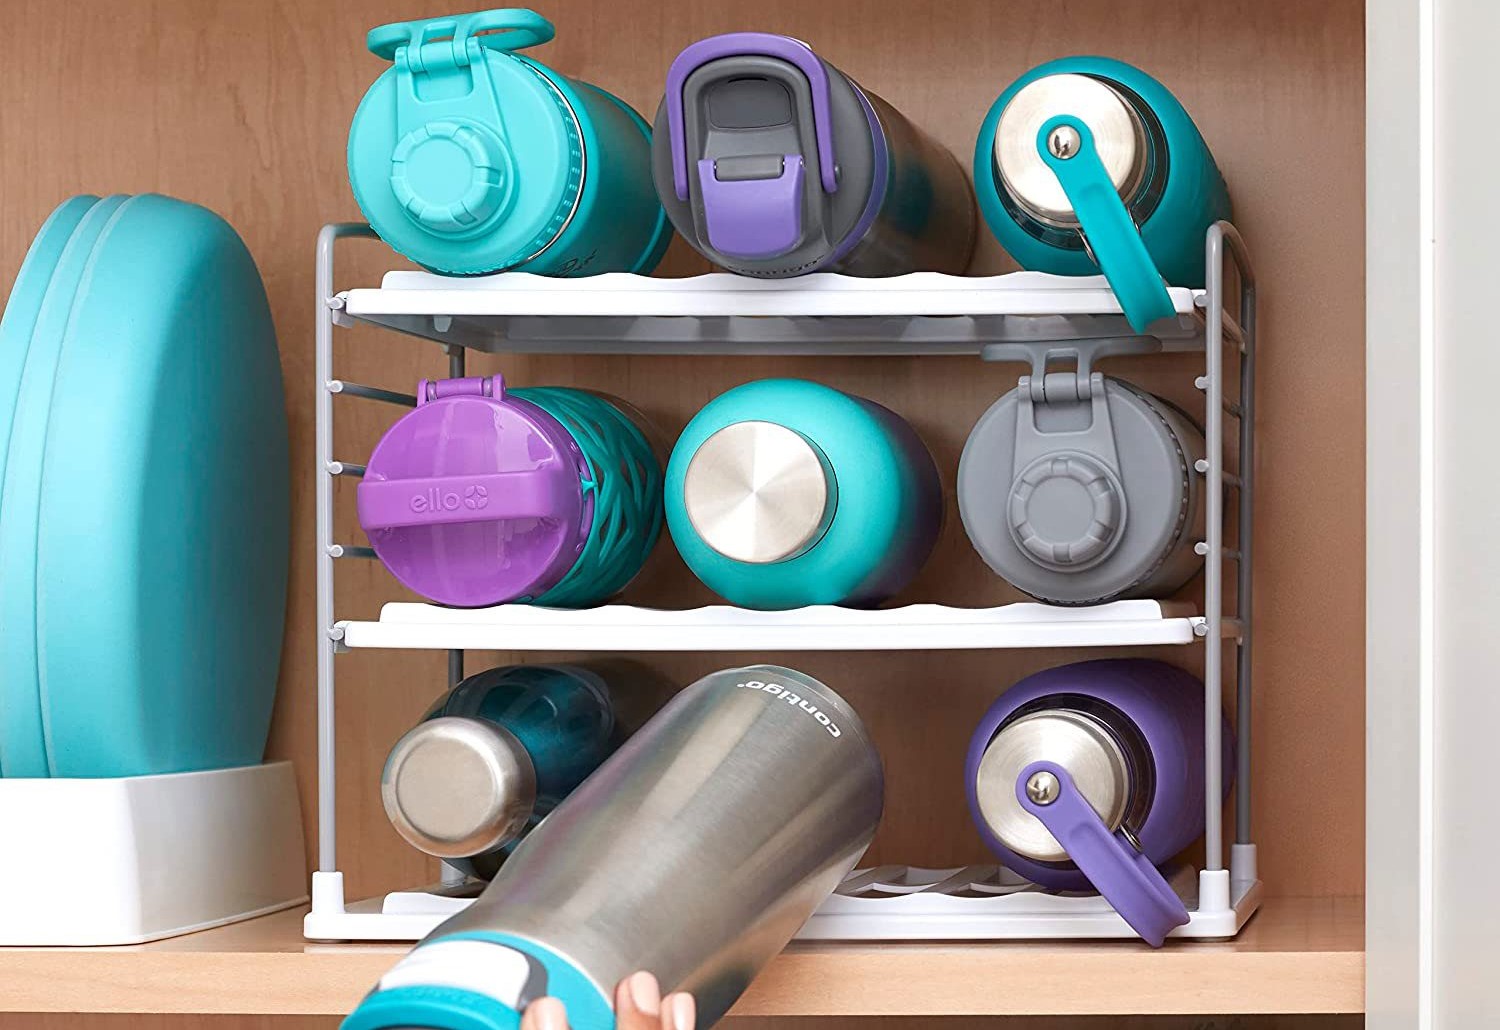
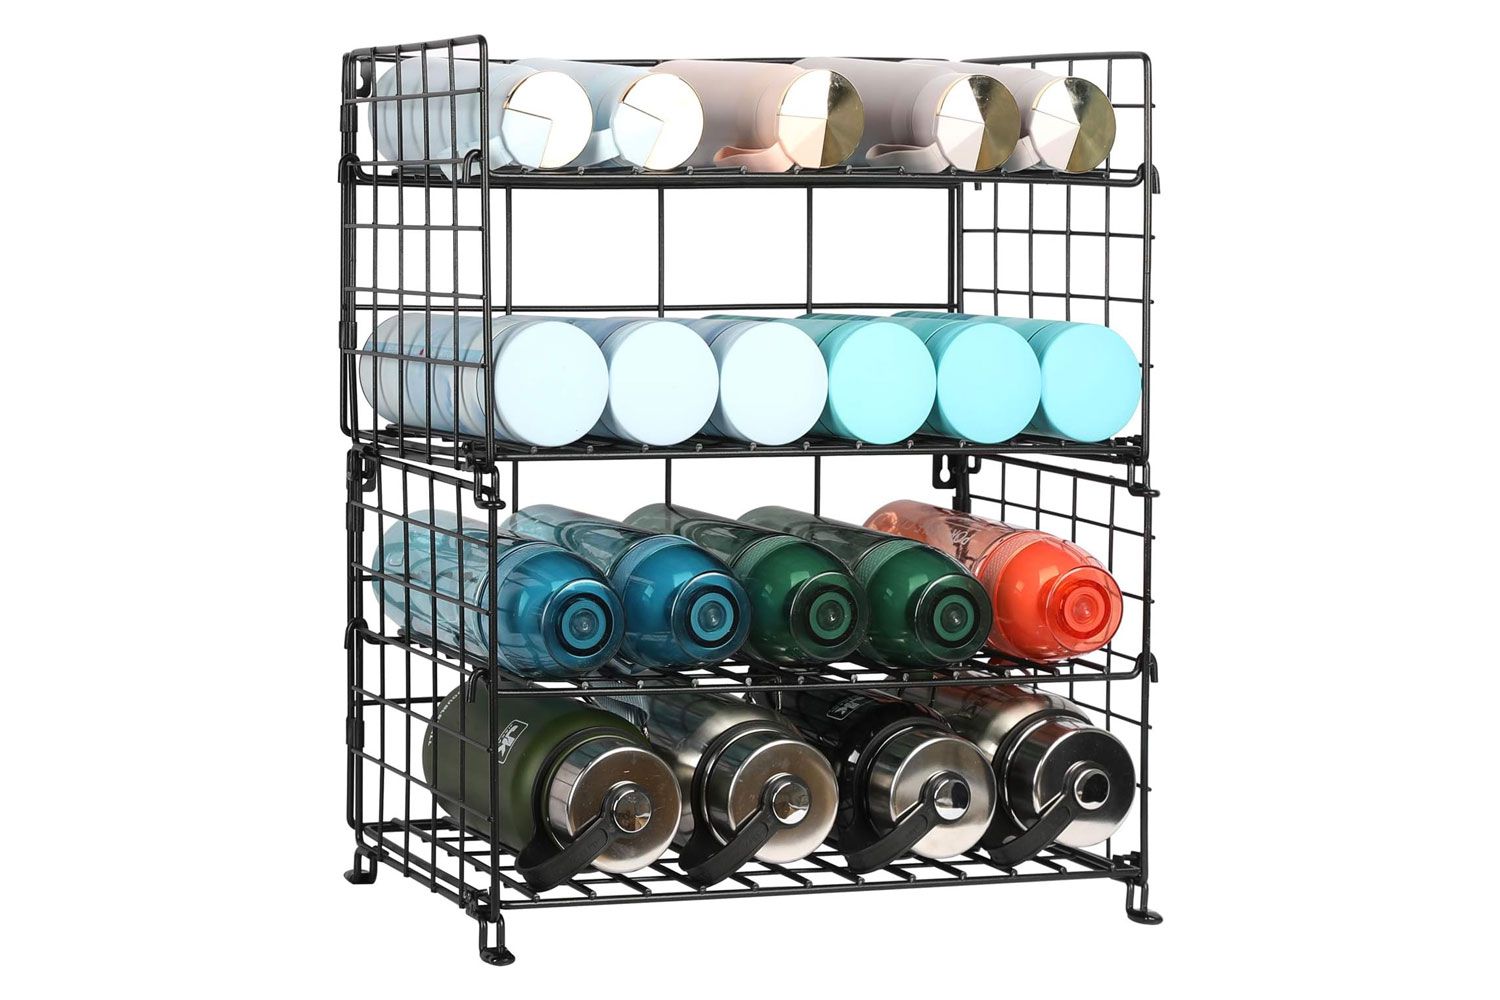
If you have a larger collection of bottles or need to store them for an extended period, you may consider investing in a dedicated bottle storage rack or organizer. These racks are designed to hold bottles securely and can be placed on countertops or mounted on walls.
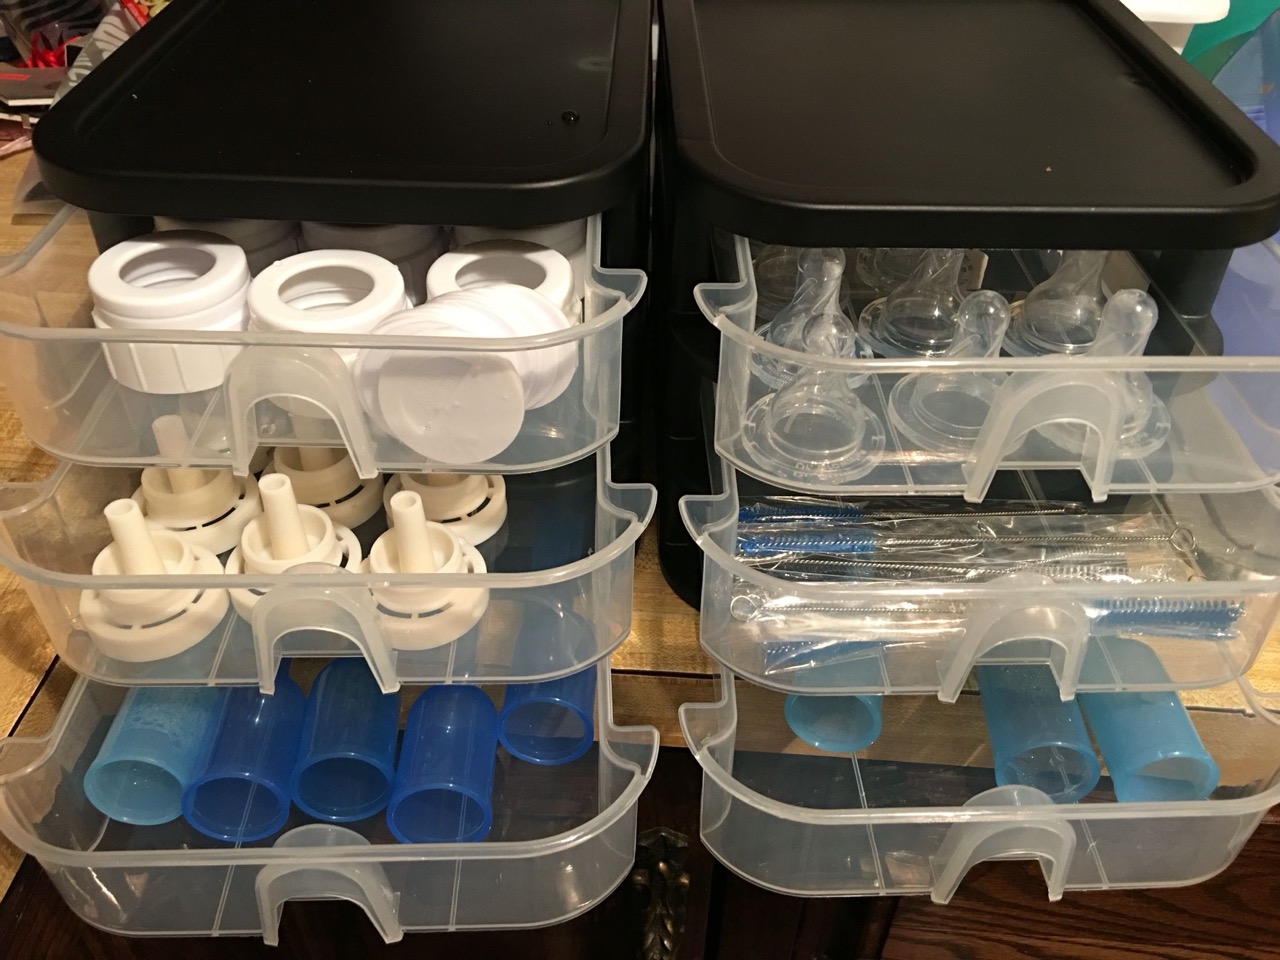
Alternatively, if you’re storing baby bottles, a separate bottle sterilizer or sterilizing container can be used. These containers have compartments to keep the bottles organized and can be sealed to maintain their cleanliness.
Regardless of the storage method you choose, it’s important to ensure that the area is clean and free from any potential contaminants. Regularly wipe down the shelves or racks with a disinfectant to maintain a sanitary environment for the bottles.
Now that you’ve chosen the storage method, let’s move on to the next step: storing the bottles safely.
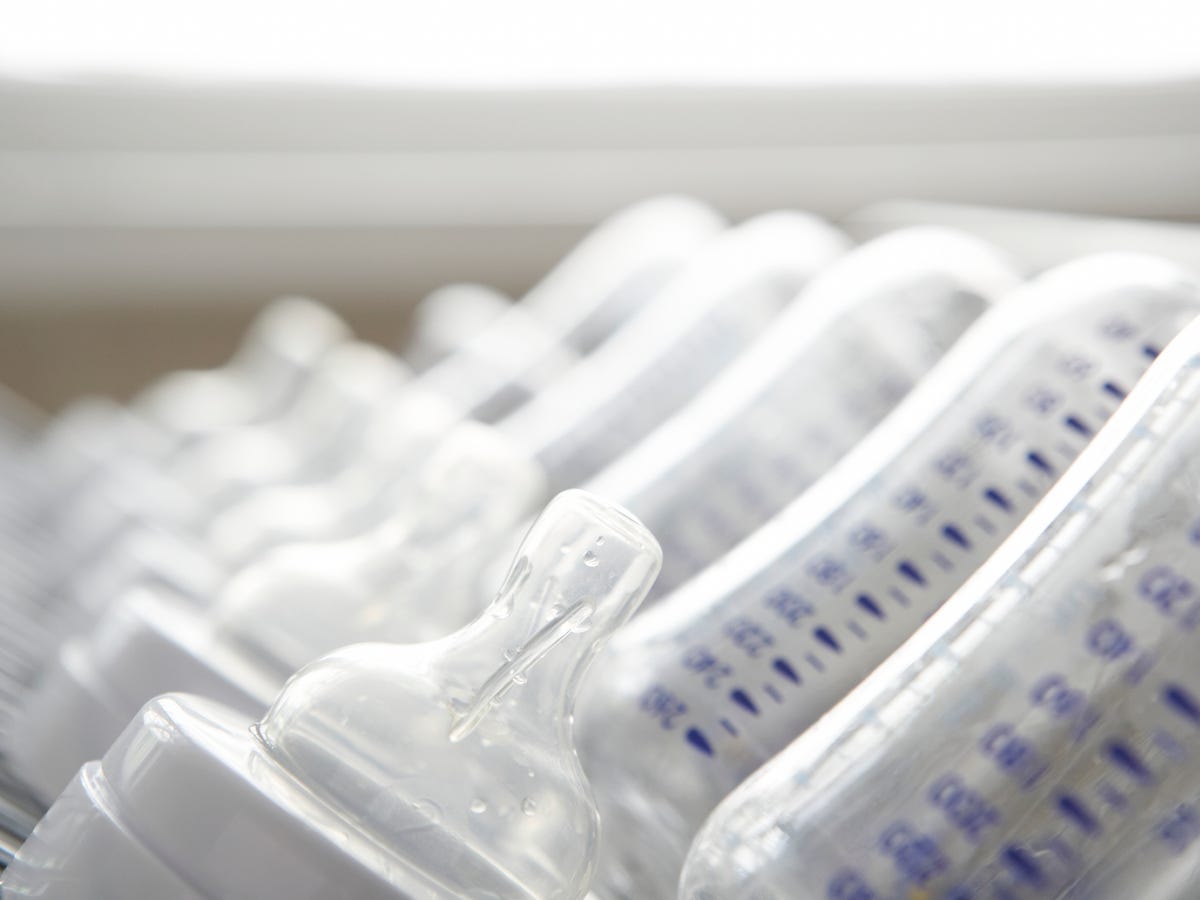
After sanitizing bottles, store them upside down on a clean drying rack to allow any excess water to drip out and prevent contamination.
Step 4: Store the Bottles Safely
Once you have chosen the storage method, it’s important to store the sanitized bottles safely to maintain their cleanliness and prevent any potential contamination.
If you’re using a cabinet or cupboard, arrange the bottles upright, with the caps securely tightened. This will help prevent any dust or debris from entering the bottles. Consider using dividers or separators to keep the bottles organized and prevent them from bumping into each other, which could cause damage.
If you’re using a bottle storage rack or organizer, make sure that the bottles are placed upright and securely held in place. Some storage racks may have individual compartments or slots for each bottle, providing added stability.
For baby bottles, it’s important to store them with their respective parts, such as the nipples and caps. Keep them assembled and place them in a sterilizing container or a designated area in the cabinet or rack. This will help maintain hygiene and ensure that all parts are readily available when needed.
When storing the bottles, it’s essential to keep them away from any potential sources of contamination, such as cleaning chemicals, pesticides, or strong odors. These substances can seep into the bottles and affect the taste and safety of the contents.
Lastly, if you’re storing bottles with liquids, such as homemade beverages or formula milk, make sure to label and date them. This will help you keep track of their freshness and ensure that you use them within the recommended timeframes.
Now that the bottles are stored safely, let’s move on to the final step: regularly checking and maintaining the storage area.
Read more: How To Sanitize Glass Bottles
Step 5: Regularly Check and Maintain the Storage Area
Once you have stored the sanitized bottles, it’s important to regularly check and maintain the storage area to ensure its cleanliness and prevent any potential issues.
Periodically inspect the storage area for any signs of dirt, dust, or pests. Wipe down the shelves, racks, or cabinets with a clean cloth or paper towel to remove any debris. If necessary, use a mild detergent or disinfectant to thoroughly clean the area.
Check the bottles for any signs of damage, such as cracks or chips. Damaged bottles should be discarded as they can compromise the integrity of the container and lead to leakage or contamination. Replace any worn-out or damaged bottle storage racks or organizers as well.
If you notice any foul odors in the storage area, it’s important to investigate and address the source. Remove any expired or spoiled bottles or beverages, and clean the area to eliminate the odor completely.
Additionally, keep an eye on the expiration dates of any stored beverages or liquids. Discard any expired products to ensure the safety and quality of the bottles and their contents.
Regularly re-sanitize the bottles if they have been stored for a long time or if you suspect any contamination. Follow the proper sanitization process to ensure that the bottles remain clean and safe for use.
By regularly checking and maintaining the storage area, you can ensure the cleanliness and safety of the stored bottles, creating a hygienic environment for their storage.
Now that you know how to store sanitized bottles effectively, you can enjoy the convenience of having clean and ready-to-use bottles whenever you need them.
Conclusion
Properly storing sanitized bottles is essential for maintaining their cleanliness and preventing contamination. By following the steps outlined in this article, you can ensure that your bottles remain safe and ready for use.
Remember to clean the bottles thoroughly before storing them by using a bottle brush and dish soap to remove any dirt or residue. Allow the bottles to dry completely to prevent the growth of bacteria.
Choose the storage method that suits your needs, whether it’s a cabinet, rack, or sterilizing container. Ensure that the storage area is clean, dry, and away from direct sunlight.
Store the bottles safely by arranging them upright, with caps securely tightened. Use dividers or separators to keep them organized and prevent damage. For baby bottles, store them with their respective parts.
Regularly check and maintain the storage area by cleaning it periodically and inspecting the bottles for any damage. Dispose of expired products and sanitize the bottles as needed.
By following these steps, you can ensure that your sanitized bottles remain clean and safe for use, giving you peace of mind and ensuring the health and well-being of those who use them.
So, take the time to properly store your sanitized bottles and enjoy the convenience and hygiene they provide!
Frequently Asked Questions about How To Store Sanitized Bottles
Was this page helpful?
At Storables.com, we guarantee accurate and reliable information. Our content, validated by Expert Board Contributors, is crafted following stringent Editorial Policies. We're committed to providing you with well-researched, expert-backed insights for all your informational needs.



0 thoughts on “How To Store Sanitized Bottles”