Articles
How To Store Bottles After Sterilizing
Modified: May 6, 2024
Discover the best practices for safely storing sterilized bottles in this informative article. Learn how to maintain cleanliness and prevent contamination.
(Many of the links in this article redirect to a specific reviewed product. Your purchase of these products through affiliate links helps to generate commission for Storables.com, at no extra cost. Learn more)
Introduction
Properly sterilizing baby bottles is crucial for maintaining your baby’s health and safety. However, it’s equally important to store the bottles correctly to ensure that they remain clean and hygienic until they are ready to be used. In this article, we will guide you through the steps of storing bottles after sterilizing, helping you maintain a safe and convenient feeding routine for your little one.
After going through the process of sterilizing the bottles, it’s essential to handle them with care to prevent contamination. Storing them properly ensures that all your efforts in sterilization are not wasted.
While the specific storage method may vary depending on individual preferences, we will outline some general steps that can be followed to store bottles effectively. These steps will help keep the bottles clean, dry, and ready for use when your baby needs them.
It’s important to note that new parents should consult their pediatrician or follow the manufacturer’s guidelines for specific bottle care instructions. Additionally, always take into consideration any special instructions or recommendations provided by your healthcare provider.
Key Takeaways:
- Properly sterilizing and storing baby bottles is crucial for maintaining a clean and hygienic feeding environment for your little one. Follow the steps outlined to ensure your baby’s health and safety.
- Consider using a bottle drying rack for efficient drying and organized storage. Optional sterilization of storage containers adds an extra layer of cleanliness for your baby’s feeding equipment.
Read more: How To Store Baby Bottles After Sterilizing
Step 1: Allow the Bottles to Cool
After sterilizing the bottles, it’s crucial to allow them to cool down before handling them or attempting to store them. Hot bottles can not only be dangerous to handle, but the high temperatures can also lead to warping or damage to the bottles or their lids.
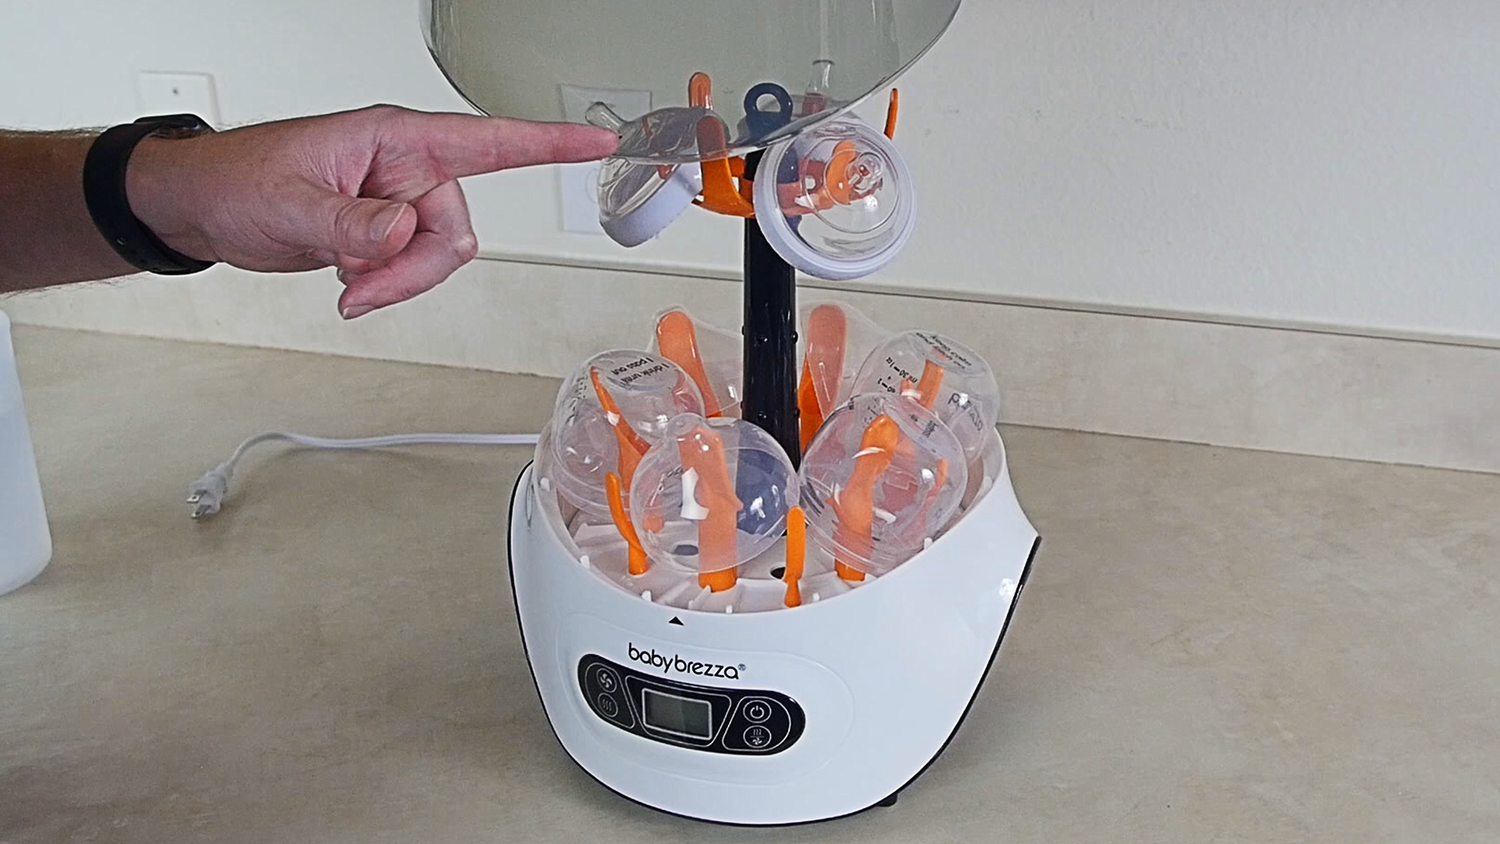
The cooling process helps ensure that the bottles are safe to touch and minimizes the risk of potential damage. It’s advisable to leave the bottles in the sterilizer or on a heat-resistant surface until they reach room temperature.
Keep in mind that some sterilizers have built-in cooling functions, which can expedite the cooling process. If your sterilizer doesn’t have this feature, you can simply wait for the bottles to cool naturally.
It’s important to exercise caution when handling hot bottles, especially if you have sensitive skin. Using oven mitts or silicone bottle grippers can provide an extra layer of protection when removing the bottles from the sterilizer or cooling area.
By allowing the bottles to cool properly, you ensure they remain intact and ready for the next step in the storage process.
Step 2: Drain Excess Sterilizing Solution
Once the bottles have cooled down, the next step is to drain any excess sterilizing solution that may be left inside. This is important because leaving the solution in the bottles can lead to residue buildup and potentially contaminate the bottles.
To drain the sterilizing solution, carefully pour out any remaining liquid from the bottles. Make sure to pour it out over a sink to avoid any spills or mess. You can gently shake the bottles to help expedite the draining process.
If there are any hard-to-reach areas where the solution may pool, you can use a clean towel or paper towel to pat the inside of the bottles and remove any remaining liquid.
Once all excess sterilizing solution has been drained, visually inspect the bottles to ensure they are free from any residue or liquid. It’s important to have completely dry bottles before proceeding to the next step.
Remember, residual sterilizing solution can impact the taste or smell of the milk or formula when the bottles are being used. It’s essential to remove all traces of the sterilizing solution to provide a clean and hygienic feeding experience for your baby.
By draining any excess sterilizing solution, you maintain the cleanliness and integrity of the bottles, preparing them for the next stage of the storage process.
Step 3: Dry the Bottles Thoroughly
Once you have drained the excess sterilizing solution from the bottles, the next step is to ensure that the bottles are thoroughly dried. Proper drying helps prevent the growth of bacteria or mold, which can occur if the bottles are stored while still damp.
To dry the bottles effectively, start by using a clean kitchen towel or paper towel to wipe the exterior of the bottles. This will remove any moisture or residue on the outside surface.
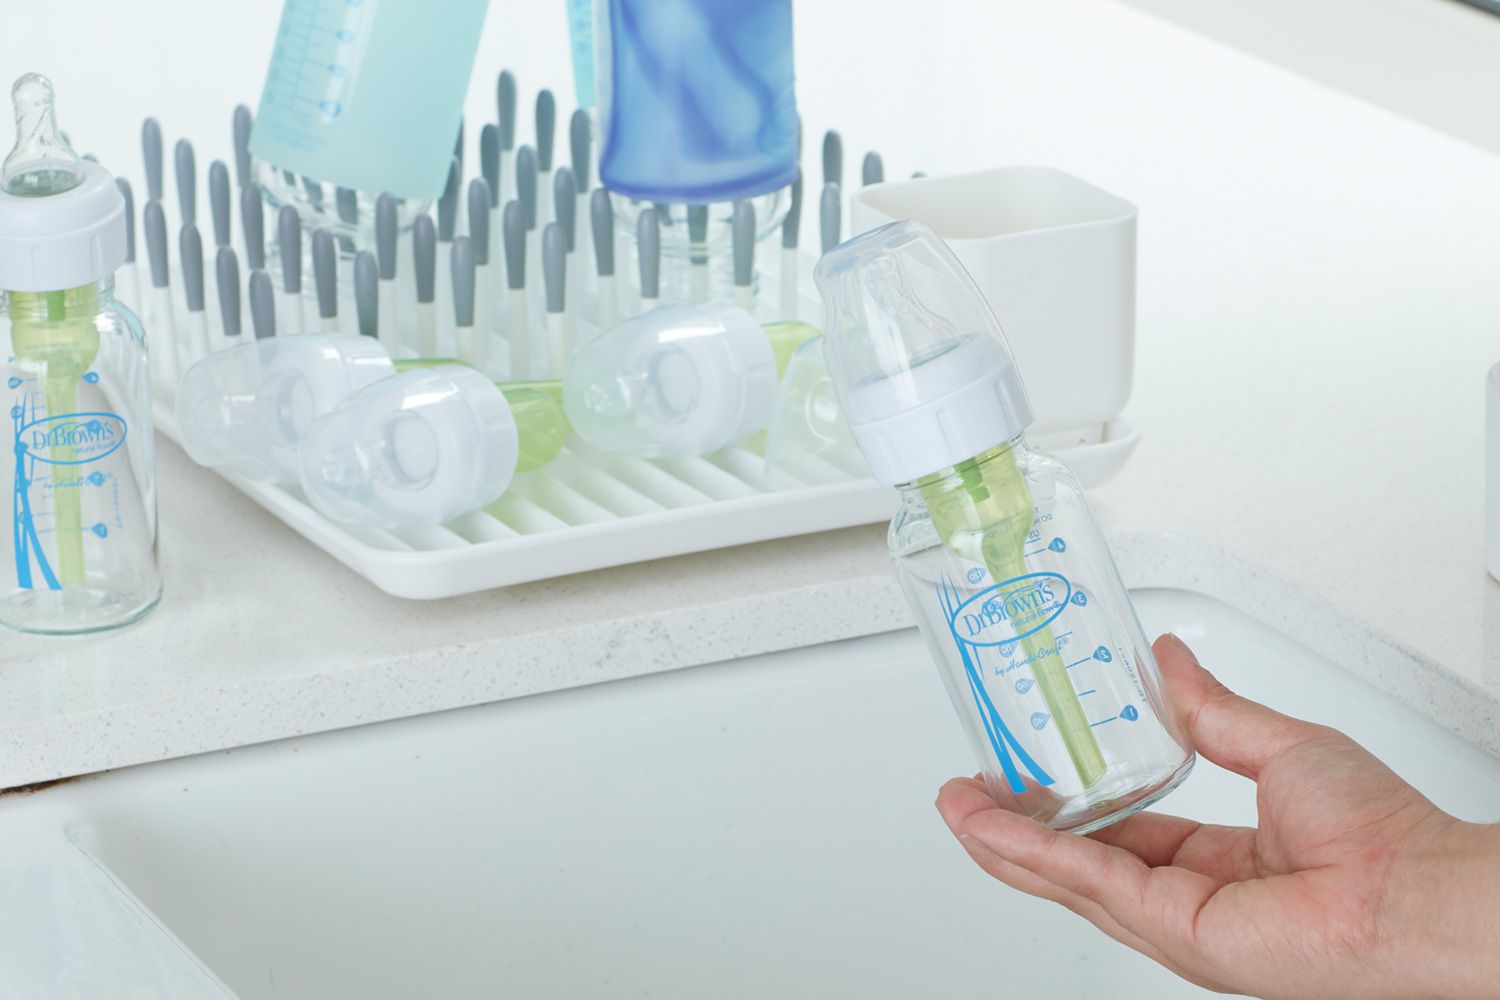
Next, you can place the bottles upside down on a clean and dry dish rack or a designated bottle drying rack. This position allows any remaining moisture inside the bottles to drain out and evaporate naturally.
If you choose to use a dish rack, make sure it’s clean and dedicated solely to drying bottles. Avoid using racks that are used for dishes or other kitchen utensils, as these may introduce contaminants to the bottles.
If time is of the essence or you prefer a faster drying method, you can use a clean, lint-free cloth or microfiber towel. Gently insert it into the bottles, twisting and turning to reach all sides. This technique helps absorb moisture effectively and speeds up the drying process.
Remember to thoroughly dry all the bottle components, including nipples, caps, and rings, before storing them. Any moisture left on these parts can encourage the growth of bacteria or mold, compromising the cleanliness of the bottles.
Ensure that the bottles are completely dry to the touch before proceeding to the next step. This will help maintain a germ-free environment and extend the shelf life of the bottles.
After sterilizing bottles, store them in a clean, dry, and covered container to prevent contamination. Keep them in a cool, dark place to maintain their sterilized condition.
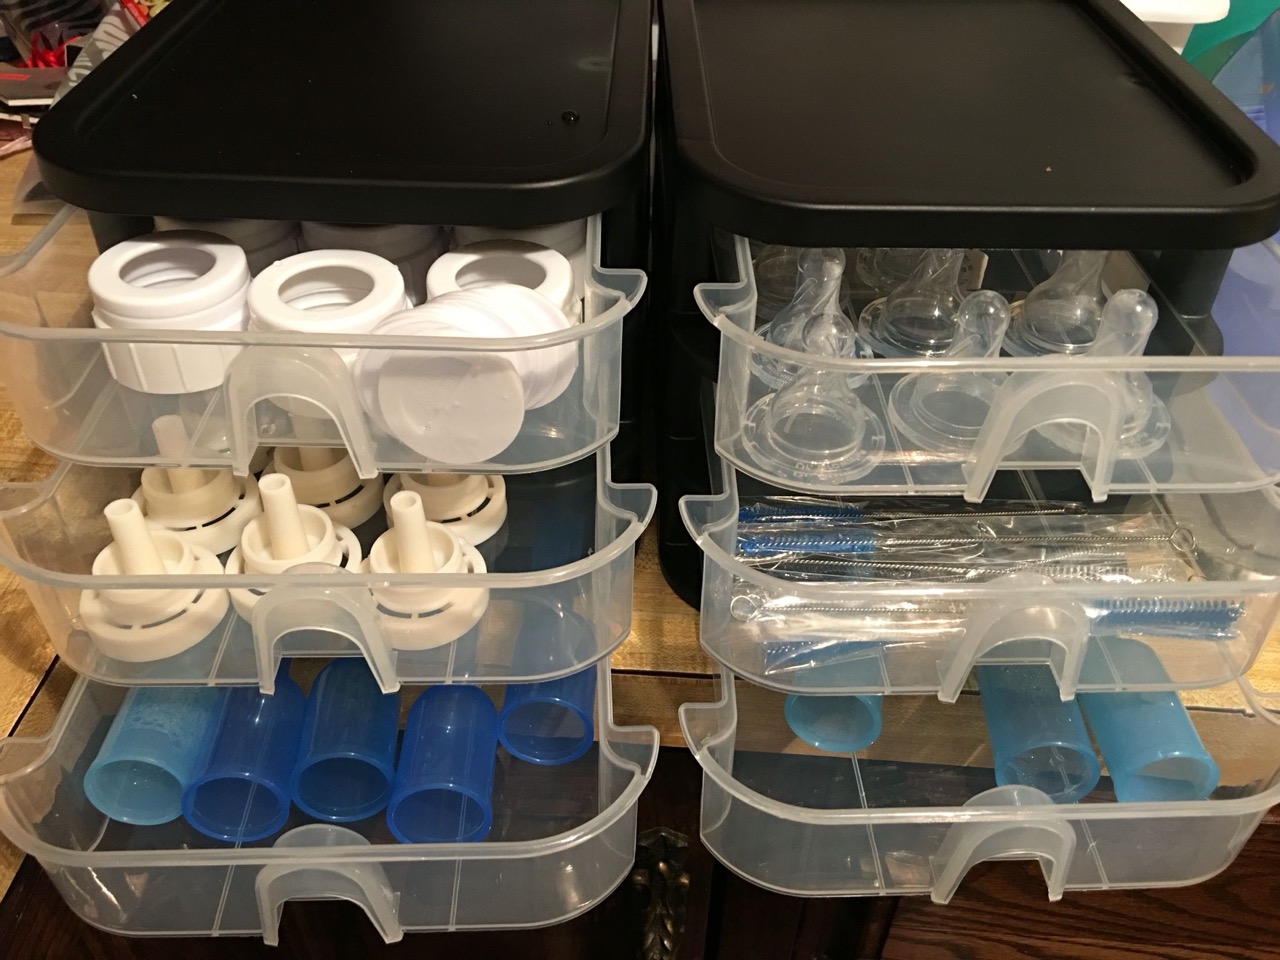
Step 4: Store in a Clean, Dry Place
After the bottles have been thoroughly dried, it’s time to store them in a clean and dry place. The storage area should be free from dust, moisture, and any potential contaminants that may compromise the cleanliness of the bottles.
An ideal storage location is a cabinet or cupboard specifically designated for baby items. This helps prevent cross-contamination from other household items and ensures that the bottles remain in a controlled environment.
Make sure to clean the storage area before placing the bottles inside. Wipe down the shelves or surfaces with a clean cloth or disinfectant spray. By maintaining a clean storage area, you minimize the risk of introducing any harmful bacteria or germs to the bottles.
Arrange the bottles in an orderly manner to maximize space and accessibility. You can stack them with the caps on to save space, or keep them separate if you prefer. It’s always a good idea to keep the bottles upright to prevent any potential leaks or spills.
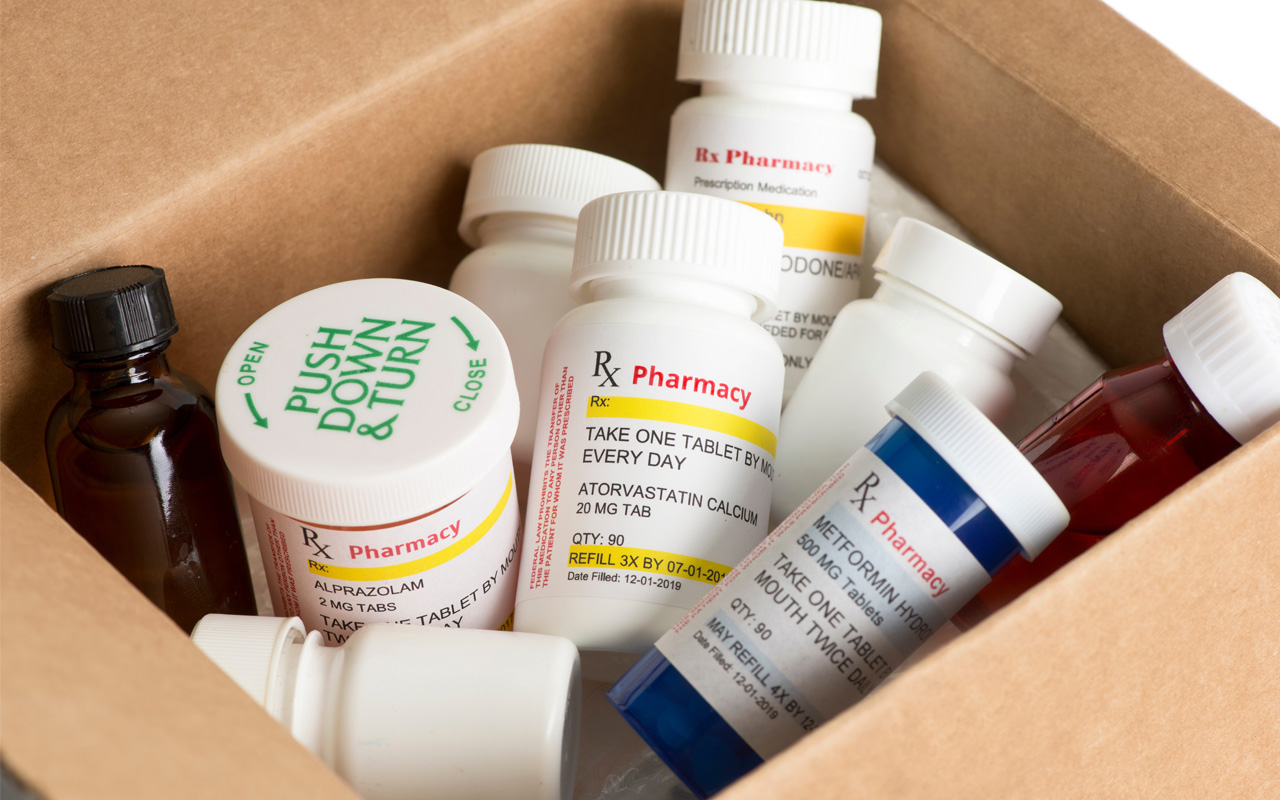
Avoid storing the bottles near potential sources of contamination, such as cleaning supplies or trash bins. Also, keep them away from direct sunlight, as exposure to UV rays can degrade the plastic over time.
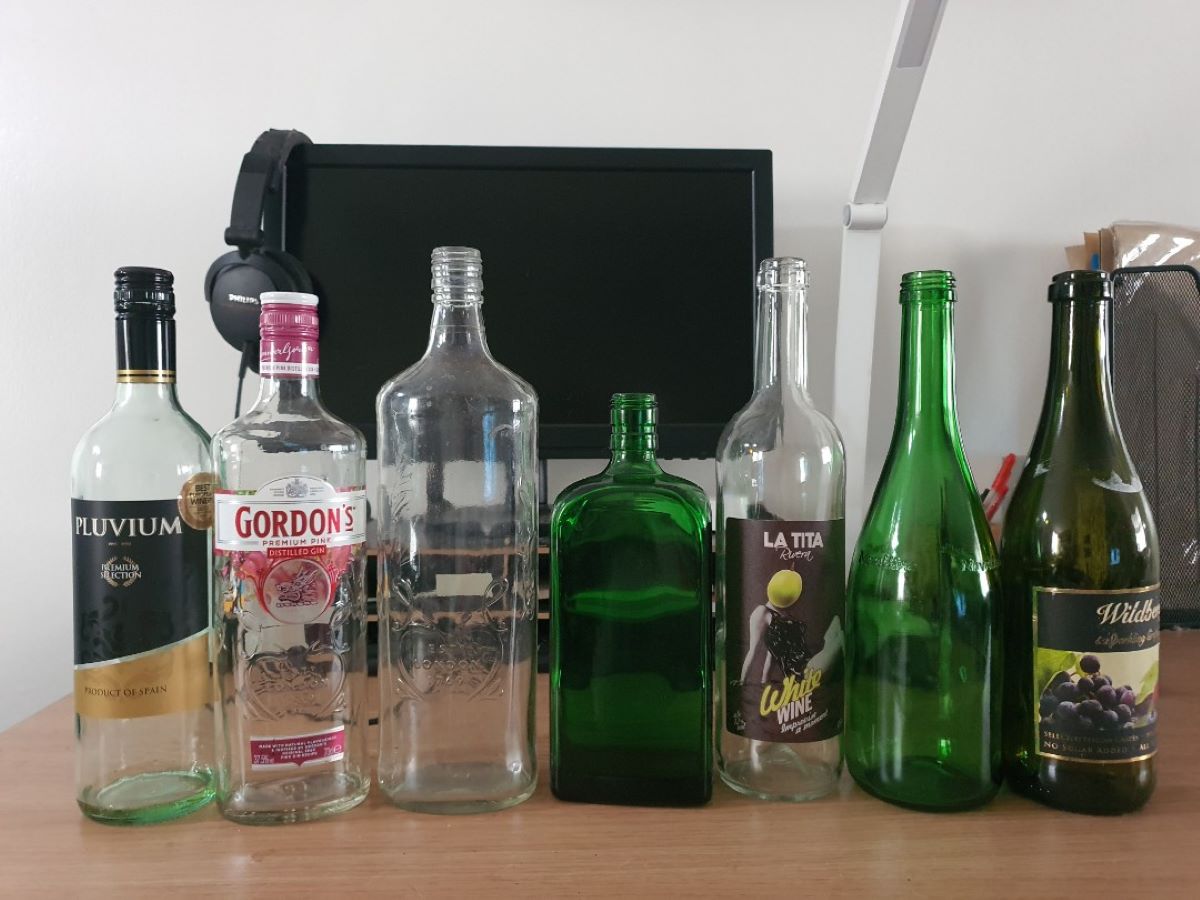
It’s important to note that if you’re using glass bottles, take extra precautions when storing them to prevent breakage. Keep them away from the edges of shelves and ensure they won’t be easily knocked over.
Regularly check the storage area for any signs of mold, mildew, or pests. If you spot any issues, thoroughly clean and disinfect the area before returning the bottles.
By storing the bottles in a clean and dry place, you maintain their sanitation and ensure they are ready for use when needed.
Read more: How To Sterilize Glass Bottles
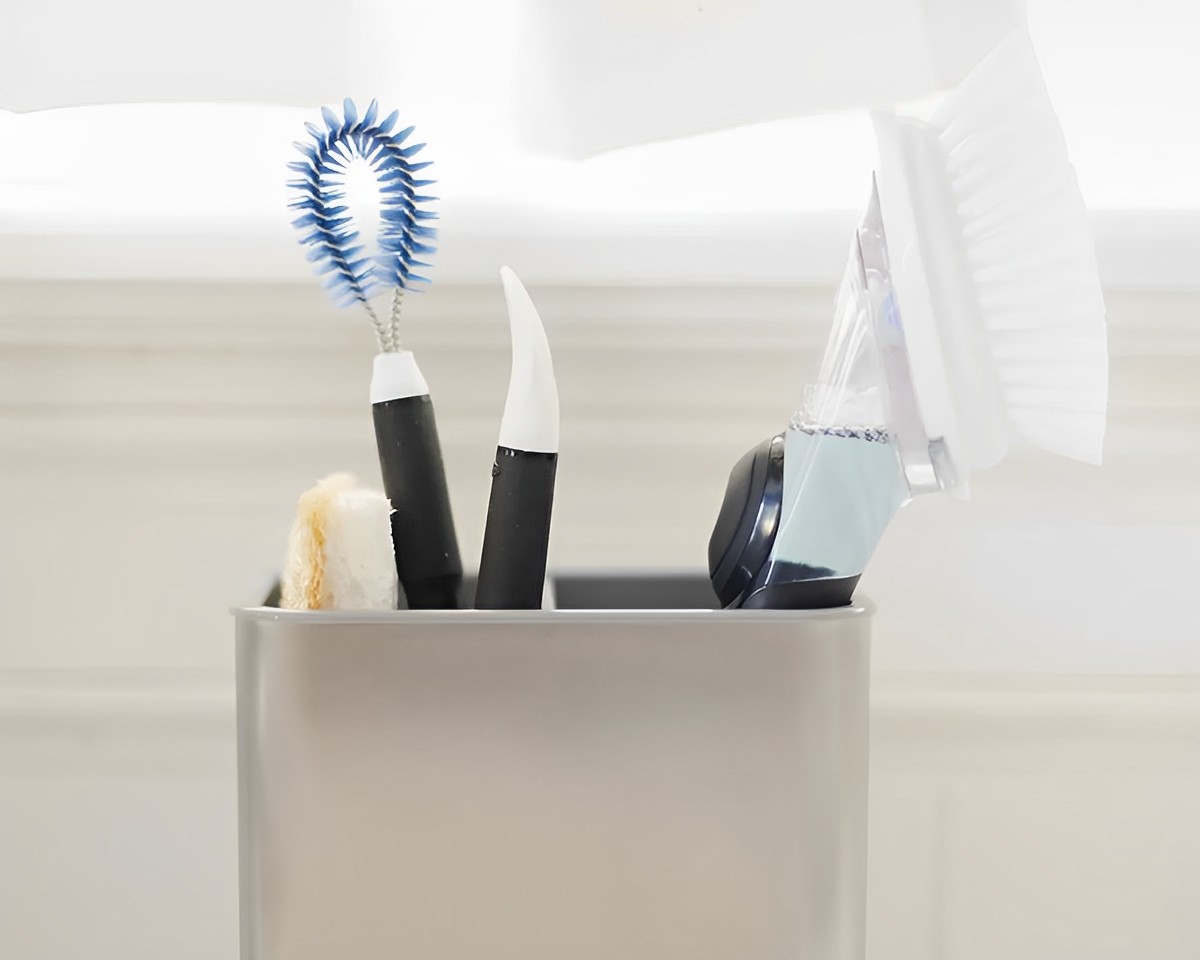
Step 5: Consider Using a Bottle Drying Rack
While not a mandatory step, using a bottle drying rack can be a convenient and efficient way to dry and store your baby bottles after sterilization. These racks are specially designed to hold bottles, nipples, and other bottle components in an organized and upright position, allowing for proper airflow and drainage.
Using a bottle drying rack offers several benefits:
- Effective Drying: Bottle drying racks allow for optimal air circulation, ensuring that the bottles dry thoroughly. The upright position also helps to prevent water from pooling inside the bottles.
- Space Optimization: Drying racks are designed to hold multiple bottles, nipples, and other accessories all in one place, making efficient use of counter or table space.
- Hygienic Storage: The separate compartments on the drying rack keep the bottles and components organized, reducing the risk of cross-contamination. It also helps to prevent the bottles from touching unclean surfaces.
- Ease of Use: With a dedicated drying rack, you can quickly and easily assemble the bottles after drying, saving time and effort.
When choosing a bottle drying rack, consider one that is easy to clean and made of a durable material. Look for racks with removable trays or pieces for hassle-free cleaning.
Remember to clean and sanitize the drying rack regularly to maintain its cleanliness and prevent the growth of bacteria or mold.
If space is limited or you prefer an alternative method, you can still use a clean towel or other hygienic surface to dry the bottles. Just ensure that the bottles are placed in an upright position to facilitate proper drying.
Using a bottle drying rack can streamline the drying and storage process, providing a convenient and organized solution for keeping your baby bottles clean and ready for use.
Step 6: Optional Step – Sterilize Storage Containers
In addition to sterilizing and storing the baby bottles, you may also consider sterilizing the storage containers where the bottles will be kept. While this step is optional, it can provide an extra layer of cleanliness and hygiene for your baby’s feeding equipment.
If you choose to sterilize the storage containers, here’s how you can do it:
- Select Suitable Storage Containers: Choose storage containers that are BPA-free, food-grade, and specifically designed for storing baby bottles. Look for containers with an airtight seal to prevent any contaminants from entering.
- Clean the Containers: Before sterilizing, clean the storage containers thoroughly with warm soapy water. Rinse them well to ensure there is no residue left behind.
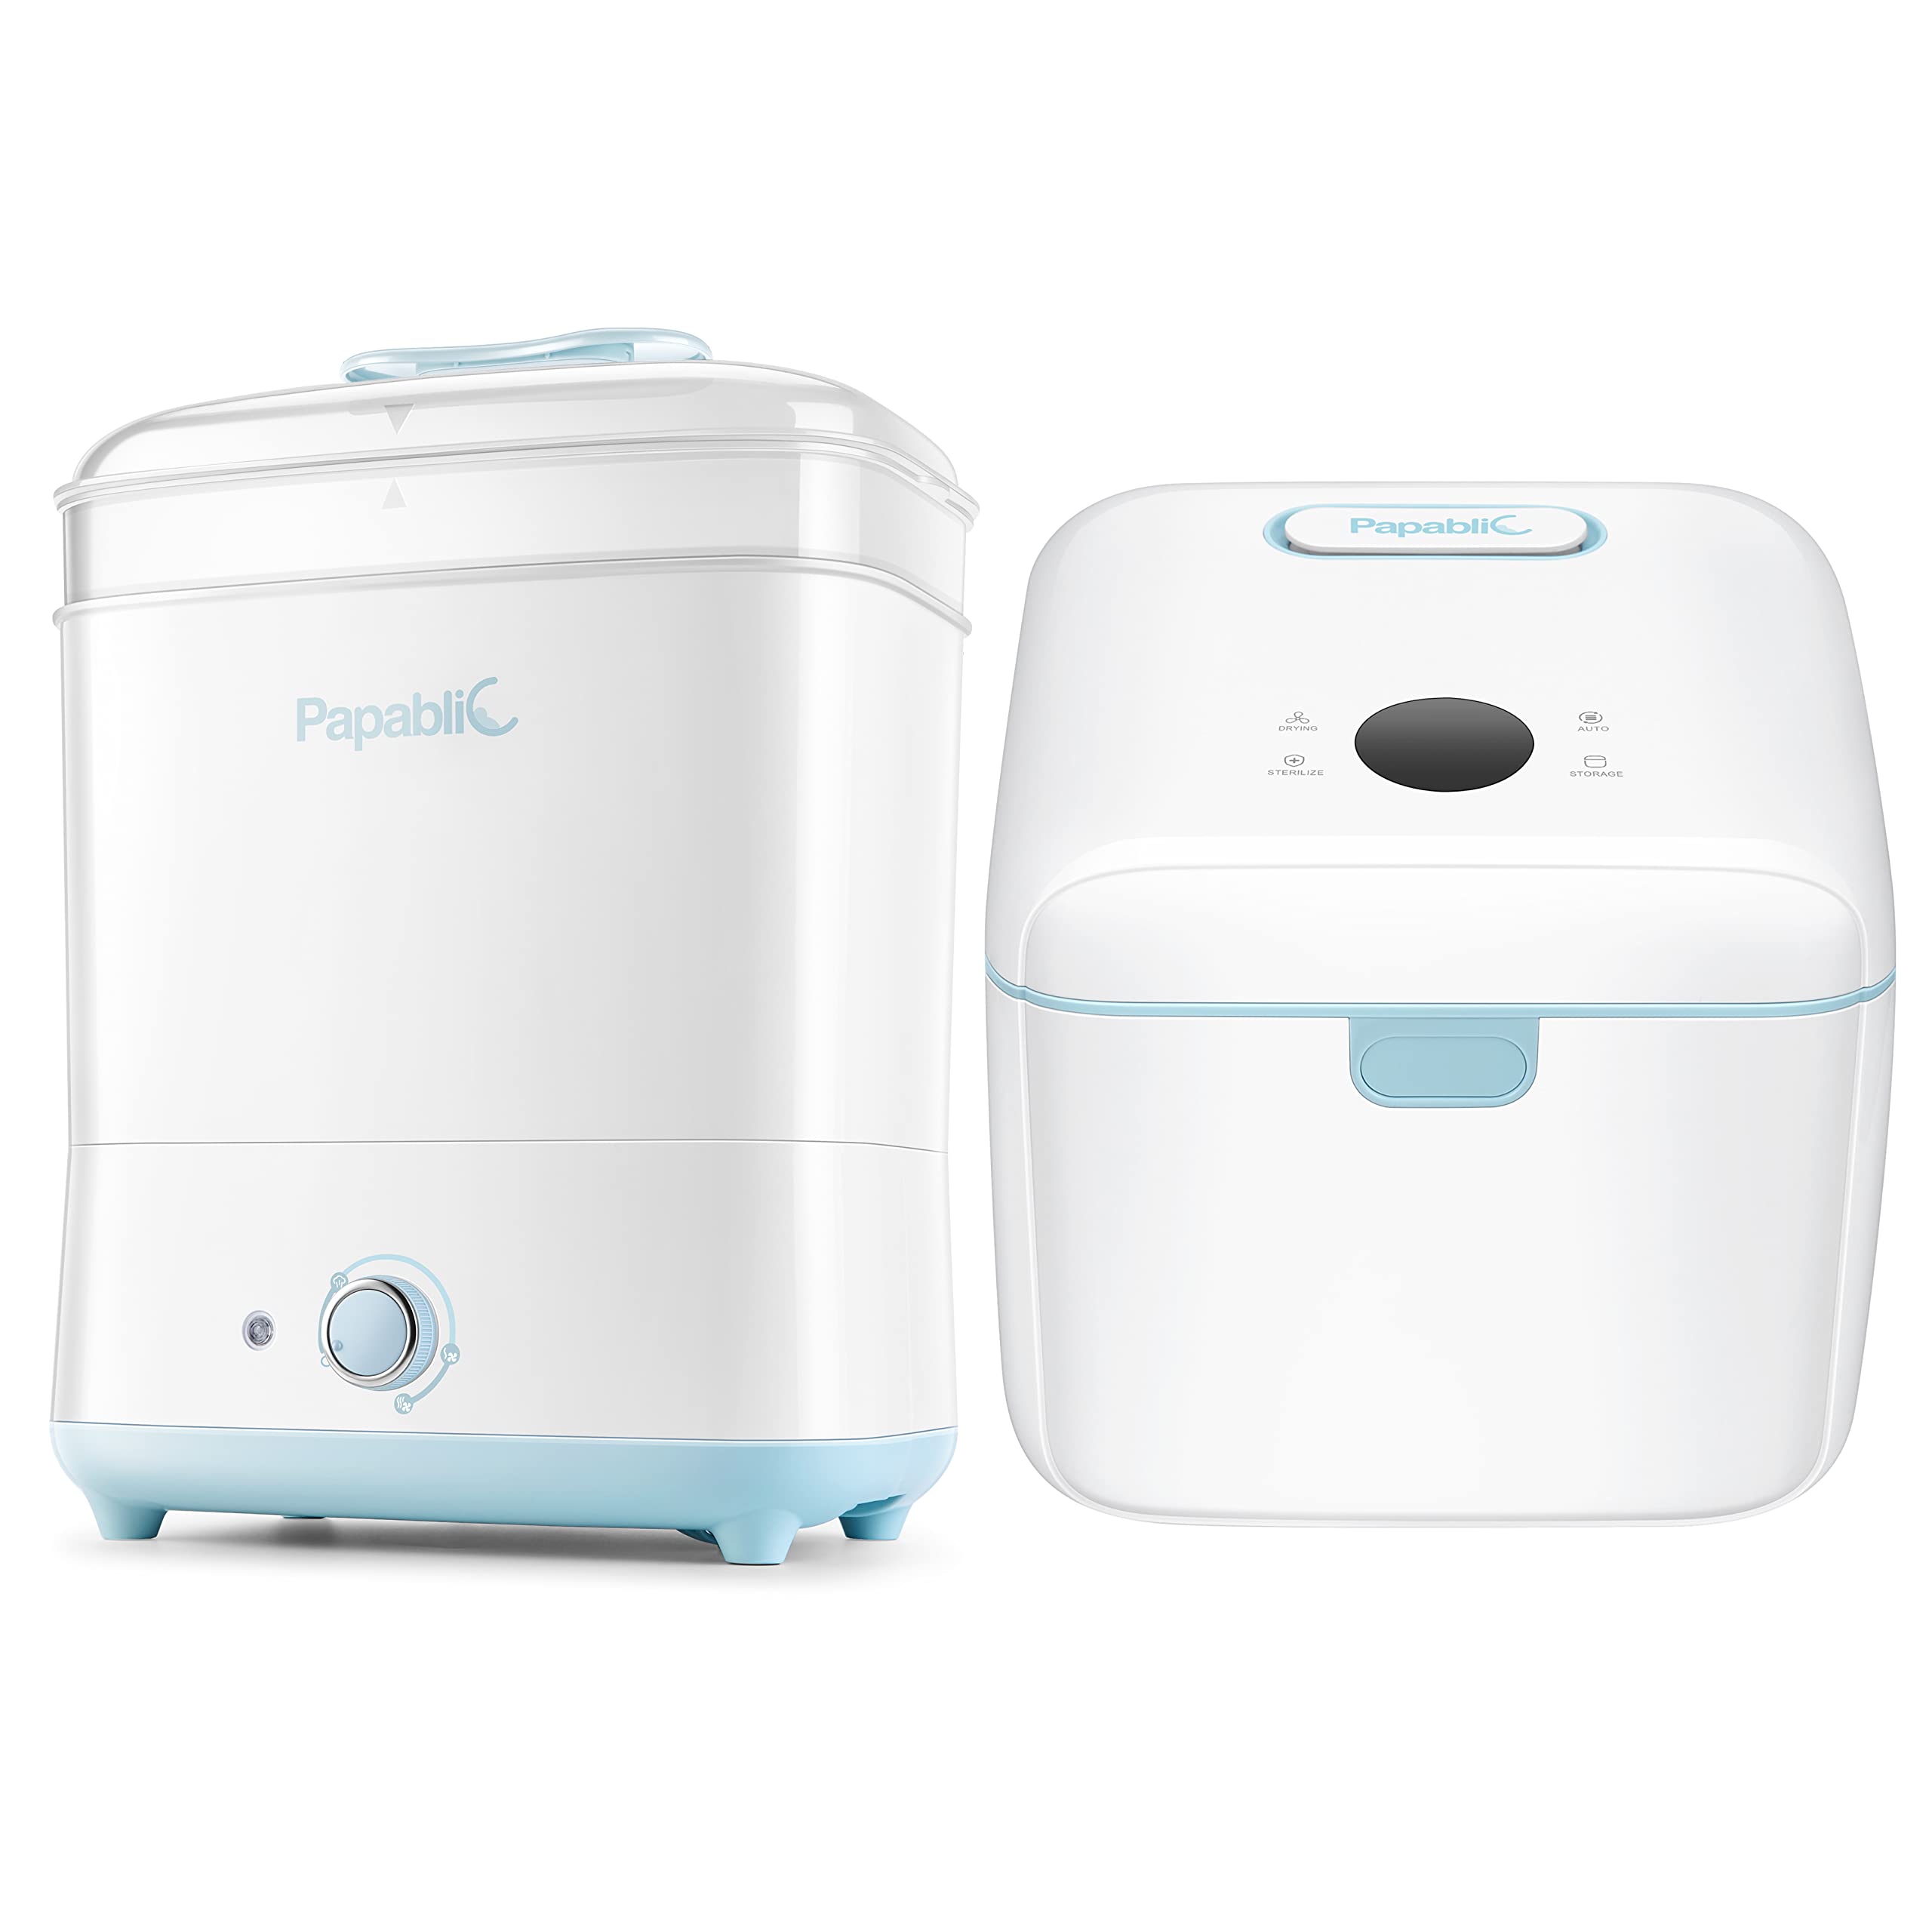
- Sterilization Methods: There are a few ways to sterilize the storage containers. You can use a steam sterilizer, boil them in water for a few minutes, or use a sterilizing solution recommended by the manufacturer.
- Drying the Containers: After sterilizing, let the storage containers air dry completely. Alternatively, you can use a clean, lint-free cloth to gently dry them before storing the bottles.
- Store the Bottles: Once the containers are dry, you can place the sterilized baby bottles inside and seal them tightly. Make sure to label the containers with the date of sterilization for reference.
By sterilizing the storage containers, you create a safe and clean environment for storing the baby bottles. This step can give you peace of mind knowing that the bottles remain free from contamination until they are ready to be used.
It’s important to note that sterilizing the storage containers is an additional step and not a substitute for properly sterilizing the baby bottles themselves. The bottles should always undergo the necessary sterilization process before being stored, regardless of whether the storage containers are sterilized or not.
Consider incorporating this optional step to take your bottle storage routine to the next level of cleanliness and hygiene.
Conclusion
Properly sterilizing and storing baby bottles is an essential aspect of ensuring your baby’s health and safety. By following the steps outlined in this article, you can maintain a clean and hygienic environment for your baby’s feeding equipment.
Allowing the bottles to cool down, draining excess sterilizing solution, and thoroughly drying the bottles are initial steps that help maintain the cleanliness and integrity of the bottles. Storing the bottles in a clean and dry place, away from potential sources of contamination, further ensures their hygiene.
Consider using a bottle drying rack to optimize drying efficiency and provide a convenient storage solution. This allows for proper airflow and organization of the bottles and their components.
If you choose, you can also extend the cleanliness process by sterilizing the storage containers. While this step is optional, it provides an additional layer of hygiene, giving you peace of mind that your baby’s bottles are stored in a safe and clean environment.
Remember to consult your pediatrician or follow the manufacturer’s guidelines for specific instructions on bottle care and sterilization. Additionally, always consider any special recommendations or instructions provided by your healthcare provider.
By implementing these tips and following the necessary steps, you can create a safe and convenient feeding routine for your baby, ensuring their health and well-being throughout their early years.
Enjoy the joyous moments of feeding your baby, knowing that you’ve taken every precaution to keep their bottles clean and safe!
Now that you've got the skinny on keeping those bottles pristine post-sterilization, why stop there? For folks eager to upgrade their bottle storage solutions, our detailed guide on the finest options available will surely tickle your fancy. And if your kitchen feels cramped, don't sweat it! Dive into our clever tricks for maximizing space with effective kitchen organization strategies. Both articles are packed with practical tips to make your life easier and your spaces more functional.
Frequently Asked Questions about How To Store Bottles After Sterilizing
Was this page helpful?
At Storables.com, we guarantee accurate and reliable information. Our content, validated by Expert Board Contributors, is crafted following stringent Editorial Policies. We're committed to providing you with well-researched, expert-backed insights for all your informational needs.


0 thoughts on “How To Store Bottles After Sterilizing”