Home>Furniture & Design>Interior Design Trends>How To Sanitize Glass Bottles
Interior Design Trends
How To Sanitize Glass Bottles
Published: February 4, 2024
Learn how to properly sanitize glass bottles and stay up to date with the latest interior design trends. Keep your home stylish and safe with our expert tips.
(Many of the links in this article redirect to a specific reviewed product. Your purchase of these products through affiliate links helps to generate commission for Storables.com, at no extra cost. Learn more)
Introduction
Sanitizing glass bottles is a crucial step in ensuring the safety and cleanliness of the containers used for storing beverages, homemade sauces, or other liquids. Whether you are a homebrewer, a DIY enthusiast, or simply someone who prefers eco-friendly and reusable containers, knowing how to effectively sanitize glass bottles is essential for maintaining hygiene and preserving the quality of the contents.
Properly sanitized glass bottles help prevent the growth of harmful bacteria, yeast, or mold, which can compromise the taste and safety of the stored liquids. By following the correct sanitization process, you can ensure that your bottles are free from contaminants and ready to be filled with your favorite beverages or culinary creations.
In this comprehensive guide, we will walk you through the step-by-step process of sanitizing glass bottles, from cleaning to drying. By the end of this tutorial, you will have the knowledge and confidence to sanitize your glass bottles with ease, allowing you to enjoy peace of mind knowing that your containers are clean and safe for use.
Let's dive into the materials needed and the detailed steps for effectively sanitizing your glass bottles.
Key Takeaways:
- Keep your glass bottles clean and safe by following these steps: remove labels, scrub with a cleaning solution, sanitize with a food-grade solution, and ensure thorough drying. Enjoy peace of mind knowing your bottles are free from harmful contaminants.
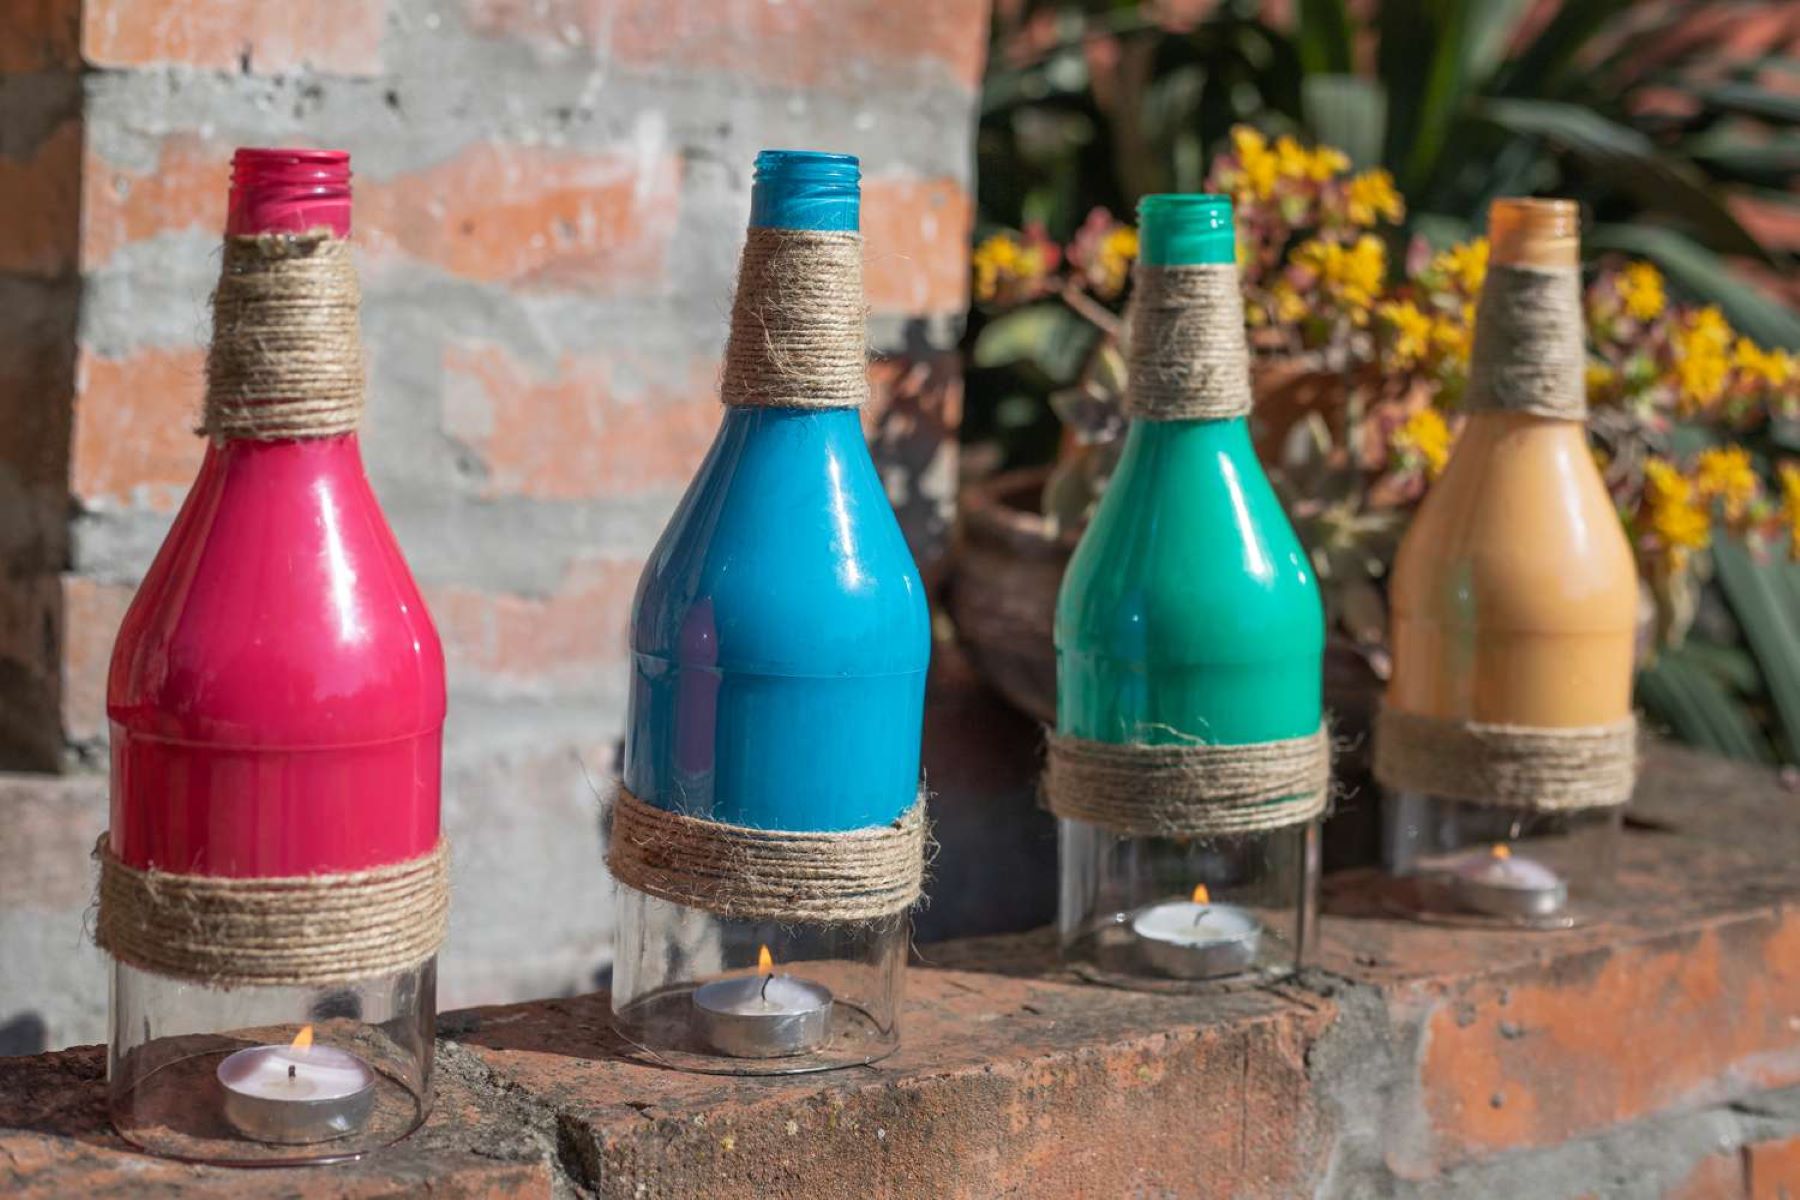
- Embrace sustainability by reusing and sanitizing glass bottles. By mastering the art of sanitization, you can maintain a clean and safe environment for your stored liquids while reducing your environmental footprint.
Read more: How To Sanitize Glass Jars
Materials Needed
Before embarking on the process of sanitizing glass bottles, it's essential to gather the necessary materials to ensure a smooth and effective sanitization process. Here's a list of the items you will need:
-
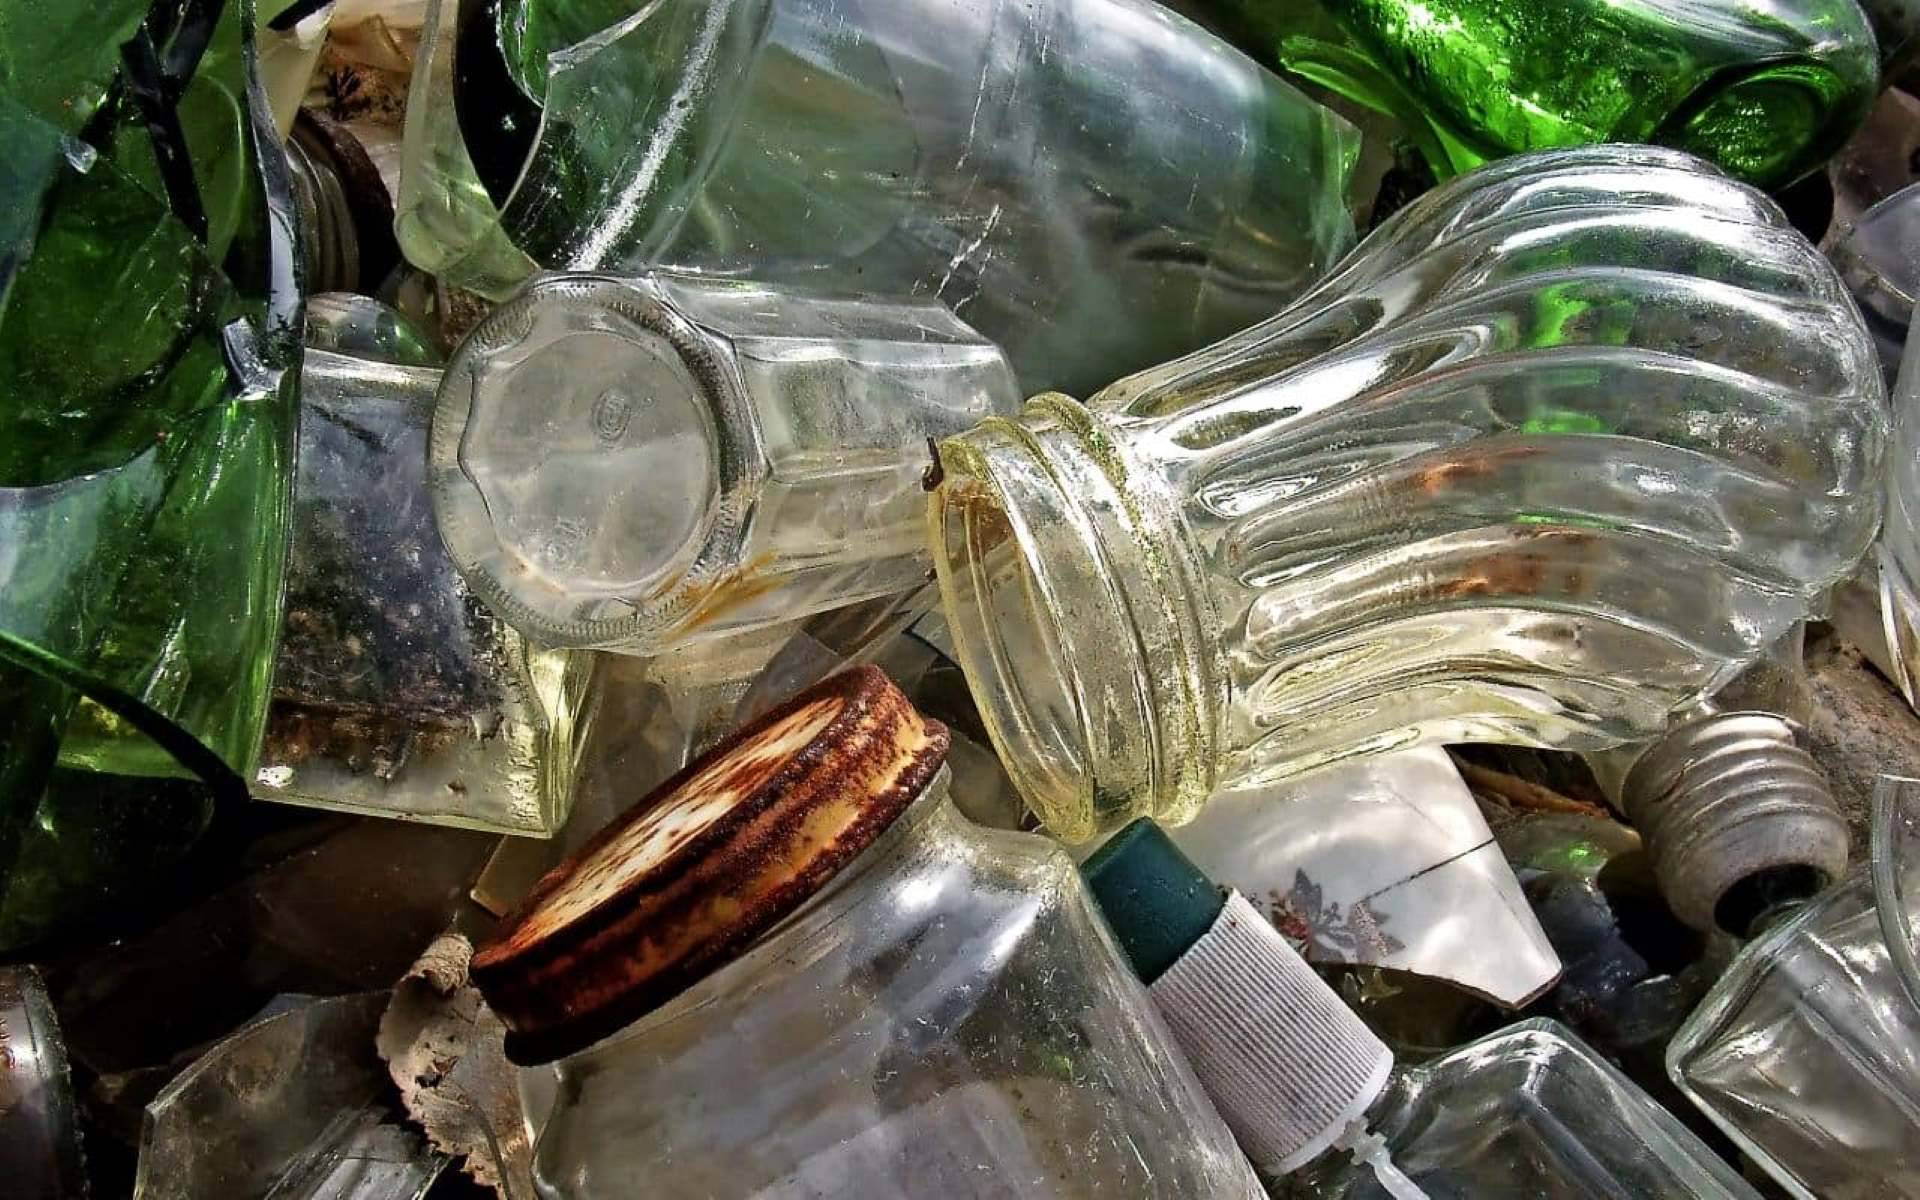
Glass Bottles: Gather the glass bottles that require sanitization. These could be empty bottles previously used for storing beverages or newly acquired ones that need to be cleaned before use.
-
Cleaning Solution: Choose a mild cleaning solution such as dish soap or a specialized bottle cleaning solution. This will be used to remove any visible dirt, residue, or labels from the bottles.
-
Bottle Brush: A bottle brush with soft bristles is essential for reaching the interior of the bottles and scrubbing away any stubborn residue or buildup.
-
Sanitizing Solution: Select a food-grade sanitizing solution or sanitizer tablets designed for sanitizing glass bottles. This solution will effectively eliminate any remaining bacteria, yeast, or other contaminants that may be present after cleaning.
-
Sanitizing Container: Prepare a clean container large enough to submerge the glass bottles in the sanitizing solution. This could be a plastic tub or a sink that can accommodate the bottles comfortably.
-
Clean Towels or Drying Rack: Have clean, lint-free towels or a drying rack ready for drying the sanitized bottles after the sanitization process is complete.
-
Gloves: While optional, wearing gloves can help protect your hands from the cleaning and sanitizing solutions, especially if you have sensitive skin.
By ensuring that you have all the necessary materials at hand, you can streamline the glass bottle sanitization process and achieve optimal results. With these items in place, you are ready to proceed with the step-by-step process of cleaning, sanitizing, and drying your glass bottles.
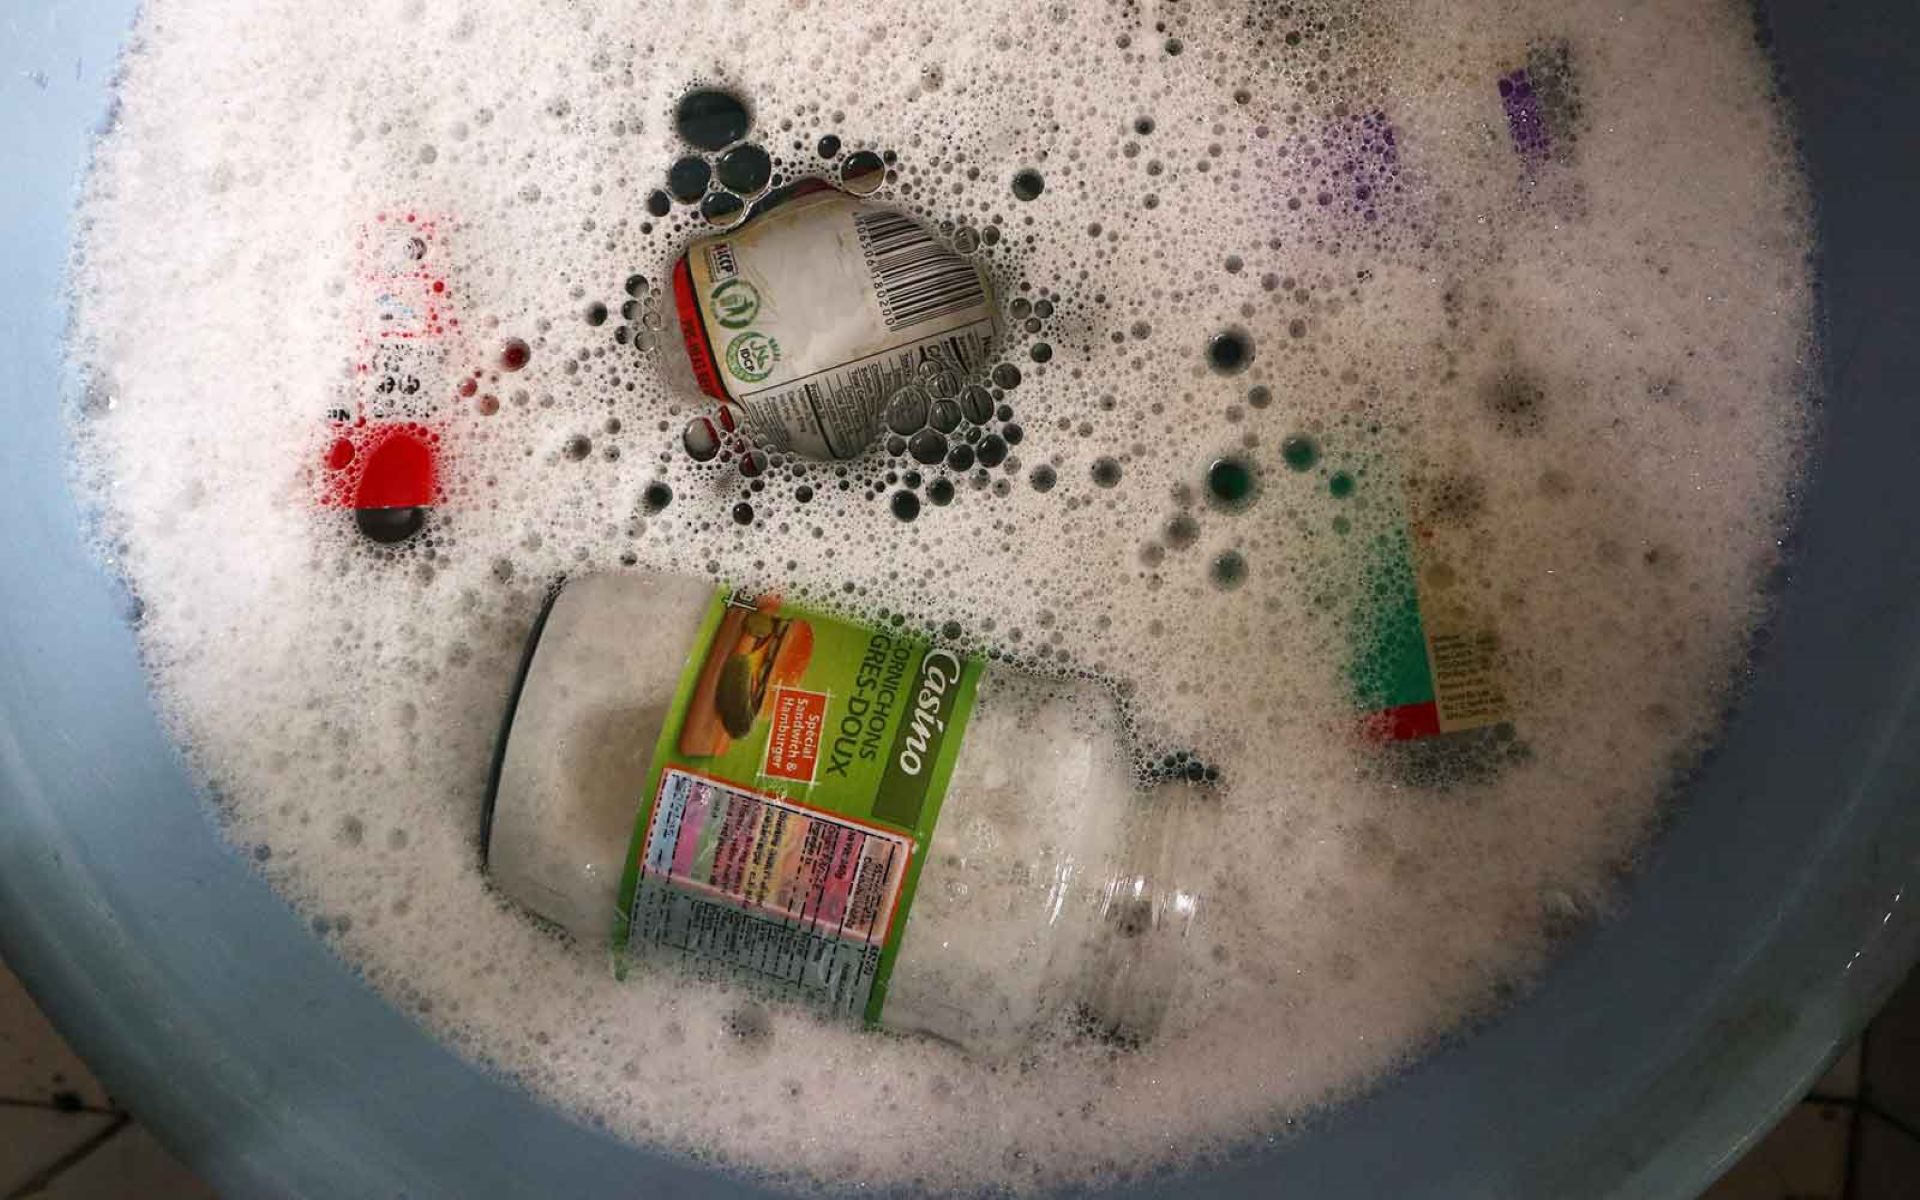
Step 1: Cleaning the Bottles
Cleaning the glass bottles is the initial and crucial step in the sanitization process. It involves removing any visible dirt, residue, or labels from the bottles to prepare them for the subsequent sanitization phase. Follow these detailed steps to ensure thorough cleaning:
-
Remove Labels: Start by peeling off any labels or stickers attached to the bottles. To make this process easier, soak the bottles in warm, soapy water for a few minutes to loosen the adhesive. Once the labels are softened, gently scrub them off using a sponge or a non-abrasive scrubbing pad.
-
Pre-Rinse: Before applying the cleaning solution, give the bottles a preliminary rinse to remove any loose debris or leftover liquid. Hold the bottles under running water and swish the water around inside to dislodge any particles or residue.
-
Prepare Cleaning Solution: In a clean sink or basin, prepare a mild cleaning solution using warm water and a small amount of dish soap or a specialized bottle cleaning solution. Ensure that the water is not too hot, as extreme temperatures can cause glass to crack.
-
Scrub the Bottles: Dip a bottle brush with soft bristles into the cleaning solution and carefully scrub the interior and exterior of each bottle. Pay special attention to areas with stubborn residue or hard-to-reach spots. For narrow-necked bottles, consider using a long-handled brush to ensure thorough cleaning.
-
Rinse Thoroughly: After scrubbing, thoroughly rinse the bottles with clean water to remove any soapy residue. Hold each bottle under running water and swish the water around inside to ensure complete rinsing.
-
Inspect for Residue: Once rinsed, visually inspect the bottles to ensure that all residue, dirt, and soap have been removed. Check the interior and exterior of the bottles, holding them up to the light to spot any remaining residue.
By meticulously following these steps, you can effectively clean the glass bottles, preparing them for the subsequent sanitization process. Thorough cleaning sets the foundation for successful sanitization, ensuring that the bottles are free from visible contaminants and ready for the next phase of the process.
Step 2: Sanitizing the Bottles
Once the glass bottles have been thoroughly cleaned, the next crucial step is to sanitize them to eliminate any remaining bacteria, yeast, or other contaminants that may not be visible to the naked eye. Proper sanitization is essential for ensuring the safety and cleanliness of the bottles, especially if they will be used for storing beverages or homemade concoctions. Follow these detailed steps to effectively sanitize the glass bottles:
Submerge in Sanitizing Solution
Prepare the food-grade sanitizing solution or sanitizer tablets according to the manufacturer's instructions. Ensure that the solution is mixed in the correct concentration to effectively sanitize the bottles. Once the sanitizing solution is ready, carefully submerge the cleaned glass bottles in the solution, ensuring that they are fully immersed.
Read more: How To Dispose Of Glass Bottles
Soak for the Recommended Time
Allow the bottles to soak in the sanitizing solution for the recommended duration specified by the product instructions. This soaking period allows the sanitizing solution to effectively eliminate any remaining contaminants and ensure thorough sanitation of the bottles. It is important to adhere to the specified soaking time to achieve optimal results.
Swirl or Agitate the Bottles
While the bottles are submerged, gently swirl or agitate them in the sanitizing solution to ensure that the solution reaches all surfaces inside the bottles. This movement helps to dislodge any trapped air bubbles and ensures that the sanitizing solution makes contact with the entire interior of the bottles, effectively sanitizing them.
Drain and Air Dry
After the recommended soaking time has elapsed, carefully remove the sanitized bottles from the sanitizing solution. Allow the excess solution to drain from the bottles, and then place them upside down on a clean drying rack or on clean, lint-free towels. Allowing the bottles to air dry thoroughly is essential to complete the sanitization process.
By following these meticulous steps, you can effectively sanitize the glass bottles, ensuring that they are free from harmful contaminants and safe for use. Proper sanitization is a critical aspect of maintaining hygiene and ensuring the safety of the contents stored in the bottles. Once the bottles have been sanitized and thoroughly dried, they are ready to be filled with your favorite beverages or culinary creations, providing you with the assurance of clean and safe storage containers.
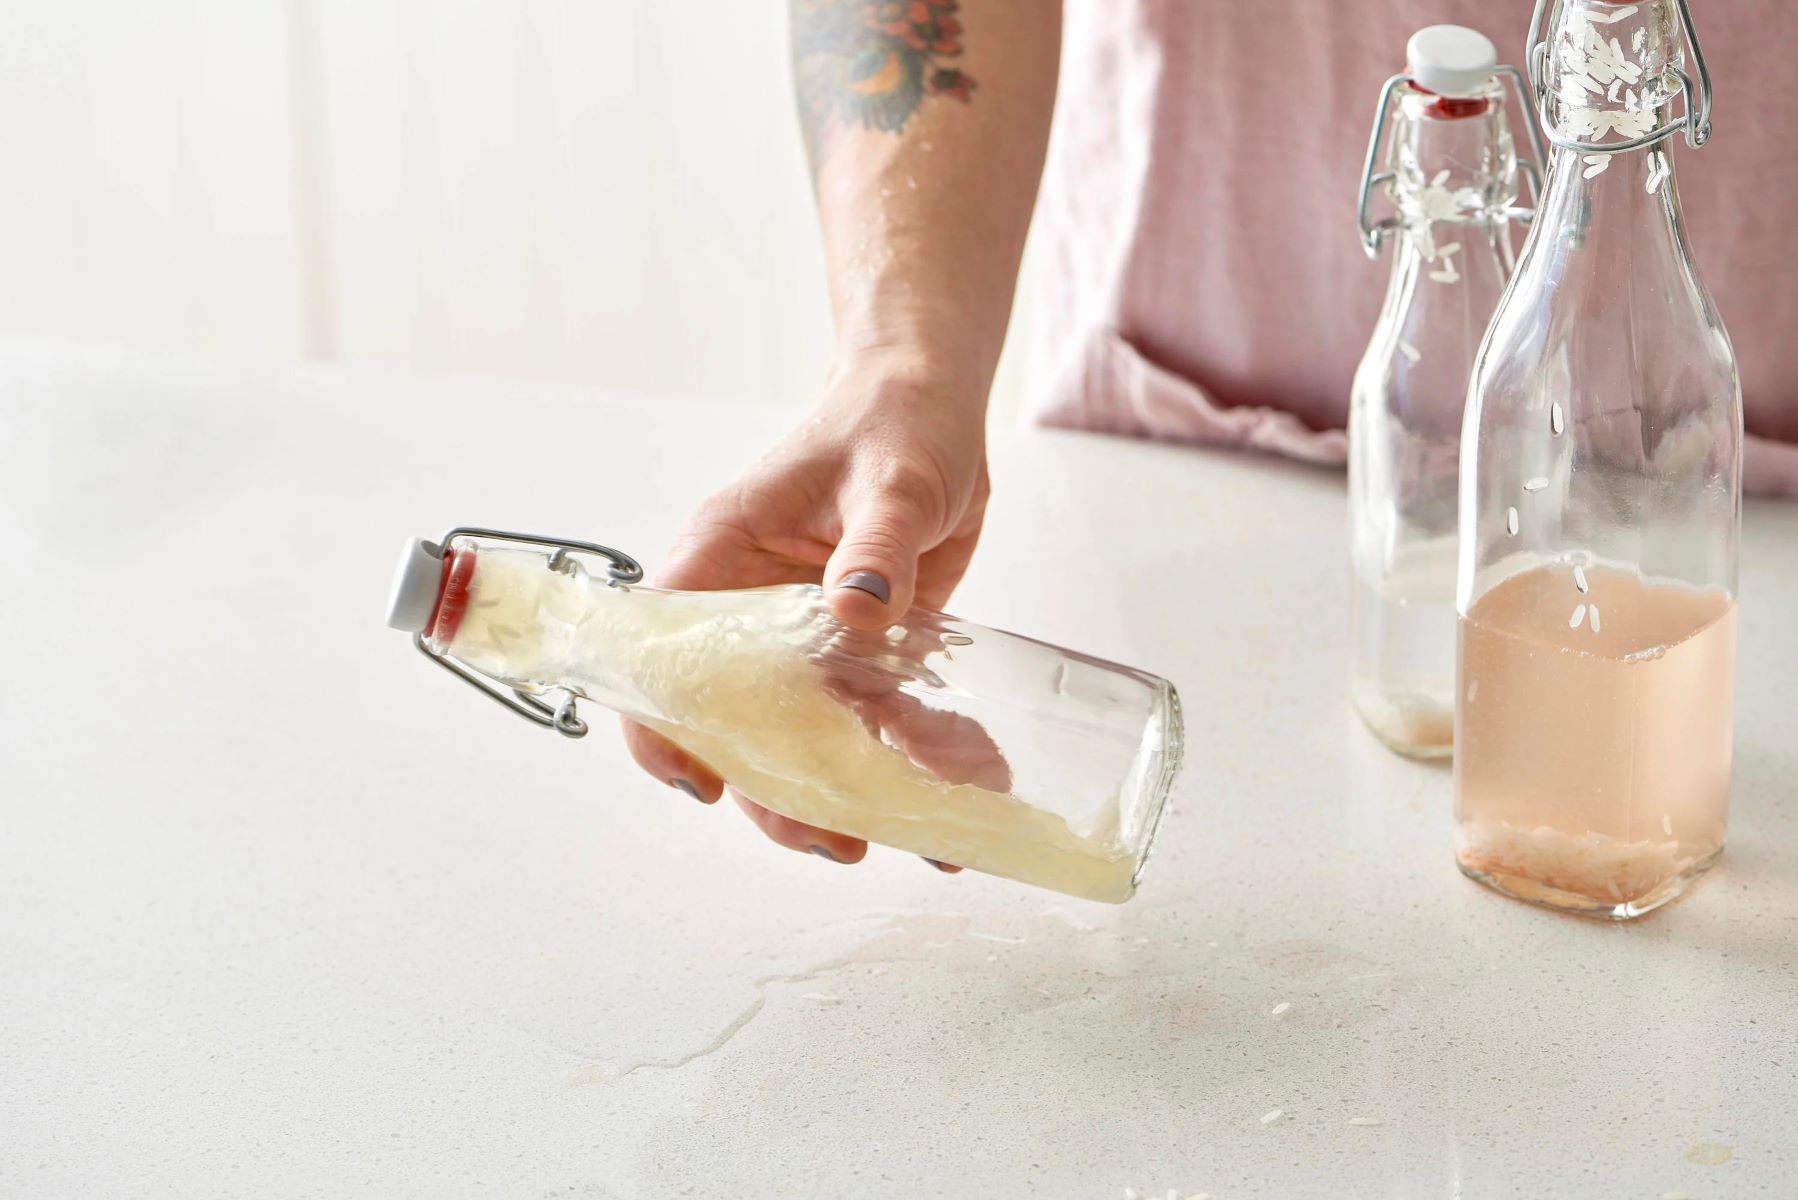
Step 3: Drying the Bottles
Properly drying the sanitized glass bottles is the final essential step in the sanitization process. Thorough drying ensures that the bottles are free from moisture, which can harbor bacteria or mold, and prepares them for immediate use or storage. Follow these detailed steps to effectively dry the glass bottles after the sanitization process:
Read more: How To Drill Glass Bottles
Shake Out Excess Water
After the bottles have been removed from the sanitizing solution and allowed to drain, gently shake each bottle to remove any remaining water droplets from the interior. This step helps to expedite the drying process and prevents water from pooling at the bottom of the bottles.
Air Dry Upside Down
Place the sanitized glass bottles upside down on a clean drying rack or on clean, lint-free towels. Allowing the bottles to air dry in this position facilitates the complete evaporation of any residual moisture. The upside-down position also prevents dust or airborne particles from settling inside the bottles during the drying process.
Ensure Sufficient Air Circulation
Position the drying rack or towels in a well-ventilated area to promote efficient air circulation around the bottles. Adequate air circulation aids in the evaporation of moisture and helps expedite the drying process. Avoid placing the bottles in a confined or damp space, as this can hinder the drying efficiency.
Check for Complete Dryness
Allow the glass bottles to air dry for a sufficient period, ensuring that they are completely dry both inside and out before use or storage. Visually inspect the bottles to confirm that no moisture remains, and gently touch the interior to ensure that it is dry to the touch. Complete dryness is crucial for maintaining the cleanliness and integrity of the bottles.
Read more: How To Flatten A Glass Bottle
Store in a Clean Environment
Once the bottles are thoroughly dried, store them in a clean and dust-free environment to prevent any contamination before use. Ensure that the storage area is free from potential sources of dirt or debris that could compromise the cleanliness of the bottles.
By meticulously following these steps, you can effectively dry the sanitized glass bottles, ensuring that they are free from moisture and ready for immediate use or safe storage. Proper drying complements the sanitization process, allowing you to maintain the cleanliness and hygiene of the bottles, ultimately providing you with peace of mind as you utilize them for storing your favorite beverages or culinary creations.
Conclusion
In conclusion, mastering the art of sanitizing glass bottles is an essential skill for anyone who values cleanliness, safety, and sustainability. By following the meticulous steps outlined in this comprehensive guide, you can ensure that your glass bottles are thoroughly cleaned, effectively sanitized, and properly dried, setting the stage for safe and hygienic storage of beverages, homemade sauces, or other liquids.
The process begins with the initial cleaning of the bottles, where the removal of labels and thorough scrubbing ensures the elimination of visible dirt and residue. This step lays the foundation for successful sanitization, allowing you to start with clean and prepared bottles. Subsequently, the sanitization phase involves immersing the bottles in a food-grade sanitizing solution, effectively eliminating any remaining bacteria, yeast, or contaminants that may be present. This critical step ensures that the bottles are safe for storing consumable liquids, providing peace of mind regarding their cleanliness.
Properly drying the sanitized bottles is the final step in the process, ensuring that they are free from moisture and ready for immediate use or safe storage. Thorough drying complements the sanitization process, allowing you to maintain the cleanliness and integrity of the bottles, ultimately providing you with peace of mind as you utilize them for storing your favorite beverages or culinary creations.
By adhering to these detailed steps and utilizing the necessary materials, you can confidently sanitize your glass bottles, knowing that they are free from harmful contaminants and safe for use. Whether you are a homebrewer, a DIY enthusiast, or simply someone who appreciates the eco-friendly nature of reusable glass bottles, mastering the art of sanitization empowers you to maintain a clean and safe environment for your stored liquids.
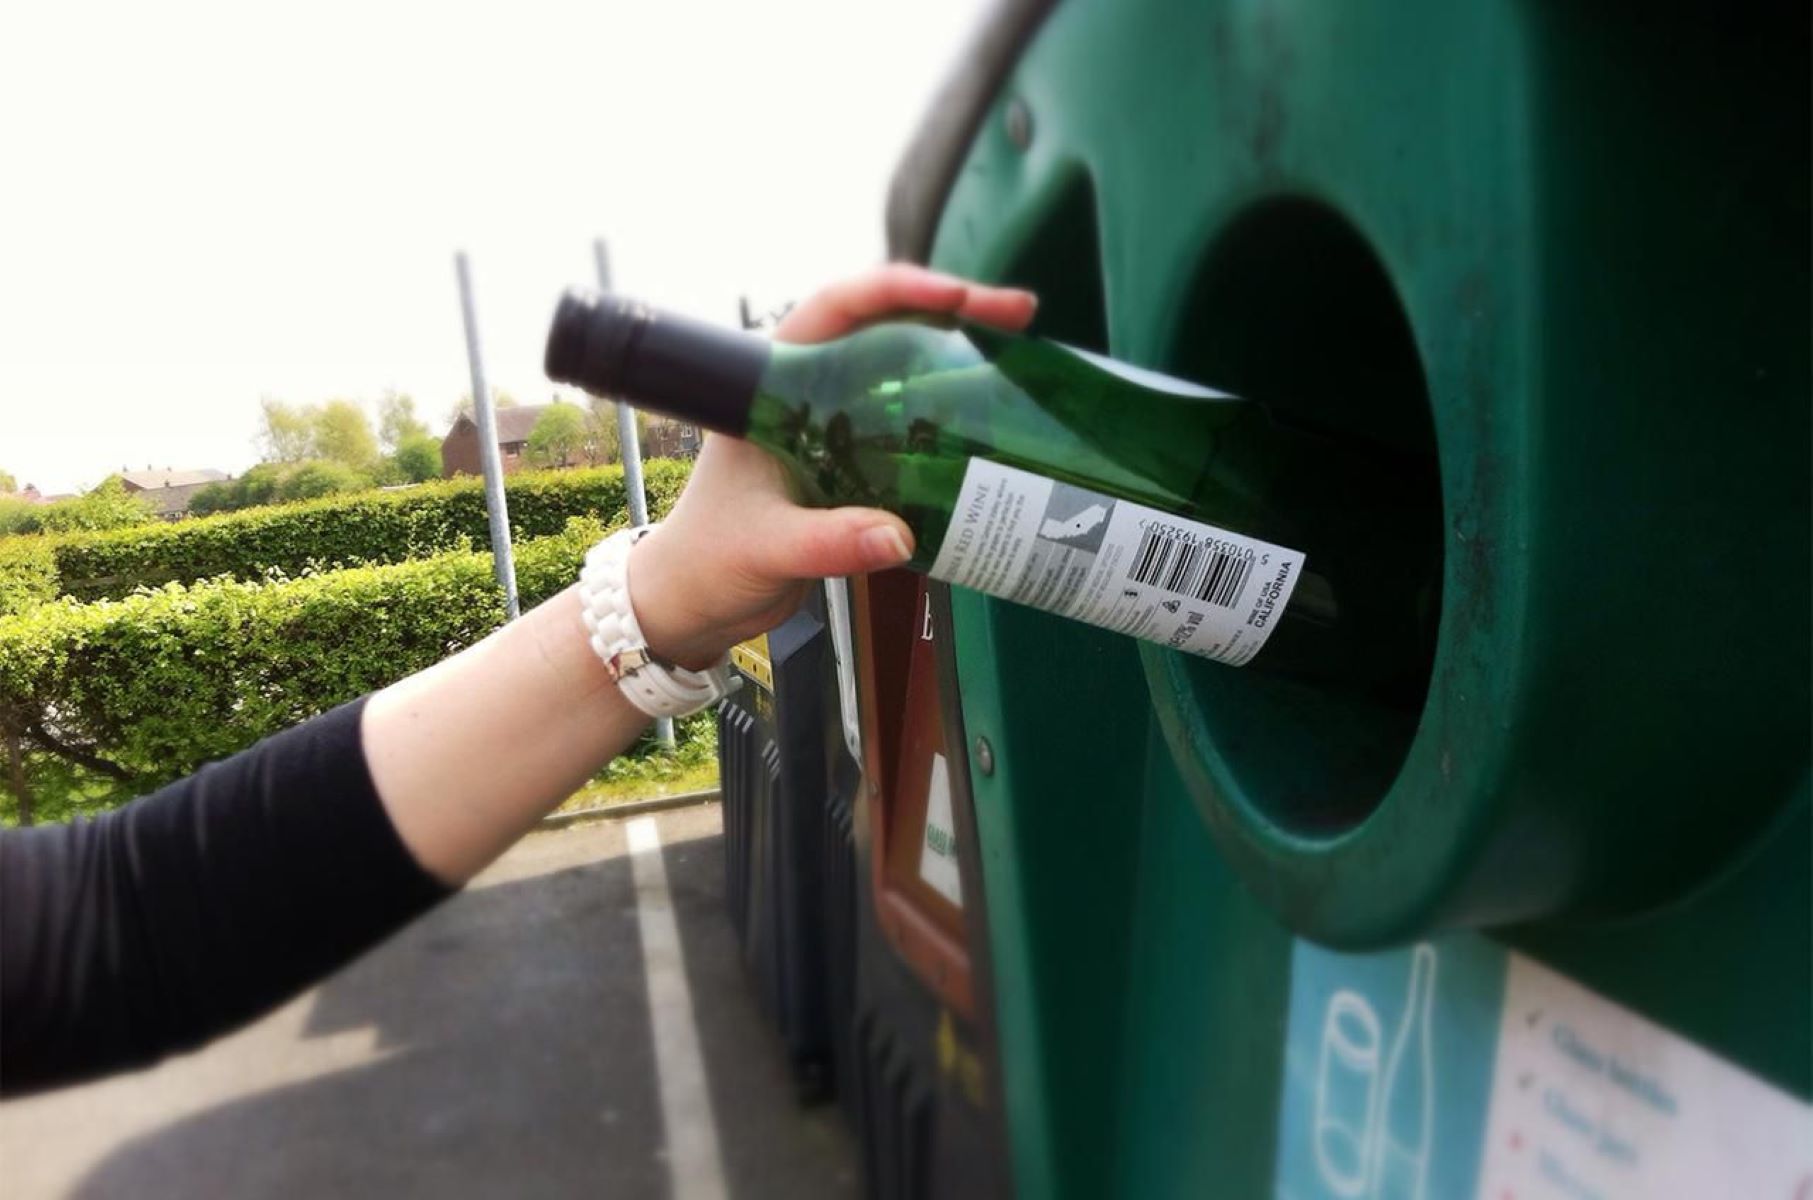
Incorporating these sanitization practices into your routine not only ensures the safety and cleanliness of your glass bottles but also contributes to a sustainable and environmentally conscious lifestyle. By reusing and sanitizing glass bottles, you can reduce your environmental footprint and minimize the reliance on single-use containers, aligning with the principles of eco-friendly living.
In essence, the process of sanitizing glass bottles is not only about cleanliness and safety but also about embracing a sustainable and mindful approach to storage and consumption. By mastering this essential skill, you can enjoy the peace of mind that comes with knowing that your glass bottles are clean, safe, and ready to be filled with your favorite beverages or culinary creations.
Frequently Asked Questions about How To Sanitize Glass Bottles
Was this page helpful?
At Storables.com, we guarantee accurate and reliable information. Our content, validated by Expert Board Contributors, is crafted following stringent Editorial Policies. We're committed to providing you with well-researched, expert-backed insights for all your informational needs.


0 thoughts on “How To Sanitize Glass Bottles”