Articles
How To Store Sourdough
Modified: December 7, 2023
Learn the best techniques for storing your homemade sourdough bread with our informative articles. Keep your bread fresh and delicious for longer.
(Many of the links in this article redirect to a specific reviewed product. Your purchase of these products through affiliate links helps to generate commission for Storables.com, at no extra cost. Learn more)
Introduction
Welcome to the world of sourdough! If you’re new to the art of baking sourdough bread or if you’re a seasoned sourdough enthusiast, you know how important it is to properly store your sourdough starter. Storing your sourdough correctly ensures that it remains healthy and active, ready to be used whenever you’re ready to bake.
In this article, we will explore the various aspects of storing sourdough, including the selection of the right storage container, temperature and humidity considerations, storing sourdough at room temperature, refrigerating sourdough, freezing sourdough, reviving and using stored sourdough, and tips for maintaining your sourdough starter. By the end of this article, you’ll have all the knowledge and techniques you need to store your sourdough starter effectively.
So, let’s dive in and learn the art of proper sourdough storage!
Key Takeaways:
- Properly storing sourdough is crucial for maintaining its health and readiness for baking. Whether at room temperature, in the fridge, or freezer, each method offers unique benefits and considerations.
- Reviving stored sourdough involves discarding, refreshing, and allowing it to become active. Regular feeding, hygiene practices, and a consistent environment are key to maintaining a healthy sourdough starter.
Read more: How To Store Sourdough Discard
Understanding Sourdough
Before we delve into the specifics of storing sourdough, it’s important to have a basic understanding of what sourdough is. Sourdough is a type of bread made using wild yeast and beneficial bacteria. Unlike traditional yeast, which is commercially produced and available in stores, sourdough starter is a living culture that contains a mixture of wild yeast and lactobacilli.
This unique combination of microorganisms gives sourdough its distinct flavor, texture, and rise. The wild yeast helps to ferment the dough, while the lactobacilli produce lactic acid, which gives sourdough its tangy taste. The fermentation process also helps to break down complex carbohydrates and proteins, making sourdough bread easier to digest compared to bread made with commercial yeast.
Because sourdough is a living organism, it requires regular feeding and maintenance to keep it healthy and active. If not properly cared for, the wild yeast and bacteria can weaken, leading to a less active starter and potentially less desirable bread.
Now that we have a basic understanding of sourdough, let’s move on to the next section, where we will explore the importance of selecting the right storage container for your sourdough starter.
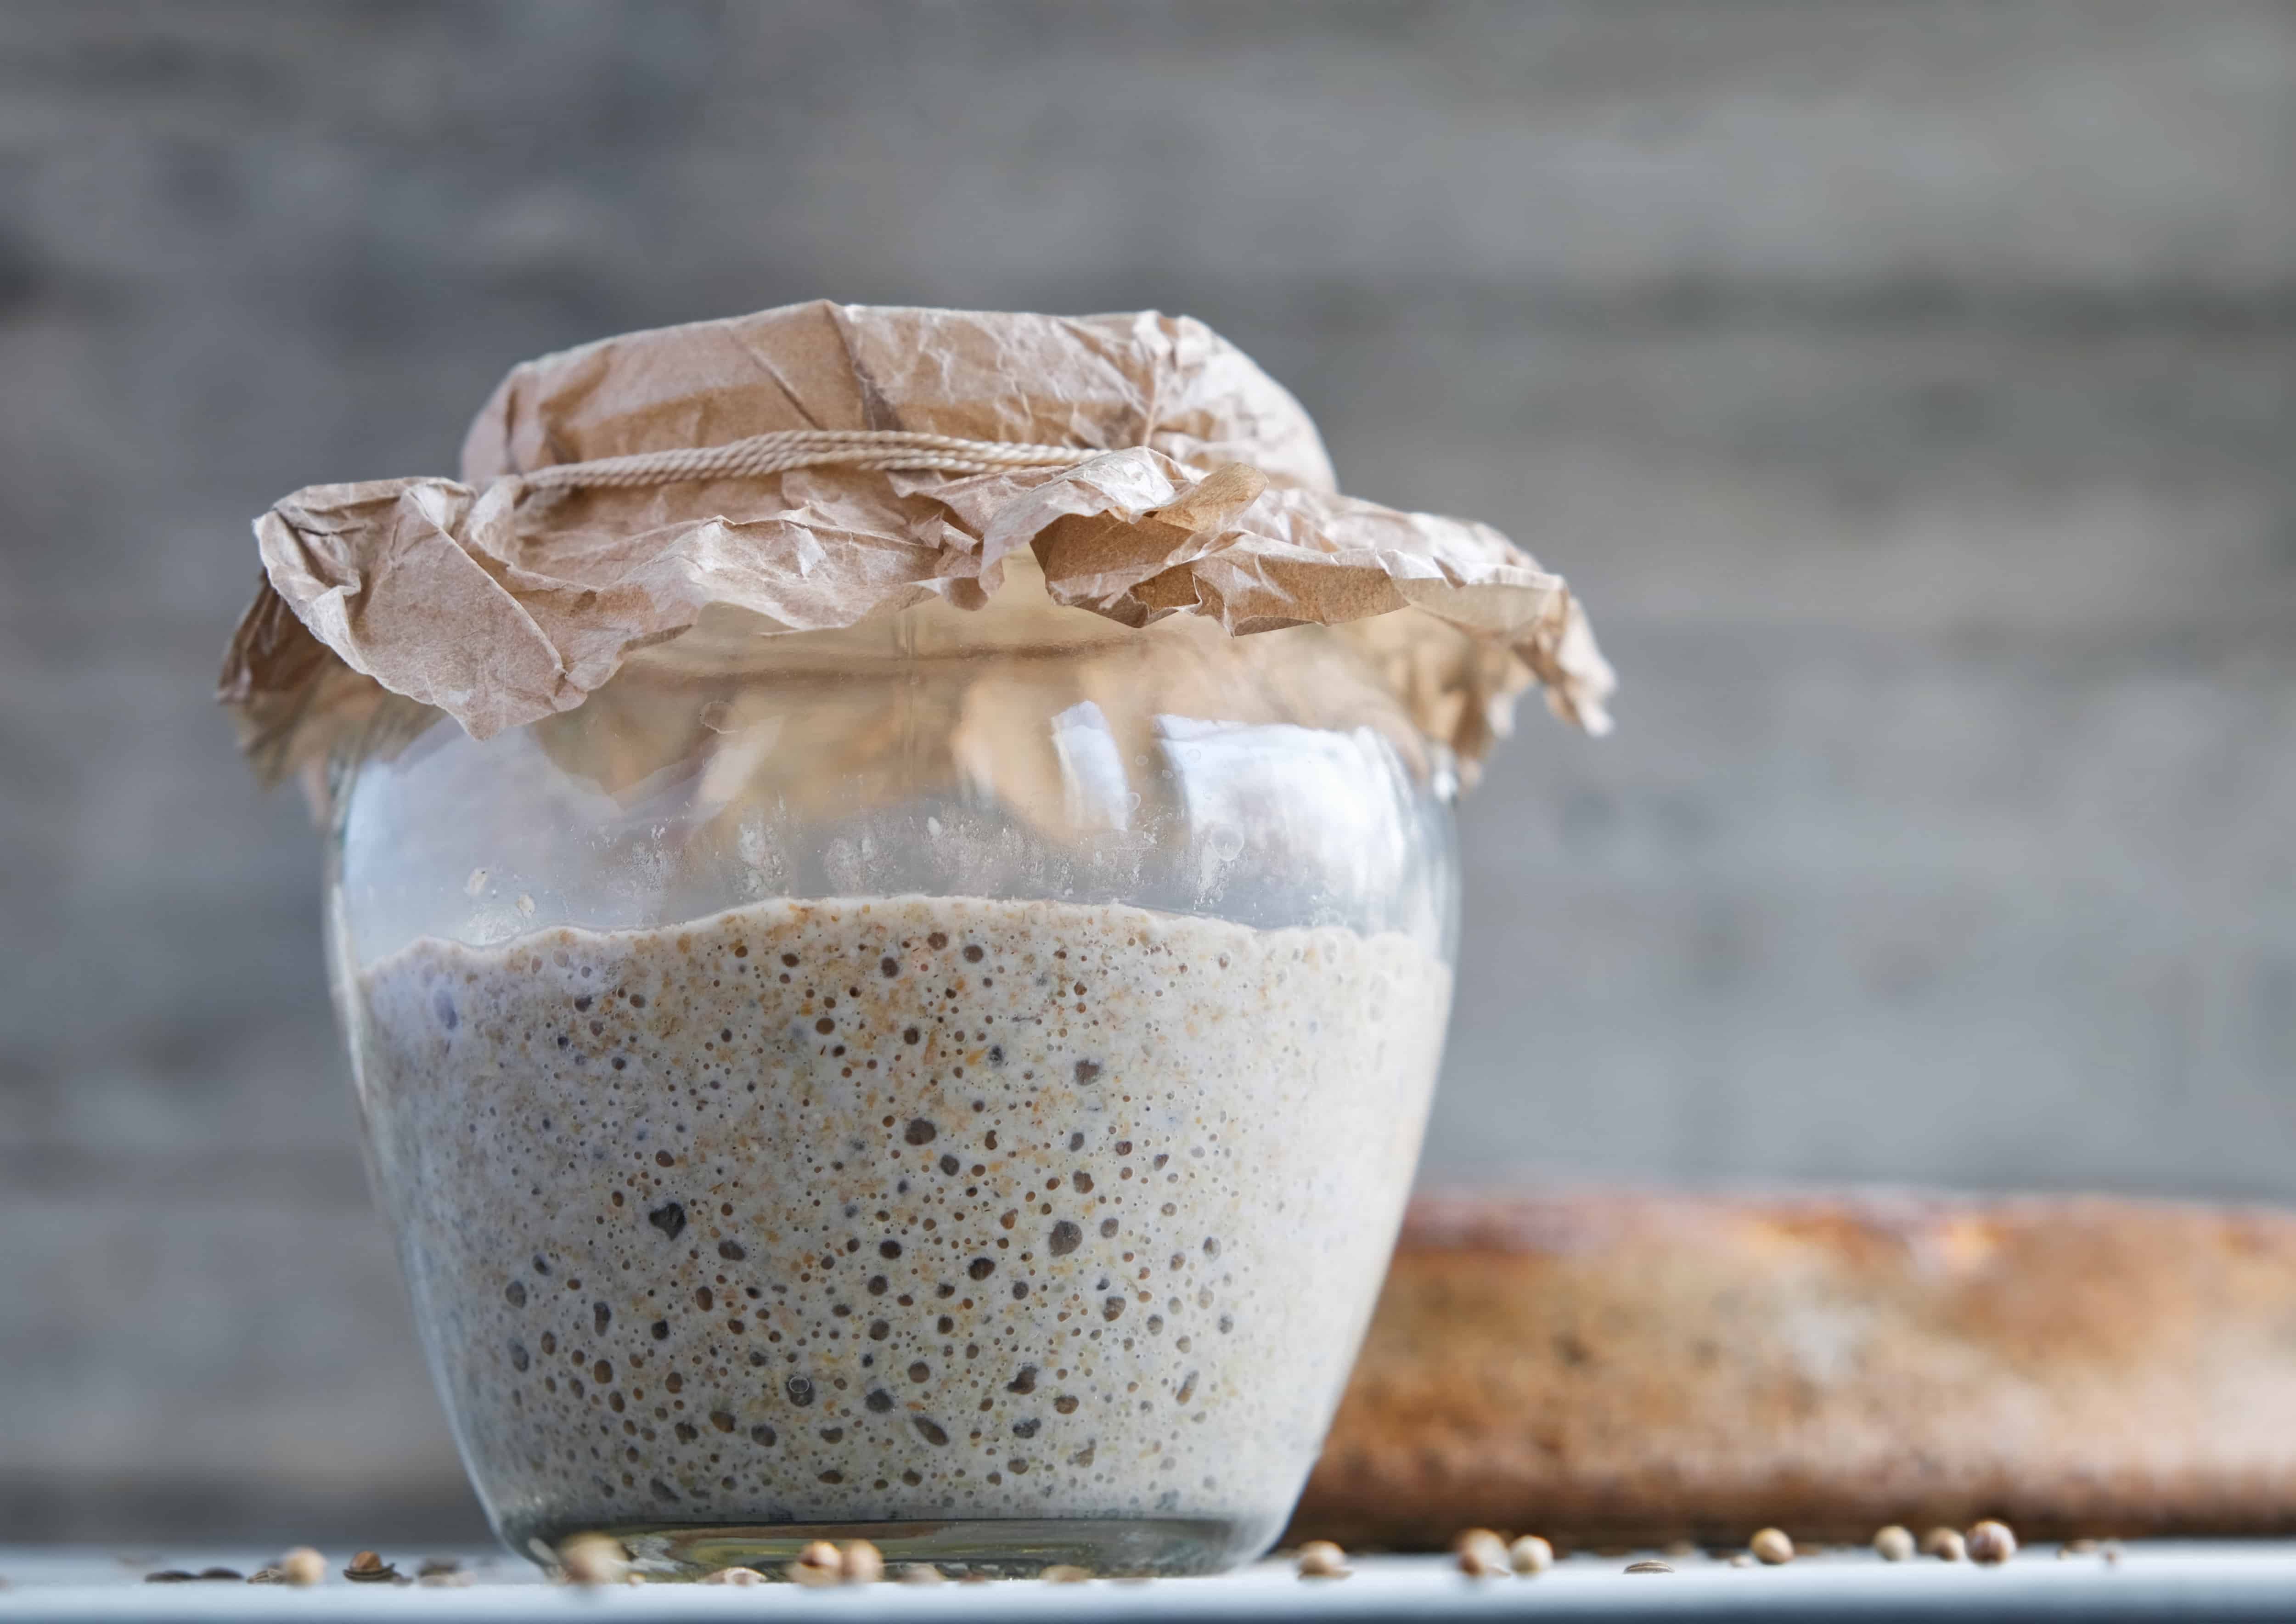
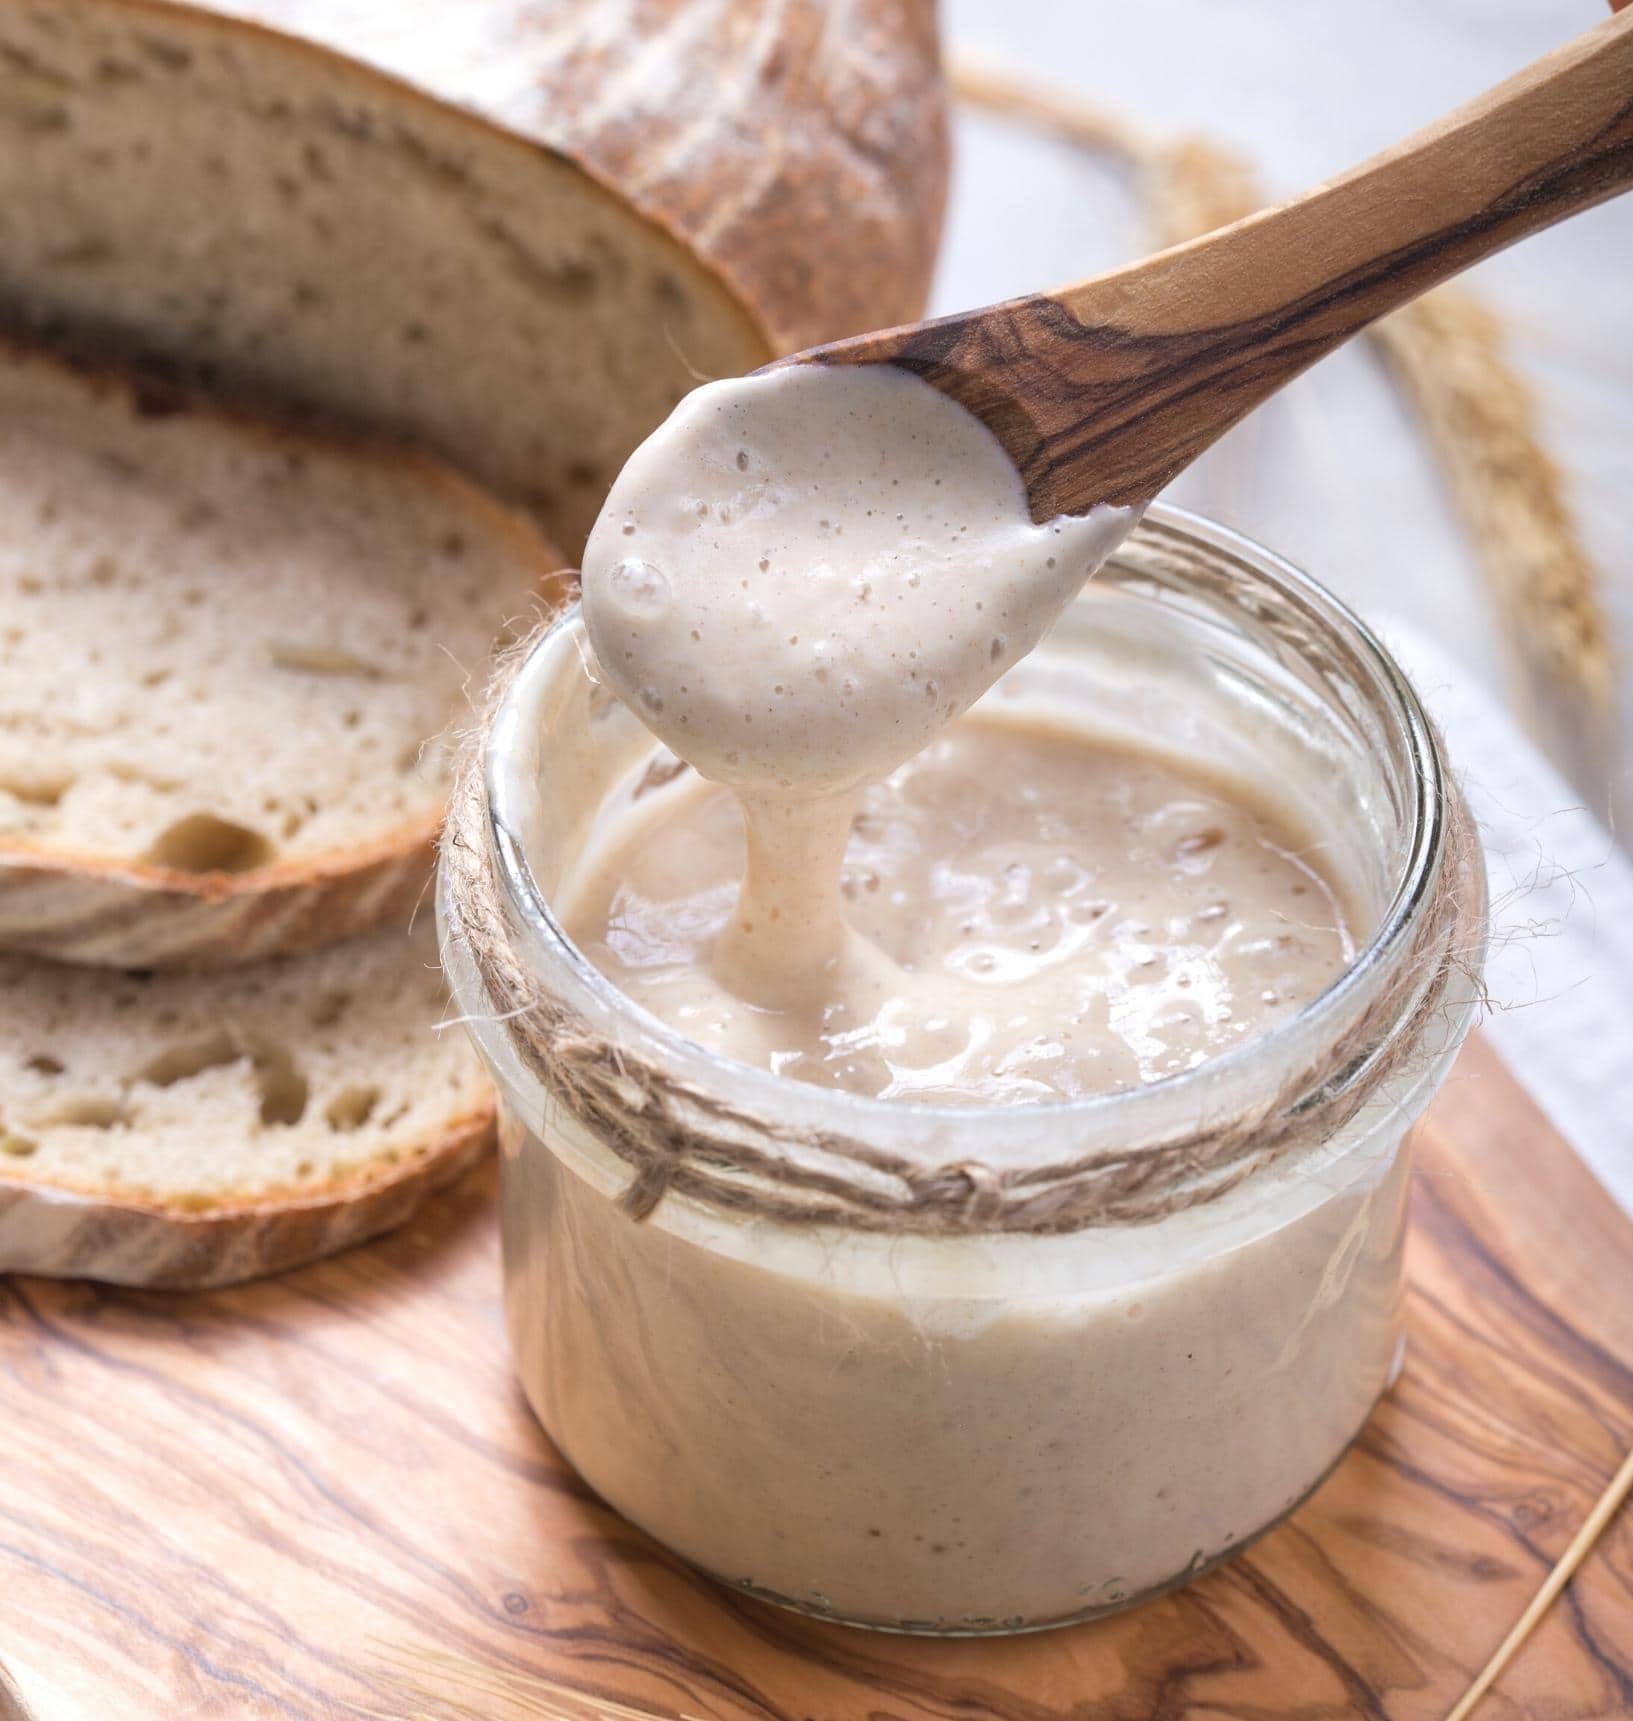
Selecting the Right Storage Container
When it comes to storing your sourdough starter, choosing the right container is crucial. The ideal container should provide a suitable environment for the fermentation process while allowing gases to escape. Here are a few factors to consider when selecting a storage container for your sourdough:
- Material: Opt for containers made of food-grade plastic, glass, or ceramic. Avoid containers made of reactive metals like aluminum, as they can negatively affect the sourdough culture.
- Size: Choose a container that is large enough to allow your sourdough starter to expand as it ferments. A container with a capacity of at least twice the volume of your starter is recommended.
- Lid or Cover: Look for a container with a tight-fit lid or cover to prevent contamination and maintain a consistent temperature and humidity level.
- Transparency: While not essential, a transparent container can be helpful in visually monitoring the activity and health of your sourdough starter.
Once you’ve selected the right container, it’s time to consider the temperature and humidity conditions for storing your sourdough. Let’s explore this topic further in the next section.
Temperature and Humidity Considerations
The temperature and humidity at which you store your sourdough starter can greatly impact its fermentation activity and overall health. Here are some important considerations:
Temperature: Sourdough starter thrives in a temperature range of 75°F to 85°F (24°C to 29°C). At this temperature range, the yeast and bacteria are active, resulting in a vibrant and robust starter. However, sourdough starters can tolerate a broader range of temperatures. Cooler temperatures, around 60°F to 70°F (15°C to 21°C), will slow down fermentation, while warmer temperatures above 85°F (29°C) can lead to overactivity and potential sourness.
Humidity: The ideal humidity range for storing sourdough is between 70% and 85%. Sourdough starter requires some moisture to remain hydrated and active, but excessive humidity can promote the growth of unwanted molds and bacteria. If the humidity in your area is lower than 70%, you may need to take additional measures to maintain proper moisture levels, such as covering the container with a damp cloth or placing a small bowl of water nearby.
It’s important to note that these temperature and humidity guidelines are ideal, but sourdough is a resilient culture that can adapt to different conditions. As long as you provide a stable environment within a reasonable range, your sourdough starter should thrive.
Next, let’s explore the different methods of storing sourdough at room temperature.
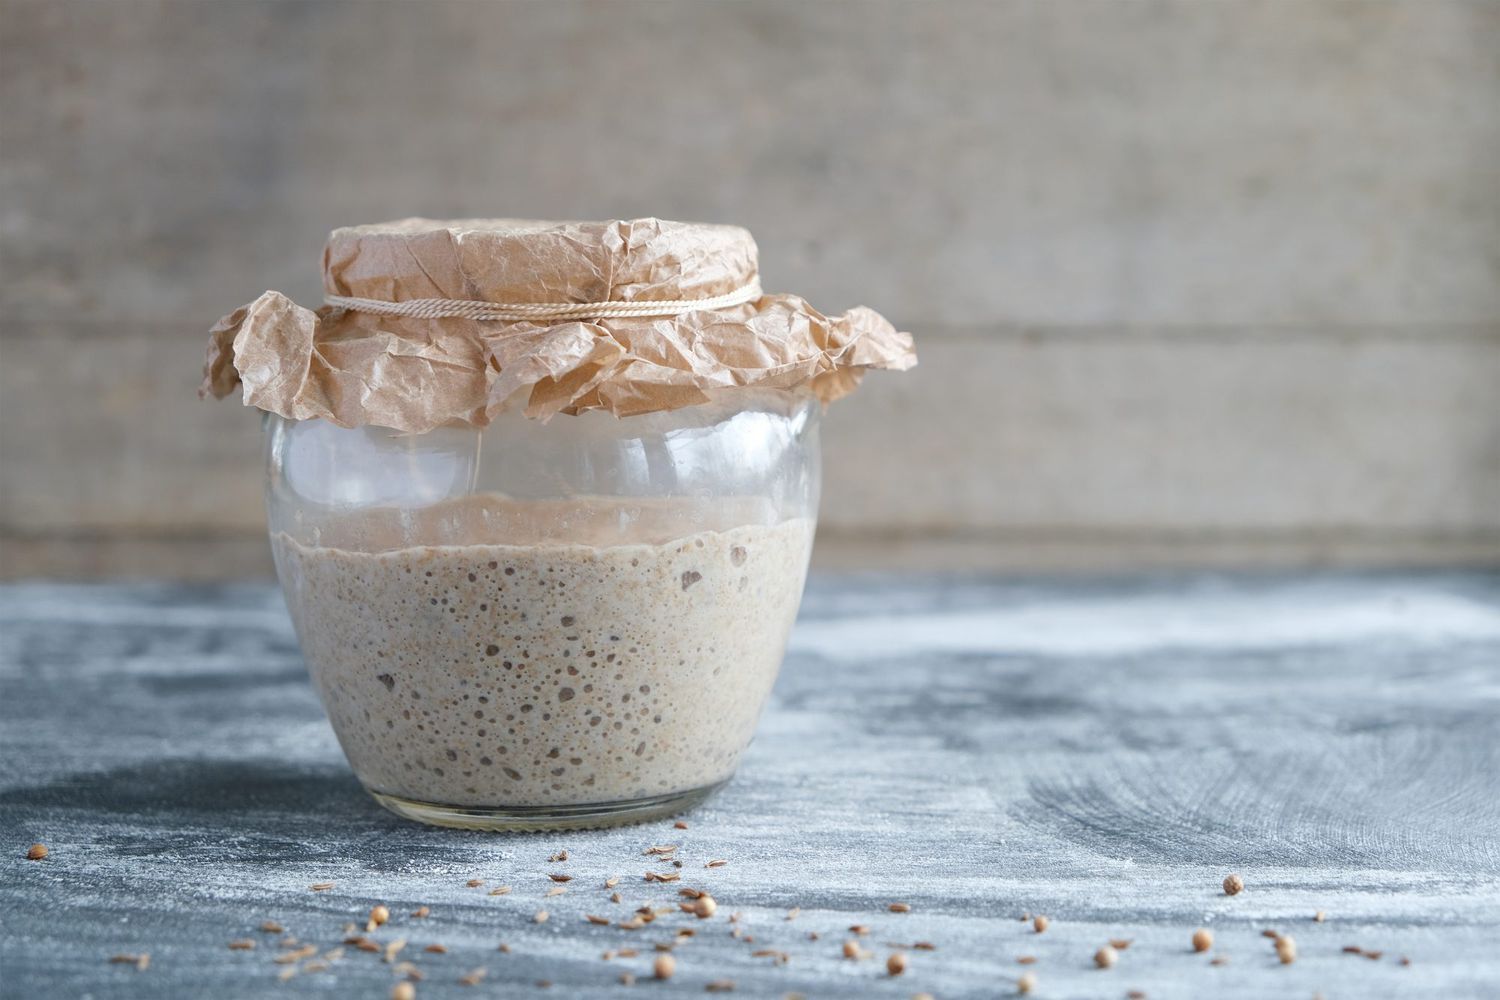
Storing Sourdough at Room Temperature
Storing sourdough at room temperature is a popular method for maintaining an active starter that is ready for baking. Here are the steps to properly store your sourdough at room temperature:
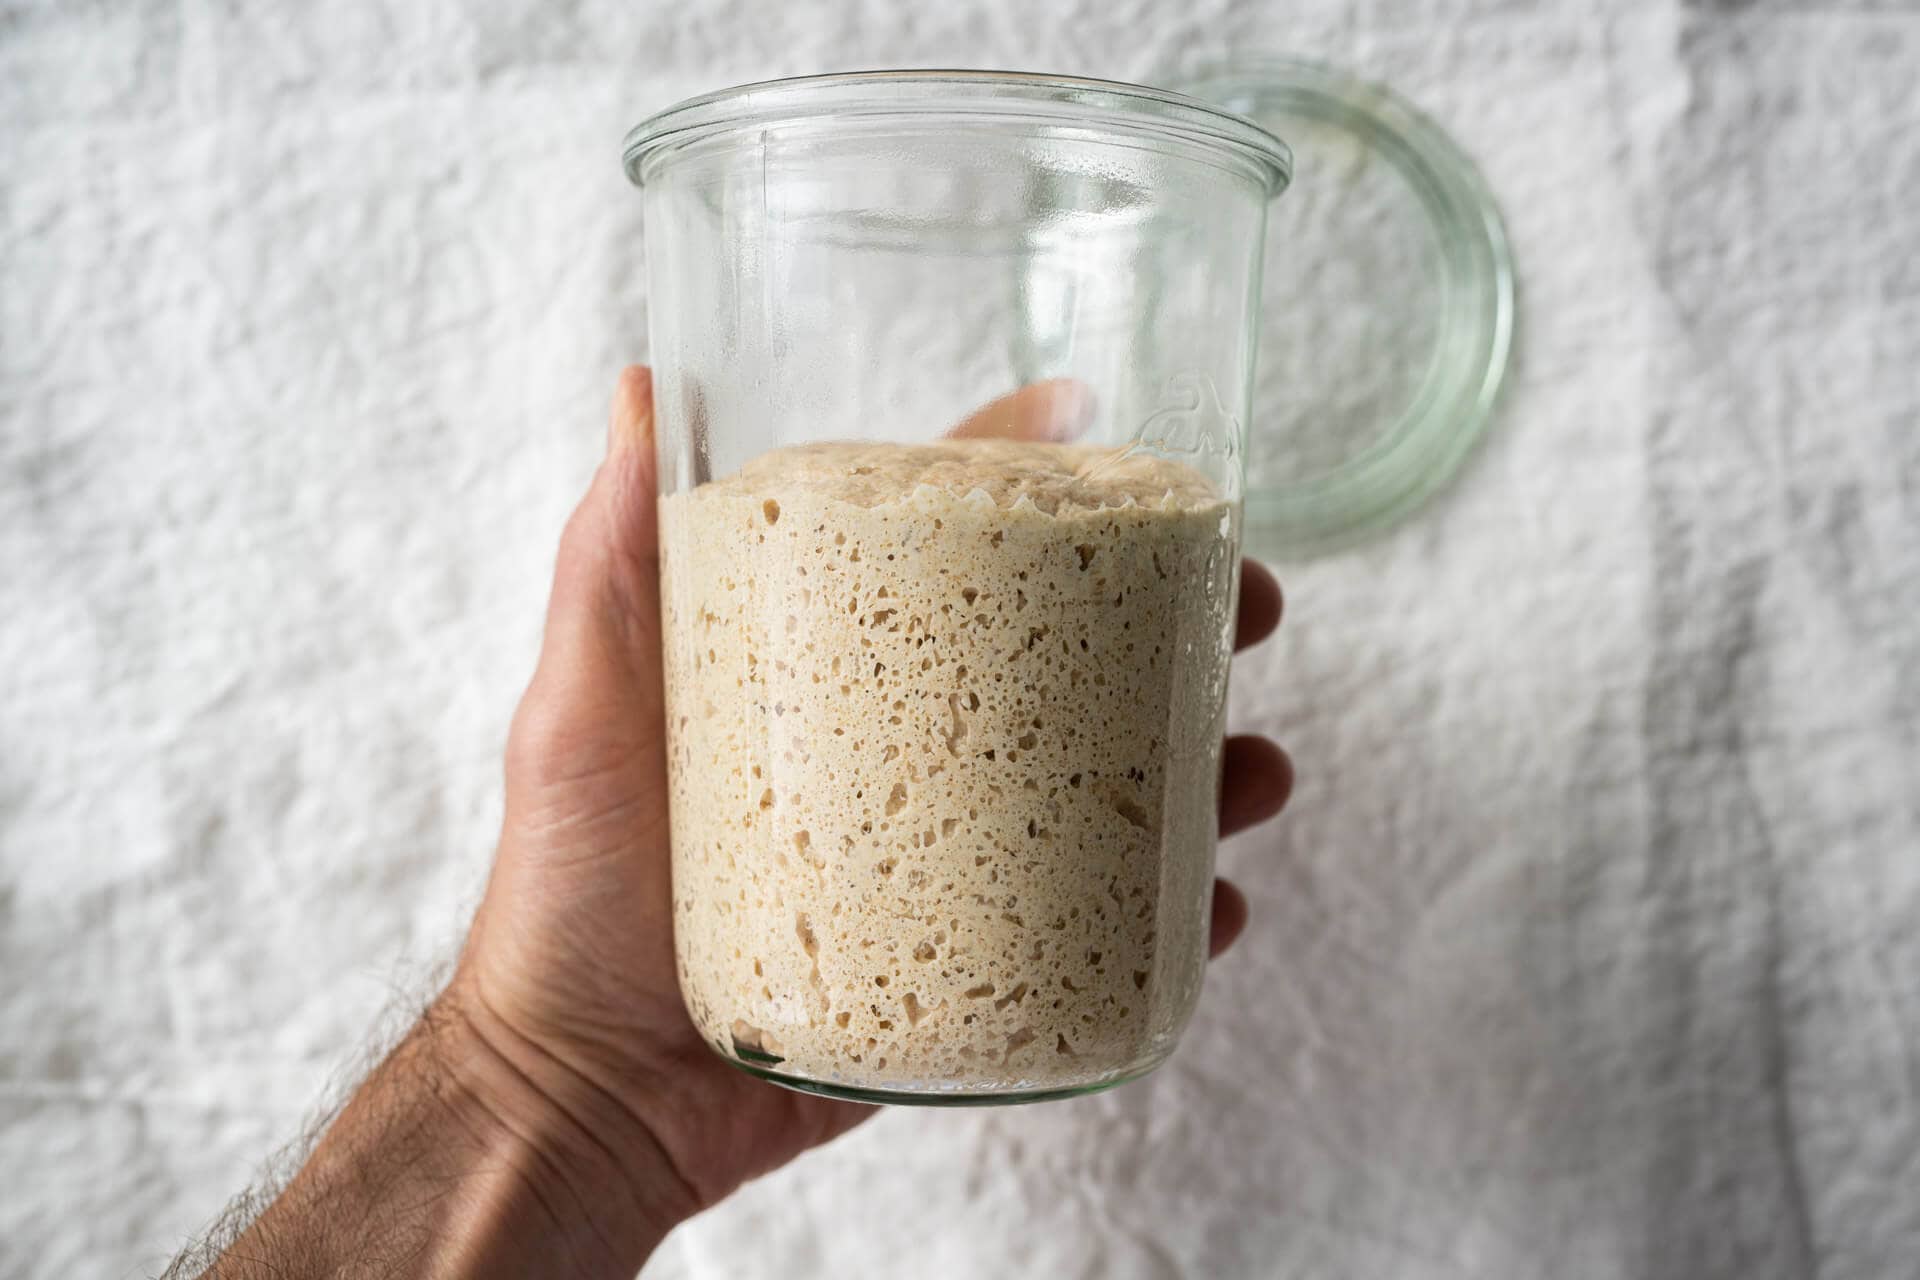
- Feed and Refresh: Before storing your sourdough at room temperature, make sure to feed it. Discard a portion of the starter and refresh it with equal parts of flour and water. Allow the starter to ferment and rise until it becomes active and bubbly.
- Transfer to a Container: Once your sourdough starter is refreshed and active, transfer it to a clean and sterilized container. Choose a container that provides enough space for your starter to expand during fermentation.
- Cover and Store: Securely cover the container with a tight-fitting lid or plastic wrap to prevent contamination. Place the container in a warm and consistent room temperature environment, away from direct sunlight and drafts.
- Feed Regularly: To maintain the activity of your sourdough starter, it is important to feed it regularly. Depending on the specific recipe or feeding schedule you follow, you may need to discard a portion of the starter and refresh it with fresh flour and water every 24 to 48 hours.
- Monitor and Use: Regularly monitor your sourdough starter for signs of activity. Look for bubbles, a tangy aroma, and an increase in volume. When it is active and ready, you can use it to bake delicious sourdough bread or other sourdough-based recipes.
Storing sourdough at room temperature allows the wild yeast and bacteria to ferment and develop their flavors over time. It is a convenient method if you plan to bake frequently and want a readily available active starter.
In the next section, we will explore an alternative method of storing sourdough – refrigeration.
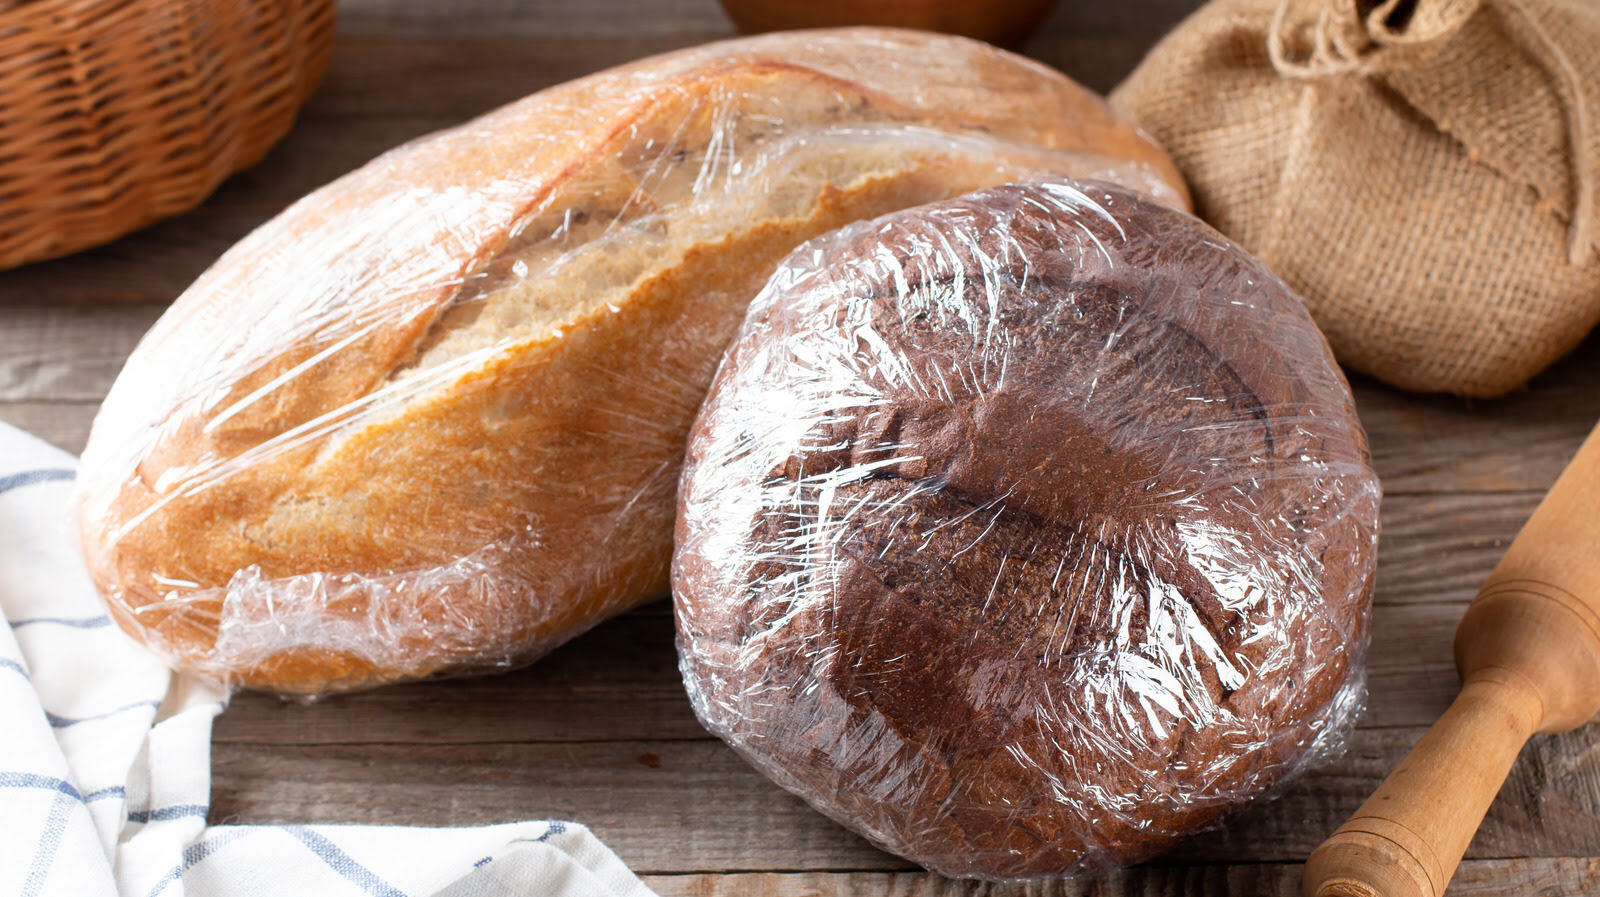
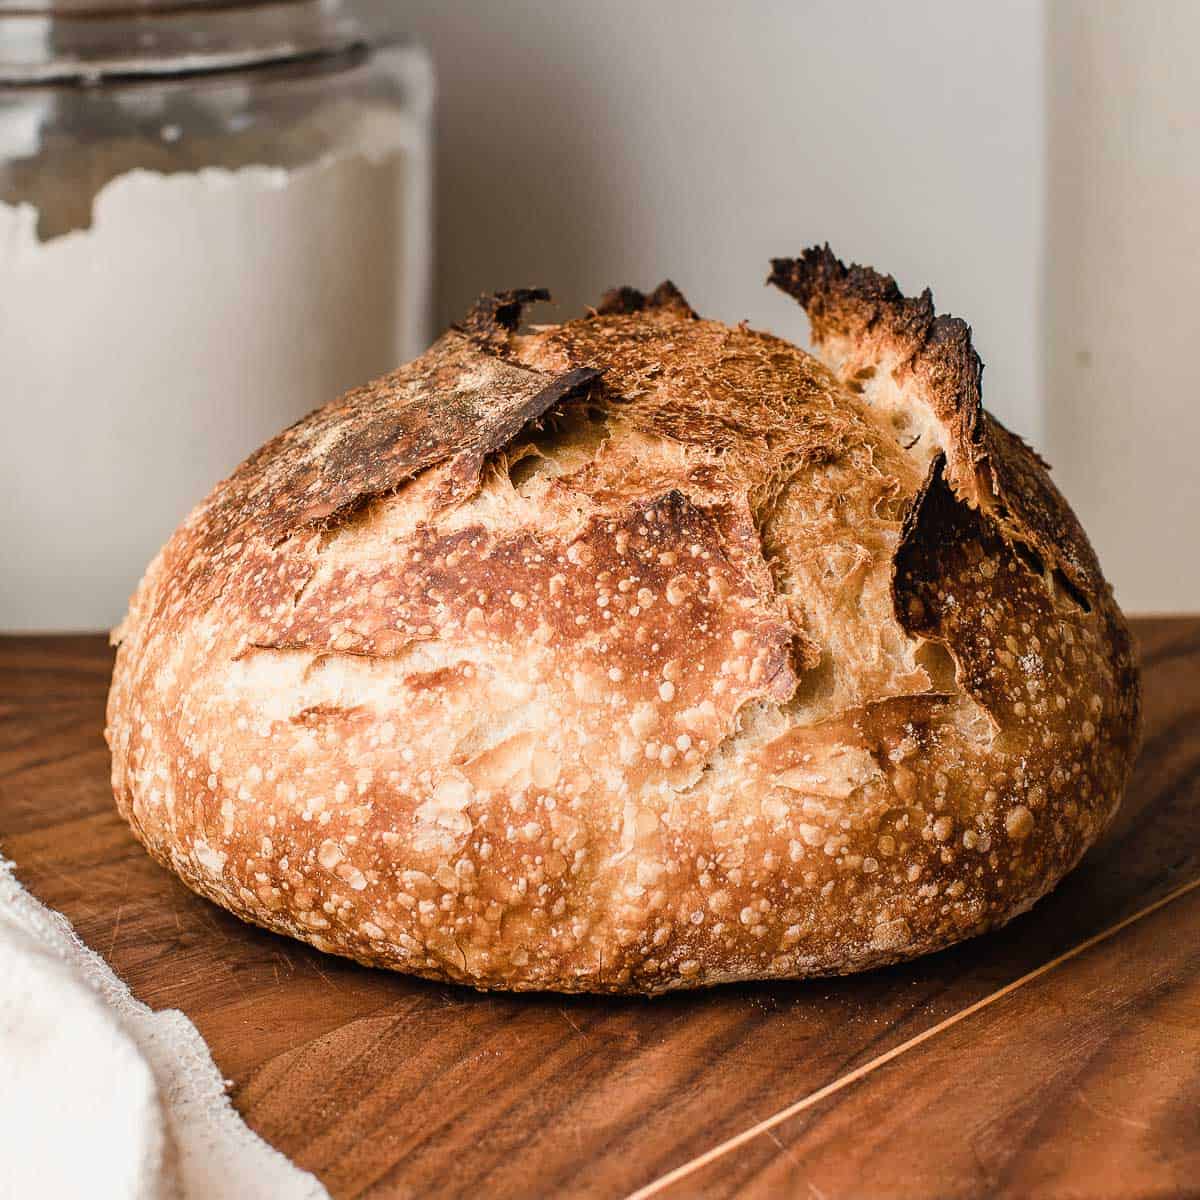
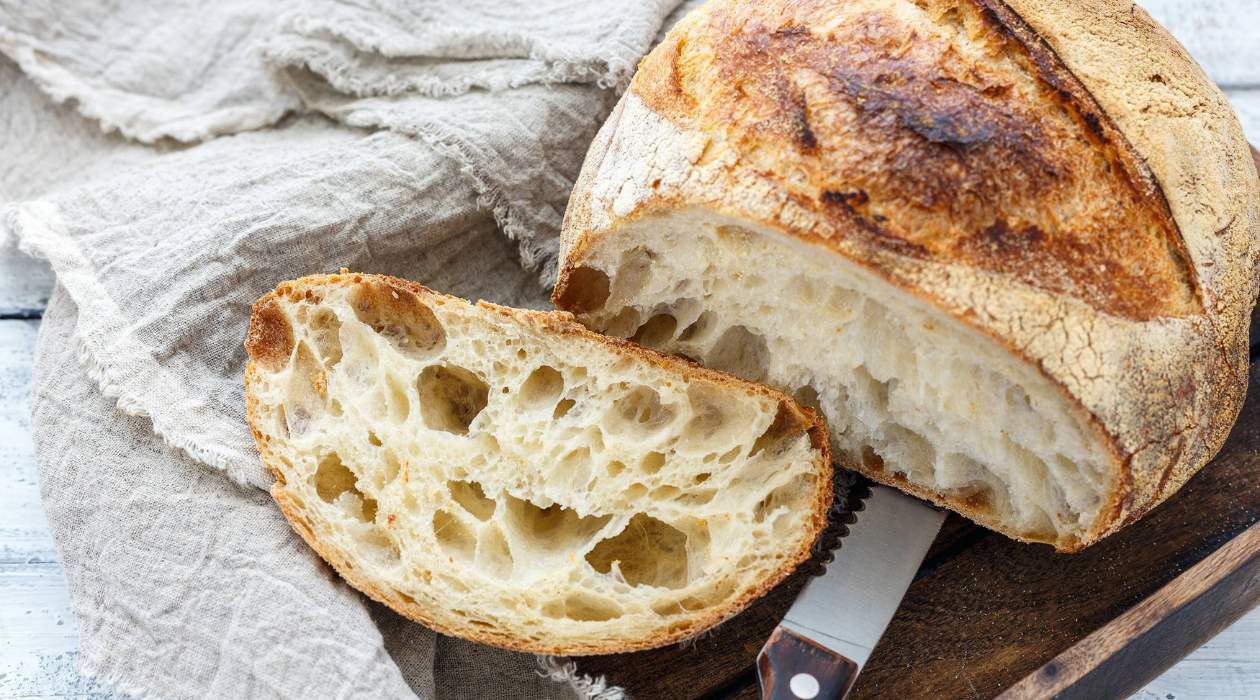
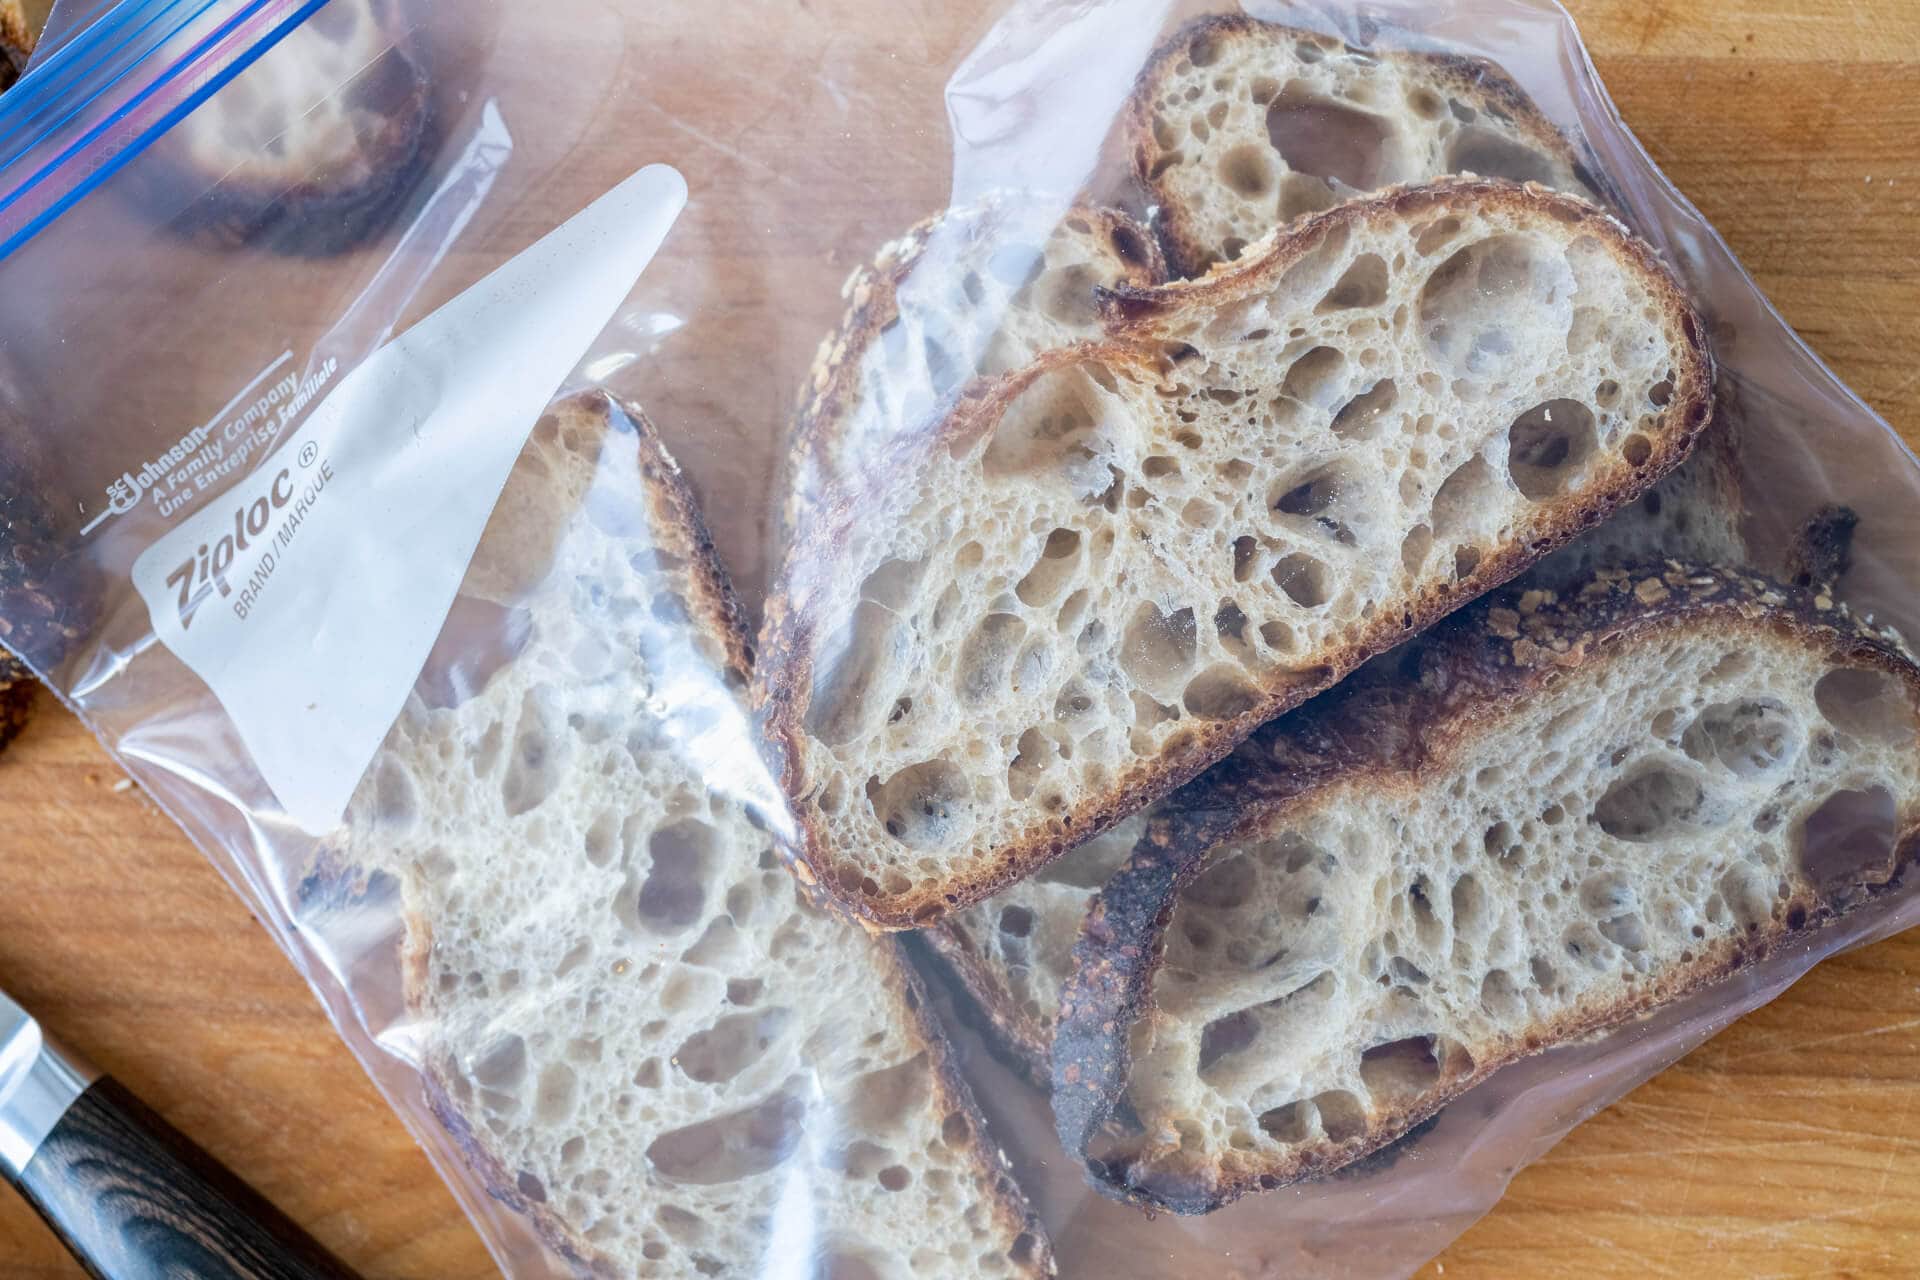
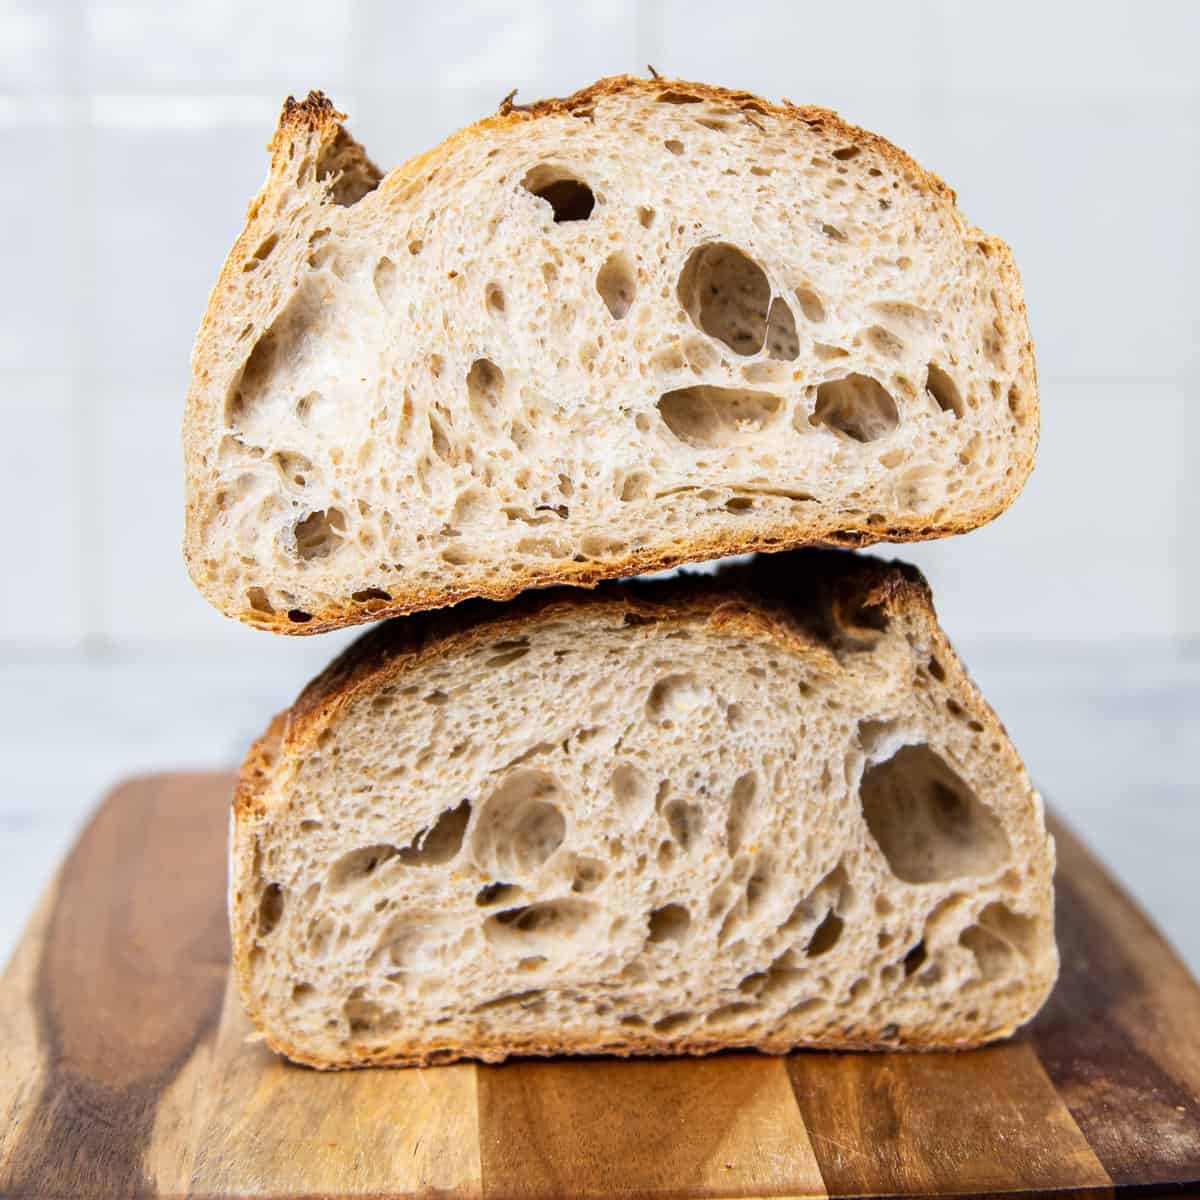
After baking, allow sourdough to cool completely before storing to prevent condensation and mold growth. Store in a paper bag or airtight container at room temperature for up to 3 days, or freeze for longer storage.
Read more: How To Store A Loaf Of Sourdough
Refrigerating Sourdough
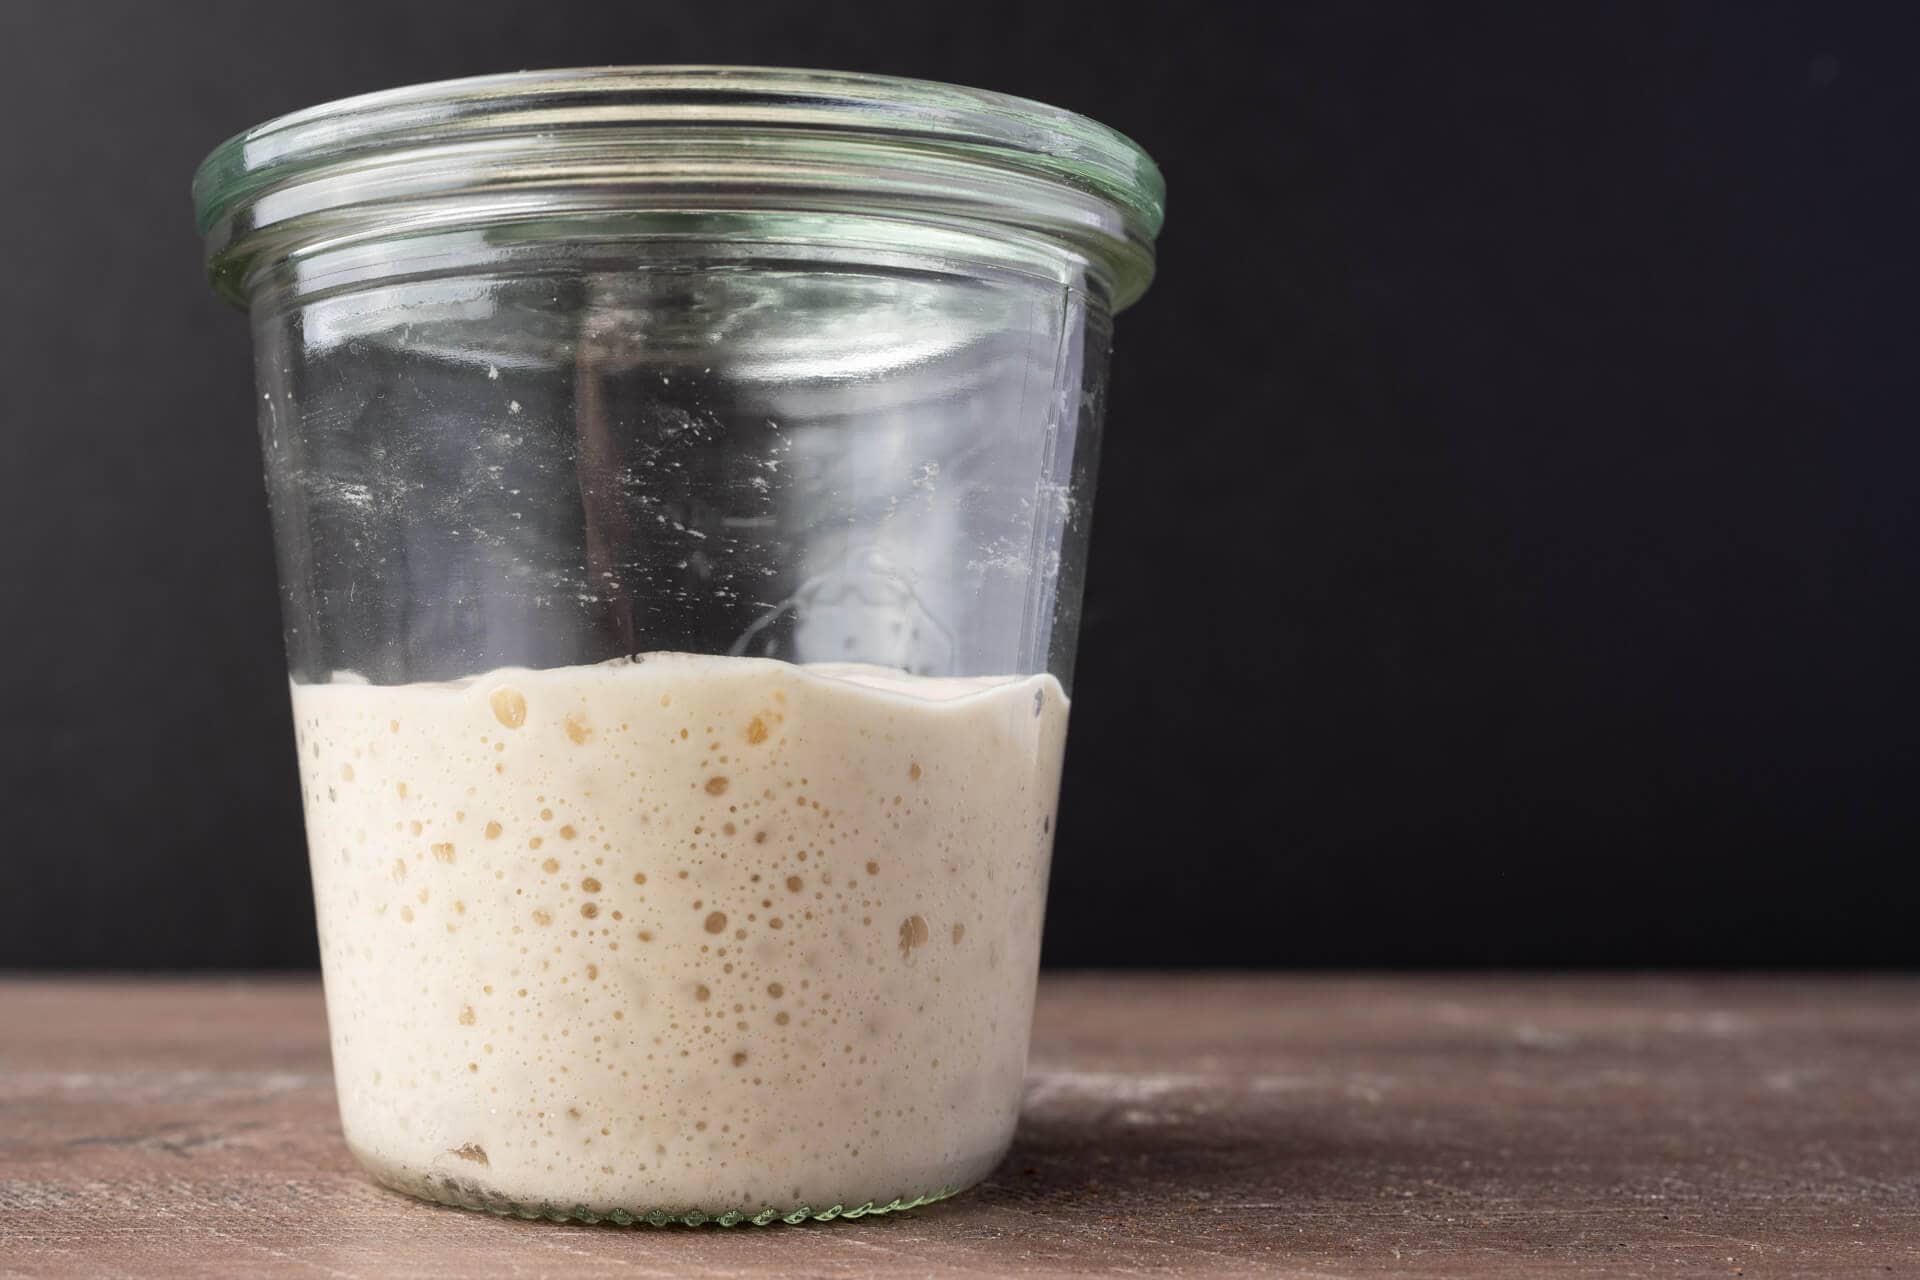
Refrigerating your sourdough starter is an excellent option if you don’t plan to bake regularly or need to take a break from maintaining an active starter. Refrigeration slows down the fermentation process, allowing you to store your sourdough for an extended period without the need for frequent feeding. Here’s how to properly store your sourdough in the refrigerator:
Before refrigerating your sourdough starter, make sure to feed it and allow it to ferment and rise until it becomes active. Transfer your active sourdough starter to a clean and sterilized container. Choose a container with an airtight lid or cover to prevent moisture loss and maintain a consistent temperature. Securely cover the container, making sure it is airtight, and place it in the refrigerator. The cool temperature will slow down the fermentation process and prolong the storage life of your sourdough. While refrigerated, you can feed your sourdough starter less frequently compared to when it is stored at room temperature. Feed it every 7 to 10 days by discarding a portion and refreshing it with fresh flour and water. When you’re ready to bake or use your sourdough starter, remove it from the refrigerator and allow it to come to room temperature. This process can take a few hours to activate the yeast and bacteria before using it in your recipes.
Refrigerating sourdough is a great option for those who want the flexibility of taking breaks from baking or don’t need to use their starter frequently. It allows you to extend the time between feedings and ensures that your starter remains viable and healthy.
Now, let’s explore the option of freezing sourdough as another method of storage.
Freezing Sourdough
Freezing your sourdough starter is a convenient method for long-term storage. By freezing, you can extend the shelf life of your starter for several months while maintaining its viability. Here’s how to freeze your sourdough:
Before freezing your sourdough starter, make sure to feed it and allow it to become active and bubbly. Divide your active sourdough starter into small portions that are suitable for your future baking needs. It’s recommended to use freezer-safe containers or sealable plastic bags for individual portions. Label each portion with the date of freezing to keep track of their freshness. When you’re ready to use a portion of your frozen sourdough, remove it from the freezer and thaw it in the refrigerator overnight. Once thawed, transfer it to a clean container and refresh it by discarding a portion and feeding it with flour and water. Allow your refreshed sourdough starter to become active and bubbly at room temperature. It may take a few days of regular feedings before your starter is ready for baking.
Freezing sourdough is a convenient option, especially if you want to keep a backup or preserve your starter for an extended period. It allows you to have a ready-to-use portion whenever you need it without the need for constant feeding and maintenance.
Now that you’re equipped with the knowledge of how to store sourdough through various methods, let’s move on to the next section where we’ll explore how to revive and use your stored sourdough.
Reviving and Using Stored Sourdough
Reviving your stored sourdough starter is a crucial step before using it for baking. Whether you’ve stored your sourdough at room temperature, in the refrigerator, or in the freezer, here’s how to revive and use your stored sourdough:
- Room Temperature Storage: If you’ve stored your sourdough at room temperature, it may already be active and ready to use. Simply give it a good stir, discard a portion, and refresh it with equal parts of fresh flour and water. Allow it to sit at room temperature until it becomes active and bubbly.
- Refrigerator Storage: If your sourdough has been stored in the refrigerator, take it out and let it sit at room temperature for a few hours to activate the yeast and bacteria. Once it has reached room temperature, discard a portion and refresh it with fresh flour and water. Allow it to ferment until it becomes active and bubbly.
- Freezer Storage: To revive frozen sourdough, thaw it in the refrigerator overnight. Once thawed, transfer it to a clean container, discard a portion, and refresh it with fresh flour and water. Give it time to become active and bubbly by allowing it to sit at room temperature.
- Using Revived Sourdough: Once your sourdough is revived and active, it’s ready to be used in your favorite sourdough recipes. Use it as a leavening agent in bread, pancakes, waffles, or any other recipe that requires a sourdough starter. Remember to save a small portion of your revived sourdough to continue maintaining your starter for future use.
Remember that after reviving your stored sourdough, it might take a few feedings and time for your starter to regain its full strength and flavor. Be patient and follow the regular feeding schedule to allow your revived sourdough to reach its peak condition.
Now that you know how to revive and use stored sourdough, let’s move on to the final section where we’ll provide some tips for maintaining your sourdough starter.
Tips for Maintaining Sourdough Starter
To ensure the long-term health and vitality of your sourdough starter, here are some tips to help you maintain it:
- Regular Feeding: Feed your sourdough starter regularly according to the feeding schedule that works best for your baking routine. Regular feeding helps maintain the balance of yeast and bacteria, keeping your starter active and healthy.
- Consistent Feeding Ratio: Maintain a consistent feeding ratio when refreshing your sourdough starter. This means using equal parts of flour and water when discarding a portion and adding fresh ingredients to your starter.
- Observe Hygiene Practices: Keep your sourdough starter container clean and free from contamination. Use clean utensils when handling your starter, and wash your hands before handling it to avoid introducing unwanted bacteria.
- Adjust Feeding Frequency: Depending on your baking schedule, you may need to adjust the frequency of your feedings. If you bake less frequently, you can store your sourdough in the refrigerator and feed it less often.
- Monitor Starter Activity: Regularly observe your sourdough starter for signs of activity, such as bubbles, rise, and a tangy aroma. These are indicators that your starter is active and ready to be used in baking.
- Maintain Proper Environment: Keep your sourdough starter in an environment with a stable temperature and humidity level. Avoid drastic changes in temperature or placing it near strong odors that can affect its flavor.
- Use Quality Ingredients: Use high-quality flour and filtered or non-chlorinated water to feed your sourdough starter. The quality of ingredients can impact the taste and overall health of your starter.
- Experiment and Explore: Don’t be afraid to experiment with different flours, hydration levels, and feeding ratios to discover the unique characteristics and flavors of your sourdough starter.
By following these tips, you’ll be able to maintain a thriving and active sourdough starter that consistently produces delicious baked goods.
Now that you have a comprehensive understanding of how to store, revive, and maintain your sourdough starter, you’re ready to embark on your sourdough baking journey with confidence. Happy baking!
Remember that while SEO optimization is important, providing valuable and engaging content should be the primary focus. By incorporating SEO techniques naturally, your article will not only appeal to search engines but also to readers who are seeking informative and well-written content.
Read more: How To Store Sourdough Bread
Conclusion
Properly storing your sourdough is essential for maintaining its health and ensuring that it’s ready to be used whenever you’re ready to bake. Whether you choose to store your sourdough at room temperature, in the refrigerator, or in the freezer, each method has its own benefits and considerations.
Storing at room temperature allows for easy access to an active sourdough starter, while refrigeration slows down fermentation for longer storage periods. Freezing your sourdough provides the convenience of extended storage without the need for frequent feedings.
When reviving your stored sourdough, following the proper steps of discarding, refreshing, and allowing it to become active is crucial. This ensures that your sourdough is ready to impart its unique flavor and leavening power to your favorite recipes.
To maintain a healthy sourdough starter, regular feeding, hygiene practices, and a consistent environment are key. Monitoring starter activity and experimenting with different flours and feeding ratios can enhance the flavor and characteristics of your sourdough.
Remember, while SEO optimization is important, providing valuable and engaging content should be the primary focus. Incorporating SEO techniques naturally will appeal to search engines without compromising the readability and enjoyment of the article for your readers.
Now that you have a comprehensive understanding of sourdough storage and maintenance, you’re equipped to embark on your sourdough baking journey with confidence. Enjoy the process of caring for your sourdough starter and creating delicious homemade bread and other sourdough treats!
Frequently Asked Questions about How To Store Sourdough
Was this page helpful?
At Storables.com, we guarantee accurate and reliable information. Our content, validated by Expert Board Contributors, is crafted following stringent Editorial Policies. We're committed to providing you with well-researched, expert-backed insights for all your informational needs.


0 thoughts on “How To Store Sourdough”